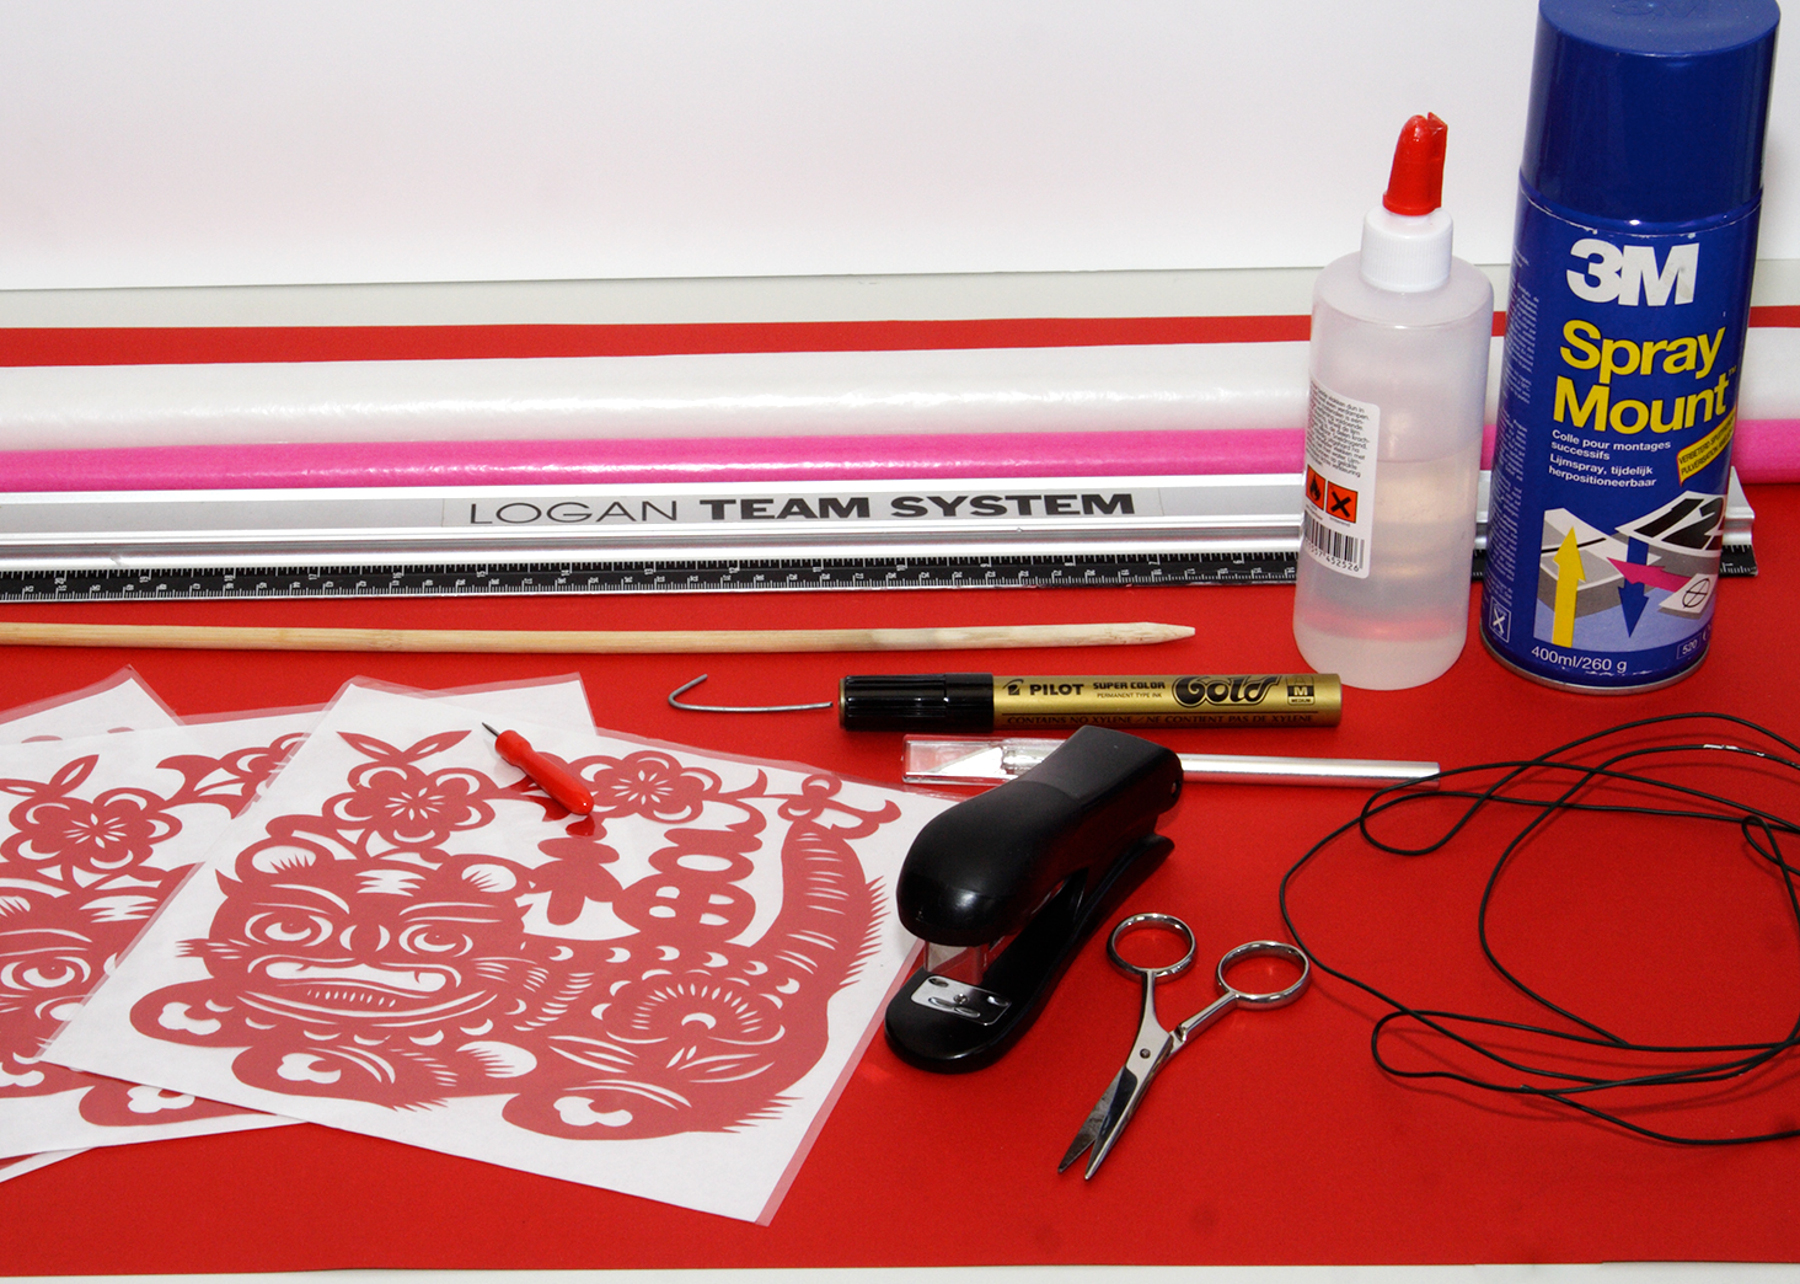
What do you need?
3 sheets red craft cardboard 50x70cm
1 roll pink kite paper
1 box of heavy cardboard
Chinese paper cuts
hobby glue / spray glue
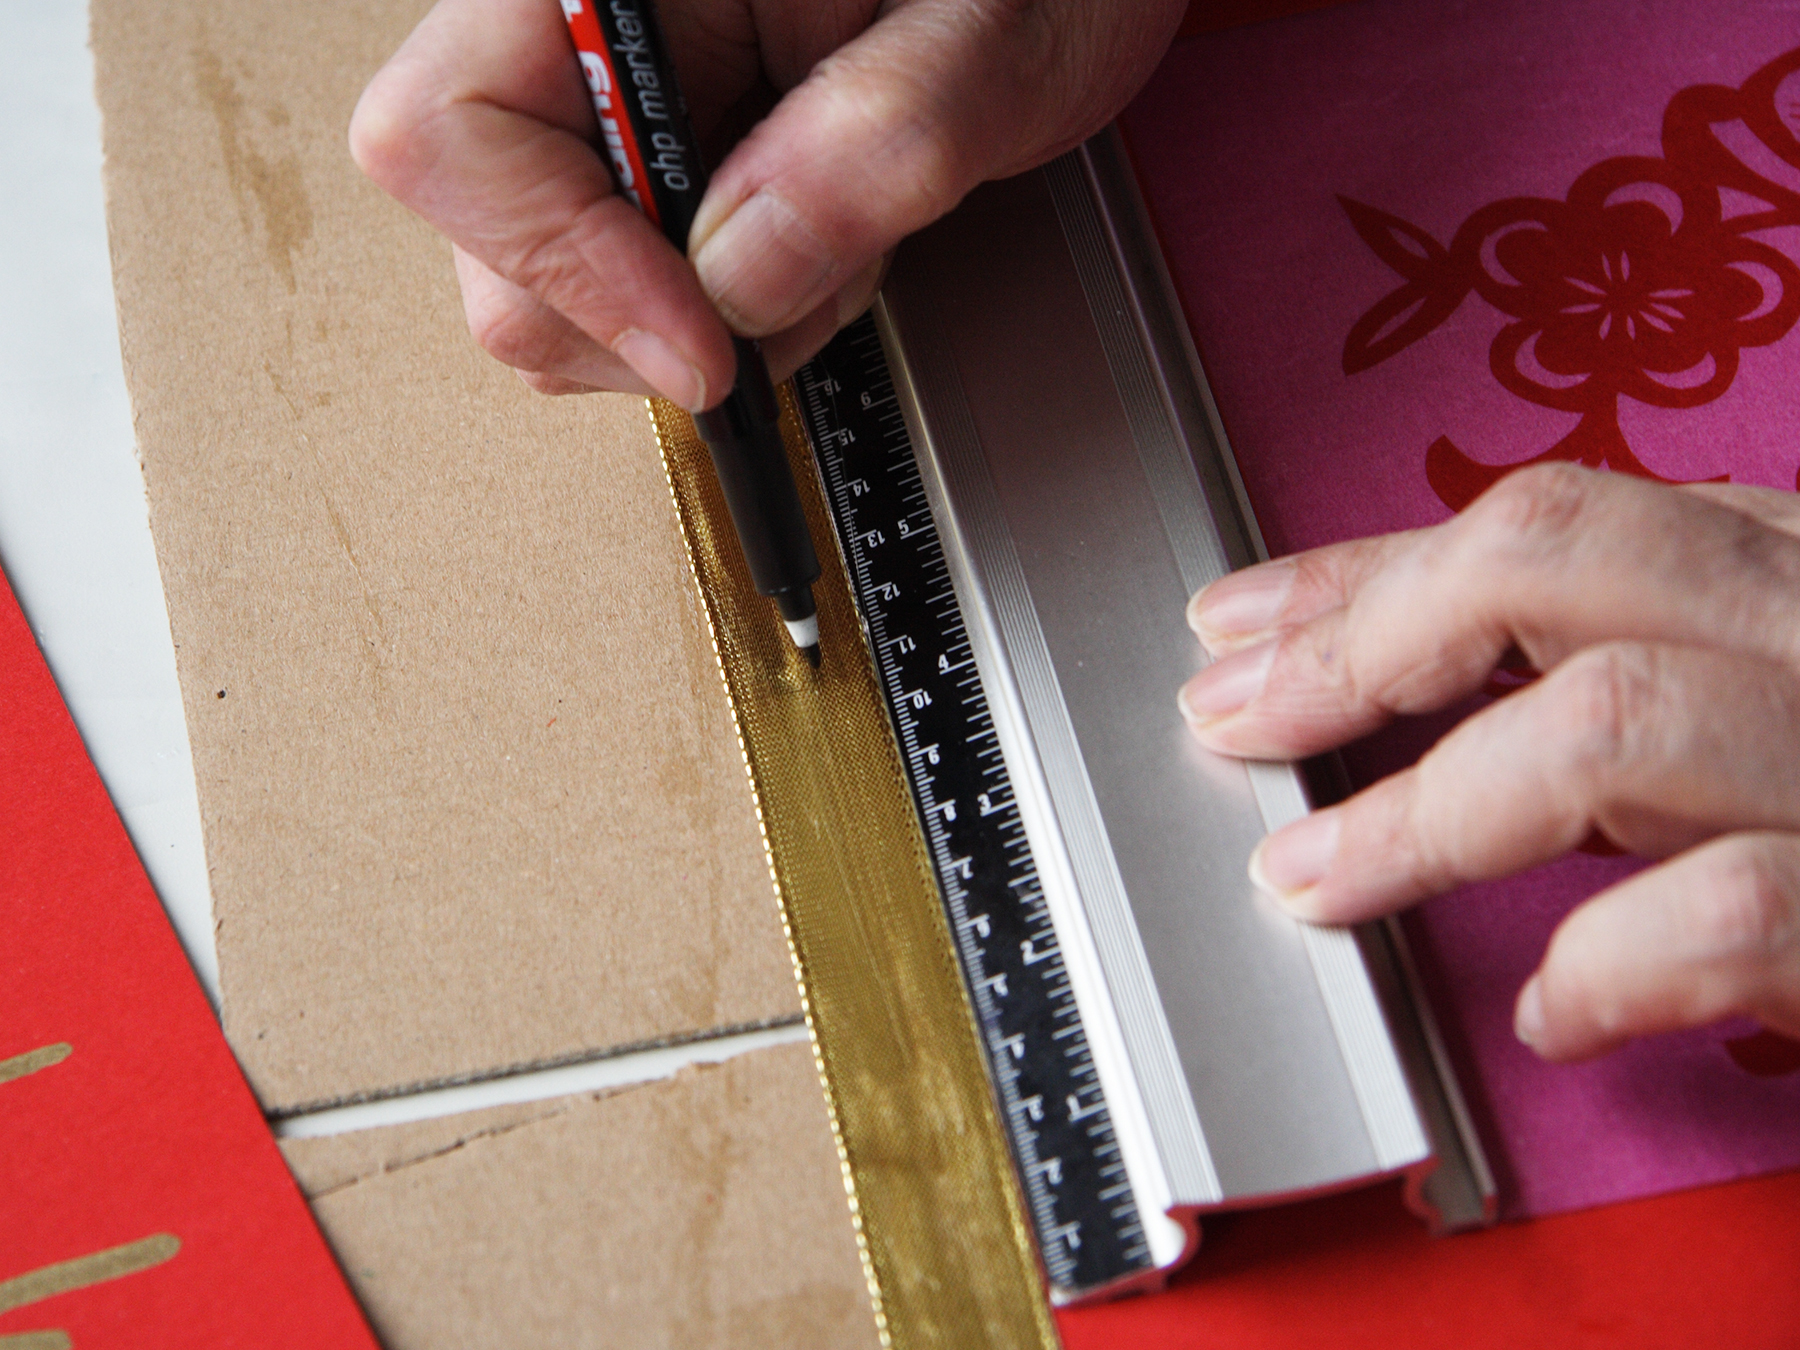
gold coloured marker
gold coloured ribbon
wire and a stick
ruler + (Stanley) knife
scissors, hole puncher and wire cutters

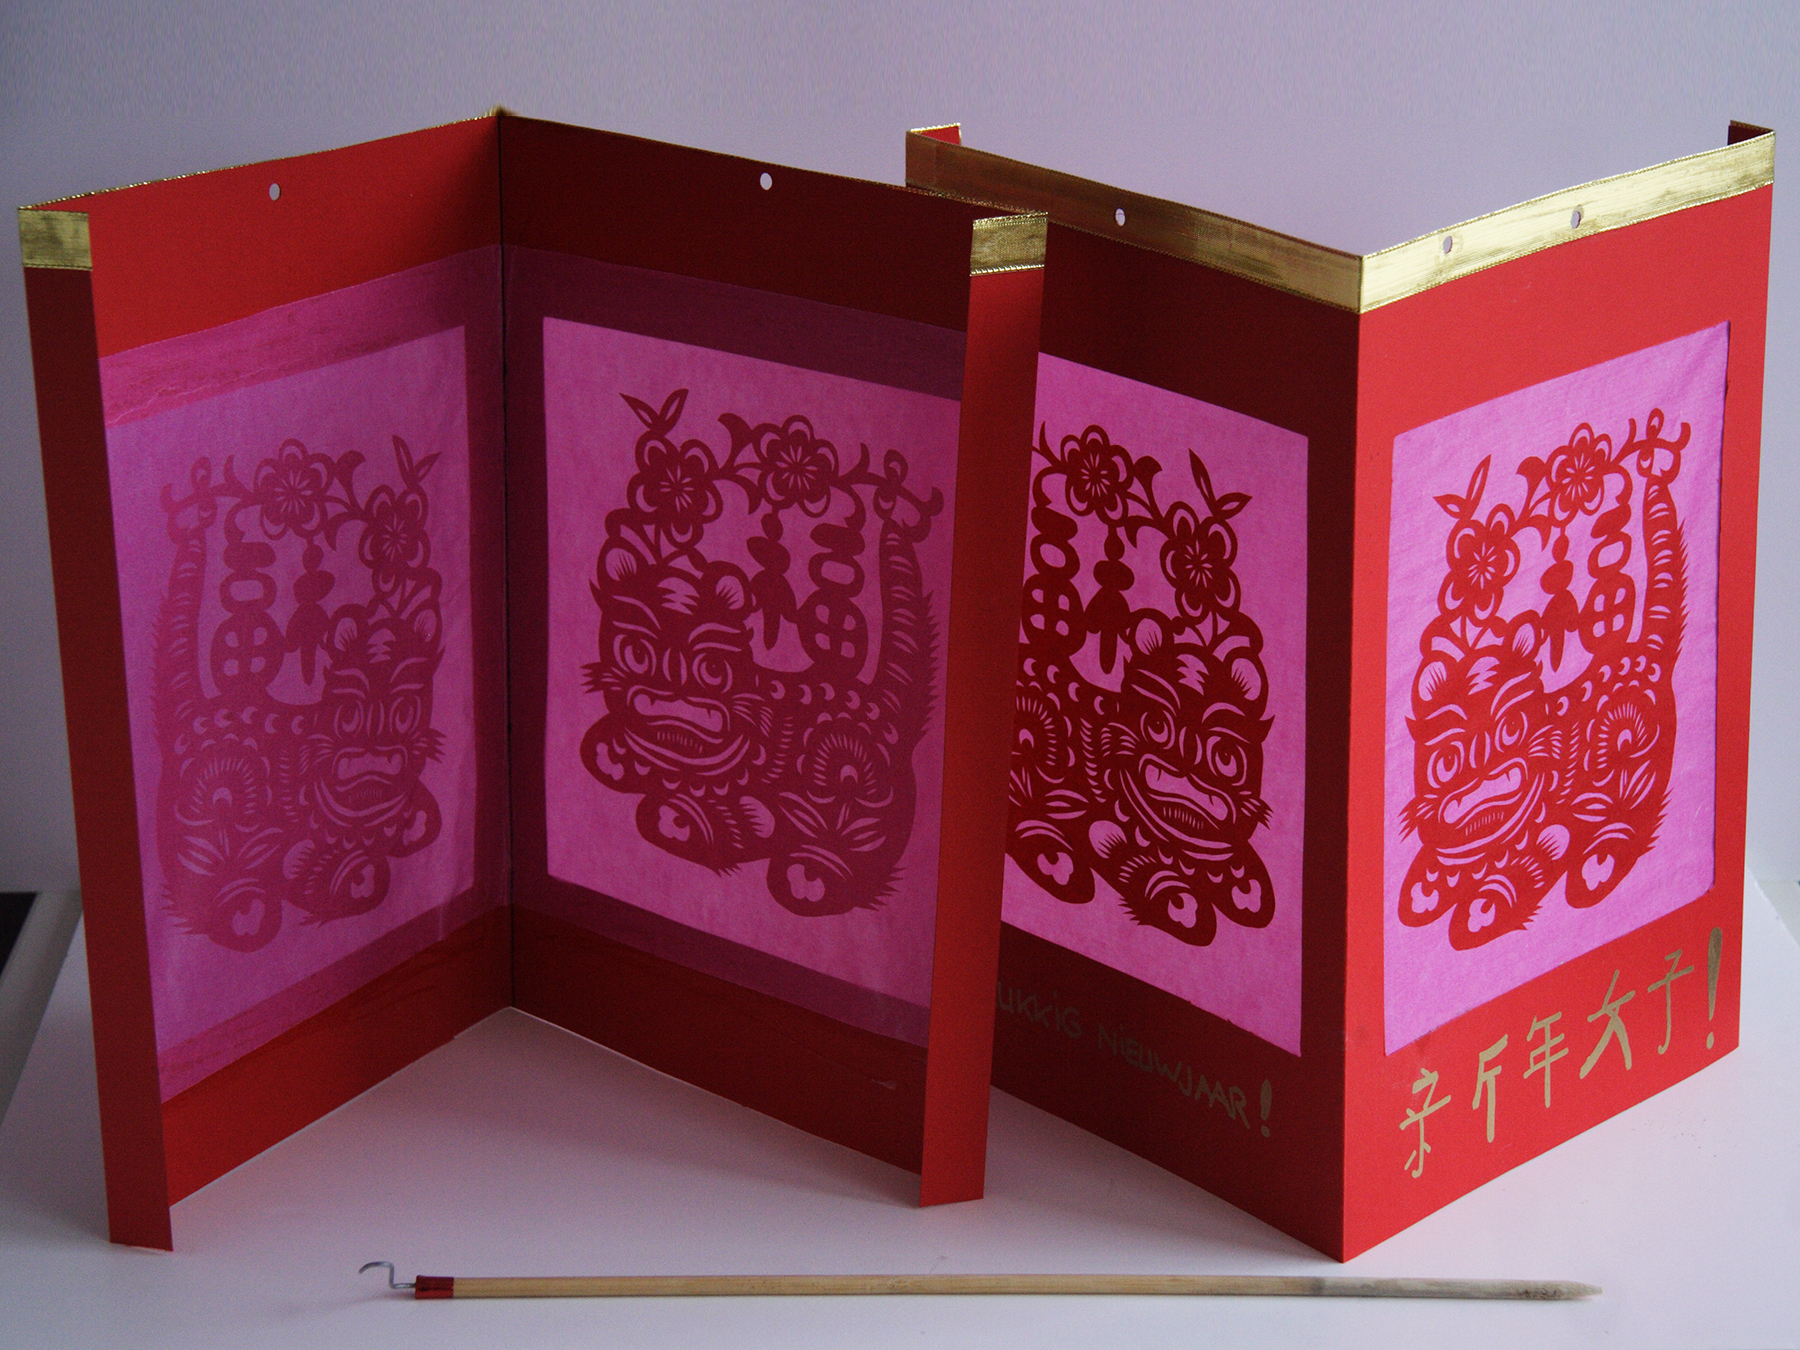
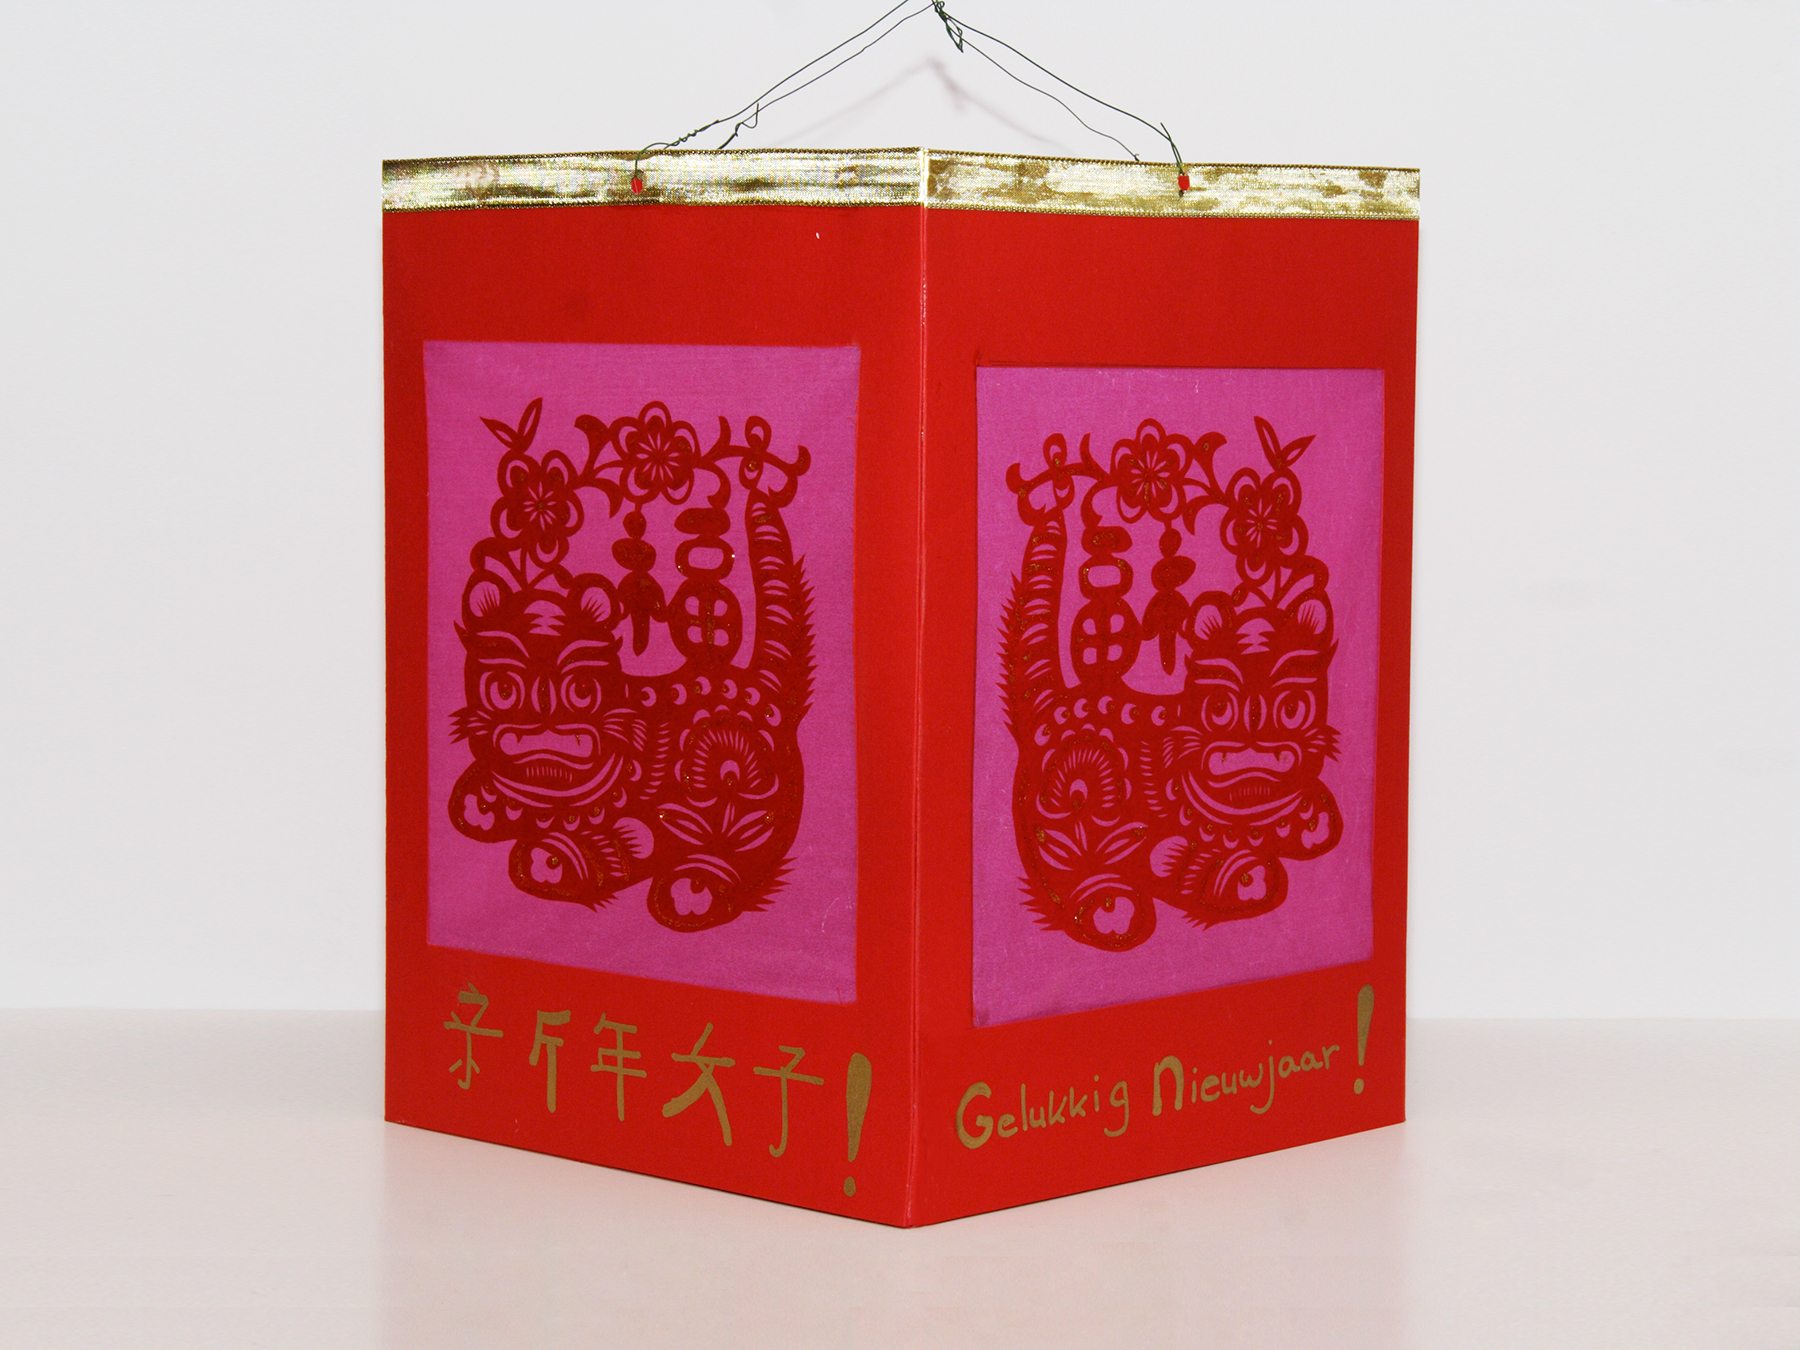
For Chinese New Year we make a big lantern. We found these beautiful red paper cuttings on the internet to stick on the 'windows'. You can also cut your own figures from red paper.
How to make the lantern
Start by making the four sides of the lantern, in two loose parts of 60x35 cm. In this measurement are two strips of 2 cm each included at the edges (download the template).
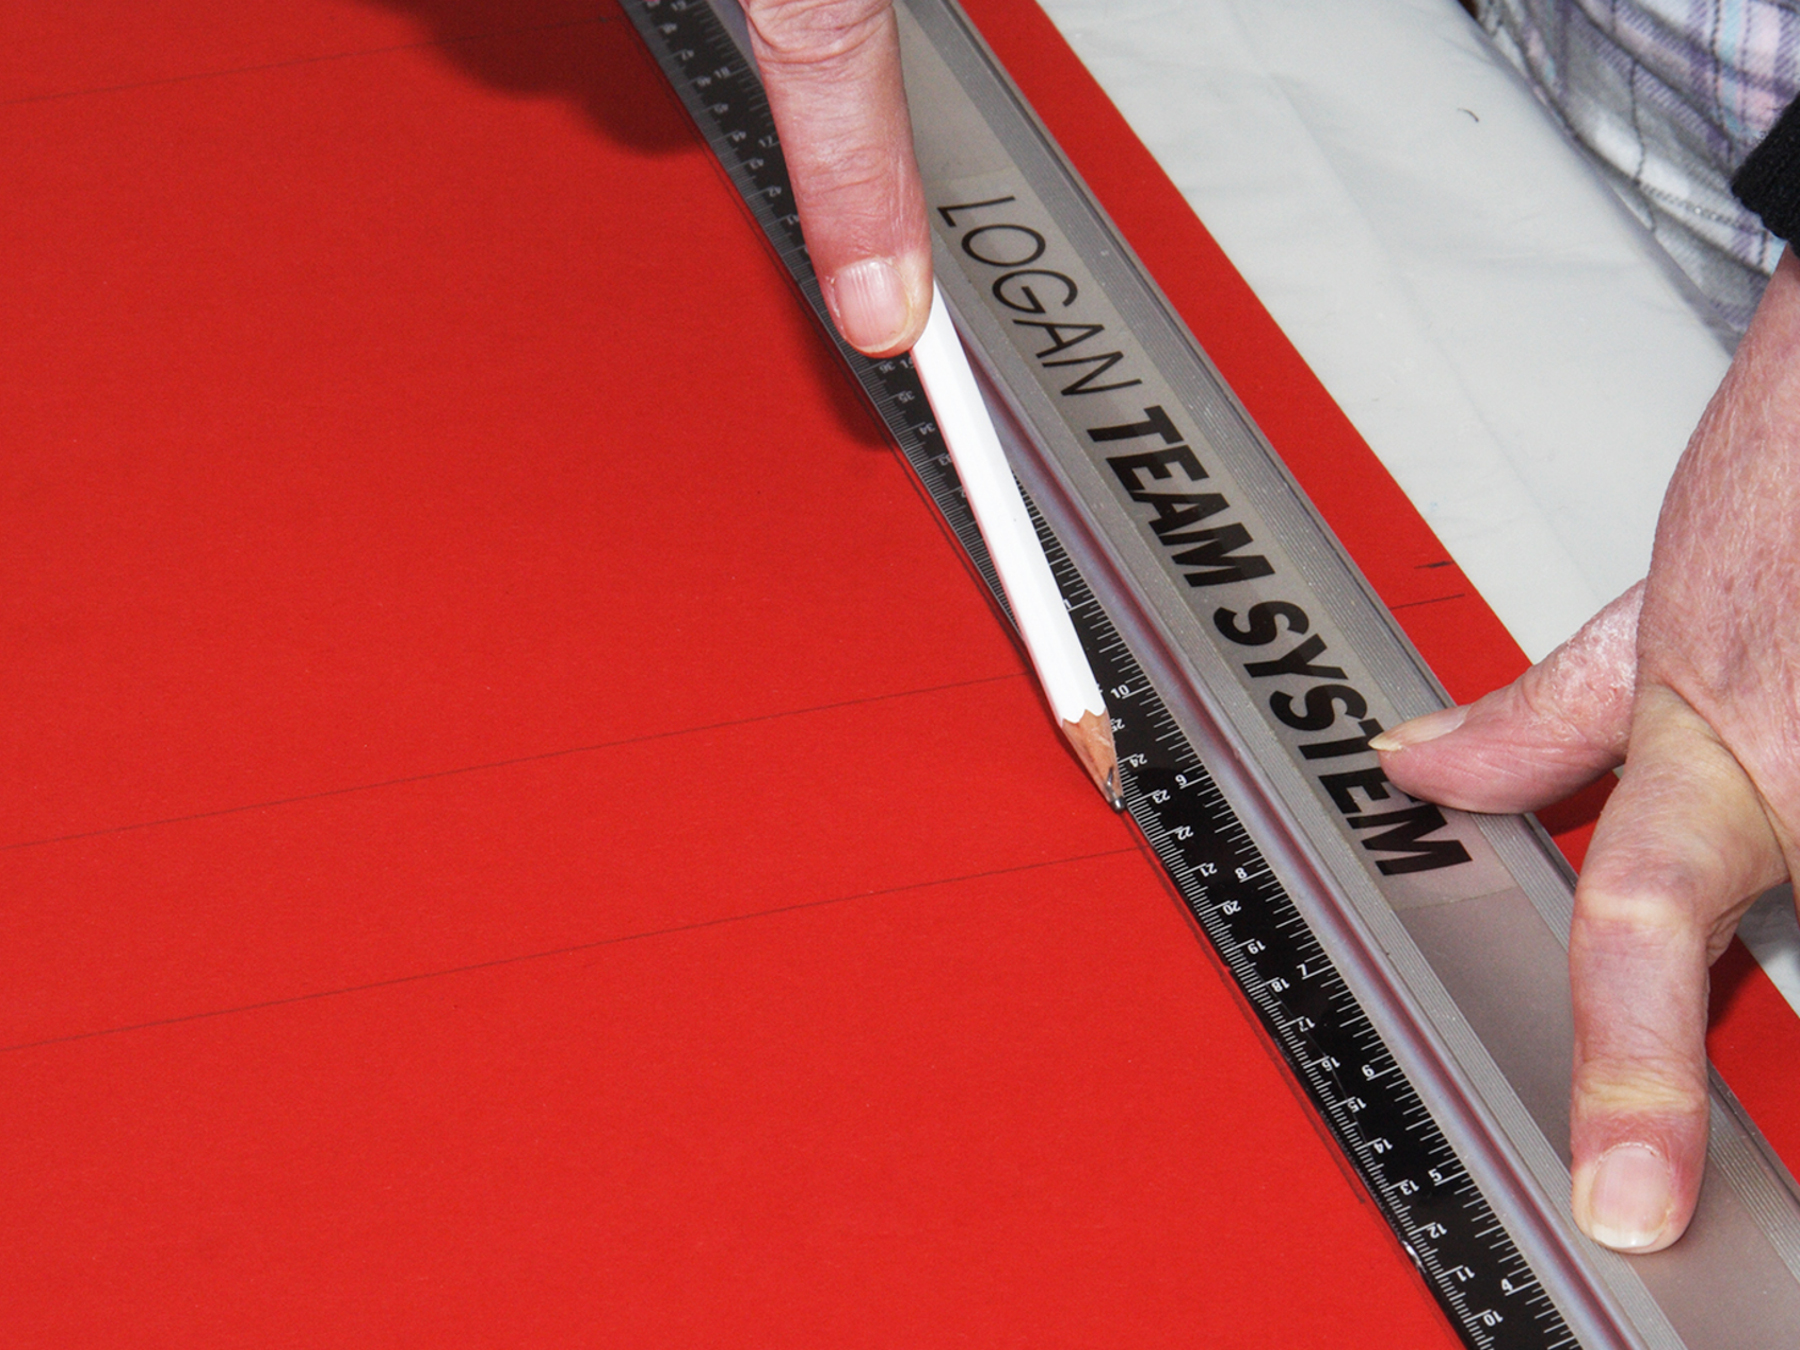

Draw on each cardboard sheet 1 rectangle of 60x35 cm.
Draw in each rectangle two rectangles of 25x40 cm.
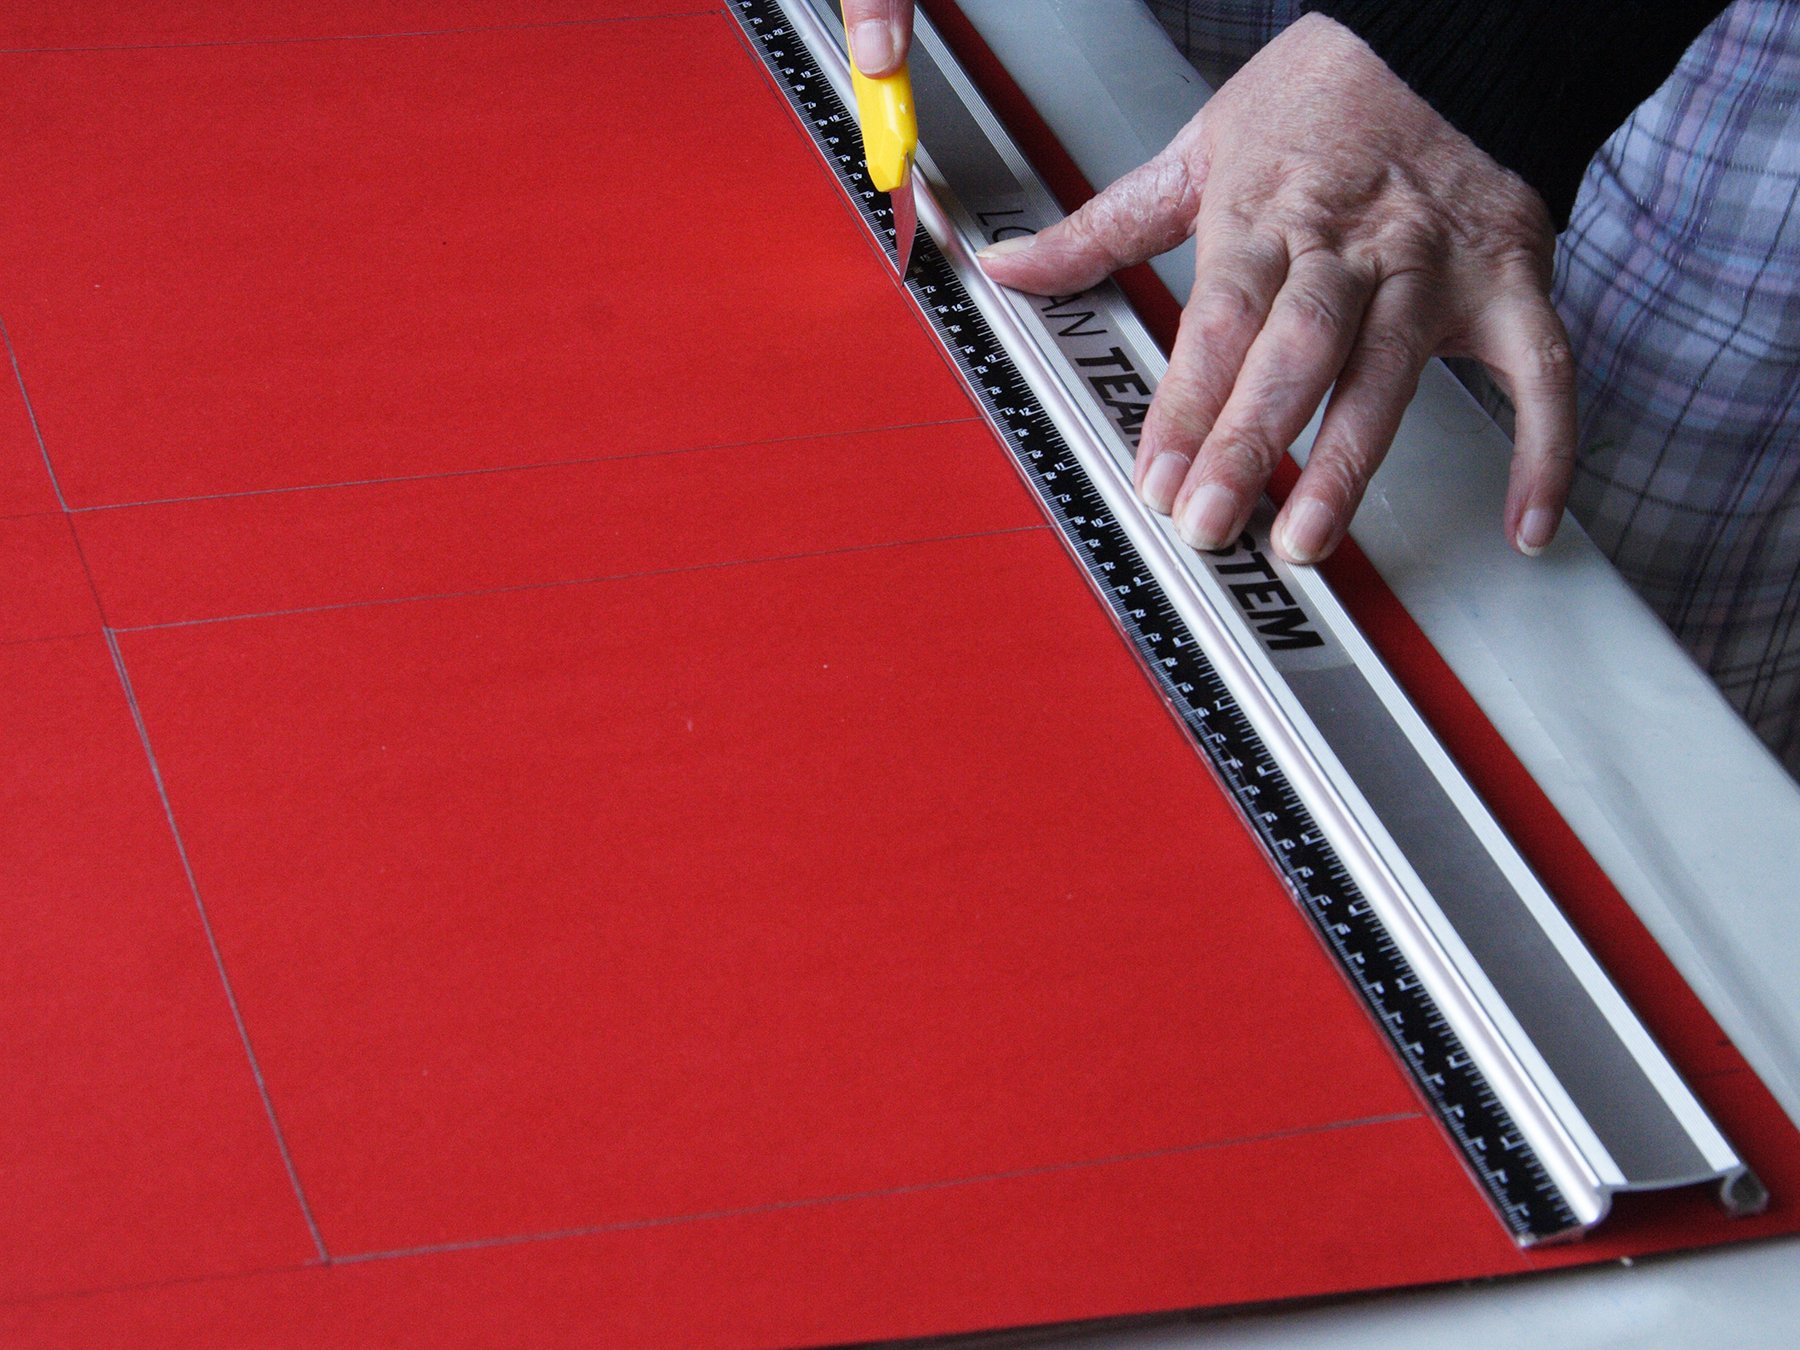
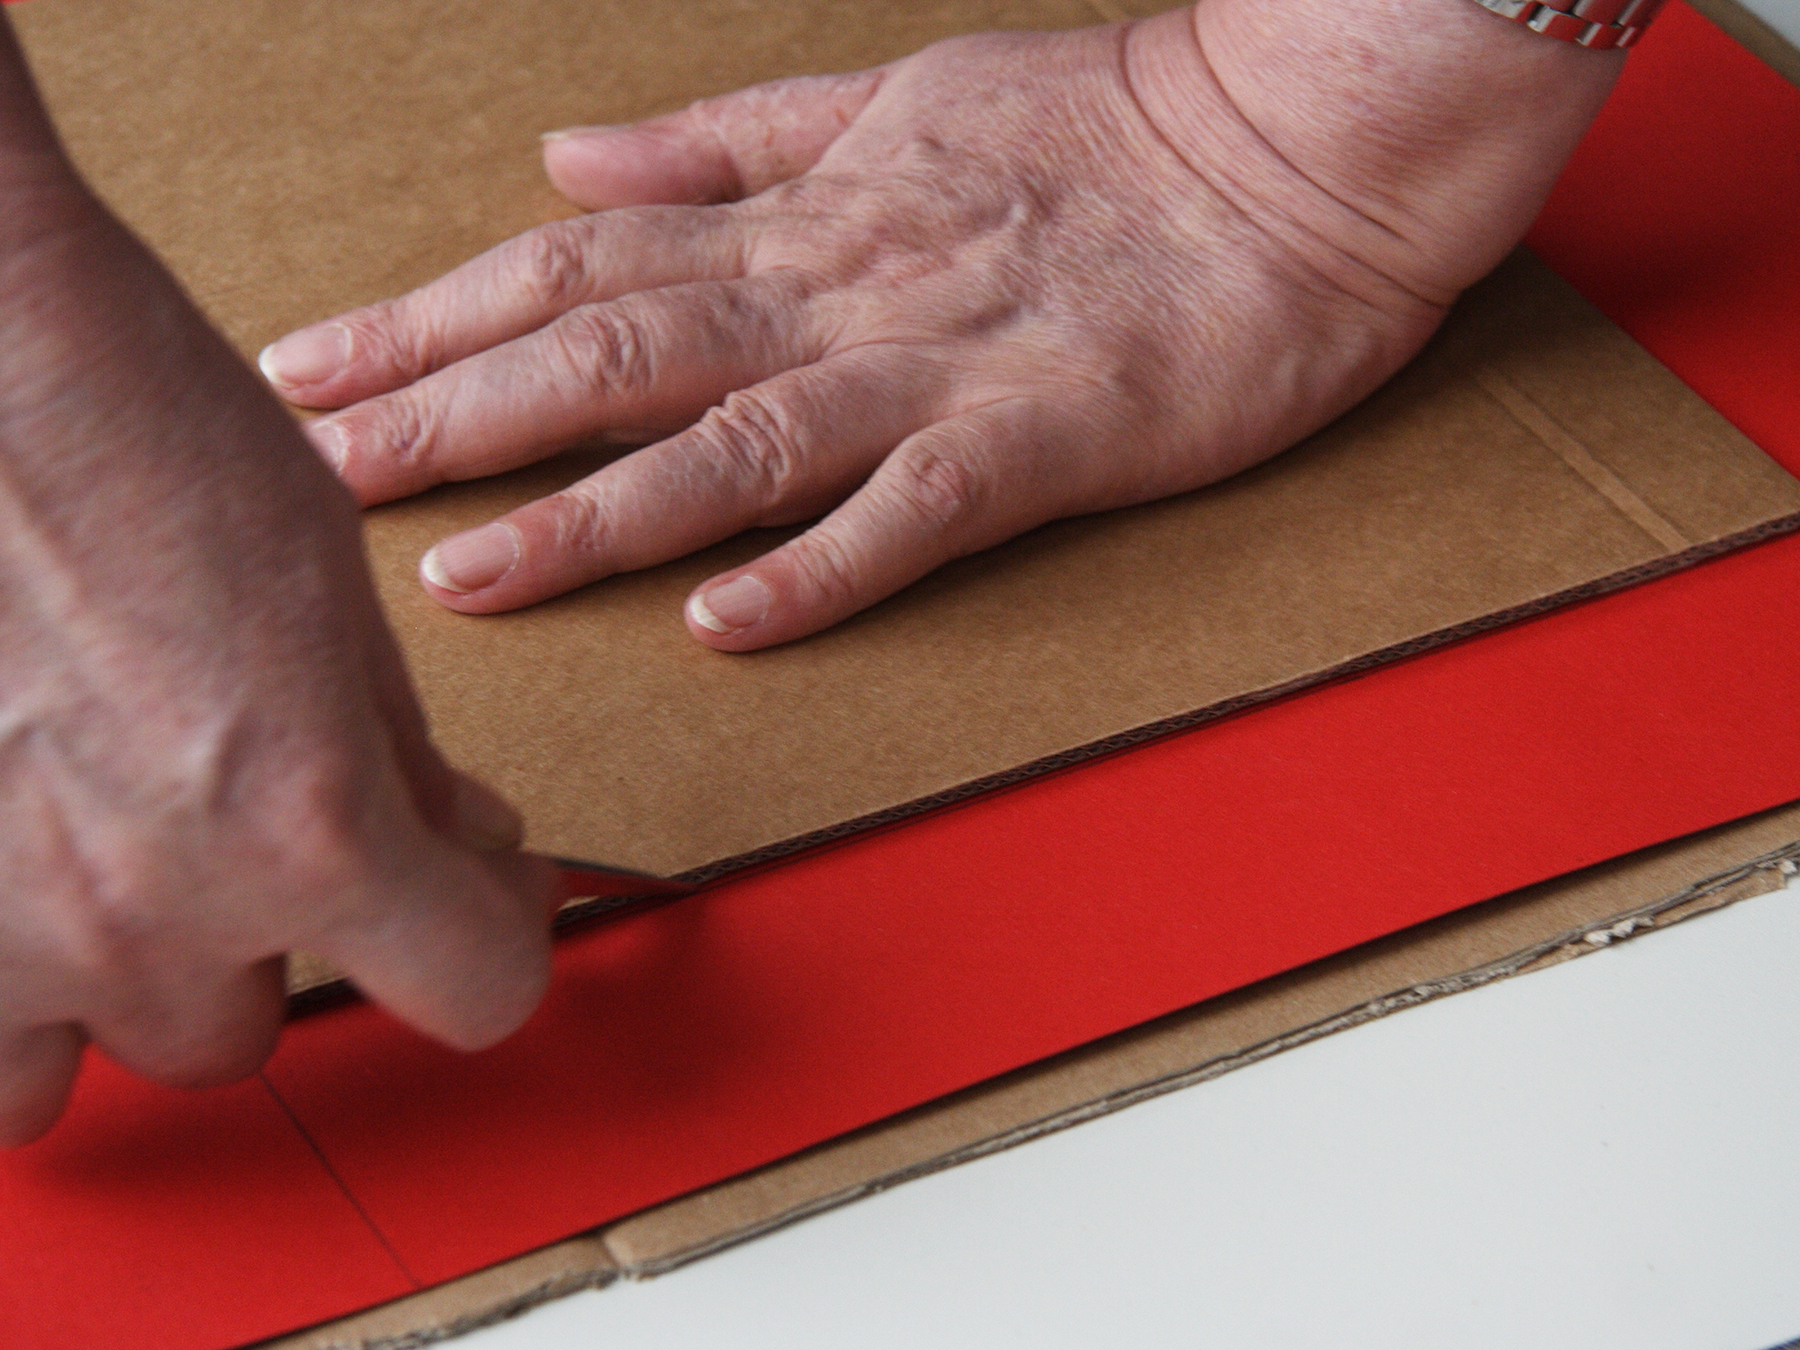
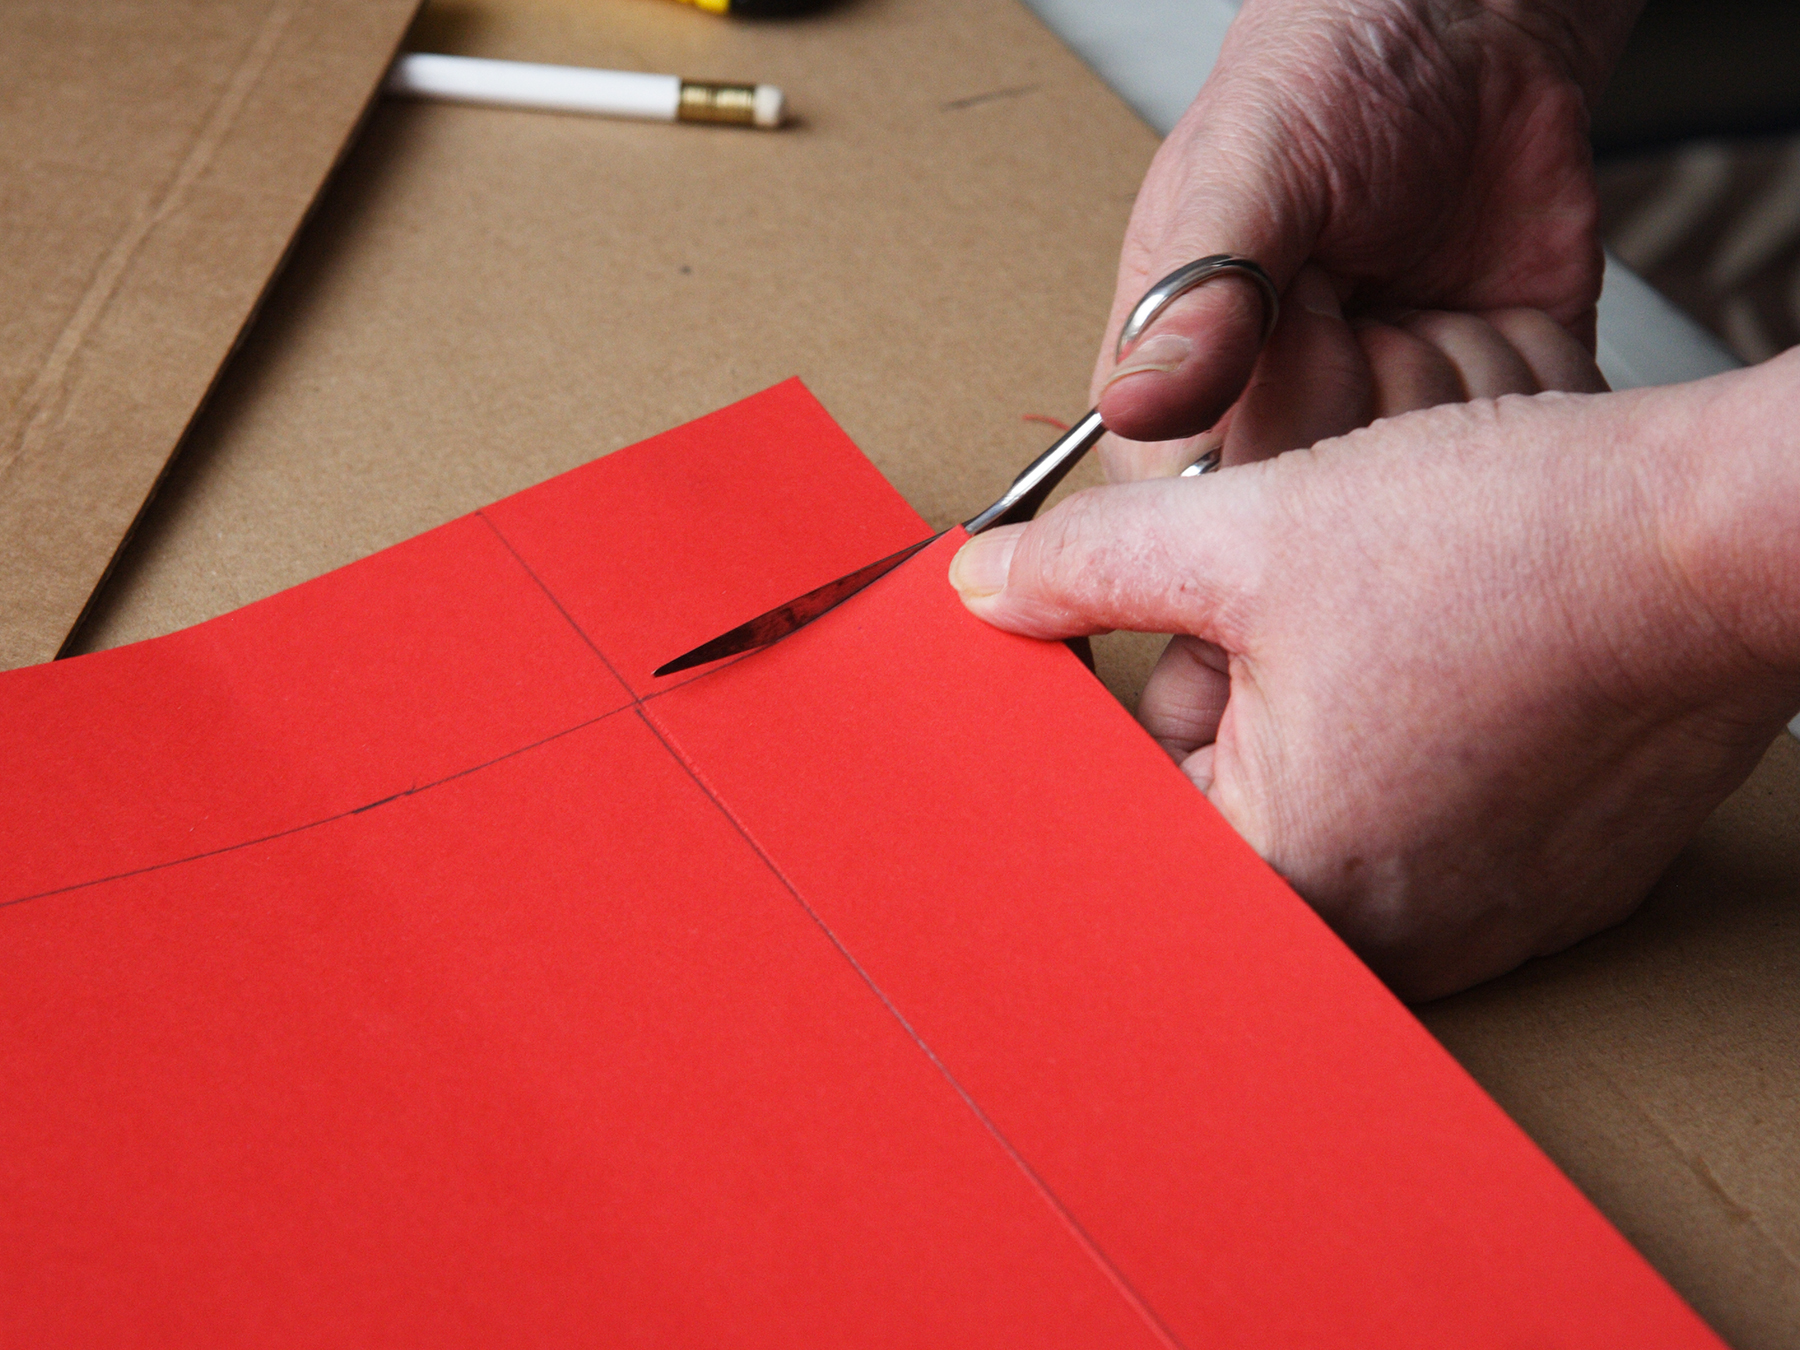
Cut out the inner rectangles from the cardboard.
Cut the large rectangle from the cardboard.
Repeat exactly the same with the second sheet of red cardboard.
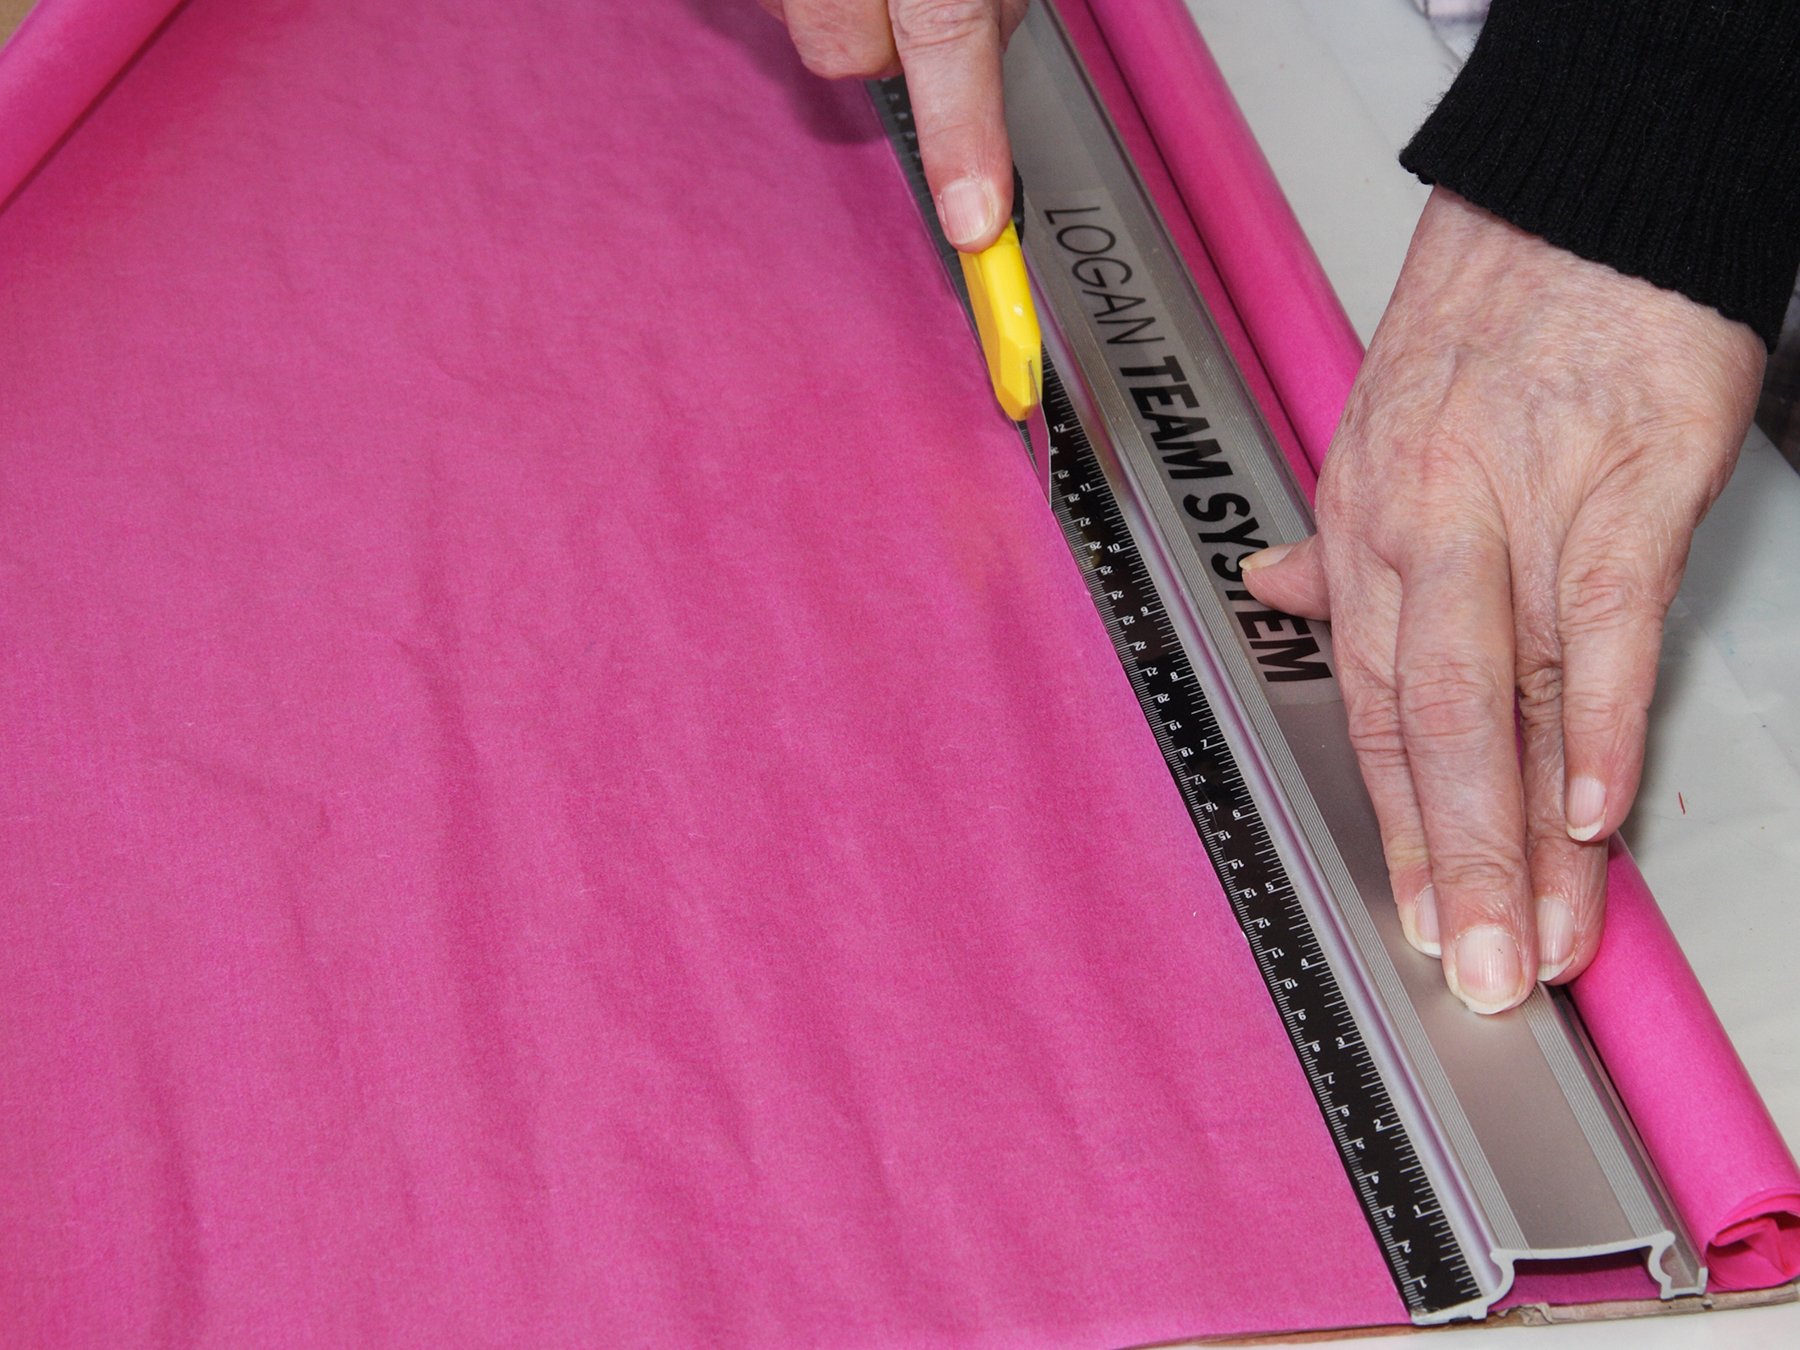
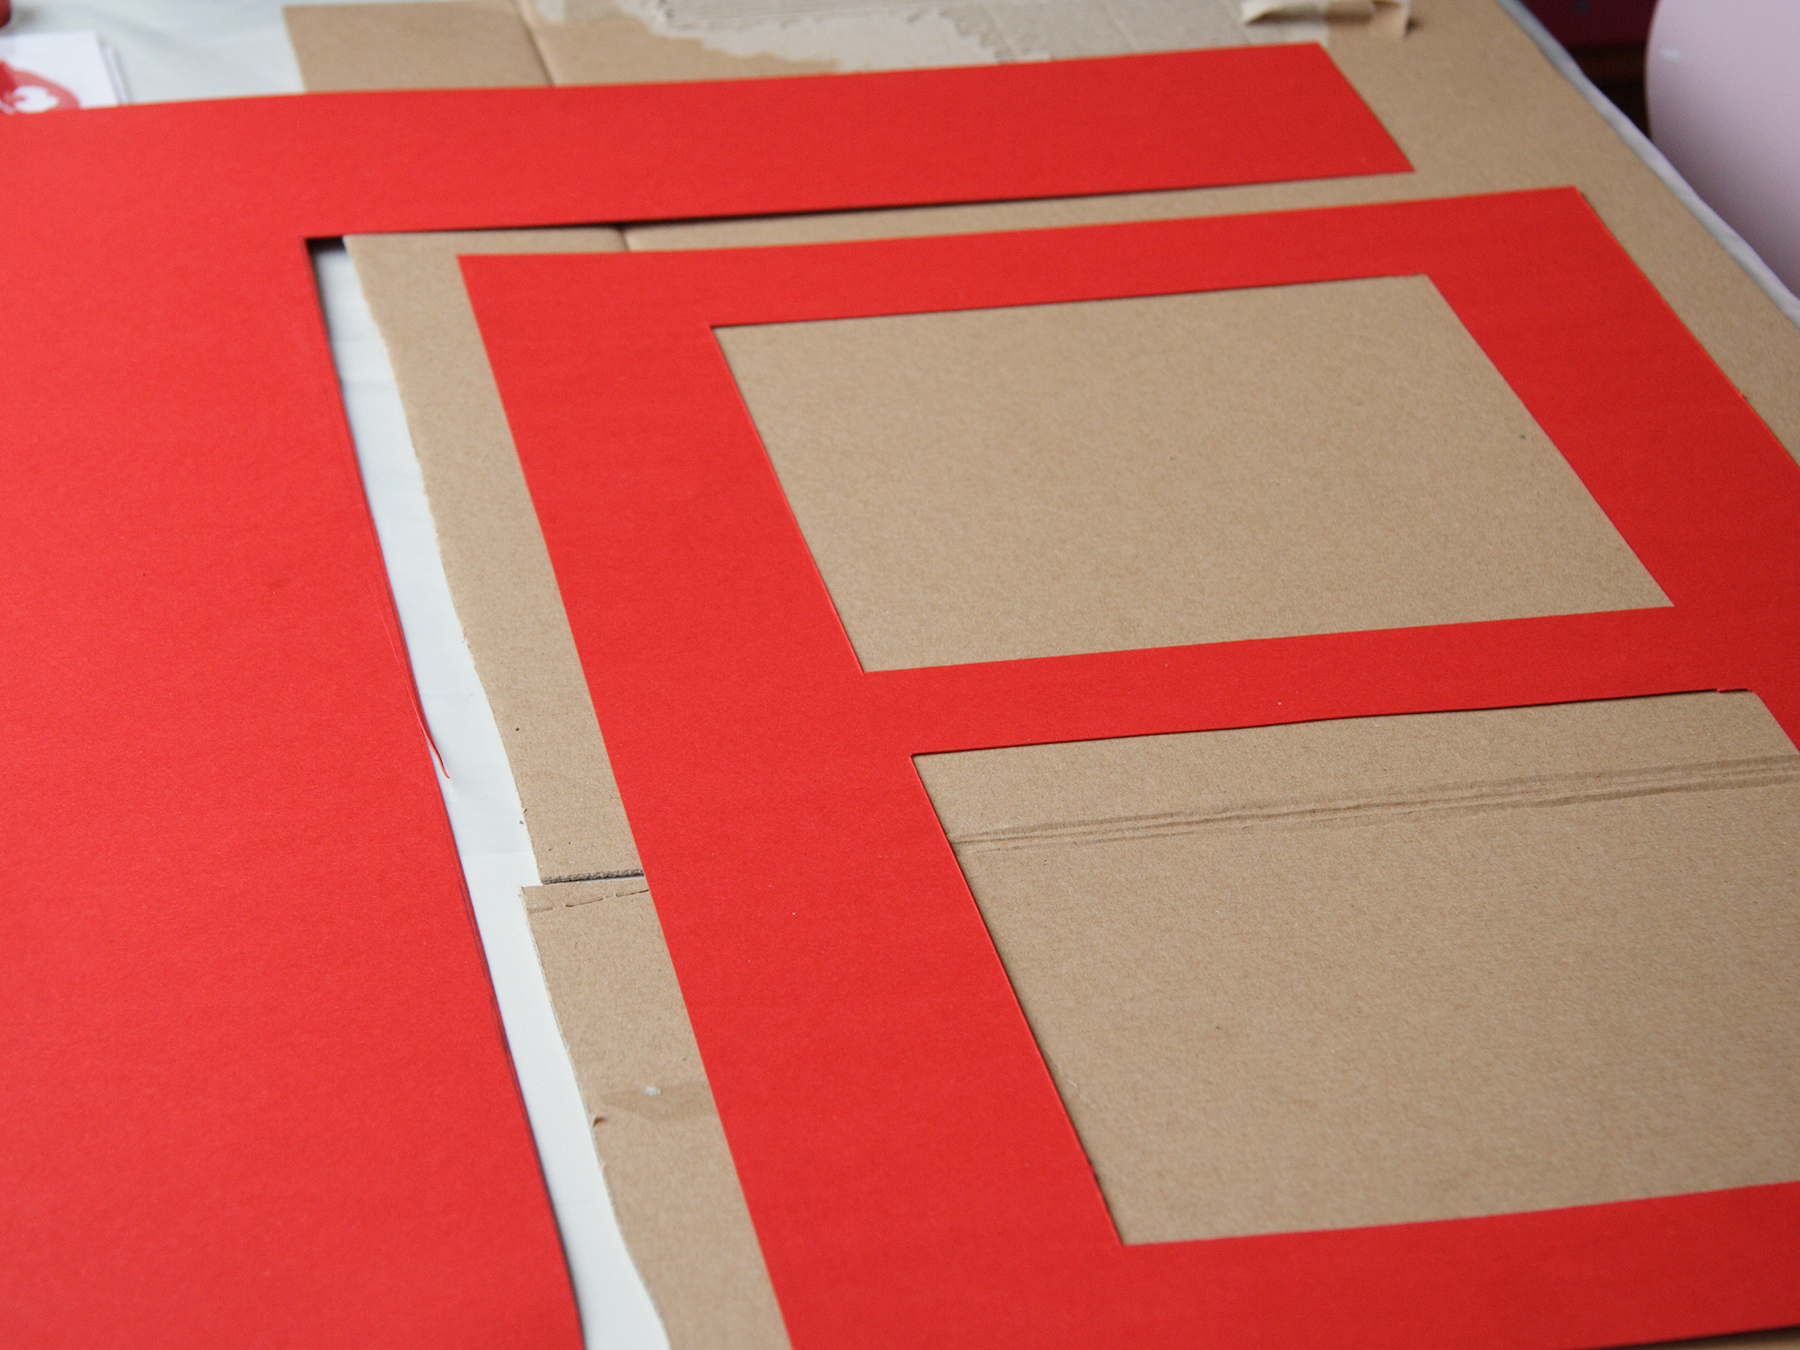
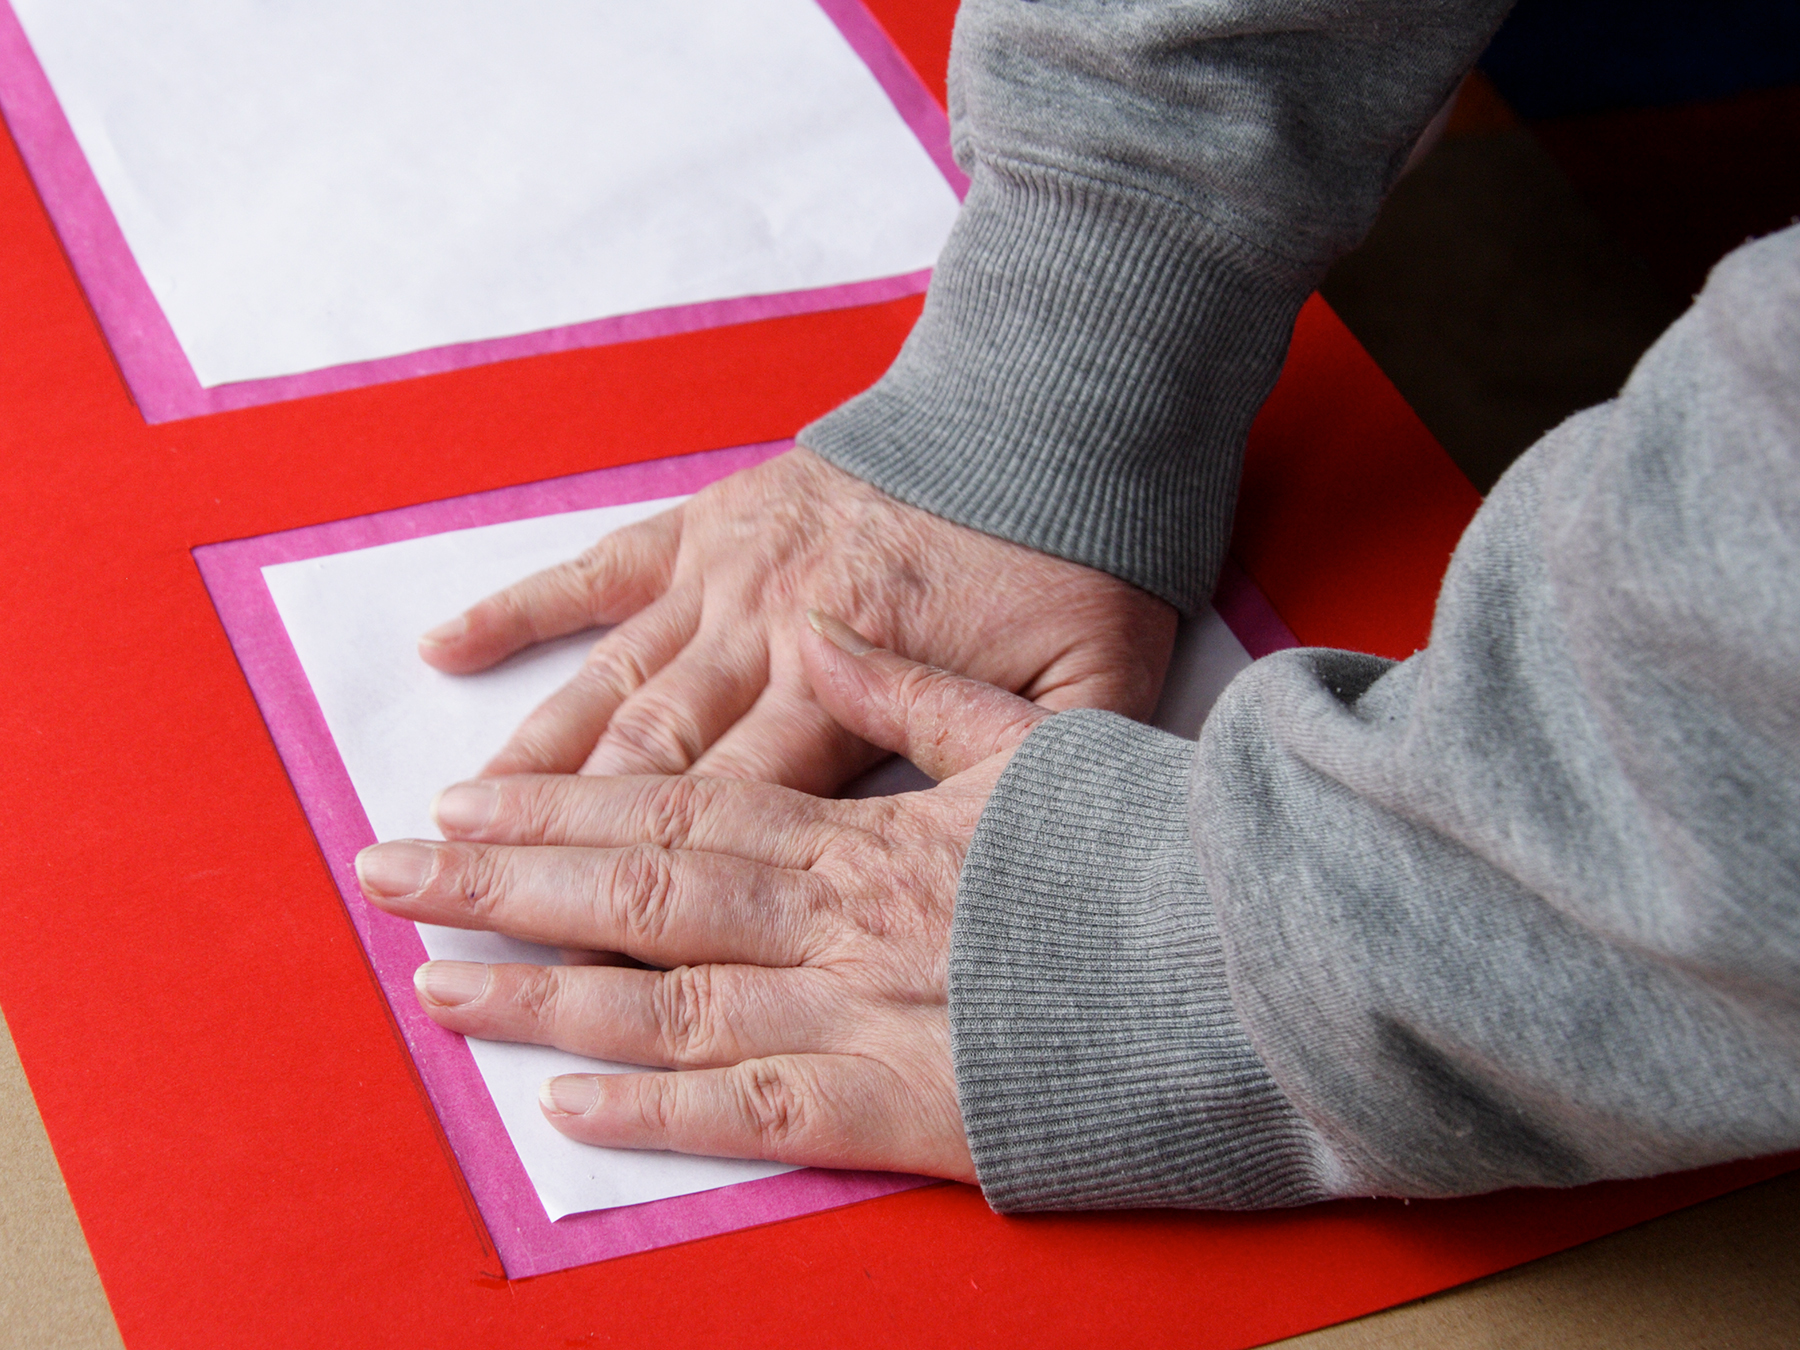
Cut out 2 rectangles from kite paper of 50x36 cm.
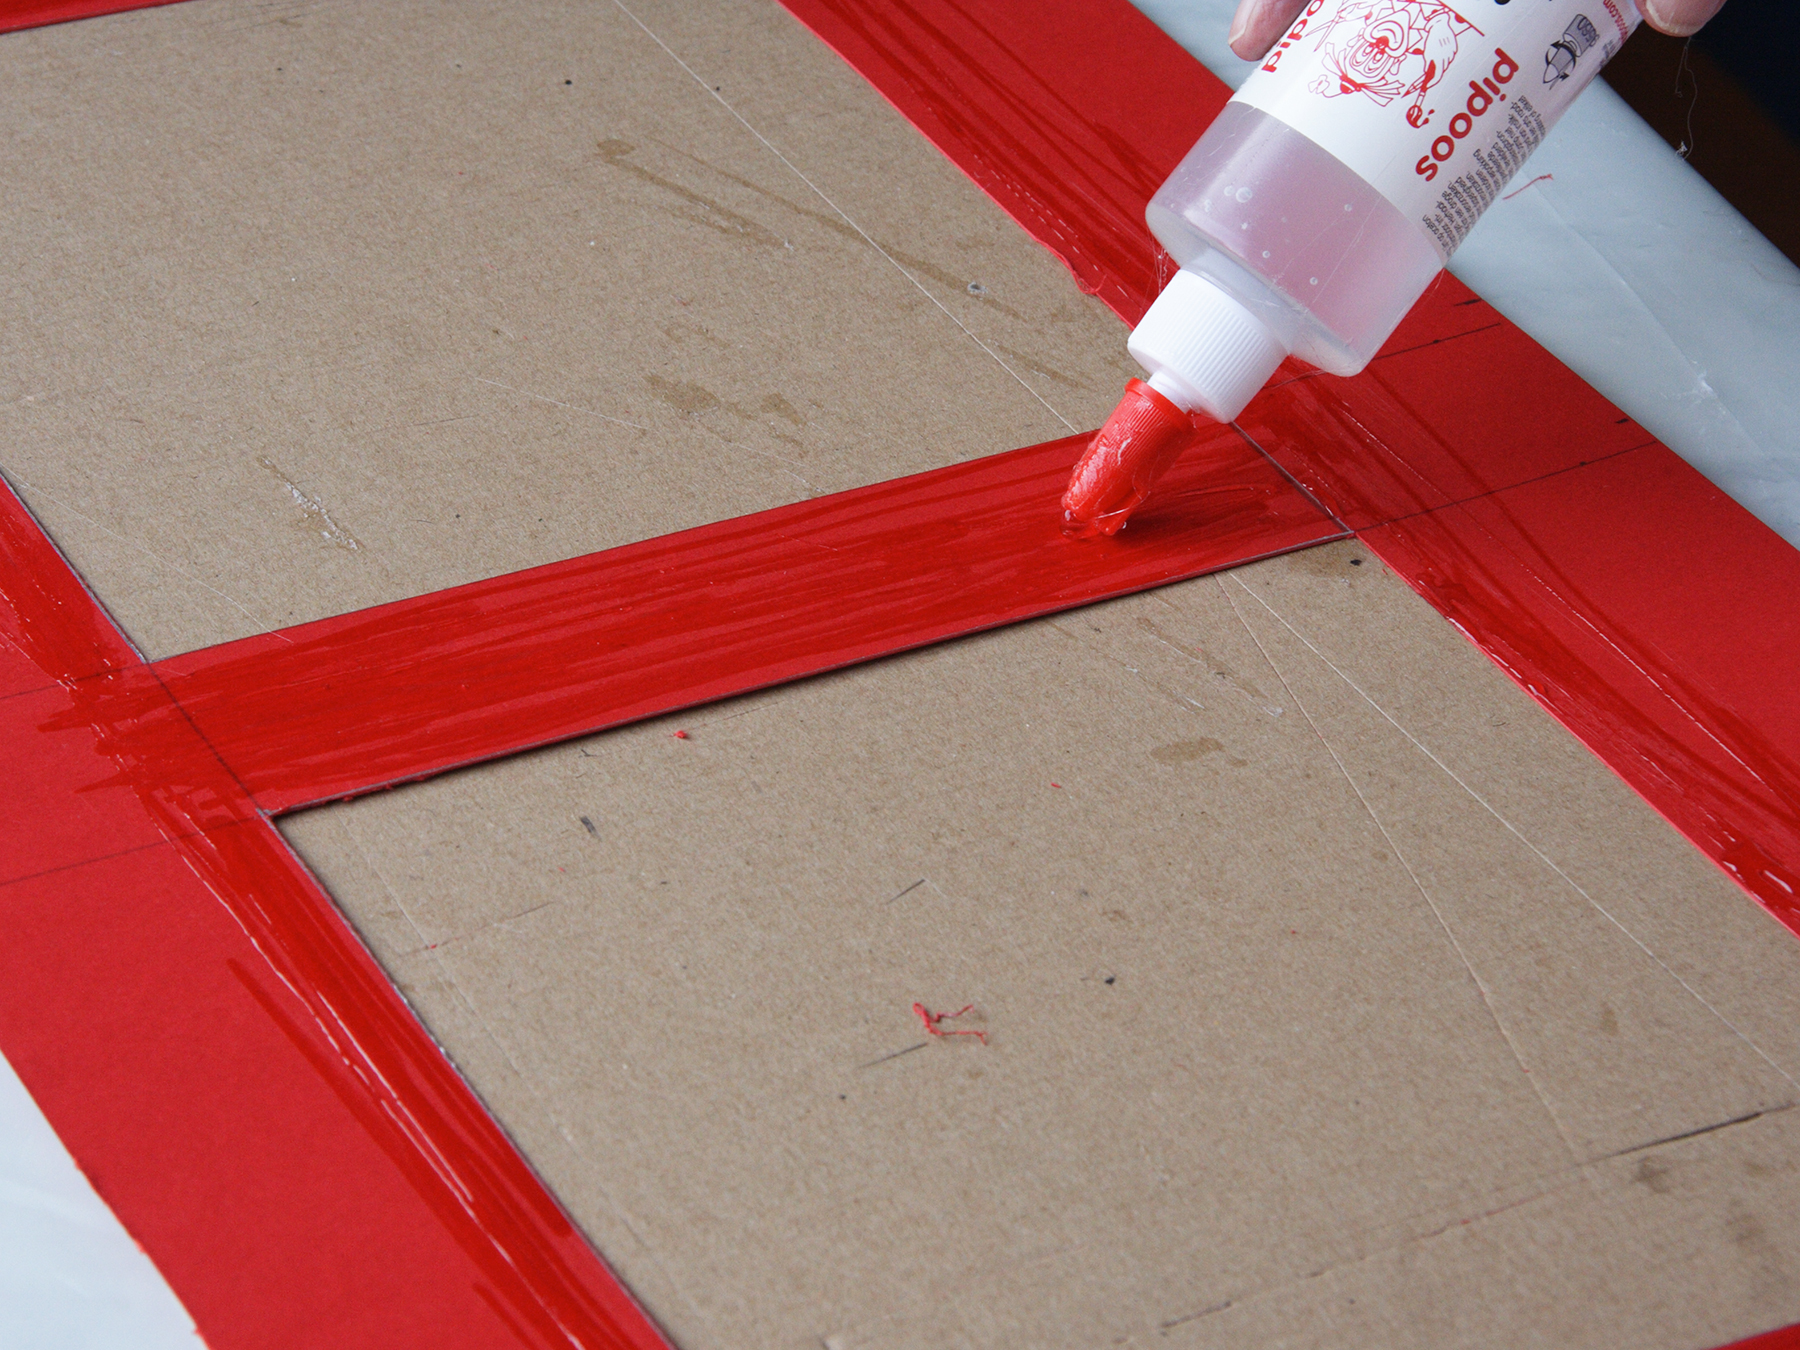
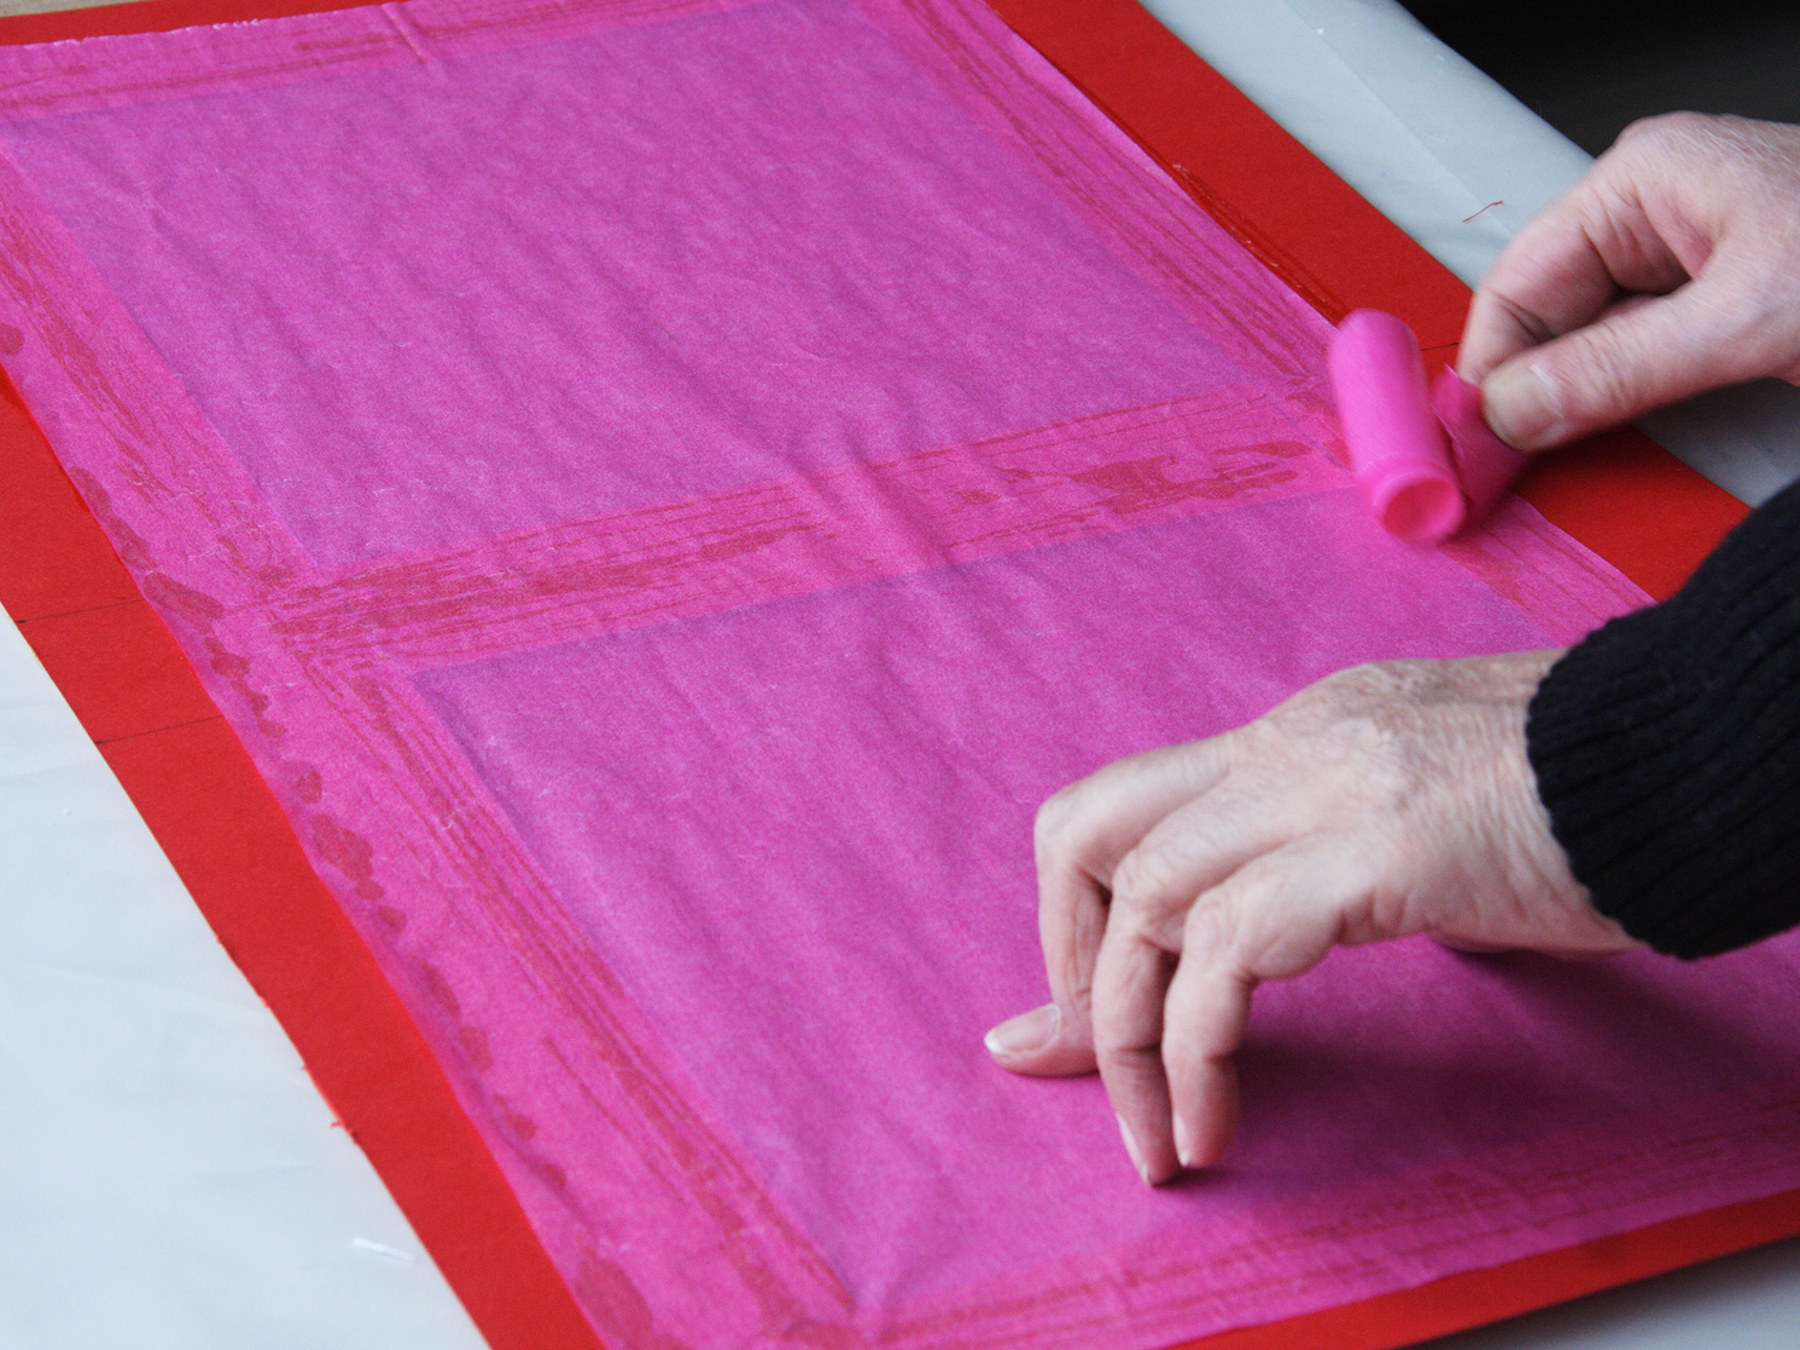
Spread glue on not drawn on side of the cardboard.
Stick the two rectangles of kite paper on the cardboard.
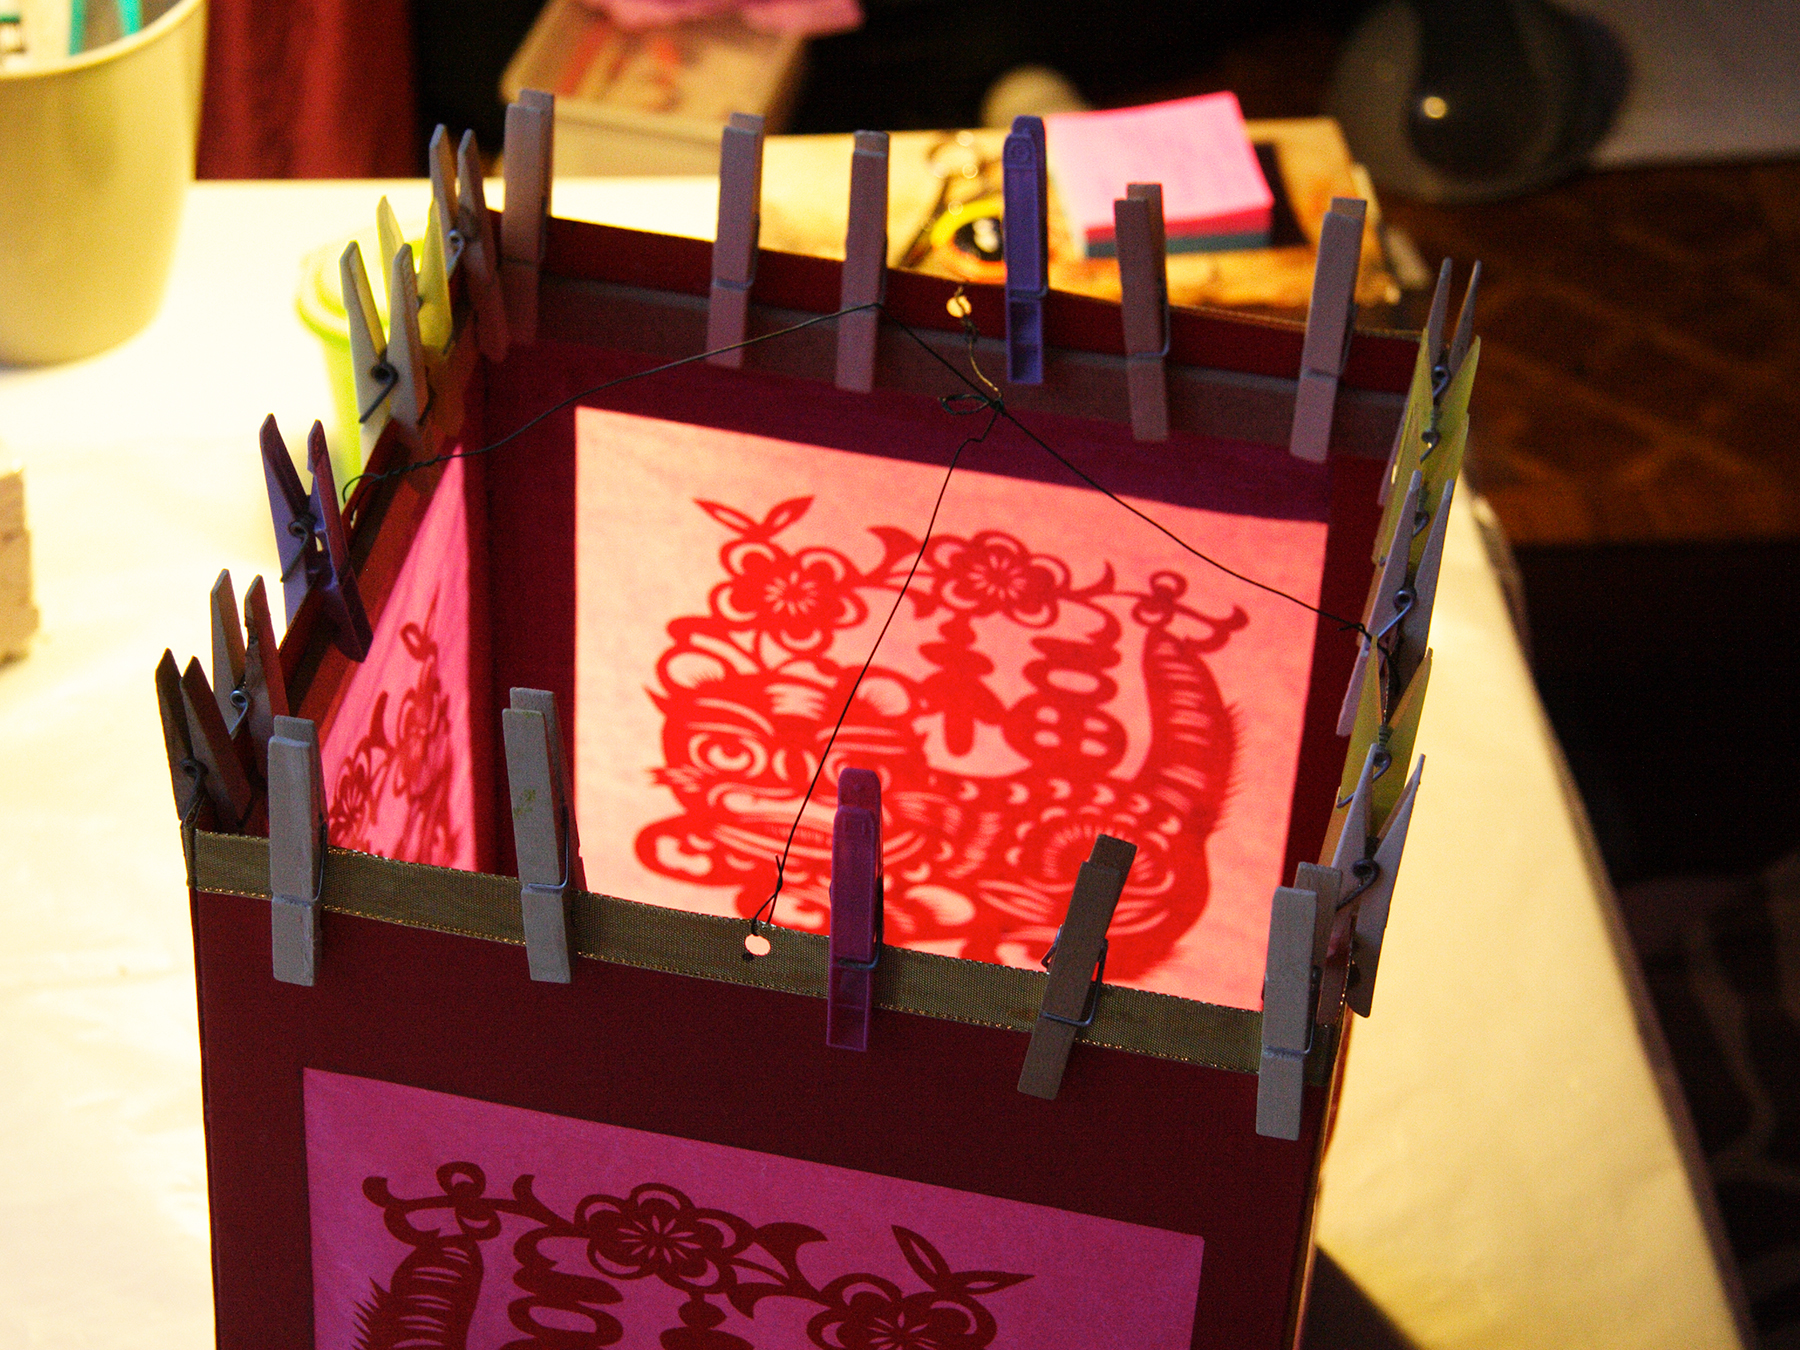
Attach the cuttings
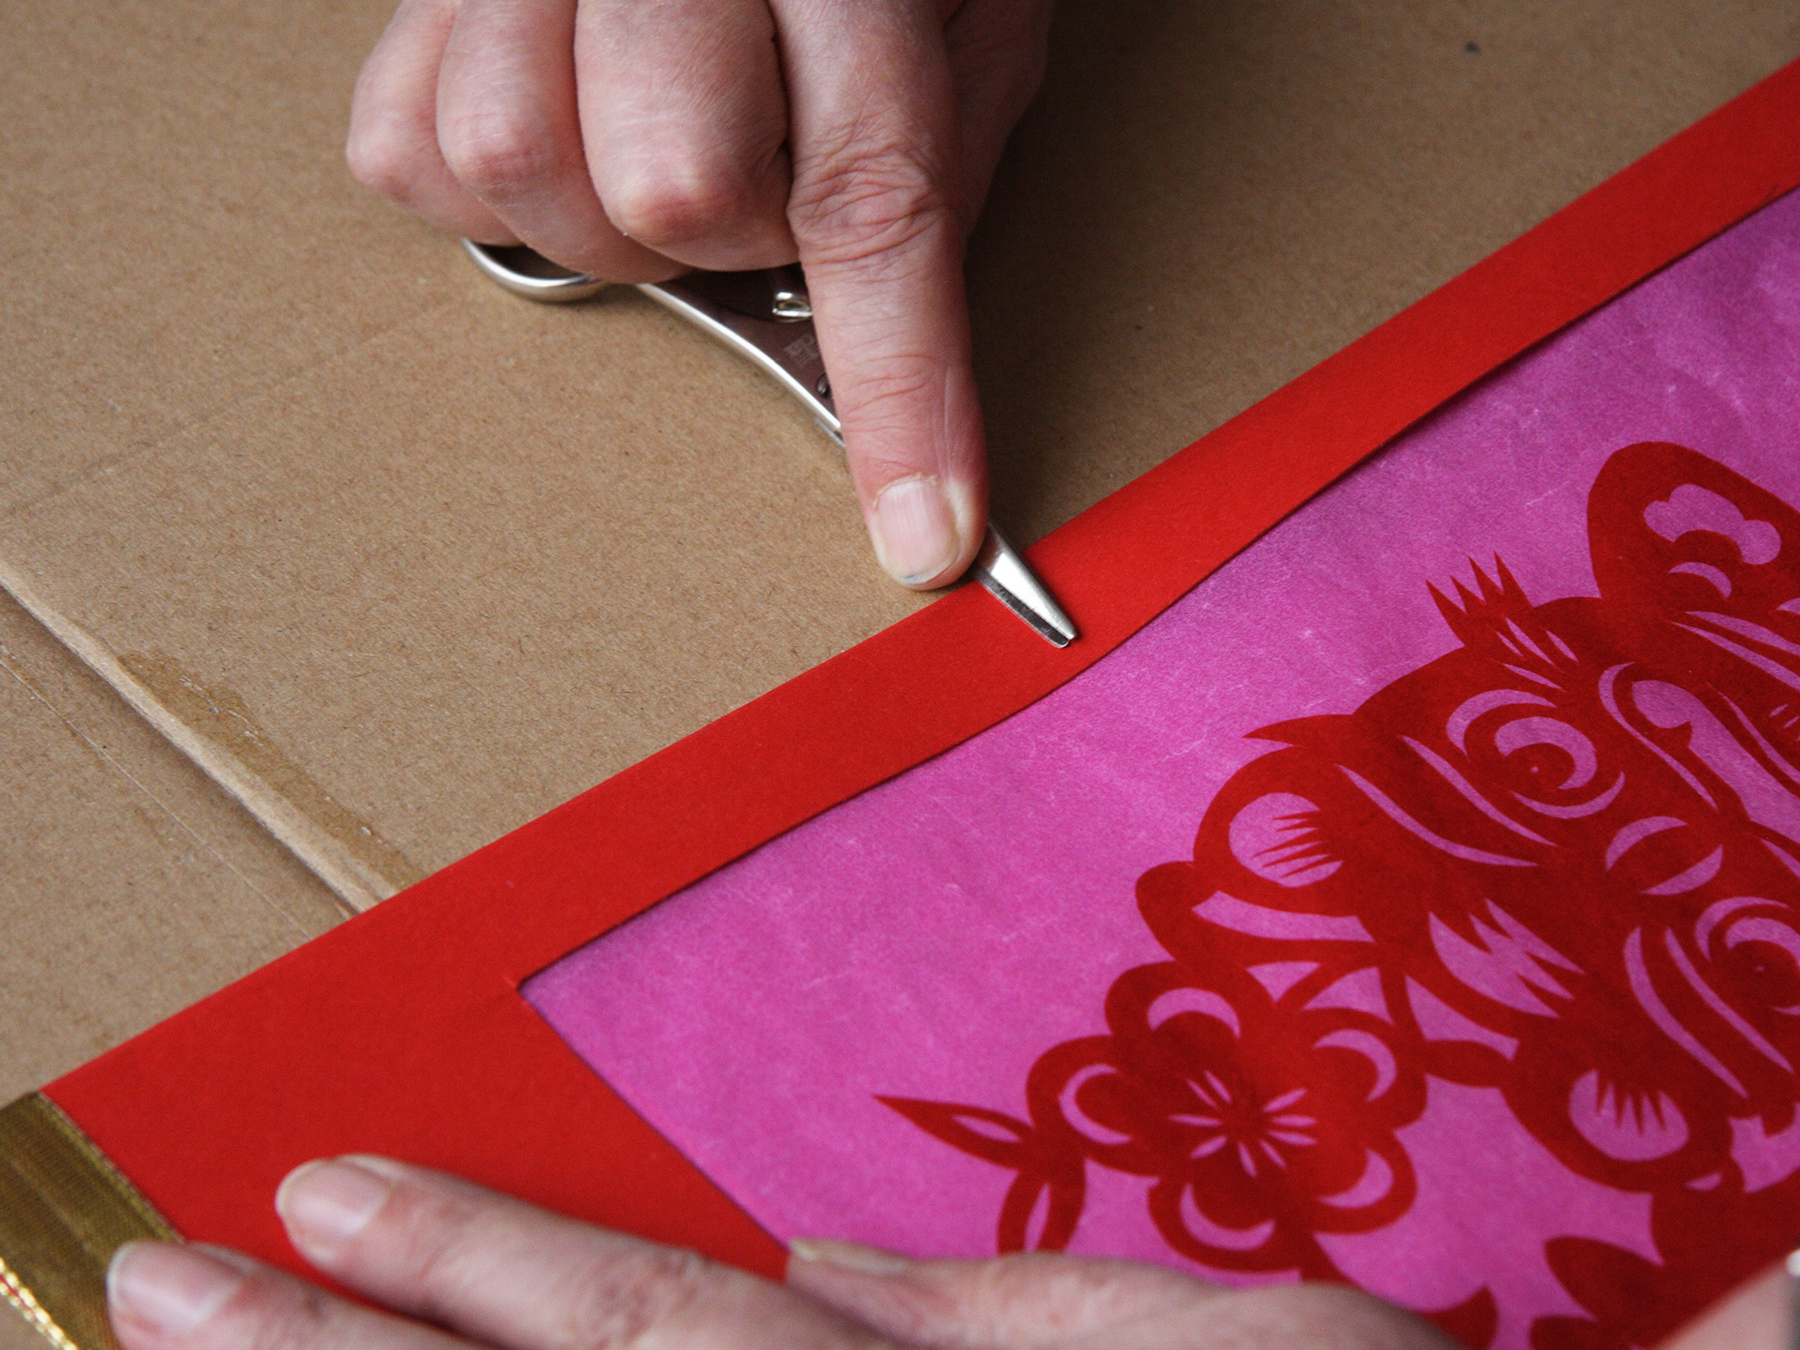
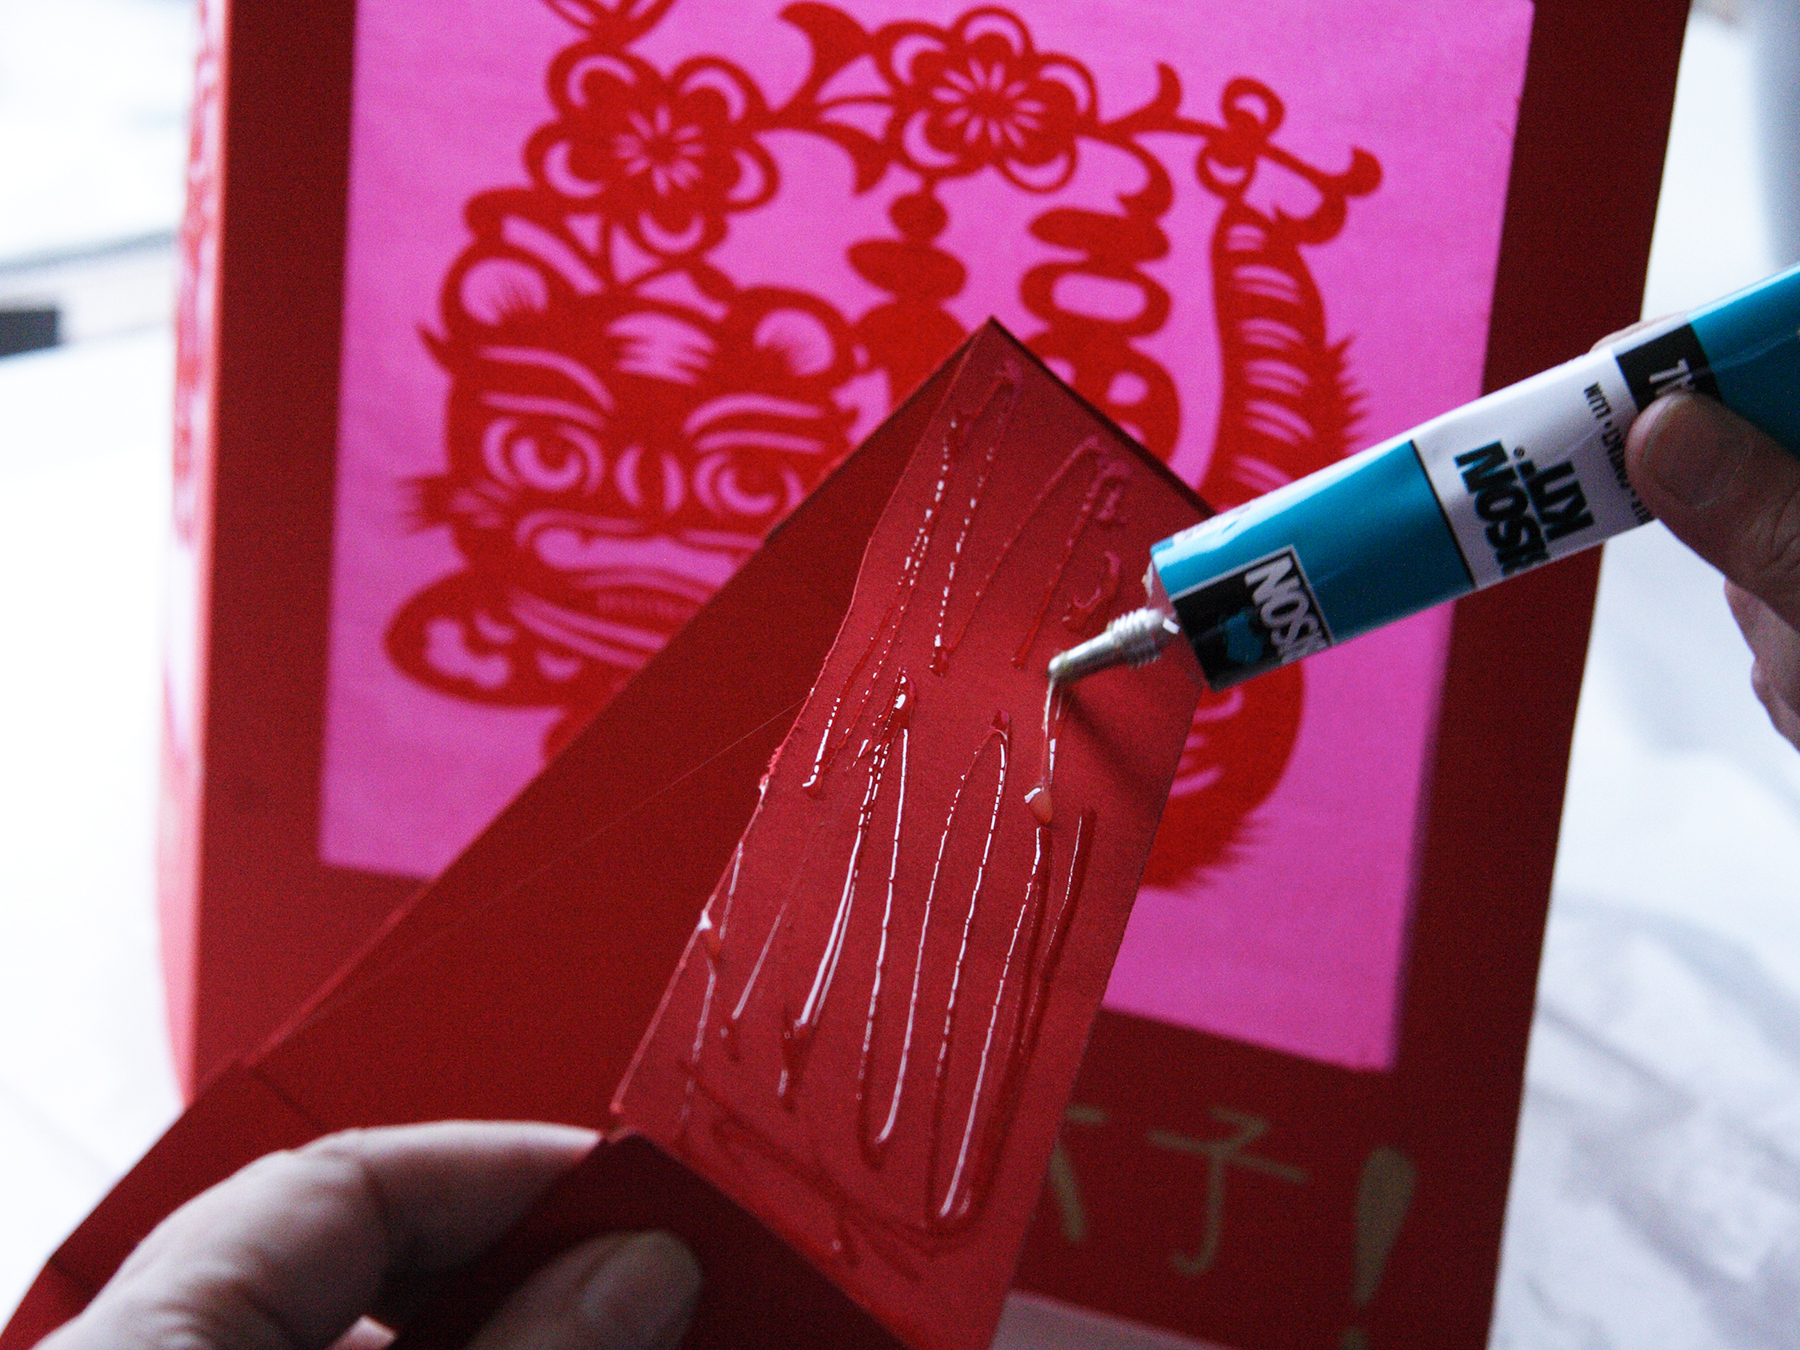
Allow the glue to dry well then flip the 2 cardboards over. Glue the cuttings on the 'windows' using a glue spray. The papercuts are fragile, they lay on a thin white sheet, use that when glueing.
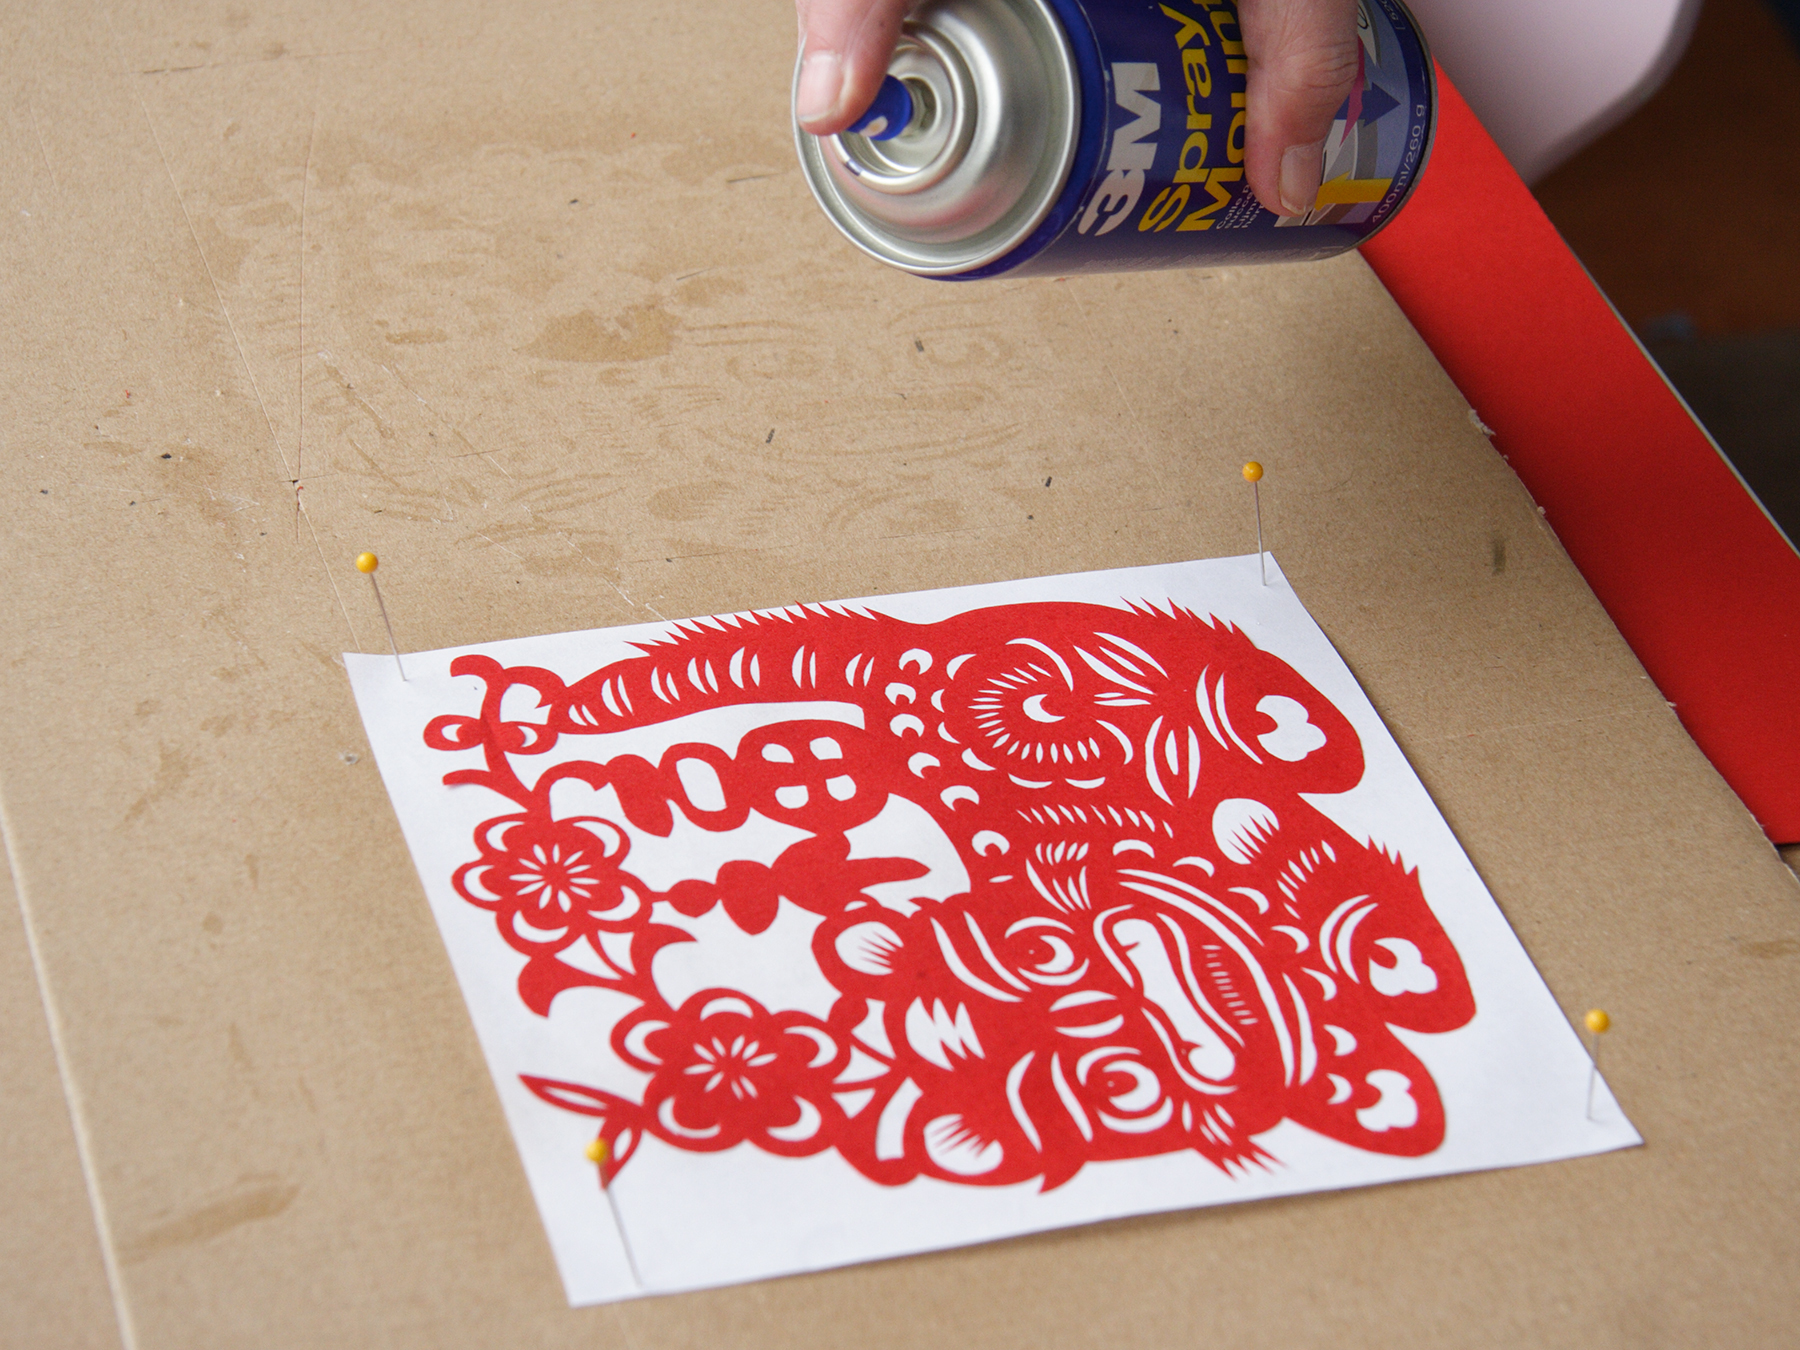
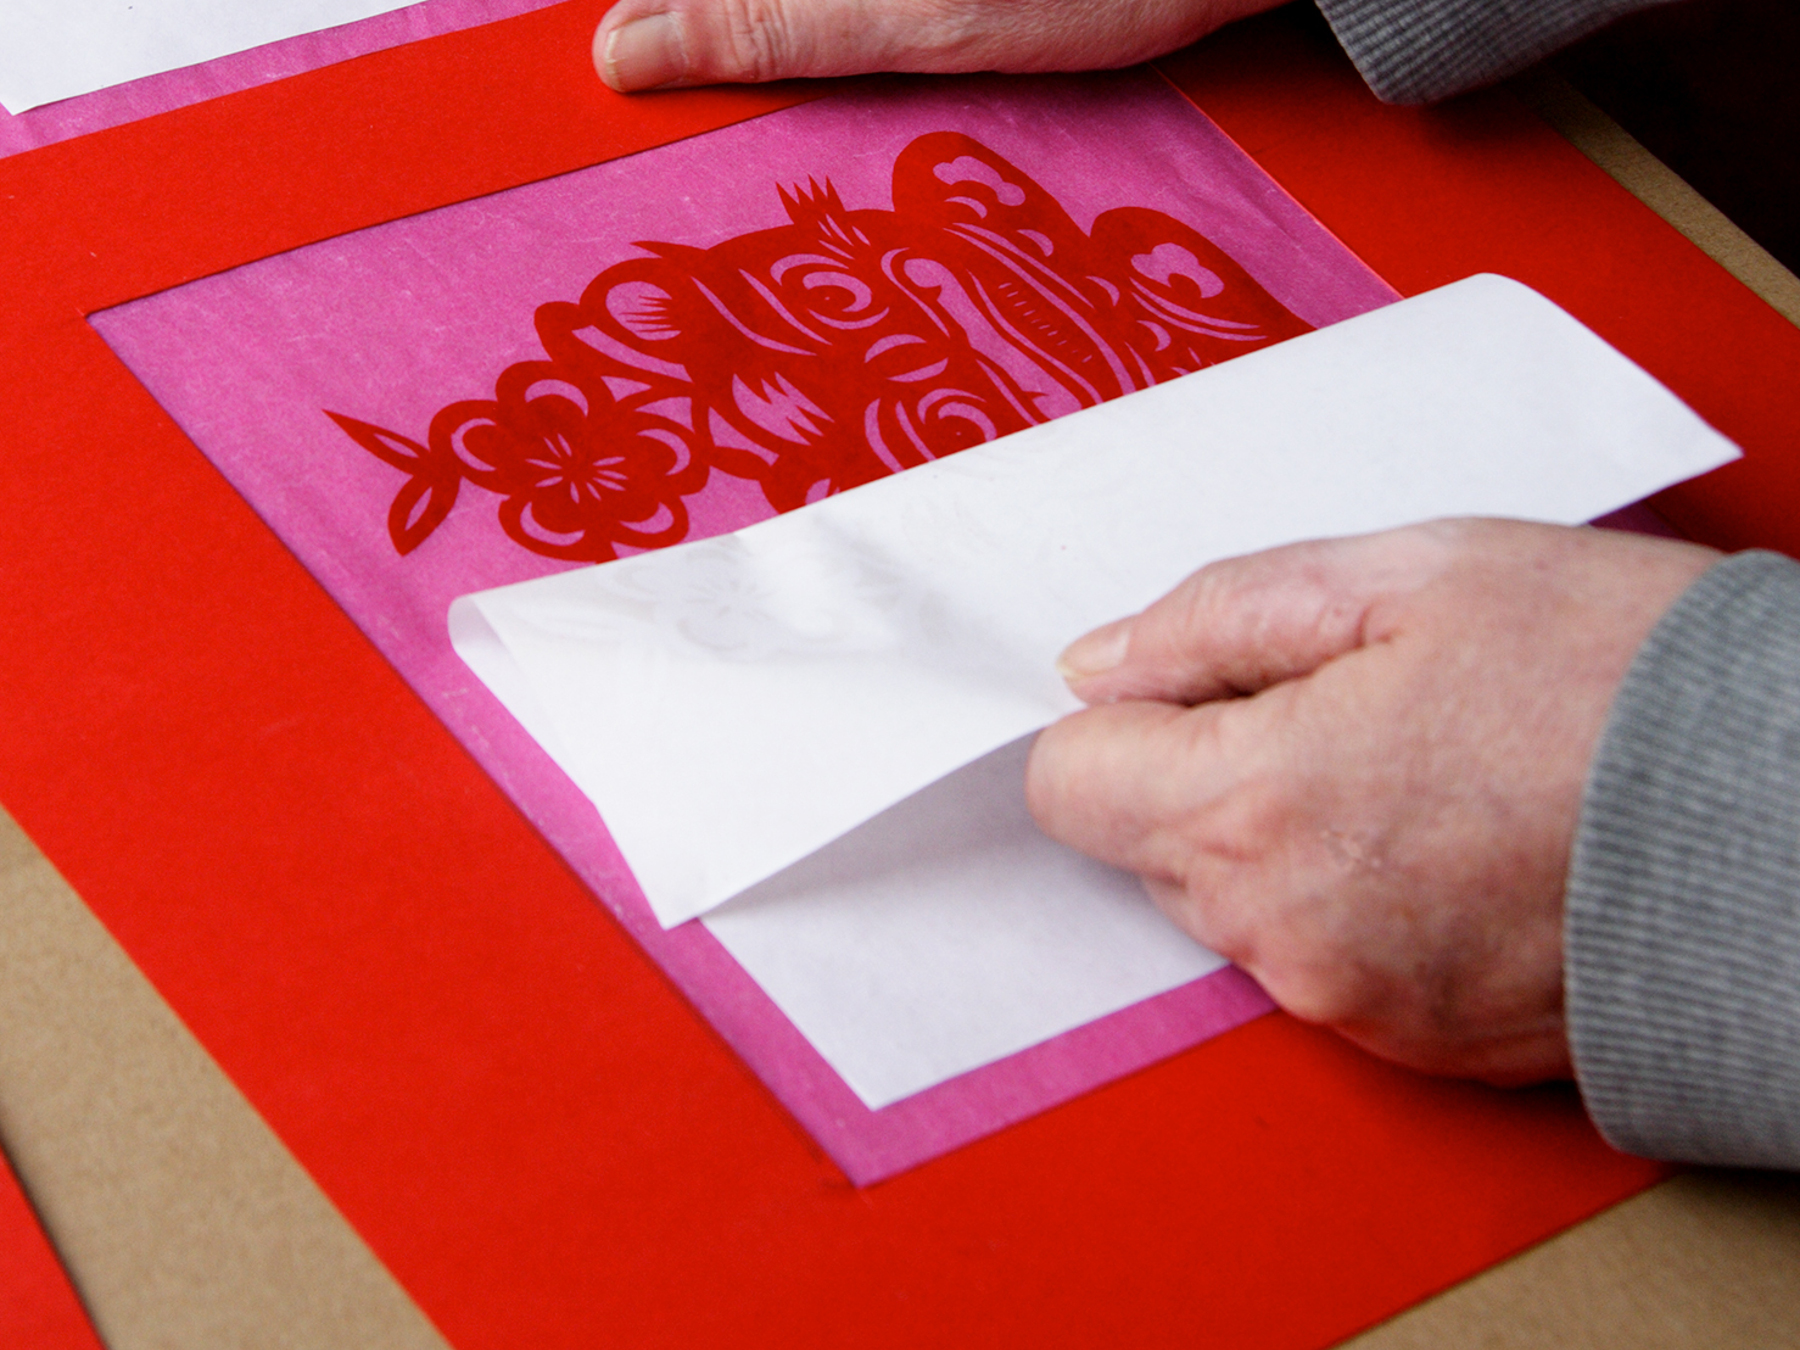
Spray a thin layer of glue on the cutting.
Press the cutting upside down on the kite paper.
Gently remove the white paper from the cutting.
Finish the windows one by one, allow the glue to dry well.
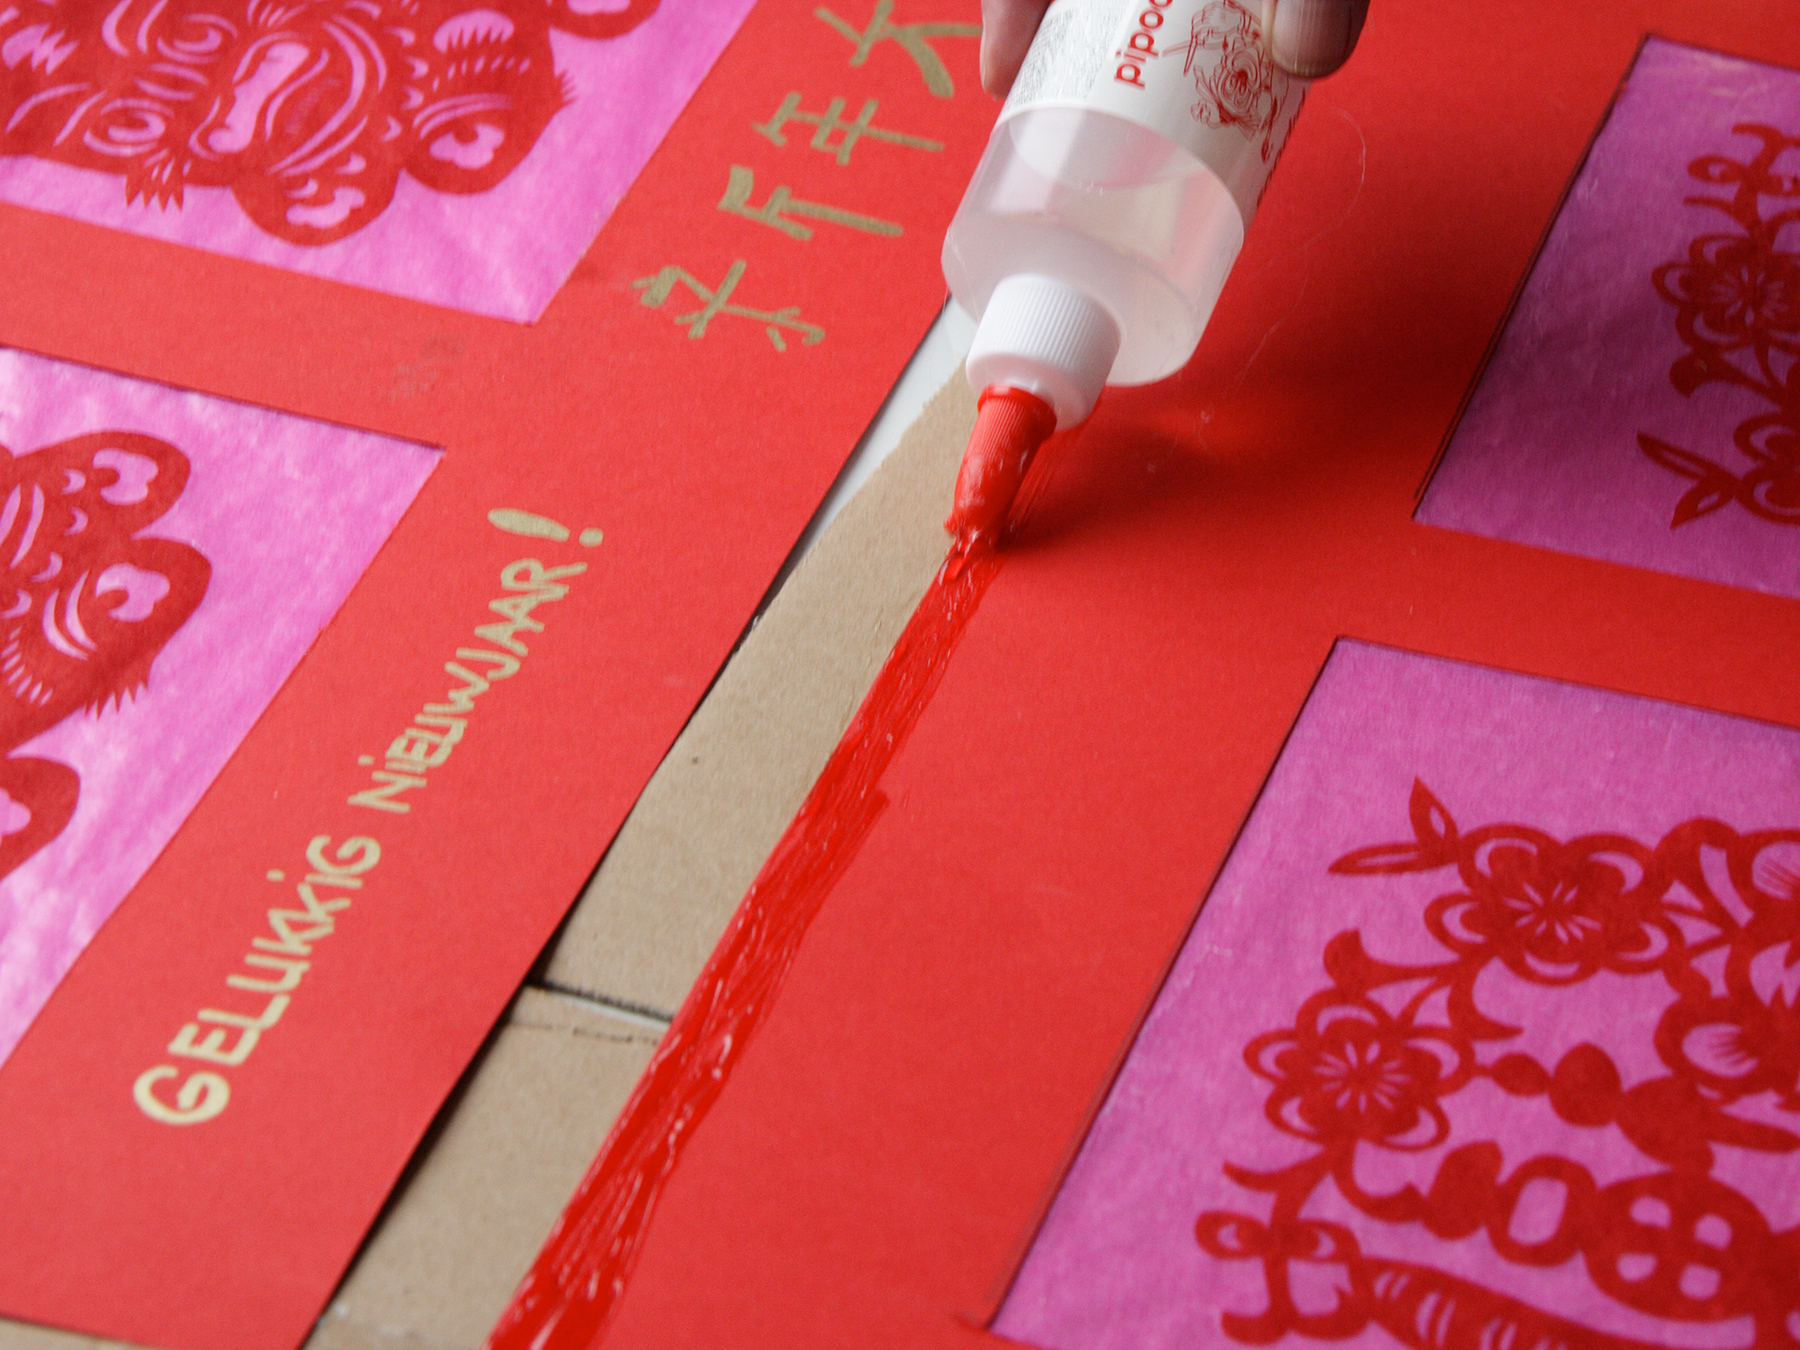
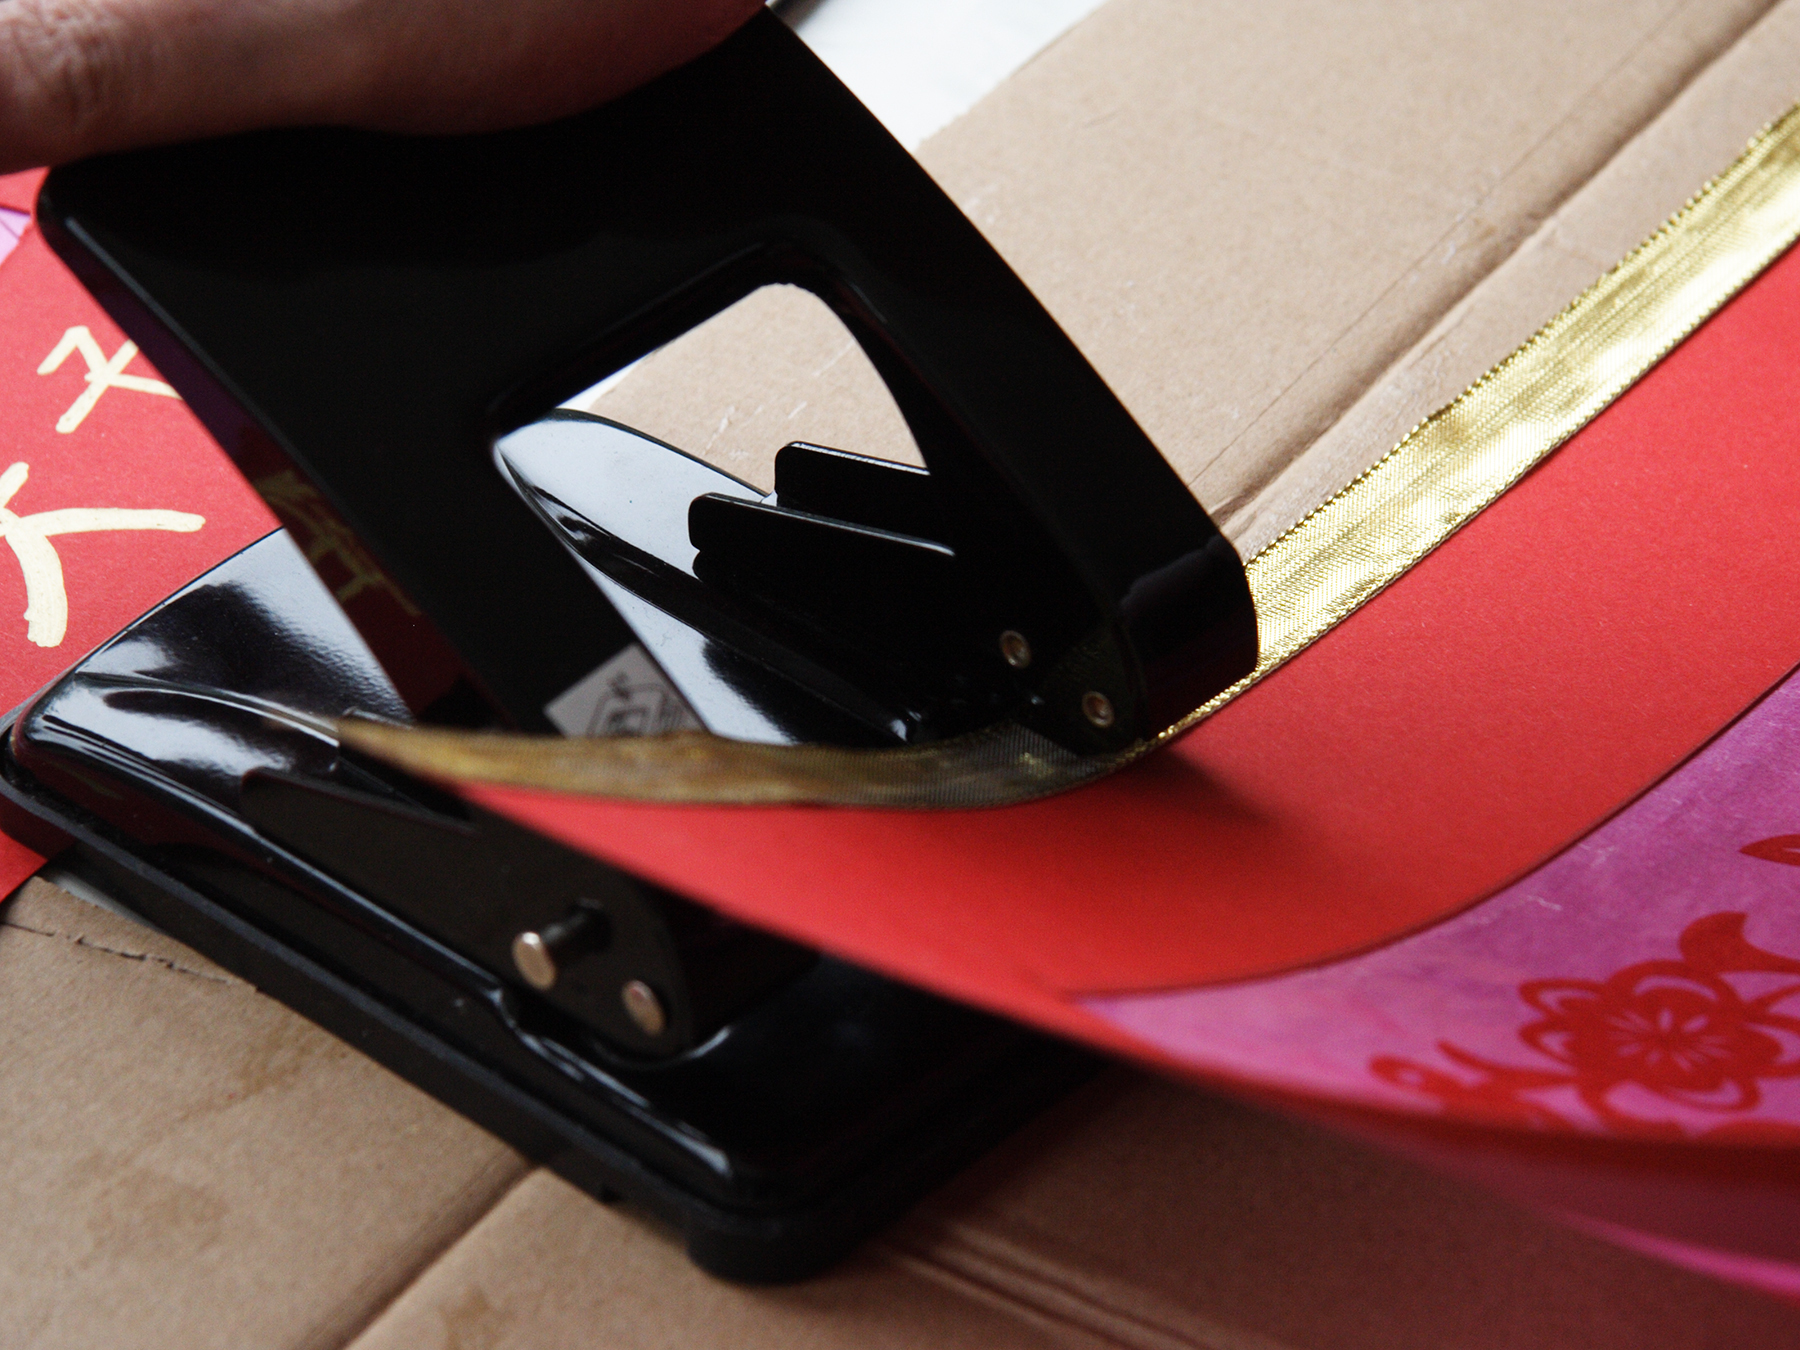
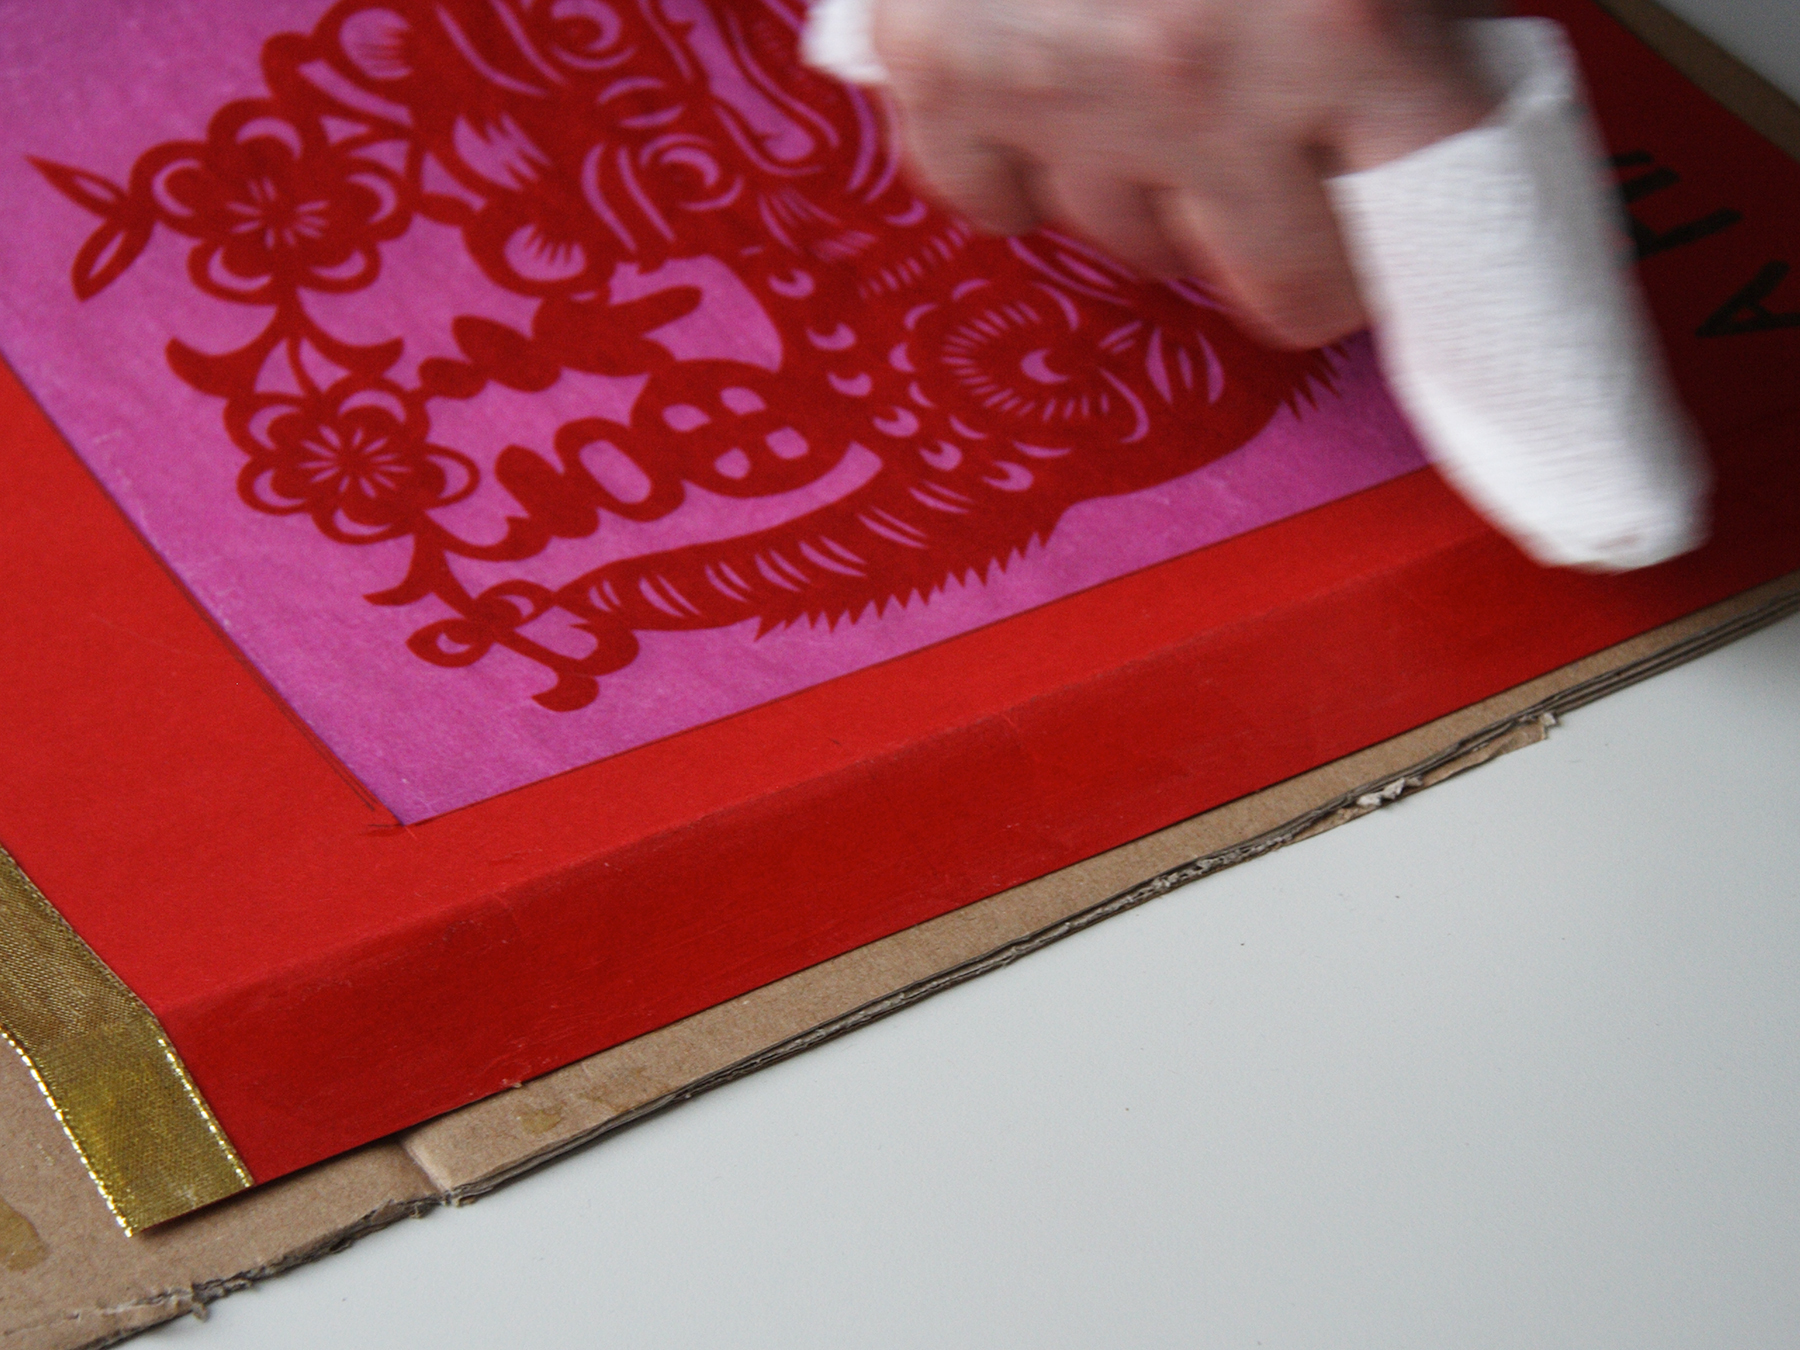
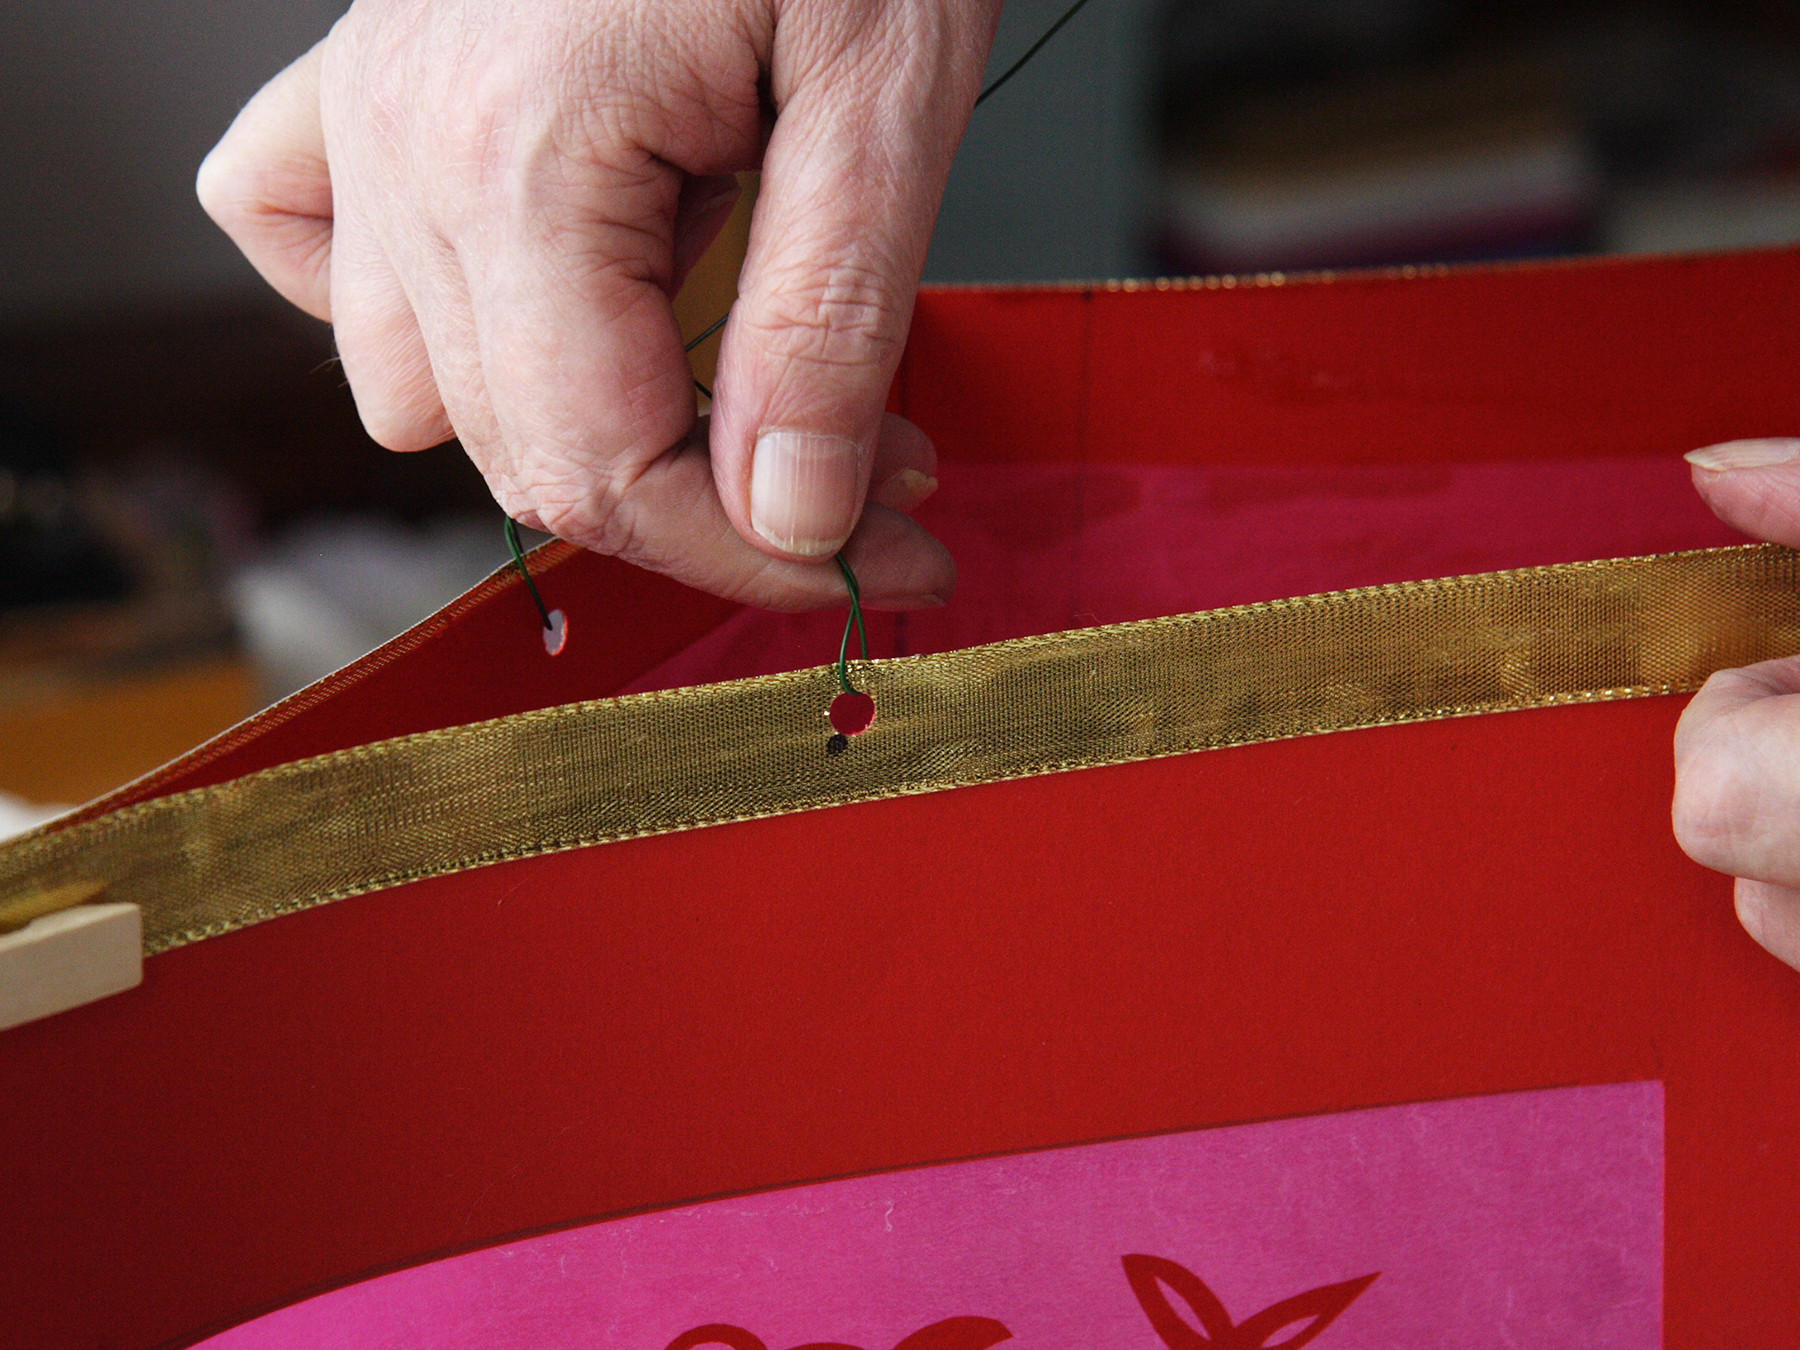
Glue the golden ribbon to the top edge of the lantern.
Place a dot in the middle of the ribbon on each side.
Punch holes on each dot using a hole puncher.
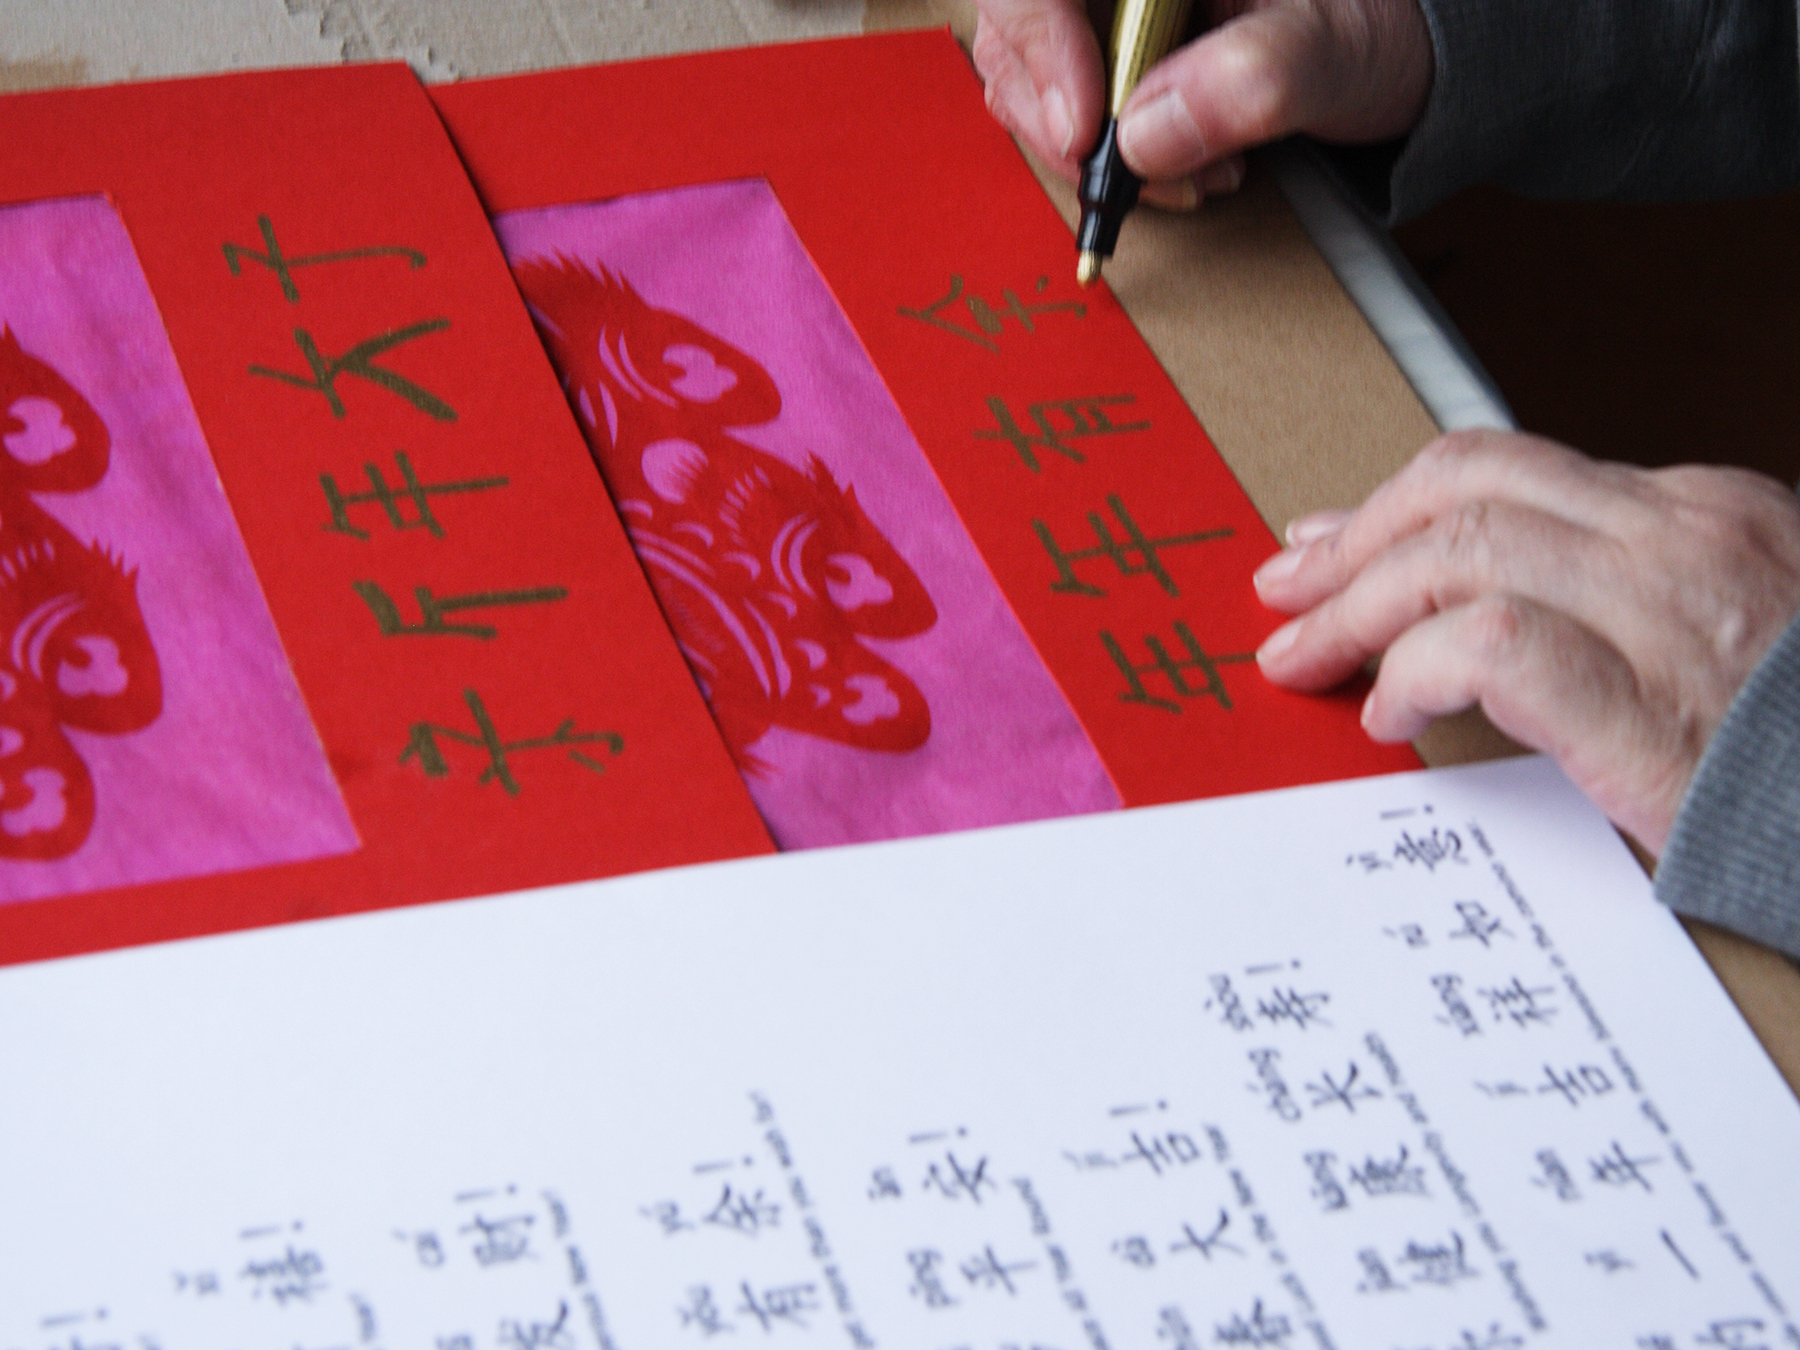
You find the New Year wishes in Chinese characters also on the download, so you can copy them on your lantern.
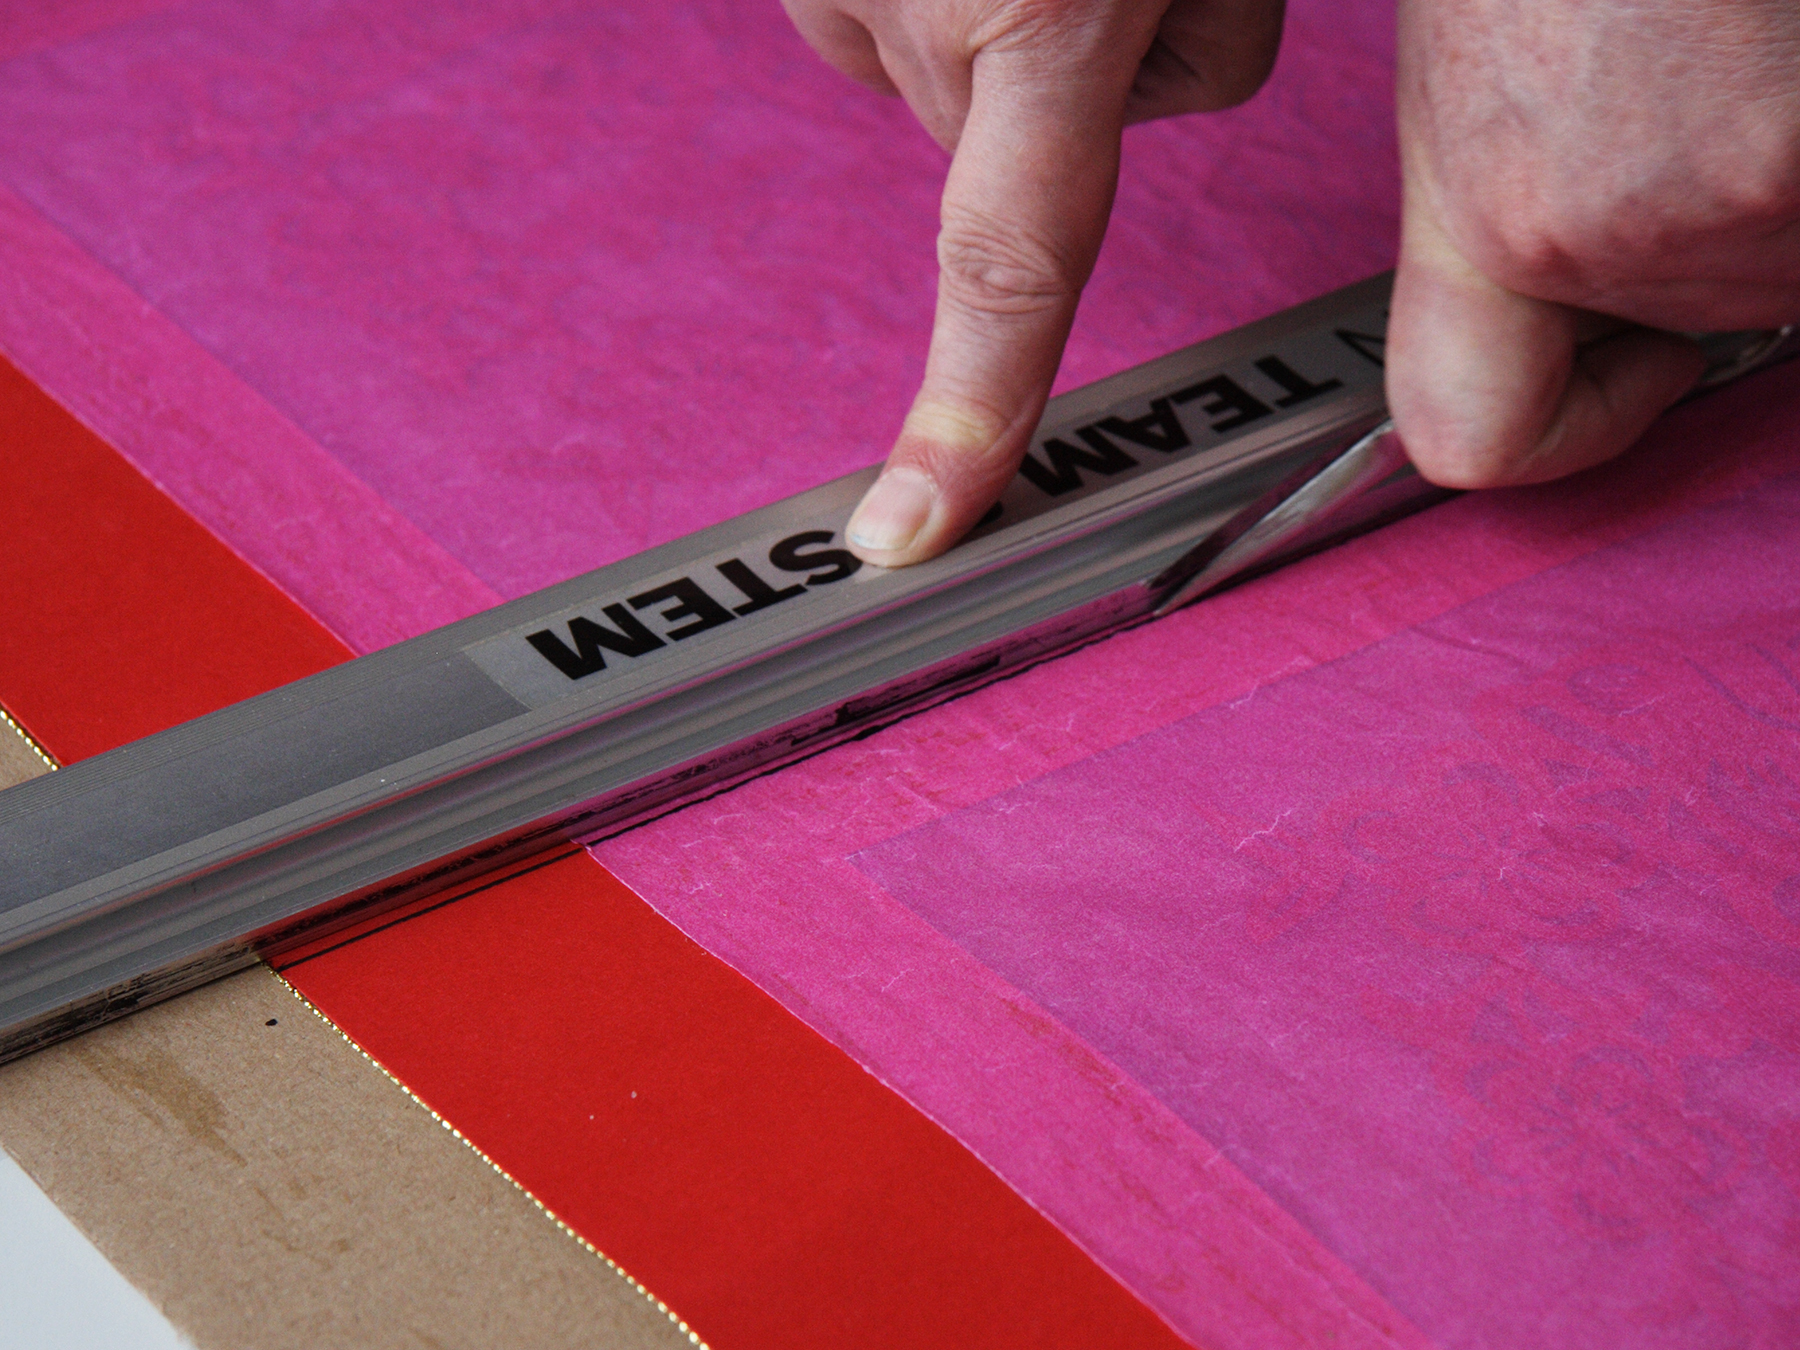
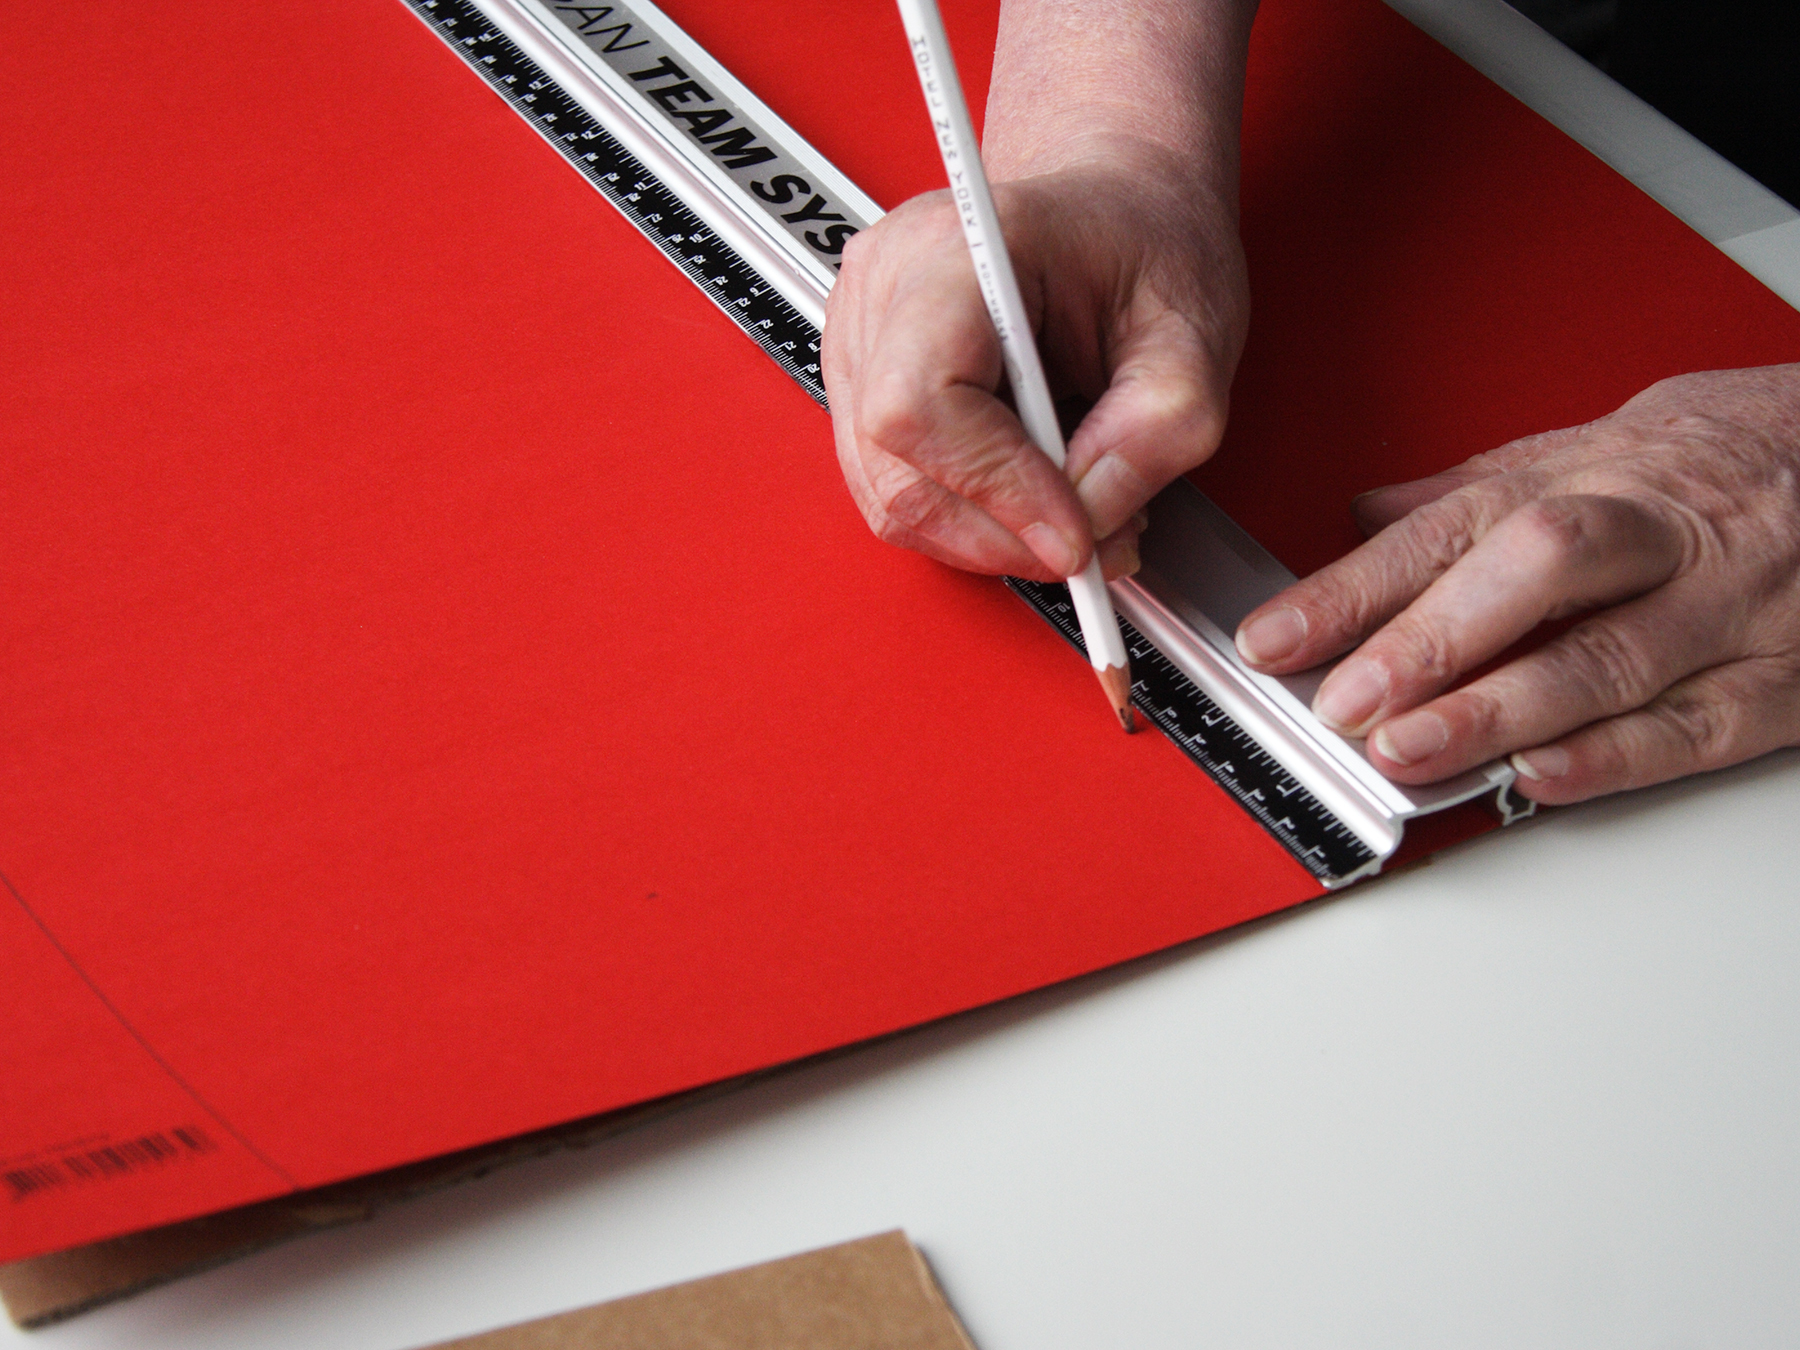
Place a ruler in the middle of each cardboard, make a crease.
Rub the crease flat with closed scissors.
Now the lantern has still two loose sides.
But firstly we will place a sturdy bottom in the lantern.
How to make the bottom
Draw on the 3rd sheet of red cardboard a square of 48x48 cm. Cut another square out of the box of 28x28 cm. Glue the 'box' square in the centre of the red cardboard square.
Crease lines along the inner square.
Snip in the corners, glue them together.
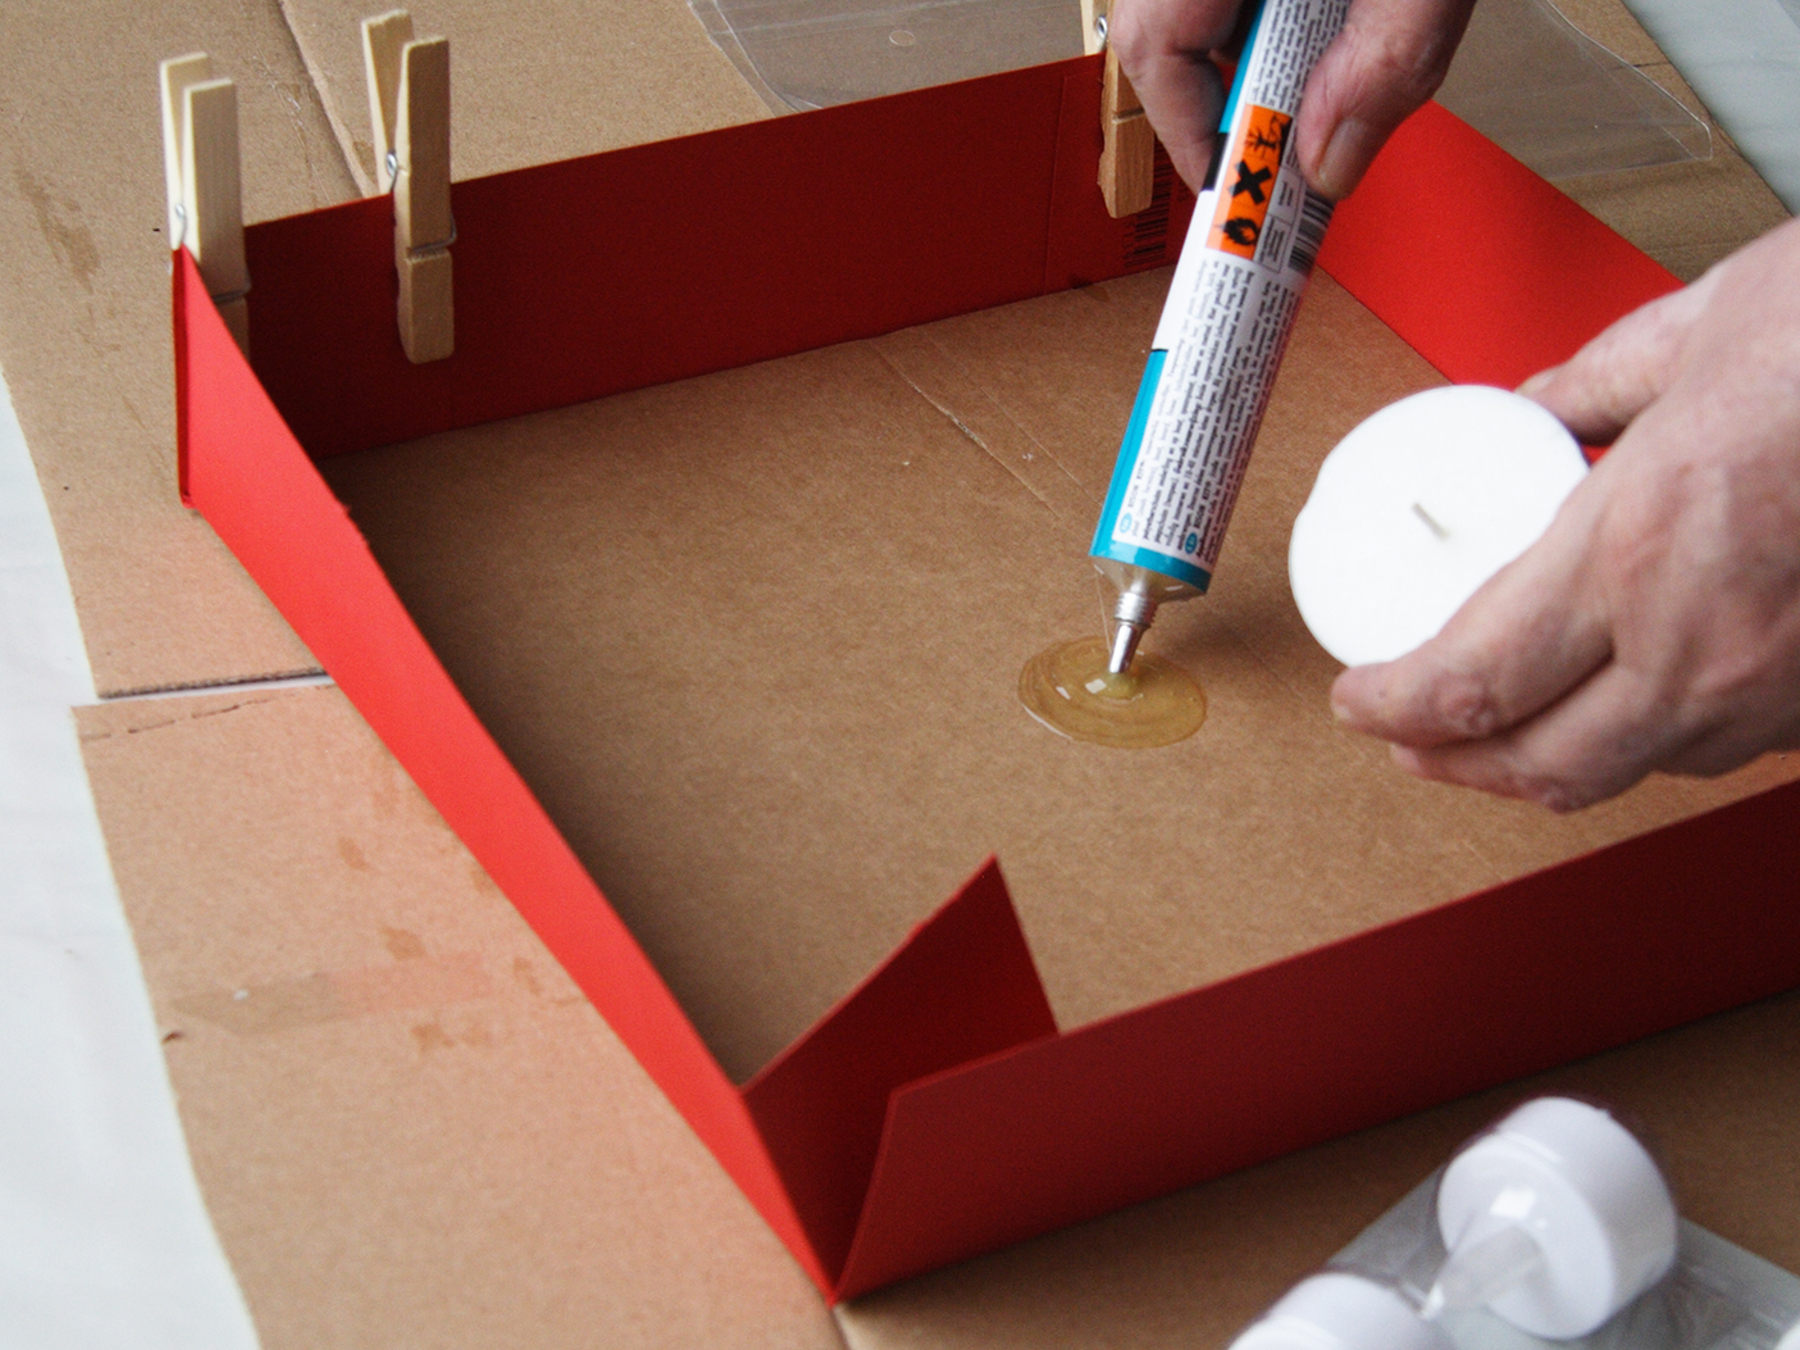
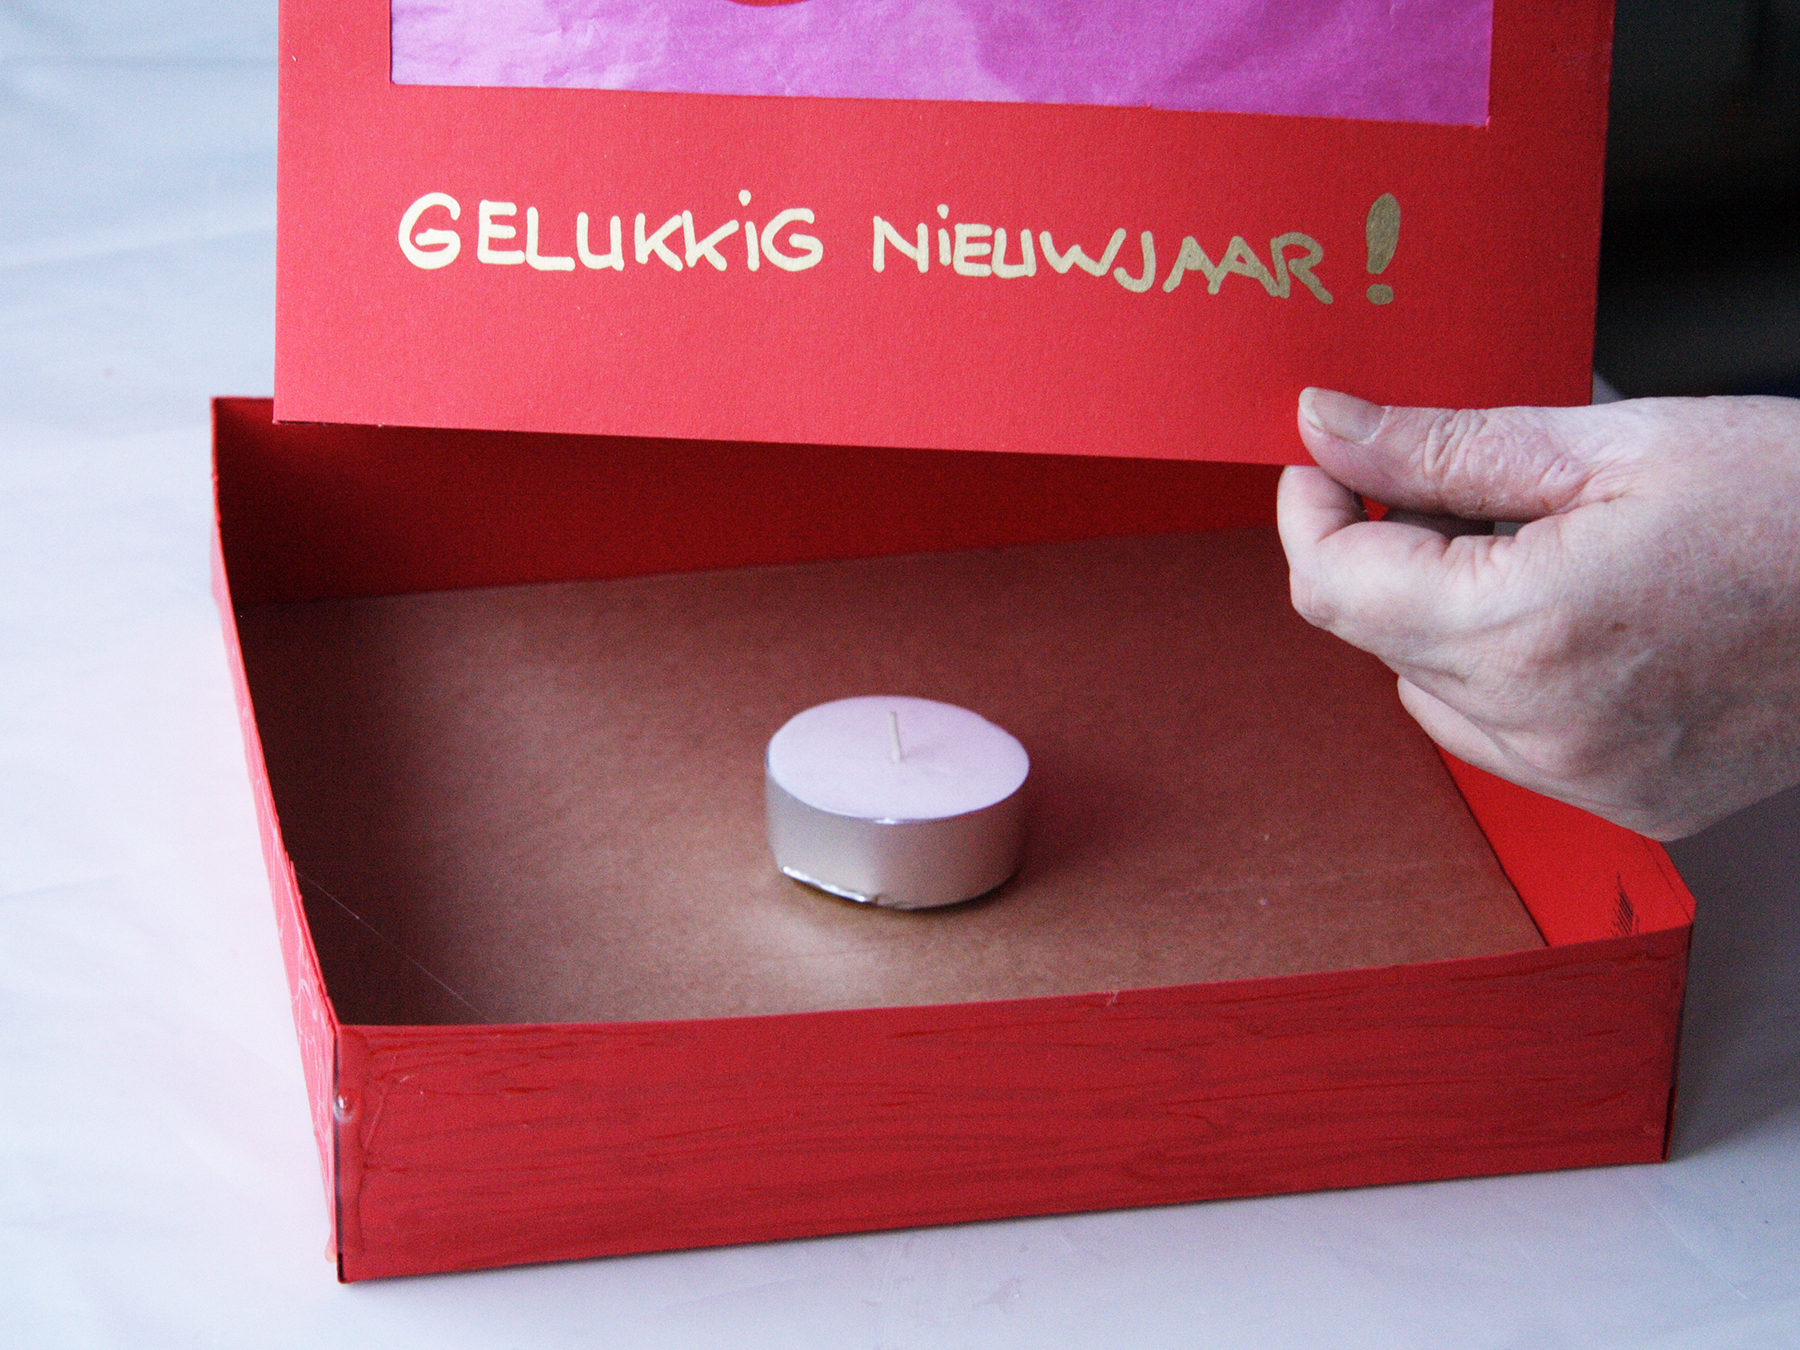
Glue a tealight holder on the bottom.
Glue the 2 parts together.
Attach wire to the holes.
Spread glue on the bottom sides.
Slide the lantern on.
Using a cloth, rub the inside firmly to the bottom of the lantern

Cut 4 strips cardboard from the box, the size of the lantern.
Stick them on the inside, along the top edges, place clothespins on the edges.
The cardboard strips prevent the edges from sagging inward.
Your lantern is ready! Happy New Year! - Gelukkig nieuwjaar! - Xin Nian Kuai Le!