What do you need?
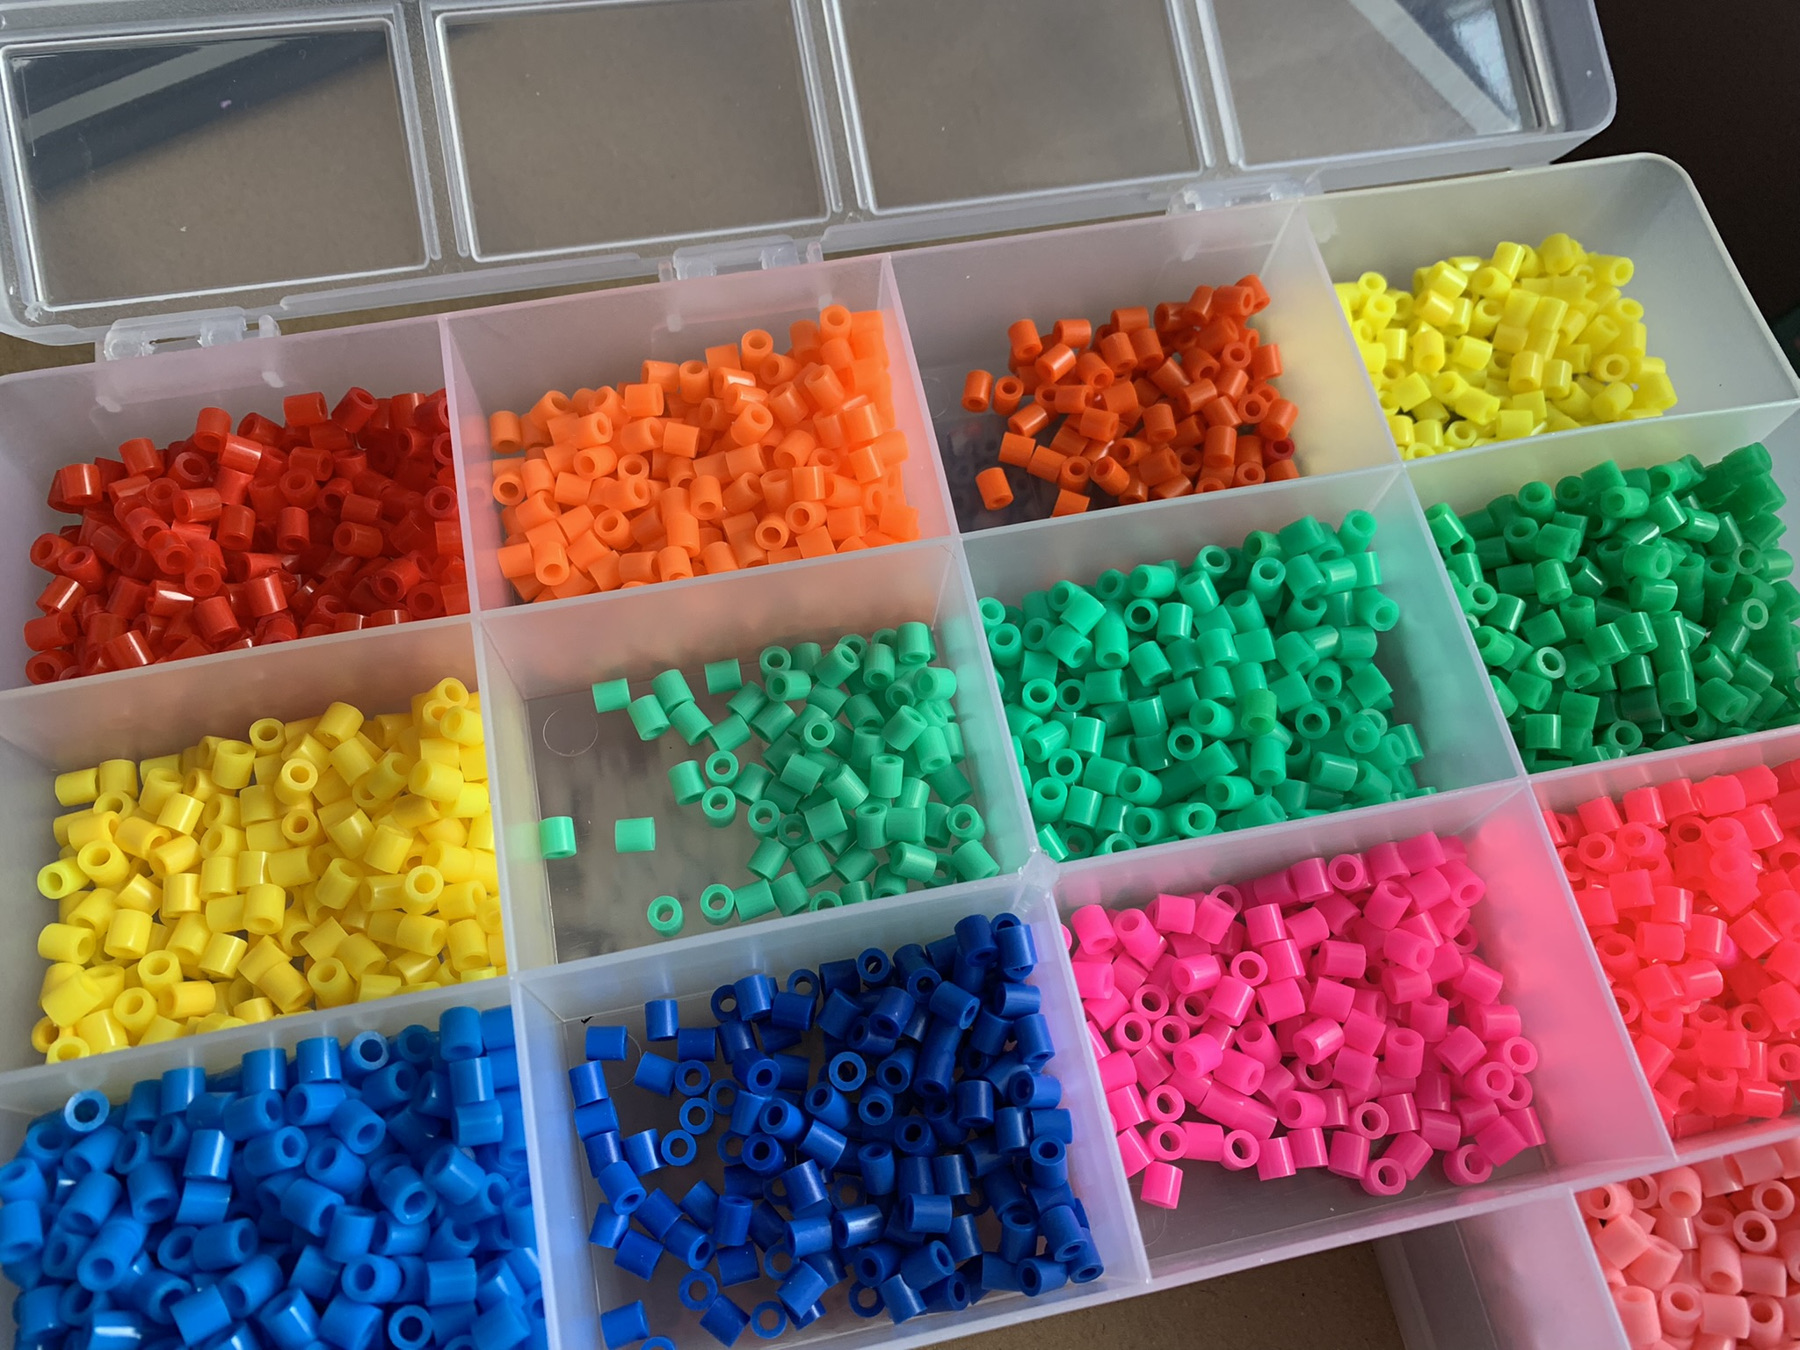
perler beads, in various colours
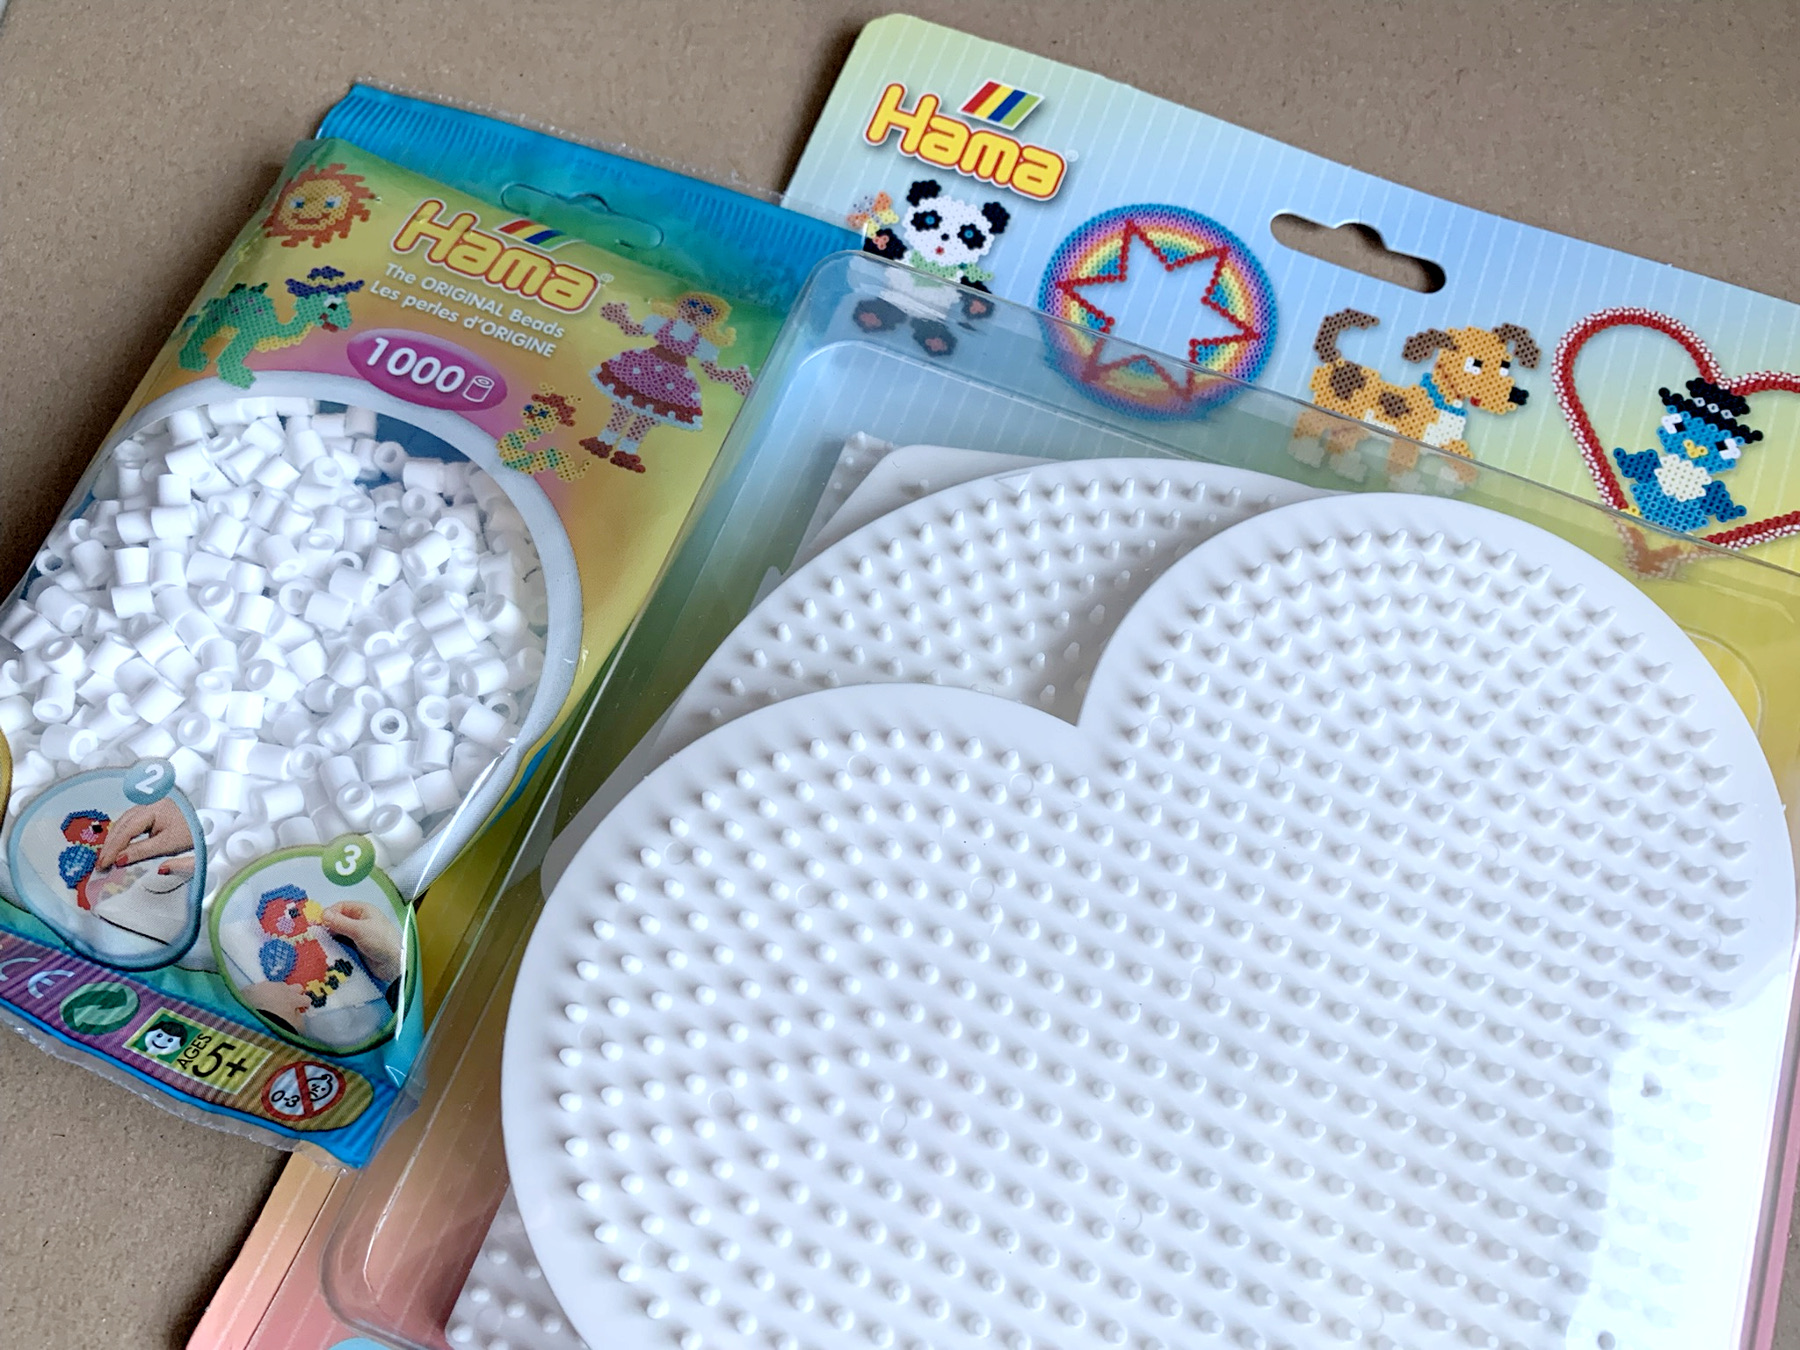
base plates for perler beads
optional: thin tweezers
baking paper
iron (adults only)
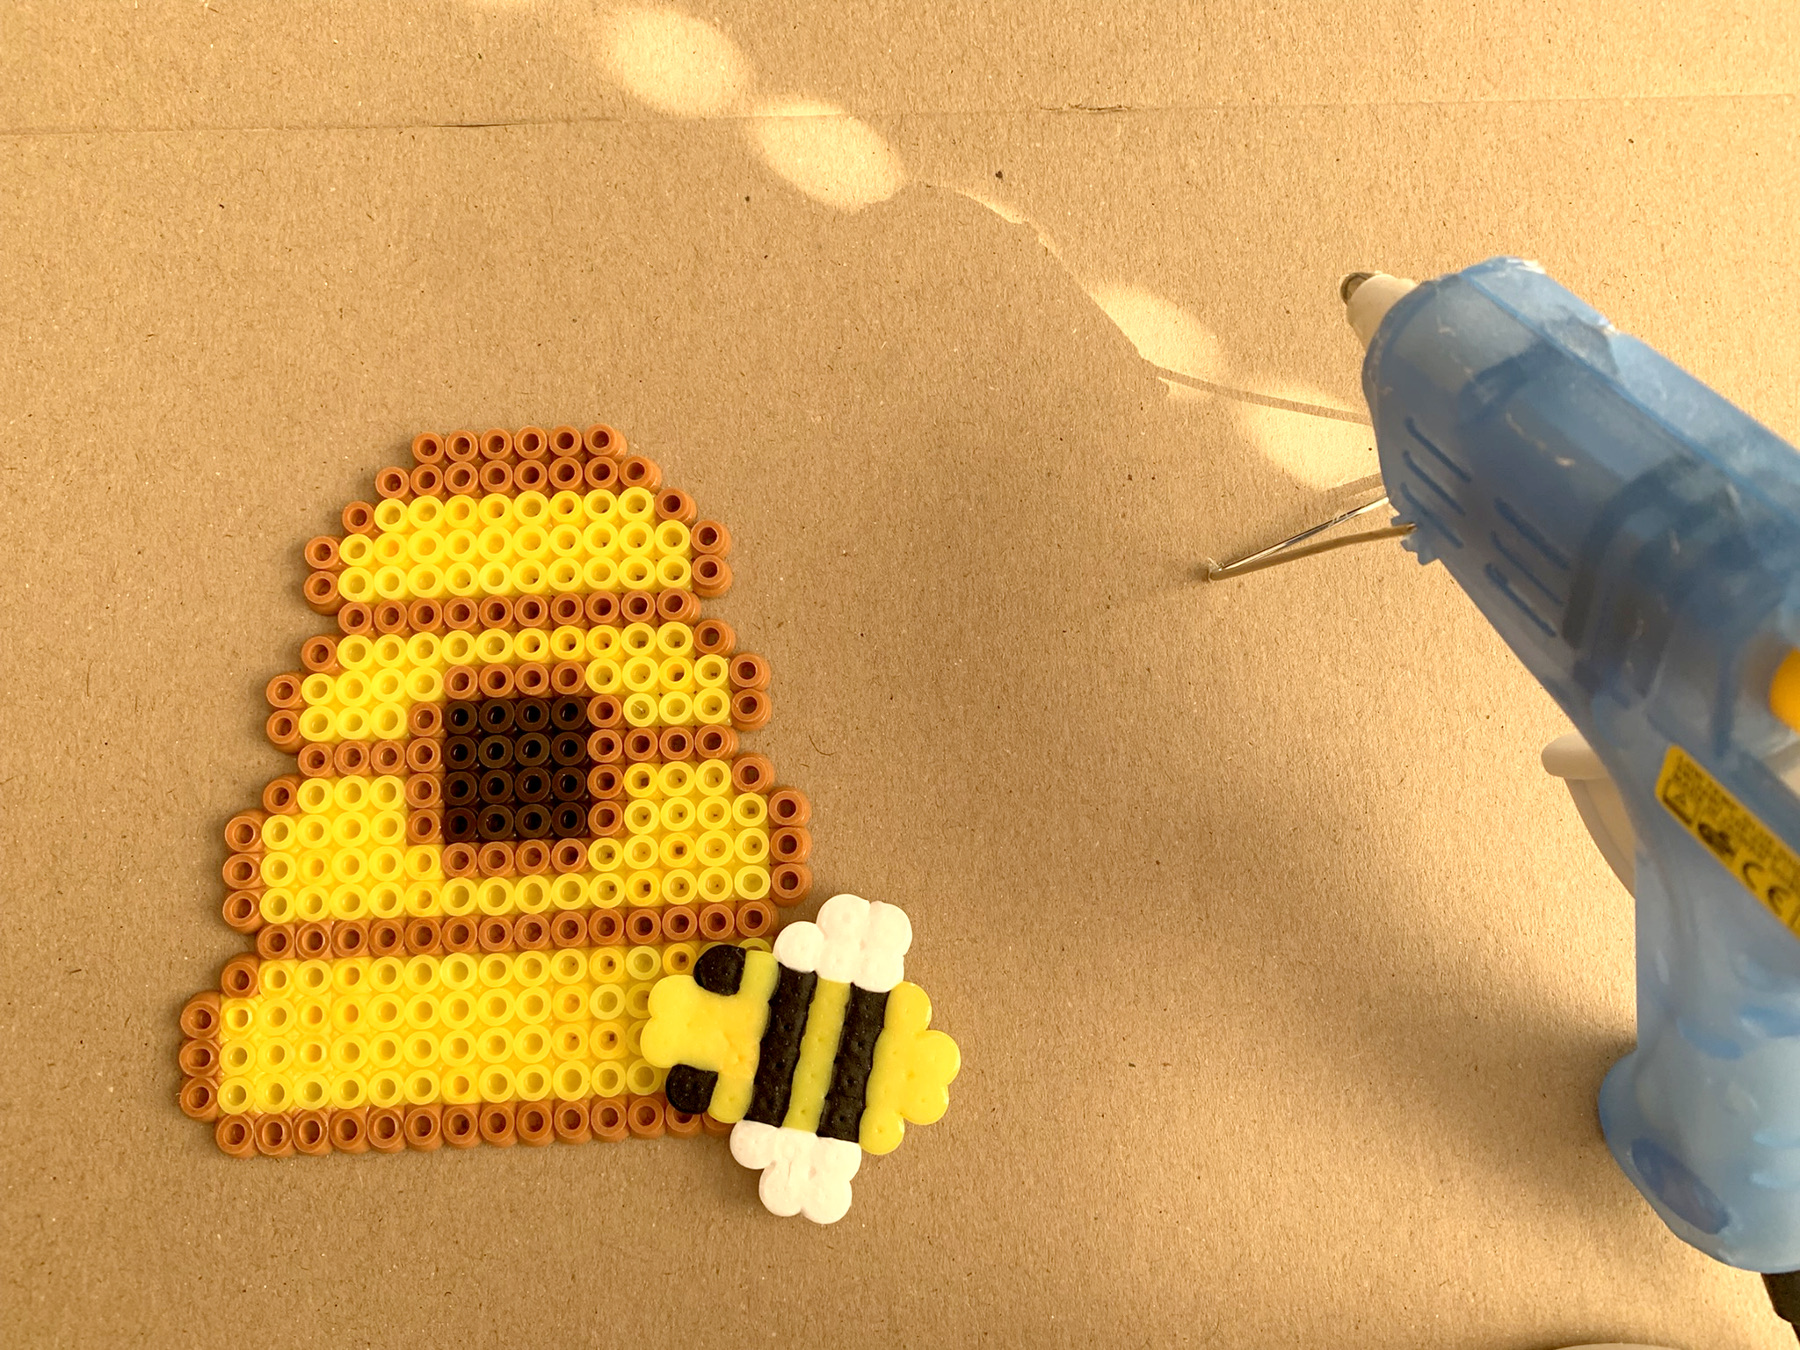
glue gun
thin nylon thread
a branch and 7 beads
a drill
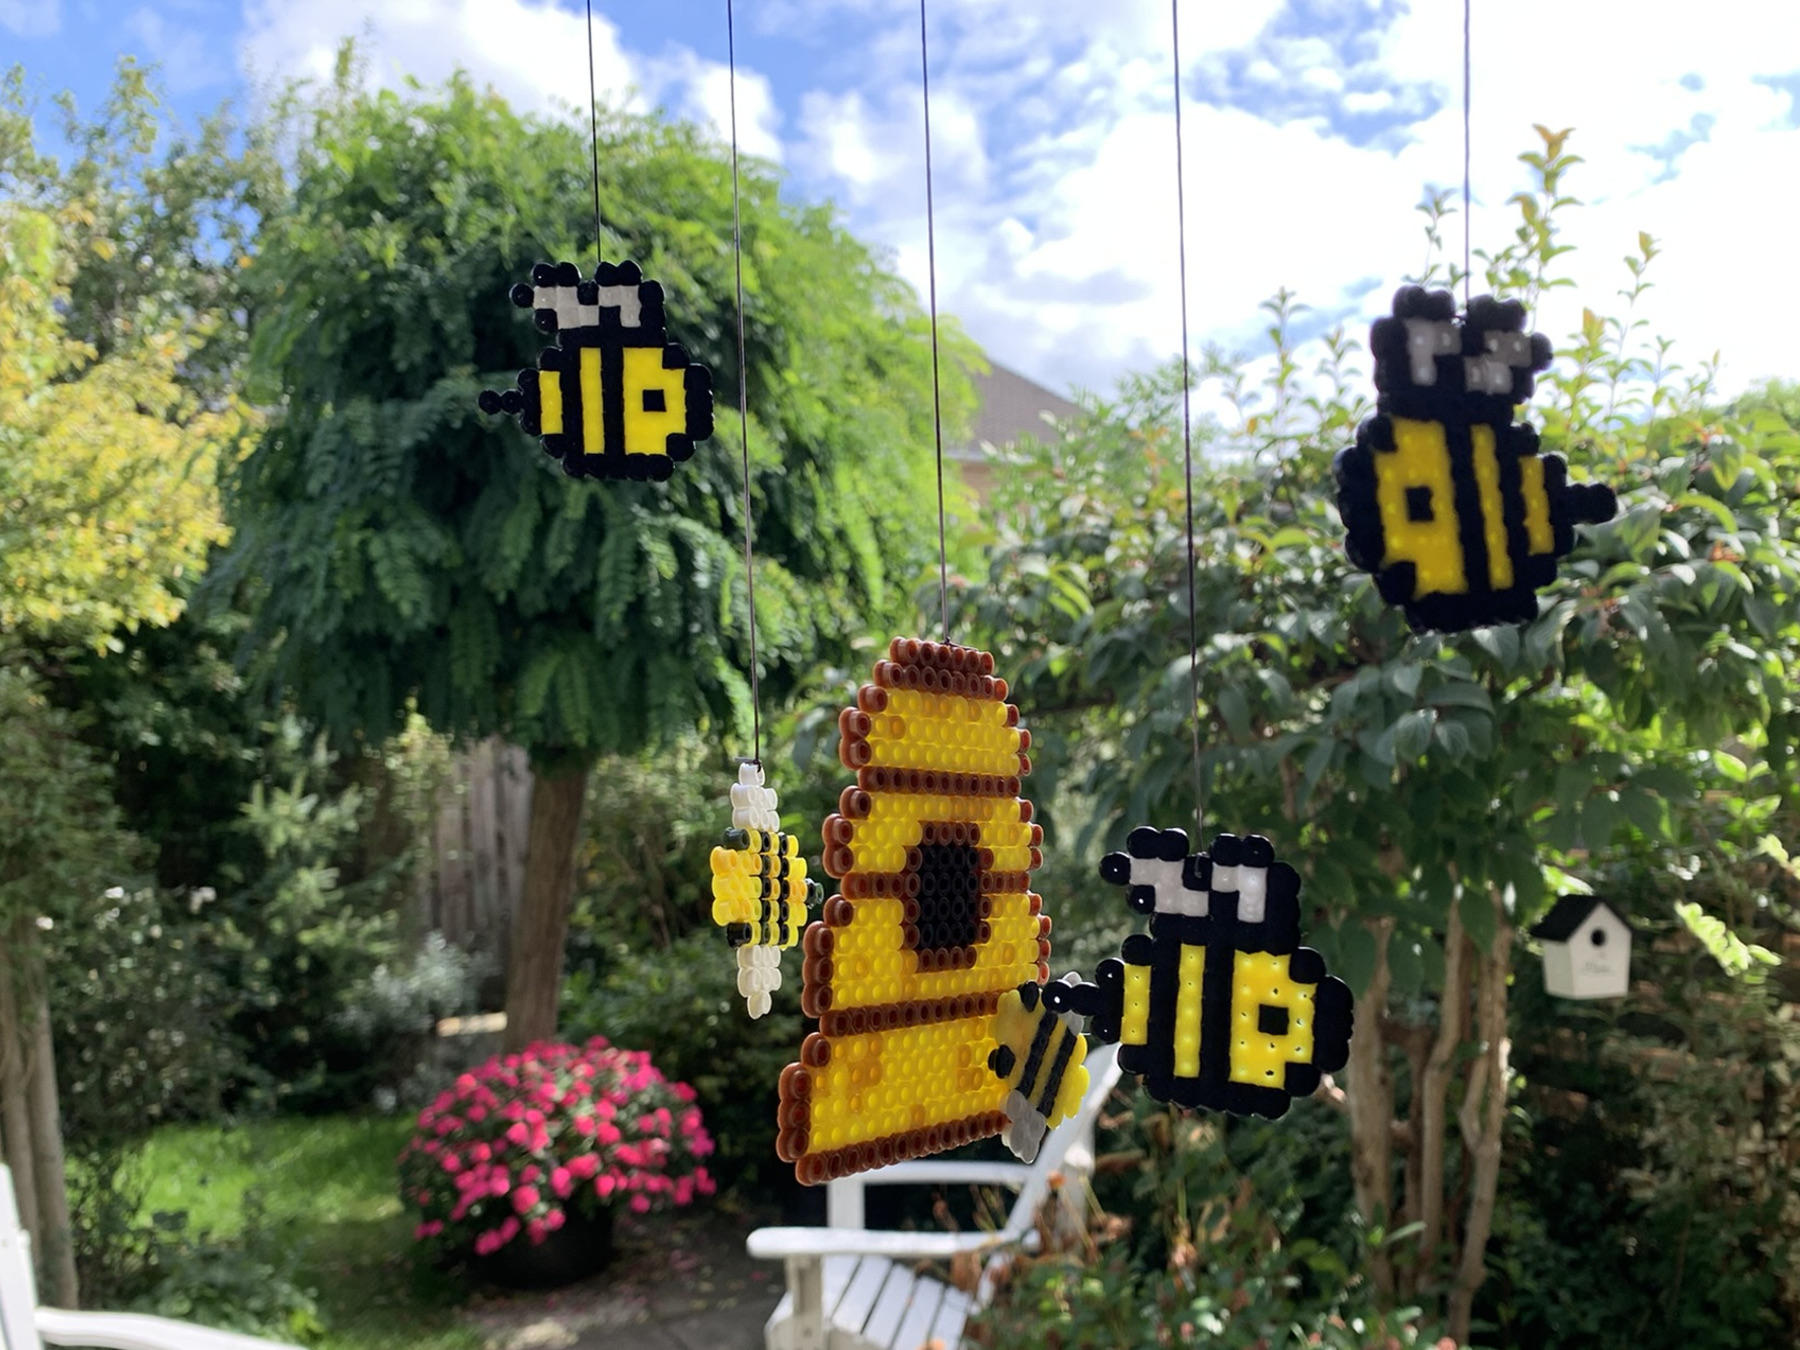
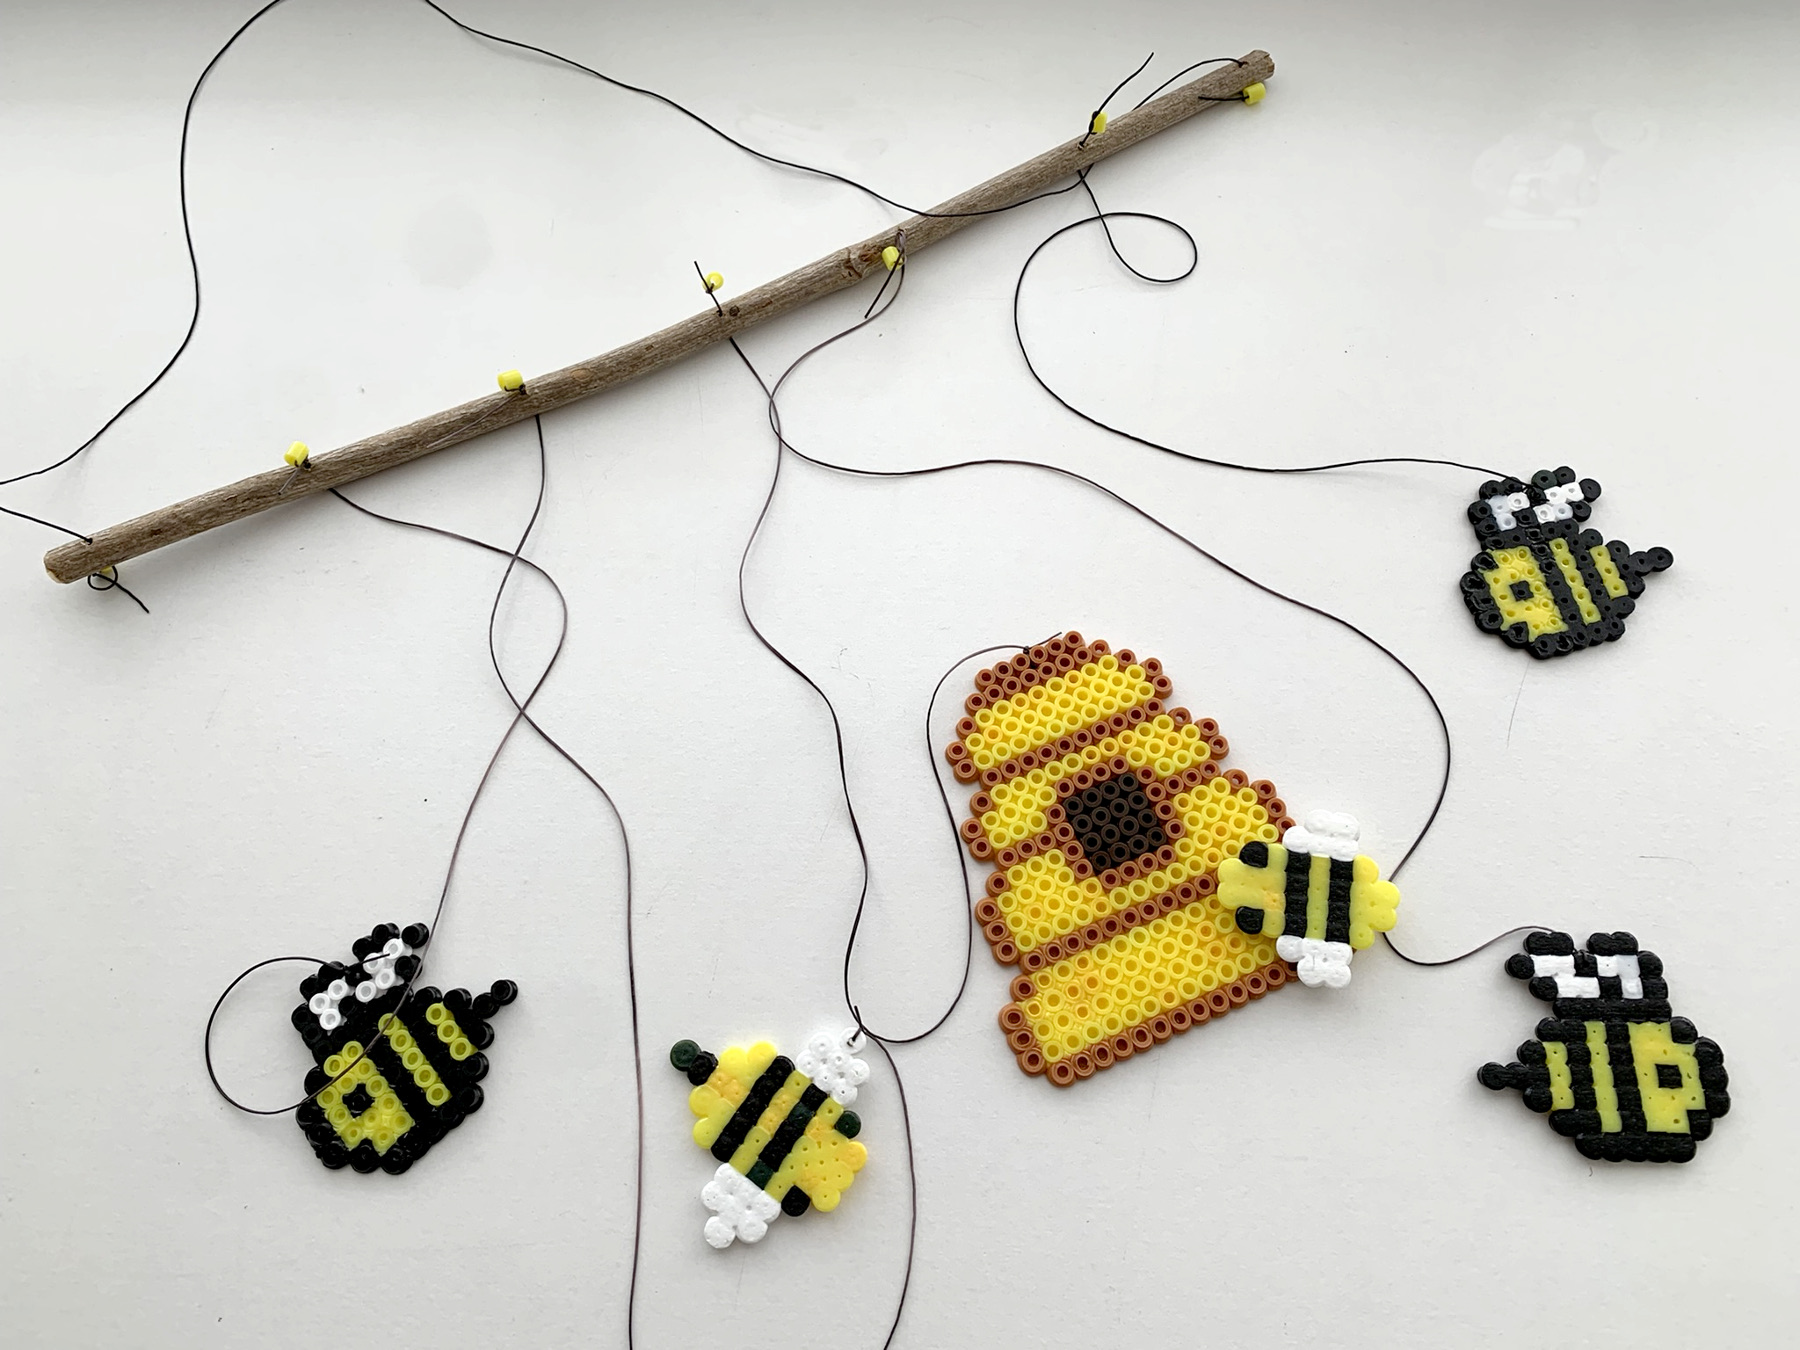
Today we are making a mobile from perler beads. First we make the 5 bees that live in the beehive and we make then the hive ;)) We tie all to a branch from the garden, where first we drilled in small holes. The thread we use is elastic, actually it is beading thread and it comes from Pipoos.
How to make a bee mobile
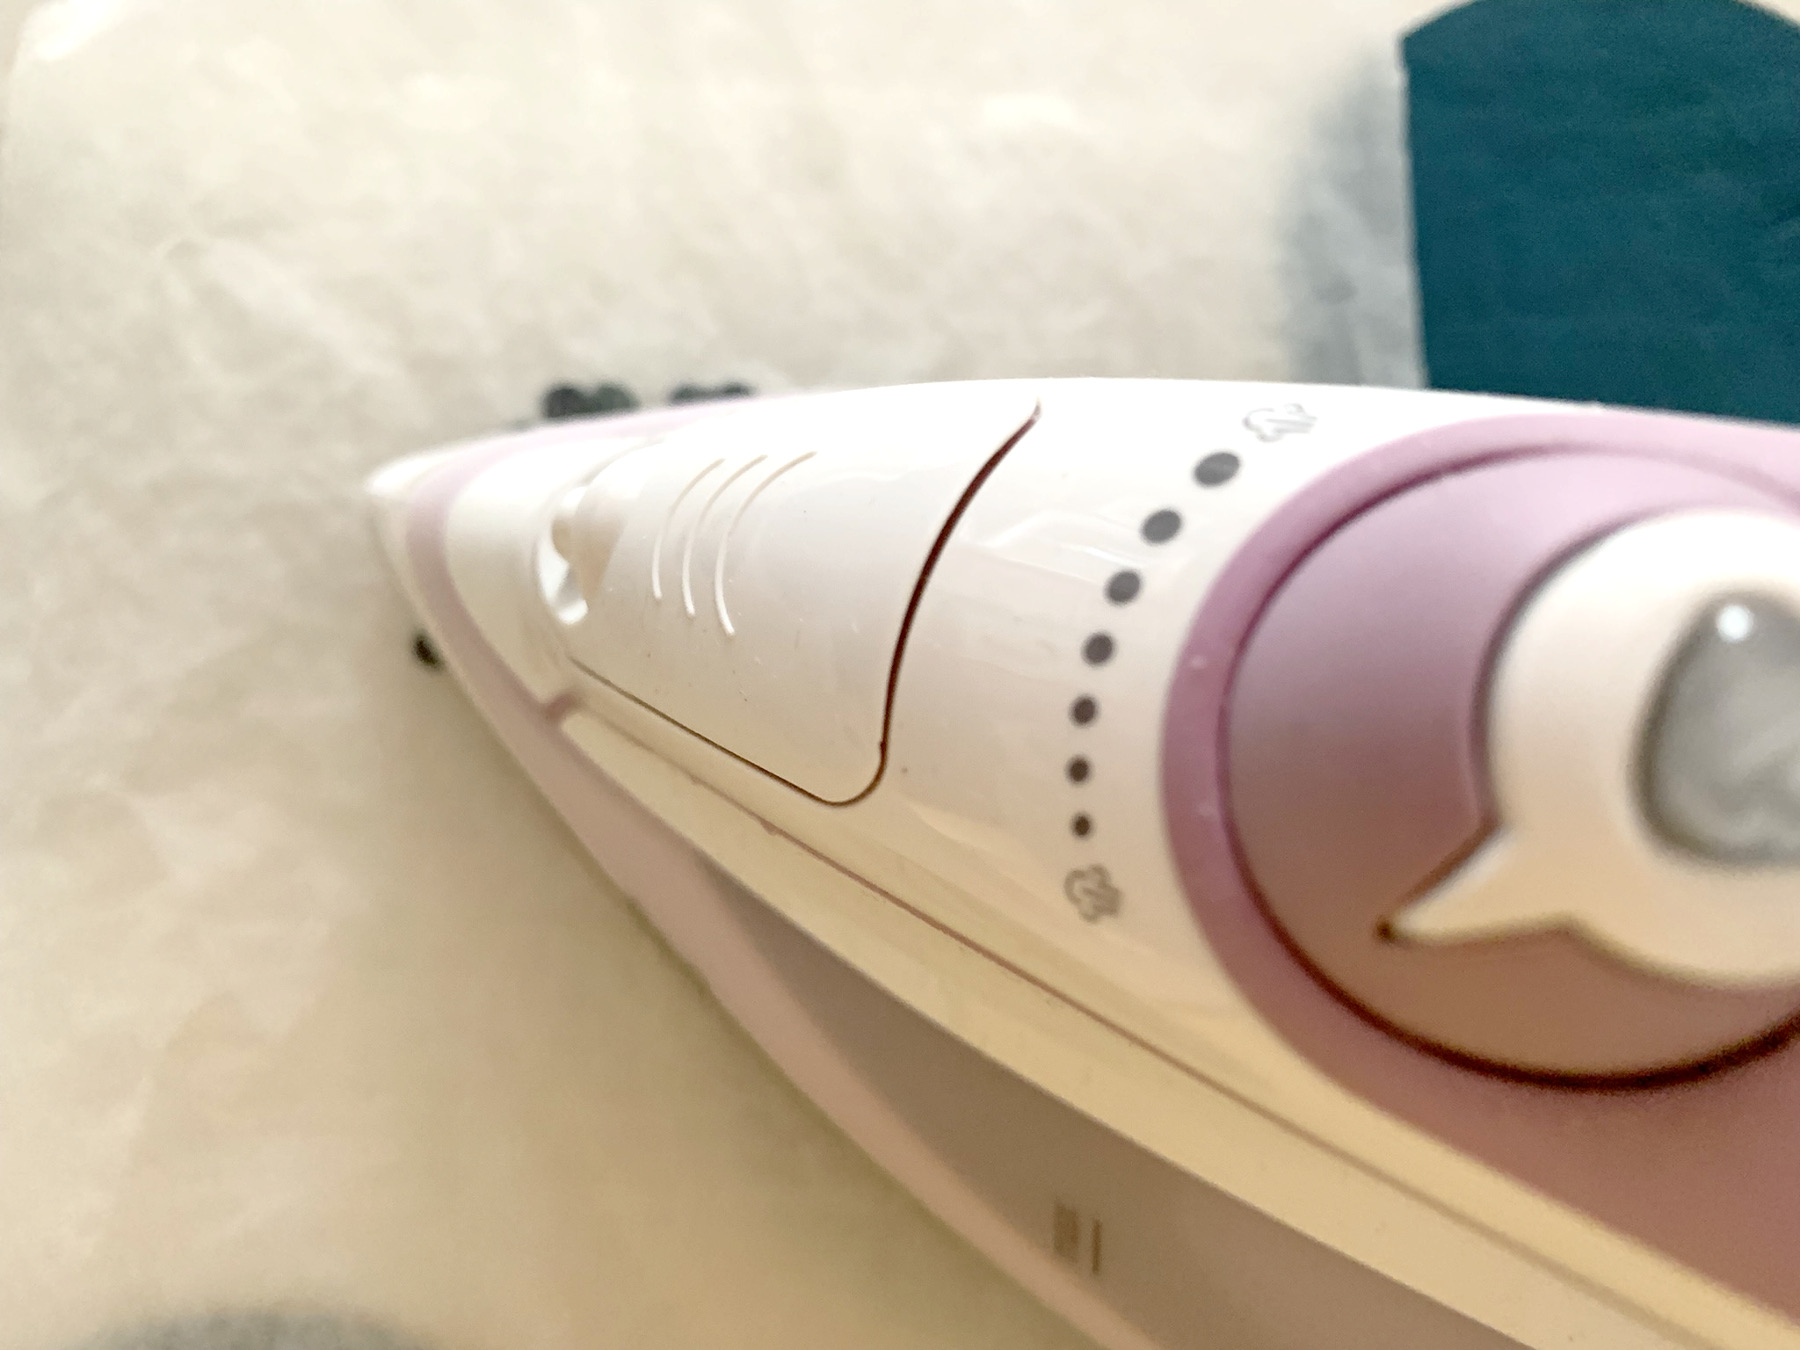
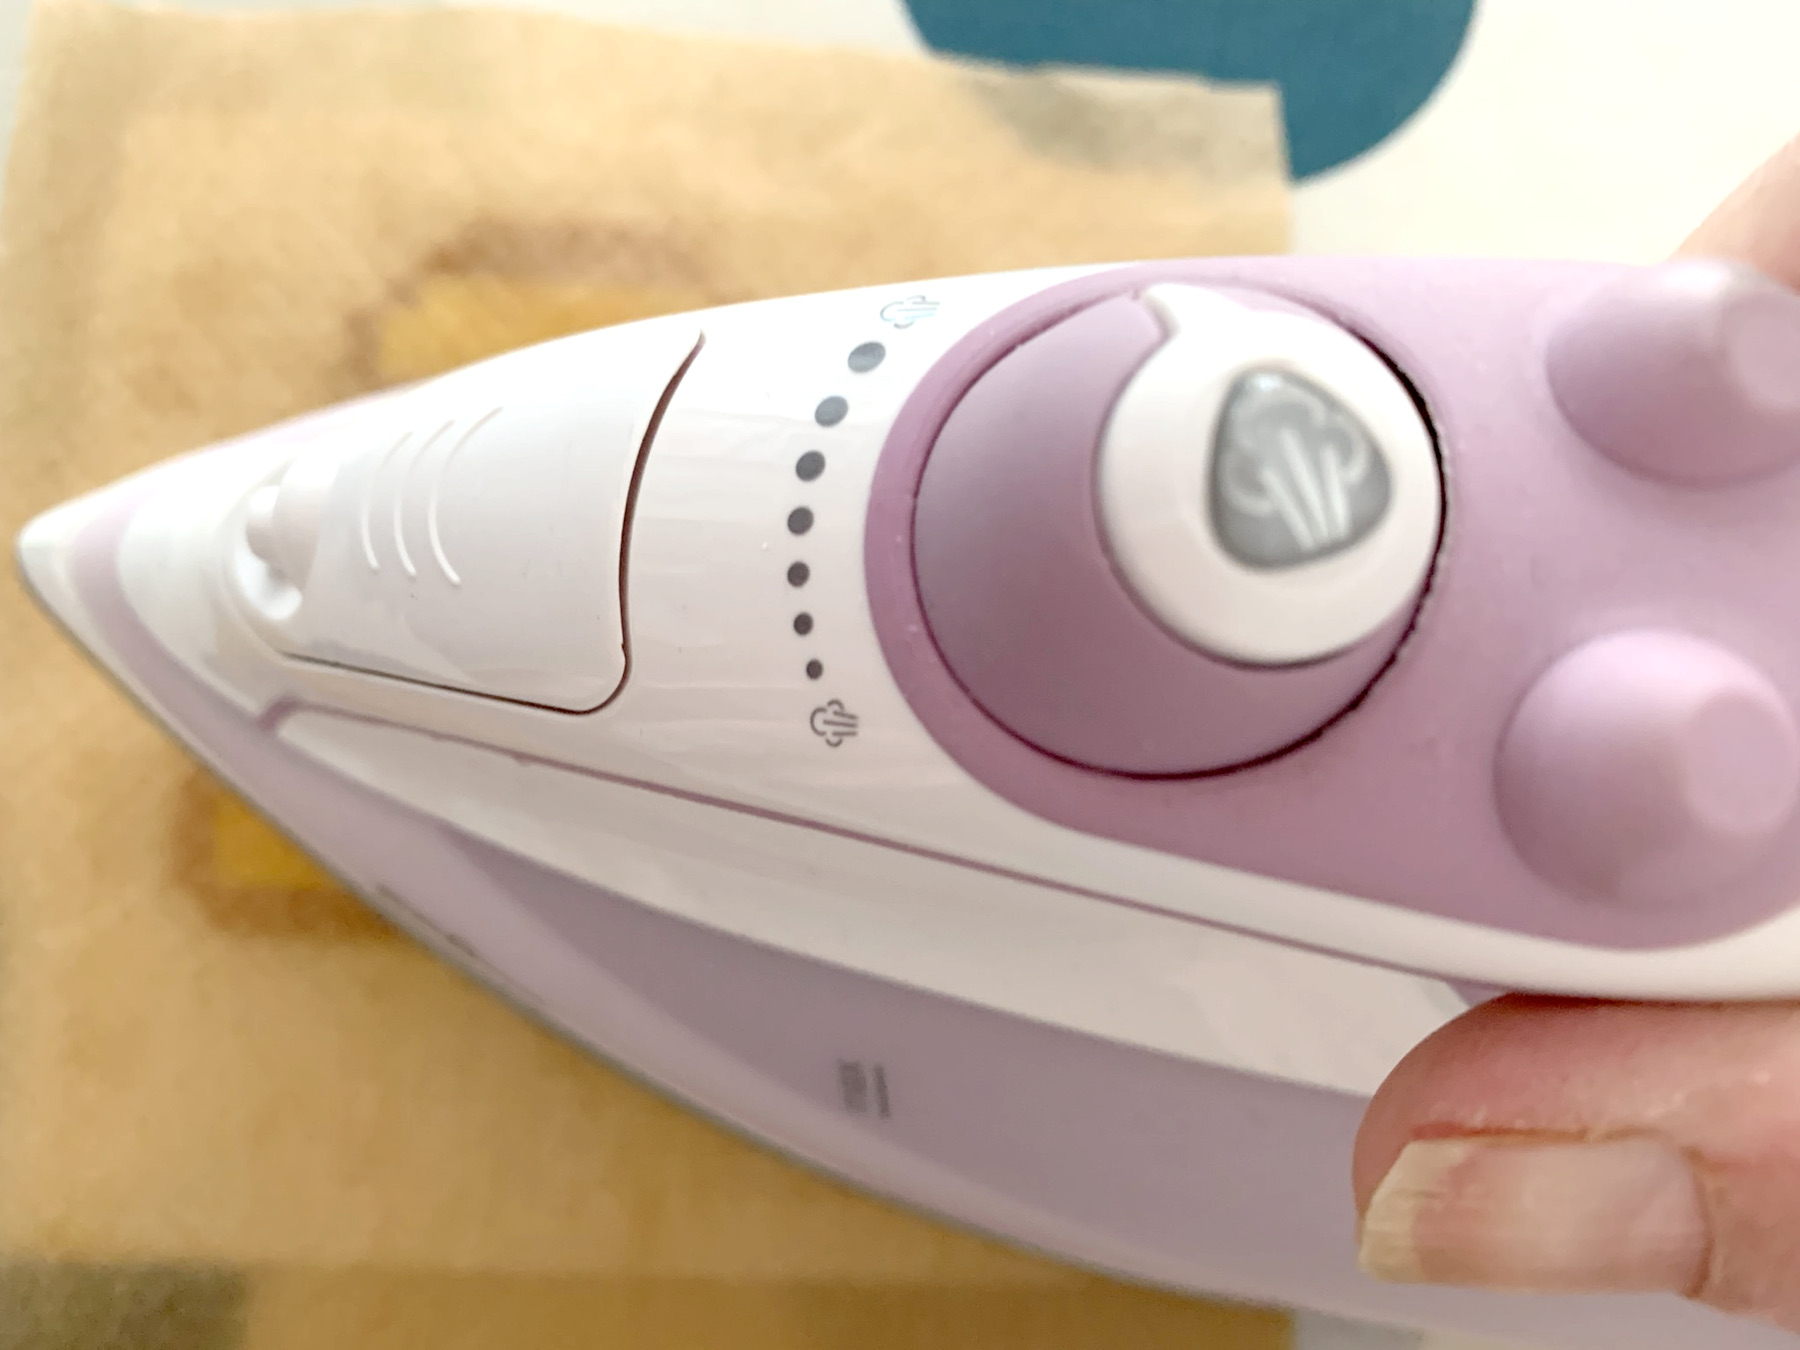
Please note! Perler beads are always ironed on medium high heat but without steam!
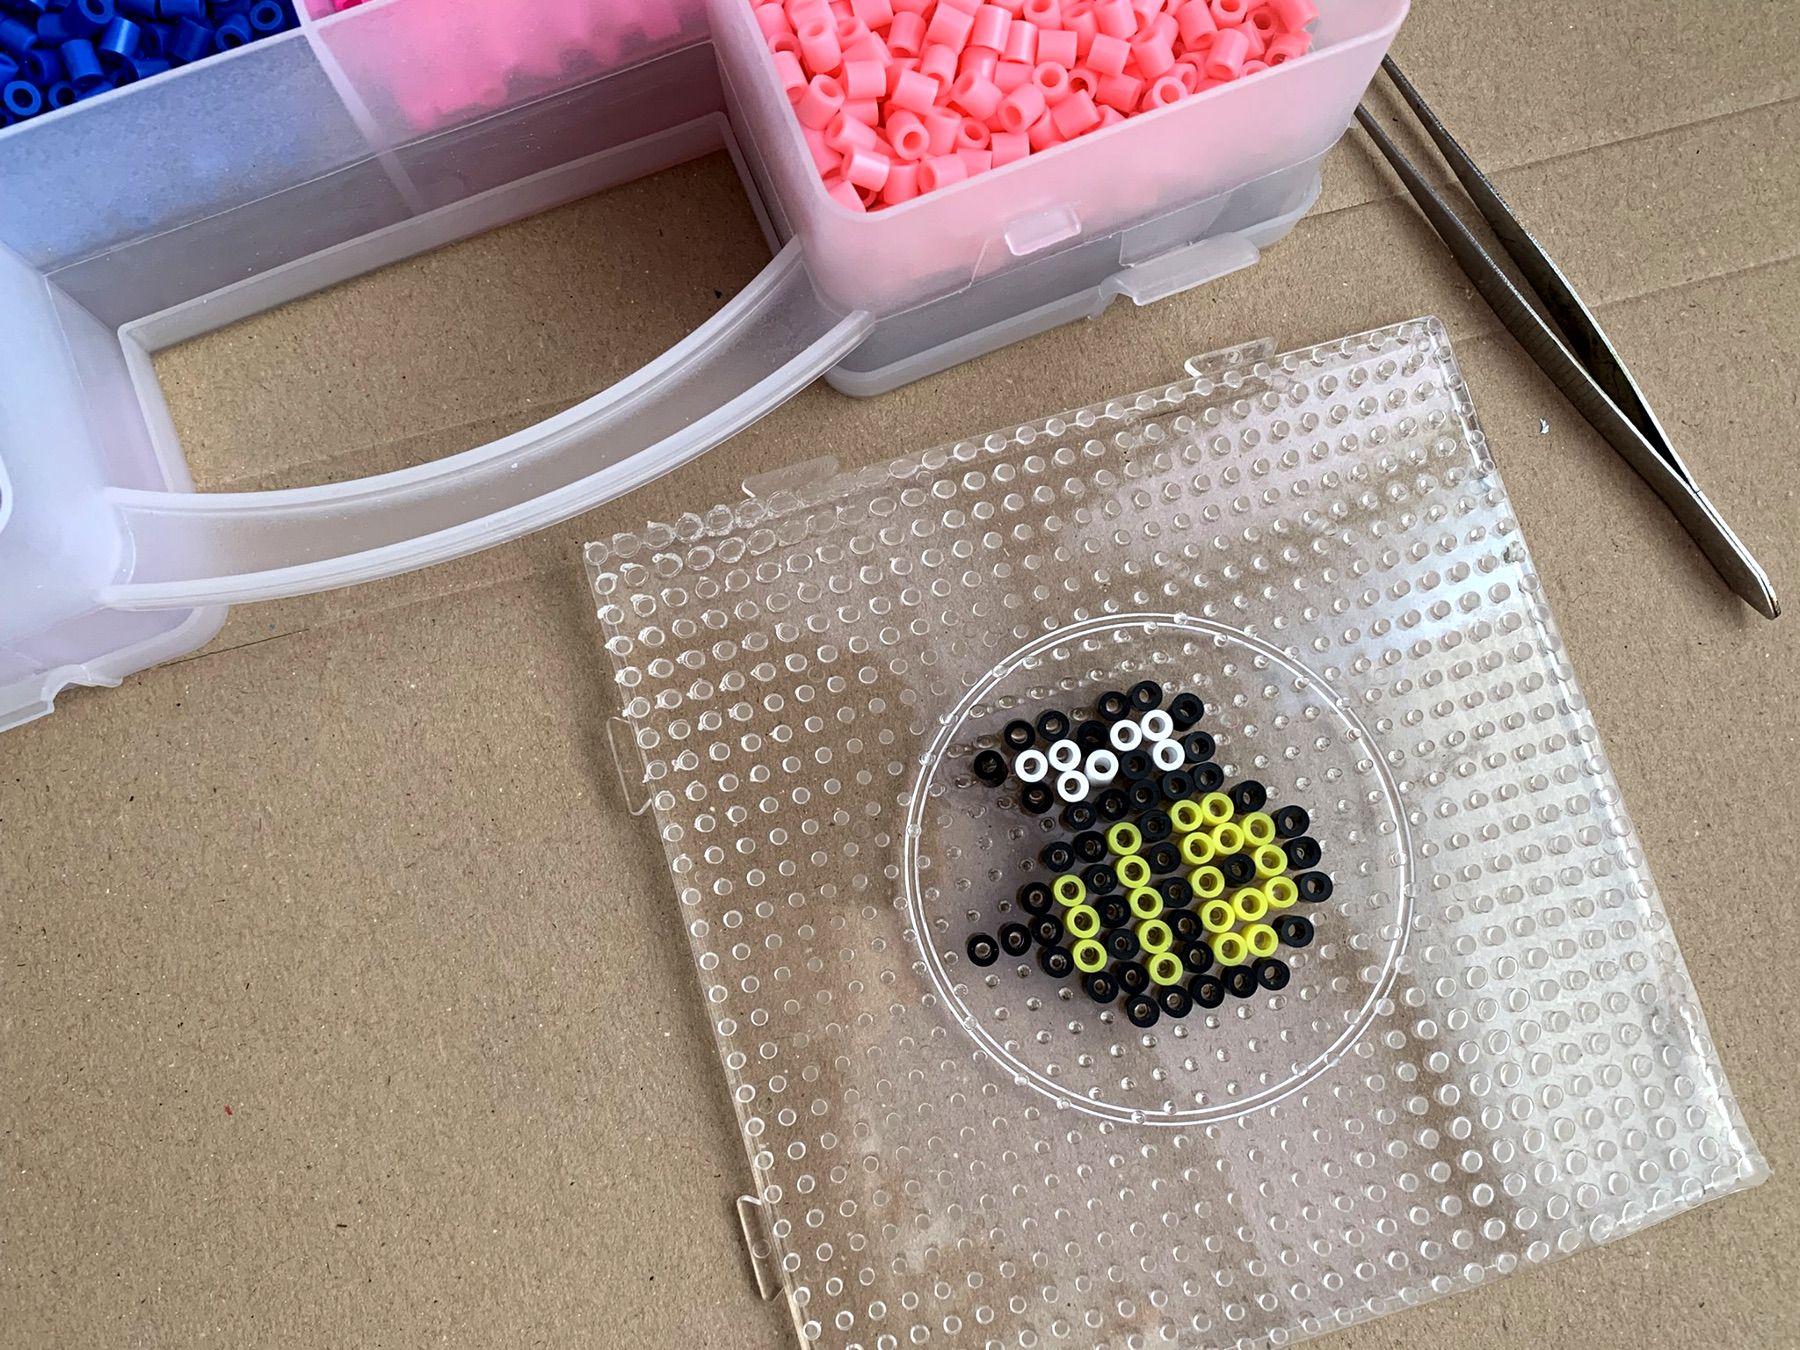
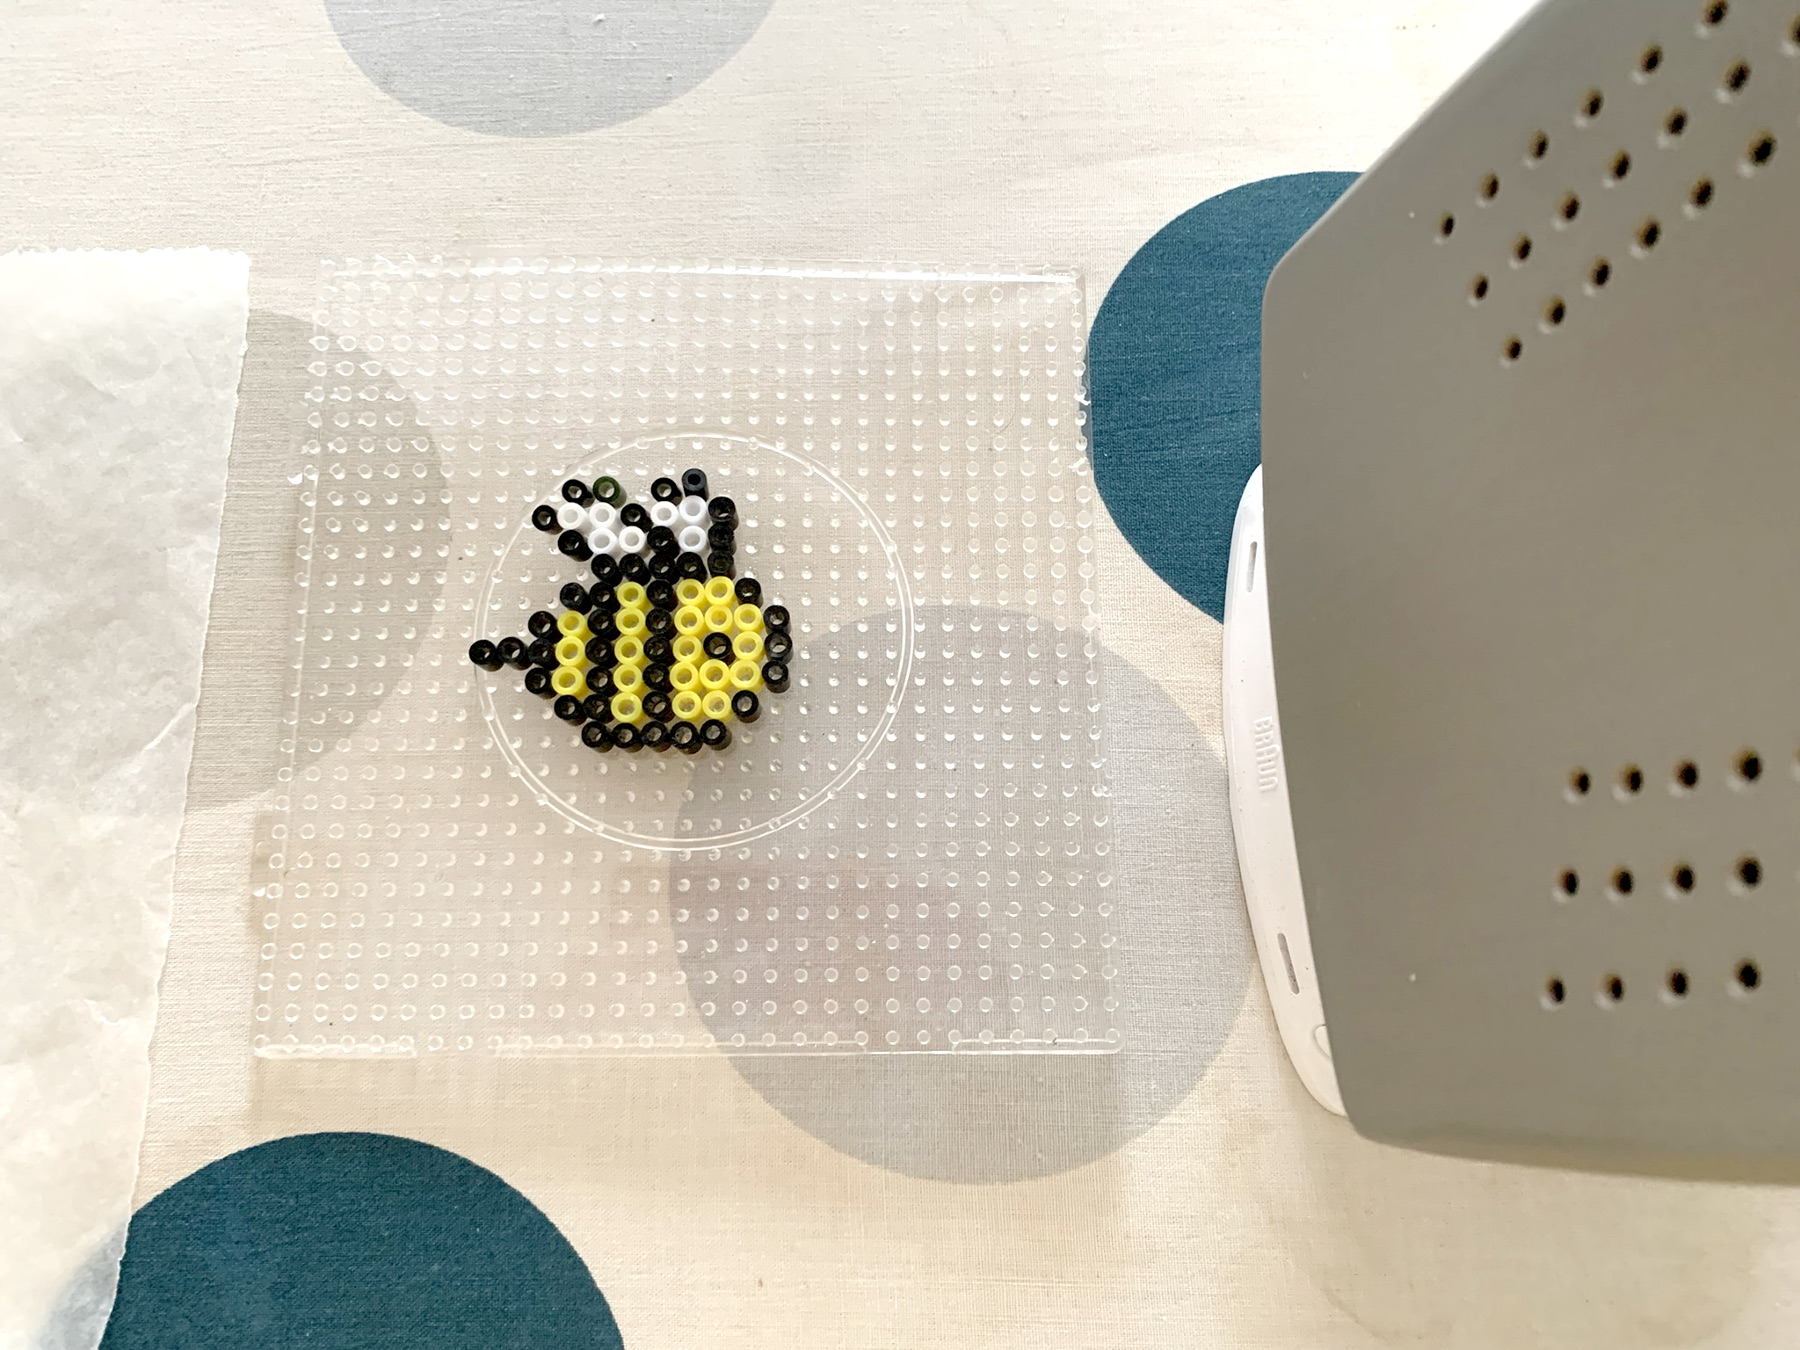
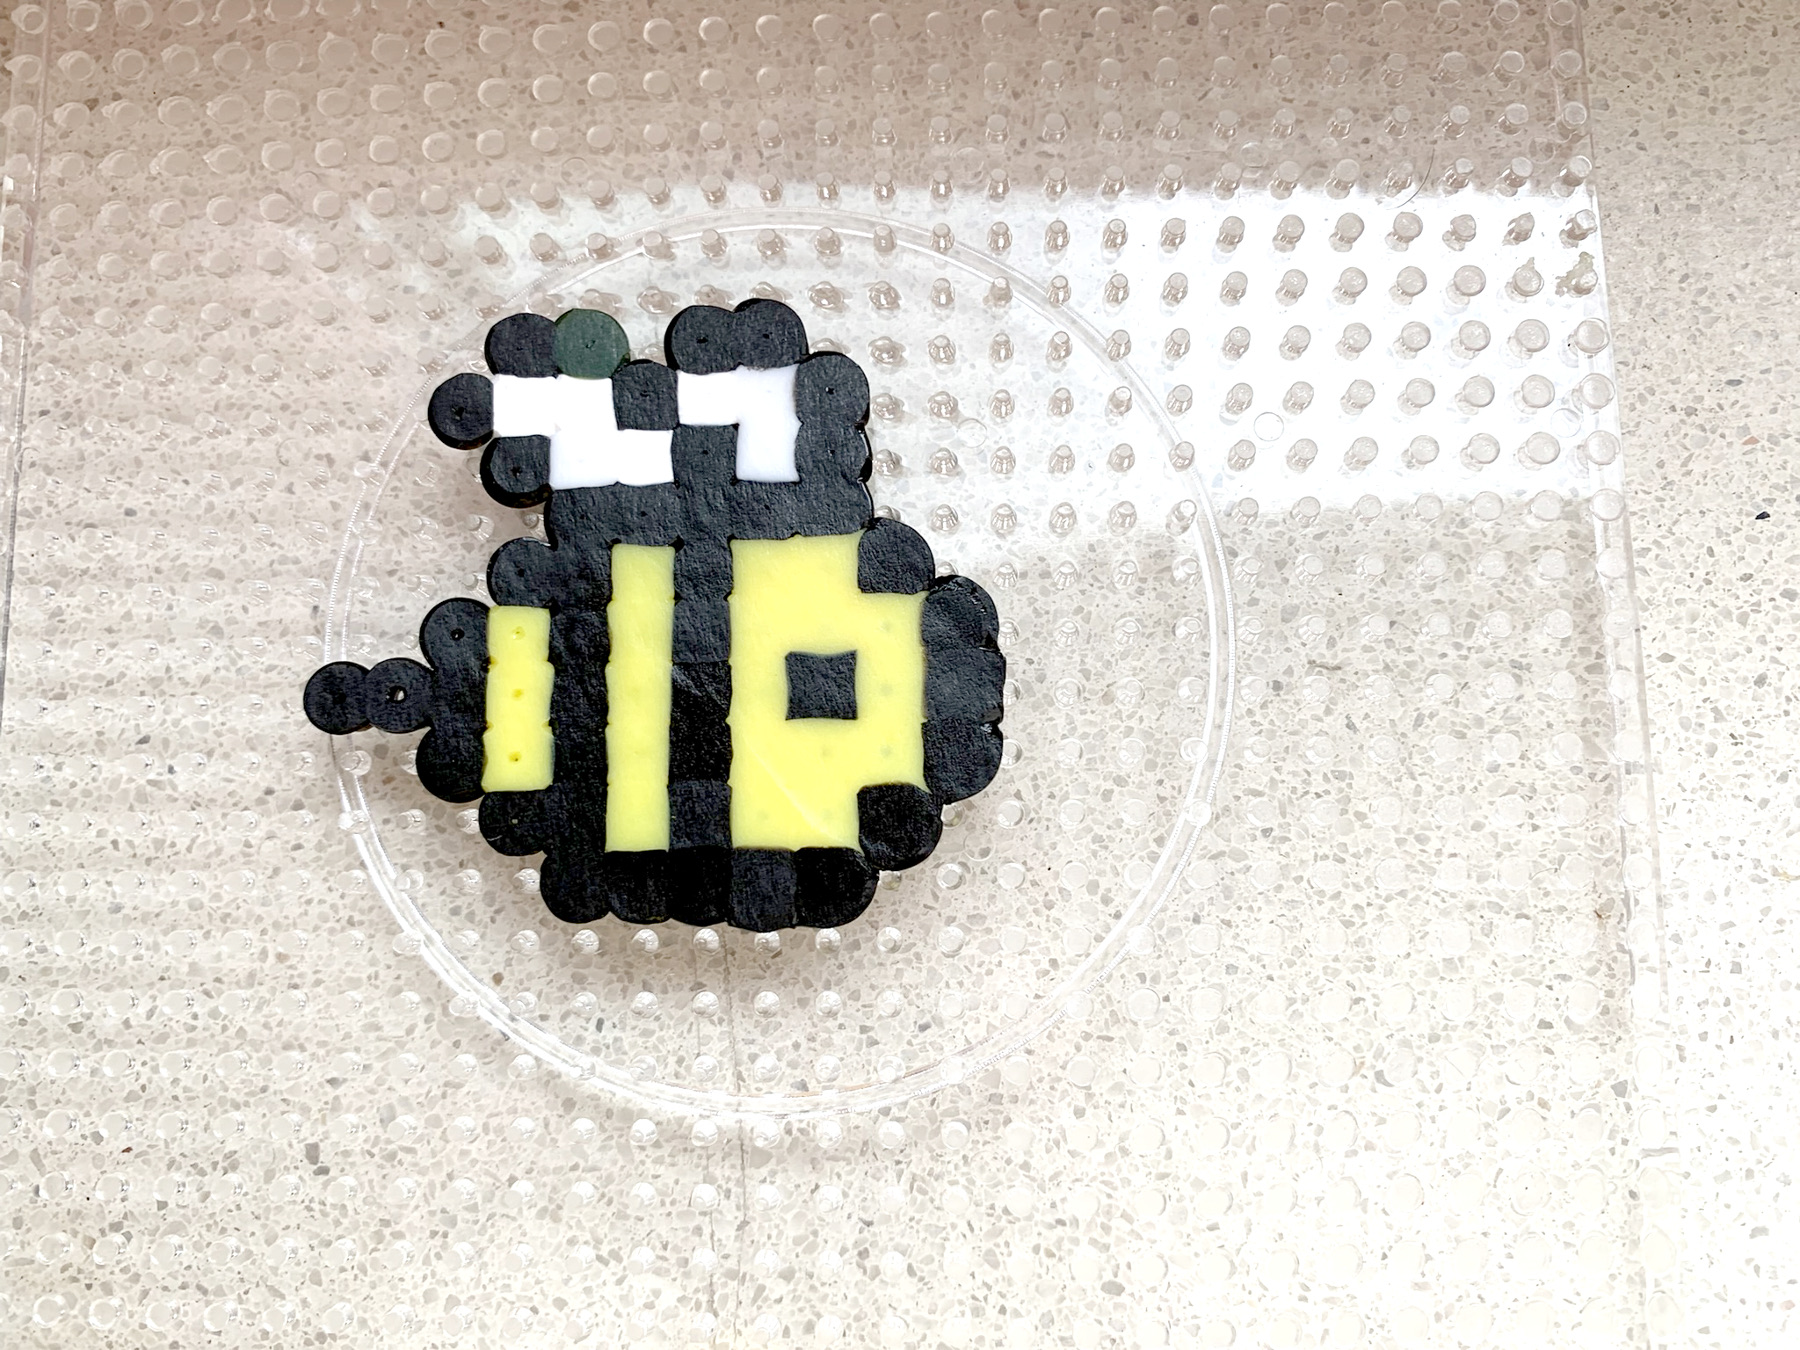
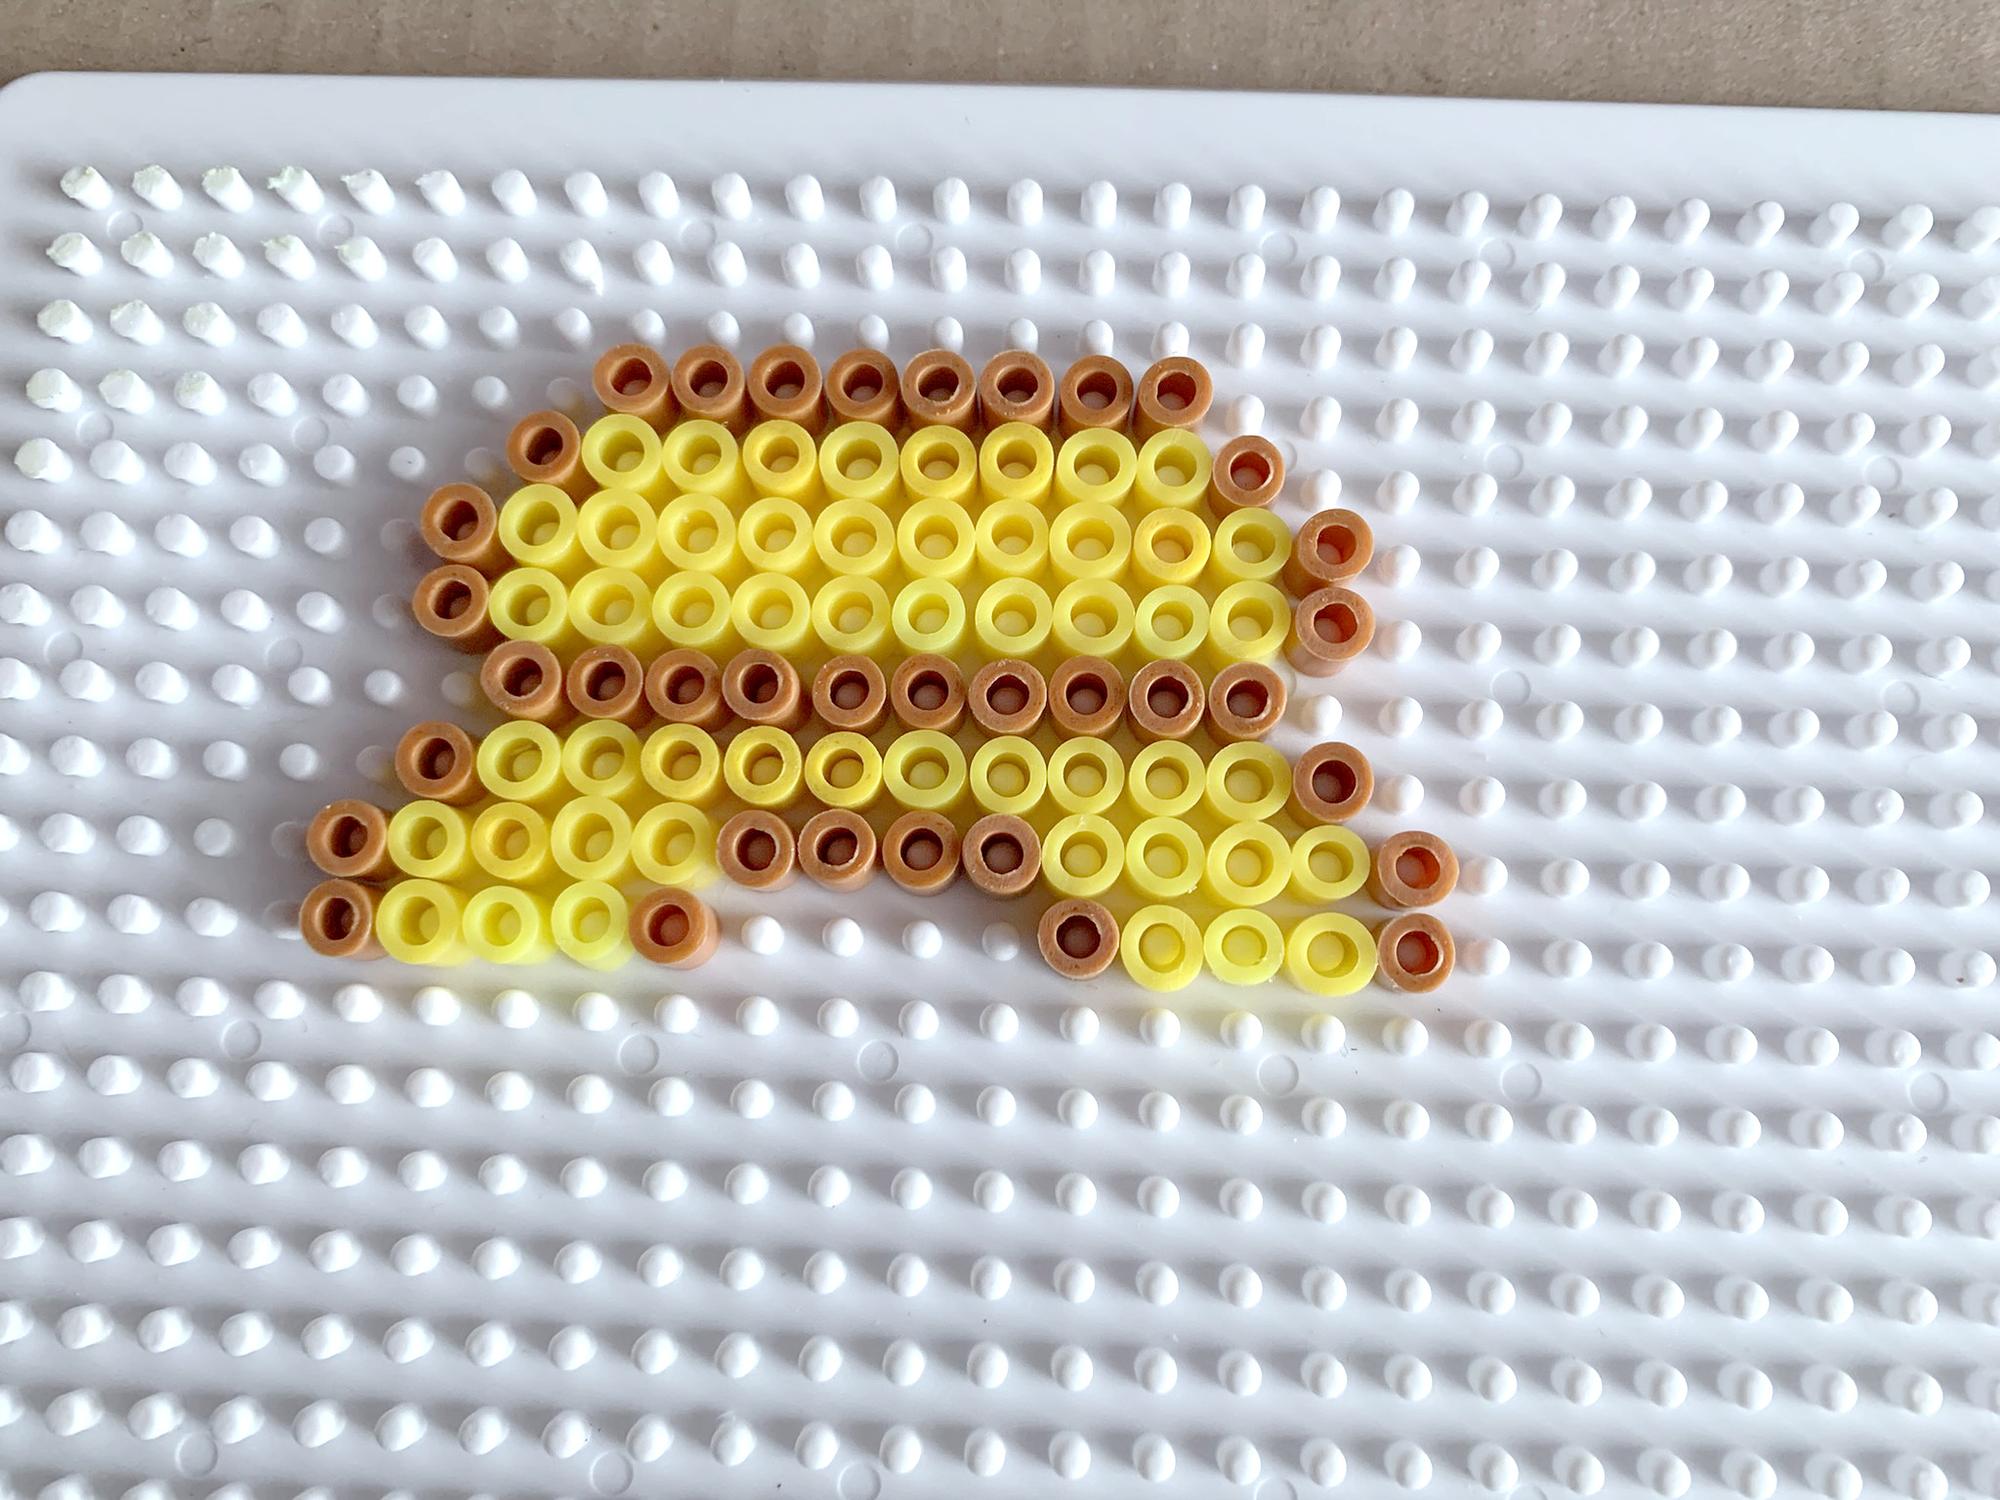
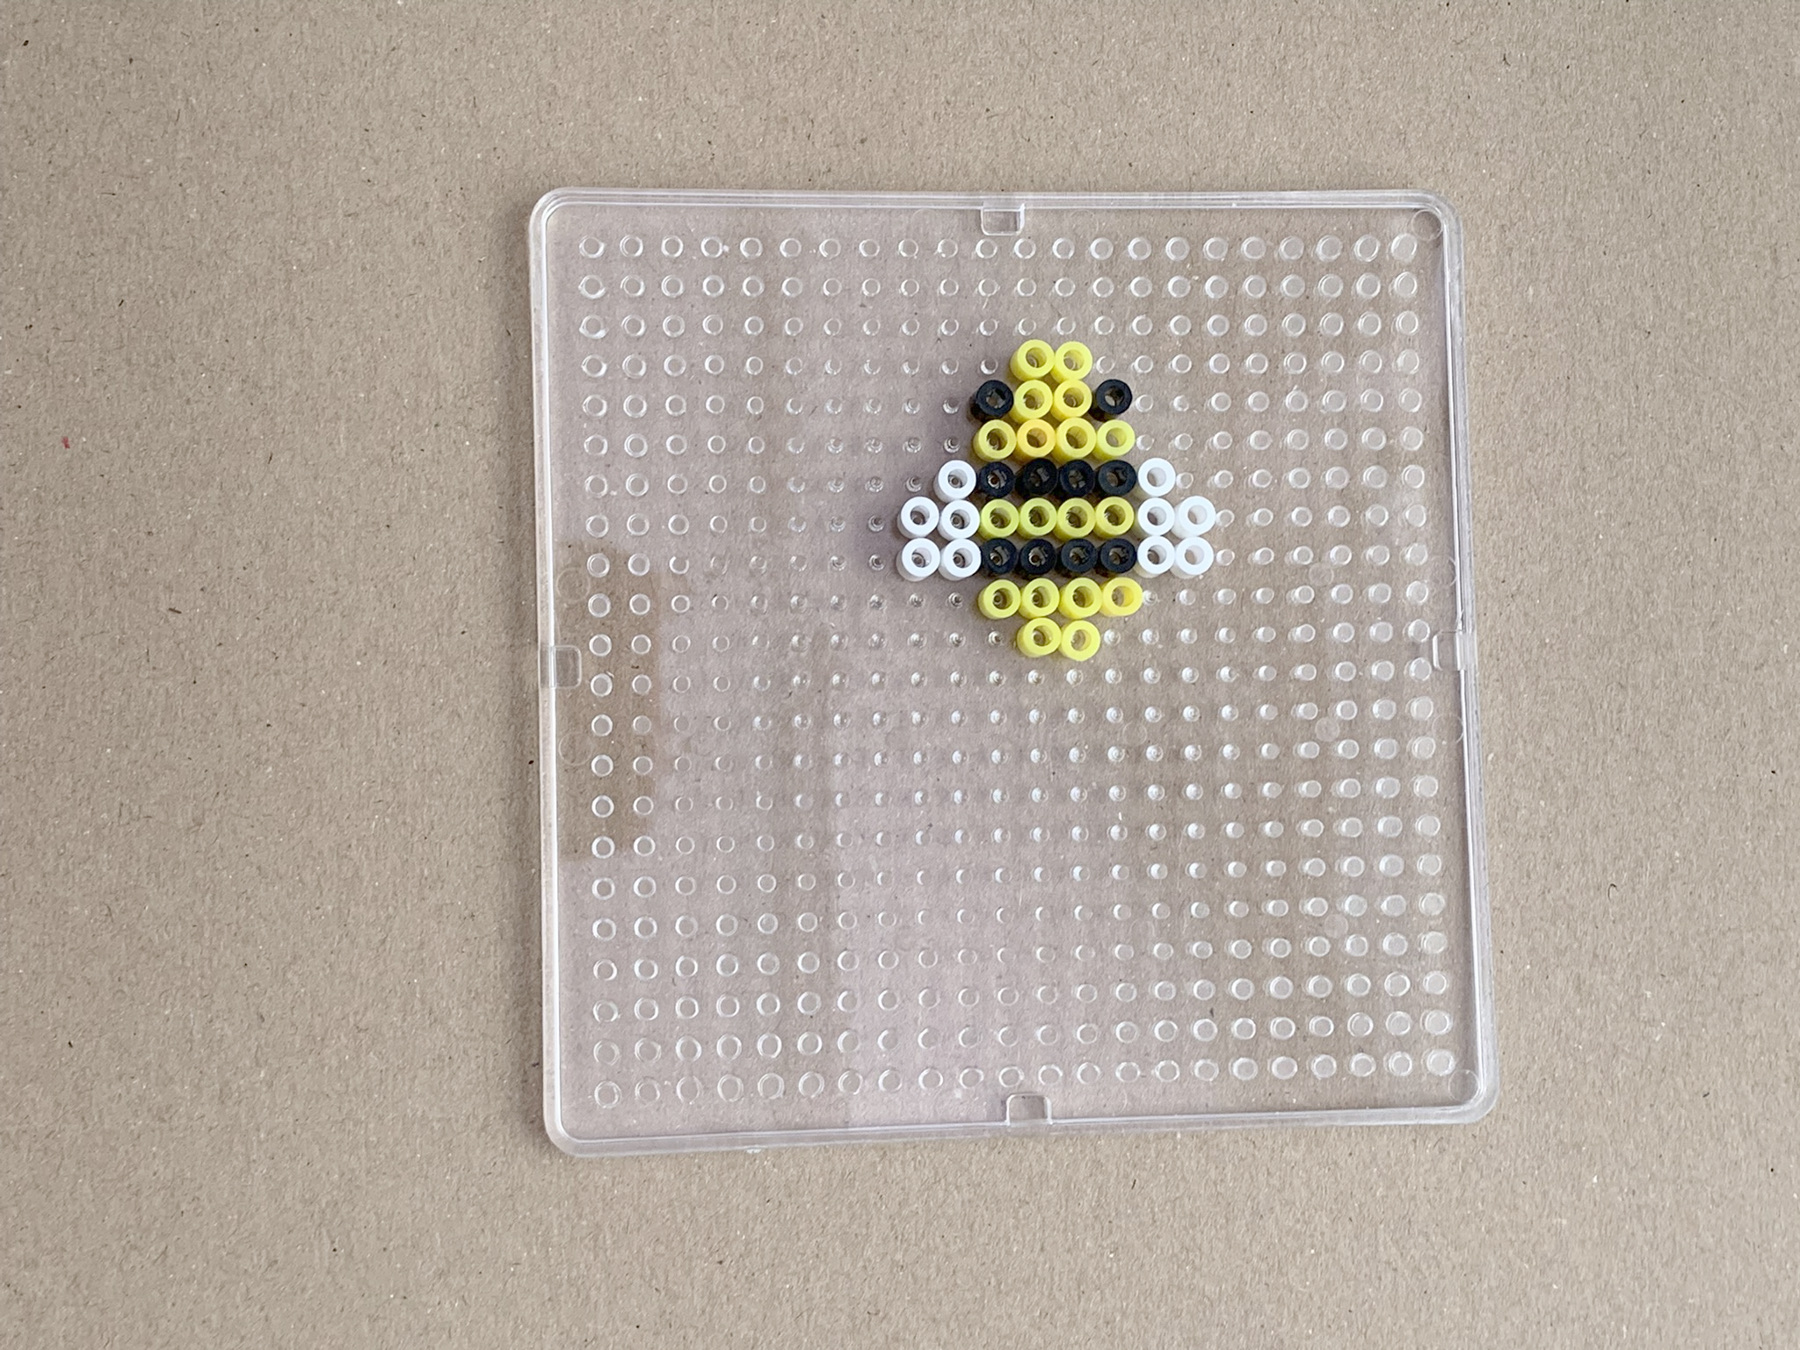
Place the largest bee.
Iron set on half-high heat.
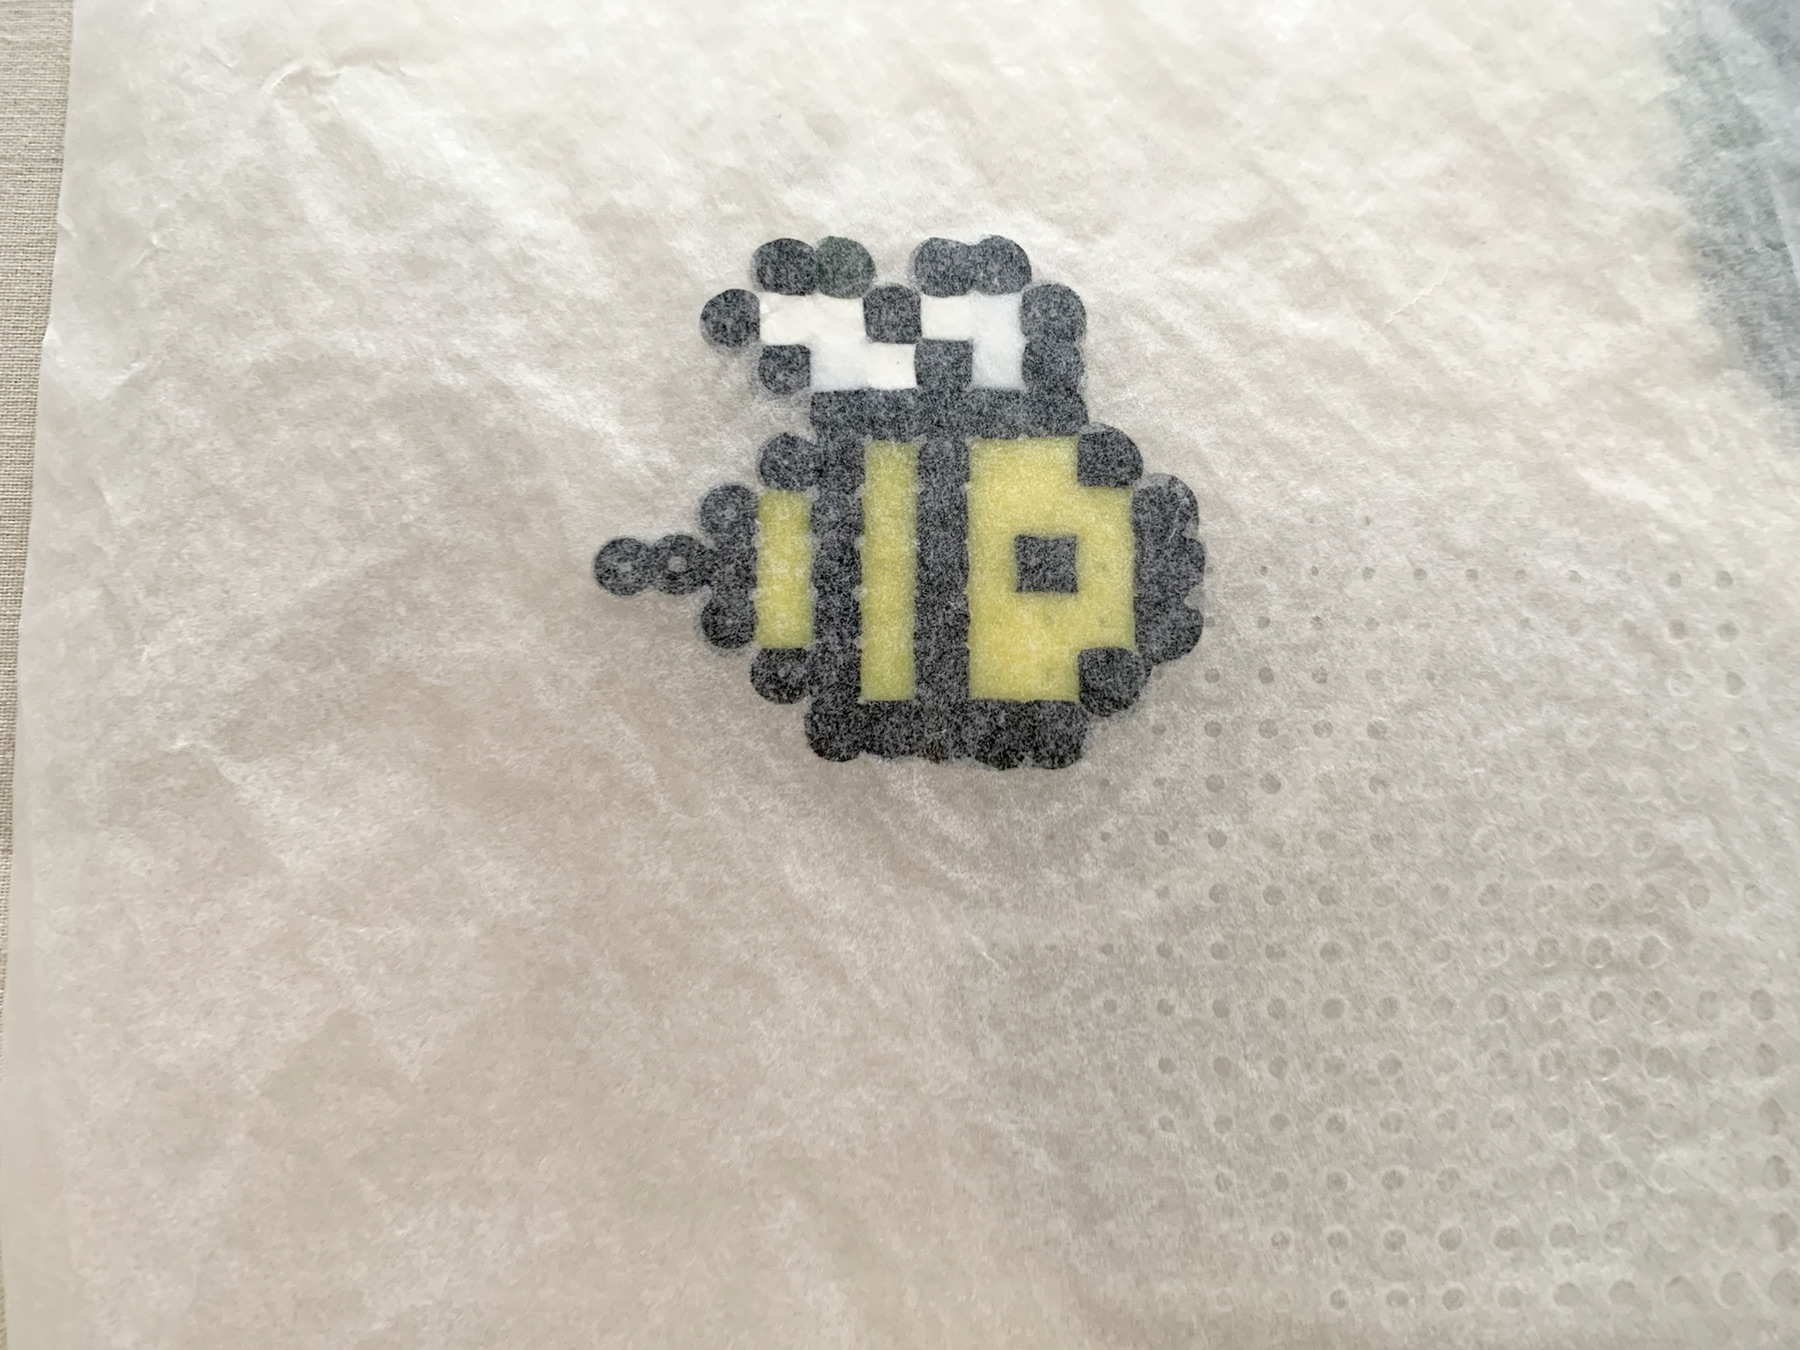
Cover the bee with baking paper.
Now iron 20 seconds.
Iron carefully, in a circular motion
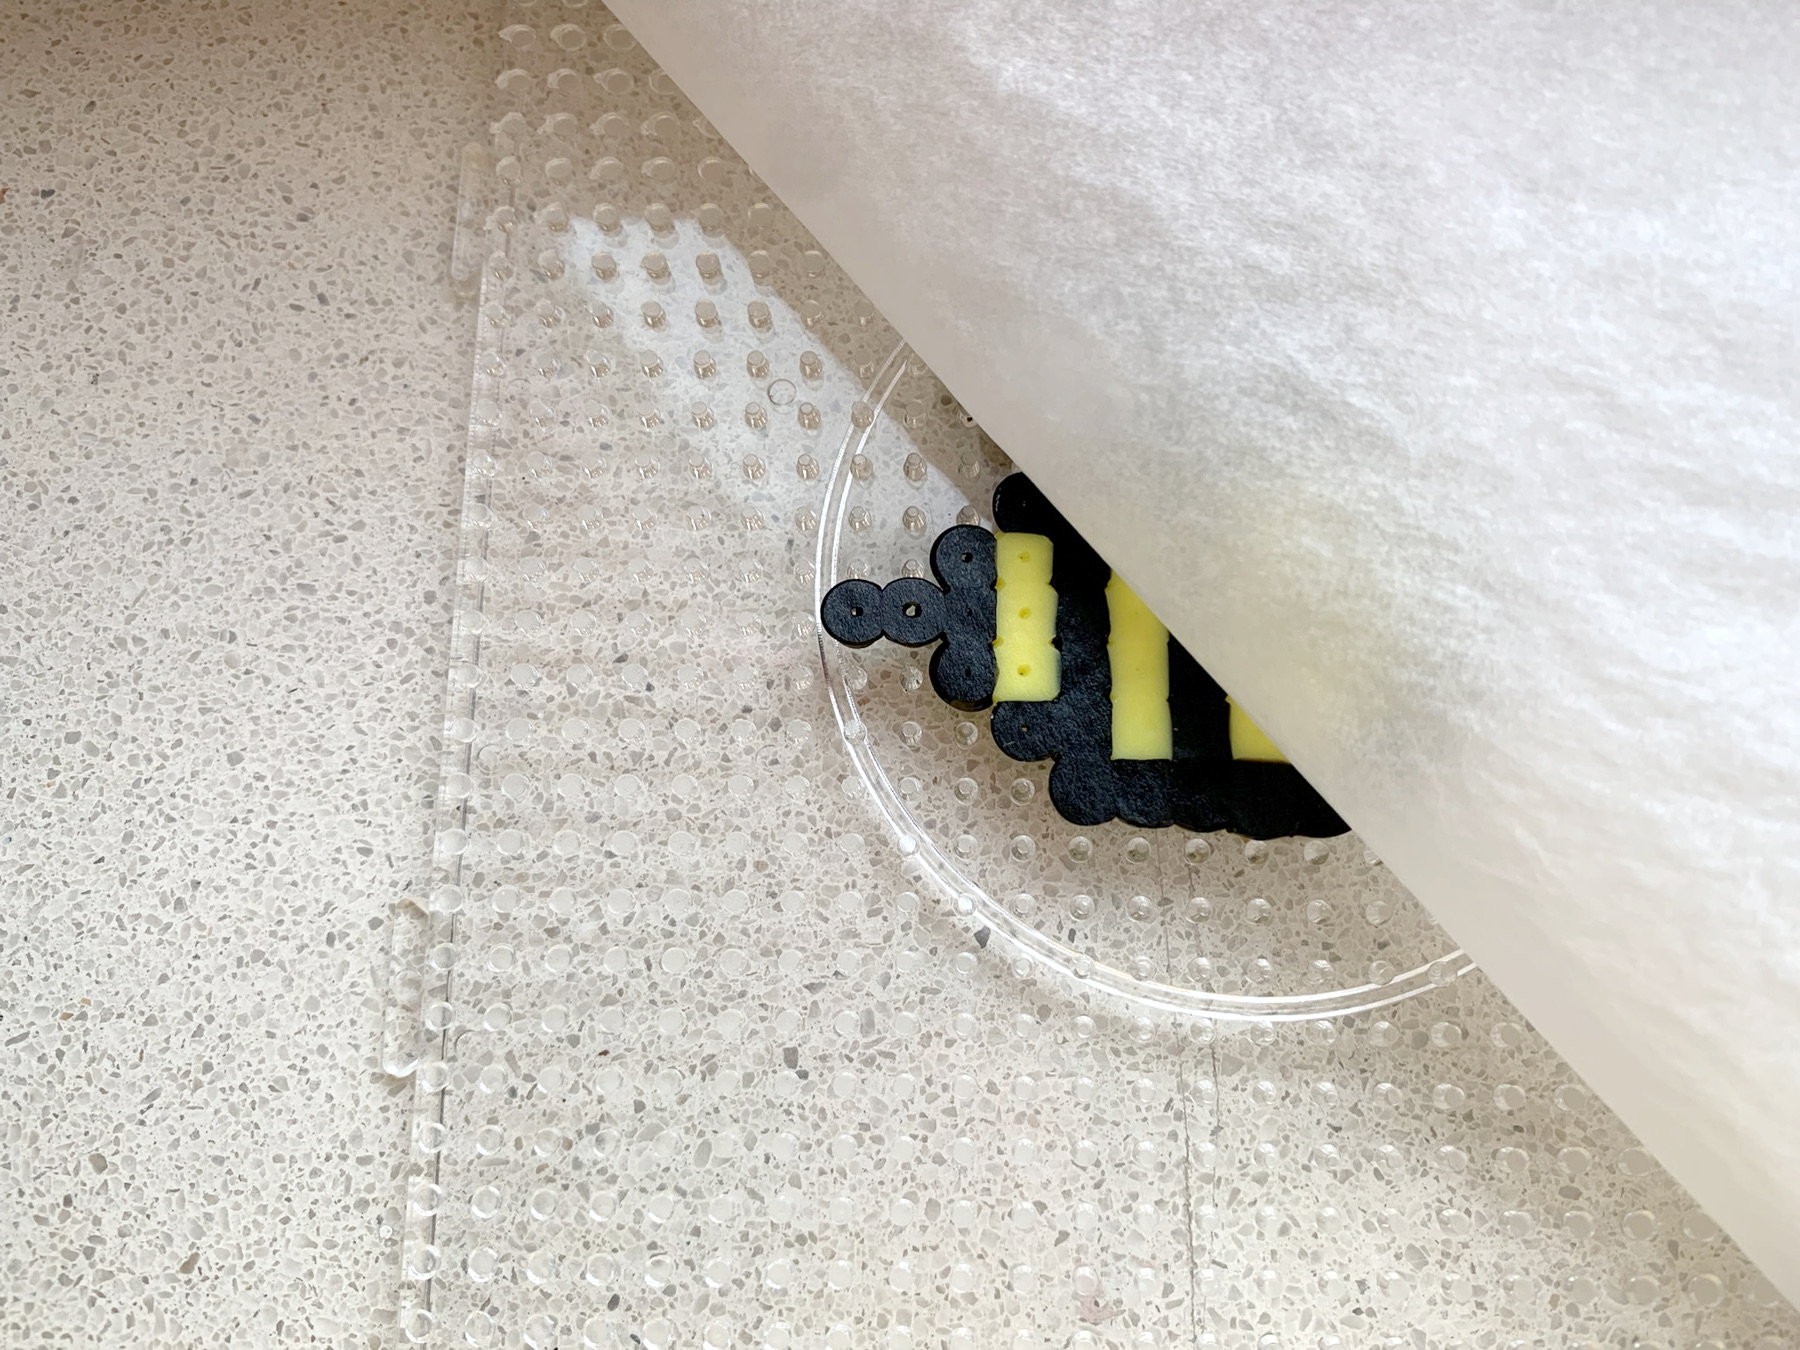
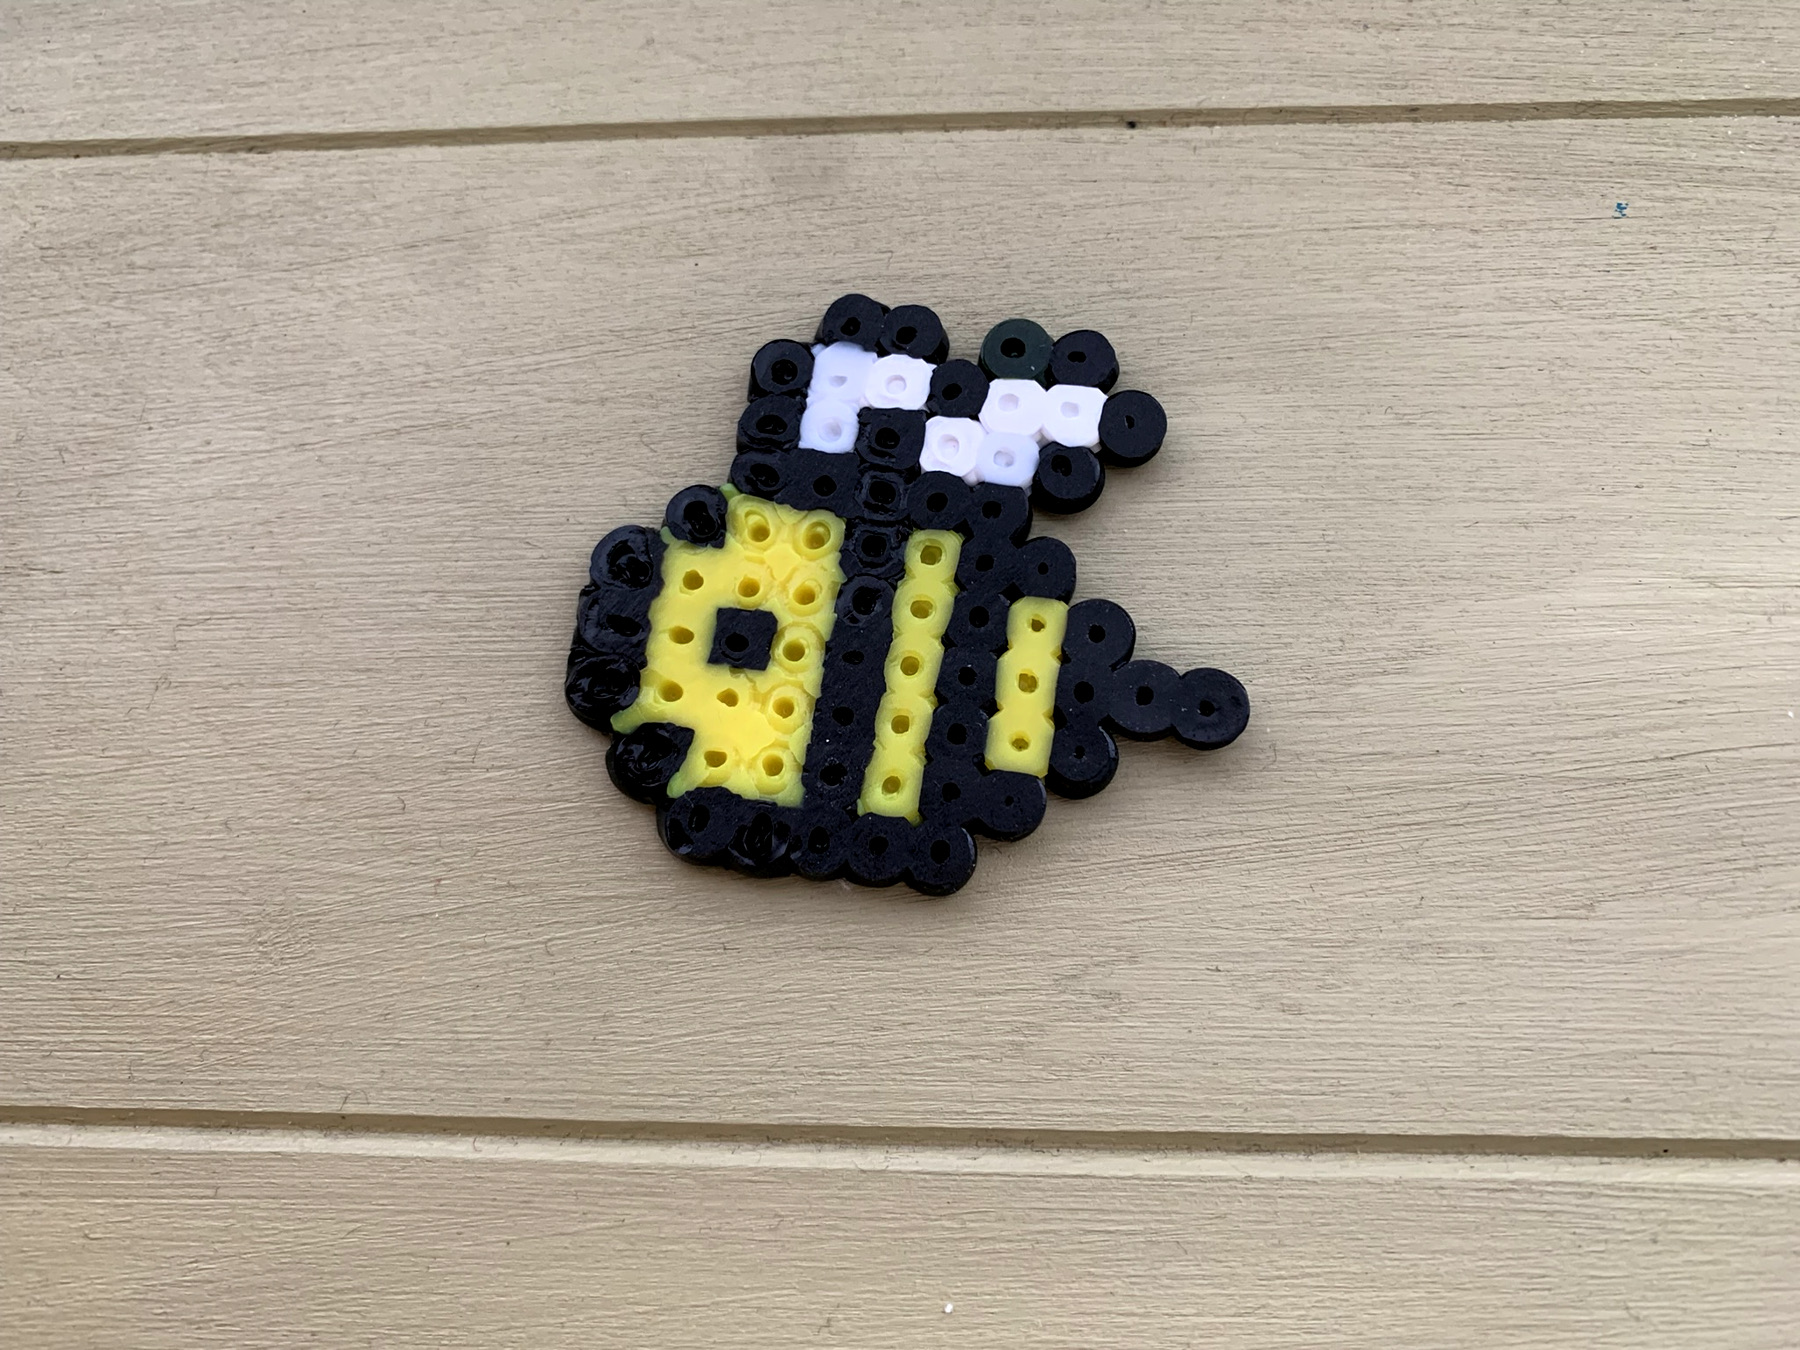
Peel off the baking paper.
Let the bee cool down.
Remove the bee from the base board.
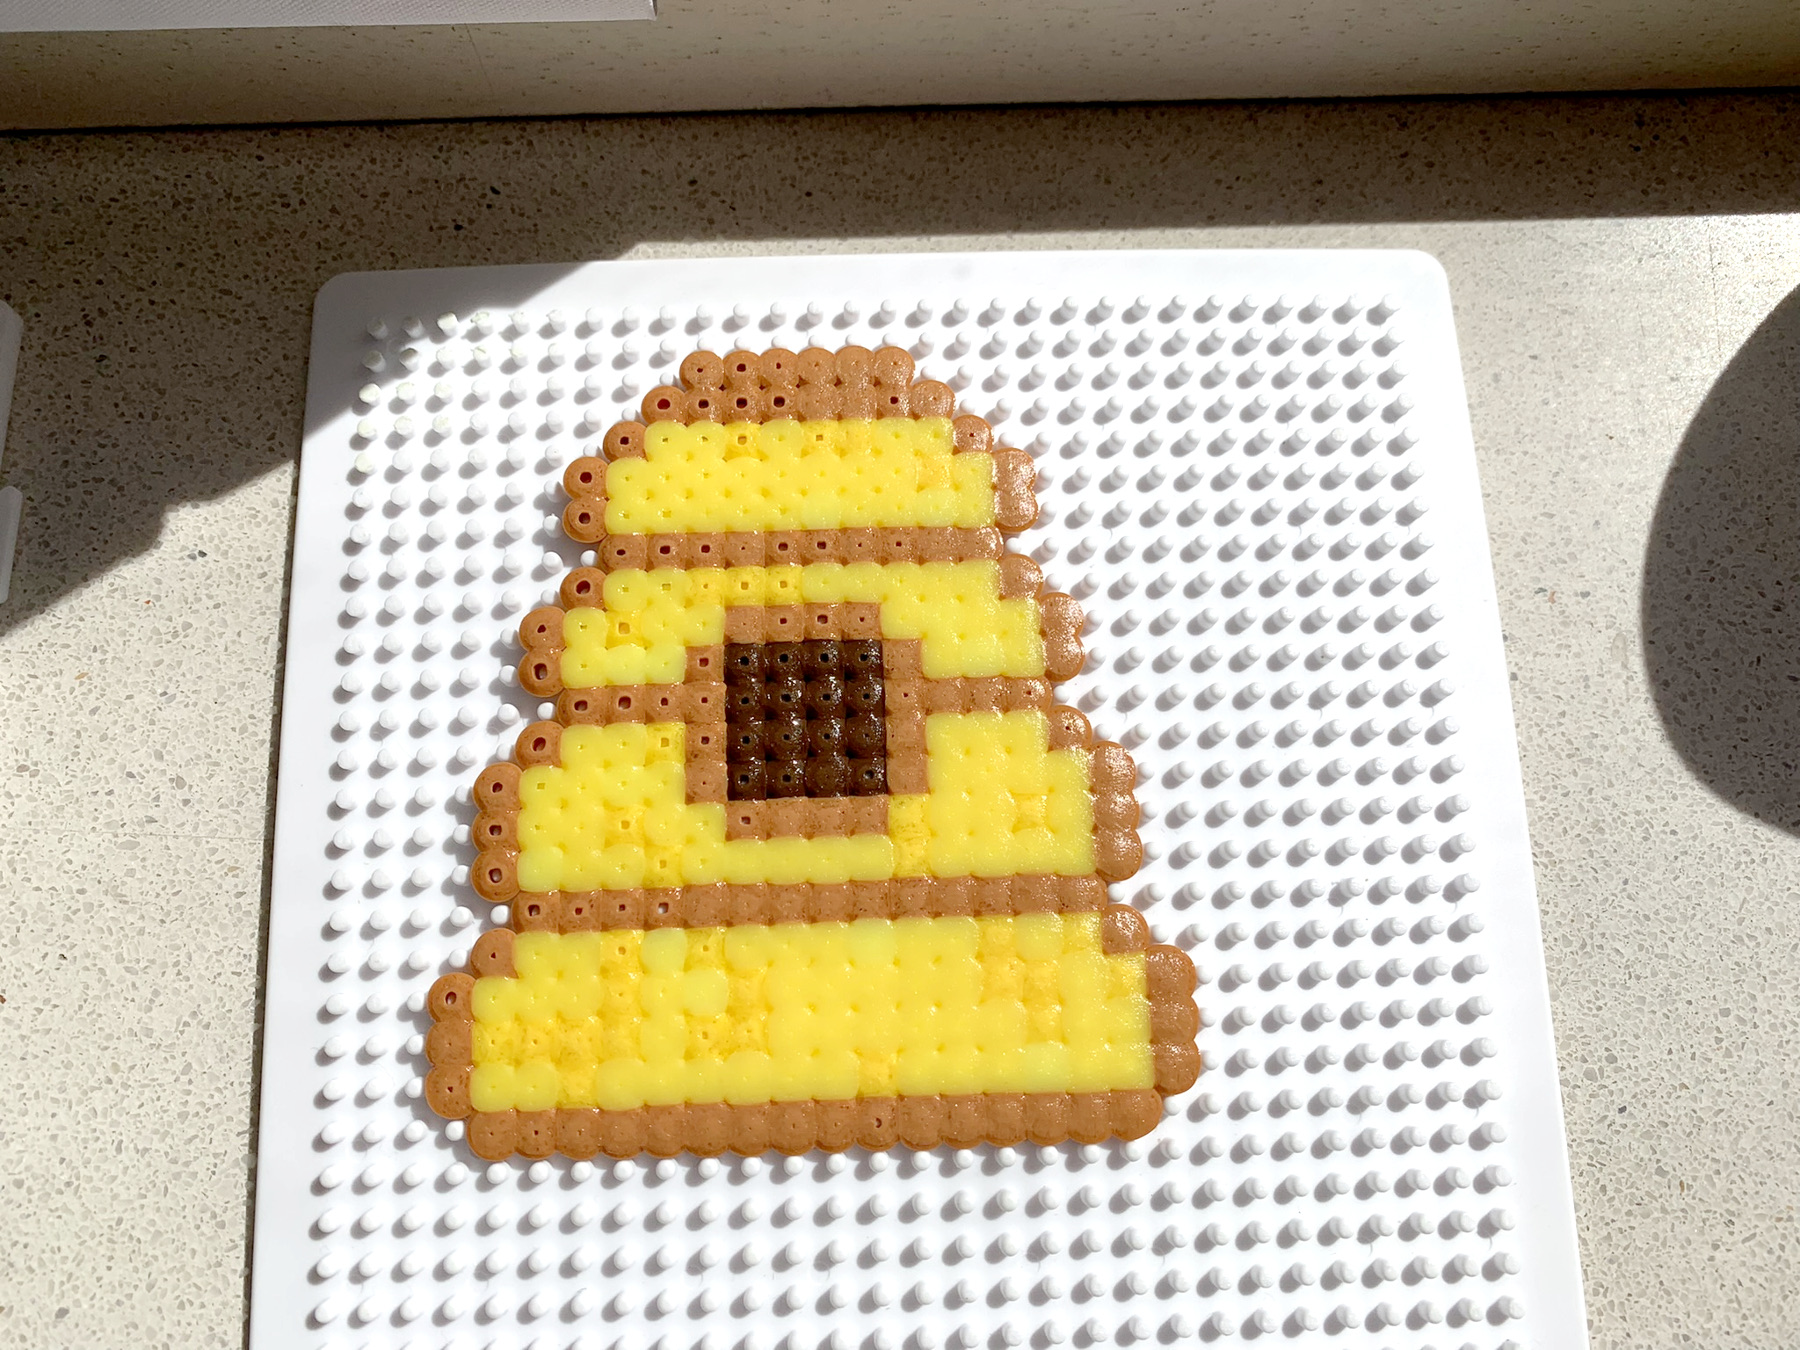
How to make the Beehive
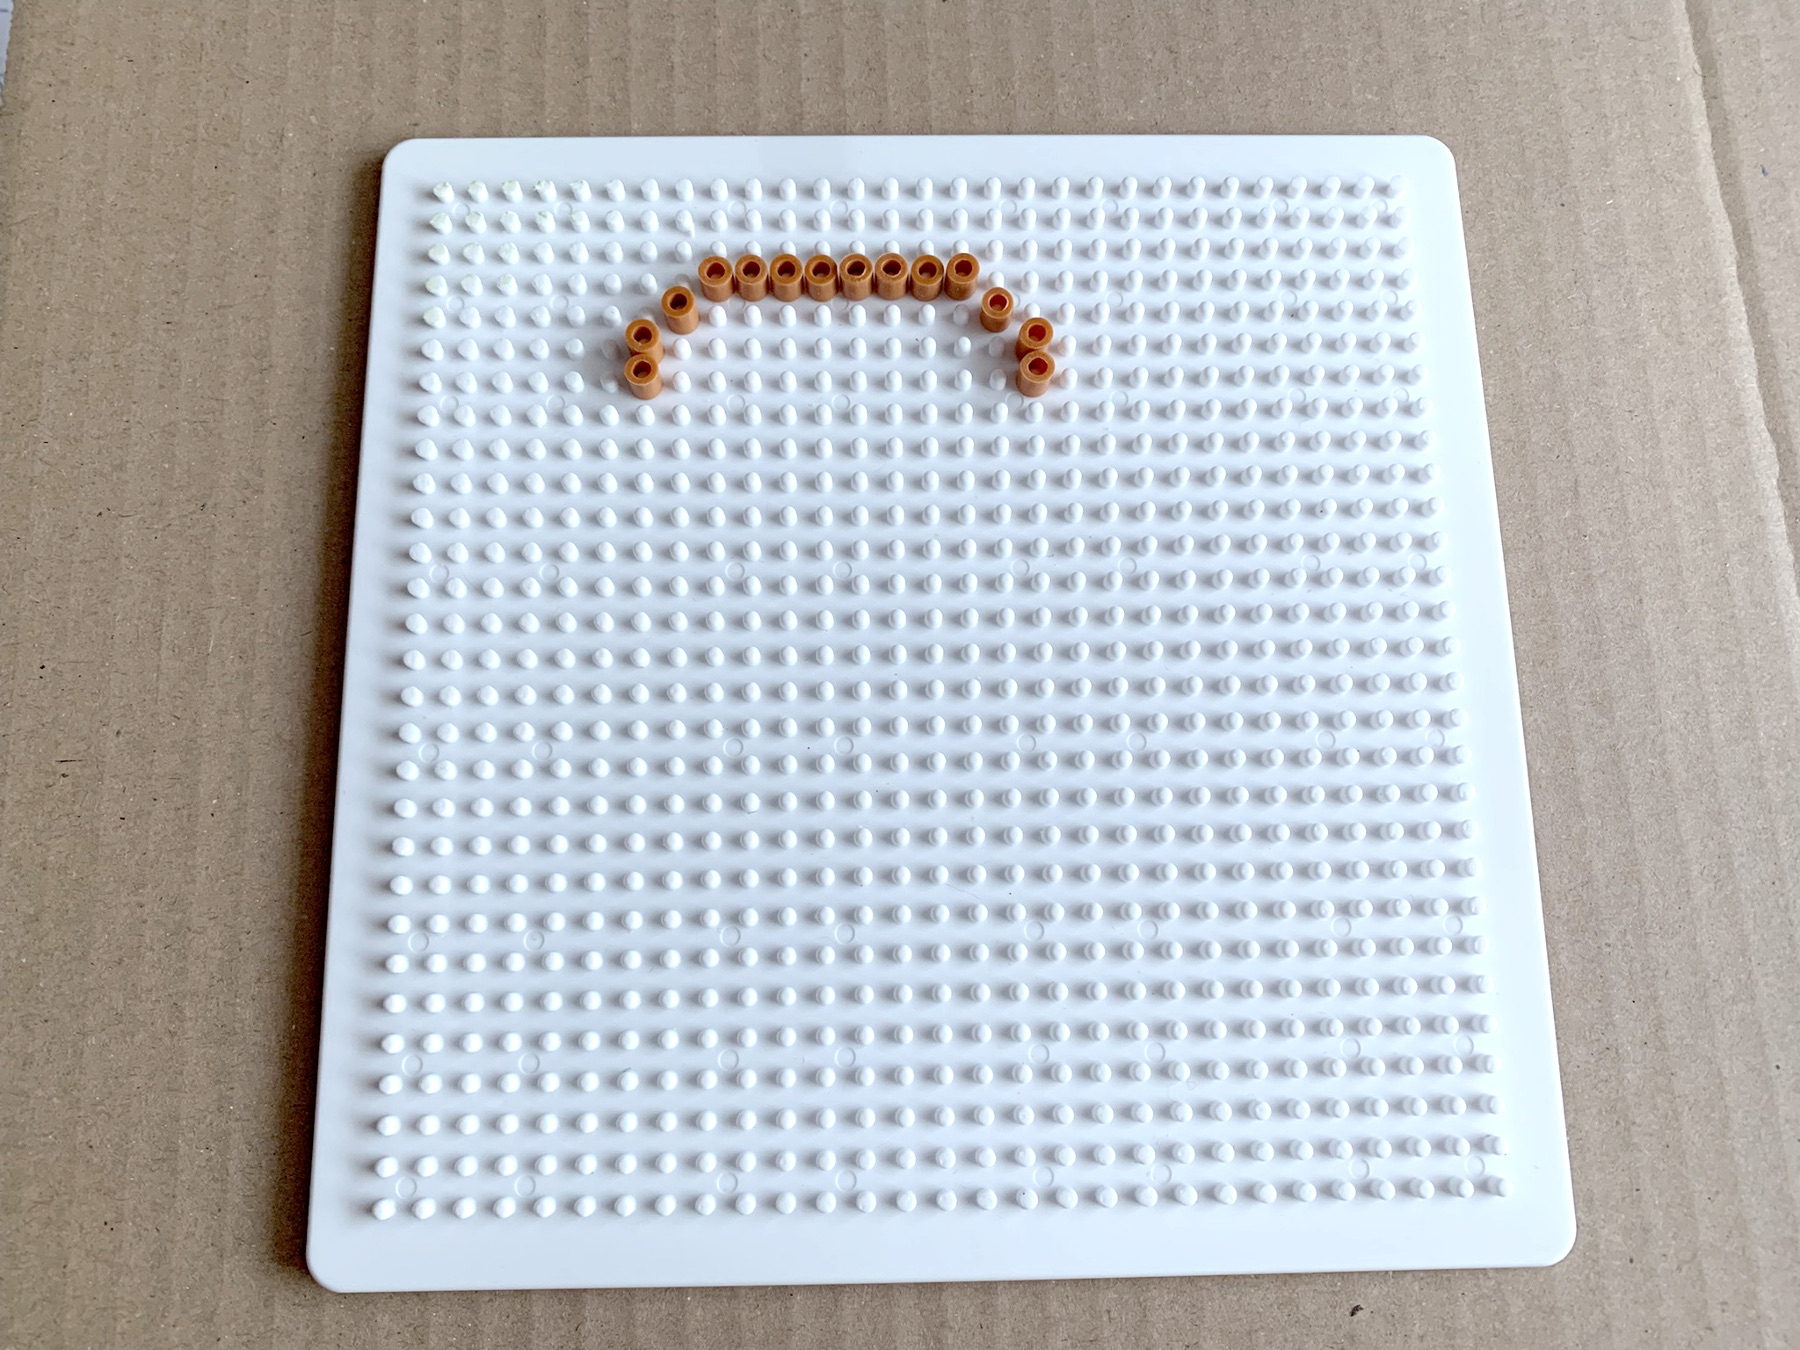
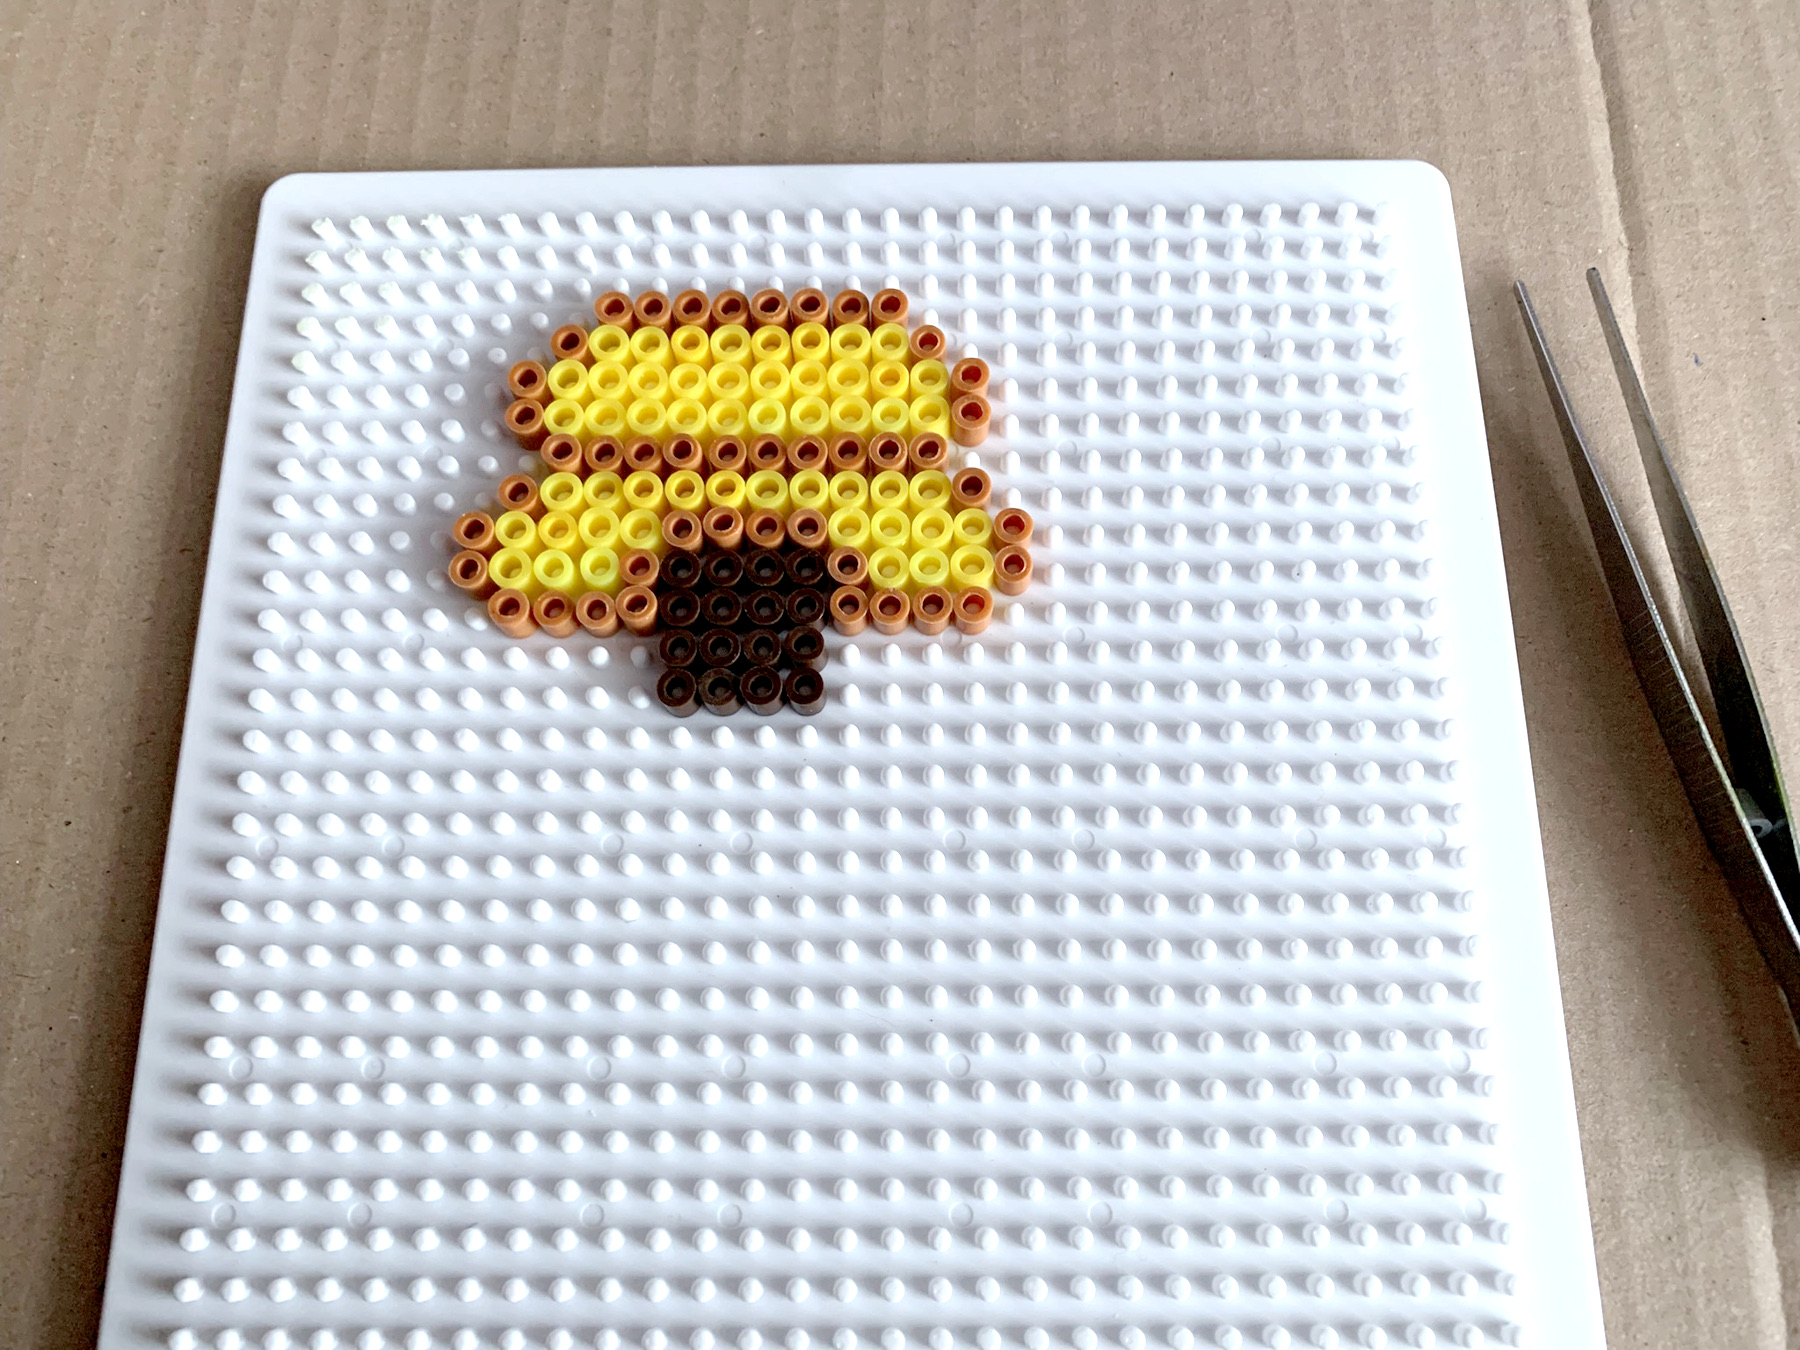
Place the top line.
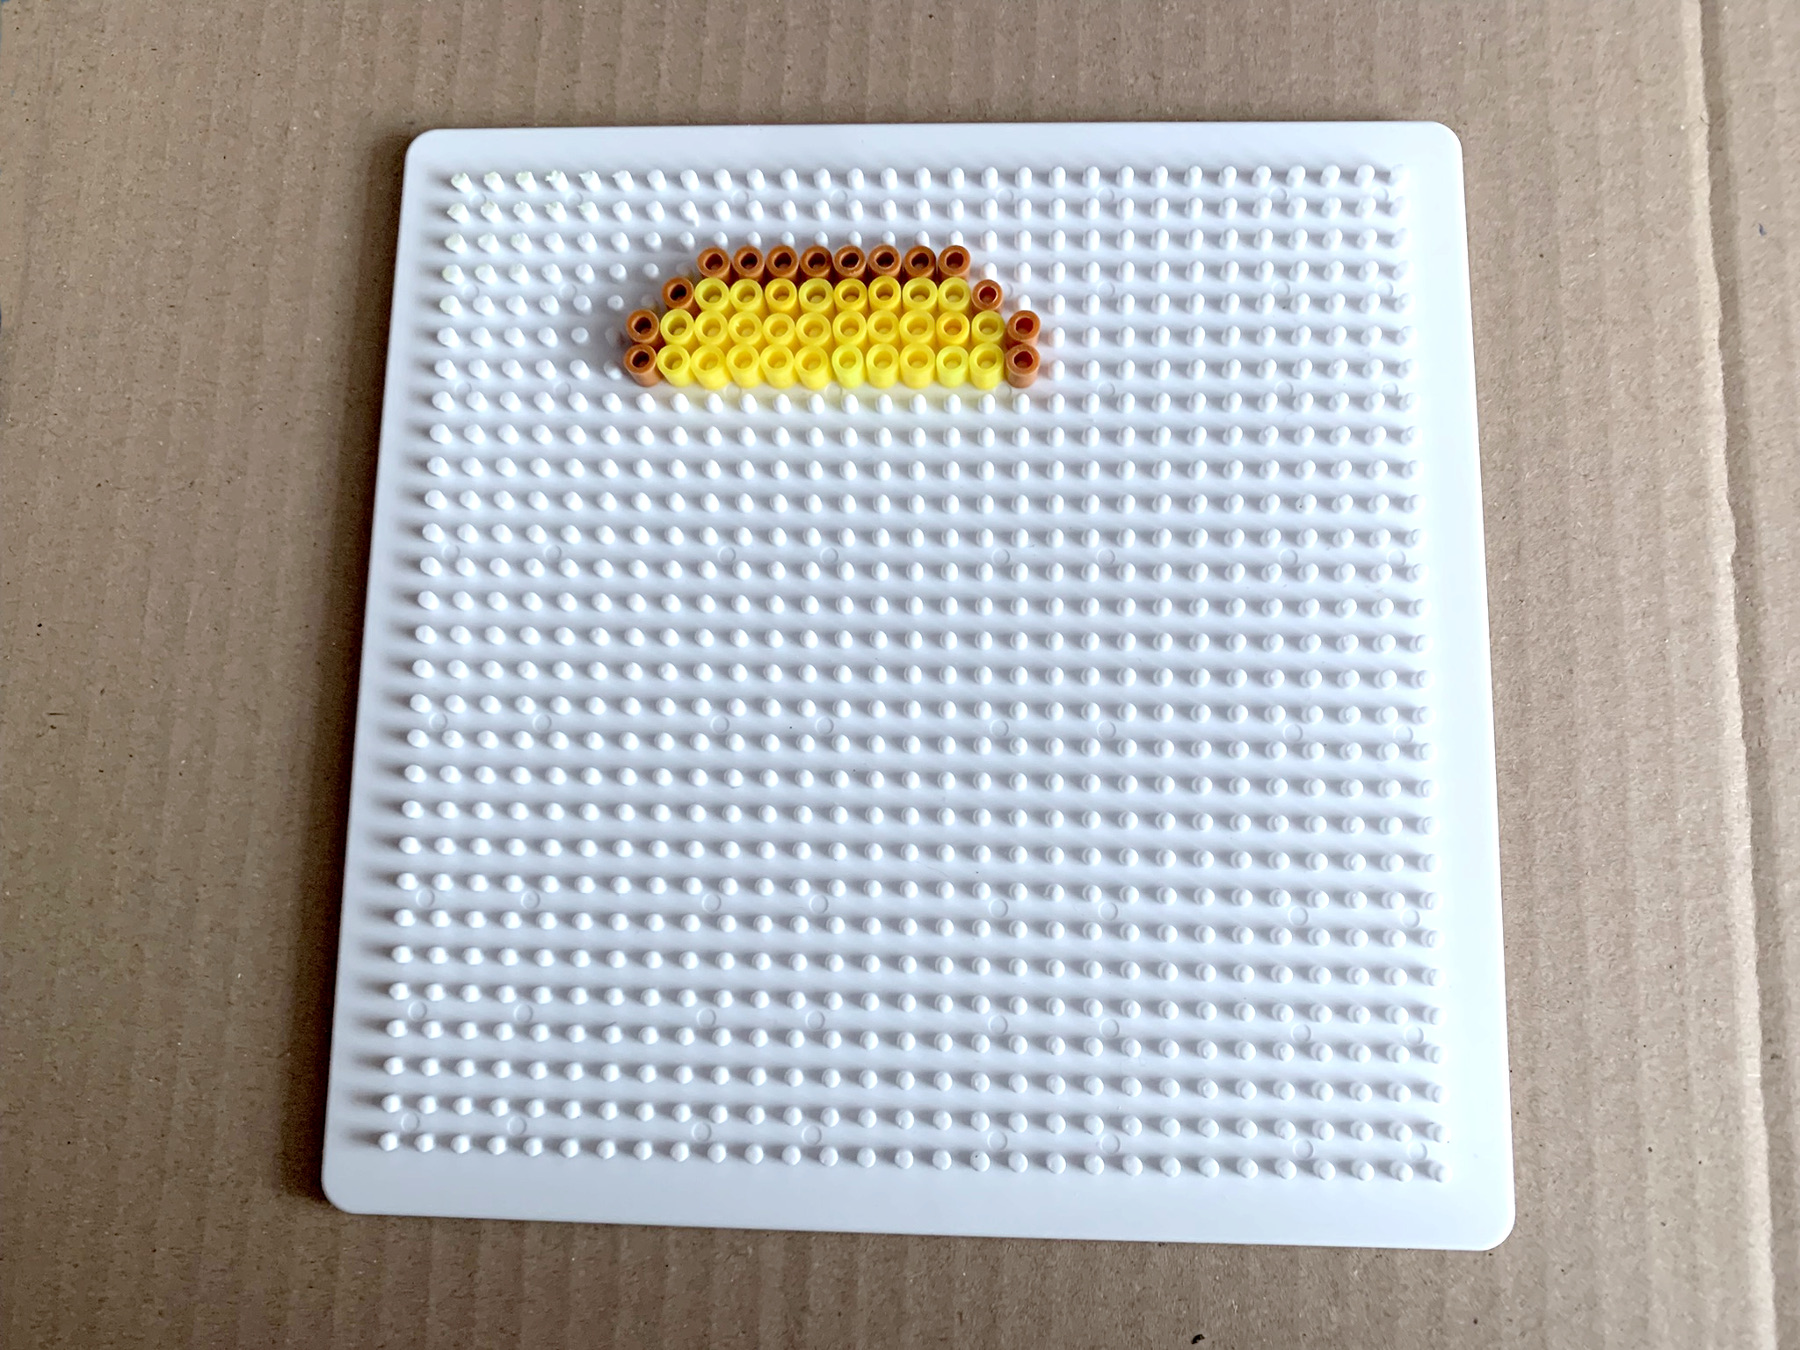
Fill it with yellow beads.
Lay the brown line and fill in again.
Make the dark-brown entrance.
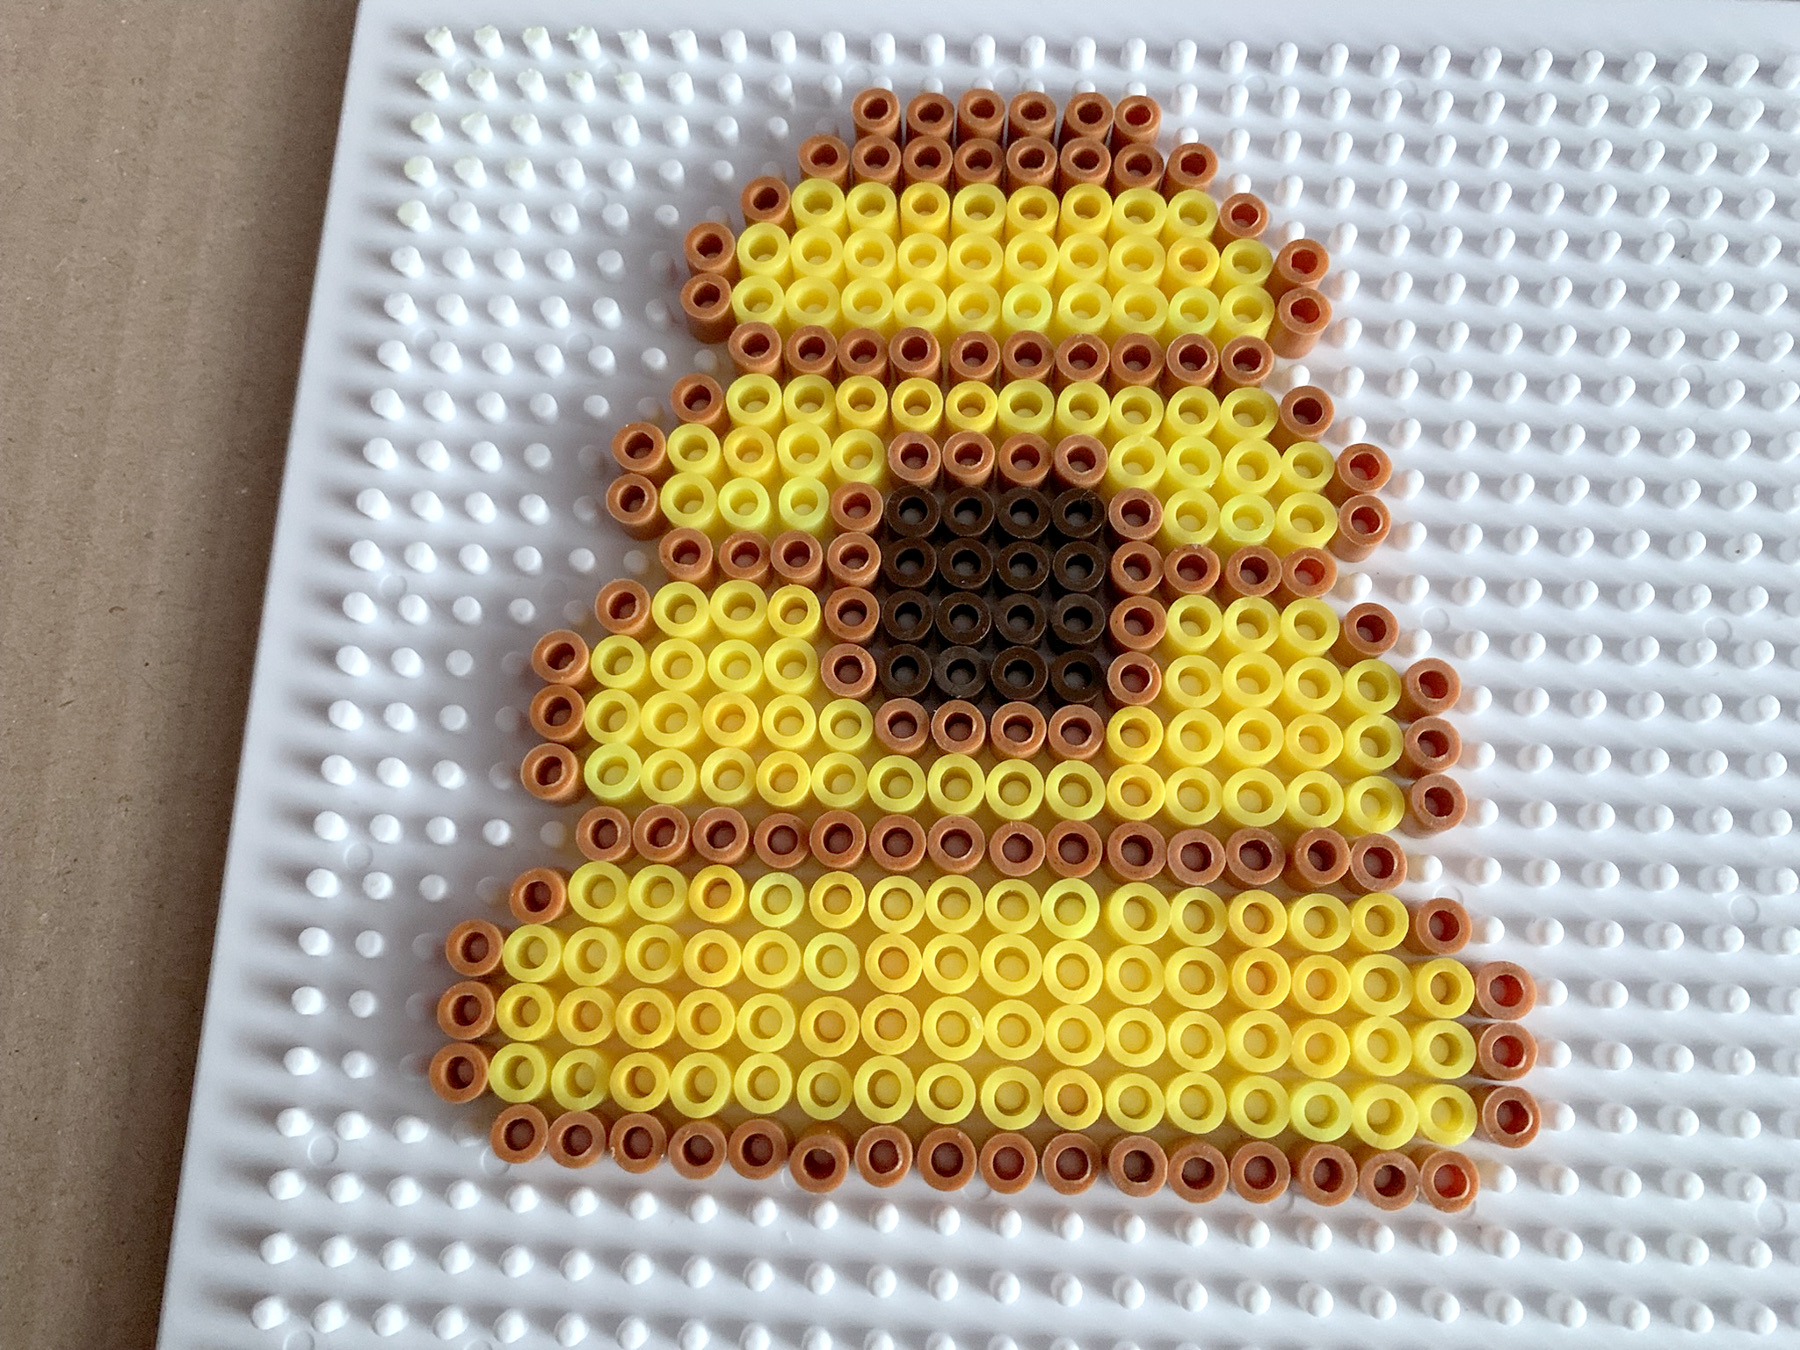
Put the last 2 parts in place.
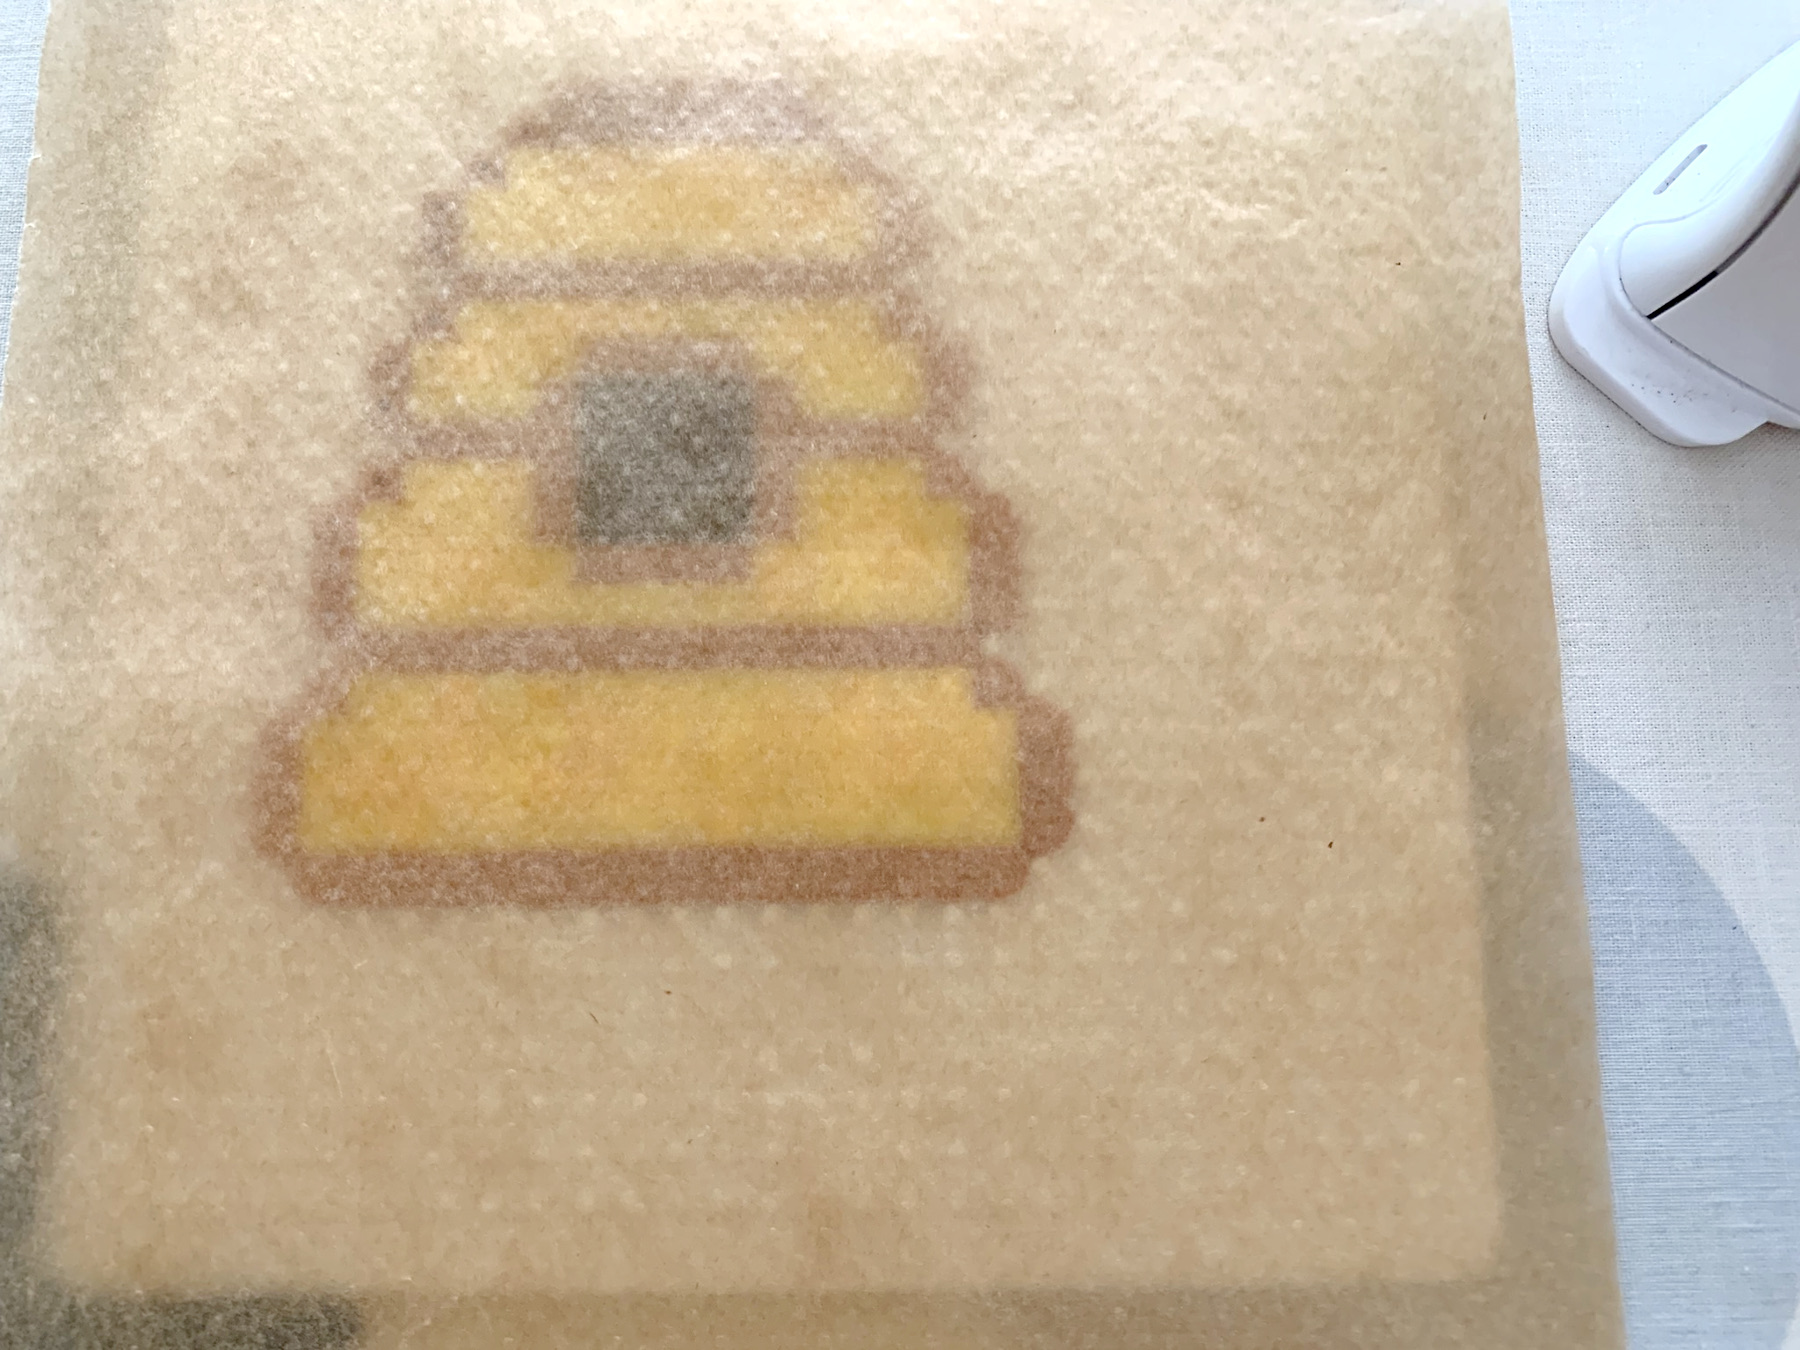
Cover with baking paper.
Iron the hive for +/- 20 seconds.
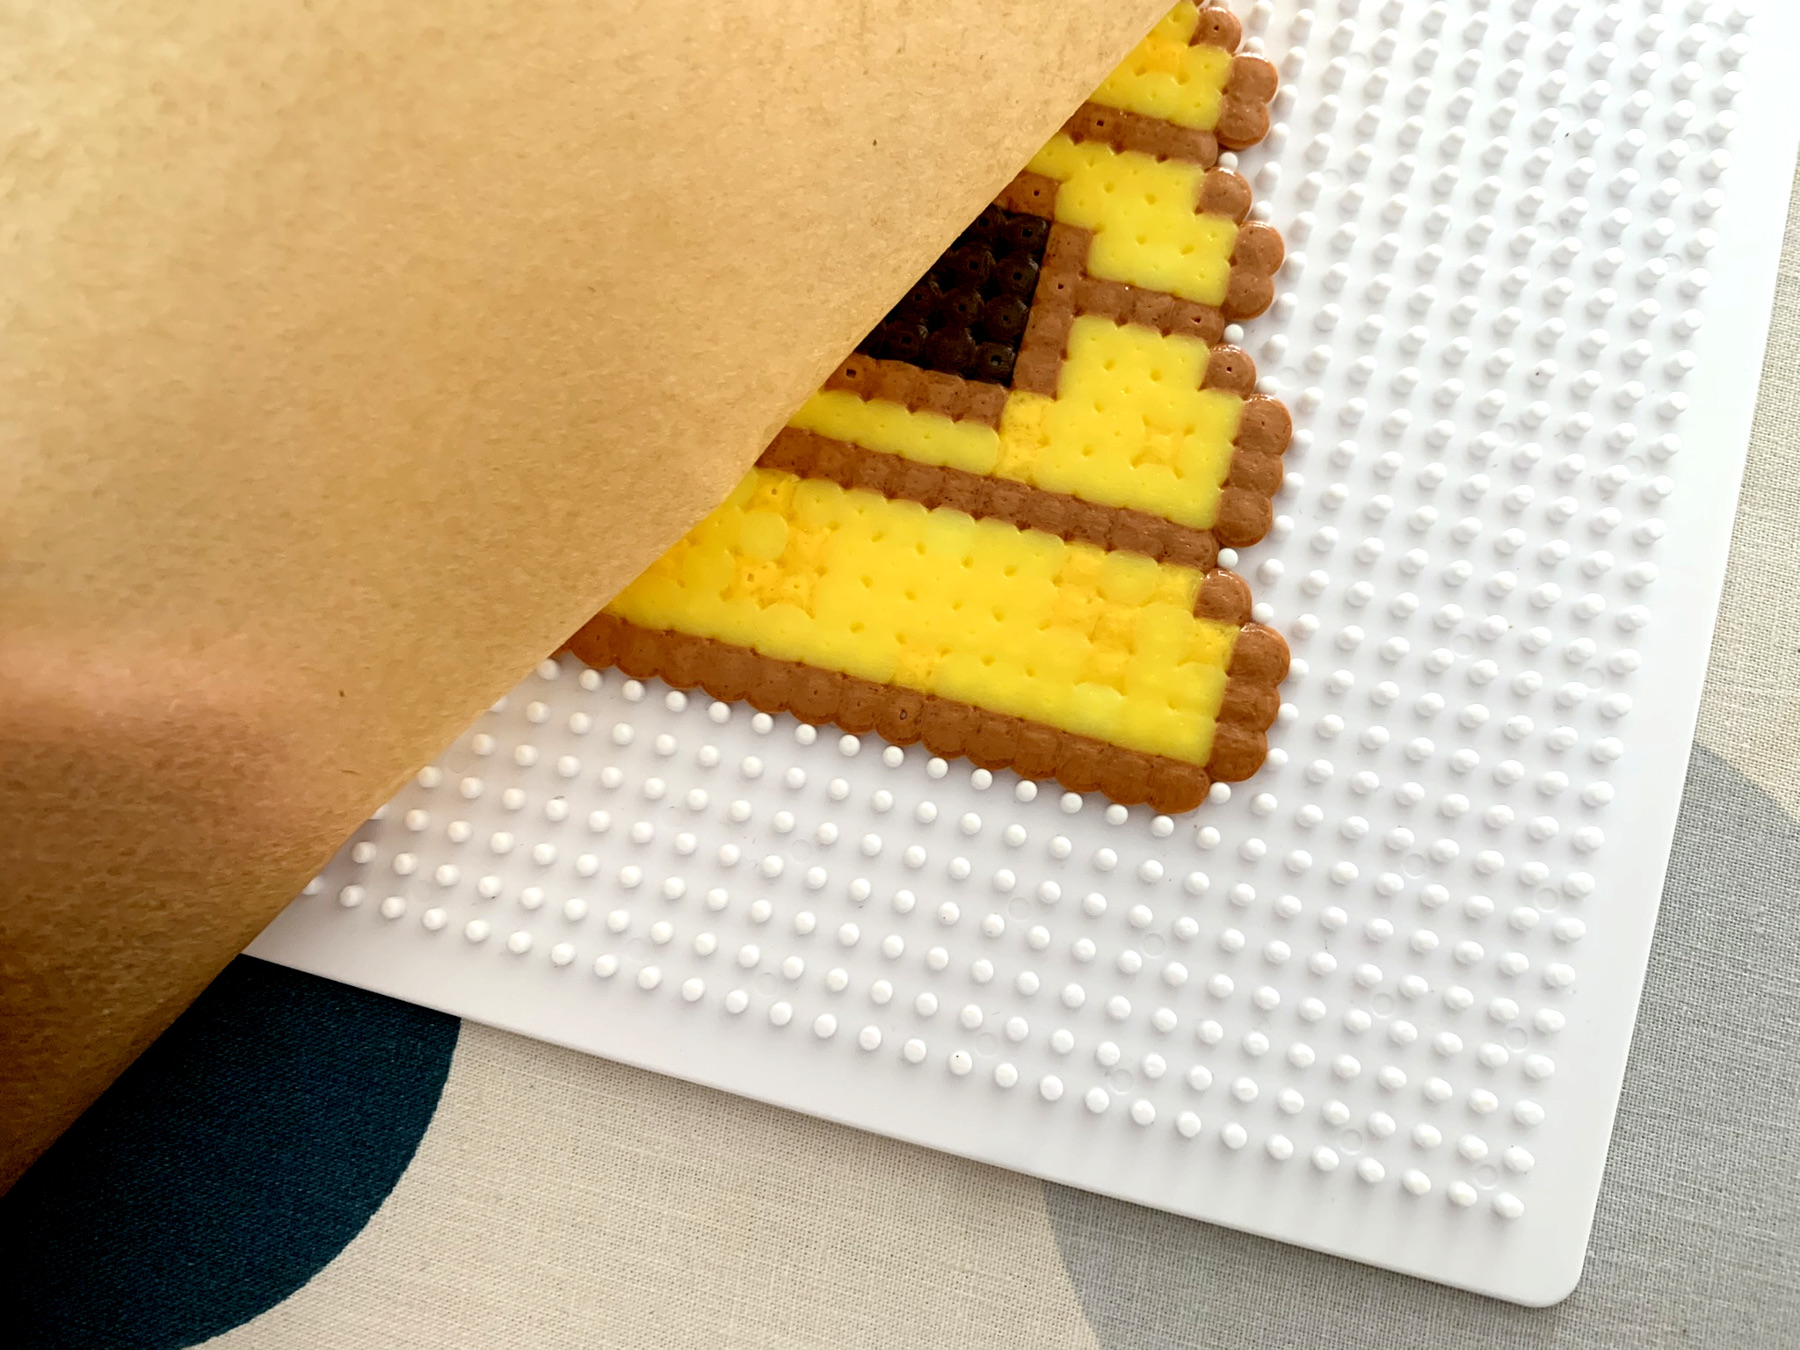

Remove the paper.
Allow to cool a moment.
We make more bees.
3 different kinds, 5 bees in total.
Drill 7 holes in the branch, 2 to hang the mobile on and 5 to attach the bees and the hive
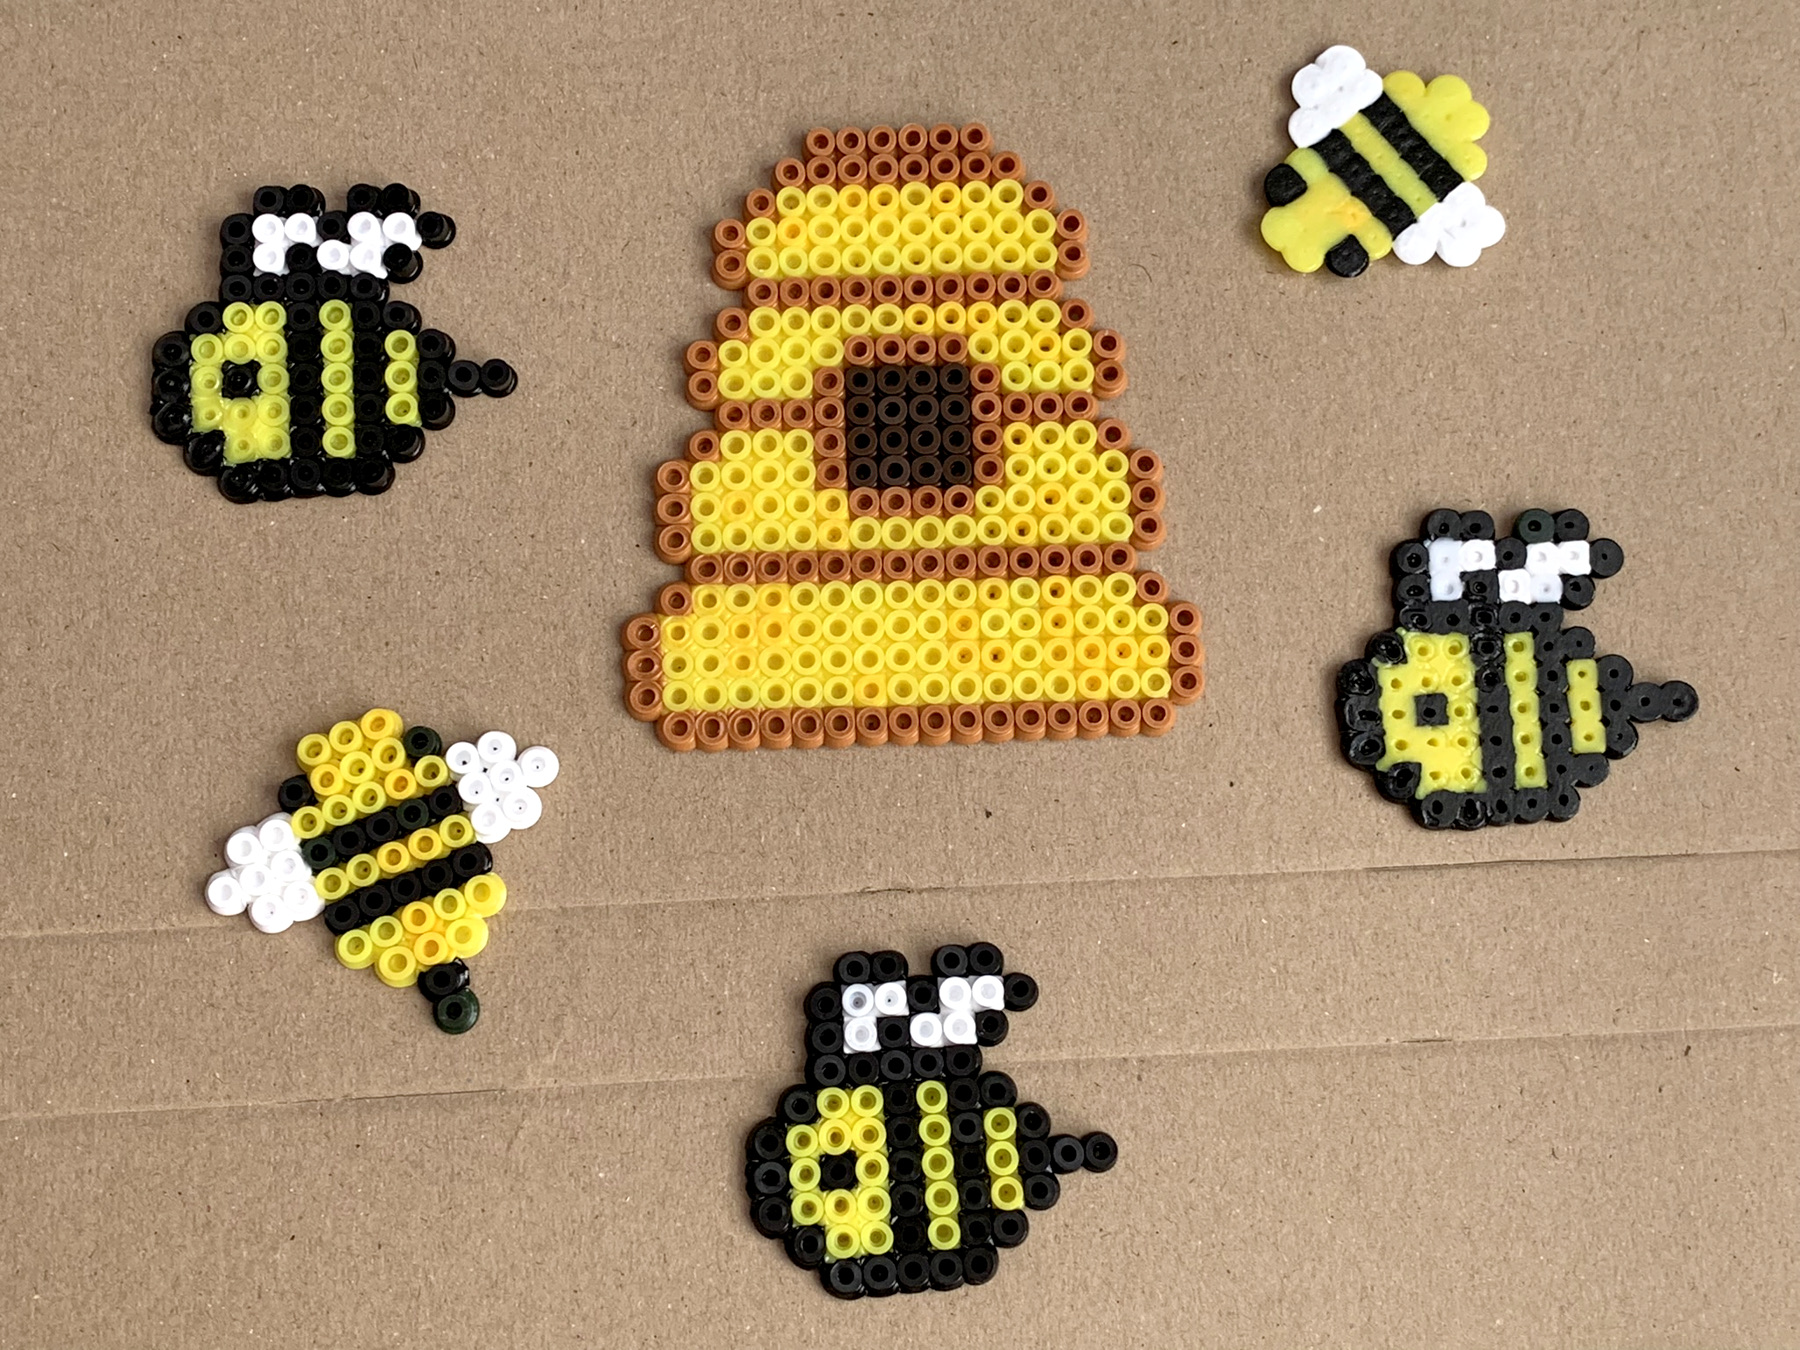
All the parts are made now.
Stick the smallest bee on the hive.
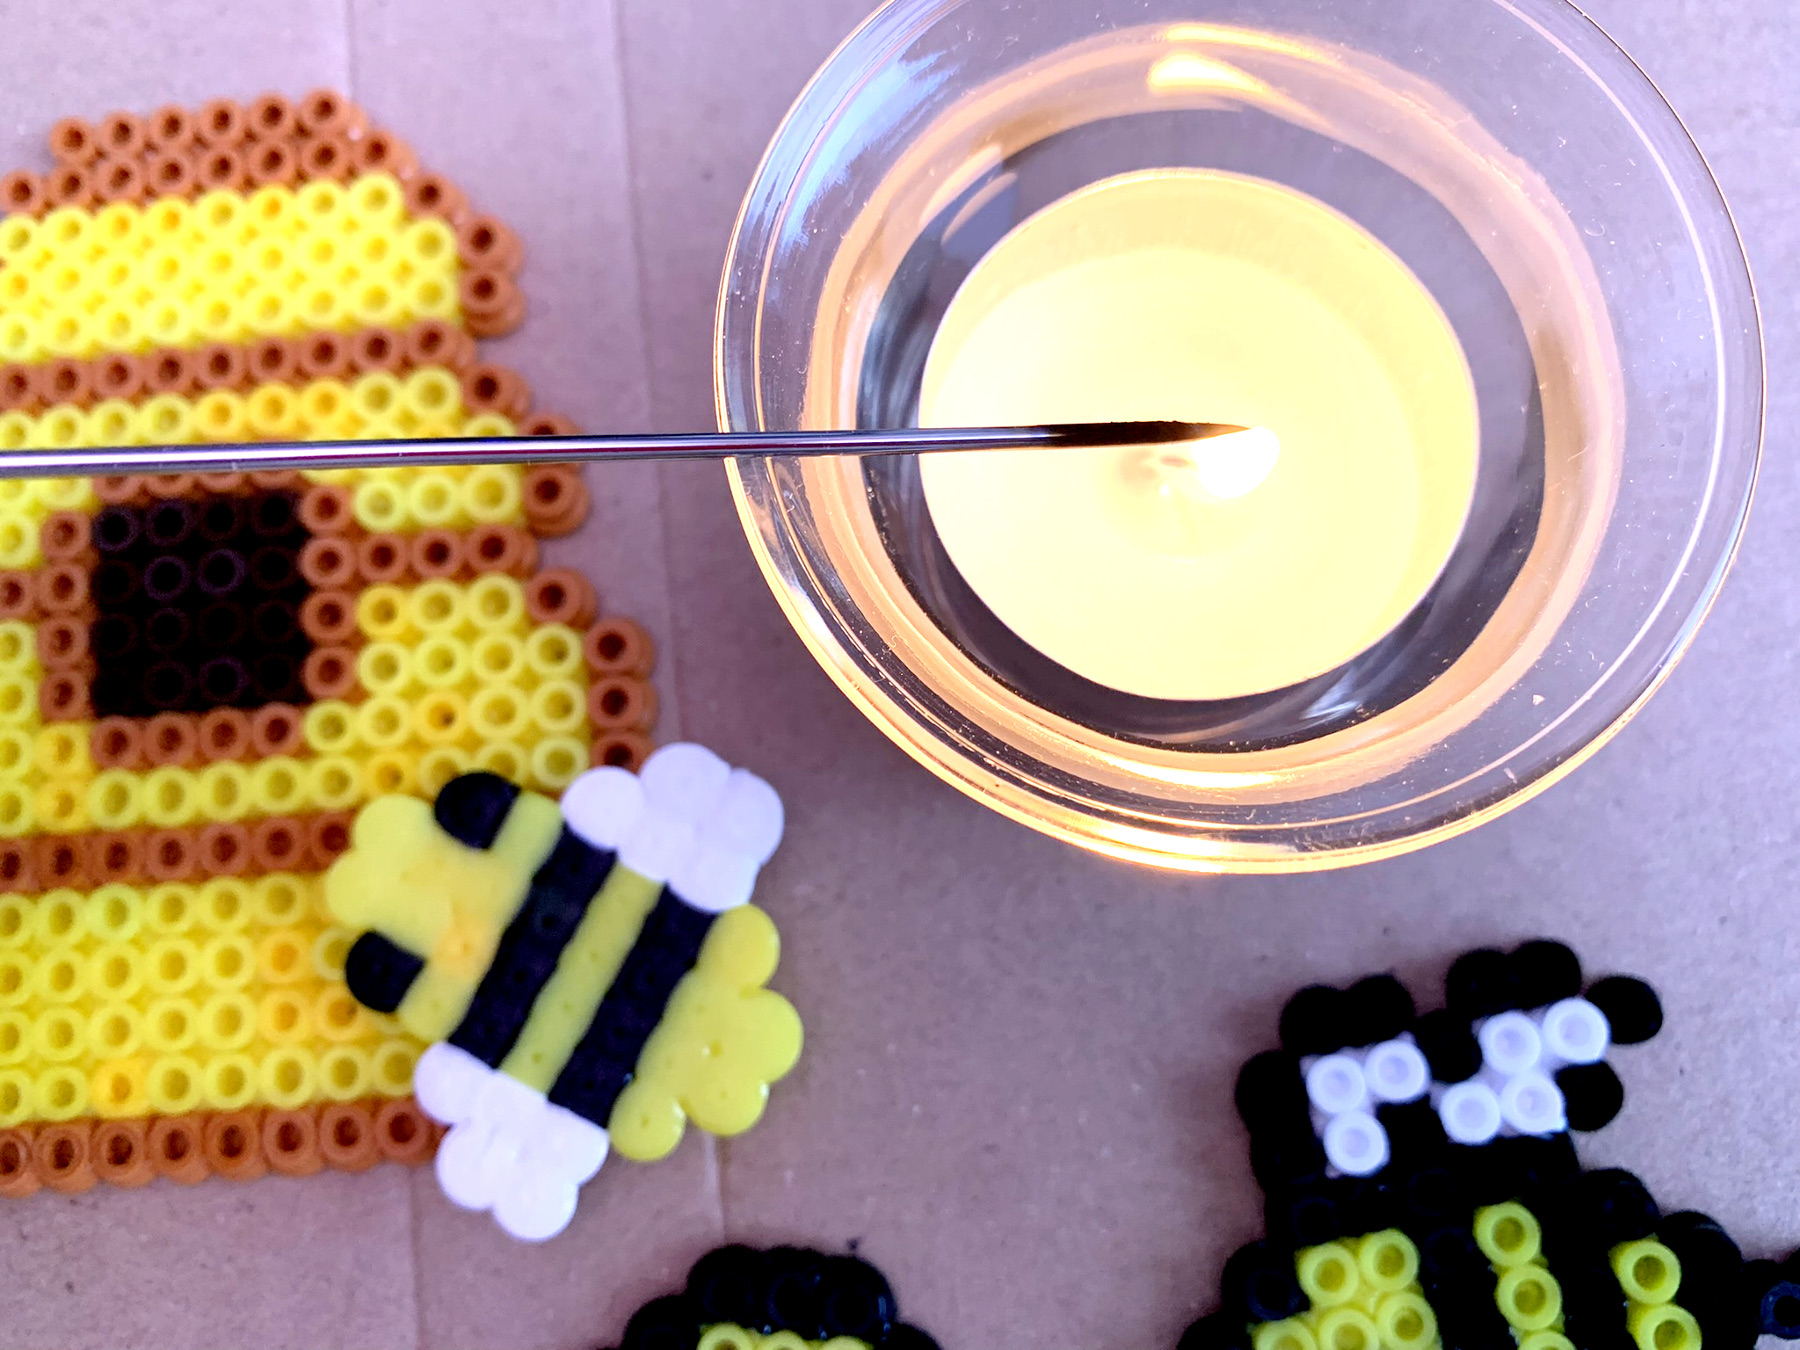
Prick holes using a hot needle.
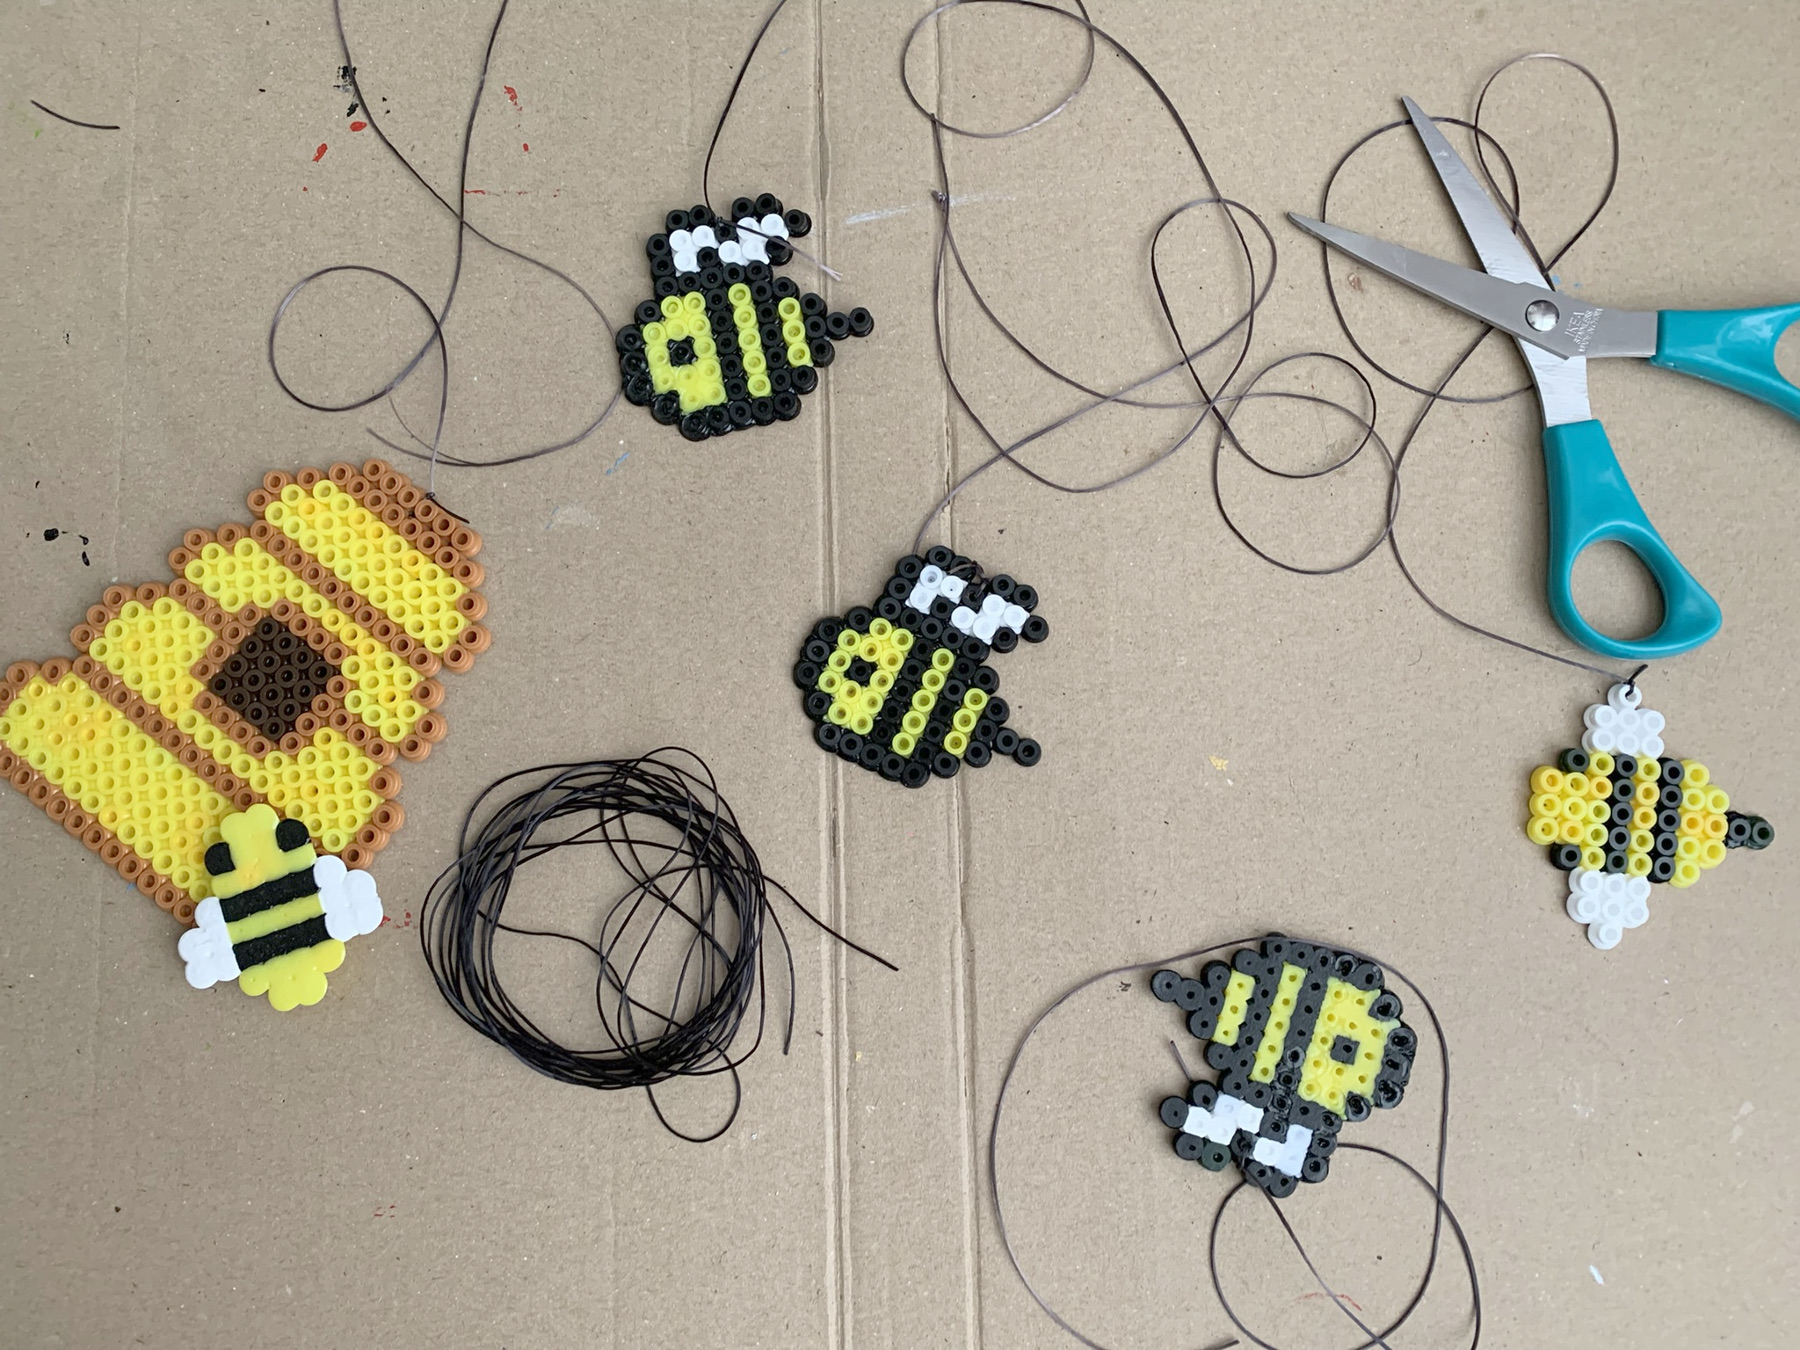
Attatch the threads to the bees and beehive.
Thread the elastic through the holes in the branch and your mobile is ready!
Happy Autumn!