What do you need?
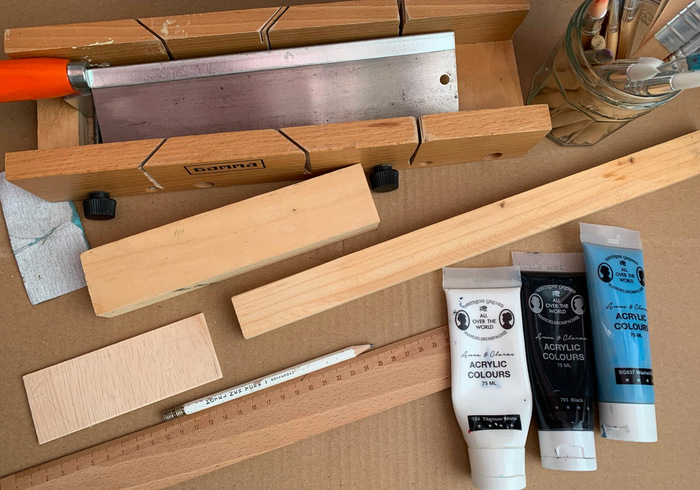
A slat 4.5x2.5cm
a slat of 3x2cm
a piece thin plywood
ruler and pencil
a saw and miter box
sandpaper
a fretsaw
blue acrylic paint and a brush
electric drill and a wooden plug
Bison contact glue
acrylic felt-tip pens
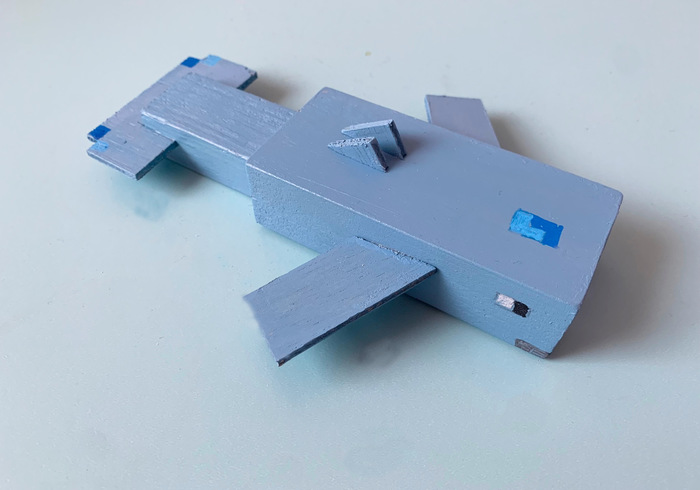
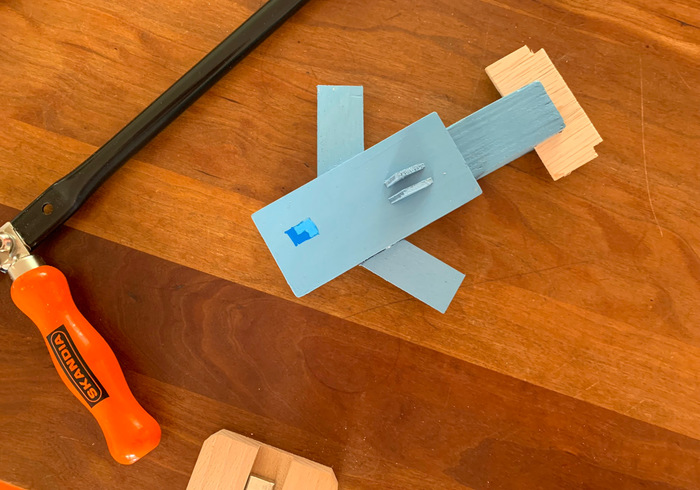
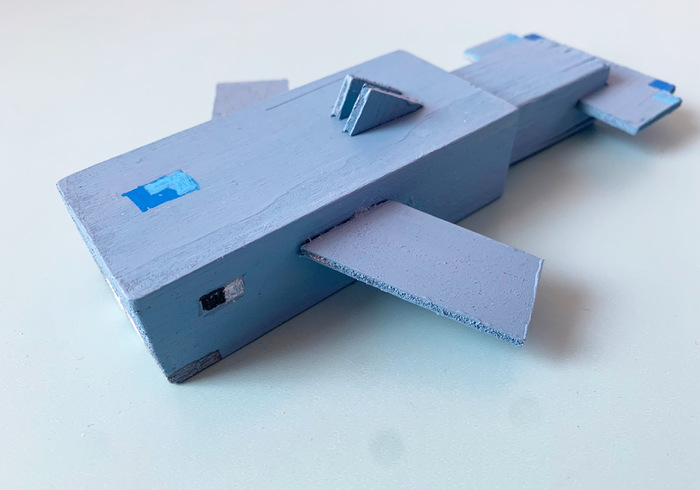
Online we saw the skin of a blue whale, which someone made to play Minecraft with. We immediately thought when the mini monsters thought the fish was so beautiful, you can easily make it yourself. But from leftover pieces of wood. We started right away!
How to make a blue whale out of wood
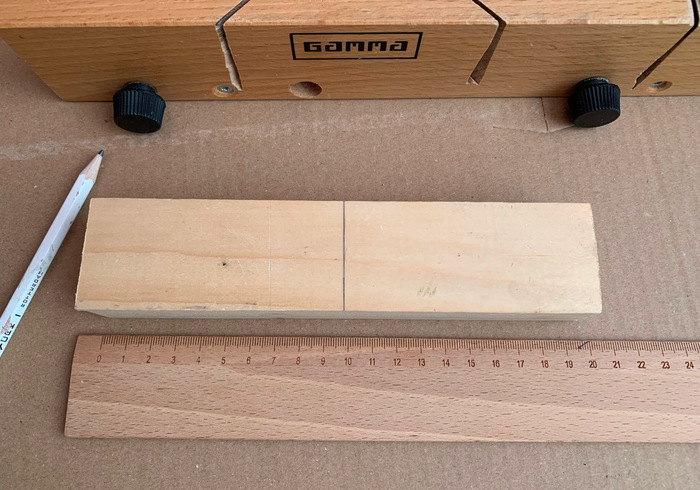
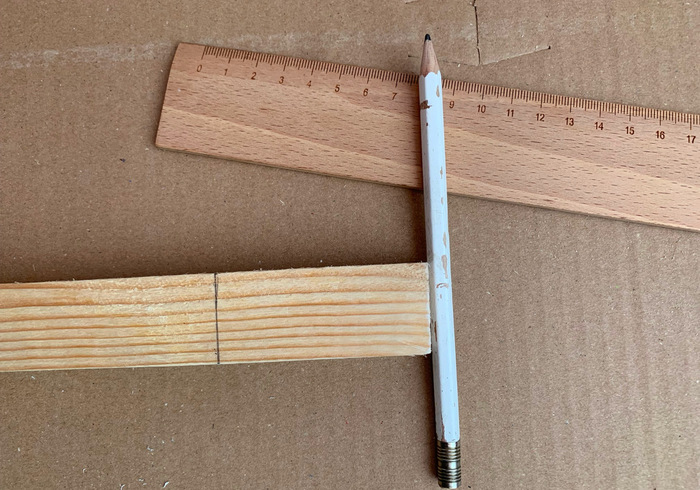
First draw the body of 9.5-10cm long.
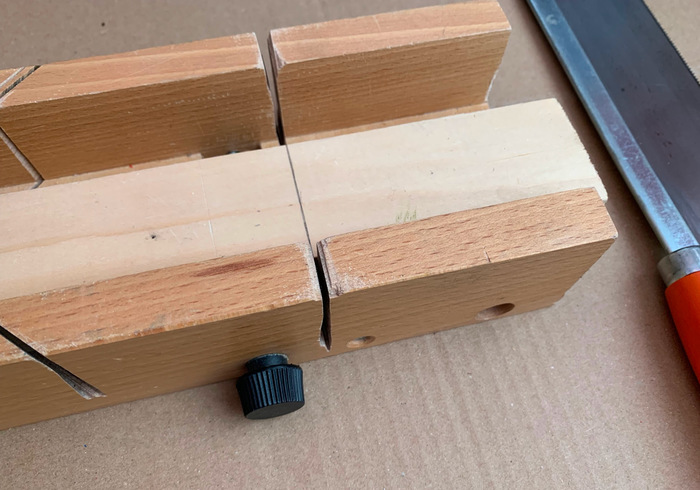
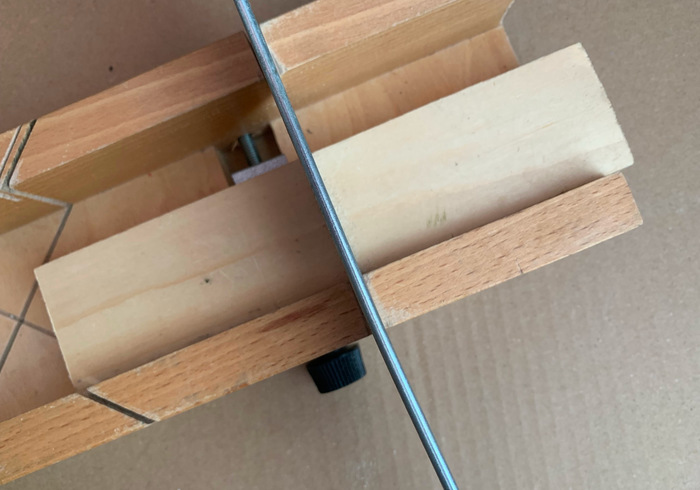
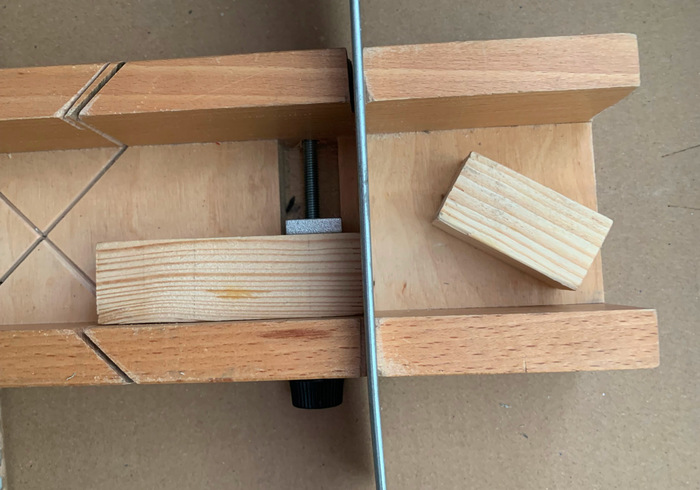
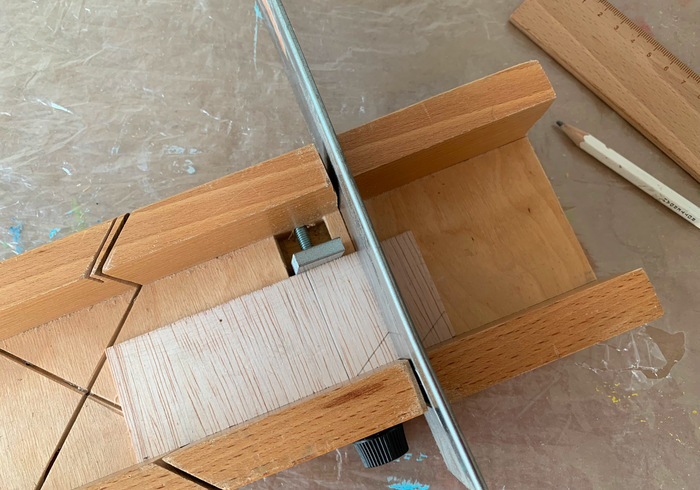
Saw the wood to the right size, in a mitre box.
Hang in there, because it takes a while.
Draw a 5cm tail, in the same way.
Saw off the tail.
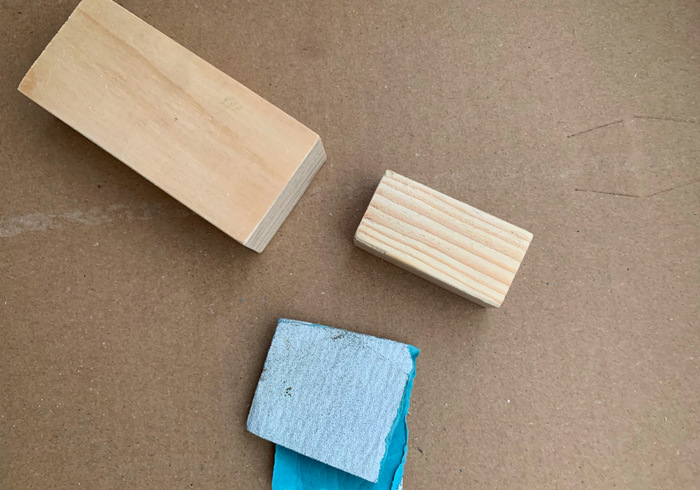
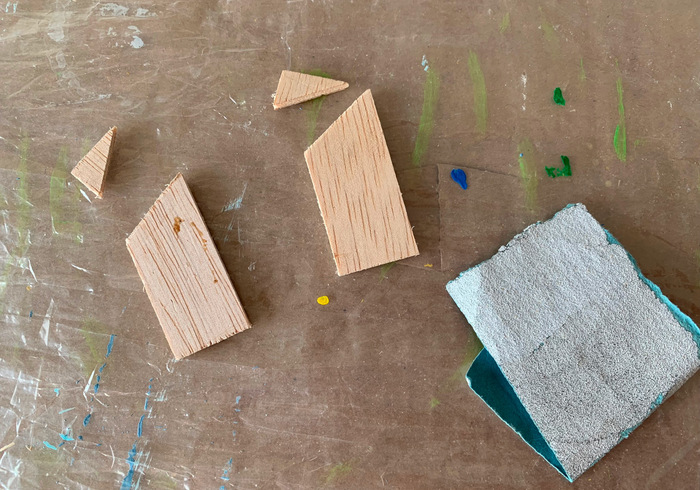
Sand the body and tail nice and smooth.
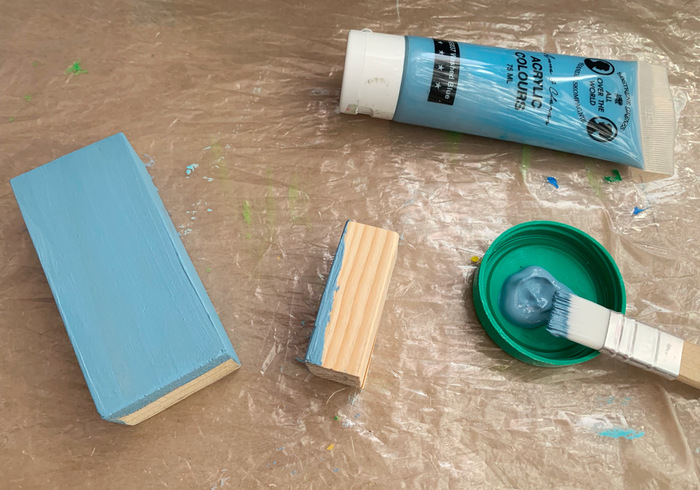
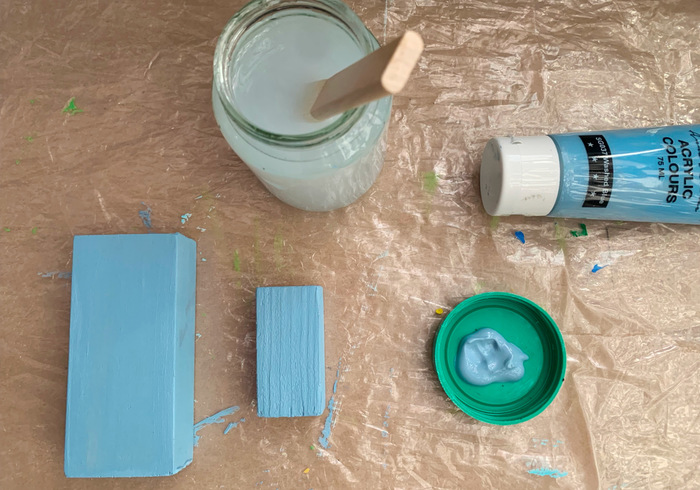
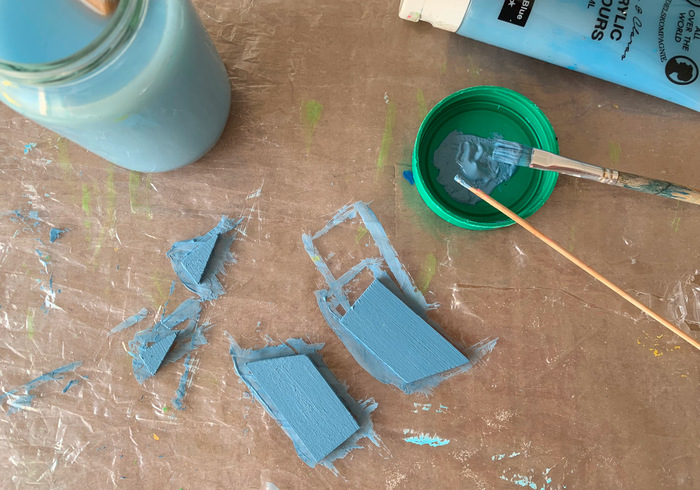
Paint the two parts, let dry in between.
We use Washed Blue, by Sostrene.
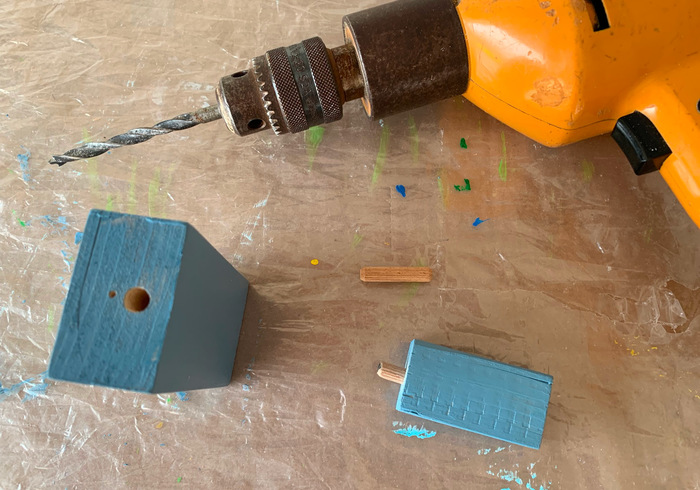
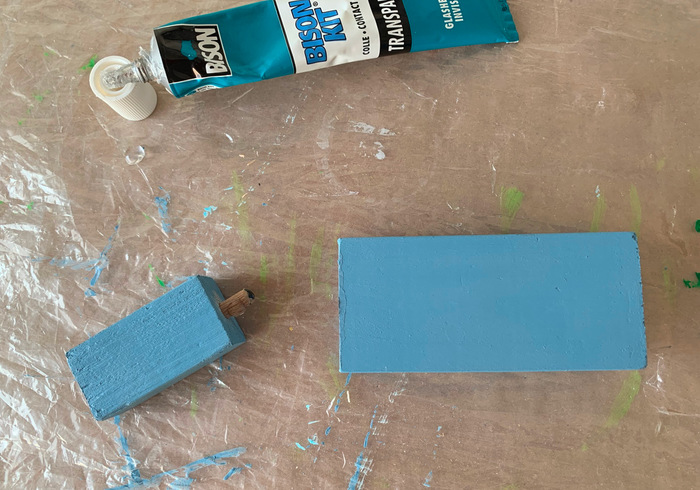
Drill a hole and stick the whale together.
.Press the tail firmly on the body, let the glue dry.
Draw and saw the fins and saw off the tips.
Sand the fins and the tips.
Paint the fins and the tips.
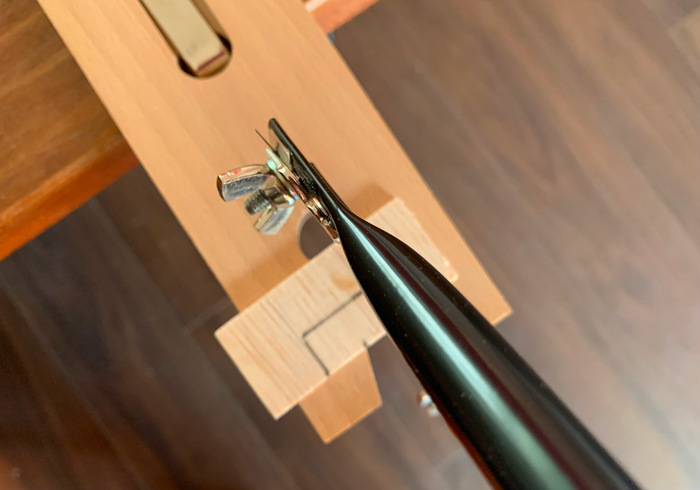
Finally saw of the tail fin, sand and paint it.
For the tail fin you saw a rectangle (6.5x3cm) out of plywood with the jigsaw, saw out a rectangle that fits around the tail and saw 2 small squares from the sides. Paint the tail blue as well.
Draw a face and some cubes on the whale, using acryllic painting pens.
Stick all the fins on the blue whale and allow the glue to dry thoroughly,
Find the perfect spot in your room for the Minecraft Blue Whale, who knows when it will come into play for real!

