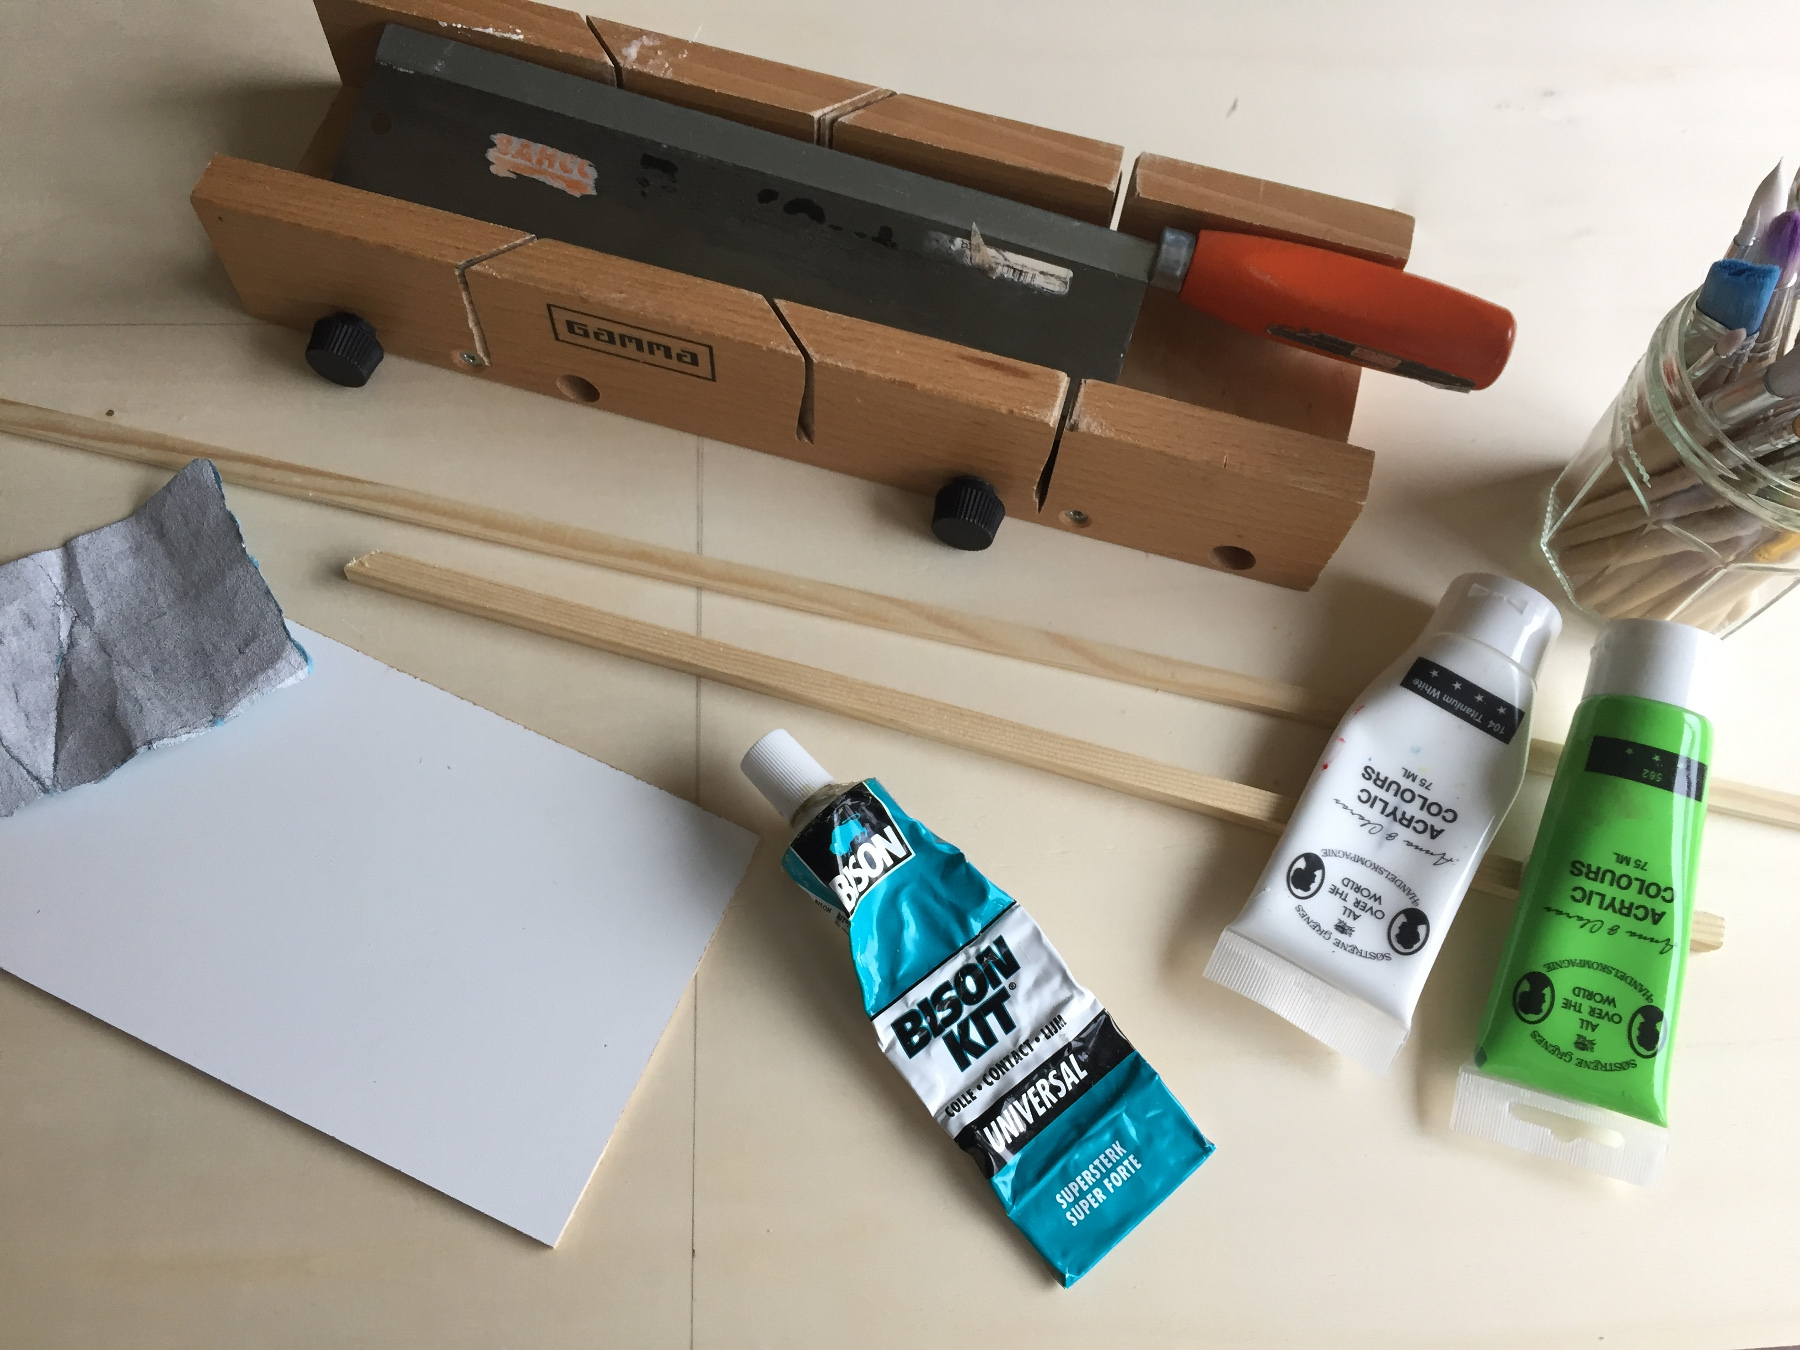
What do you need?
a piece of plywood of 3mm
a beam of 10 x 10mm
a slat of 10 x 4mm
a tiny beam 5x5mm
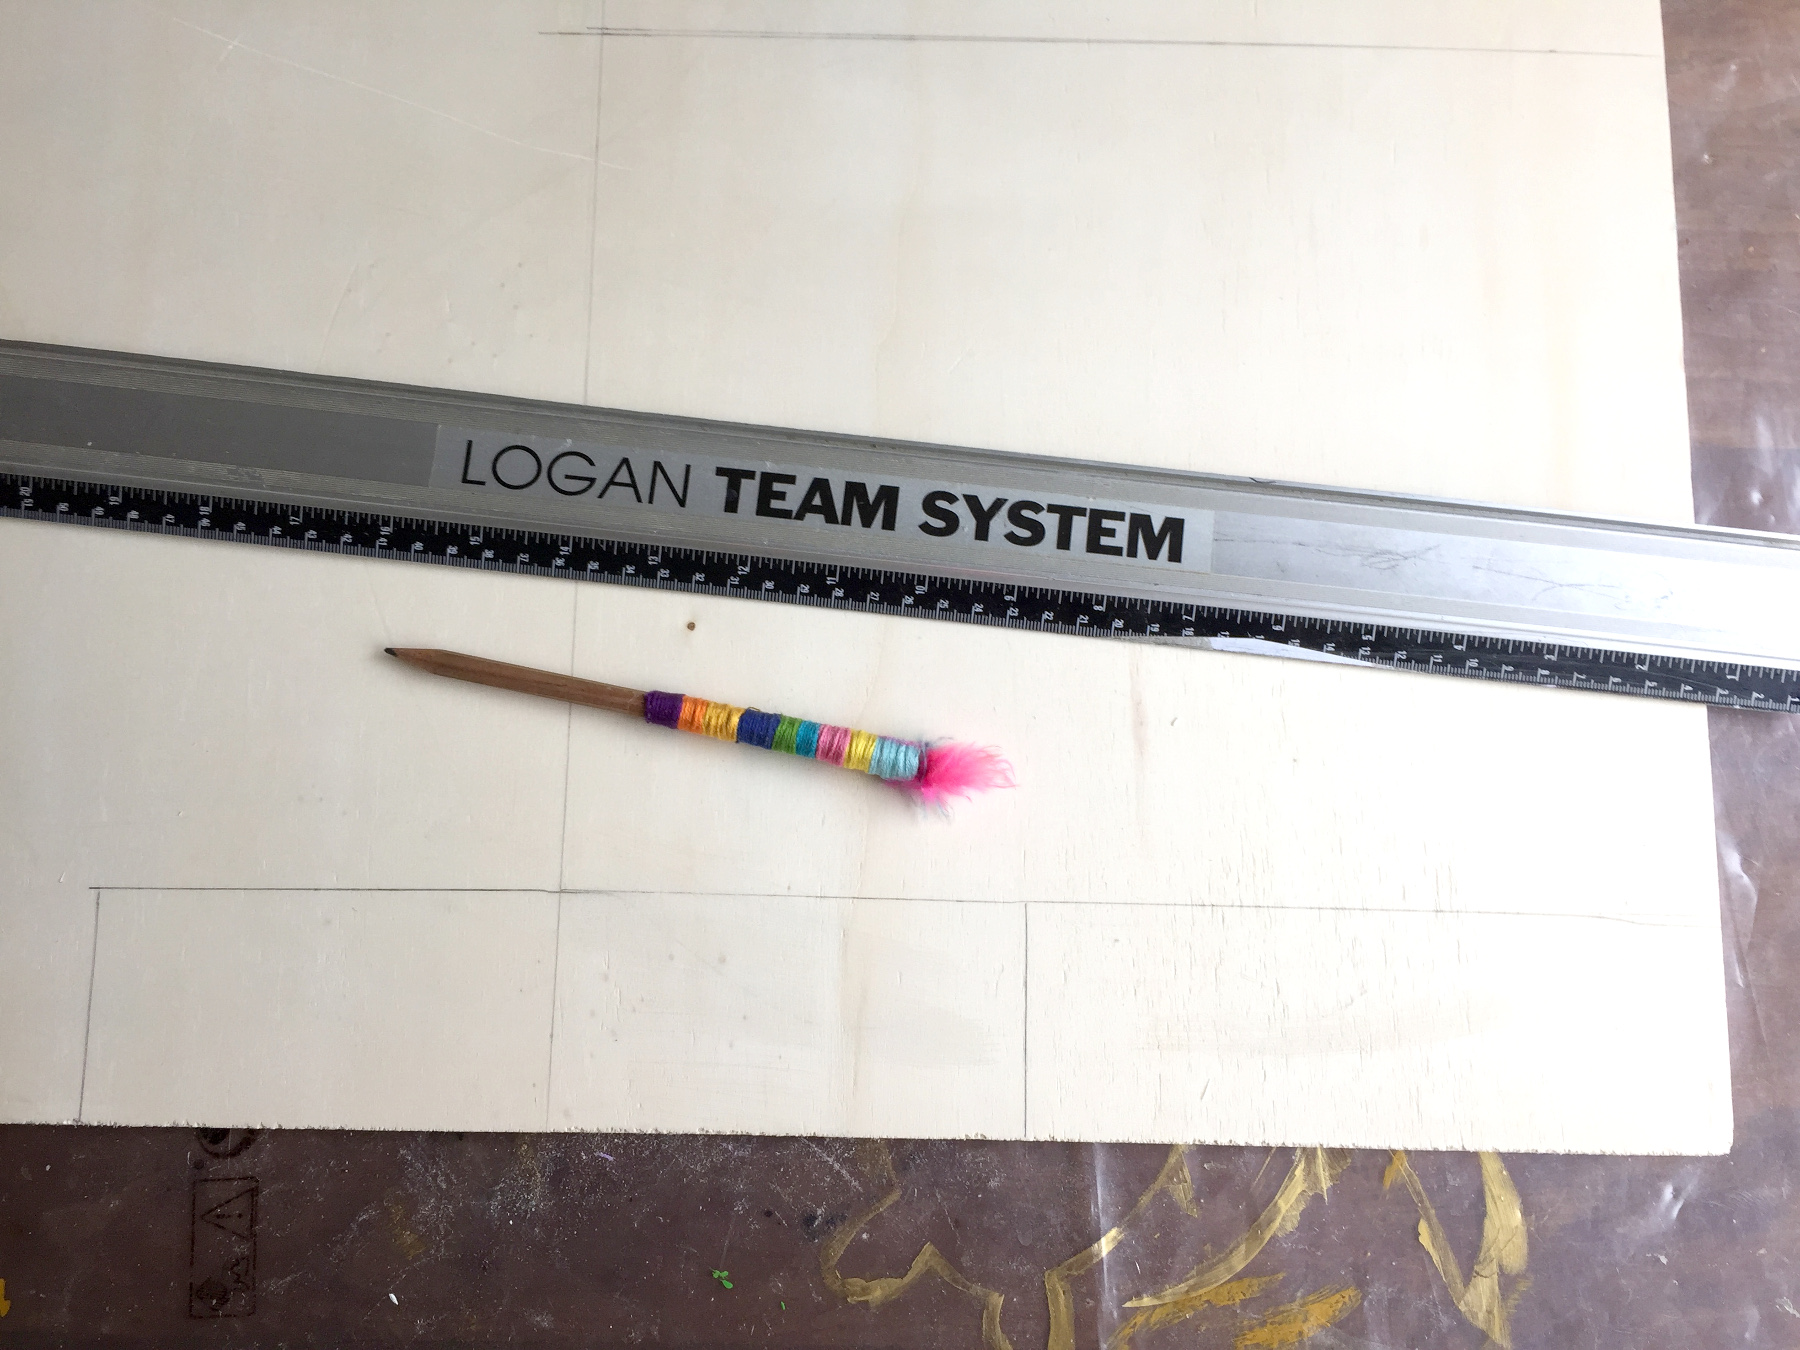
a wooden stick and a sign plate
Bison contact glue
white acrylic paint (garden)
Various colours of paint & brushes
a black felt-tip pen
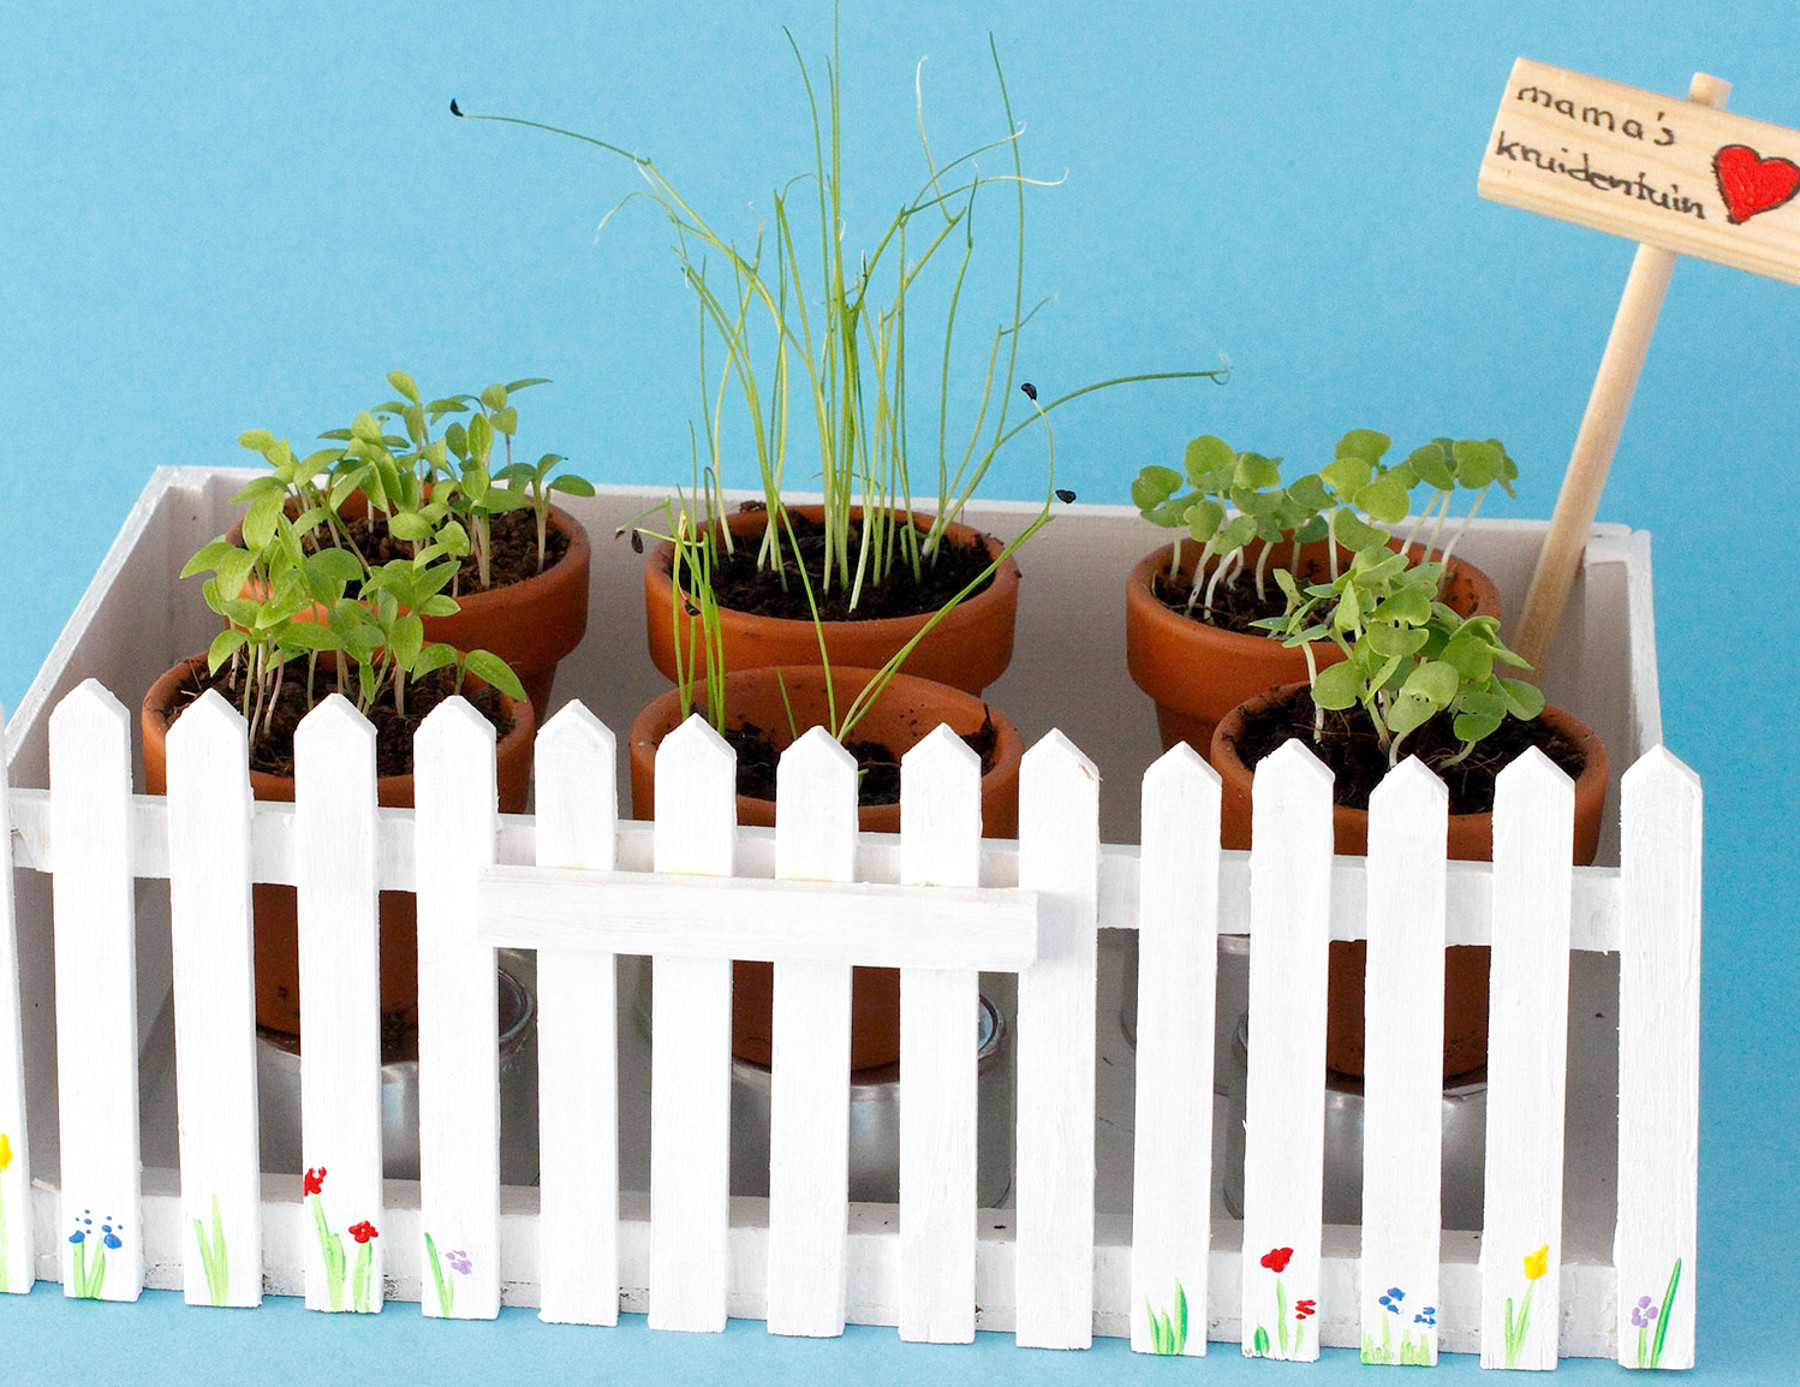
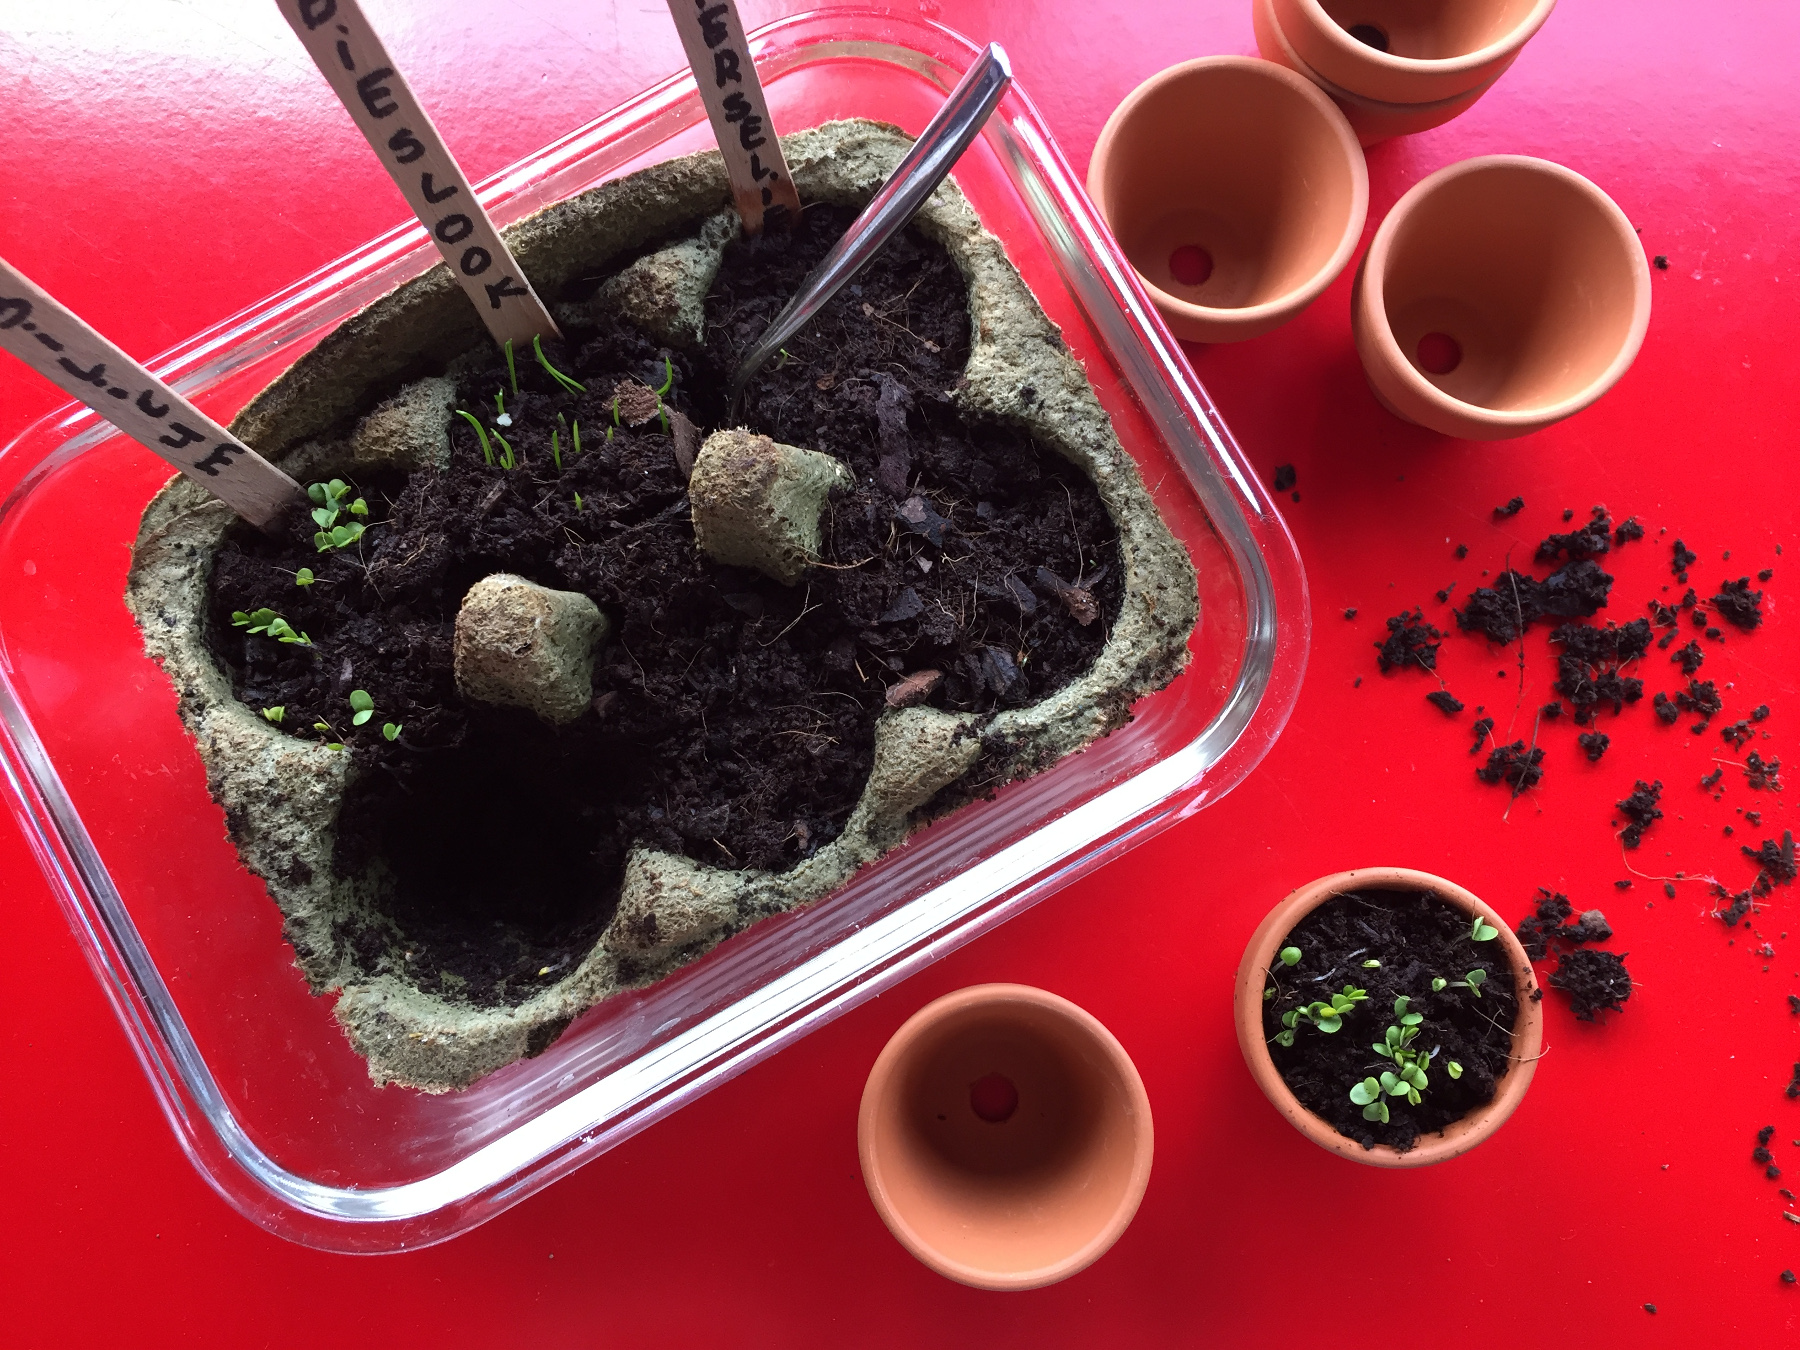
the pots & herbs we sowed in April
For Mother's Day we make a windowsill herb garden out of wood. You do need help from an adult (not your mother of course! :)) with sawing and gluing, but there really is still plenty to do for you! Because the wood has to be sanded & painted and not to forget, the seedlings also have to be repotted. Start right away because the glue really has to dry and if you give your garden to mom on May 9th, the herbs will already grow above the fence!
Here is how you make a mini herb garden

Saw a 20x12cm rectangle from the plywood.
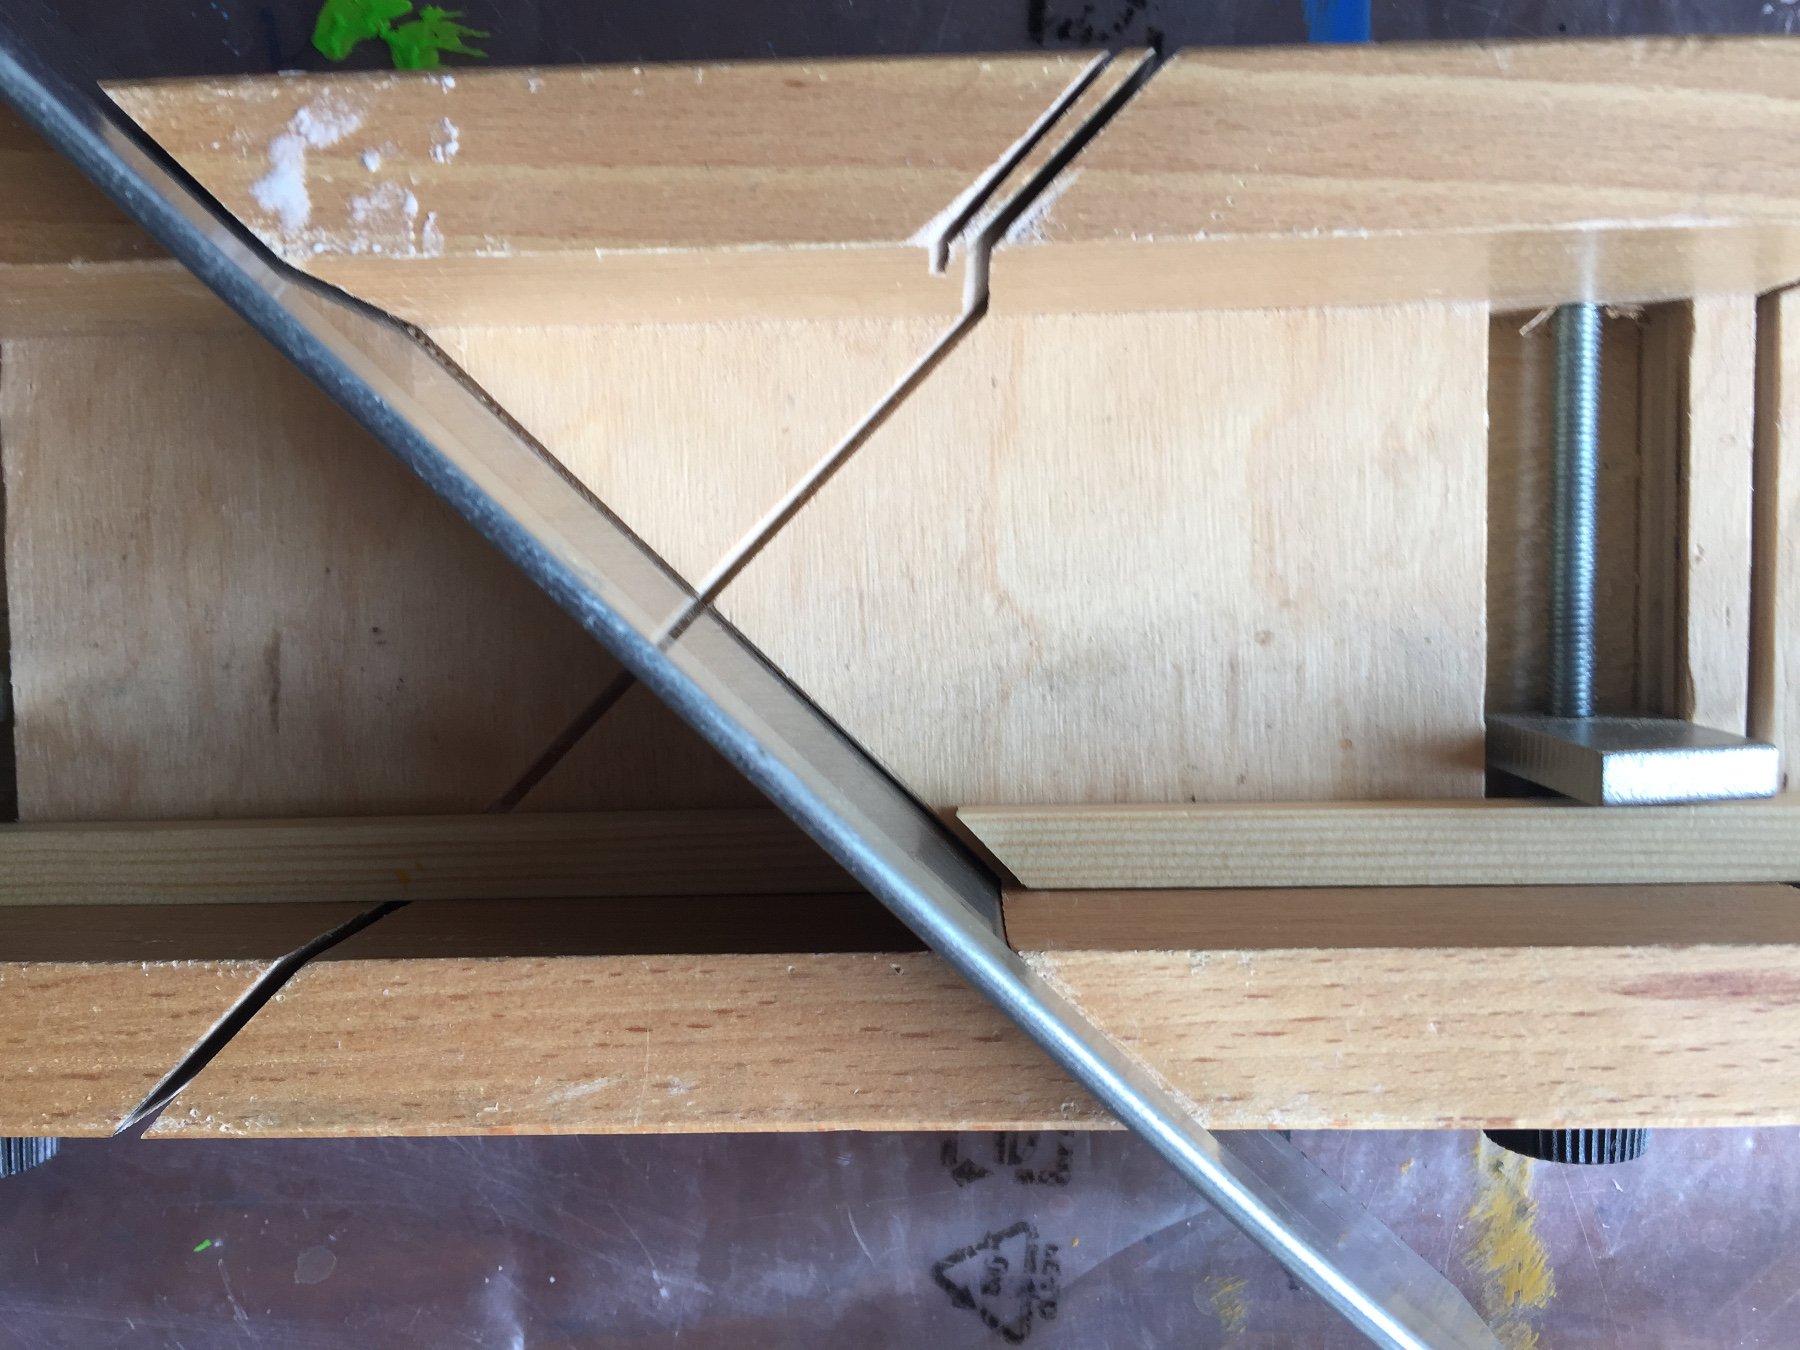
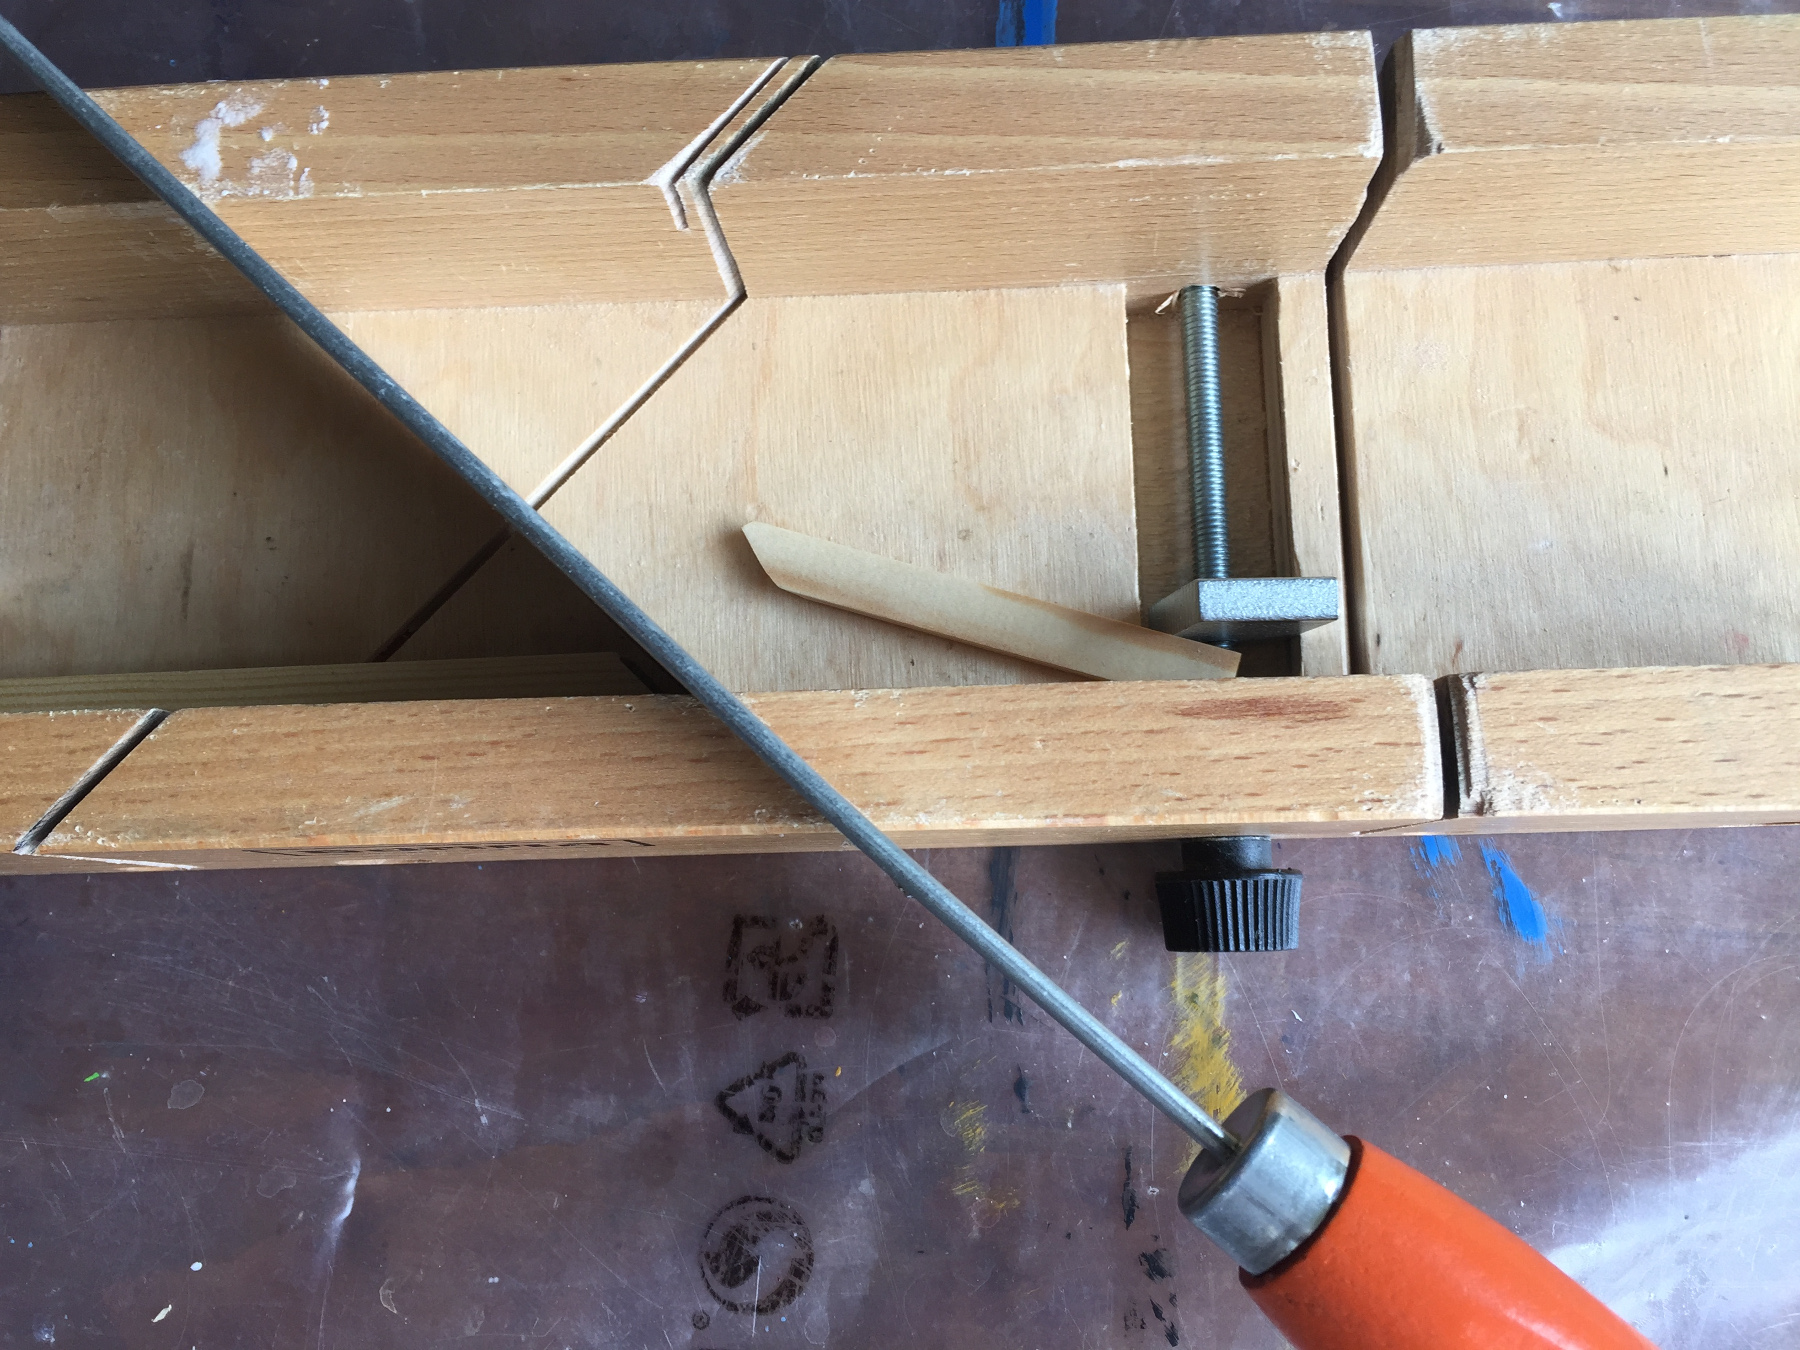
Saw 2 pieces of 12 cm long mitre from a 10x10mm beam.
Saw from the same beam in the same way two 20cm pieces.
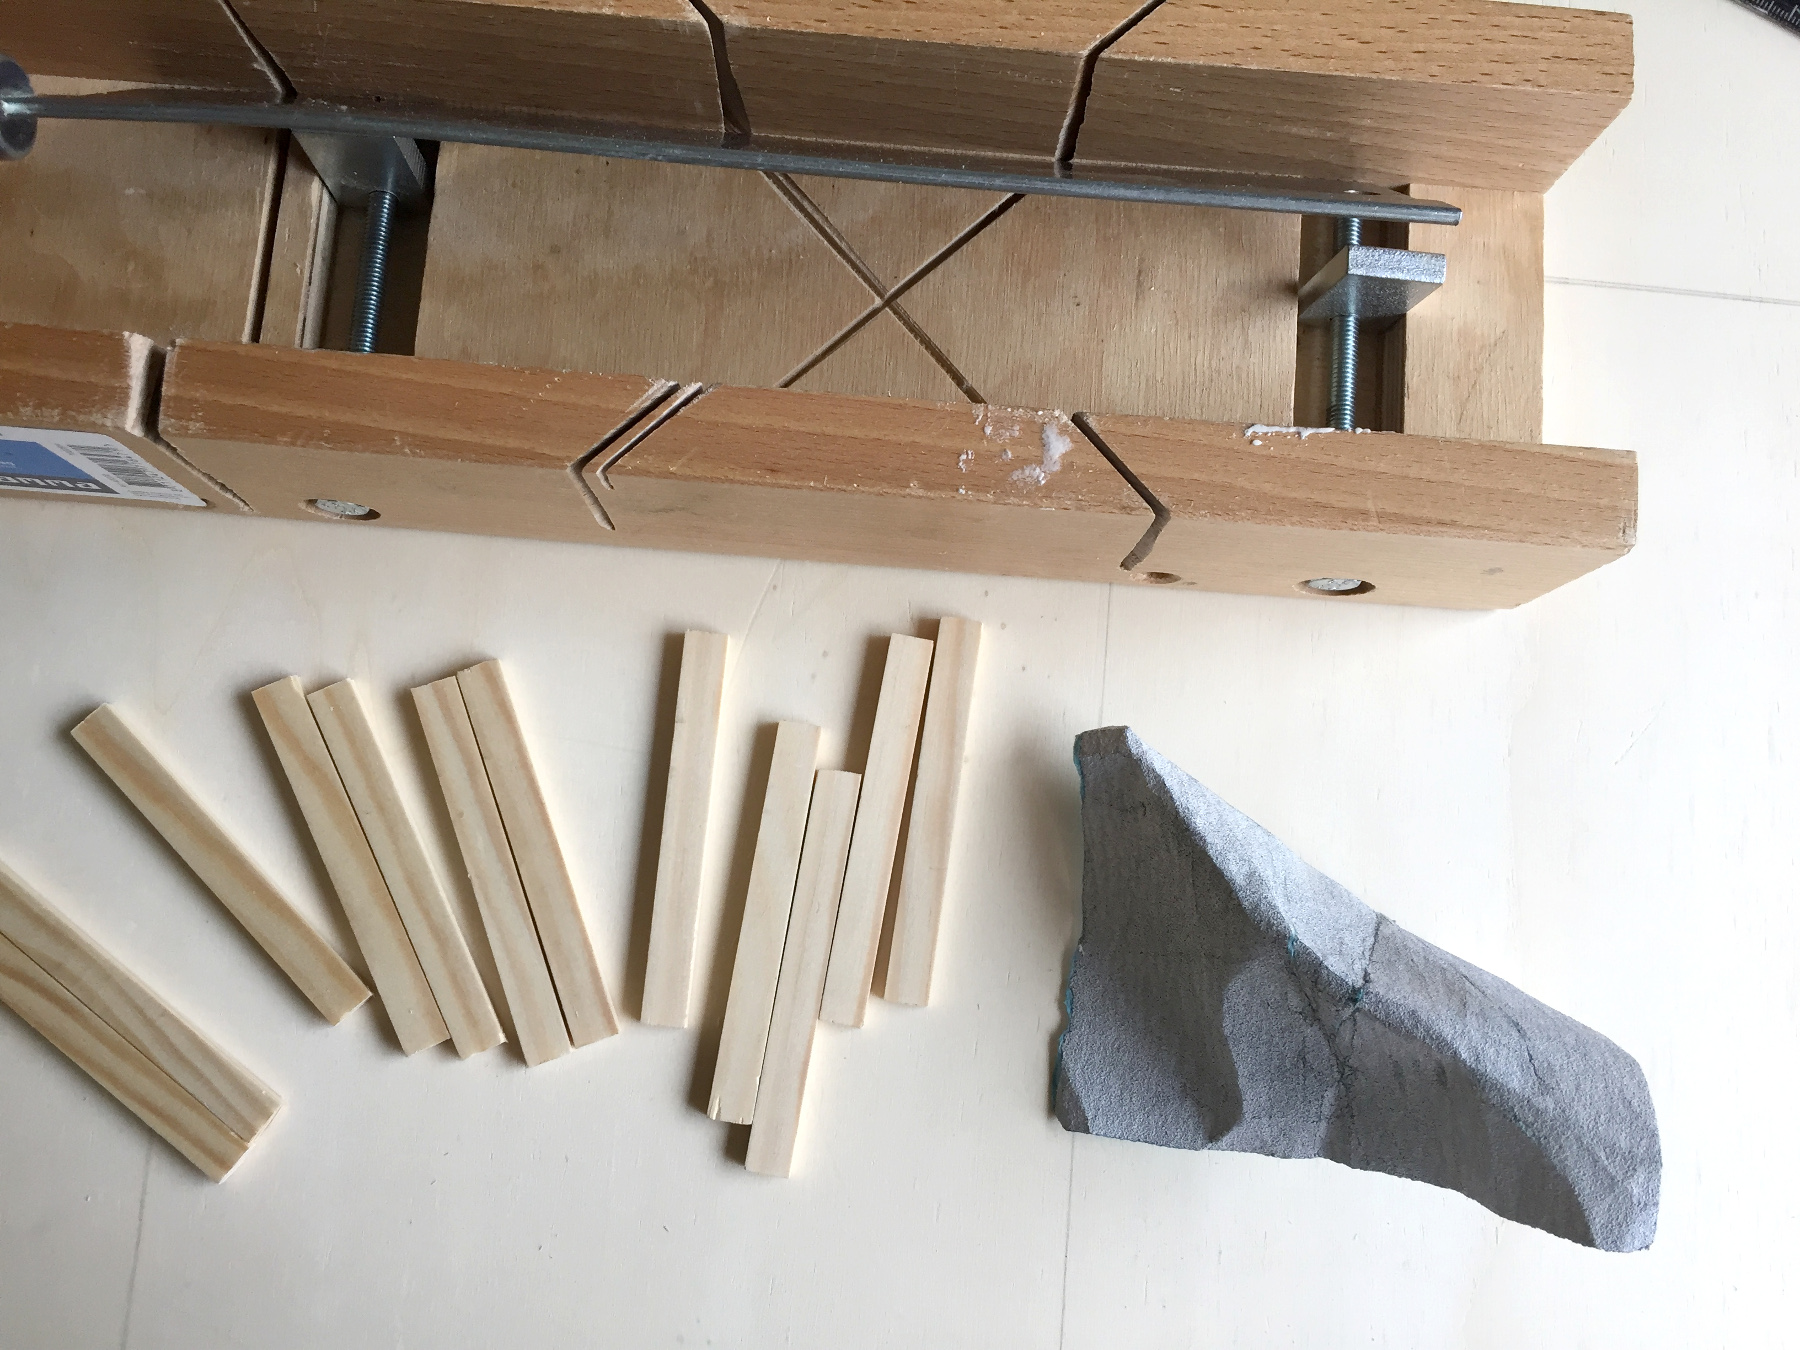
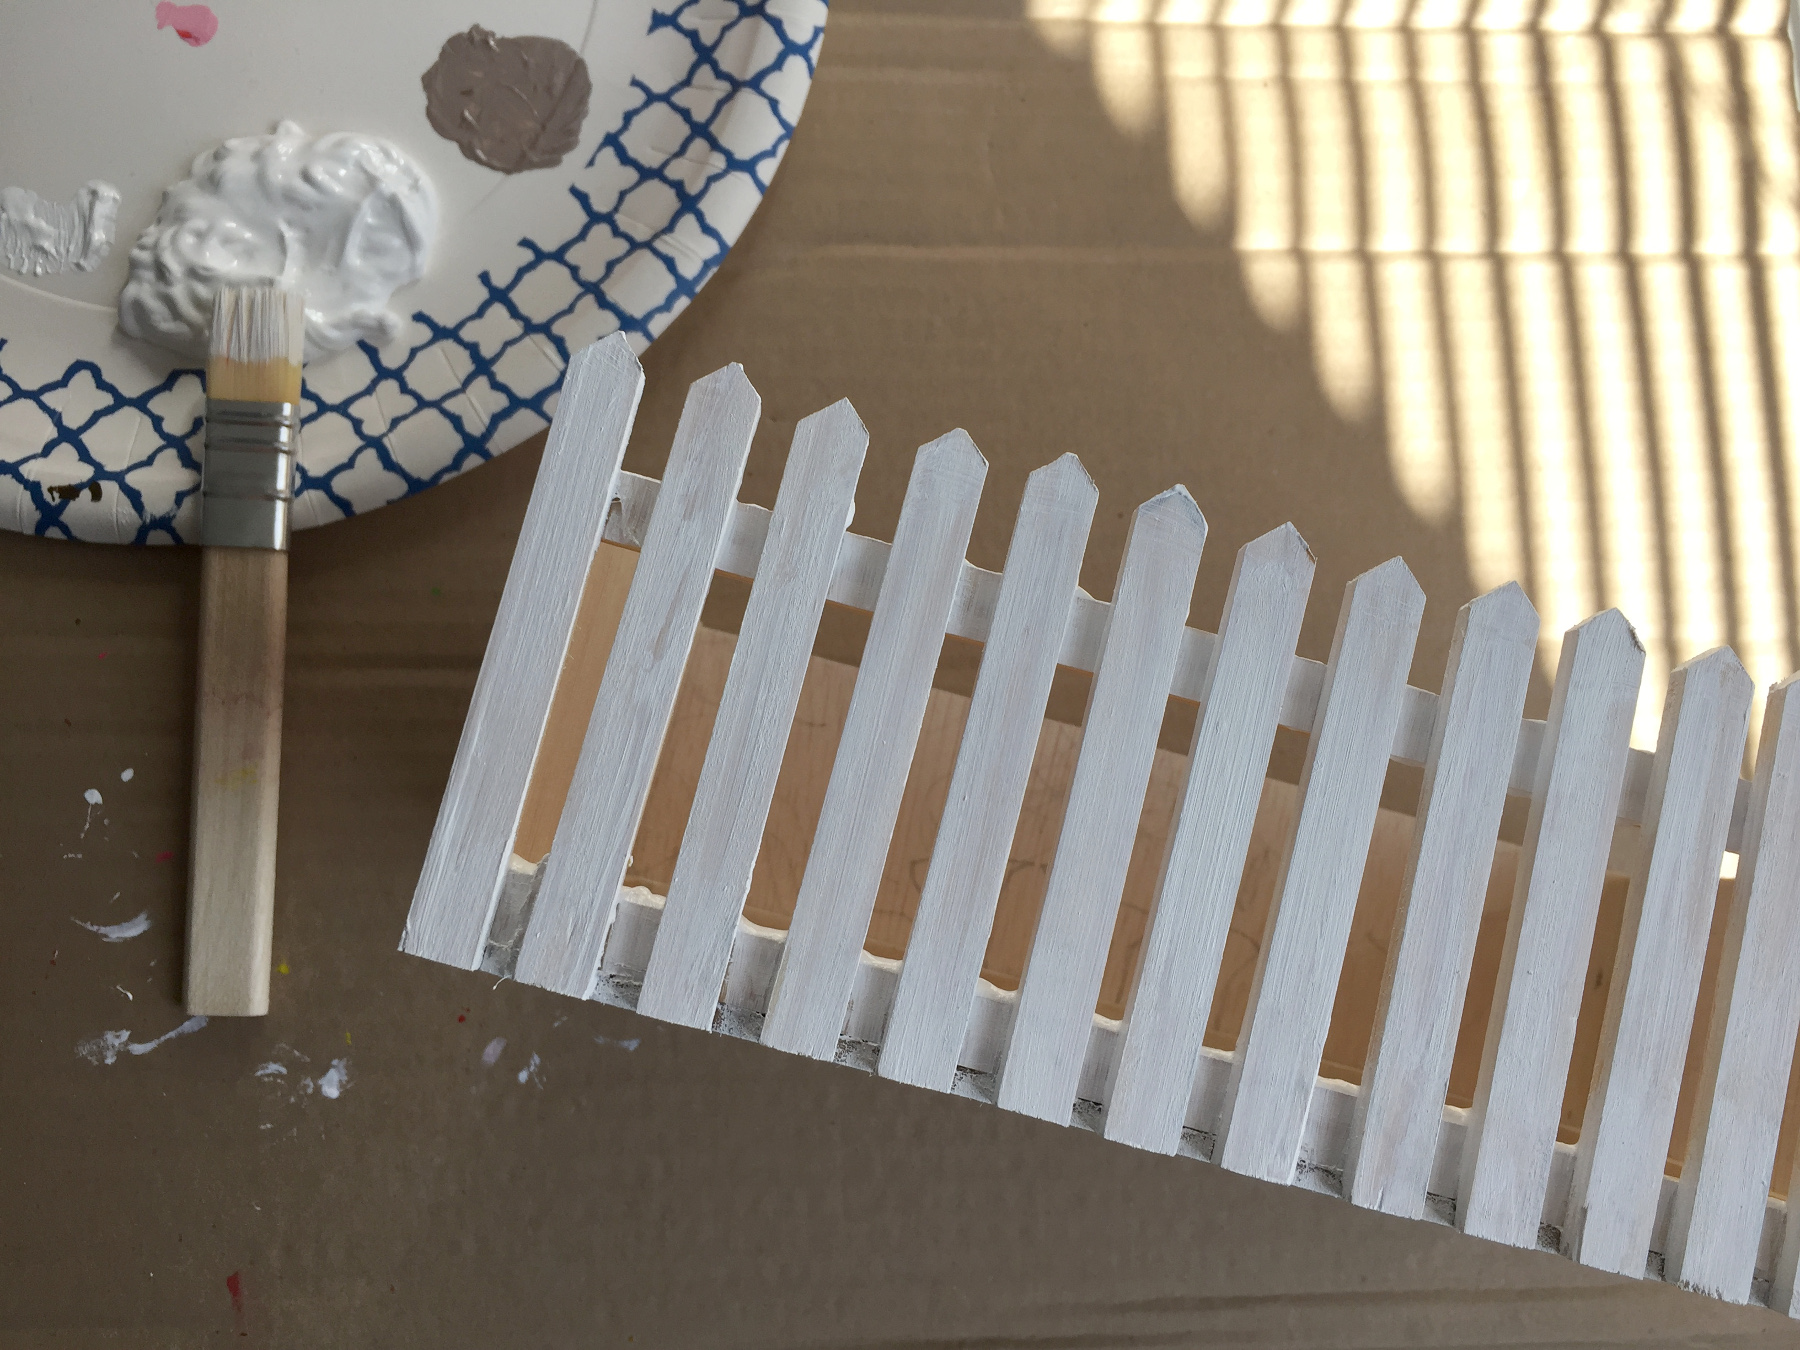
Saw 14 pieces of 8 cm long from the 10x4mm slat.
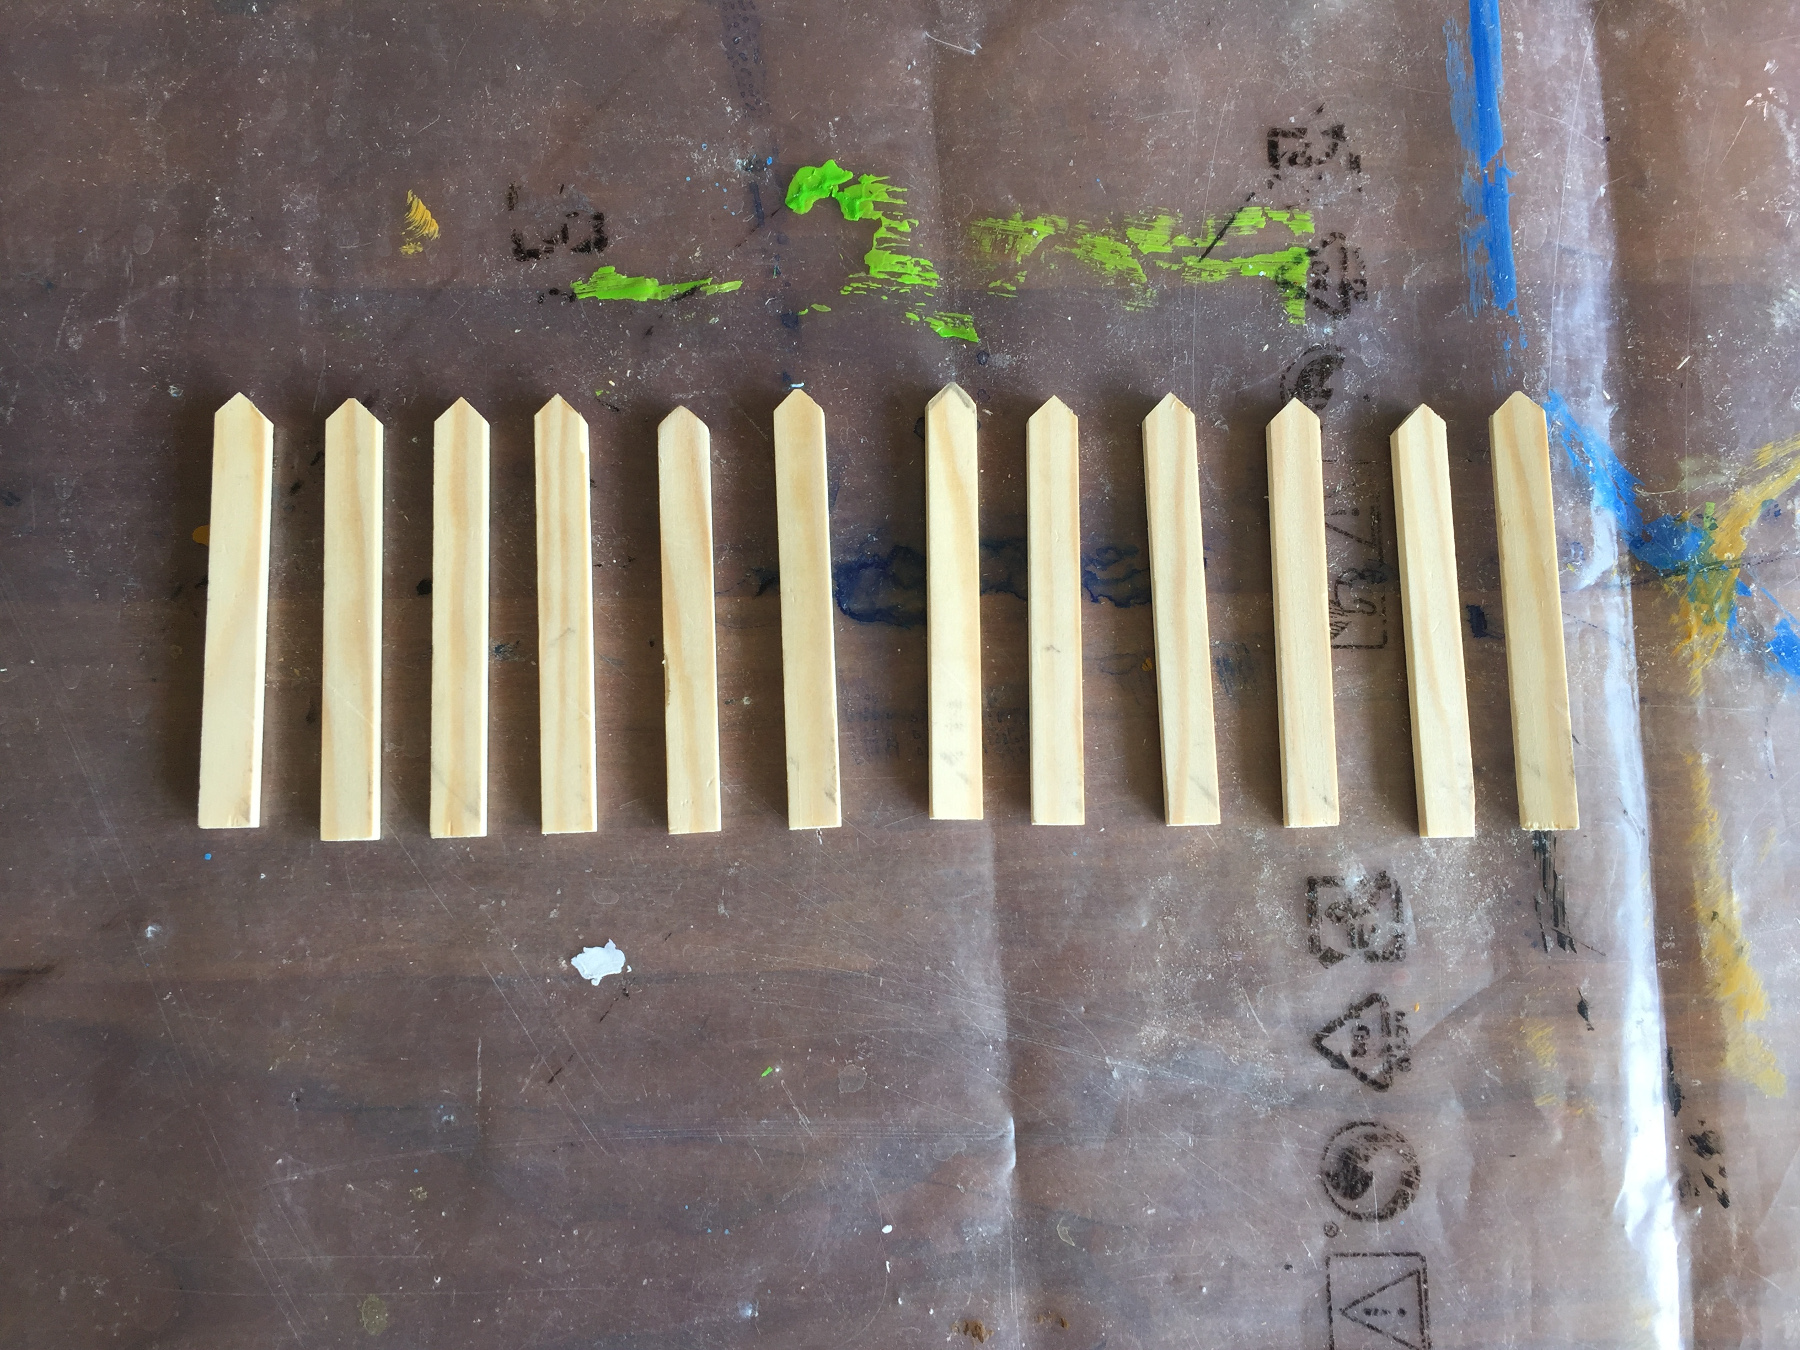
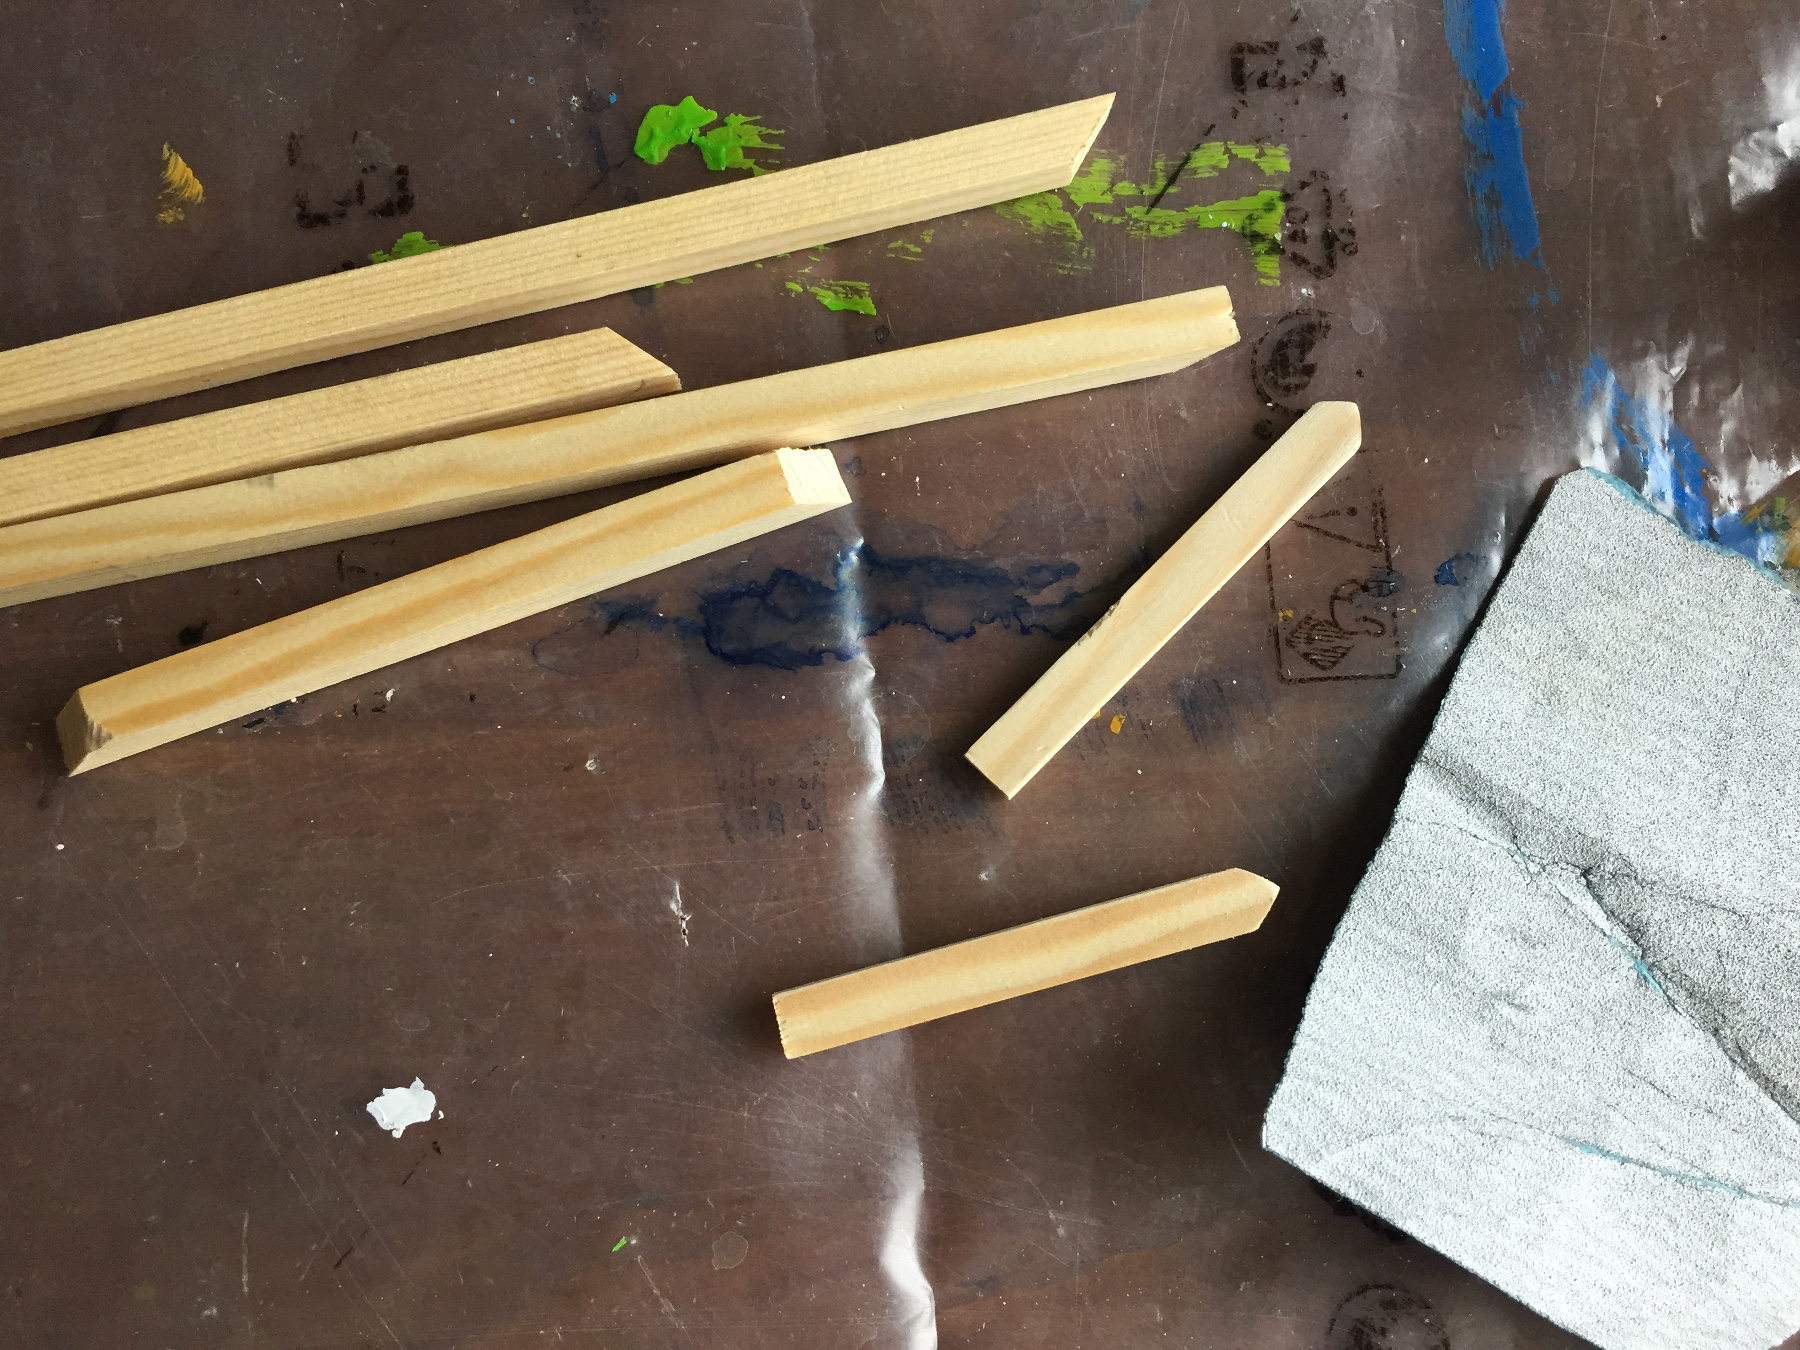
Saw the top slanted on both sides in a mitre.
Saw 1 piece of 20 cm from the 10x4mm slat.
Sand all the sawed off sides neatly smooth.
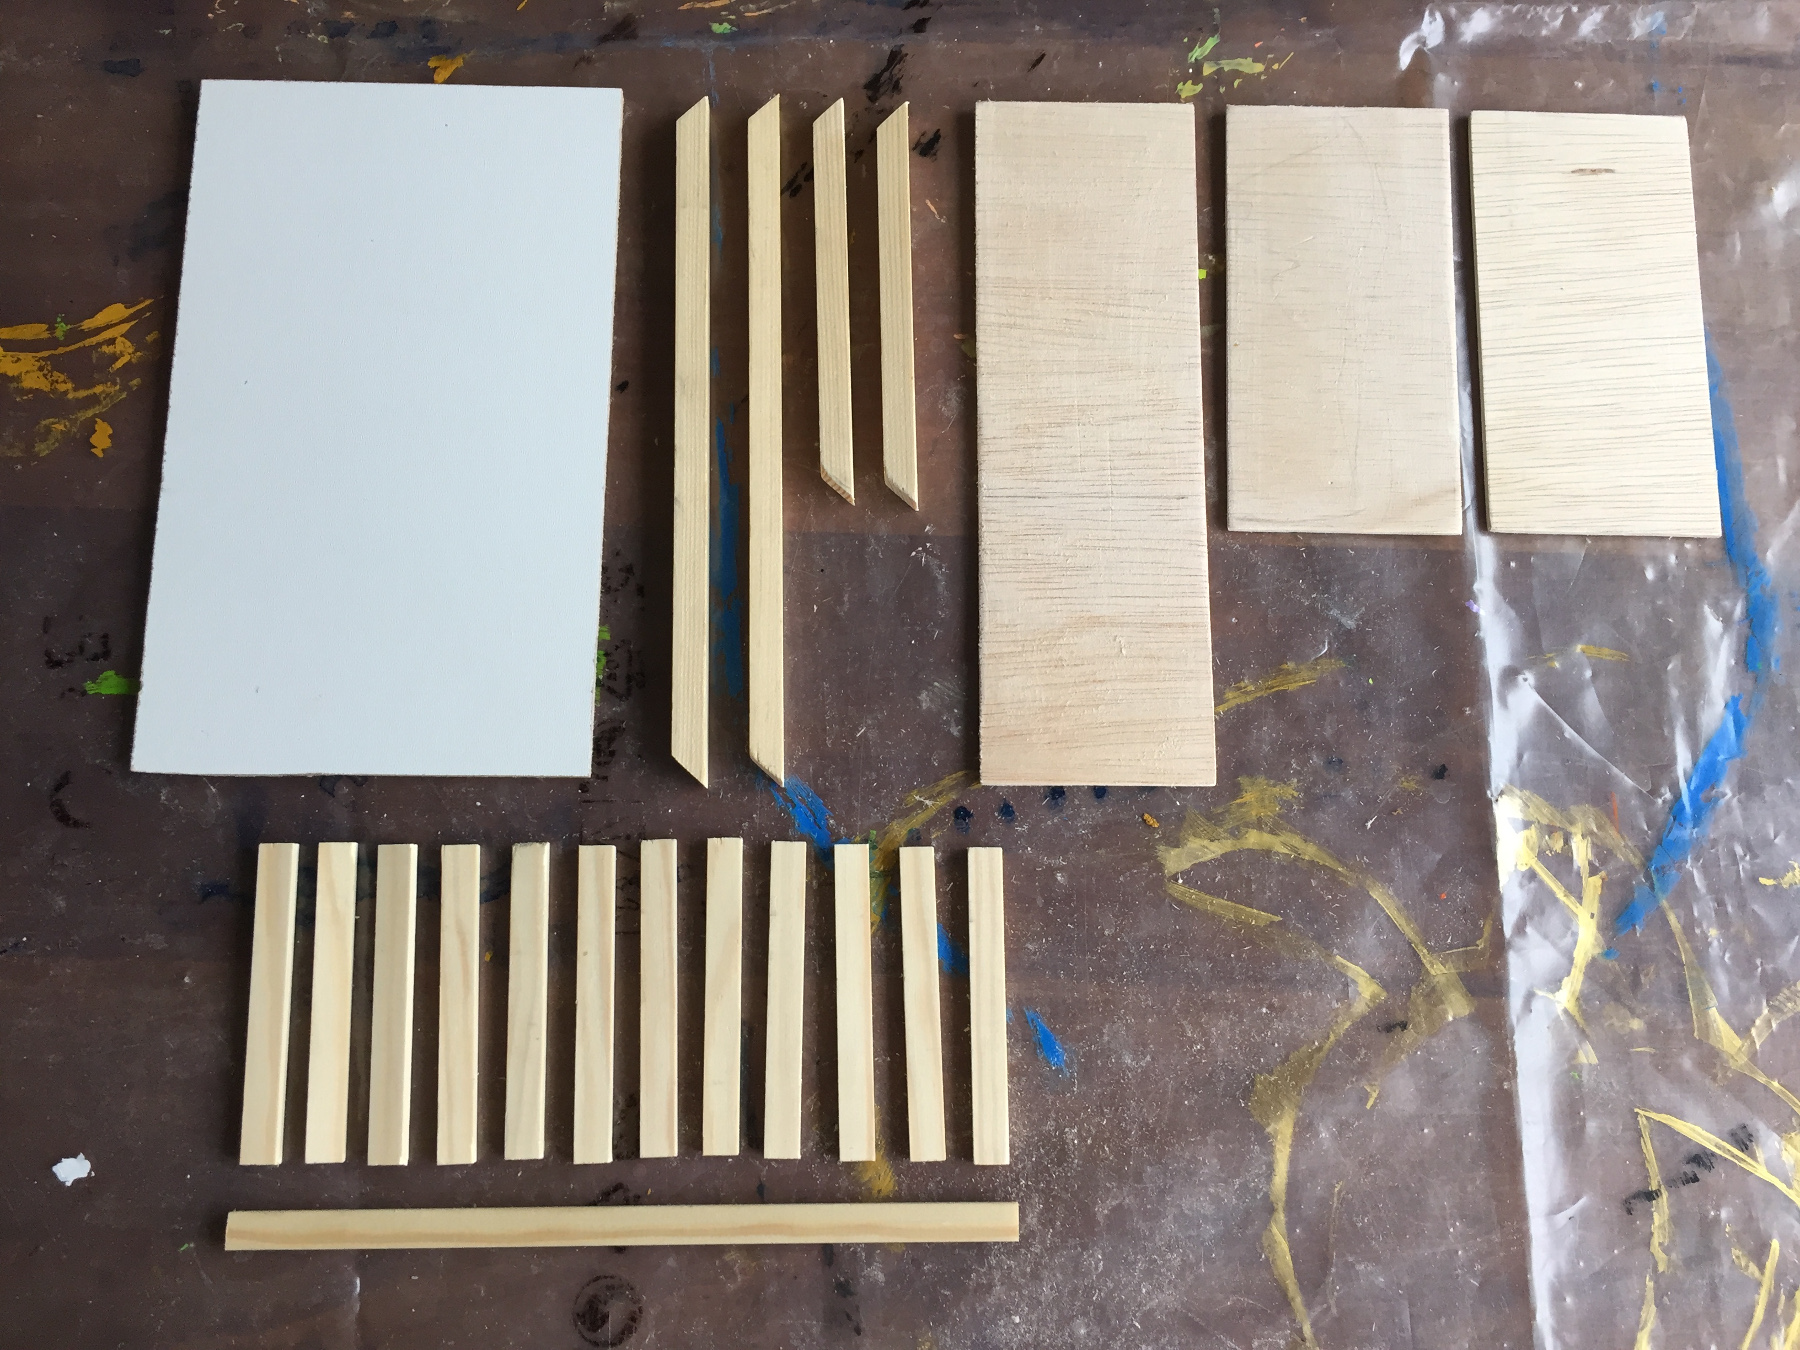
Saw from plywood 1 piece of 20x6cm and 2 of 12x6cm.
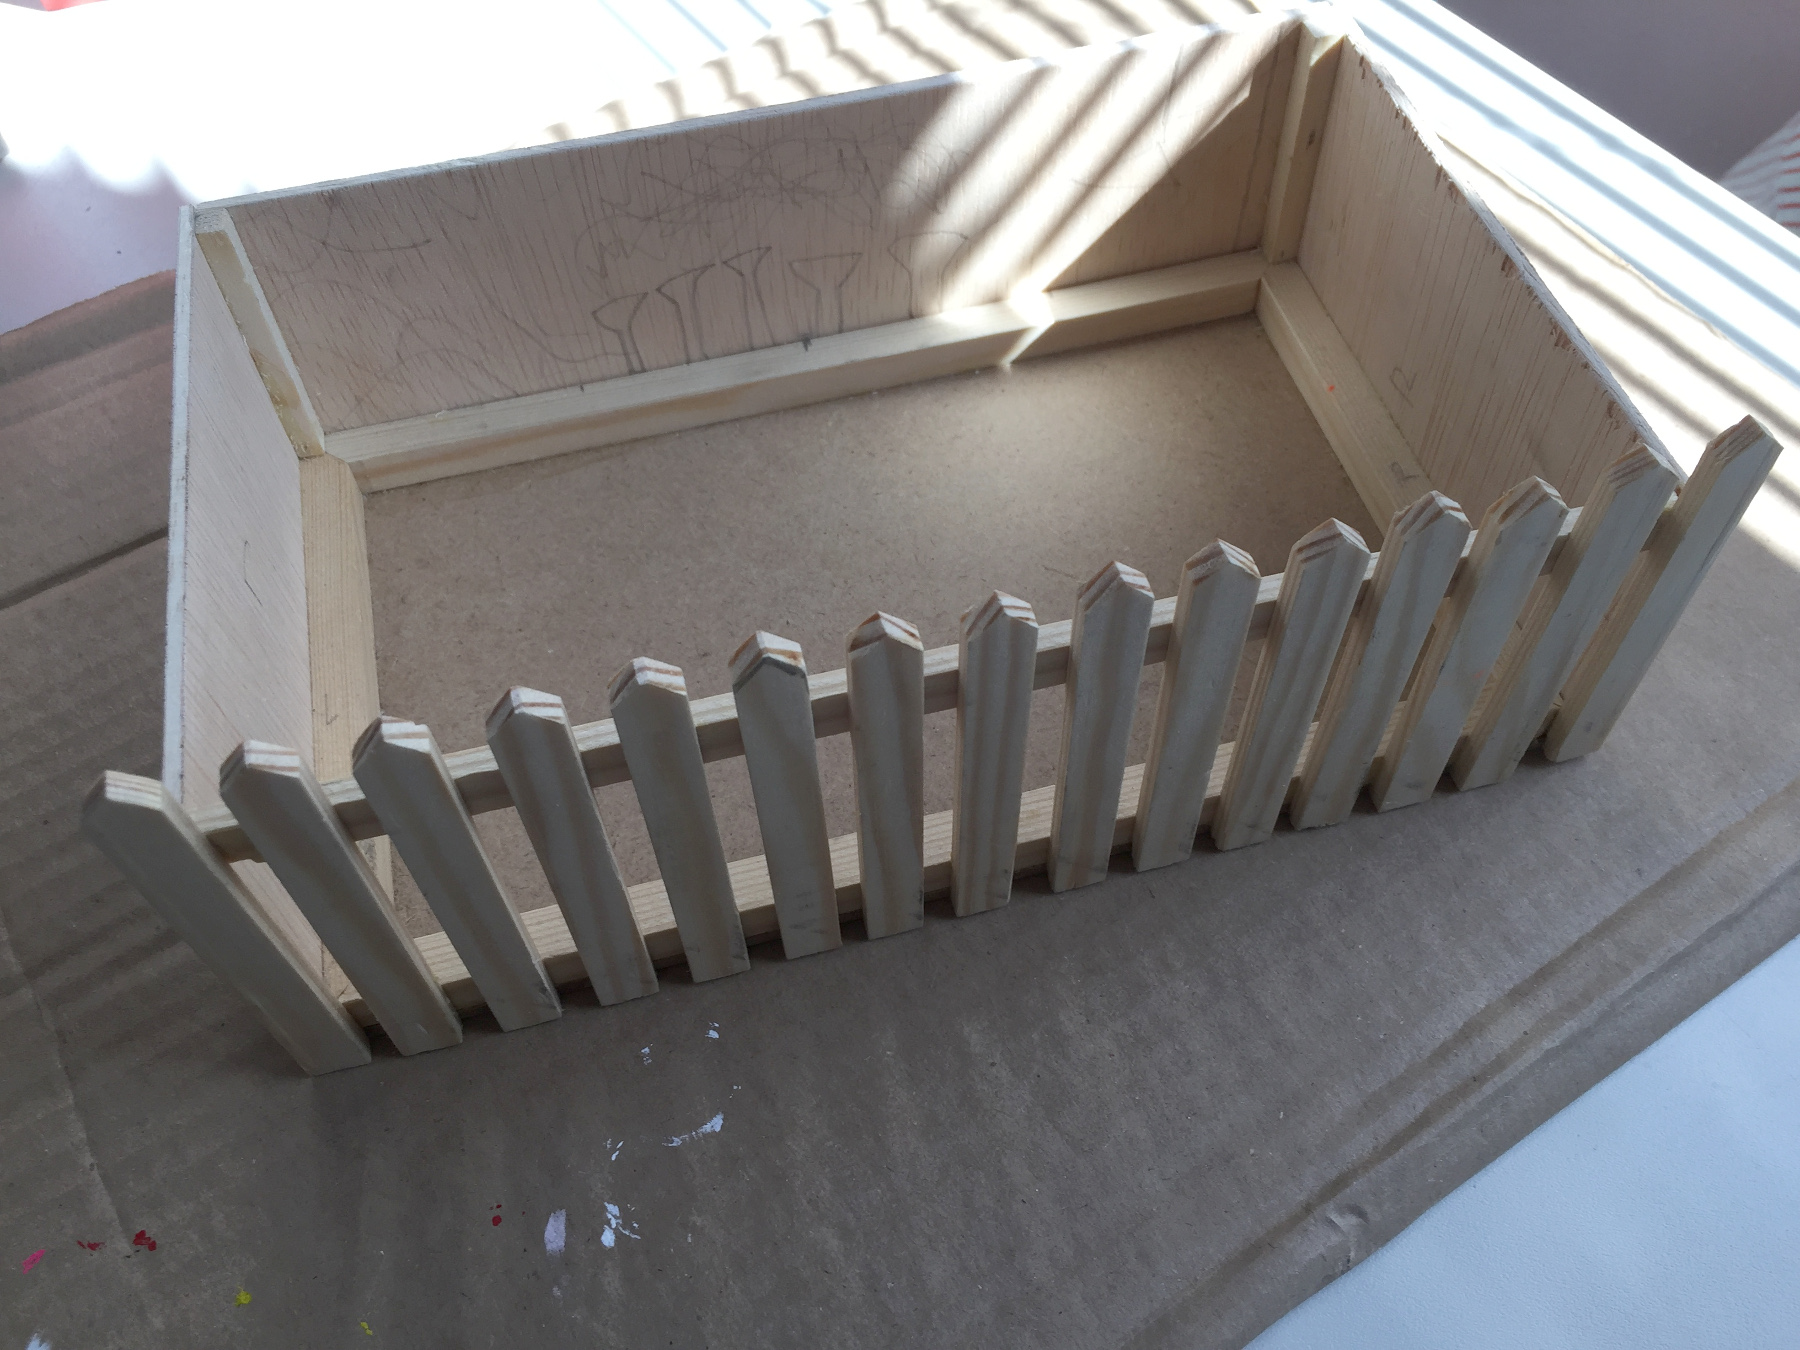
Now you have almost all the parts of the mini-garden.
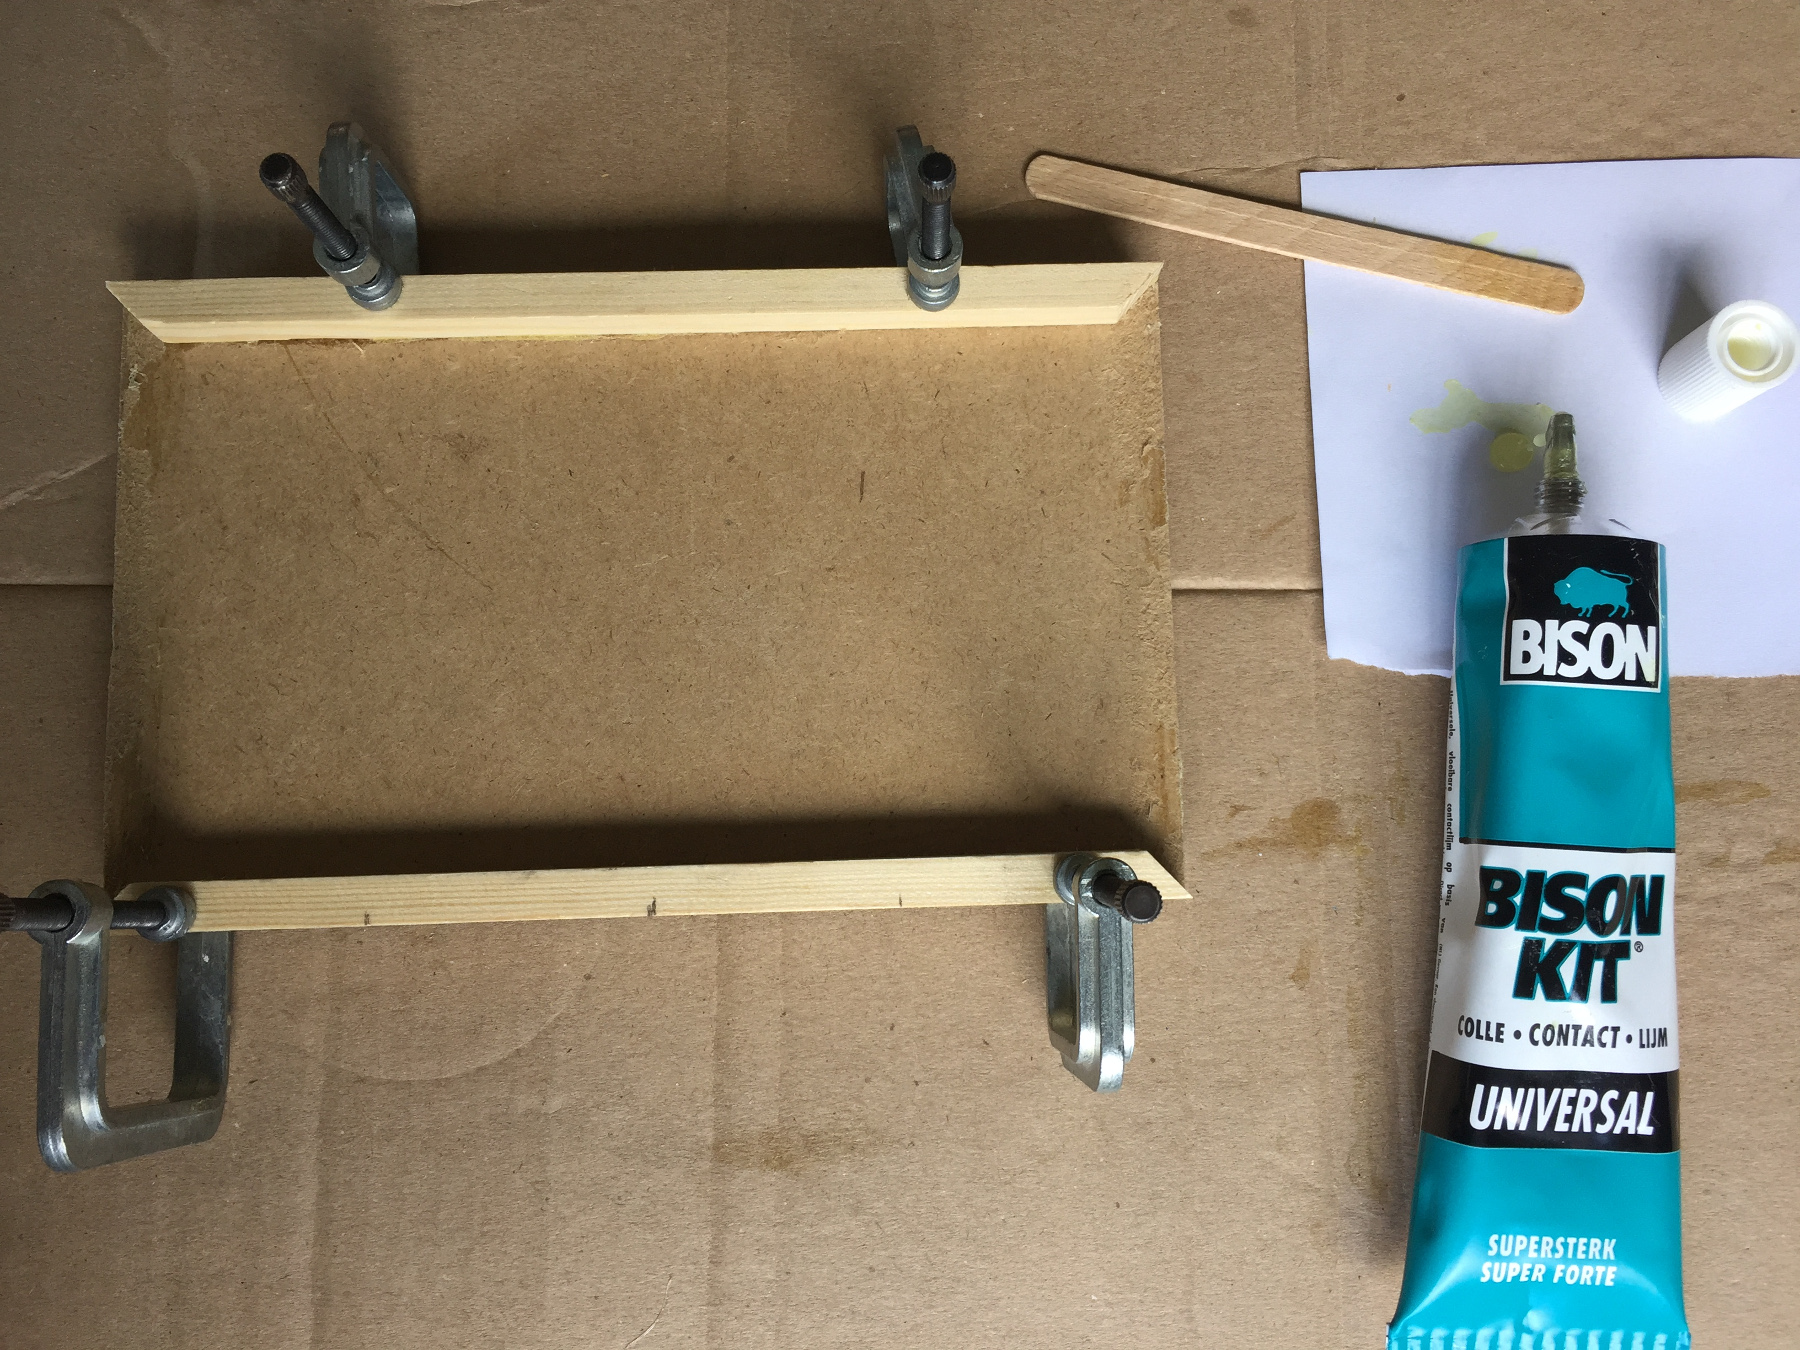
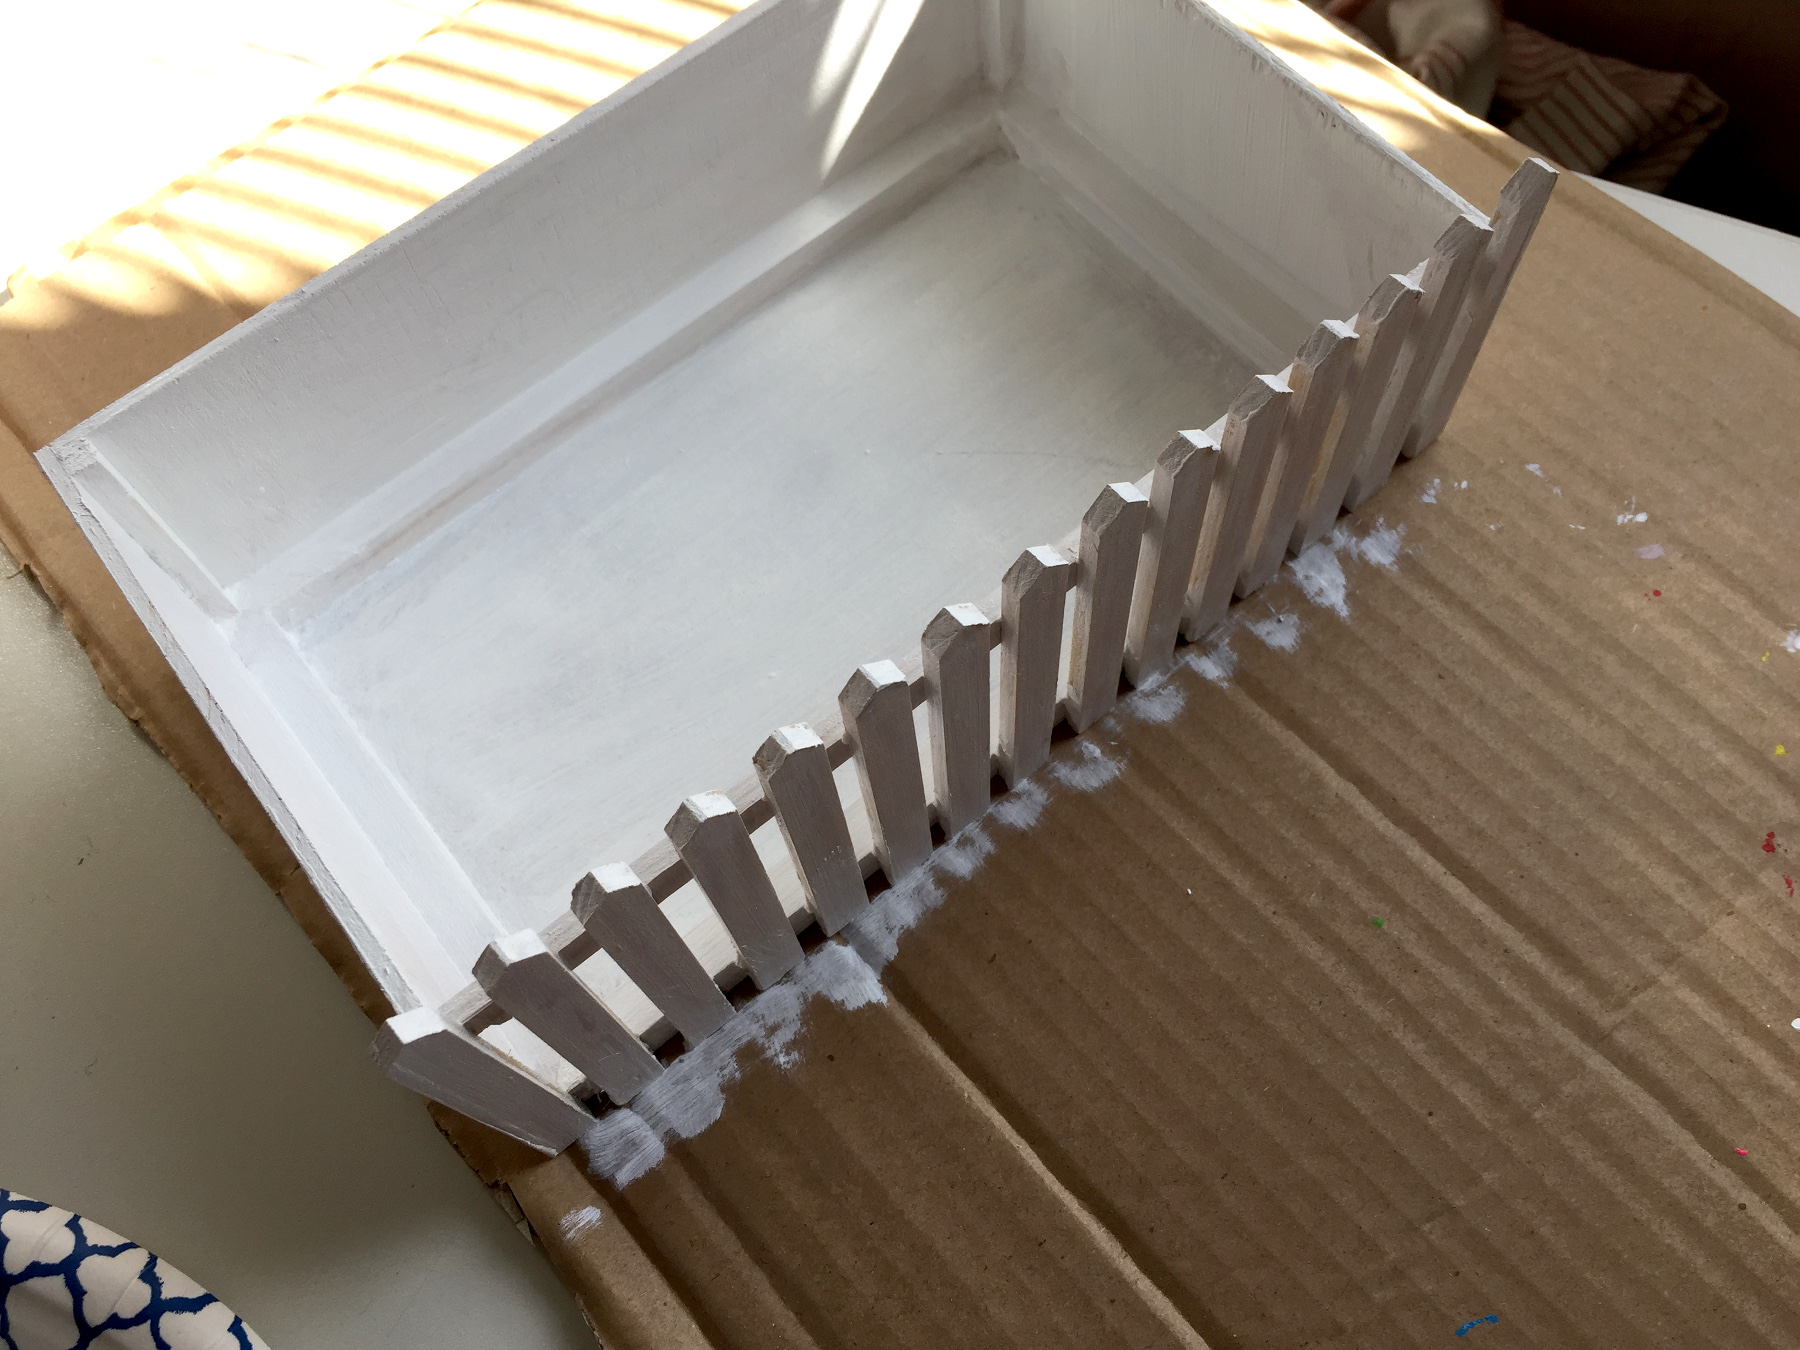
Glue the 2 beams of 20 cm long on the bottom.
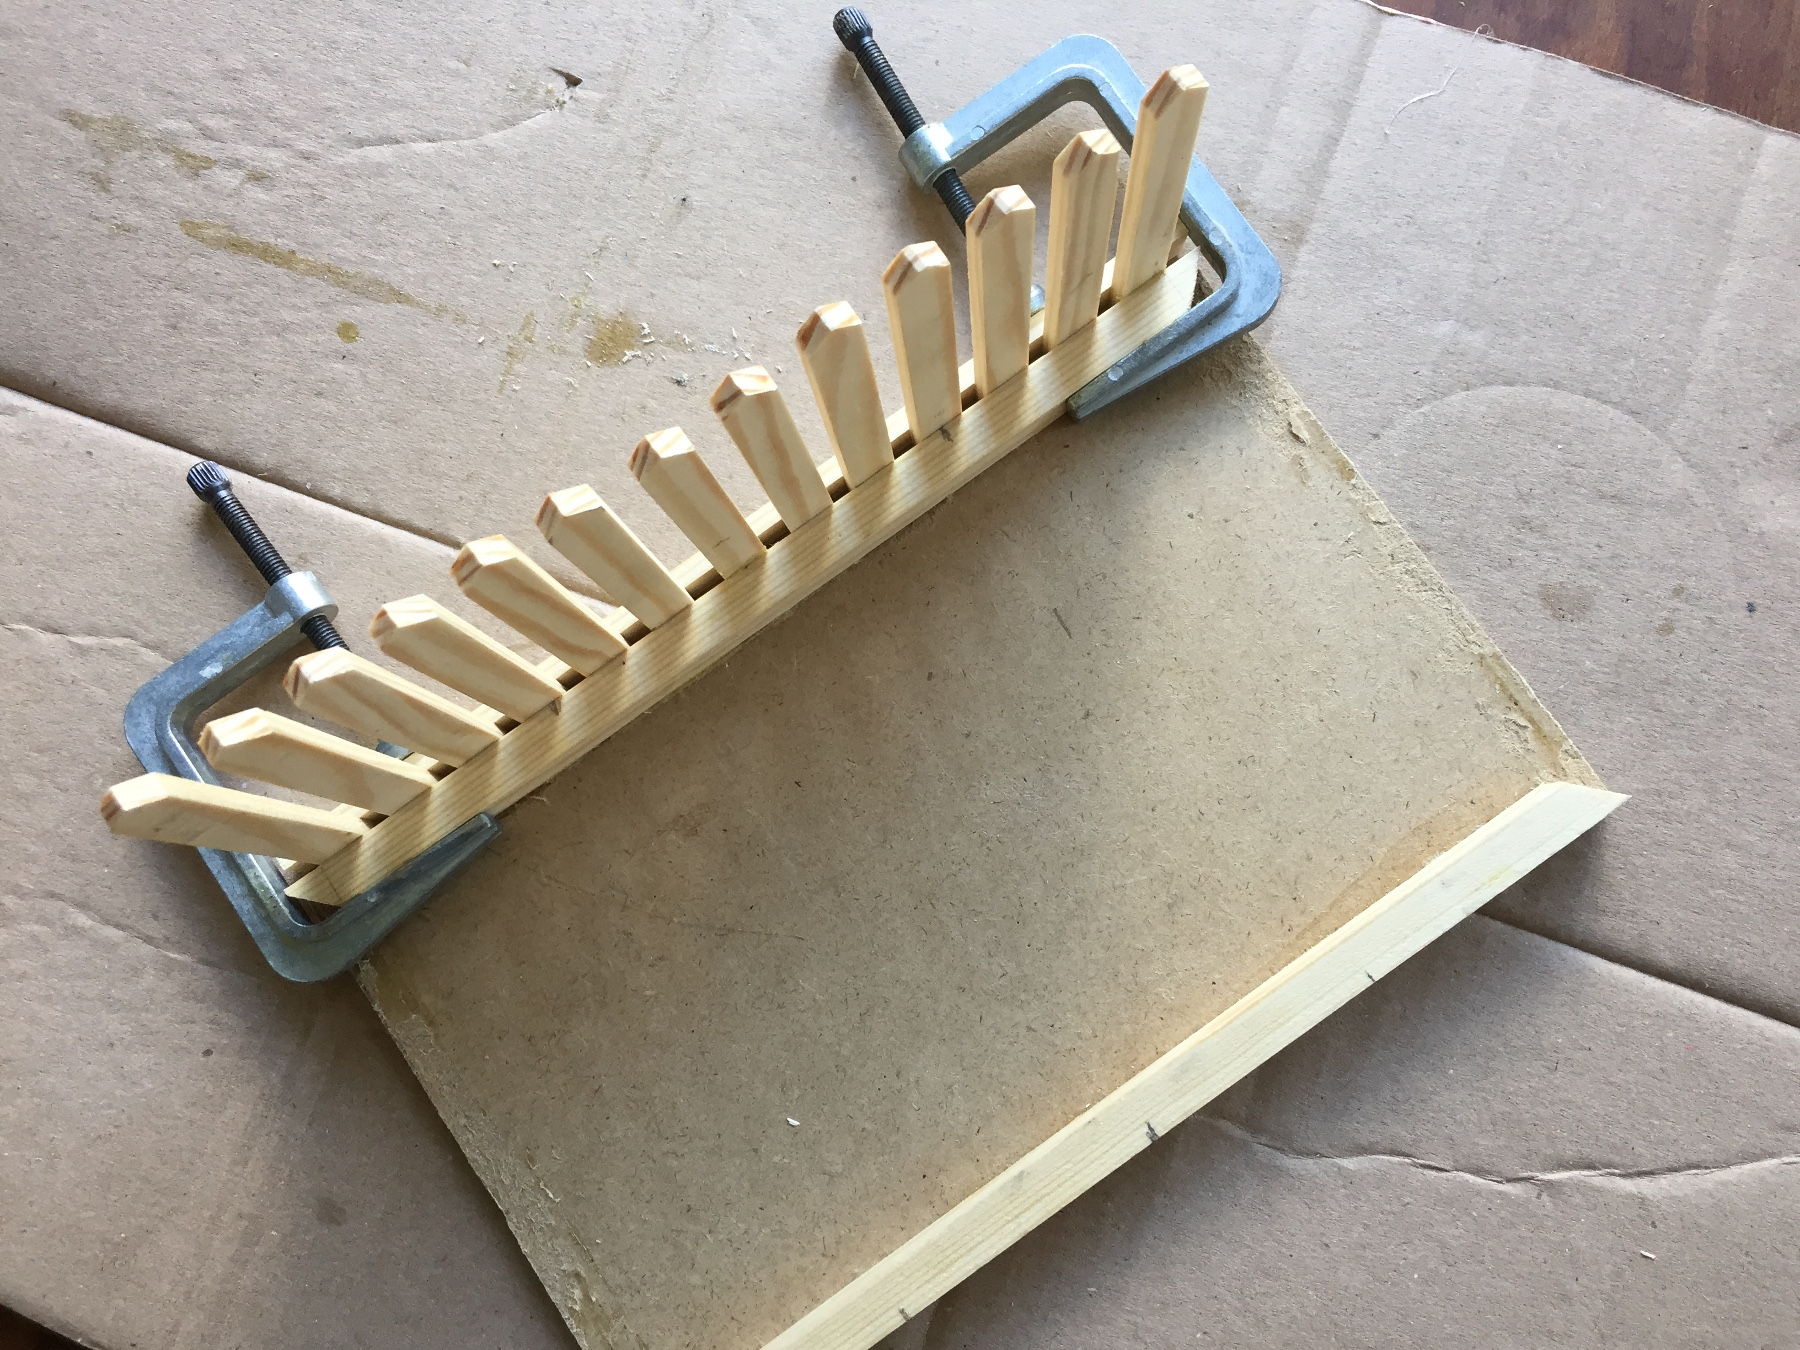
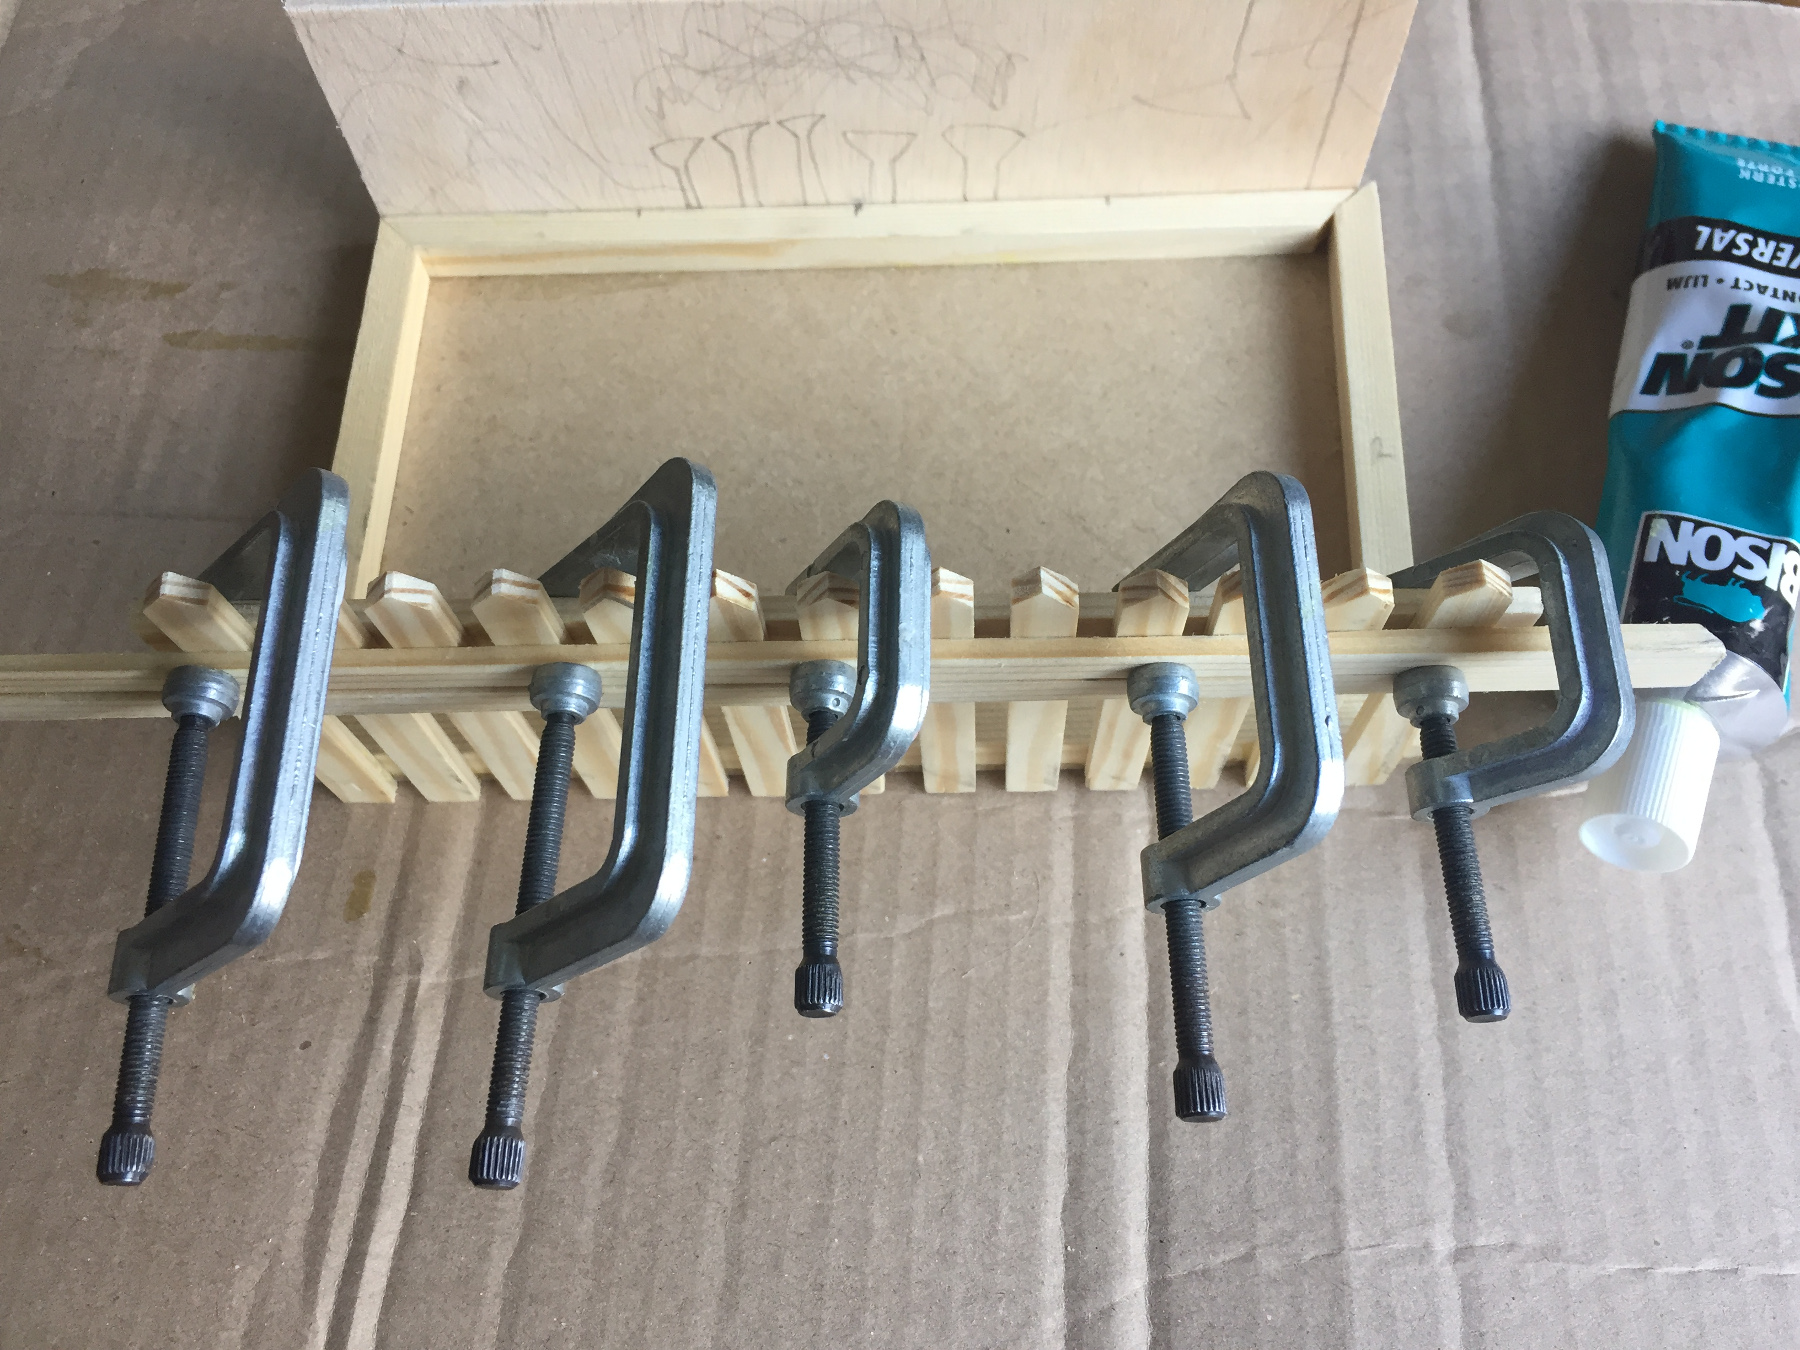
Stick 12 of the pointed slats on 1 of the beams.
Glue the 20cm slat on the back of the fence.
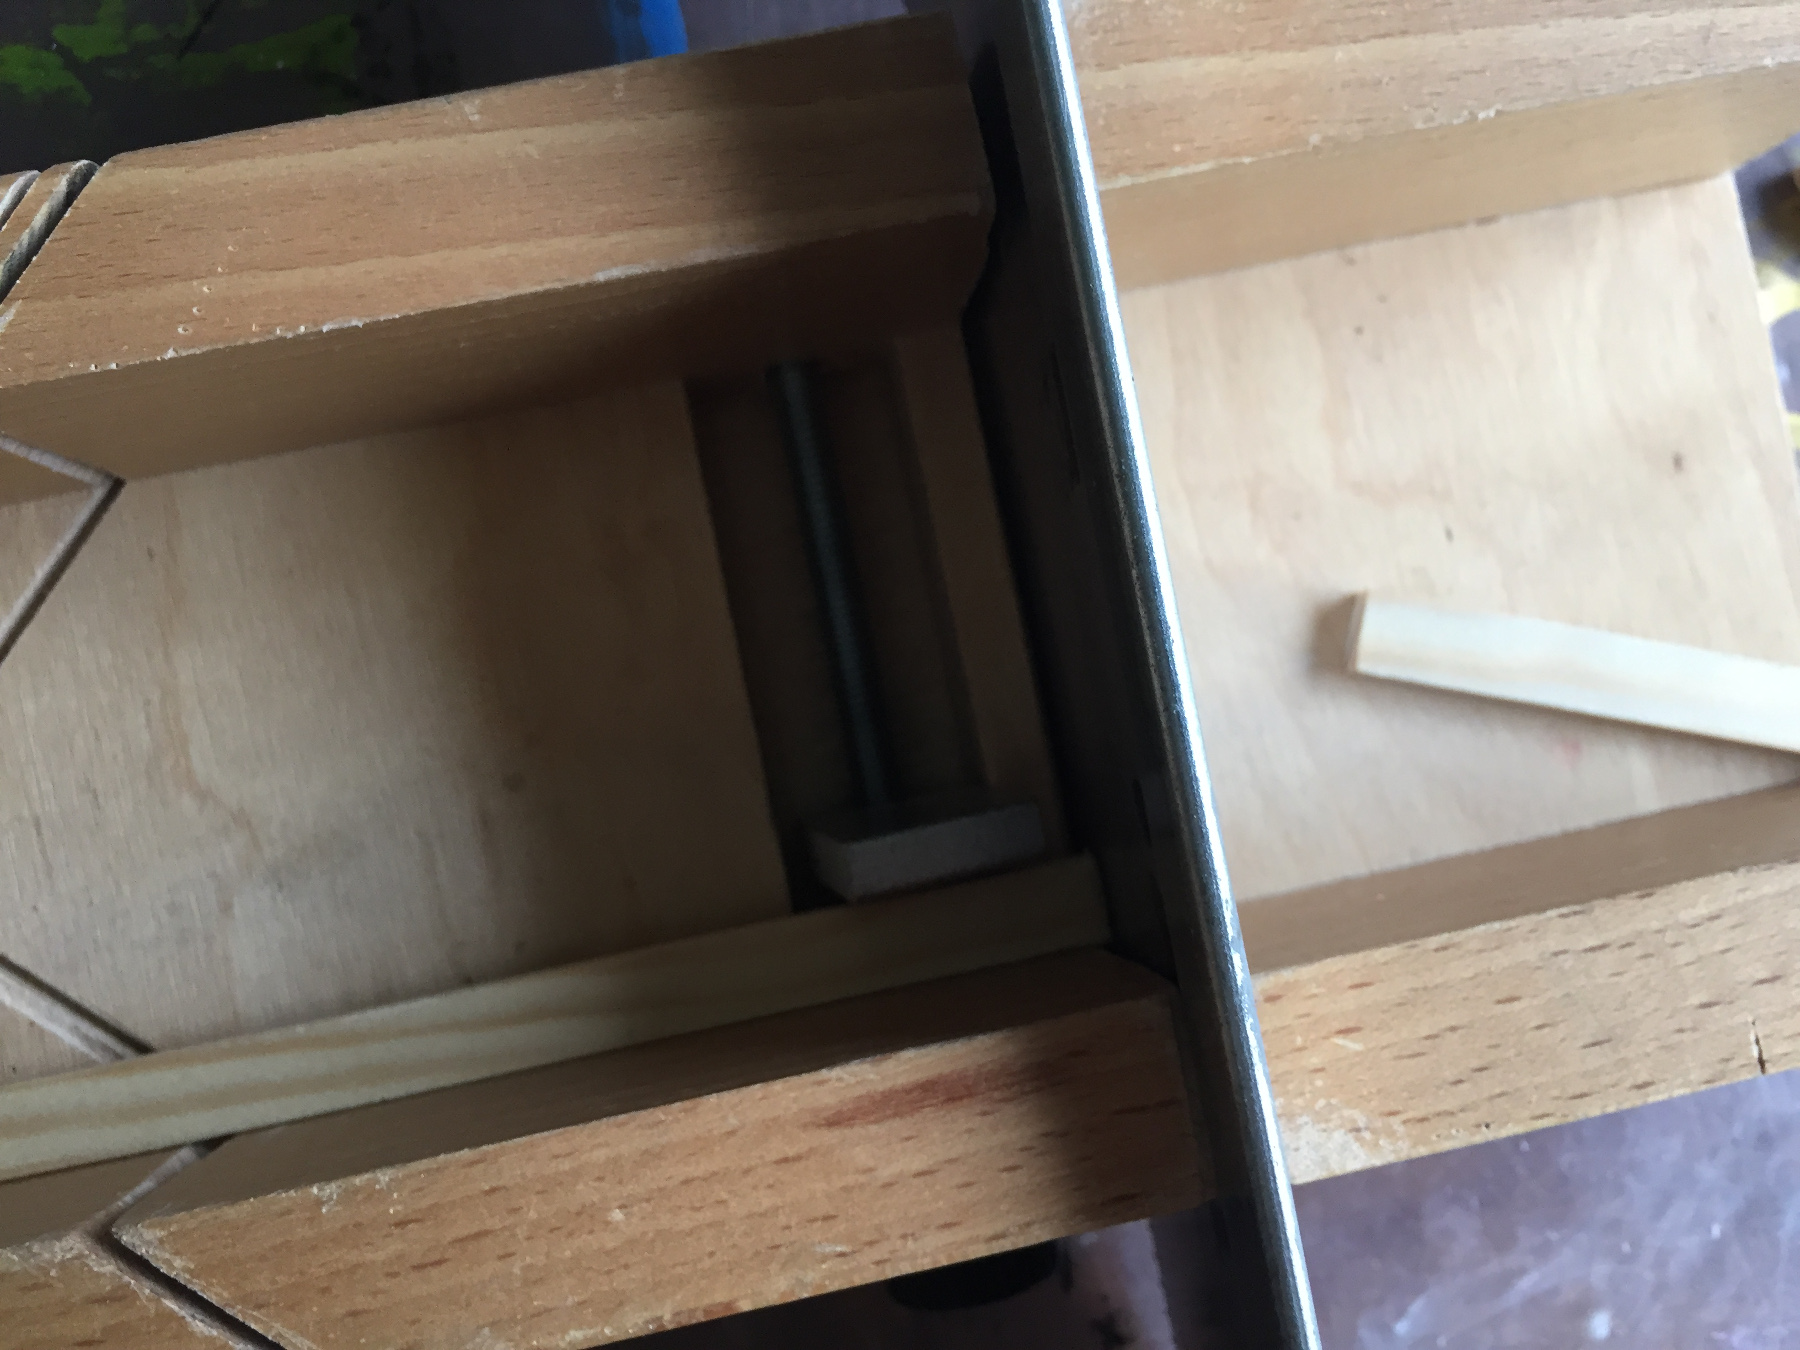
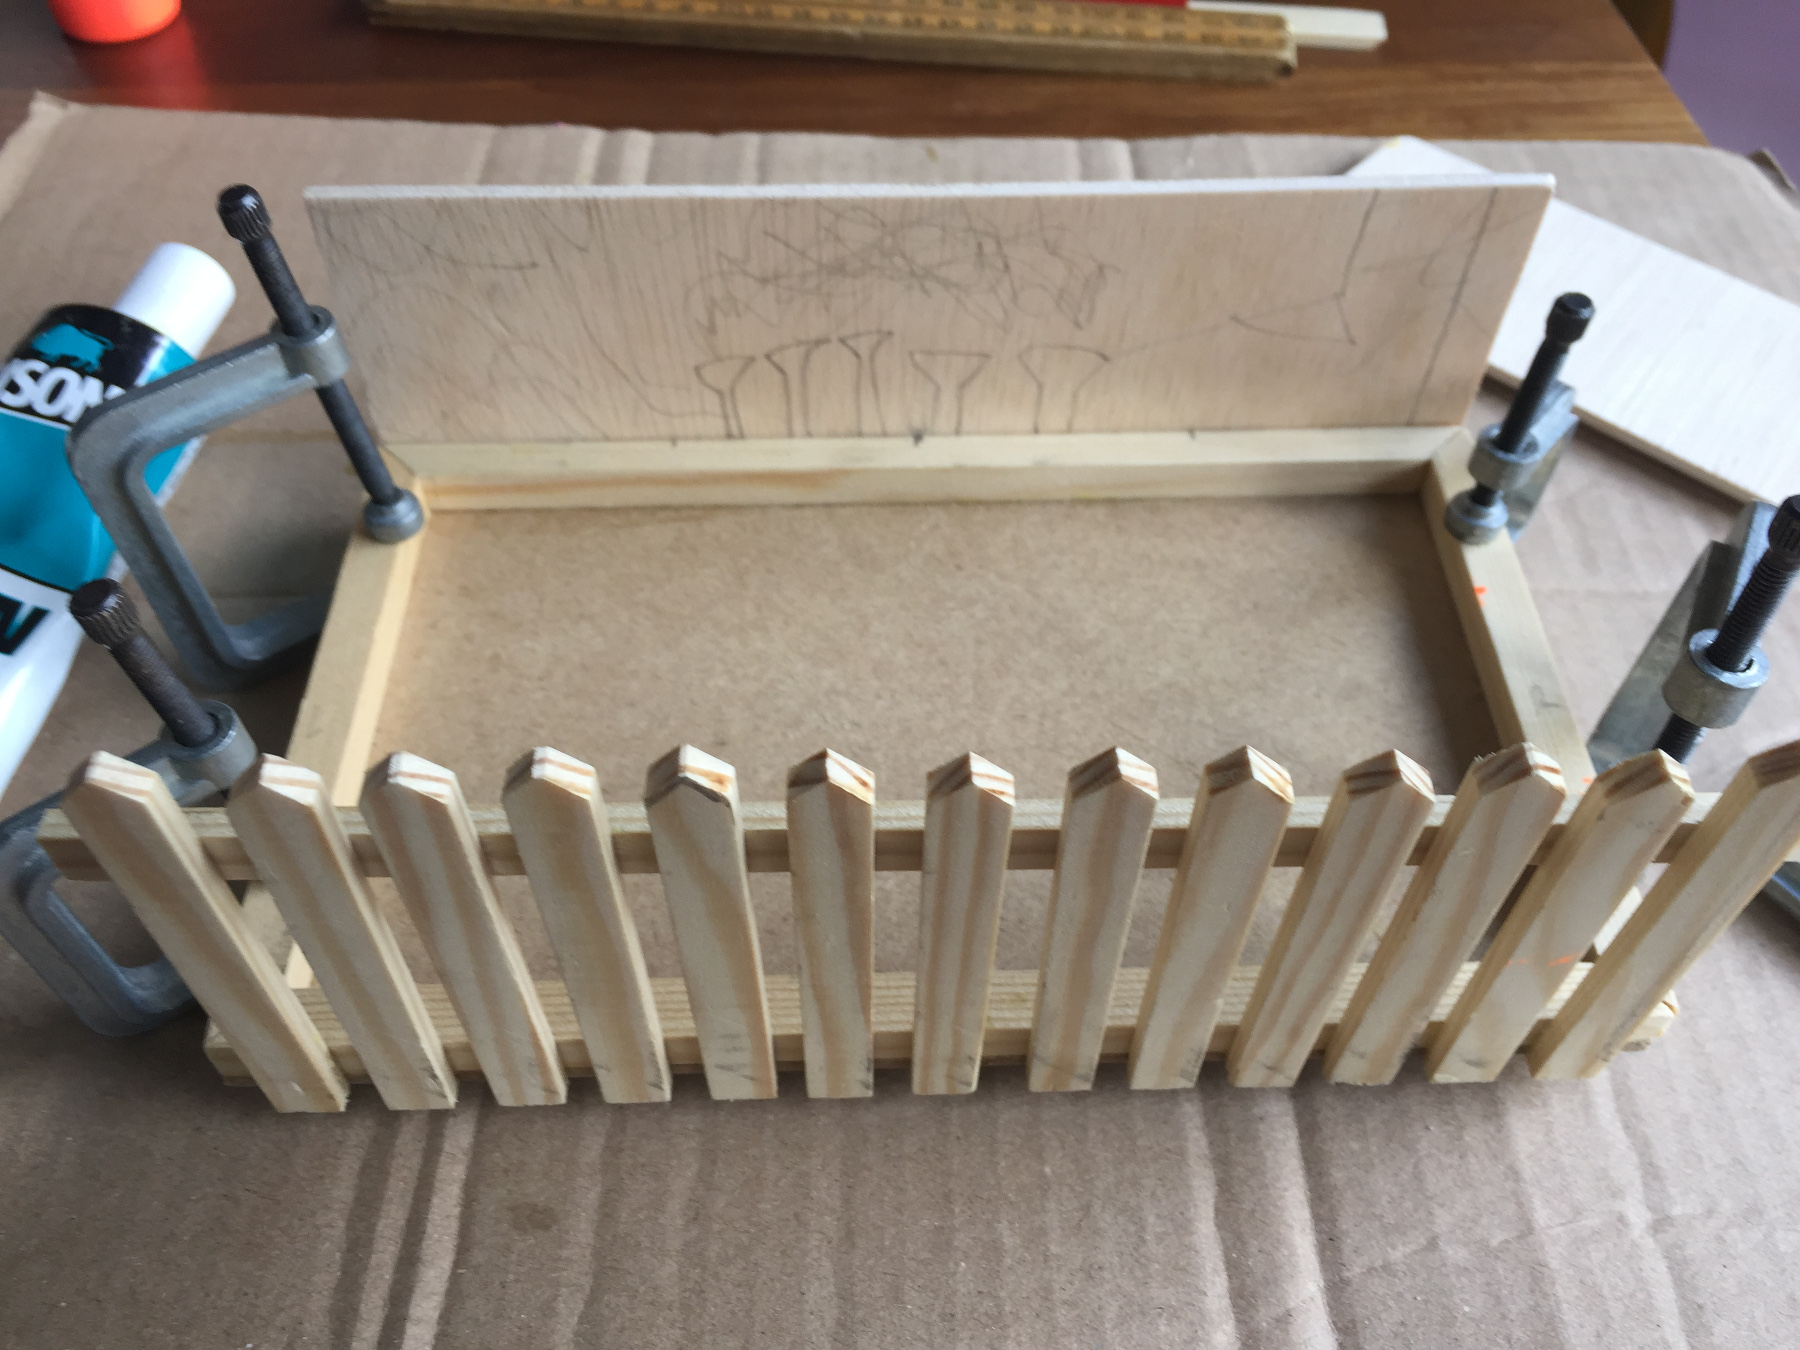
Stick the back on the opposite side, use glue clamps.
Stick on the sides and clamp them, between books for example.
Allow every part that you glue on to dry completely and use small glue clamps where possible
Stick two 5x5mm beams in the back corners, for support.
Paint the outside of the garden then let it dry.
Paint the inside of the garden too and let it dry.
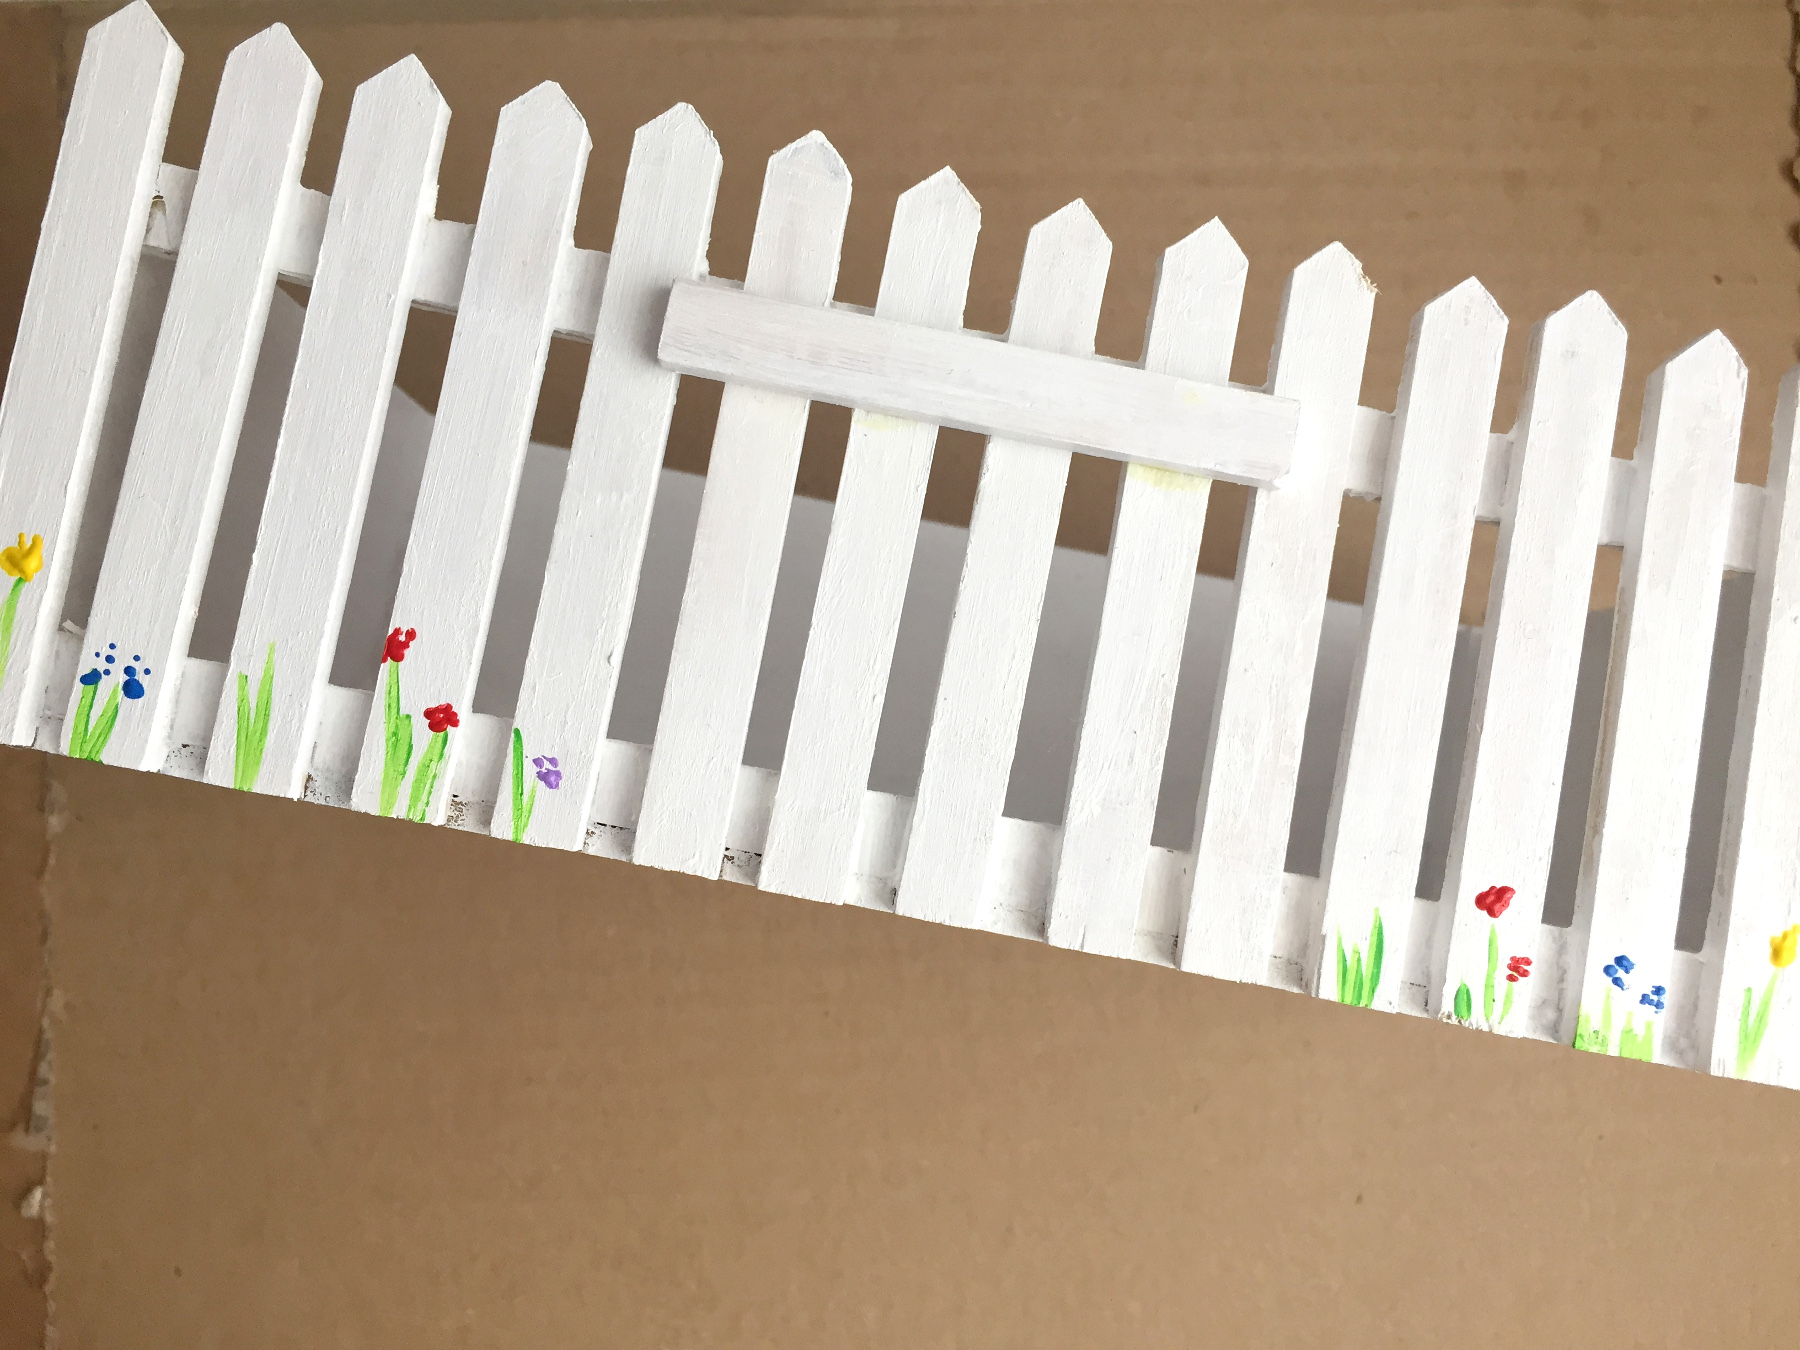
Paint on fence here and there some grass and/or a flower.
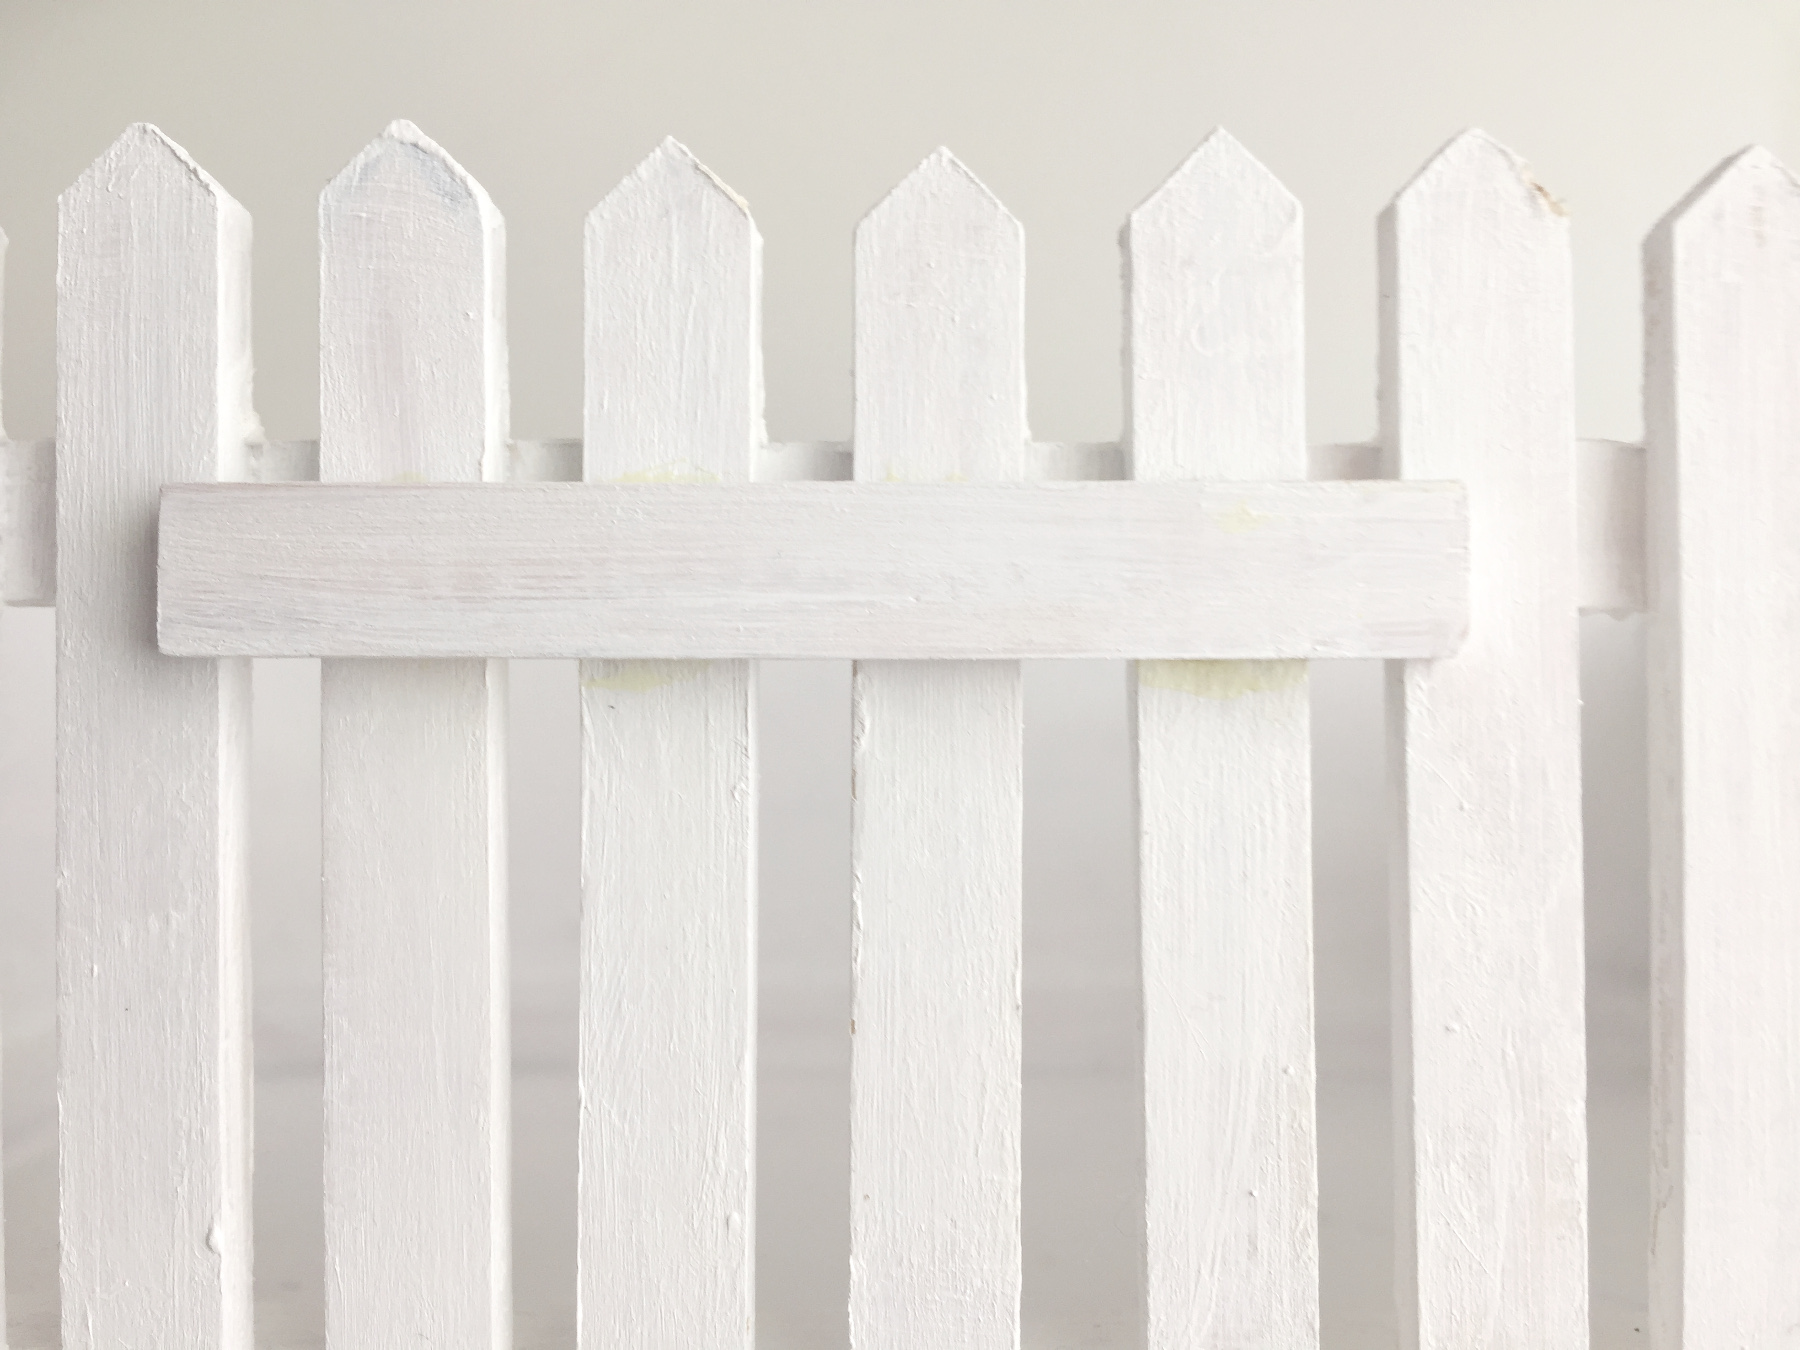
Leave four slats near the middle empty

We make a small sign to put in Mum's herb garden.
We stick on an small slat, the illusion of a gate.
Now we move our herbs into the mini plant pots.
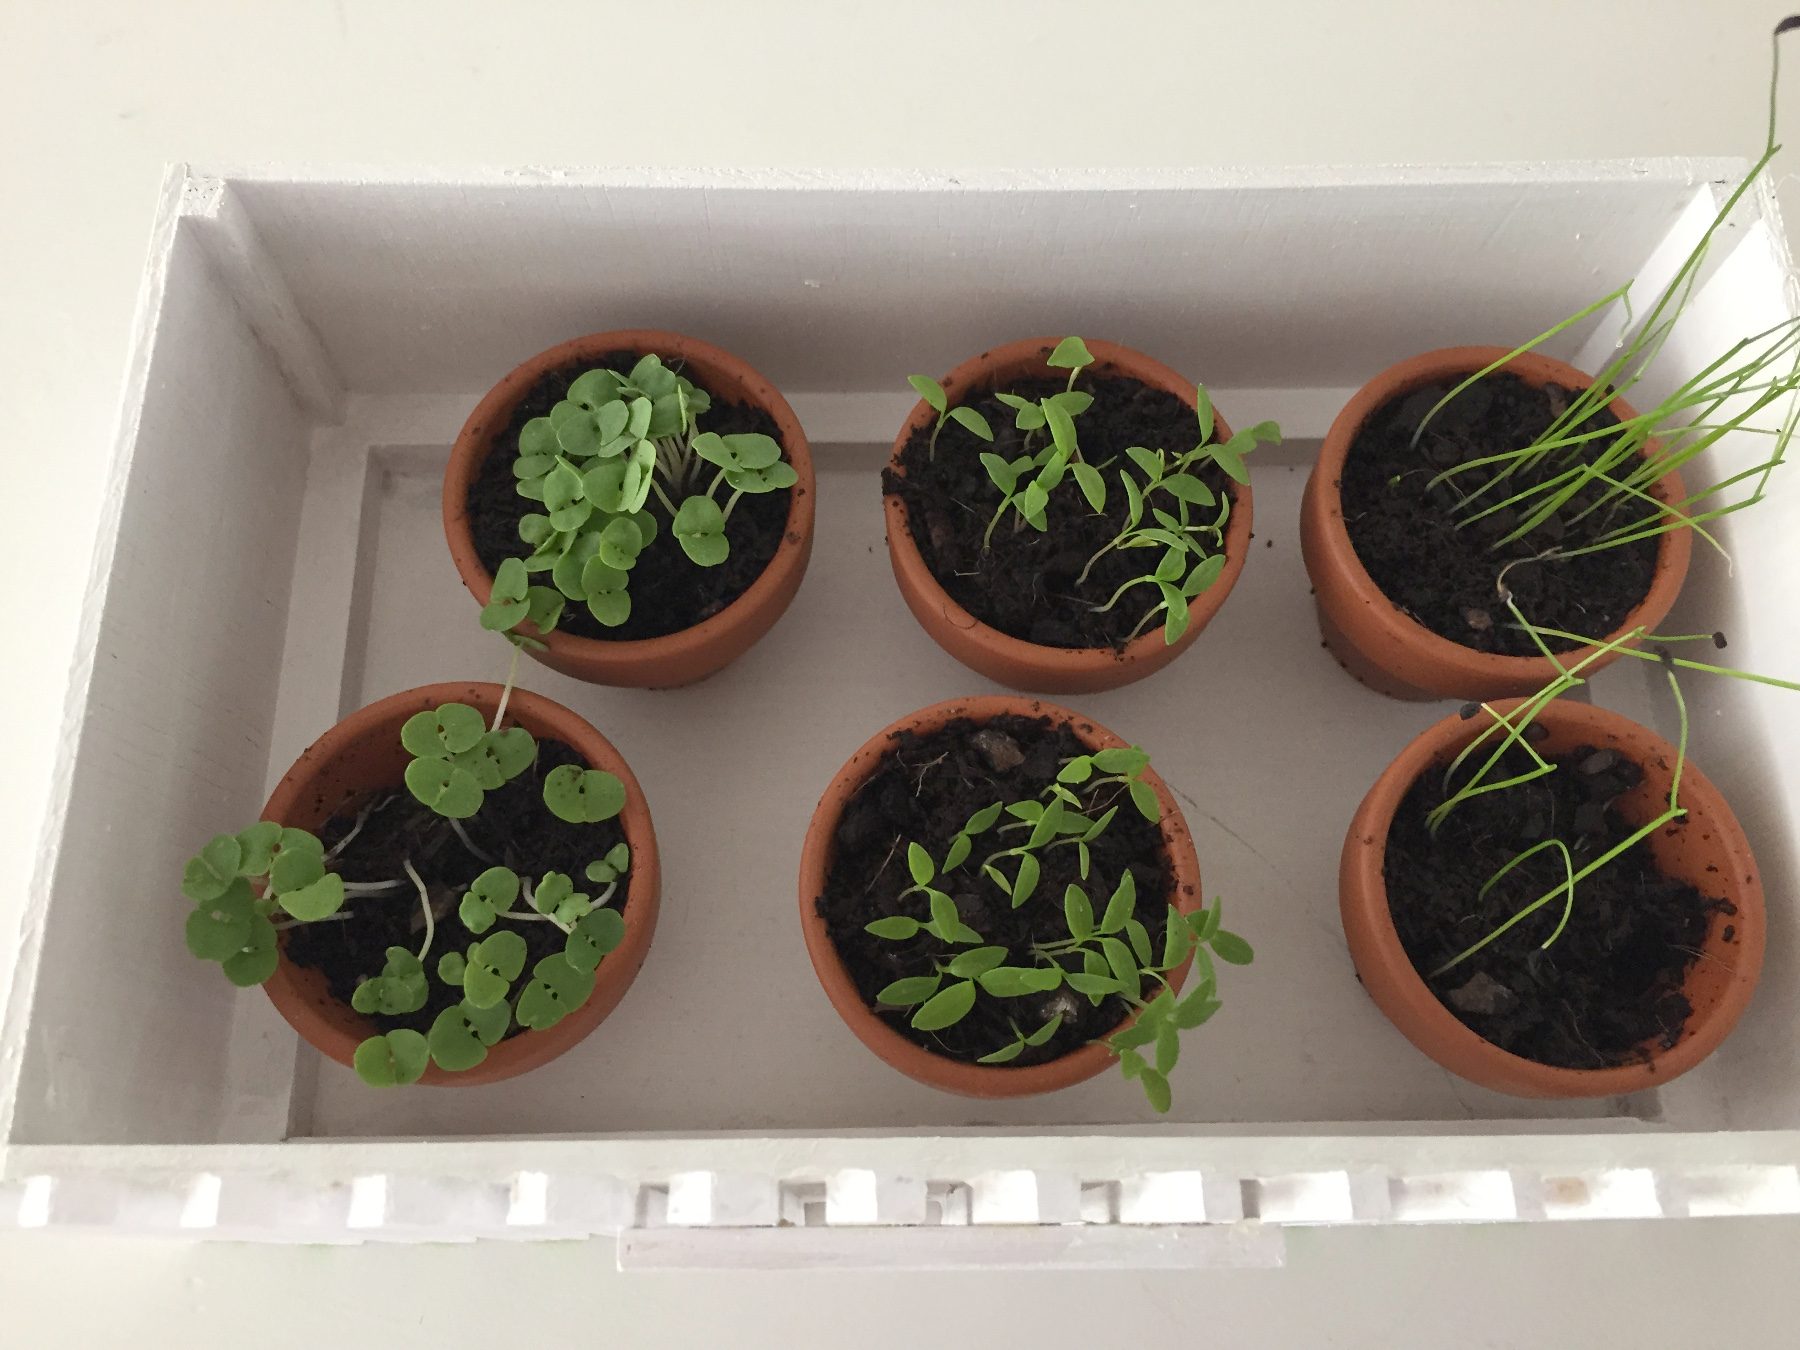
We place all the home grown herbs in the garden.
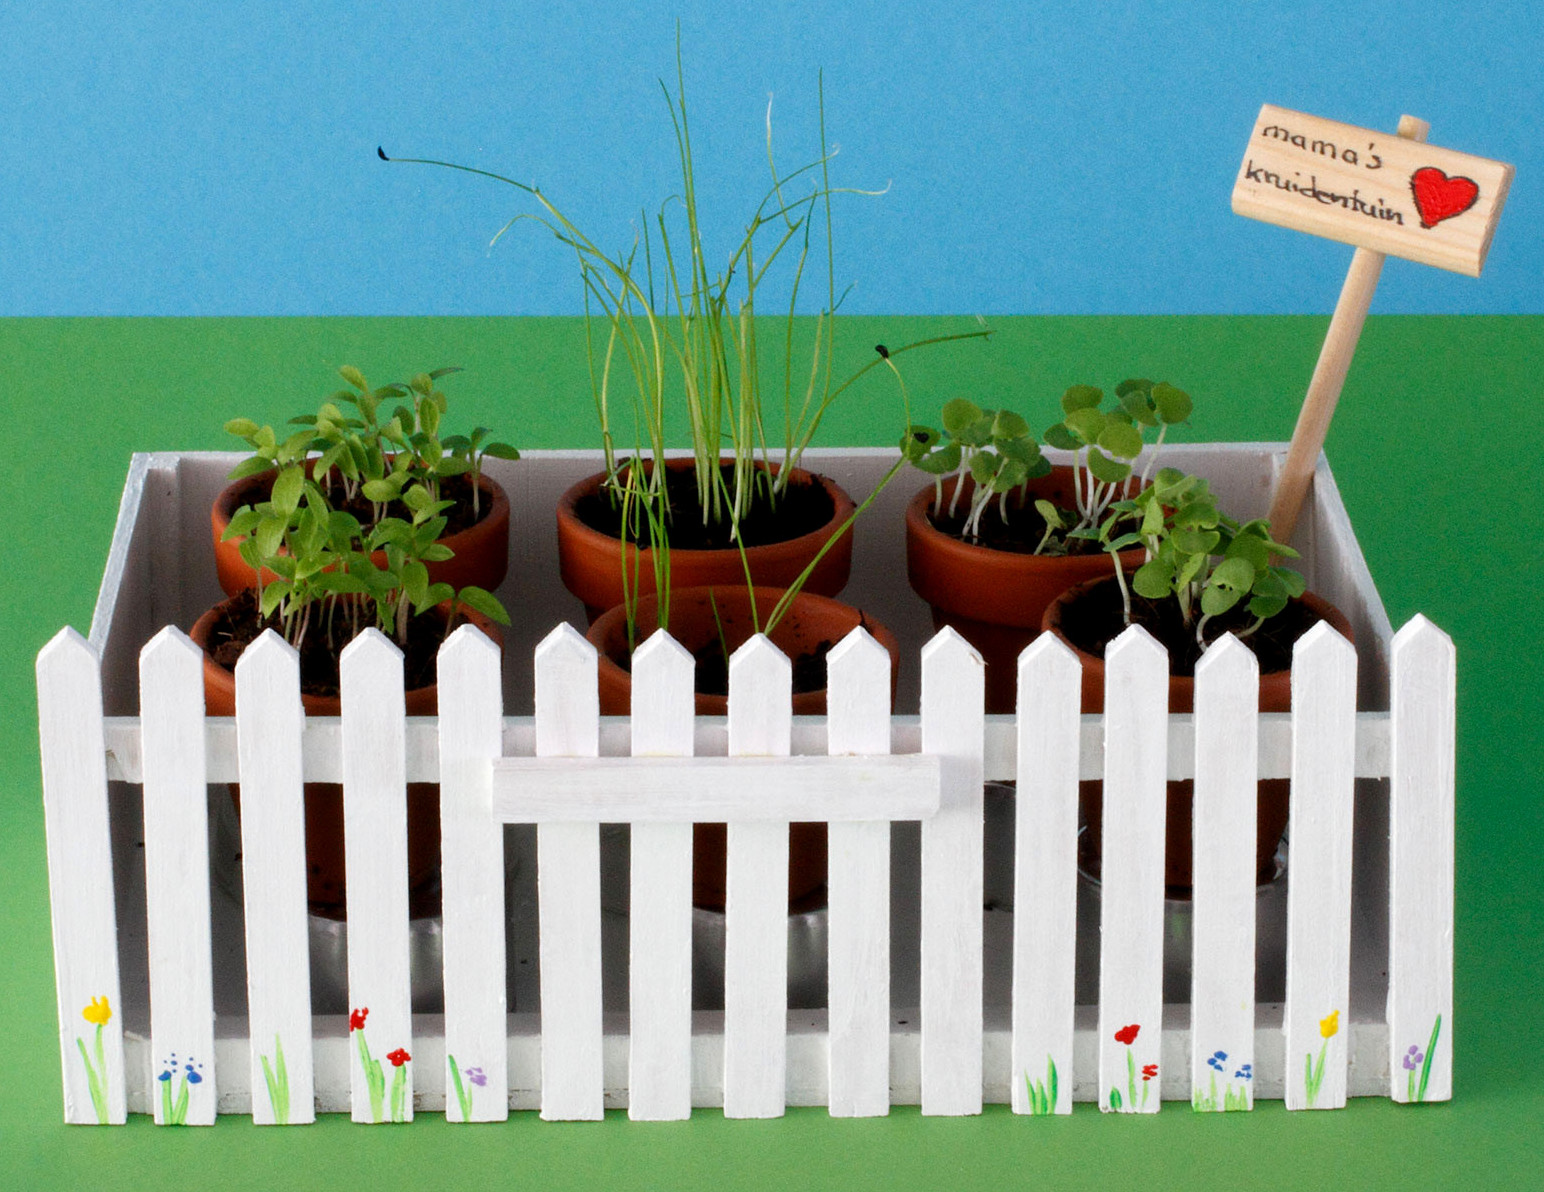
Stick the sign in the herb garden and you are done!
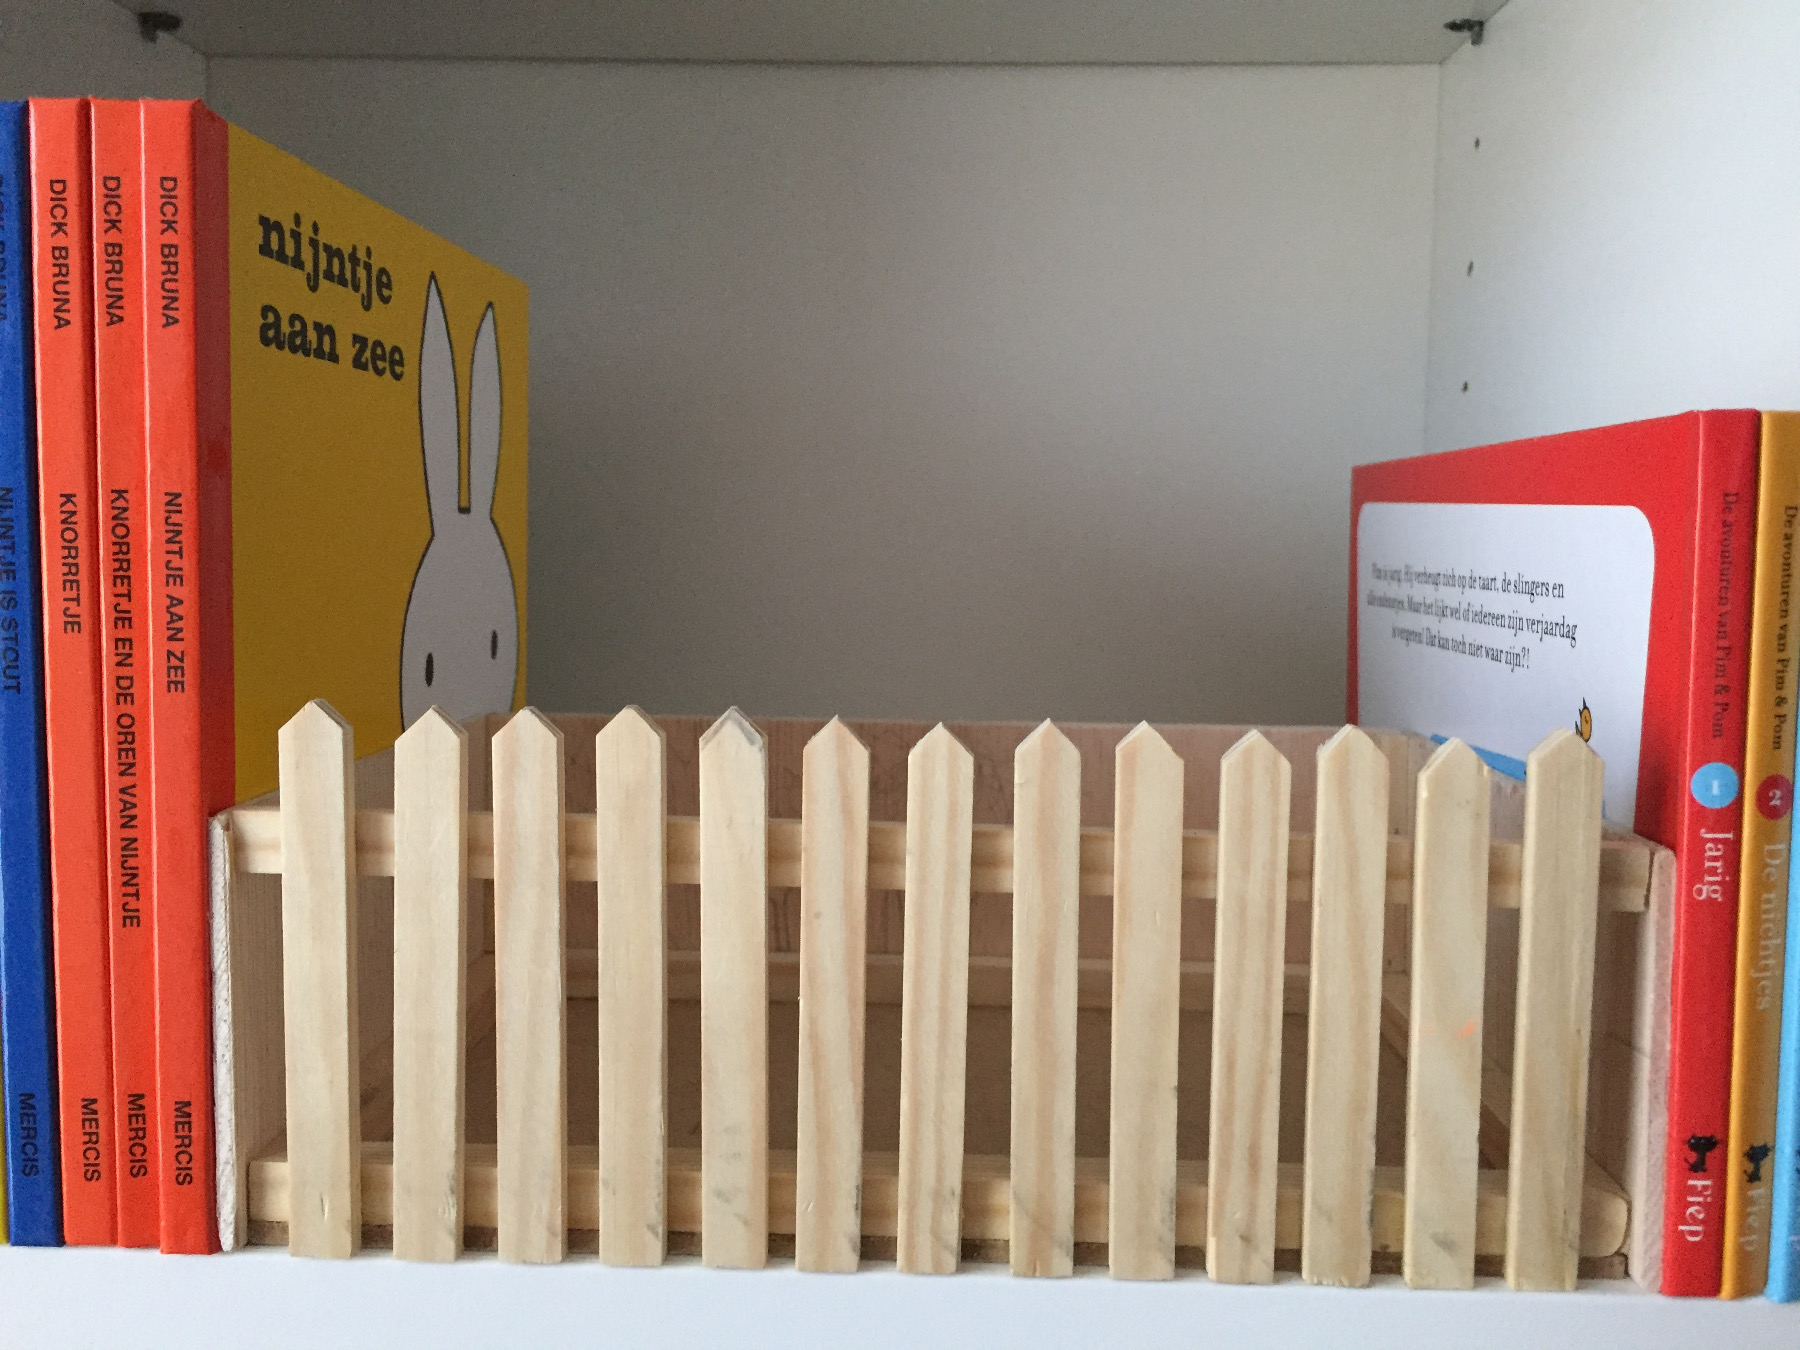
Your Mum will be happy with her pretty mini-garden, have a lovely Mothers Day!