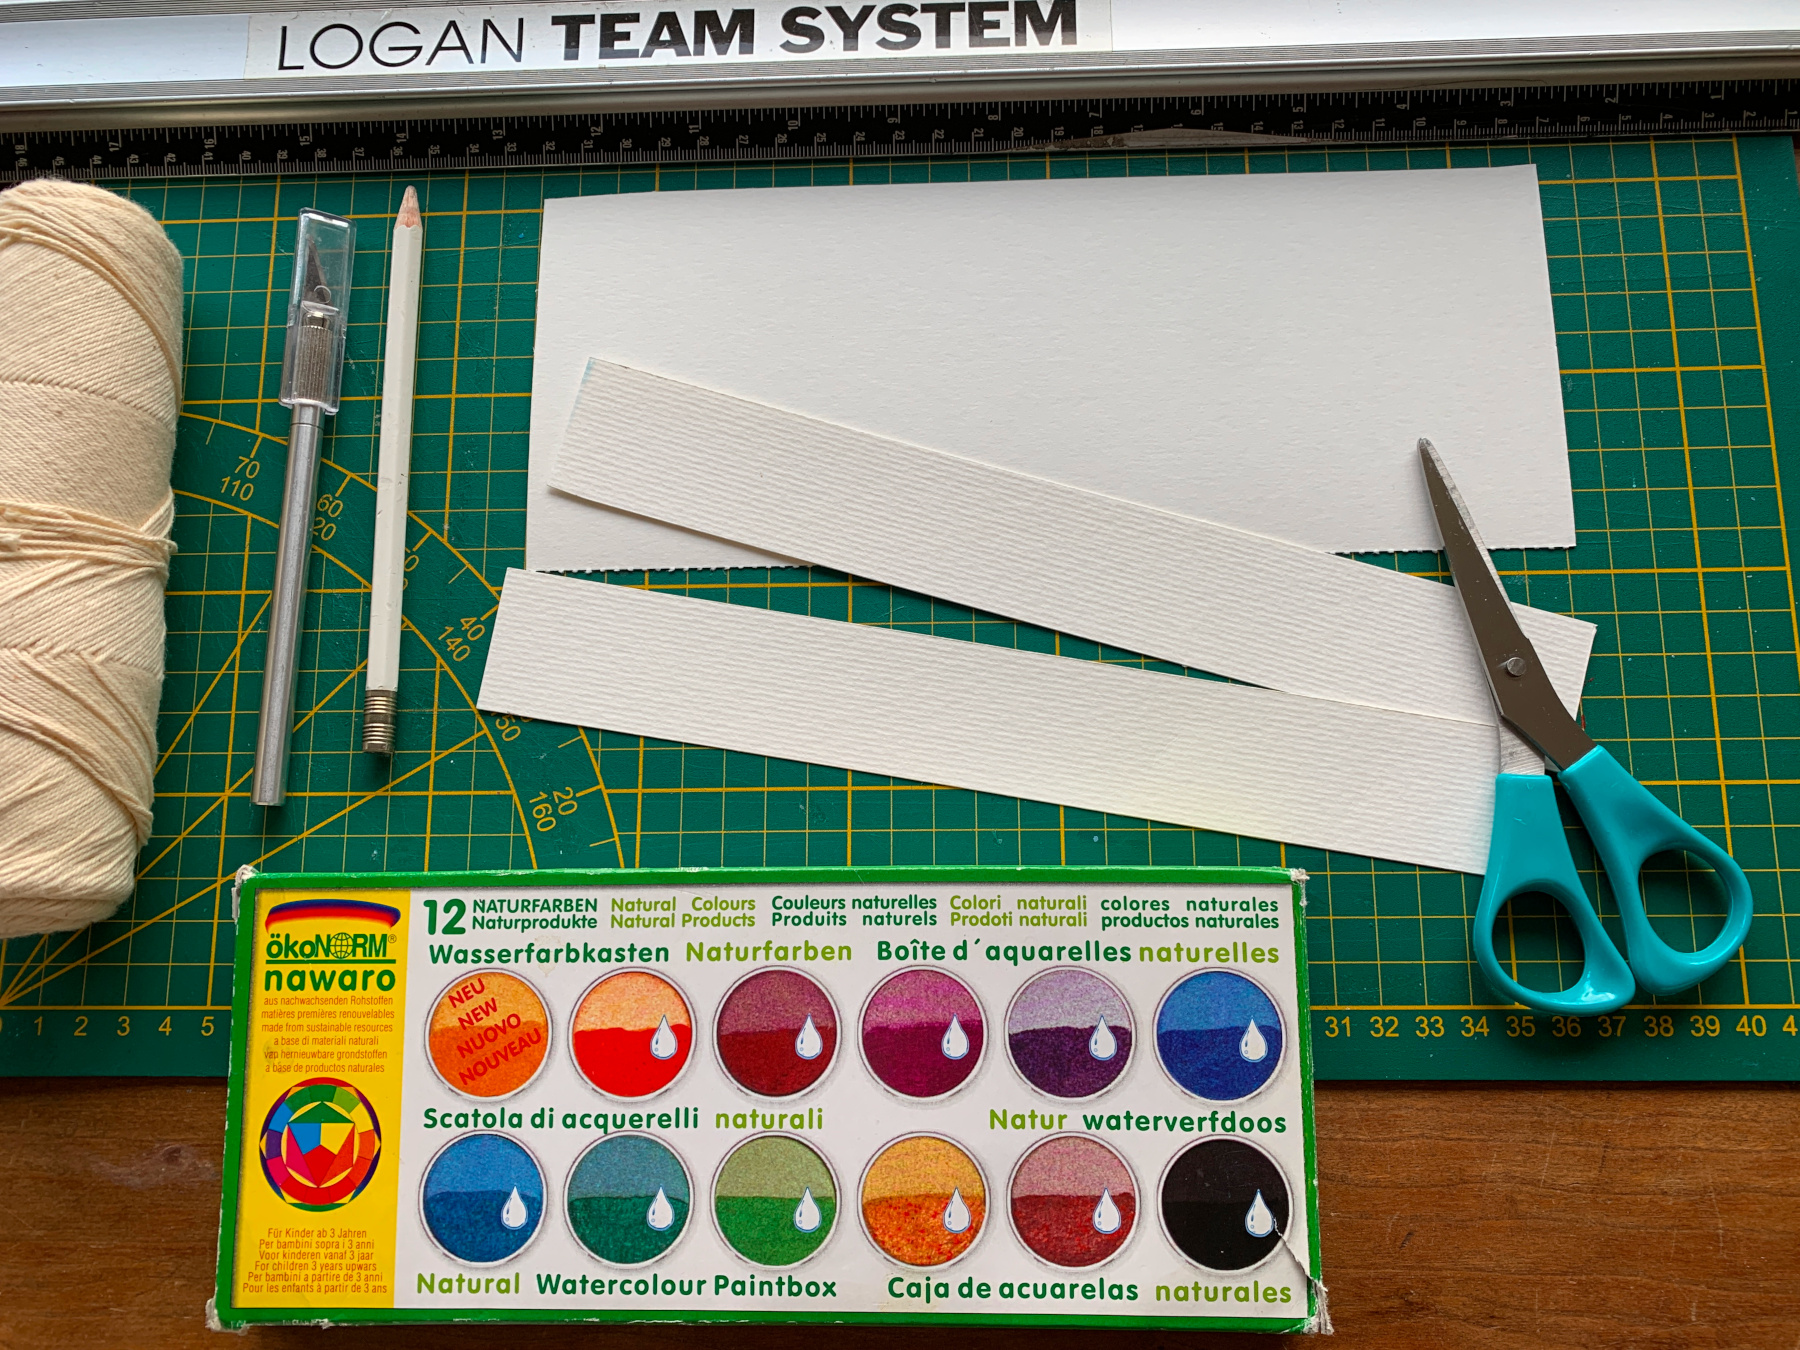
an exacto blade
a cutting mat
watercolor
brushes
a pencil
scissors
needle and thread
copper candle holder
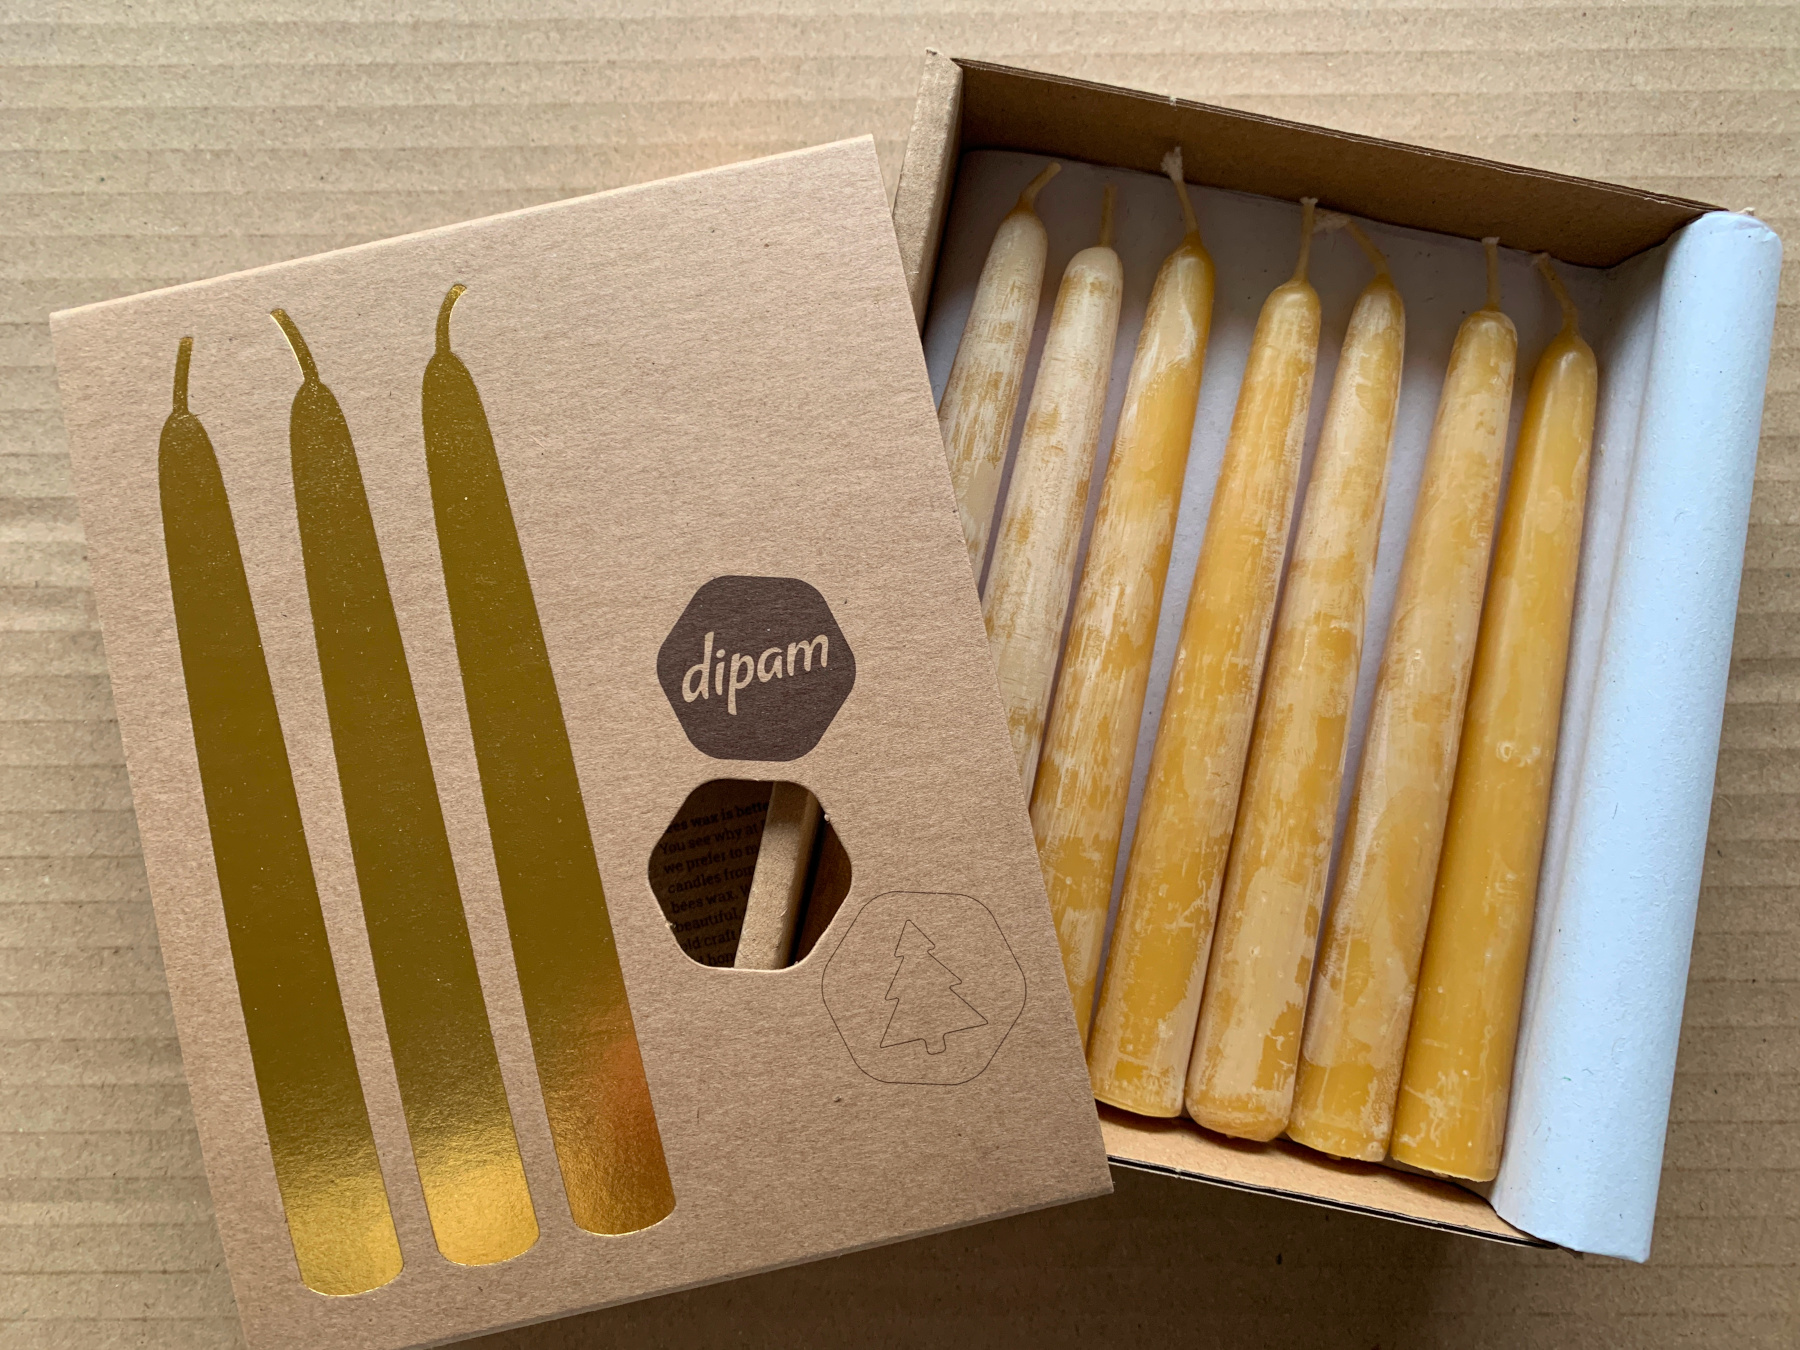
For Whitsun we make a daisy in which you can light a candle. It will look great on the seasonal table or wherever you want to place it in your home. A sweet little light that welcomes spring, the little monsters love it very much. Here we bought the beautiful beeswax-candles.
How to make a daisy candle holder
Do mind! Never leave the room after you have lighted a candle!!!
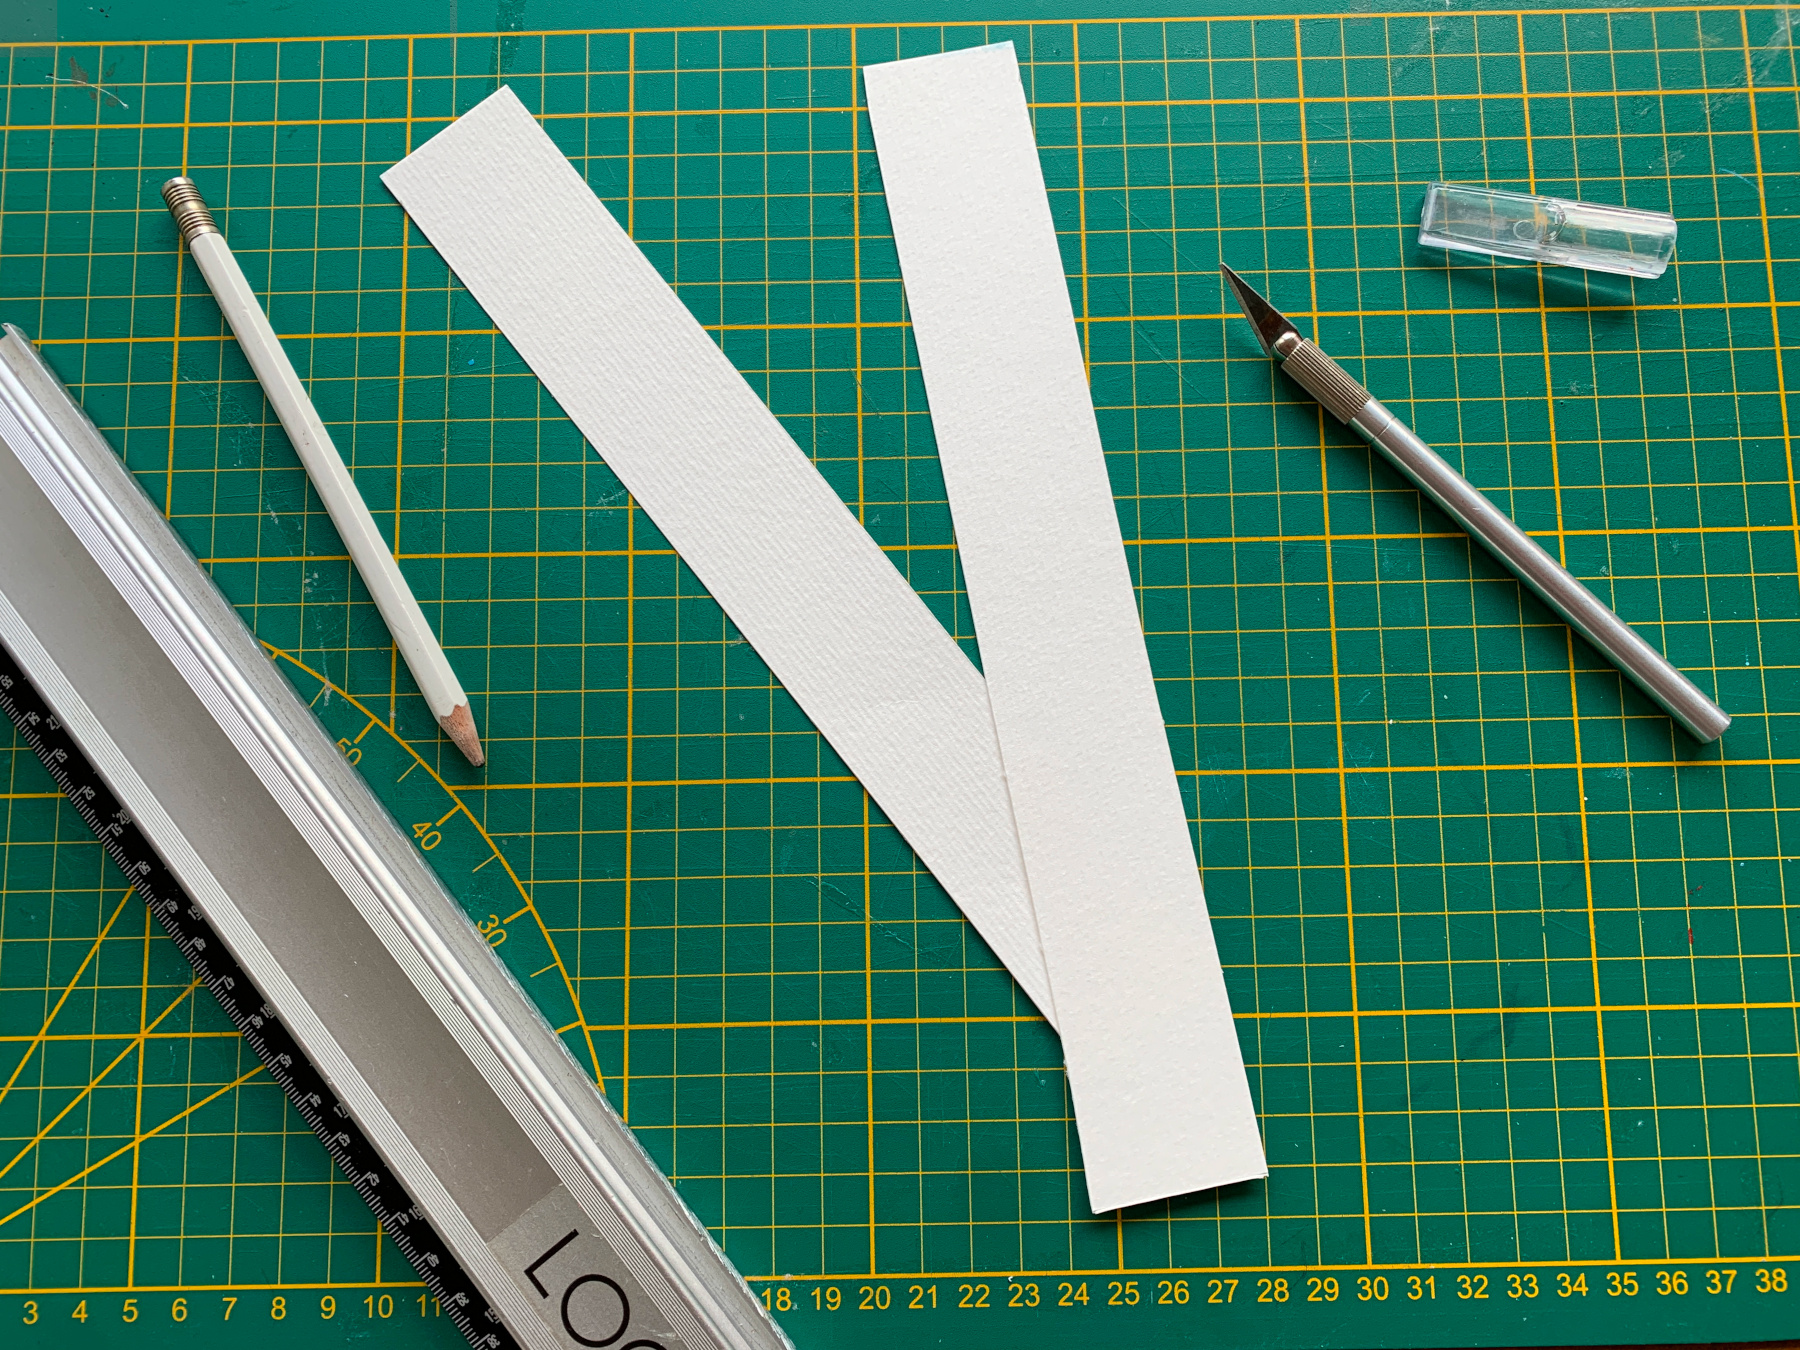
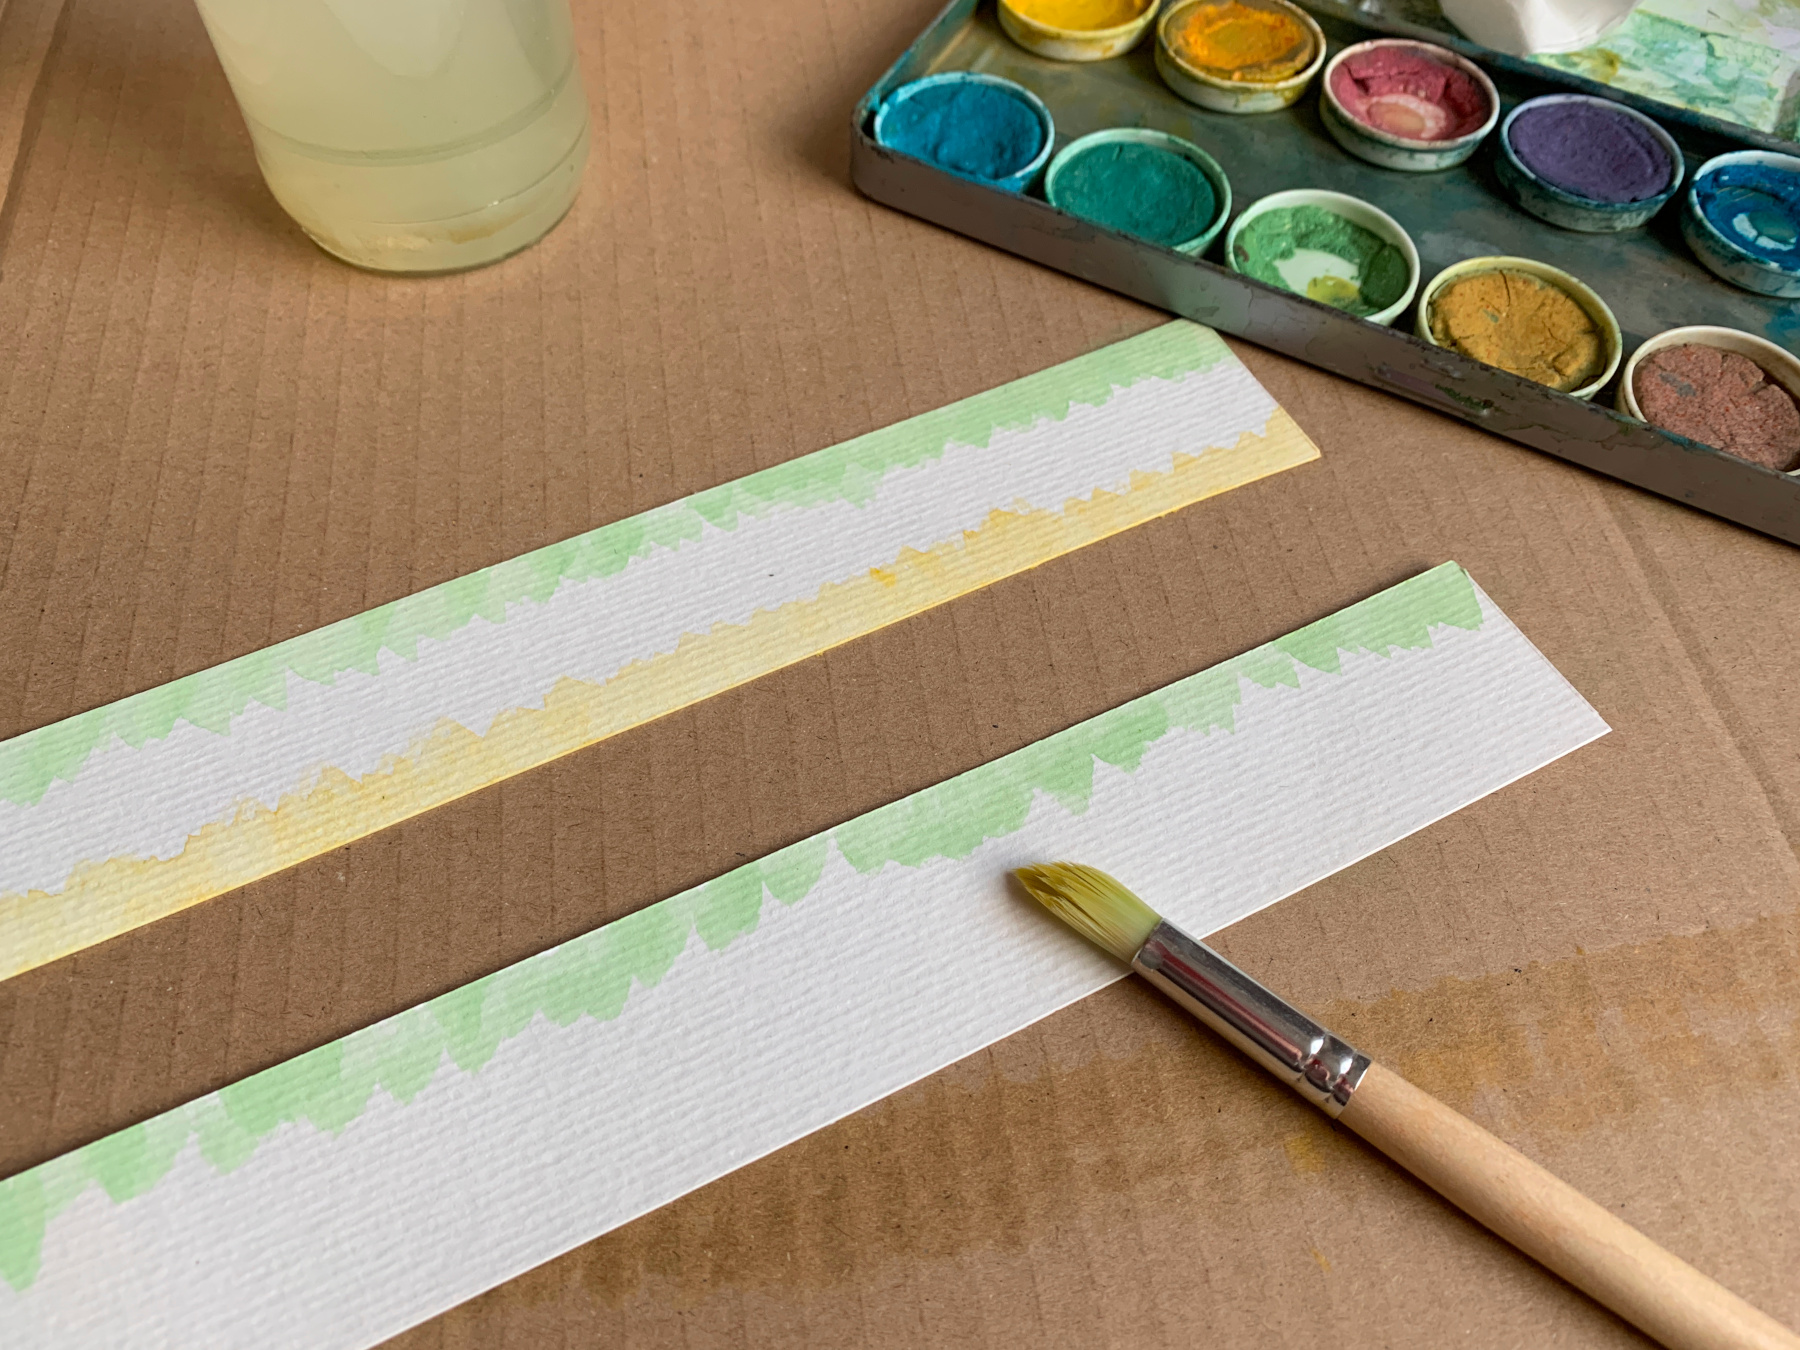
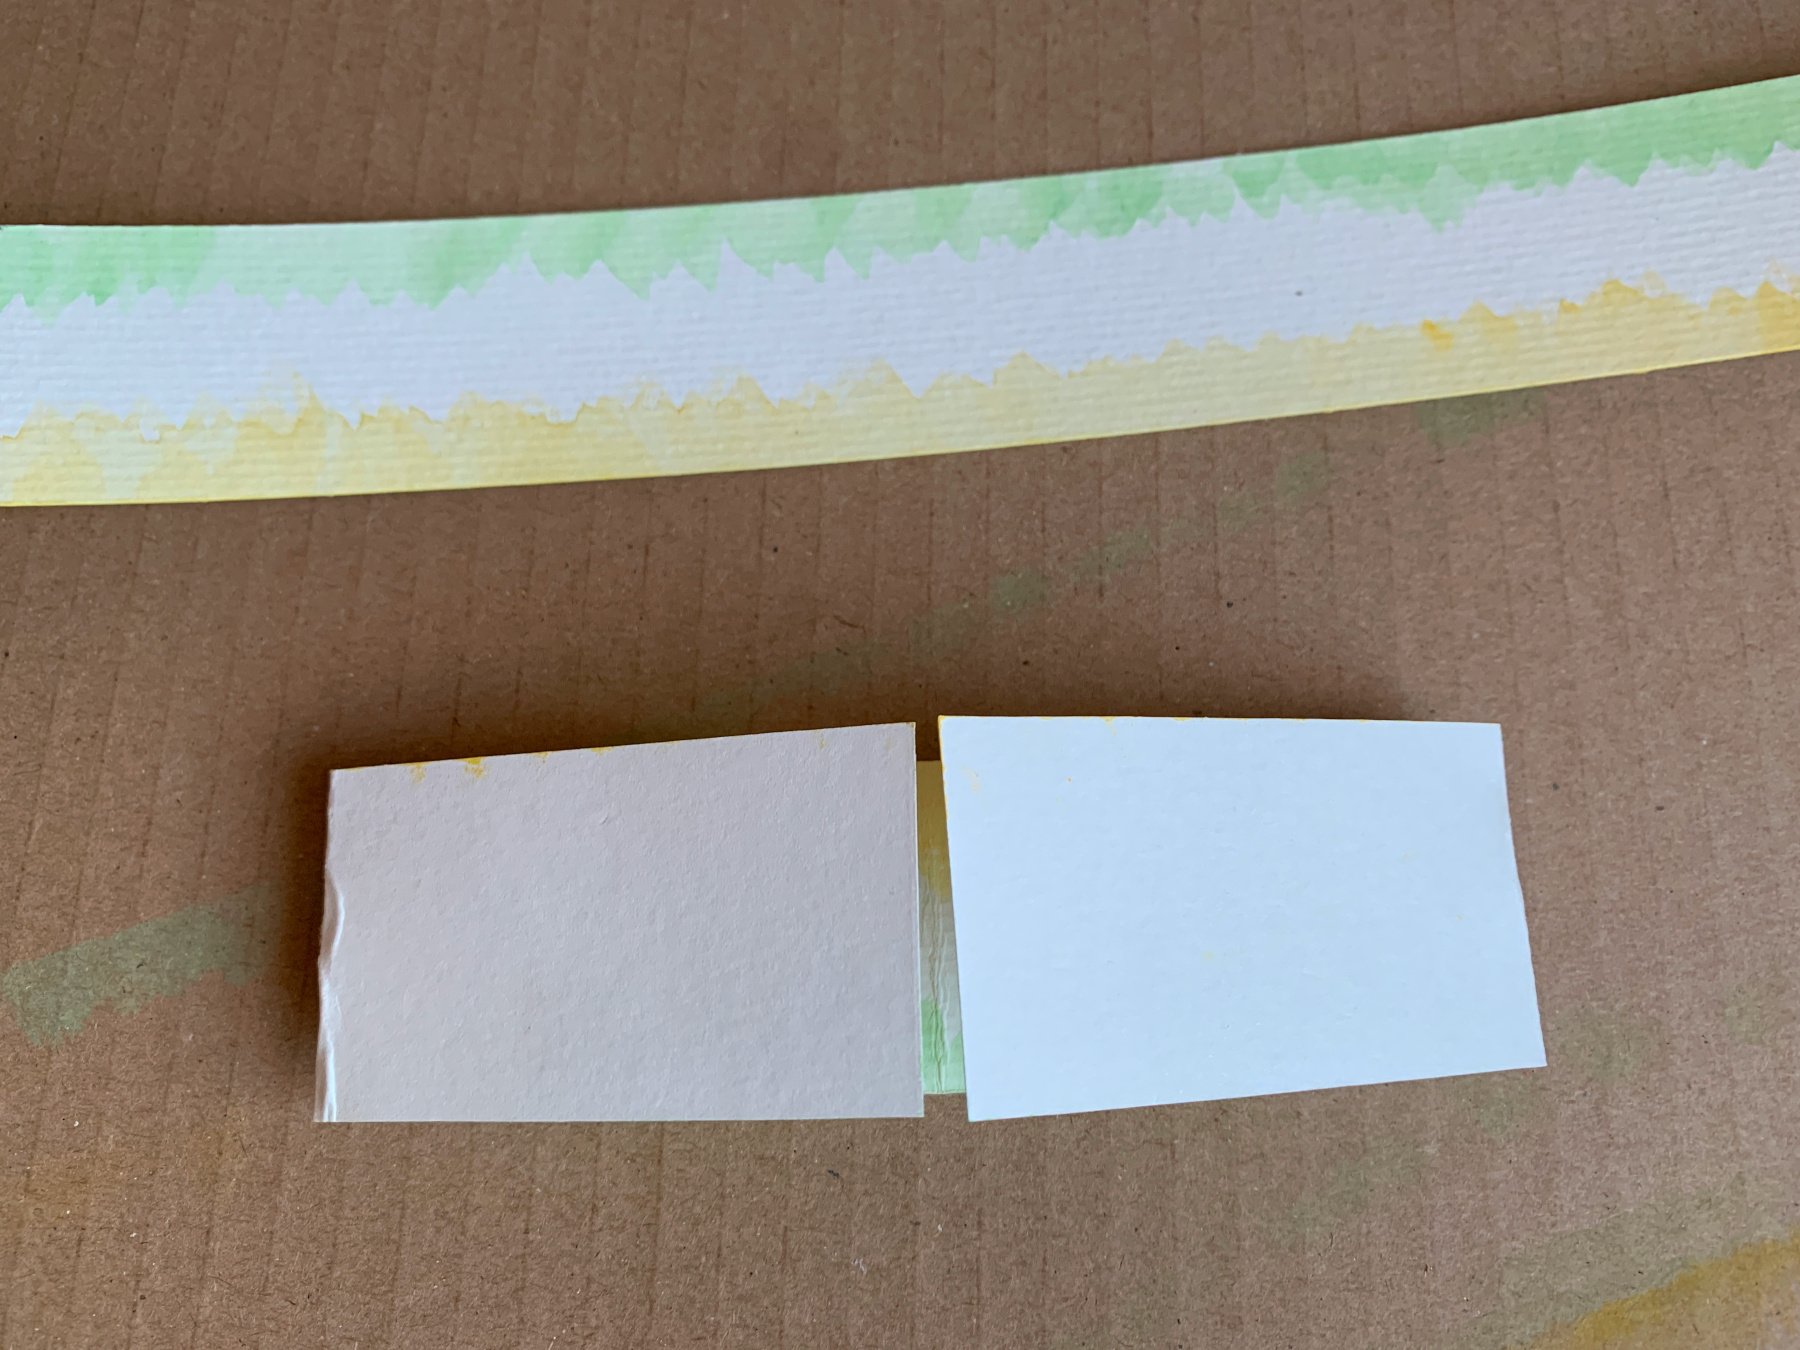
Cut 2 strips of 25x3.5cm of watercolour paper.
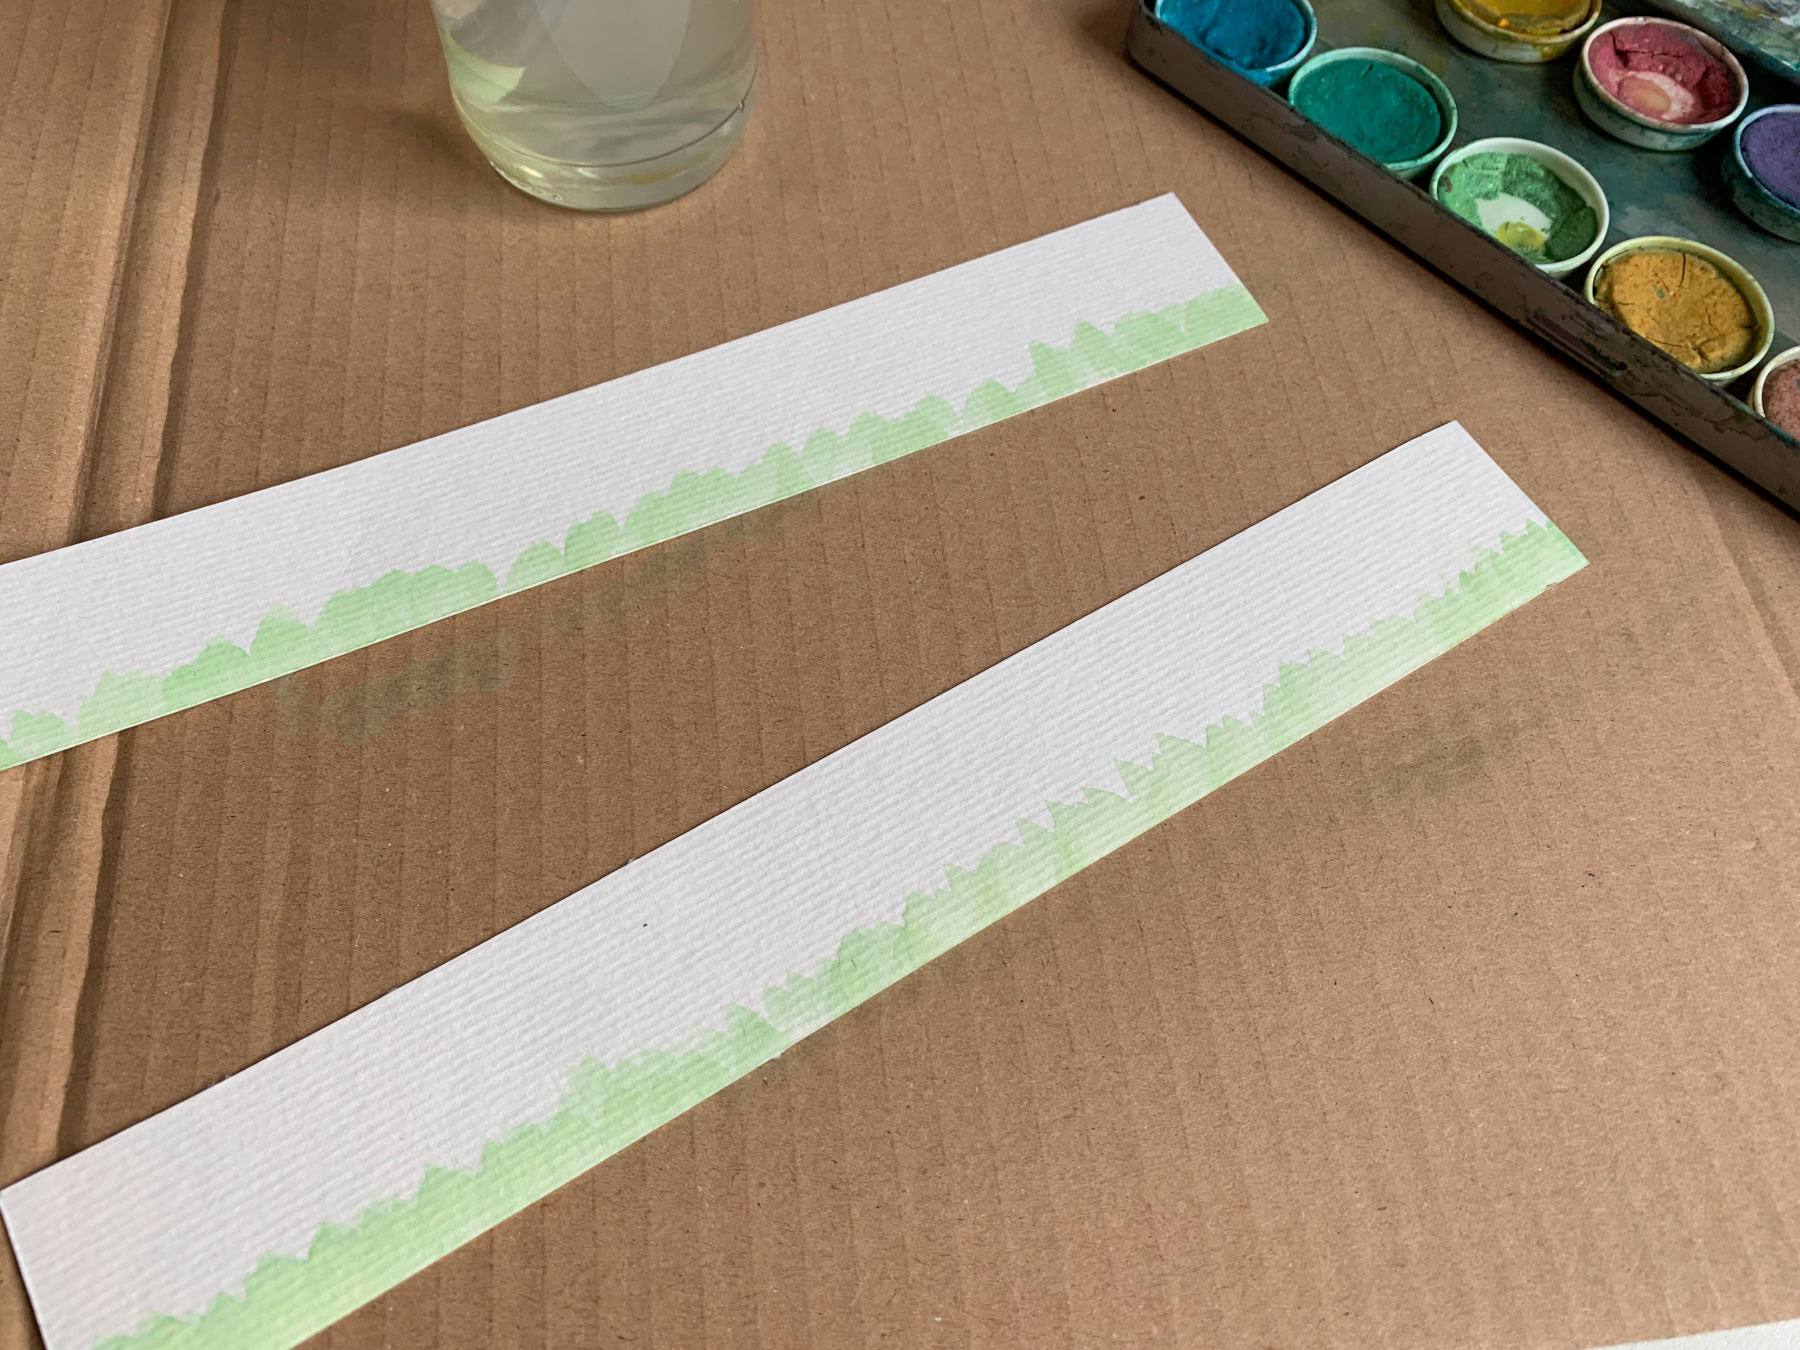
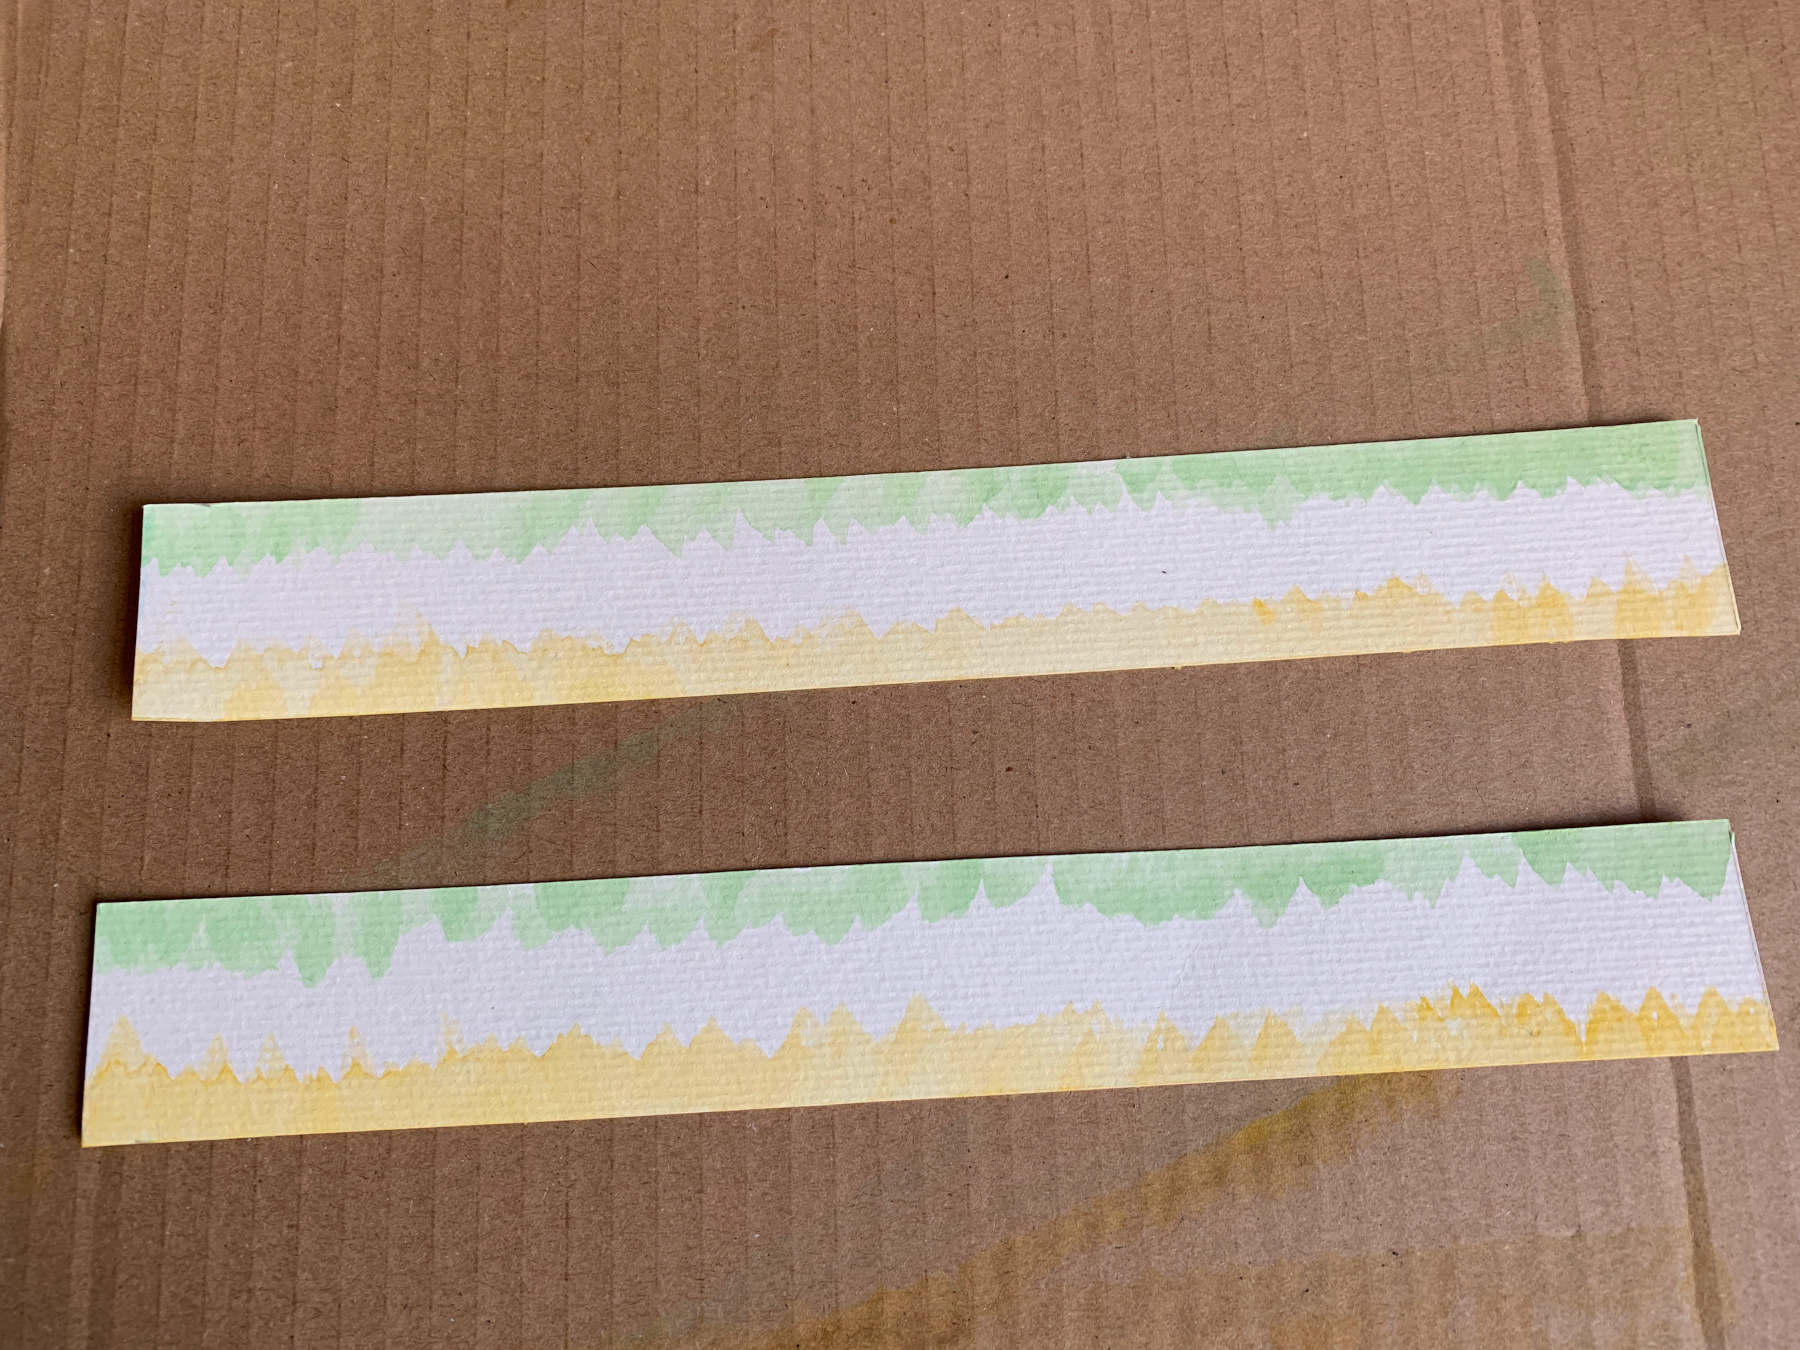
Paint the edges on the top and the bottom of both the strips.
We 0paint hte one side light yellow, the other side light green.
Let the water colour dry very well for a moment.
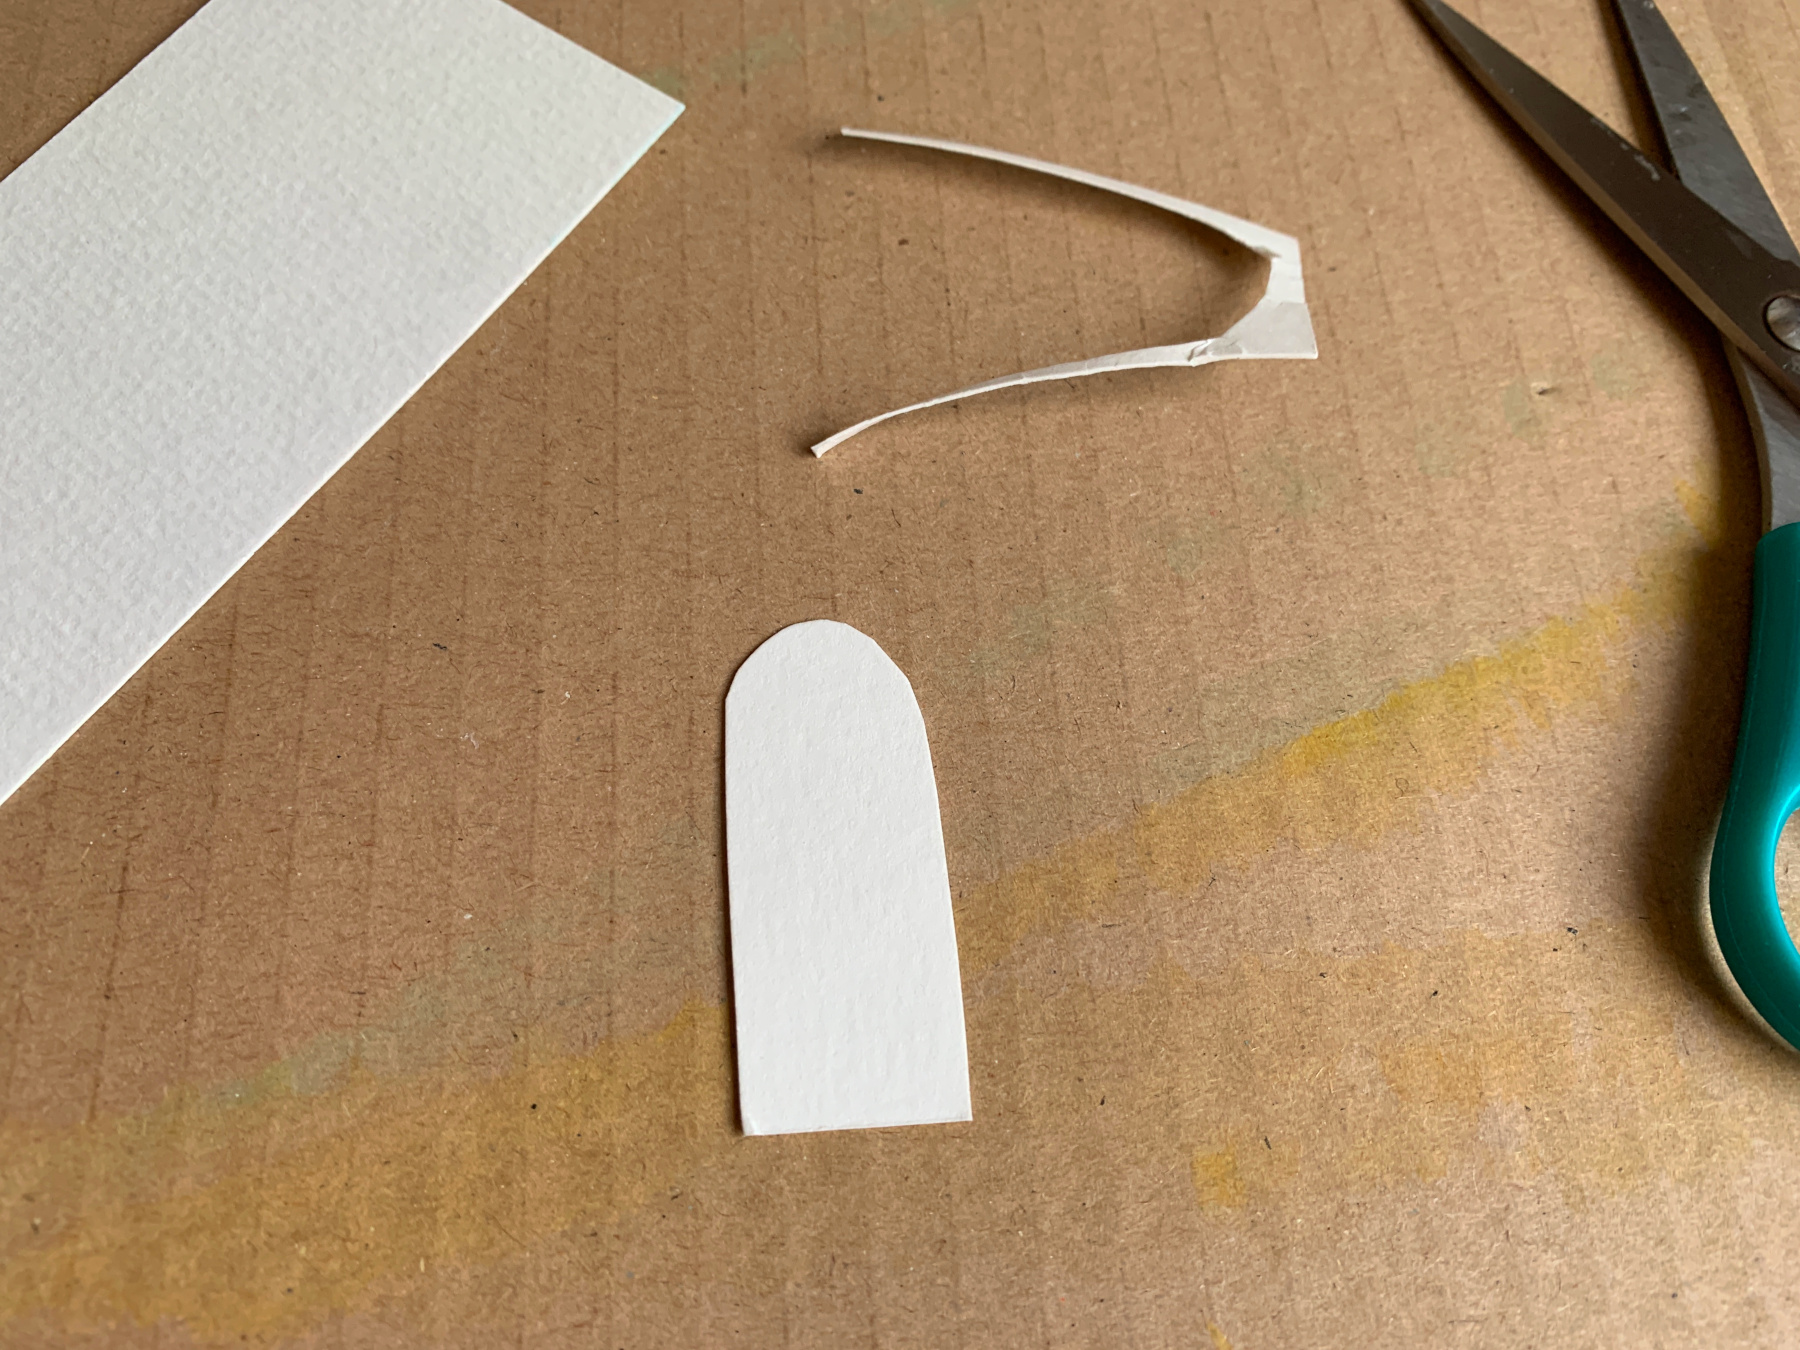
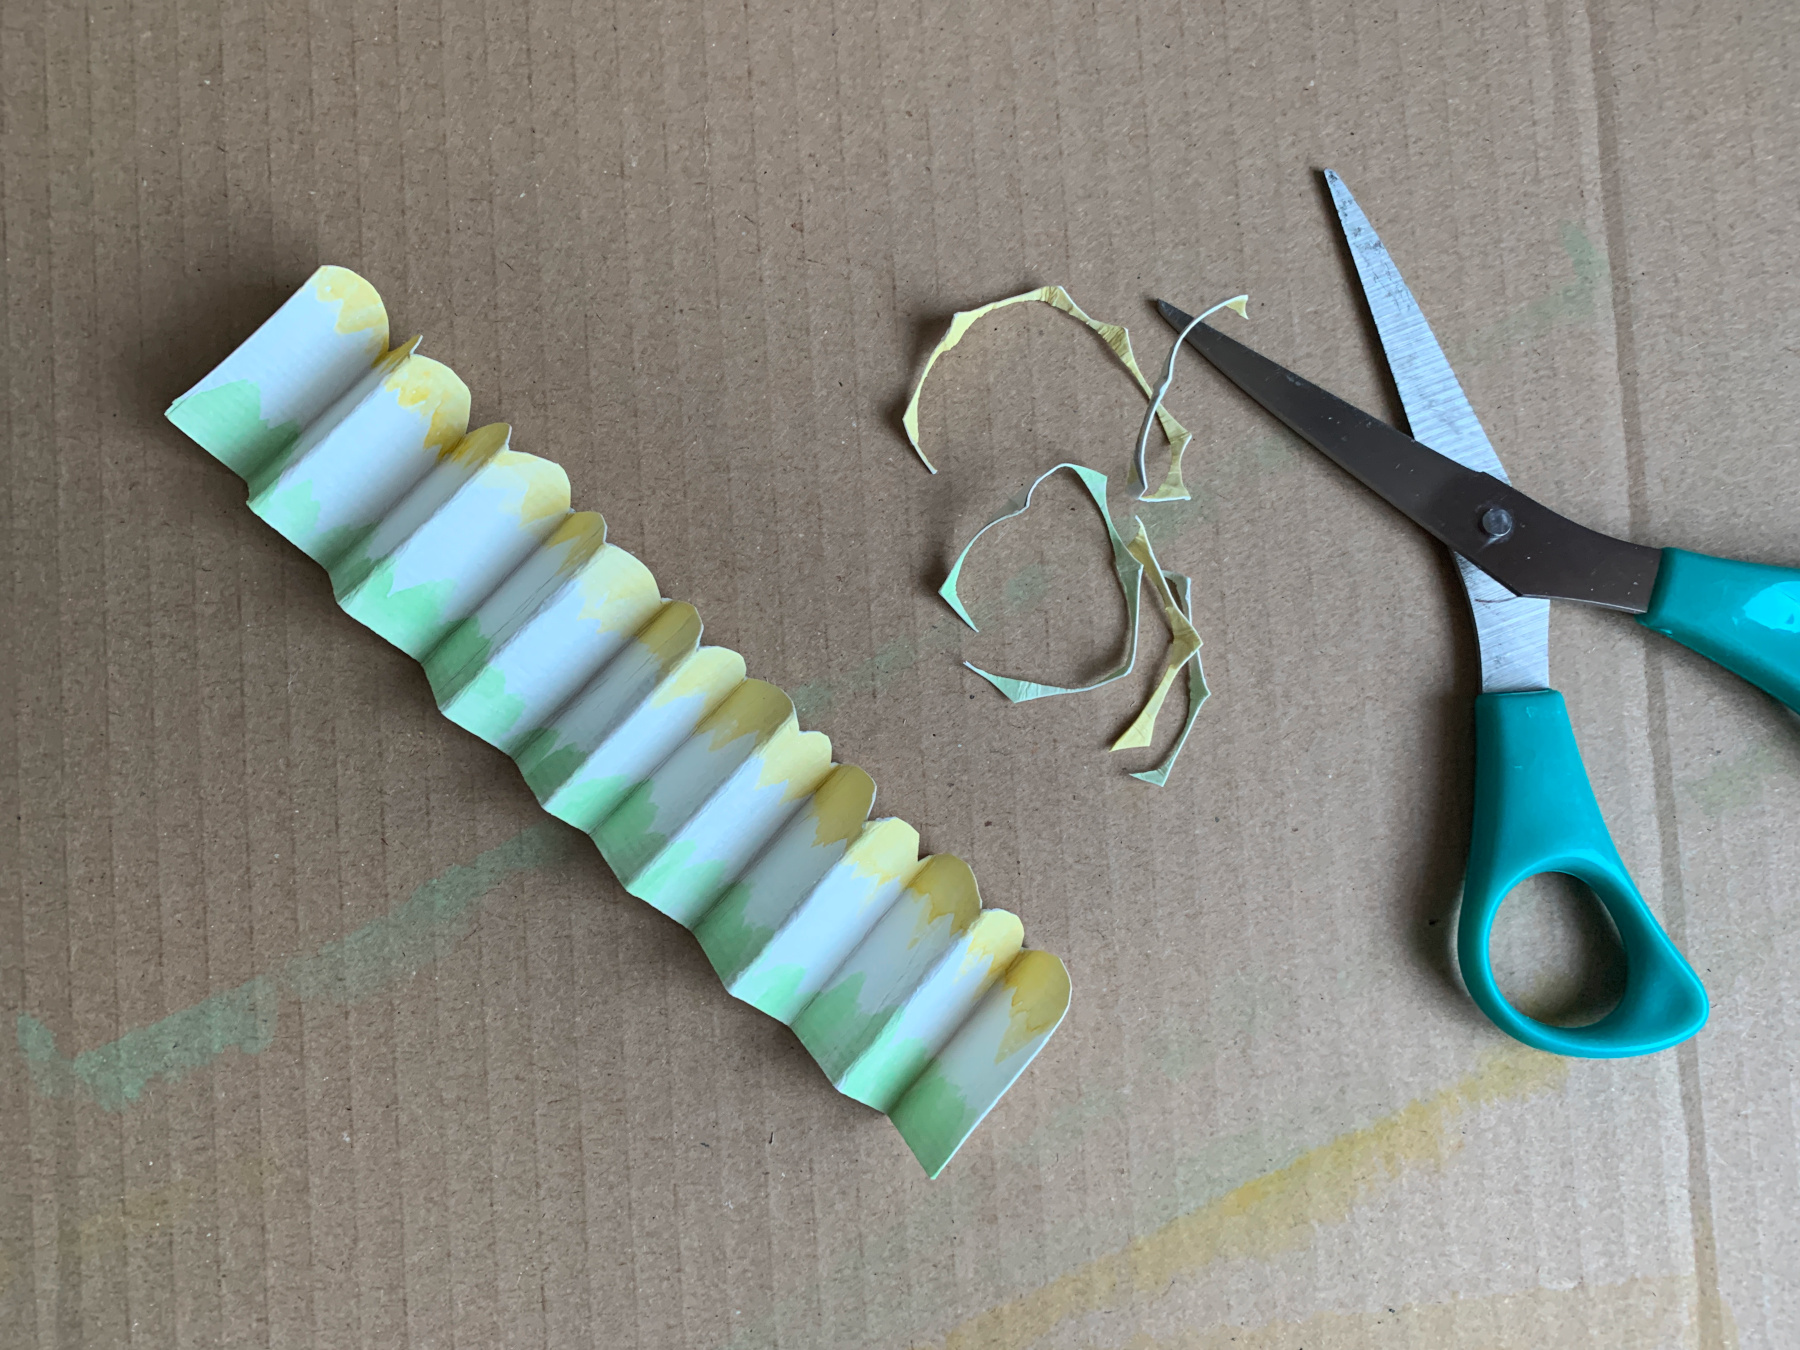
Meanwhile cut a template with a rounded top.
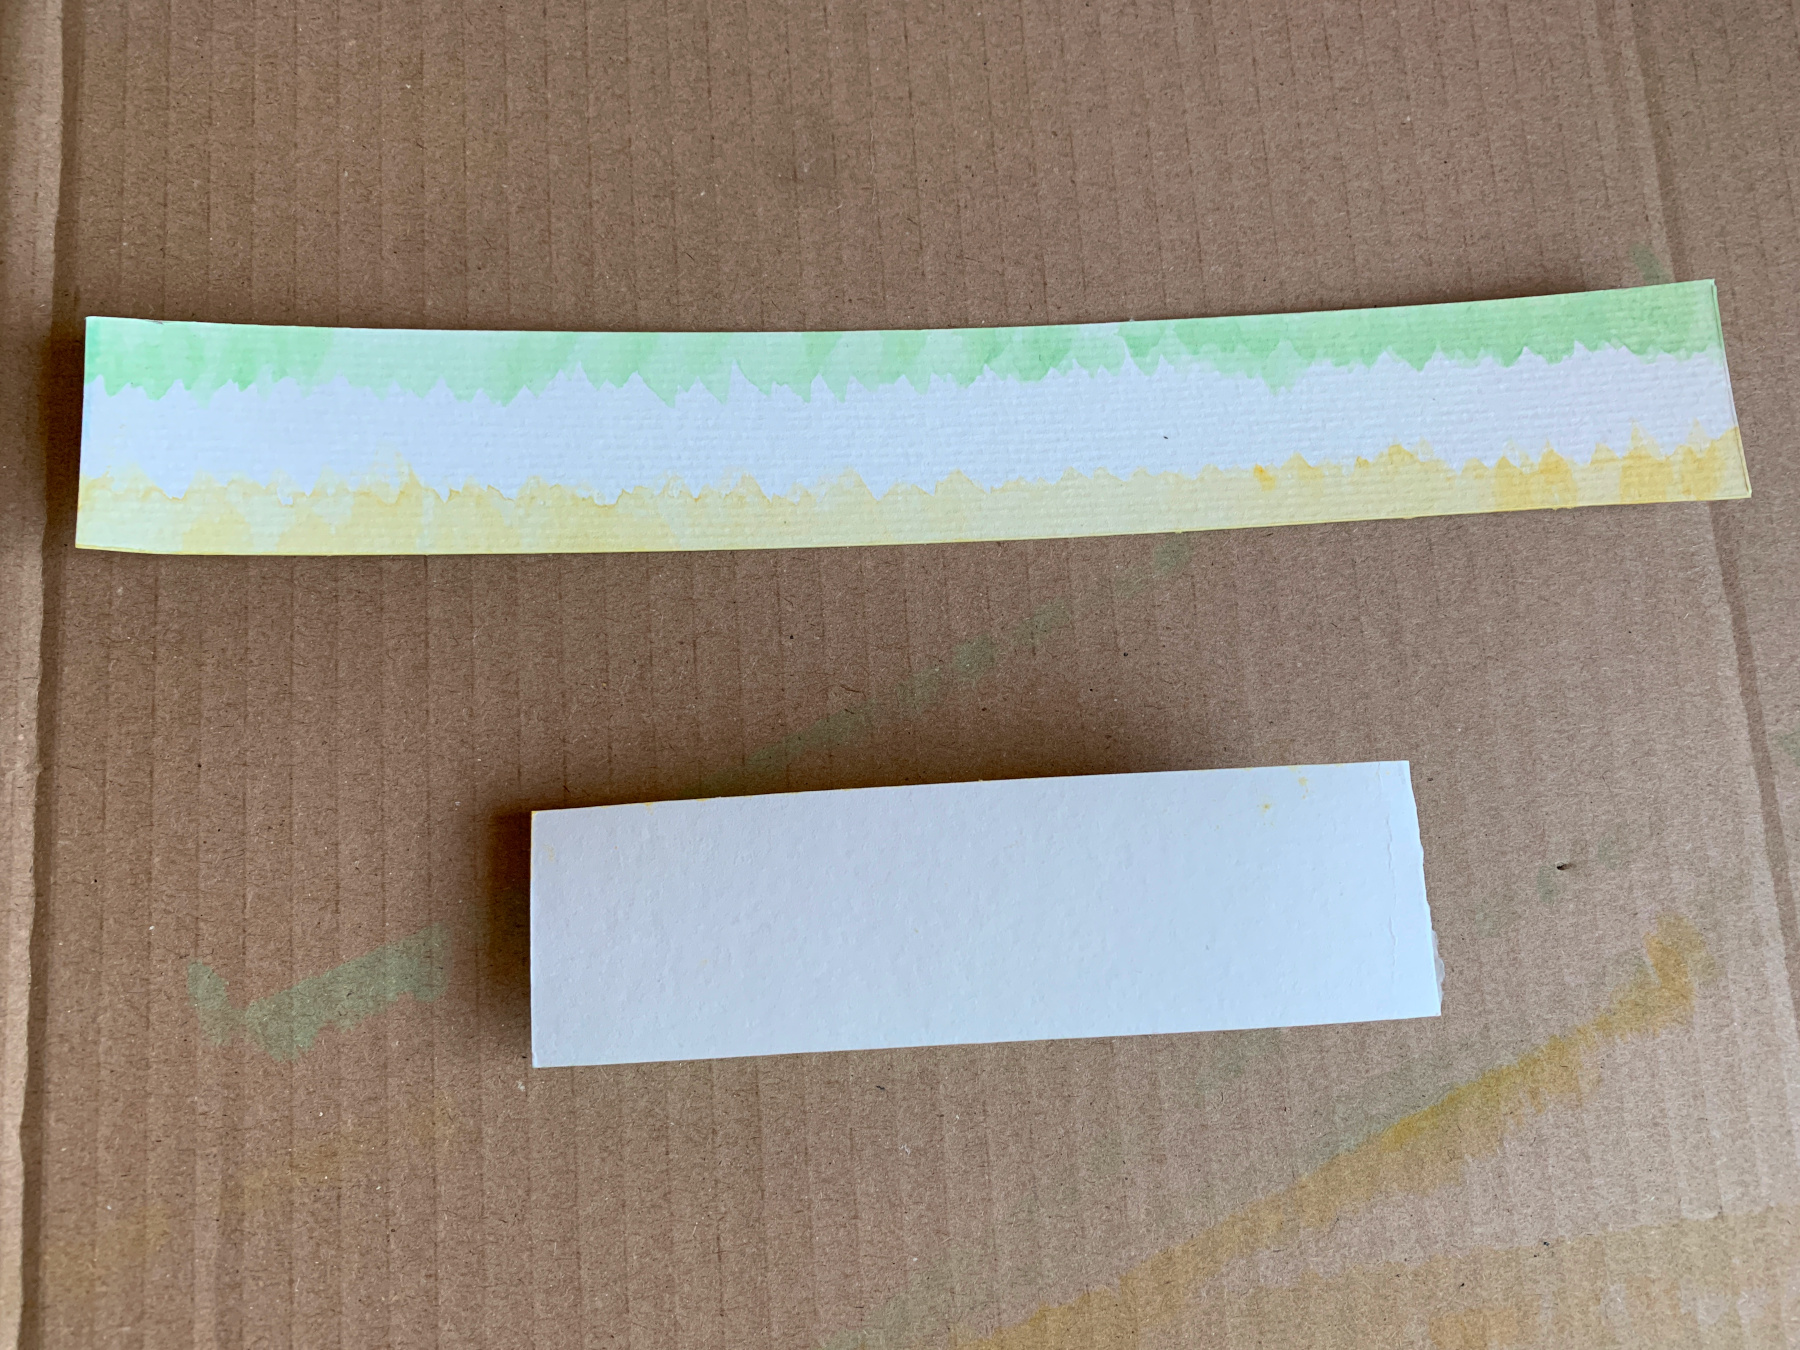
Fold the dry strip of watercolour paper in half.
Fold the strip open and fold both the ends to the middle line.
Now the paper strip has 4 eaqual parts
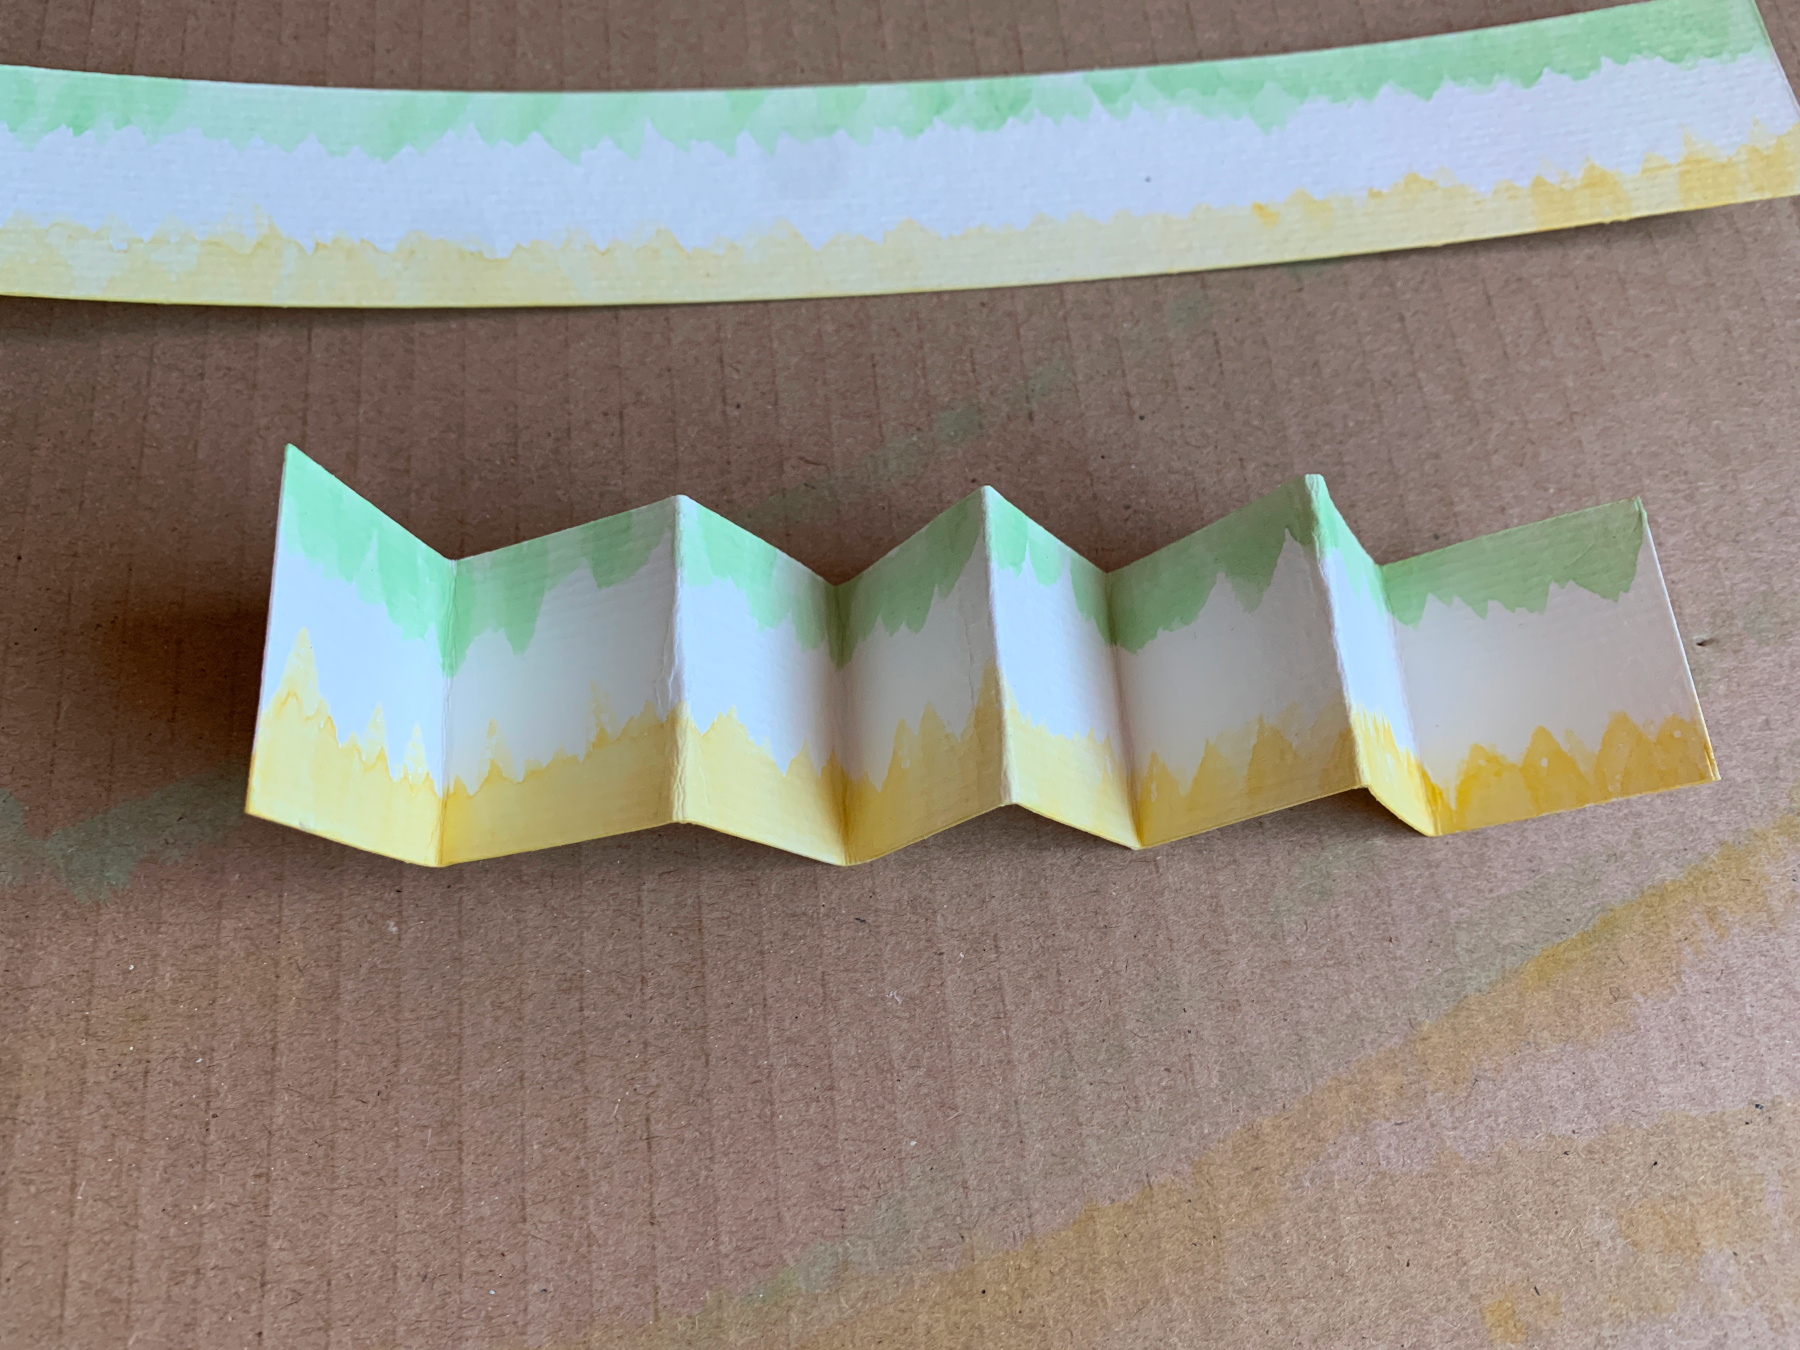
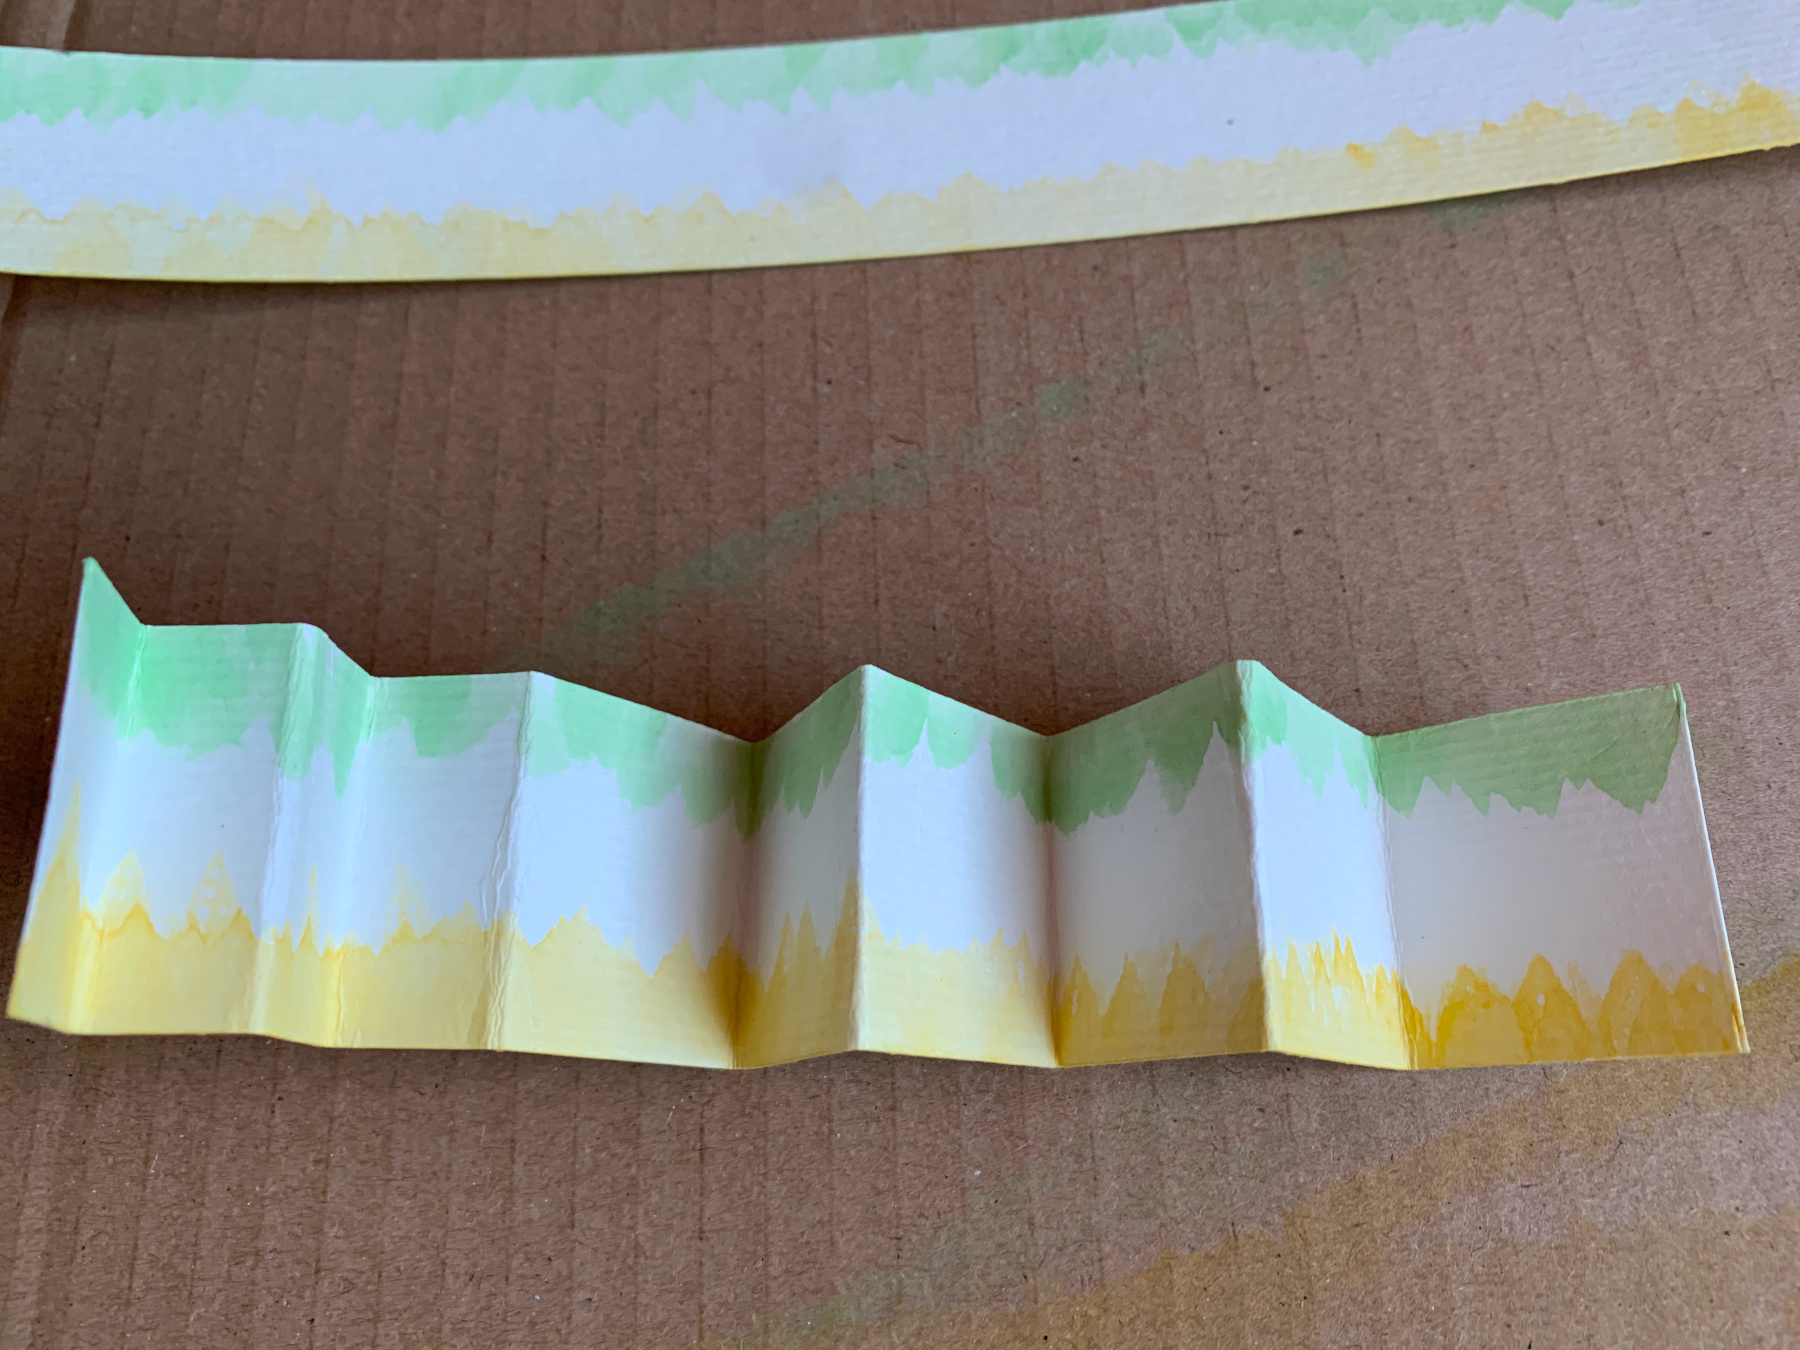
Fold every part like a hamonica in half.
Fold the now 8 parts in half, in the exact same way.
Draw on all 16 parts a round top using the template and cut out.
String a thread through the petals of de daisy.

Pull the thread and place the candle holder in the center..
Tie on the tread firmly and glue the daisy together.
Let the glue dry with a paperclip slid on the glued part.
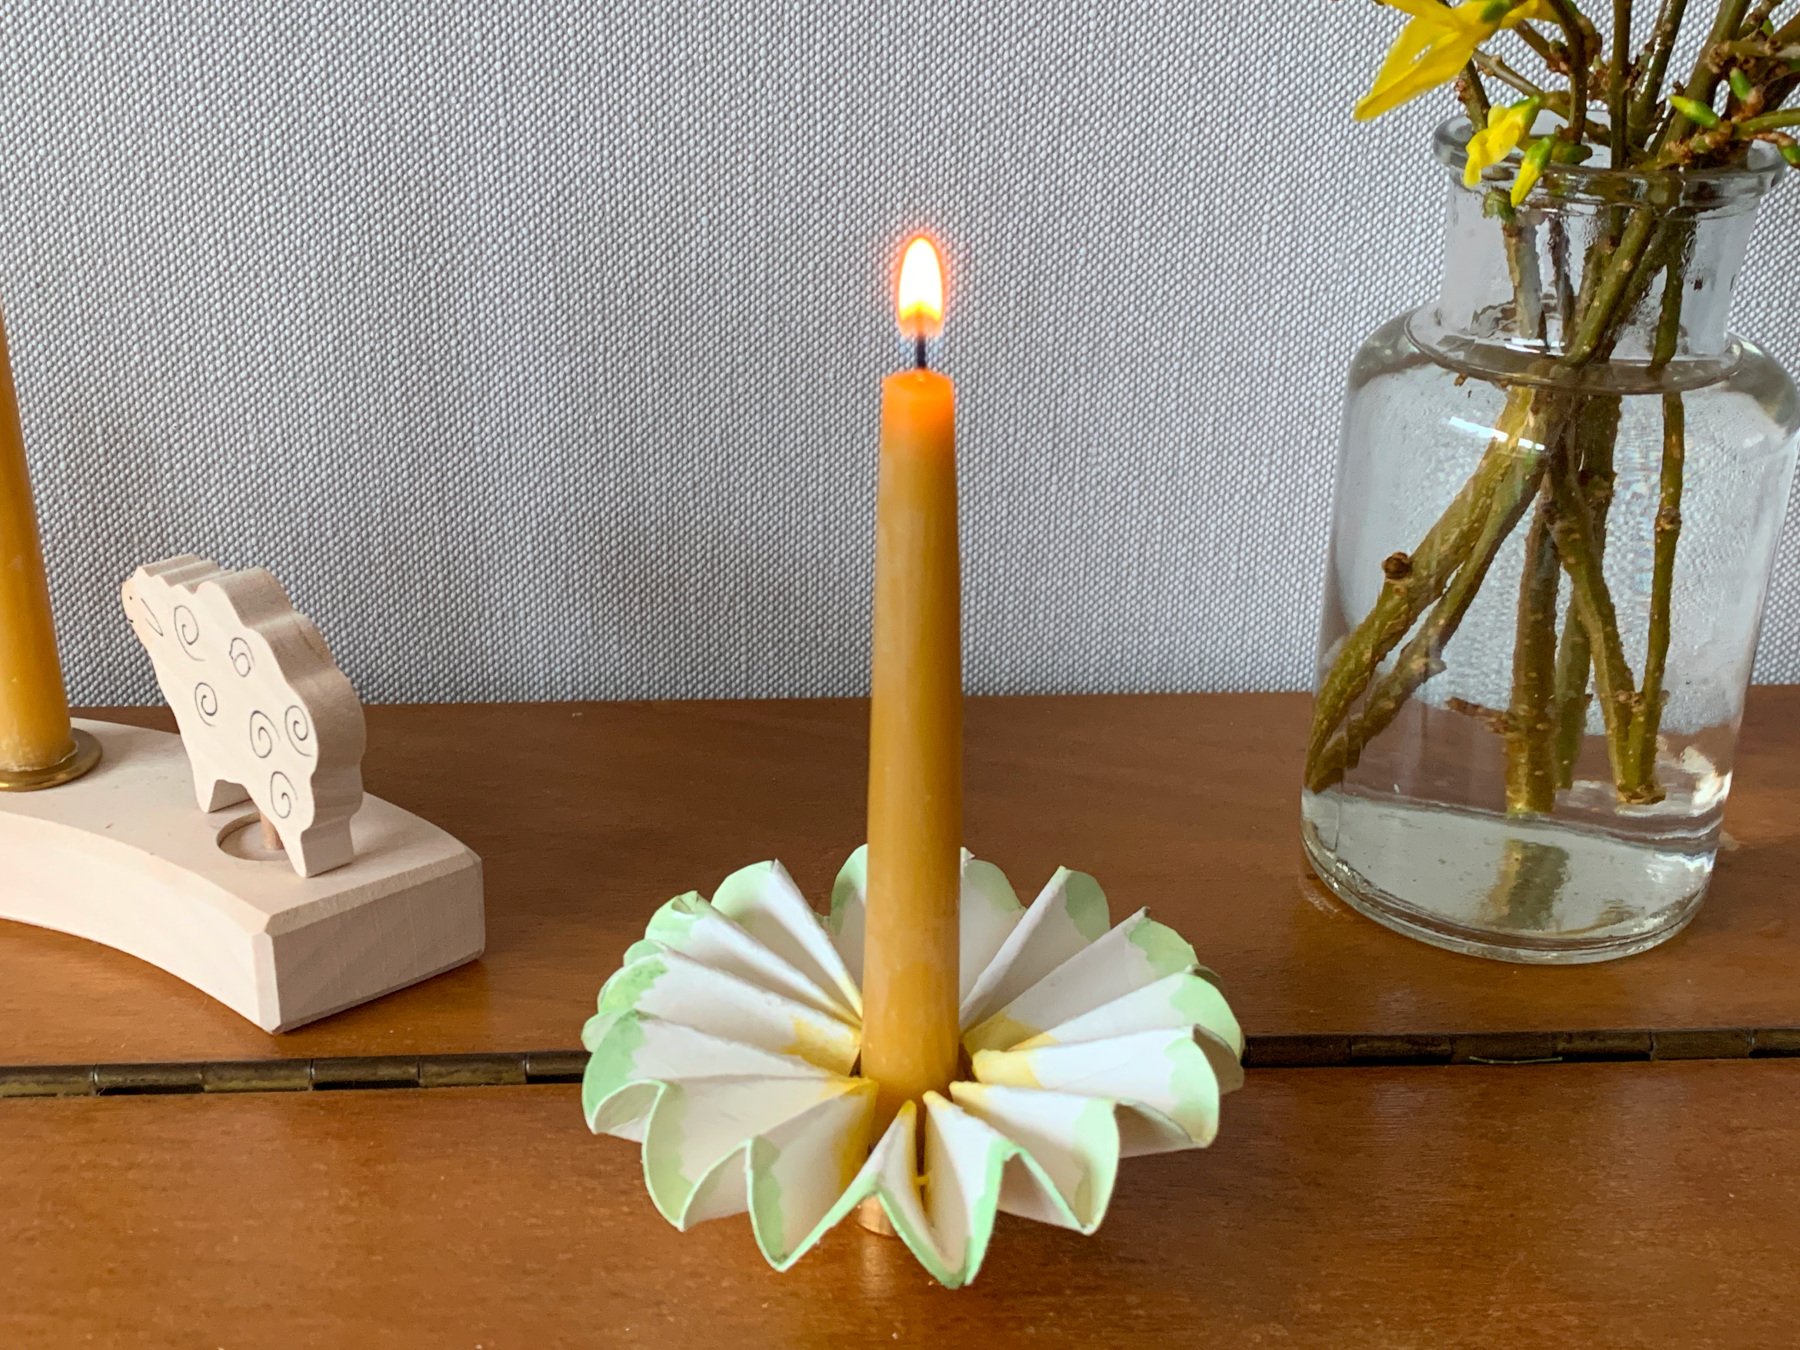
The daisy looks pretty on the early spring table.
But with a lighted candle the daisy looks even more beautiful!
We wish you wonderful Whitsun days!