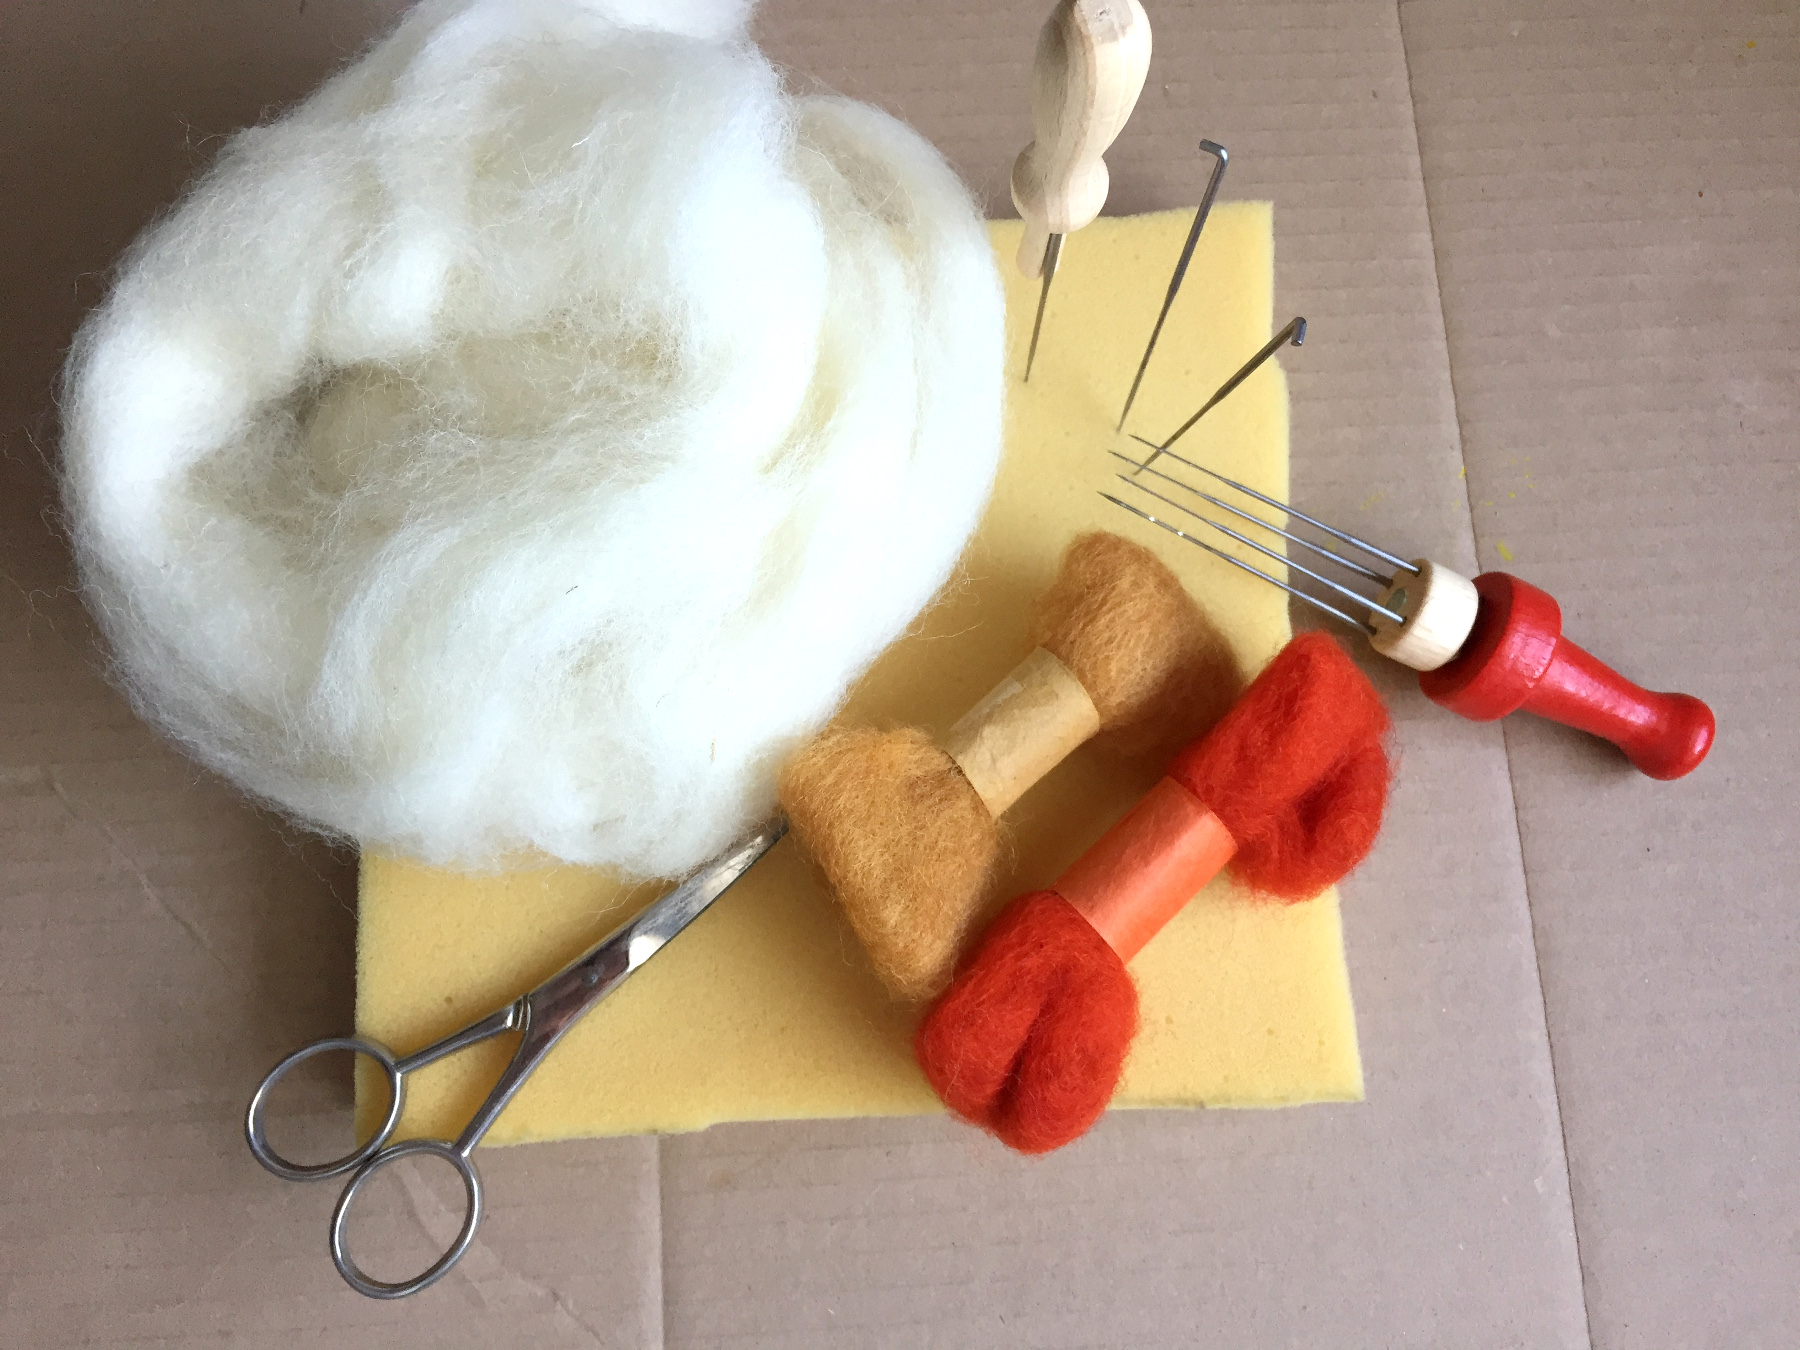
What do you need?
carded wool, white
orange felt tip pen
carded wool, orange
carded wool, gray-brown
felting needles, medium
twisted needle
a piece of foam
a bradawl
2 black eyes
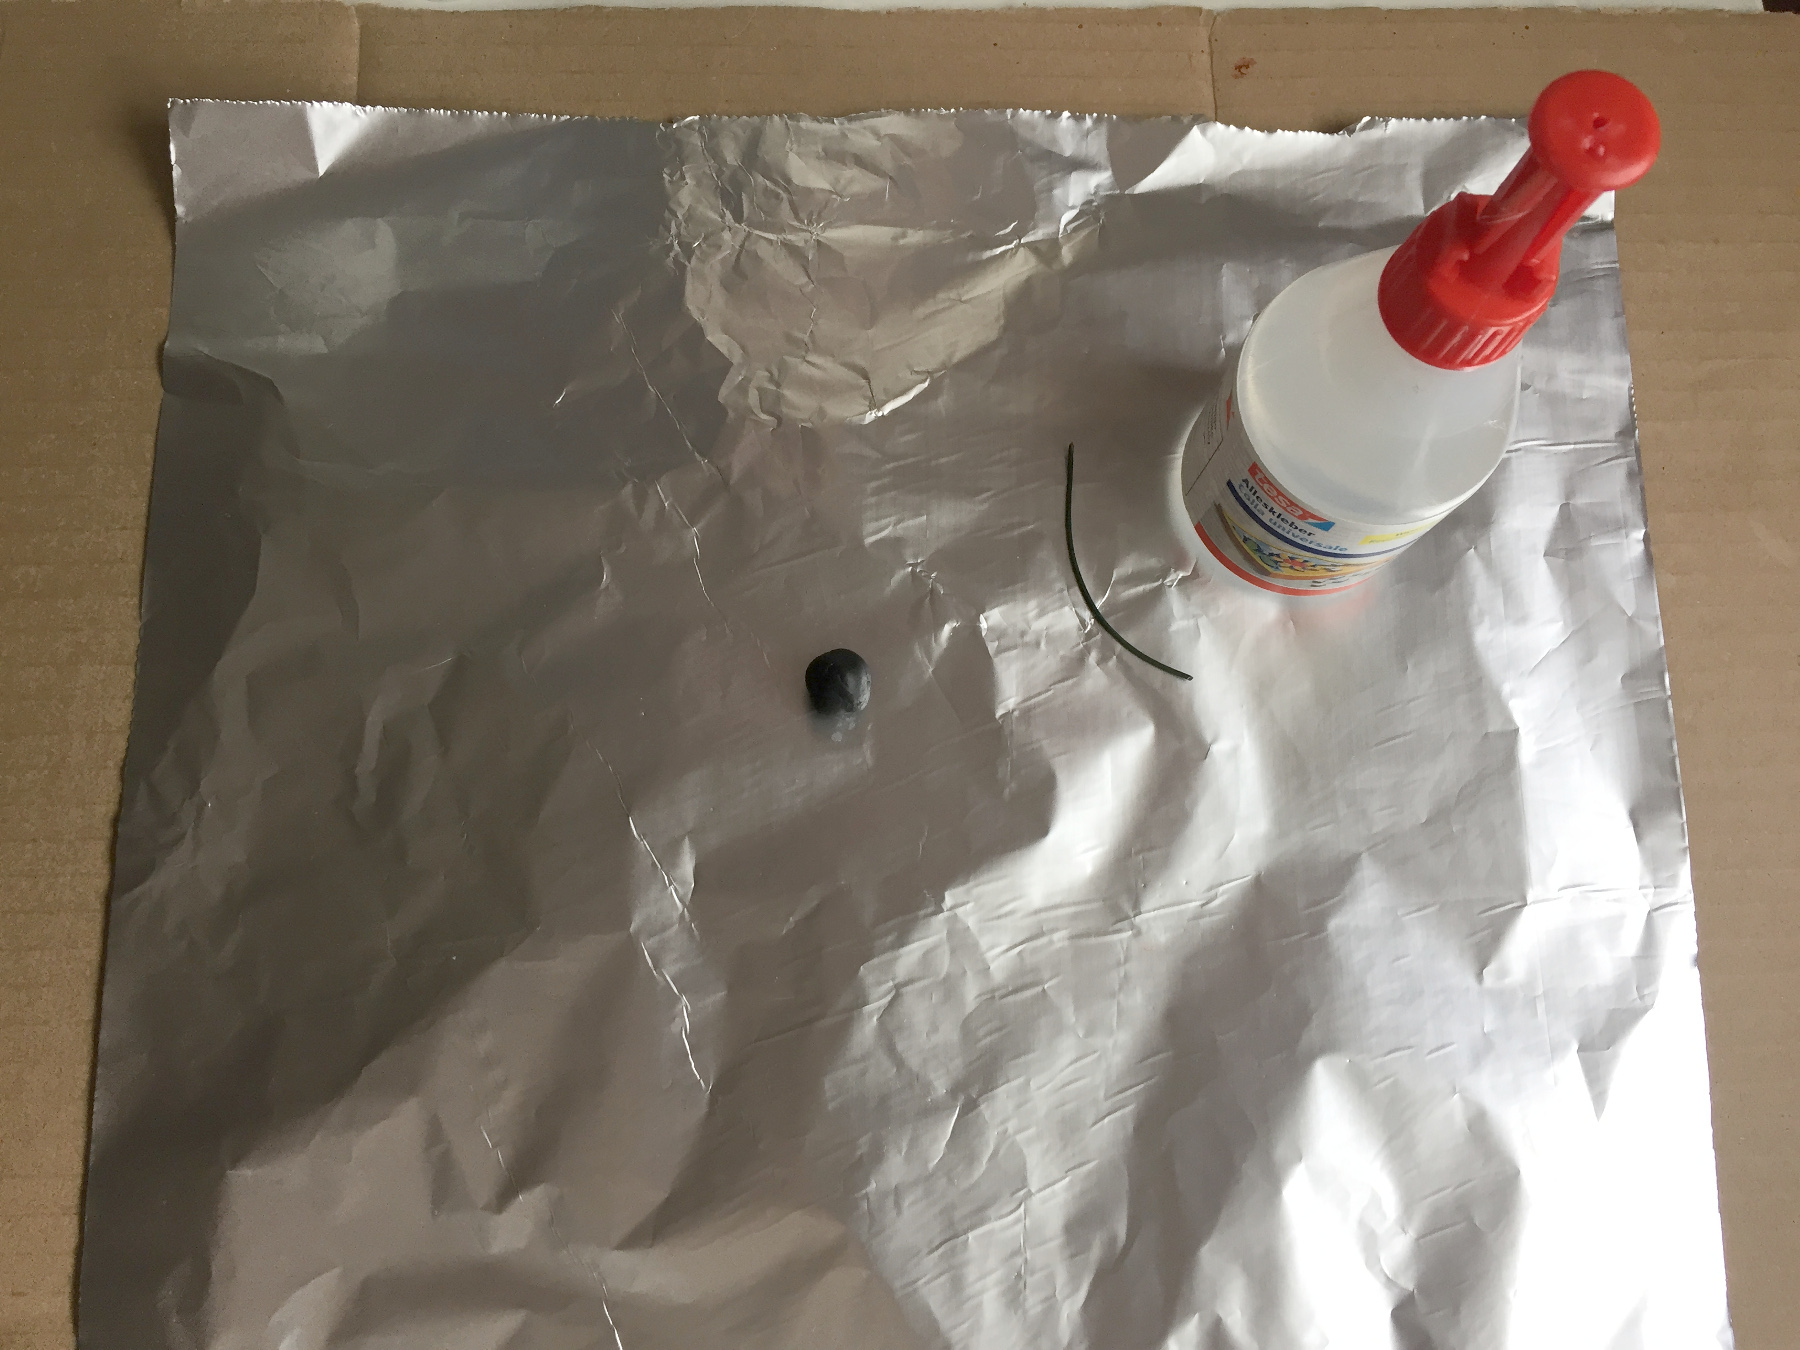
hobby glue
piece of black / brown FIMO clay
piece of wire & cutting pliers
brown crepe paper
modpodge & brush
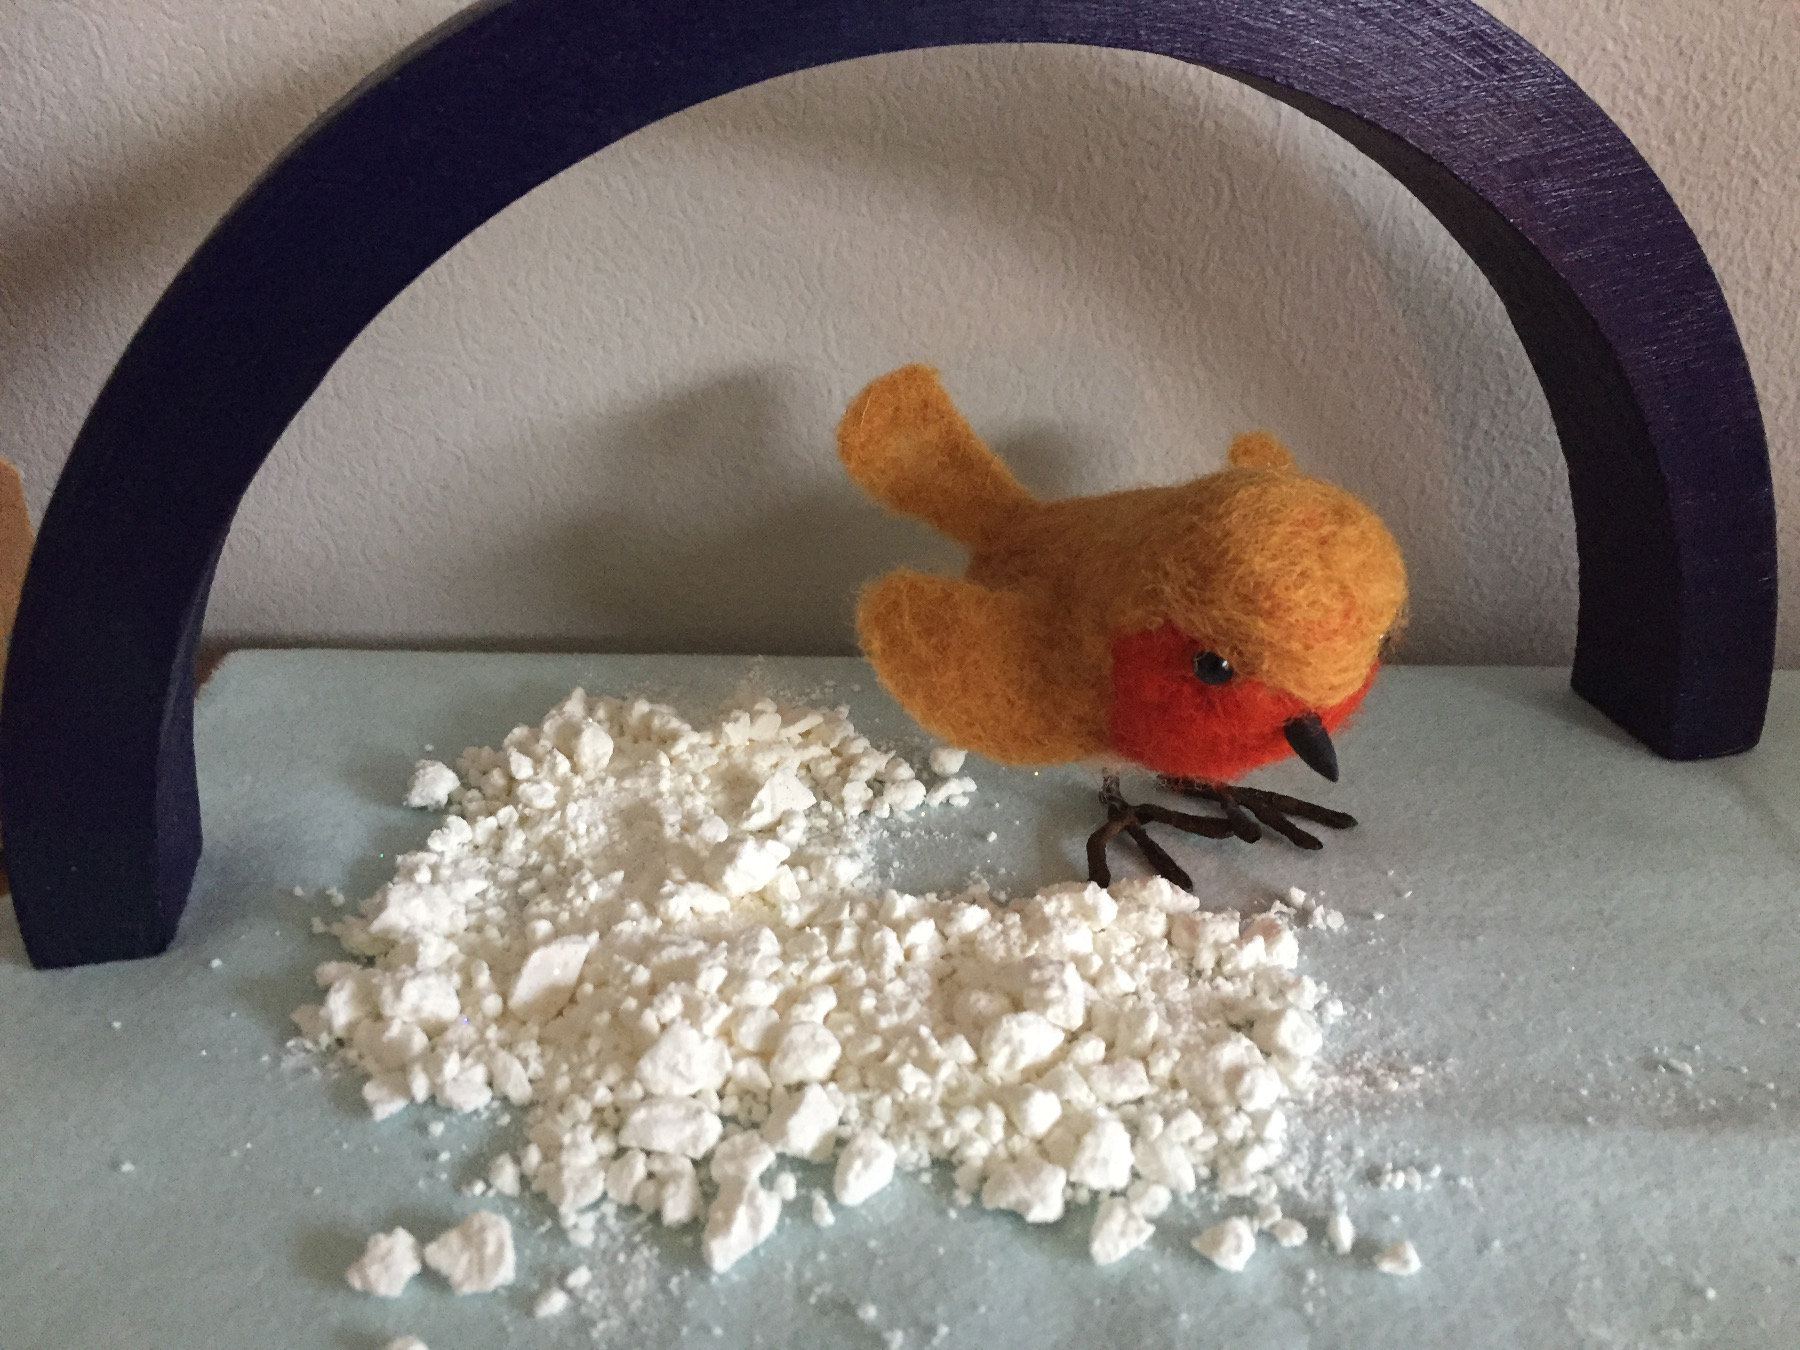
We would like to wool felt a robin for the winter table. We see the cute little bird in the garden all year round, but strangely enough we still think: winter bird ;) Wool felting is great fun, but only for the oldest children. The needles are razor-sharp and they have barbs, so be very careful!
How to make a robin out of wool
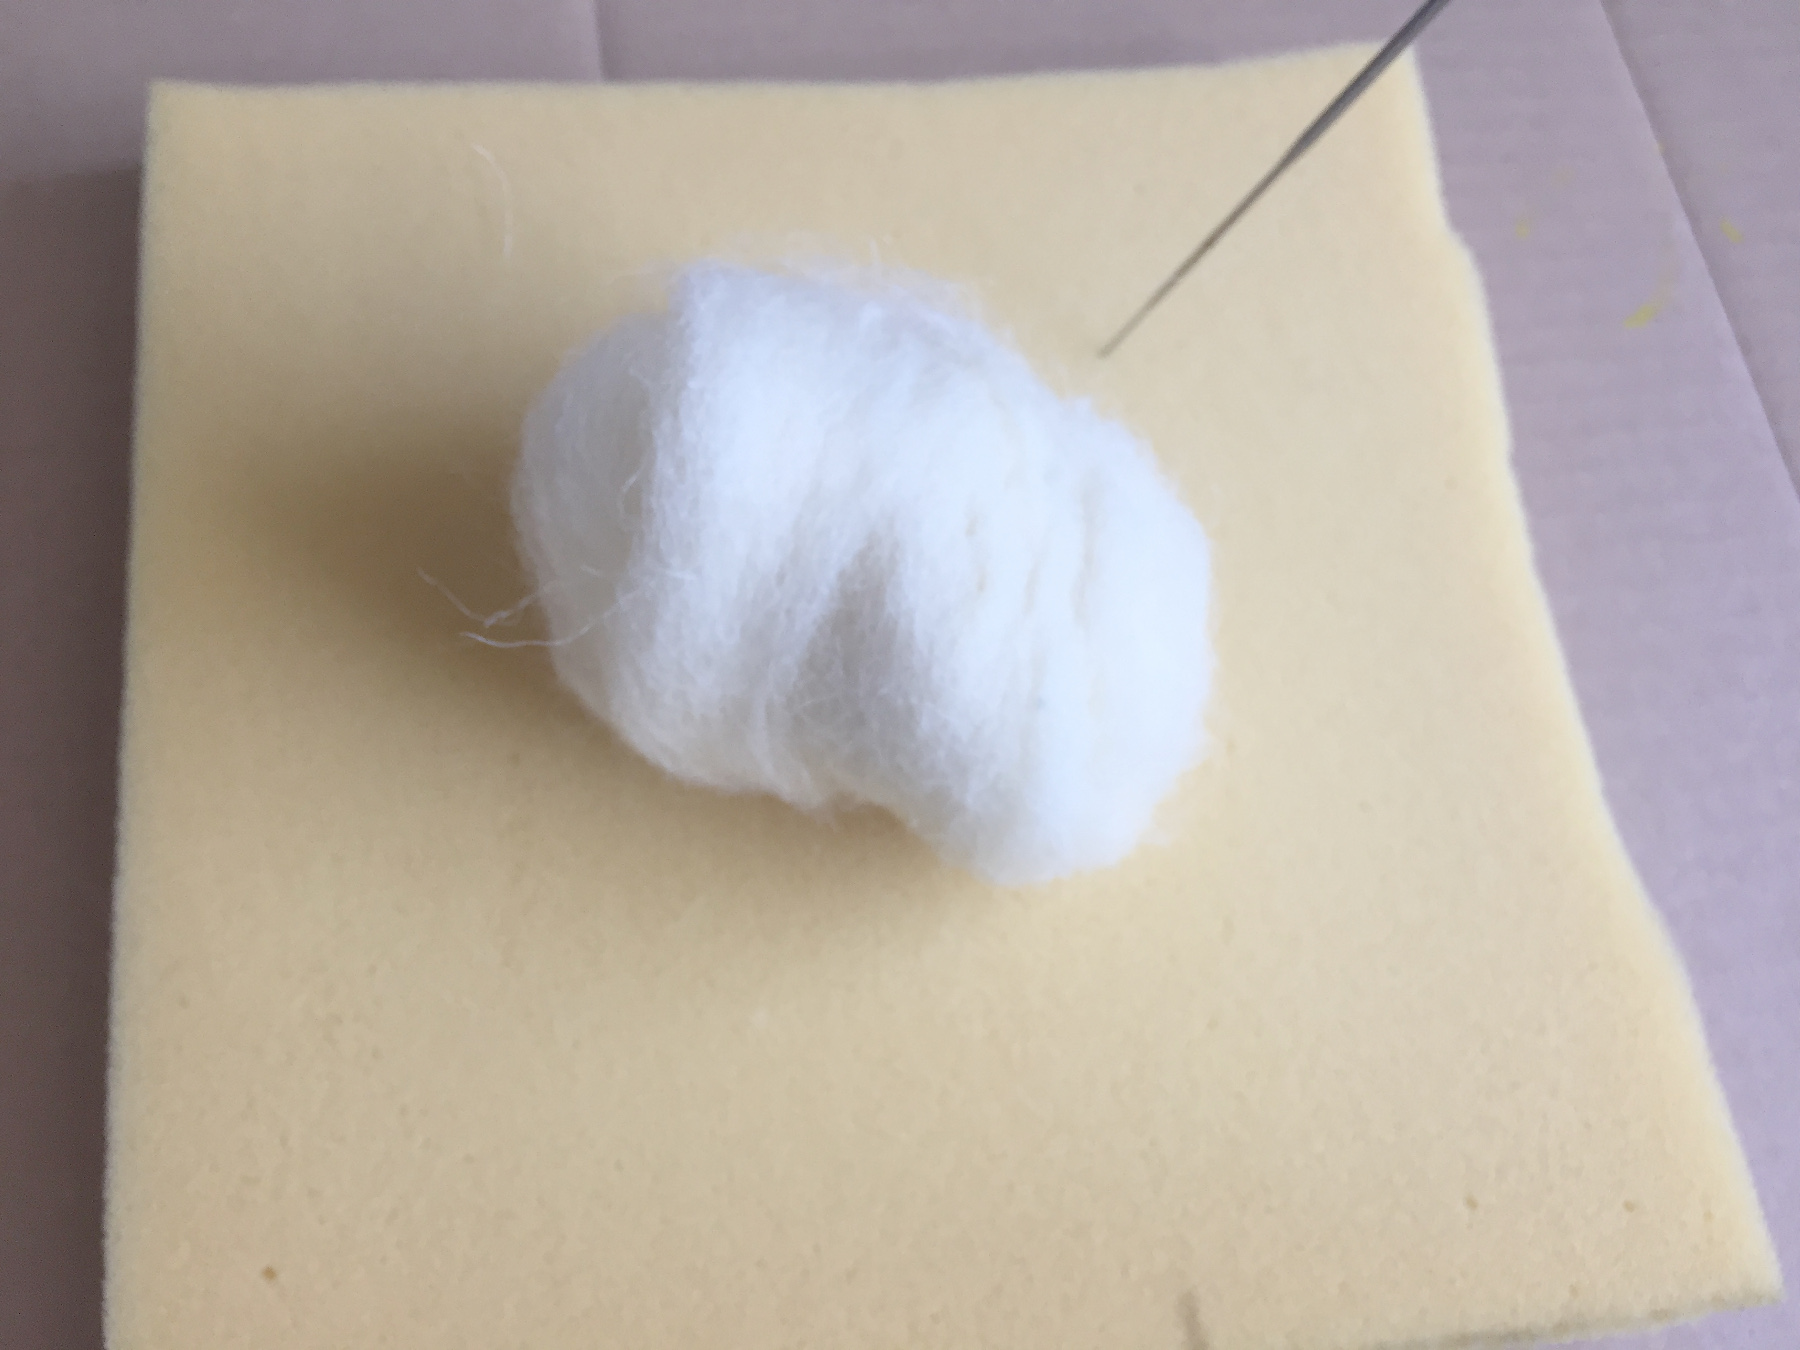
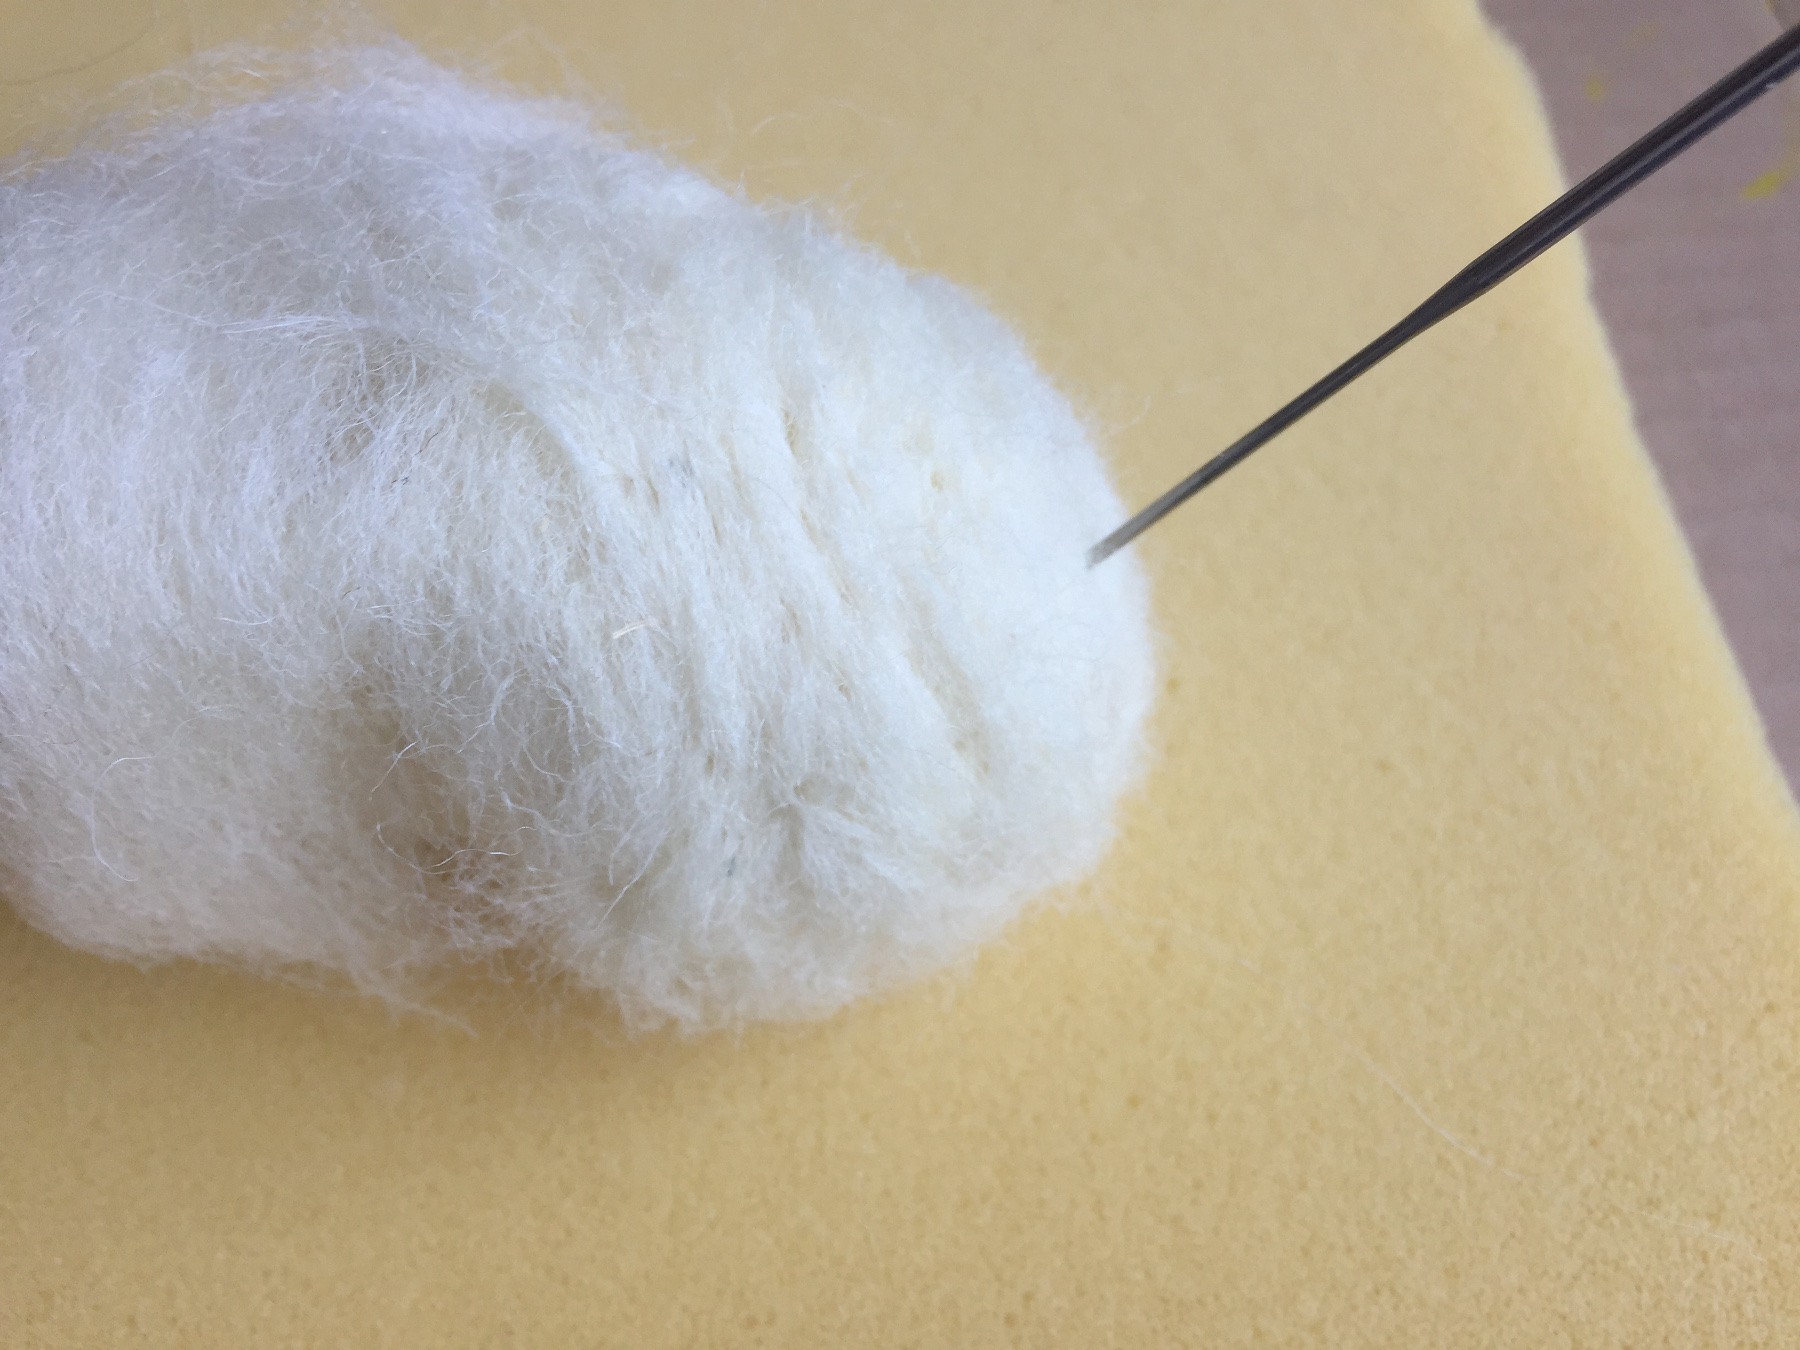
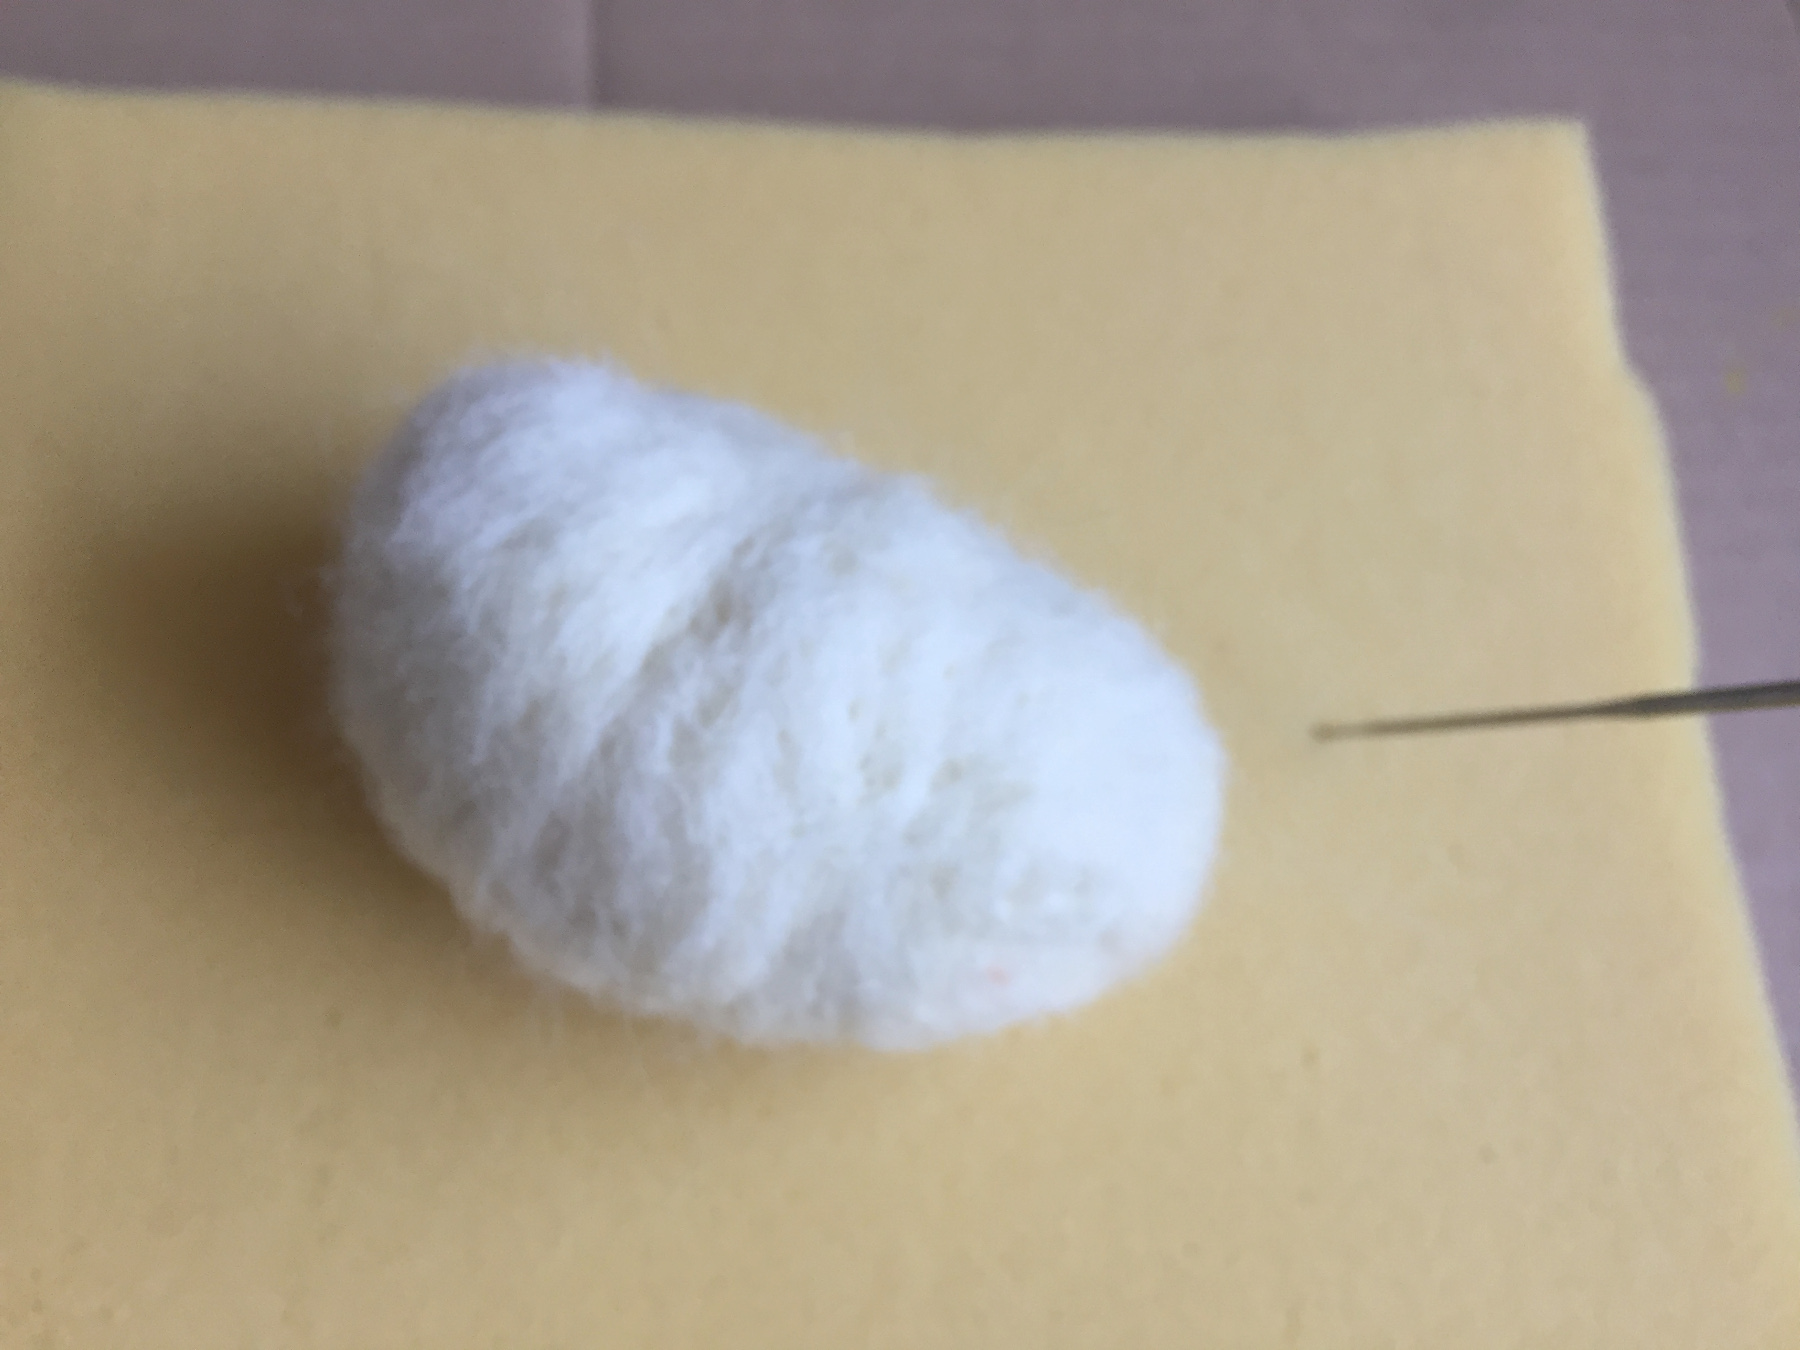
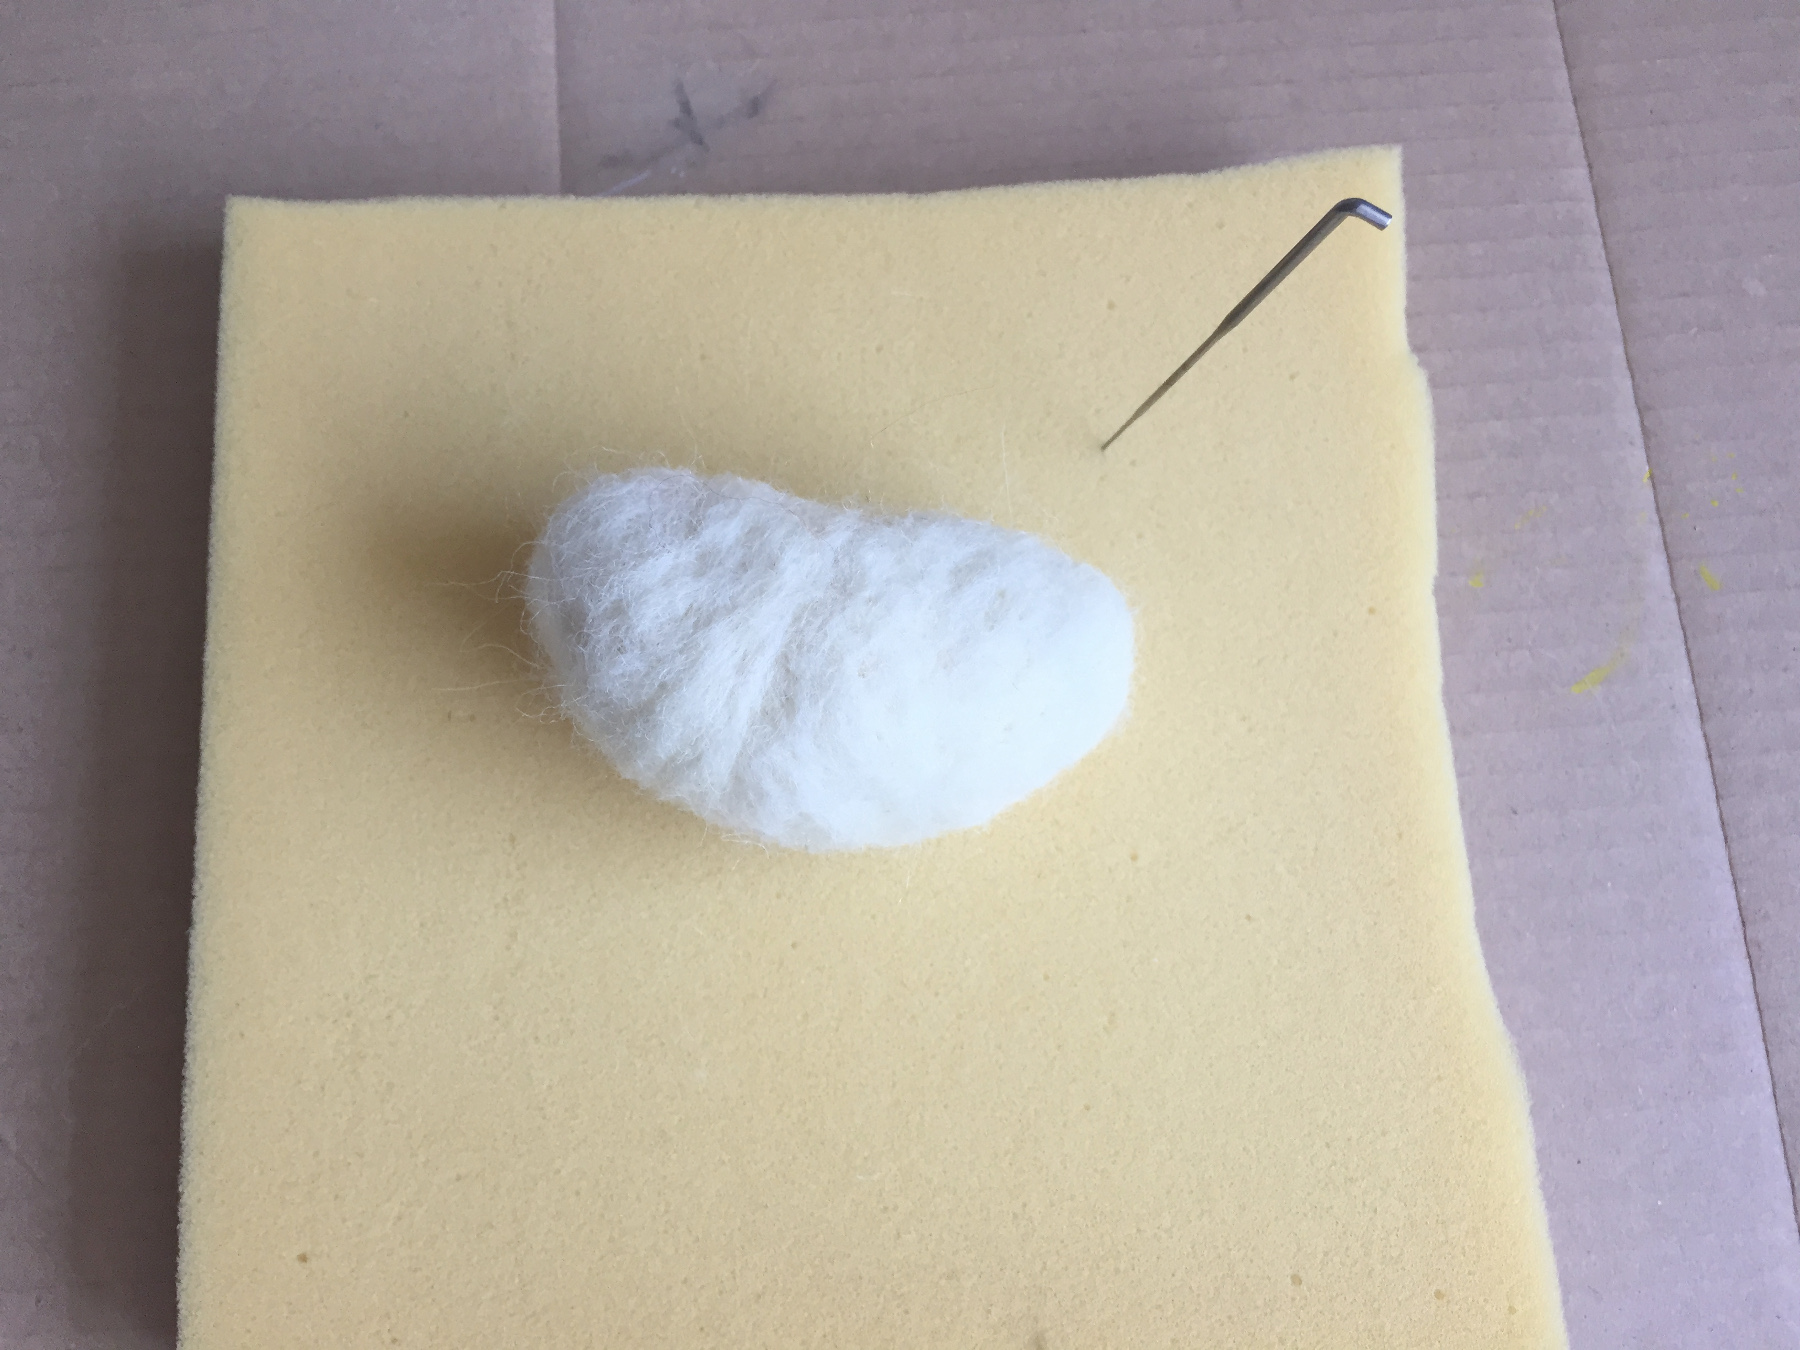
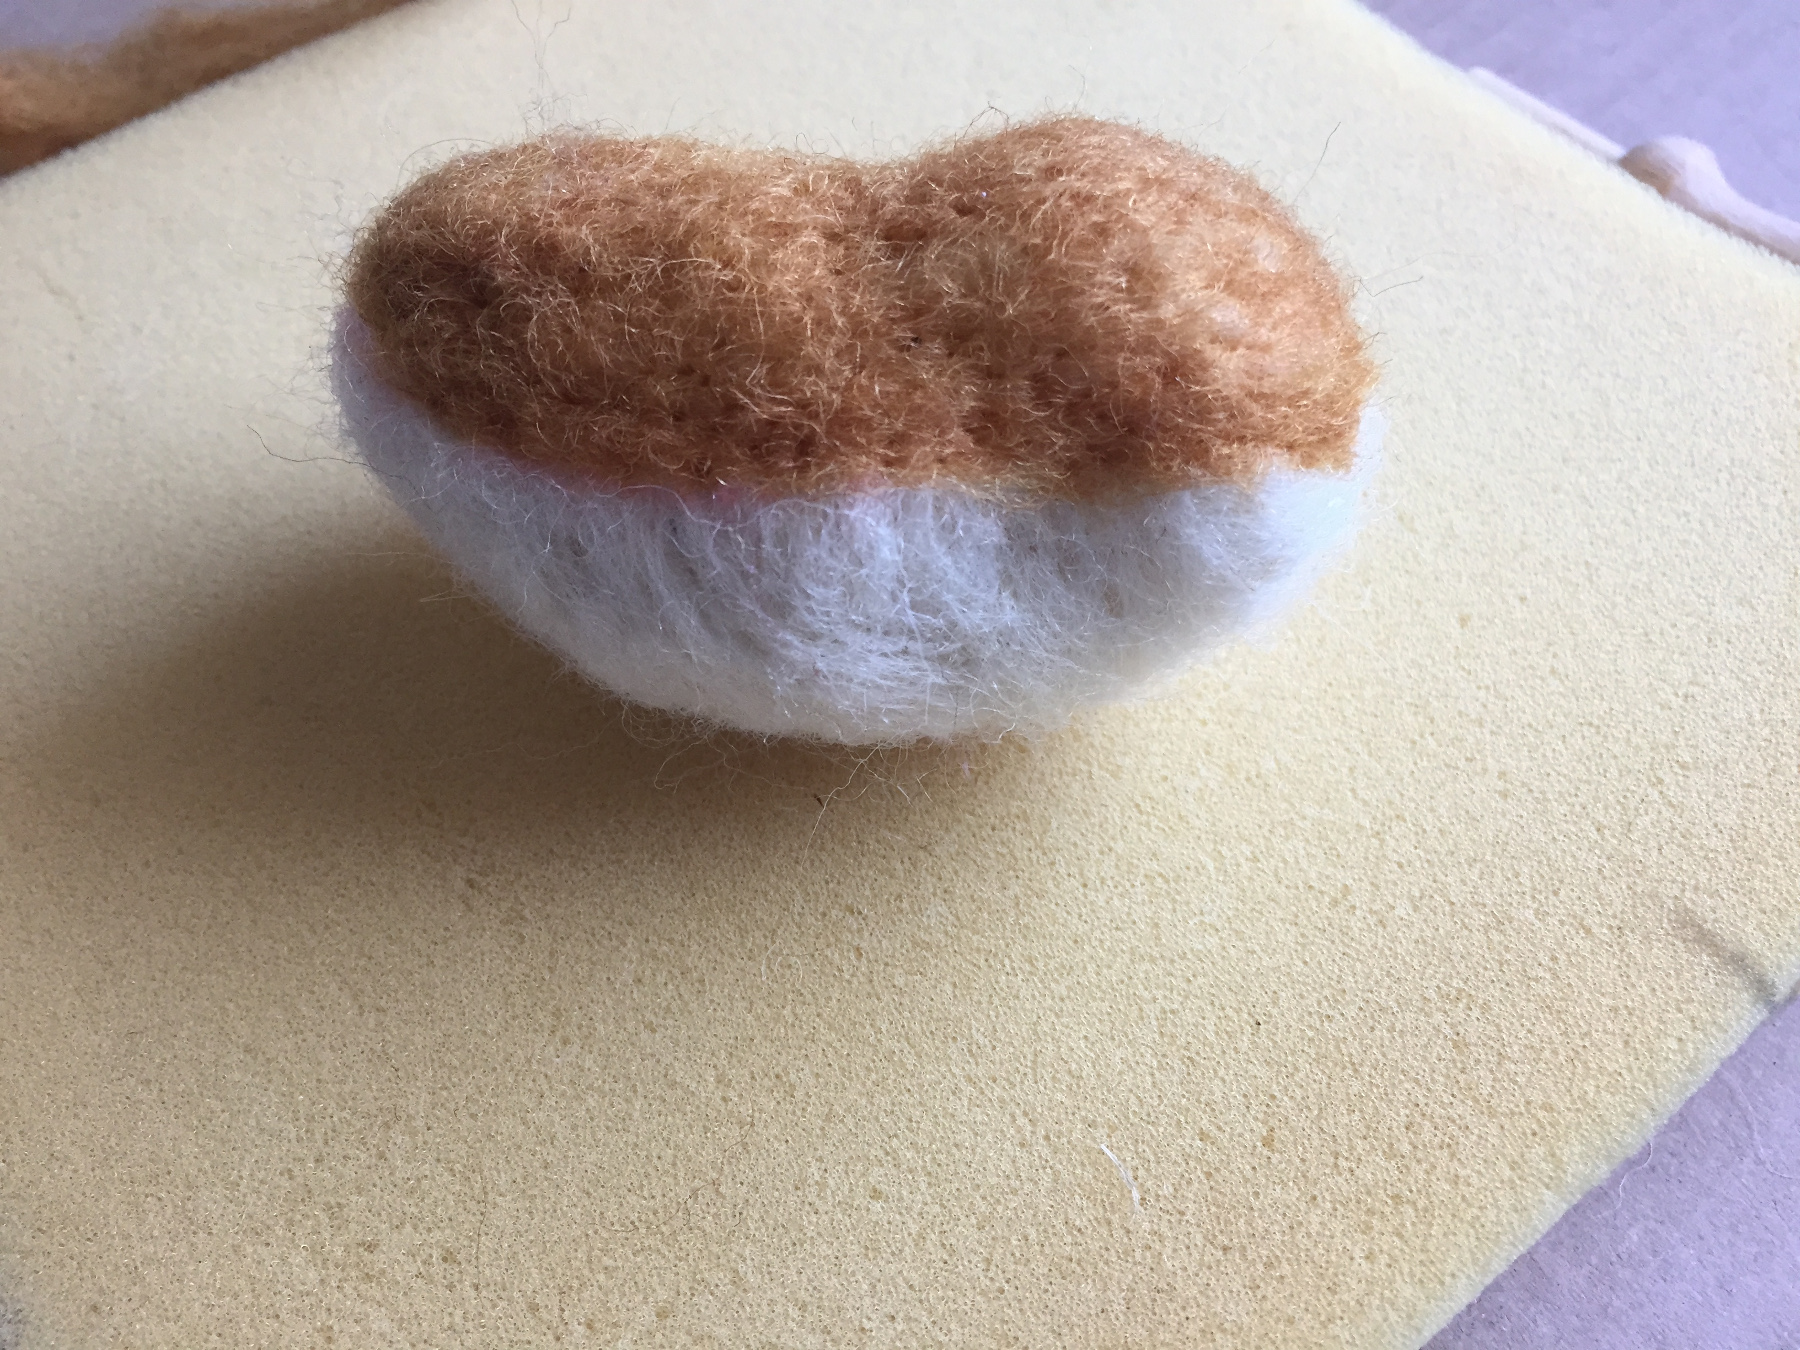
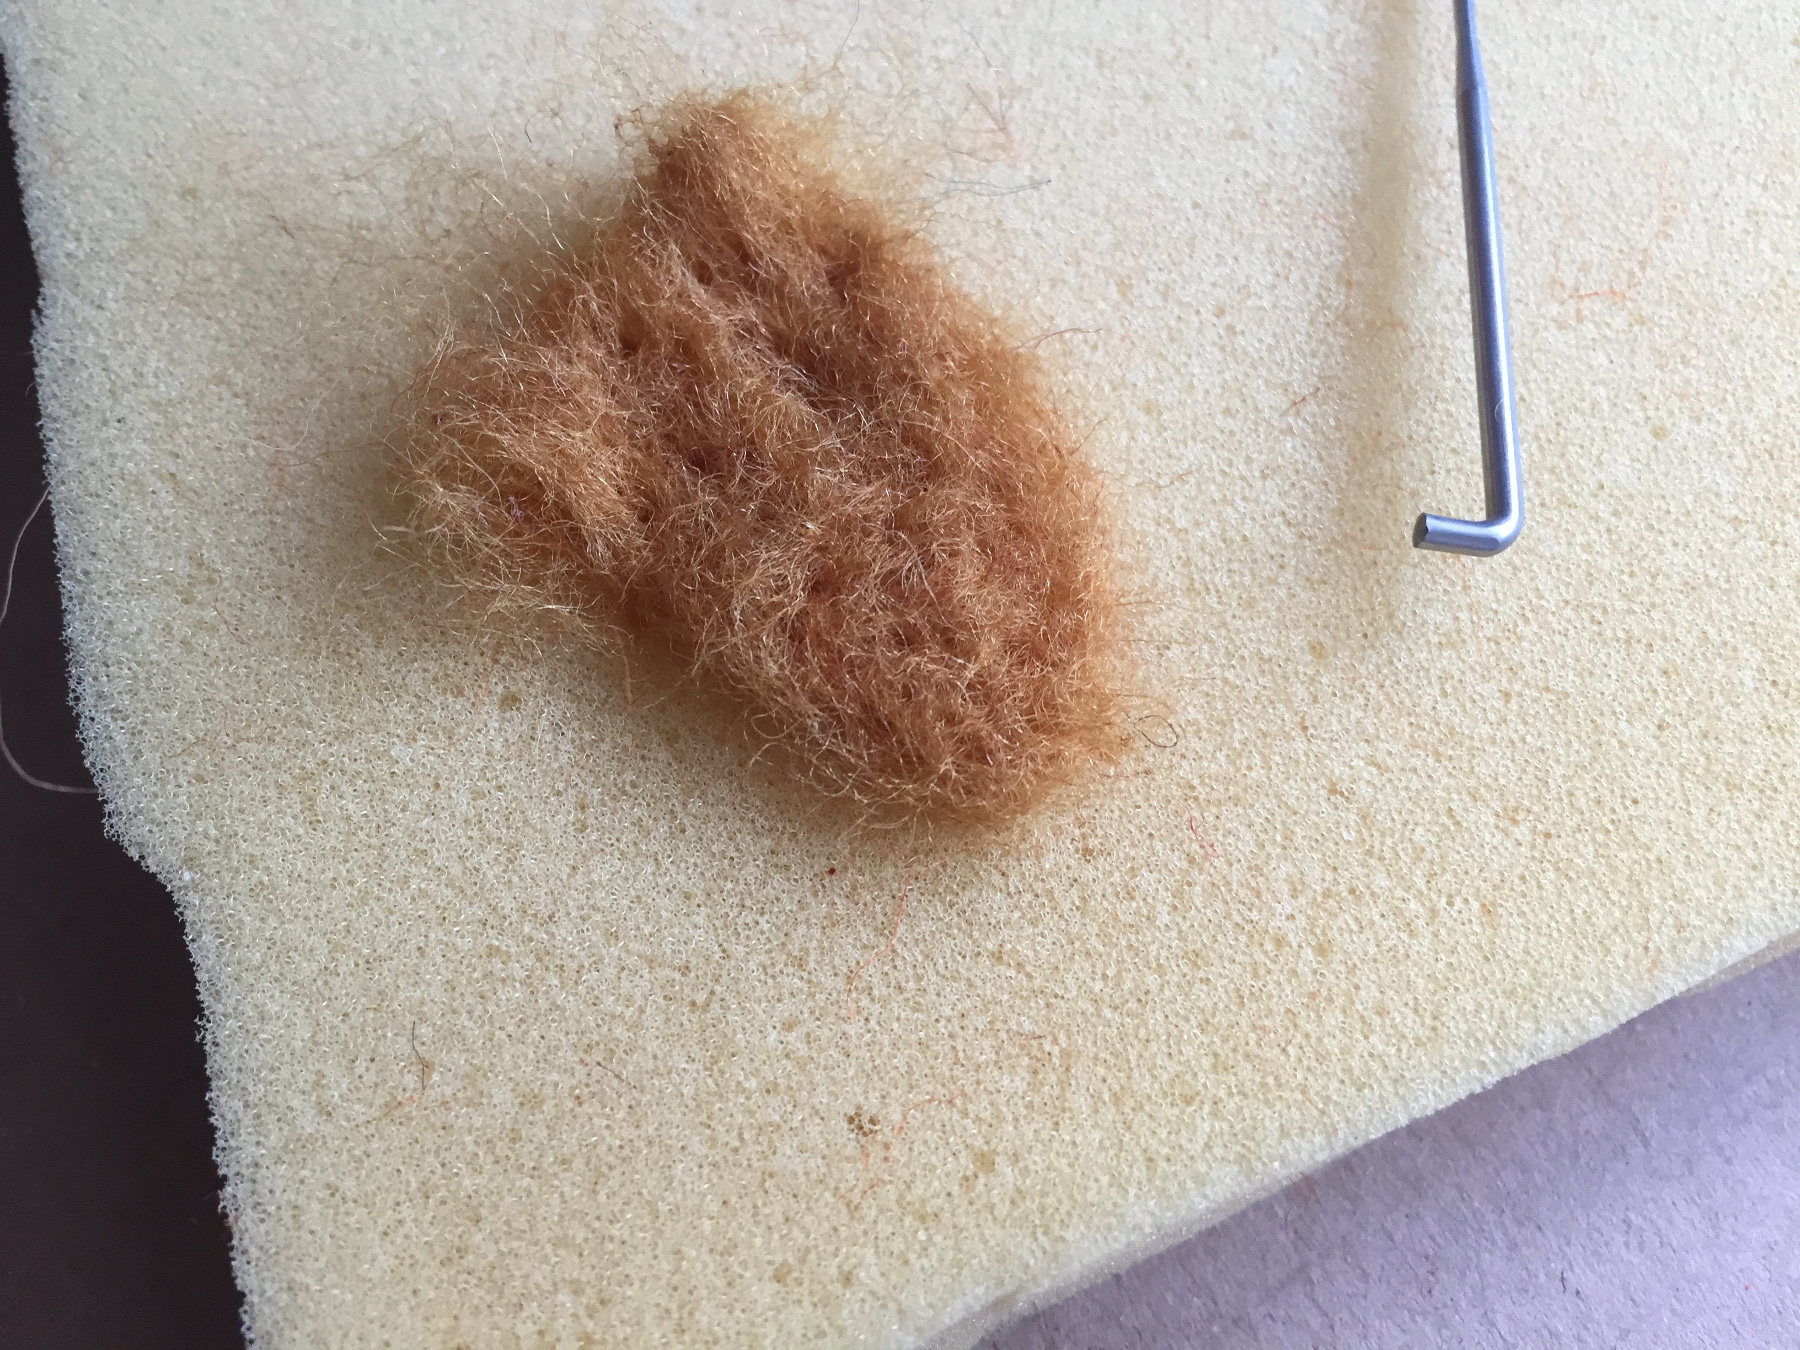
Firmly roll up the basic wool.
Prick with the felting needle until the wool feels firm.
Try to give your wool shape, by pricking in it.
The shape of the bird is simple.
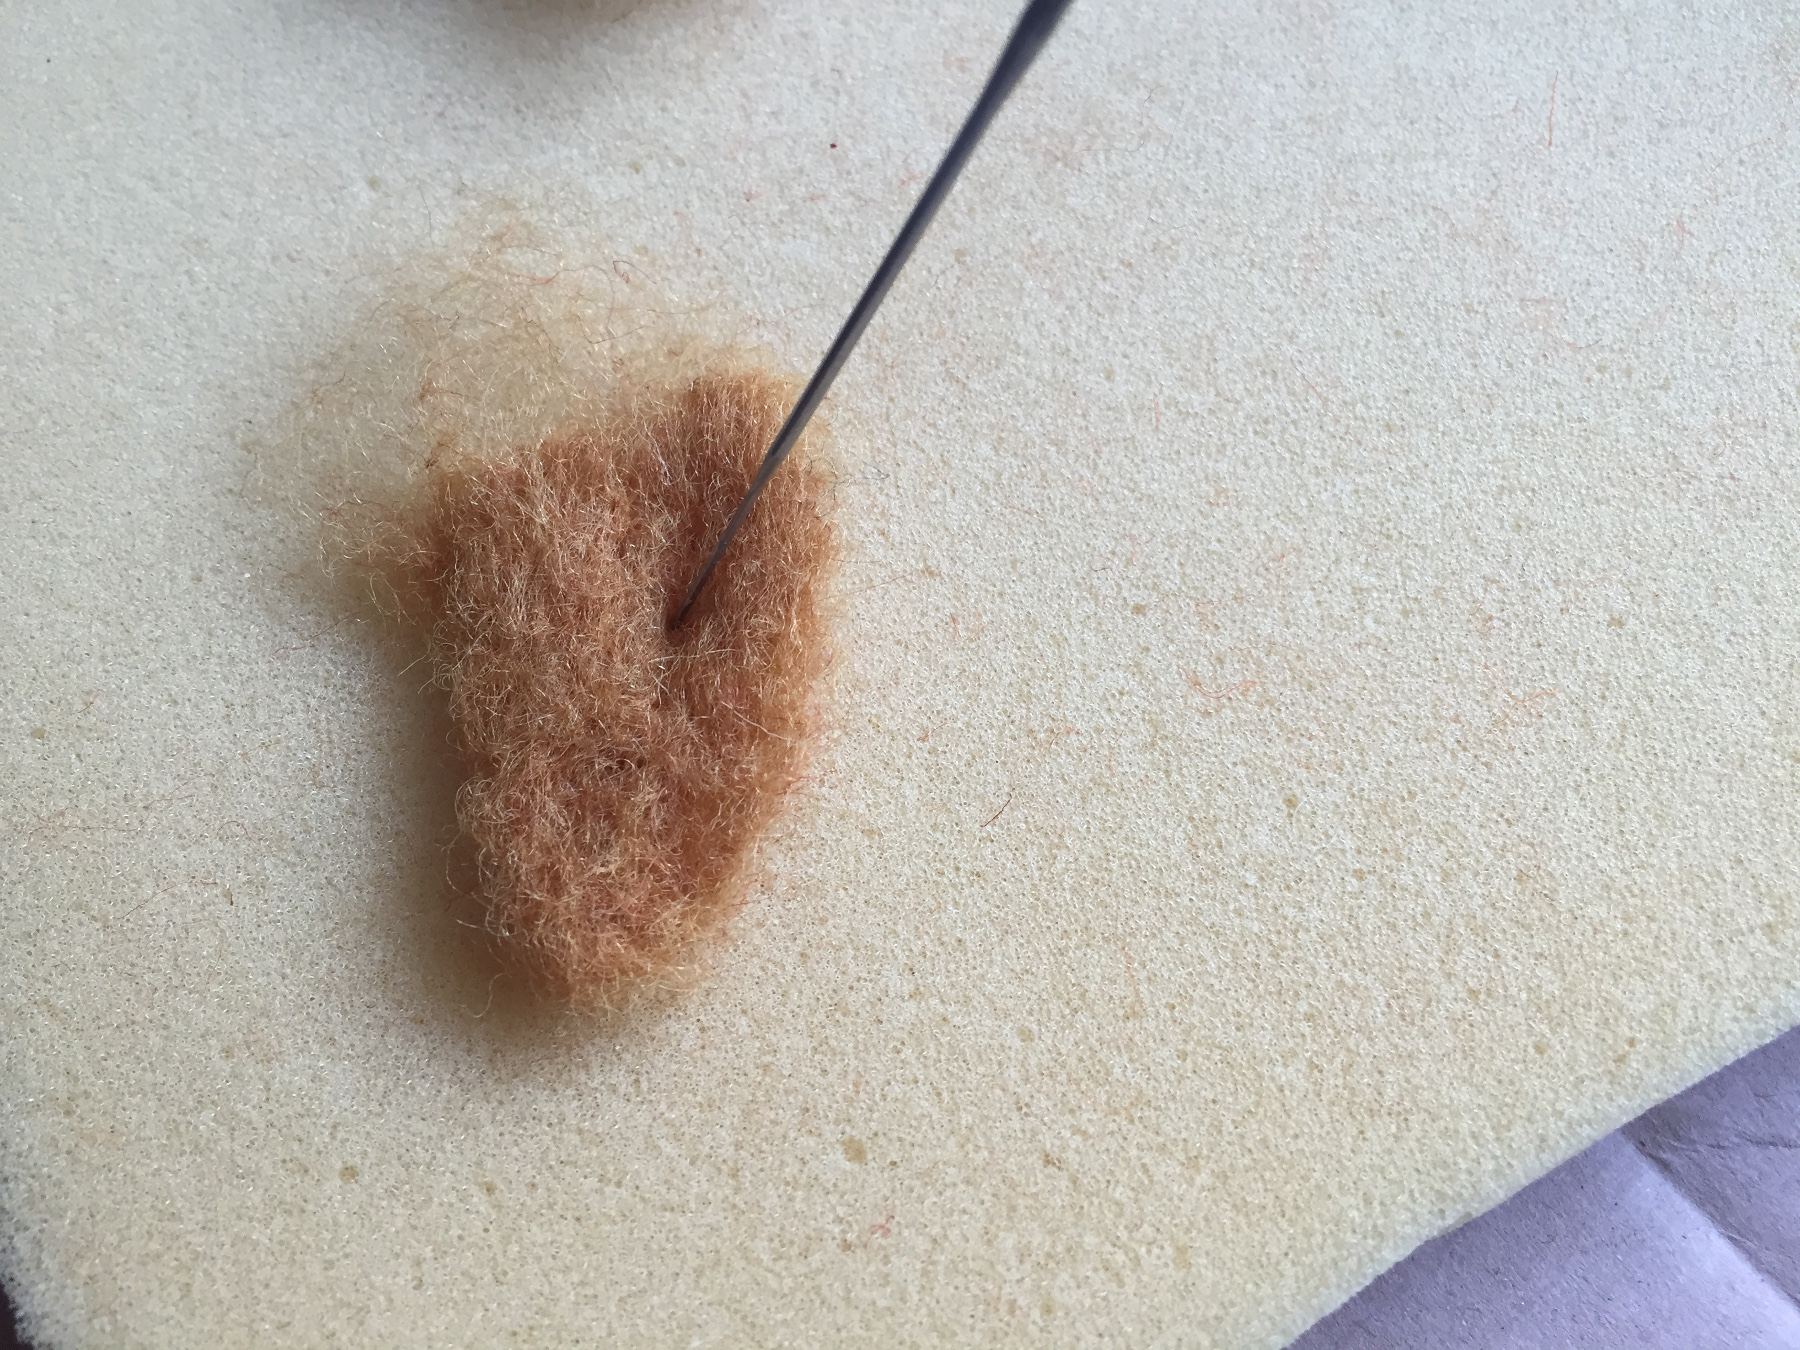
Keep your needle straight when pricking, if you bend the needle it will break quickly!
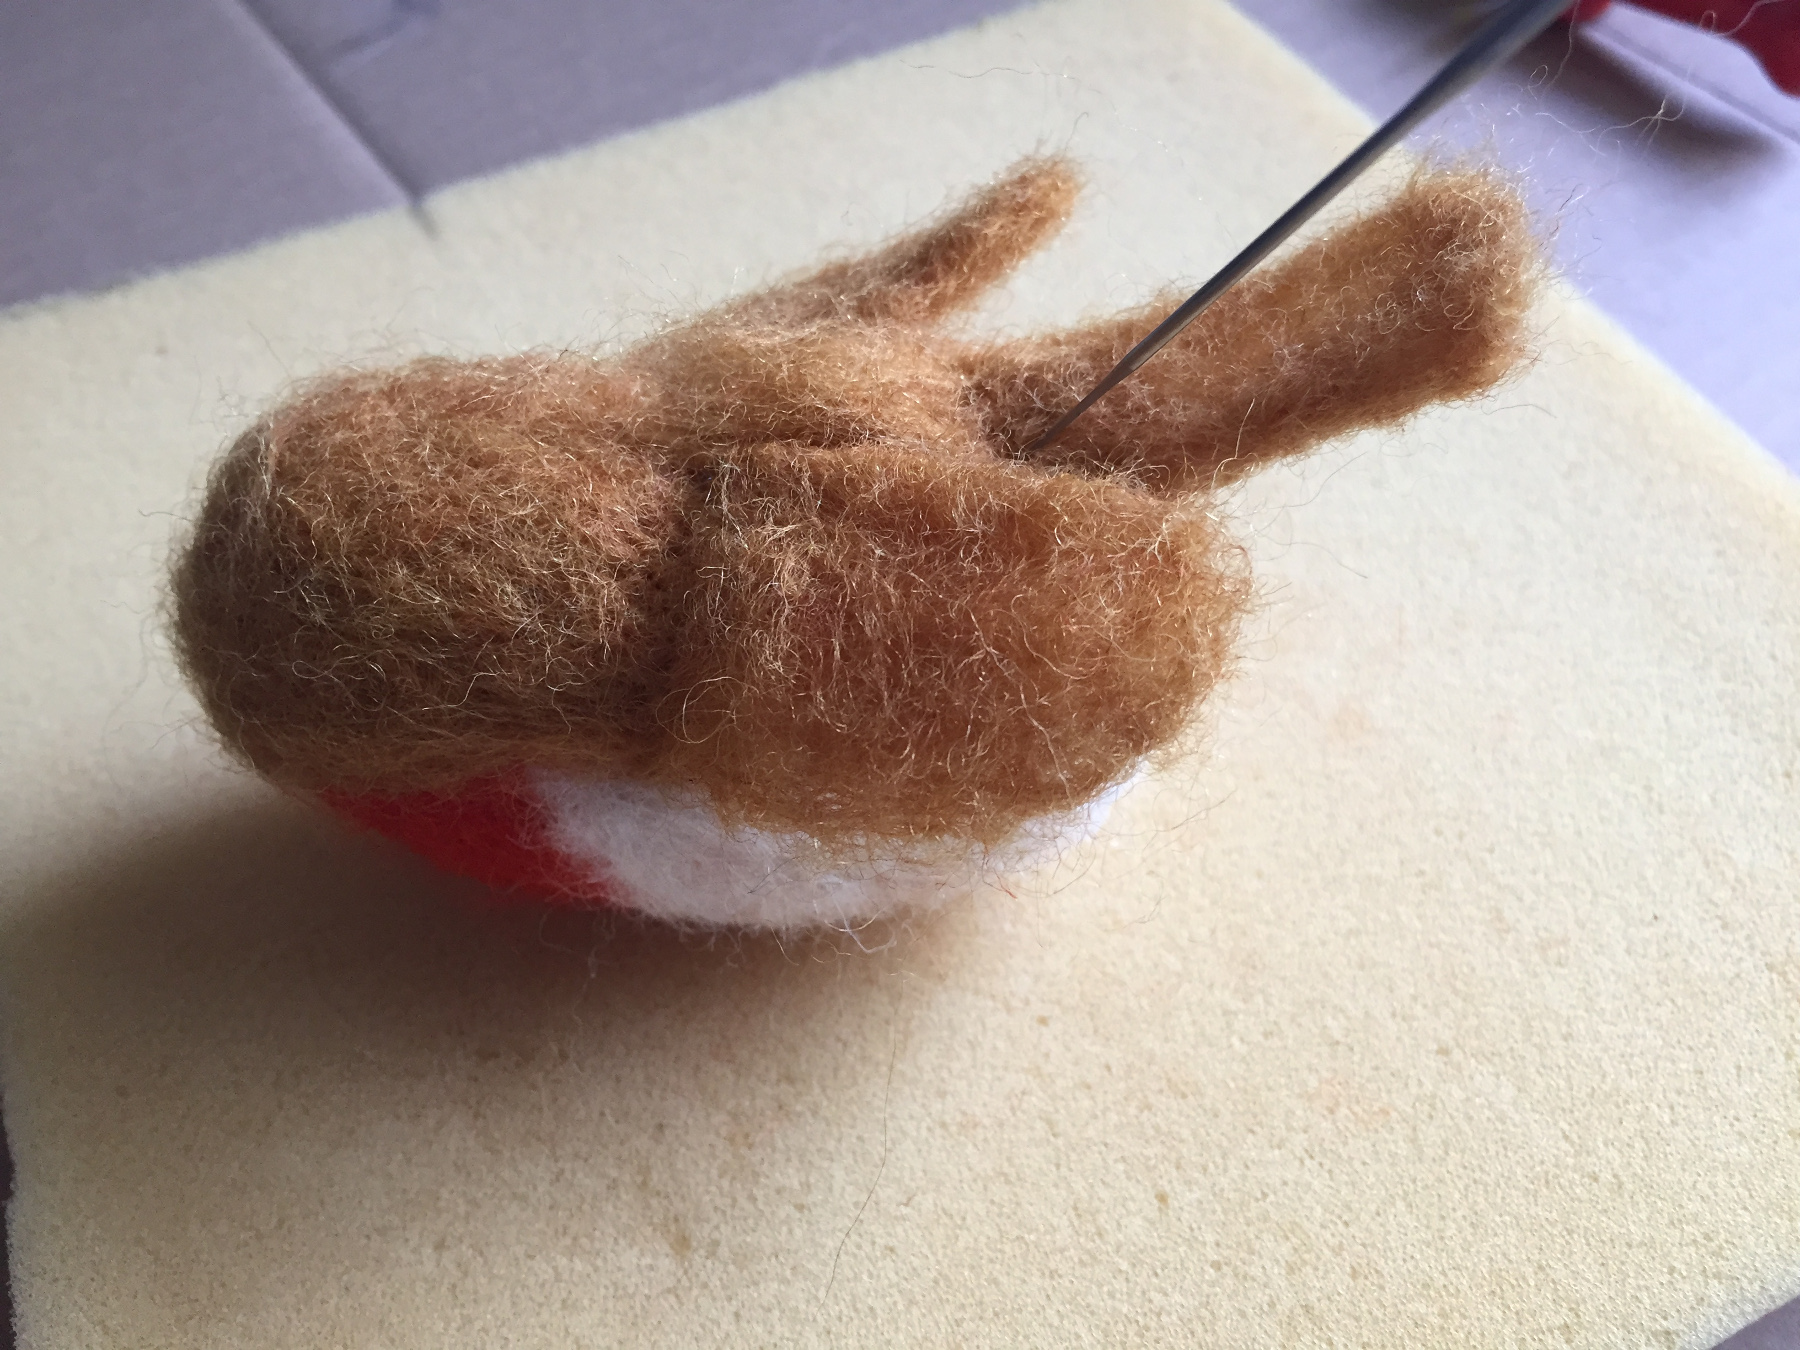
When the basic shape is ready you start on the deck, the colours of the bird
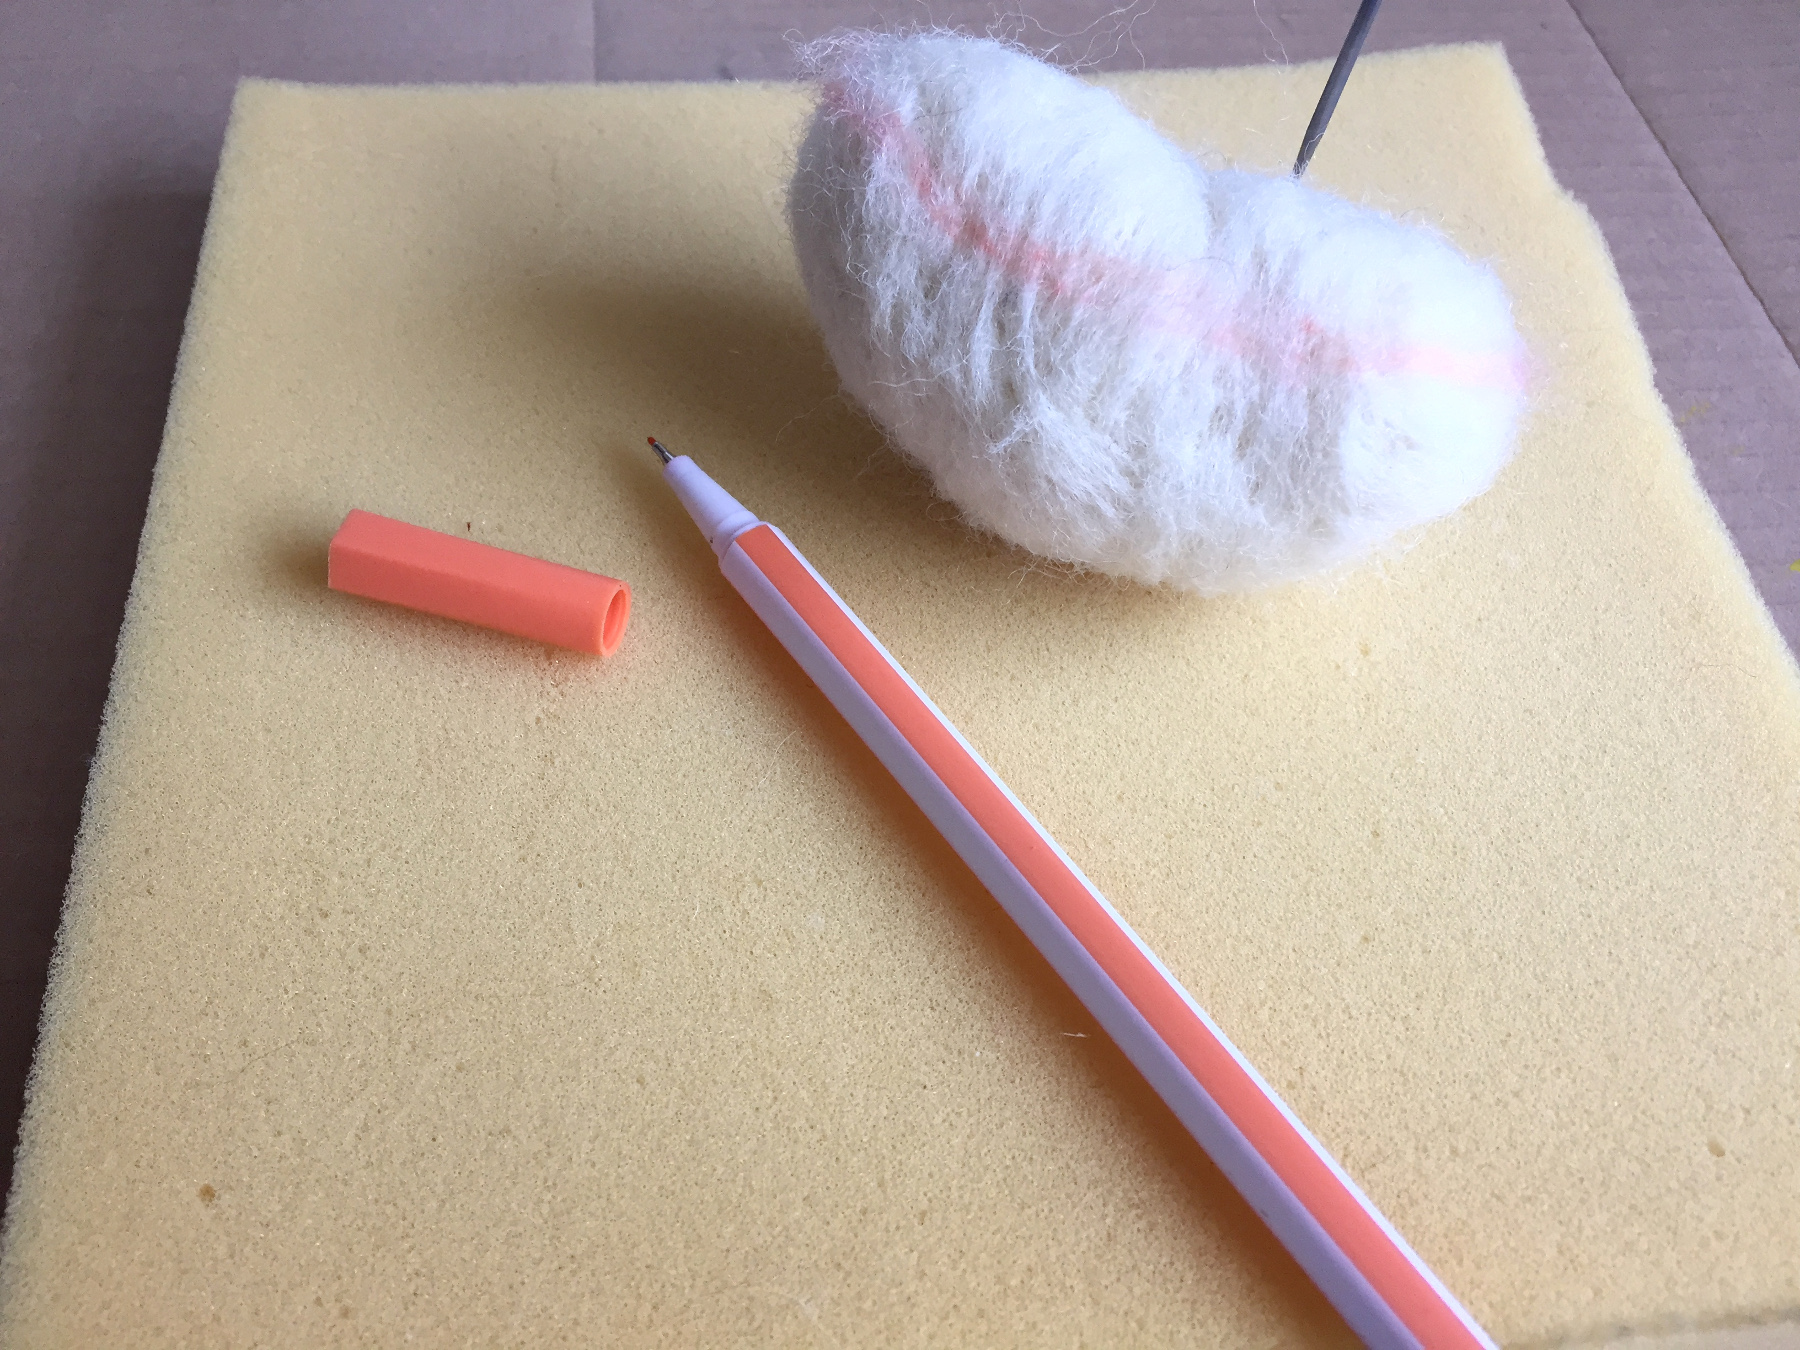
Use the felt-tip pen to draw an edge where the colored wool ends.
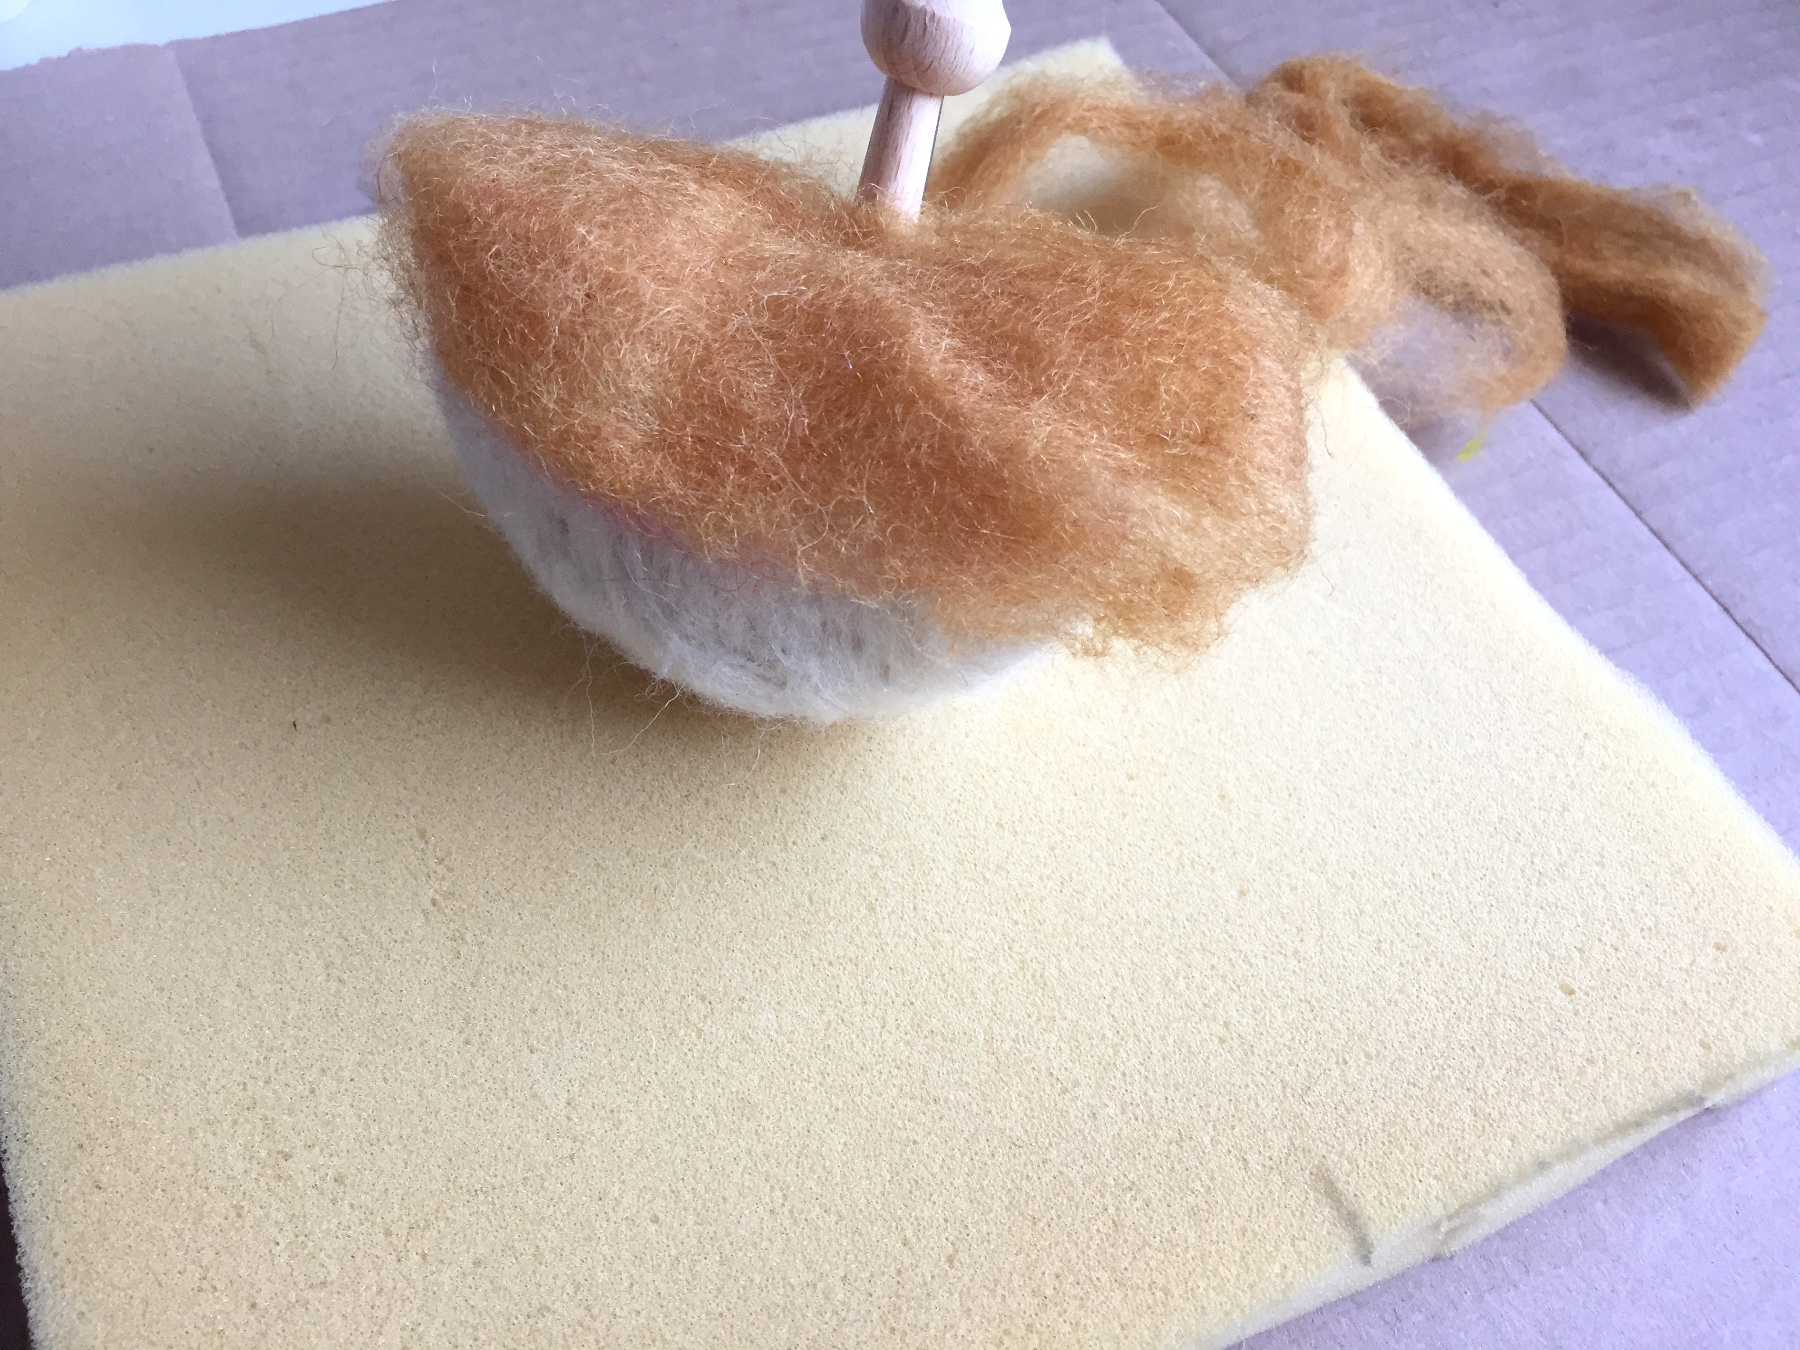
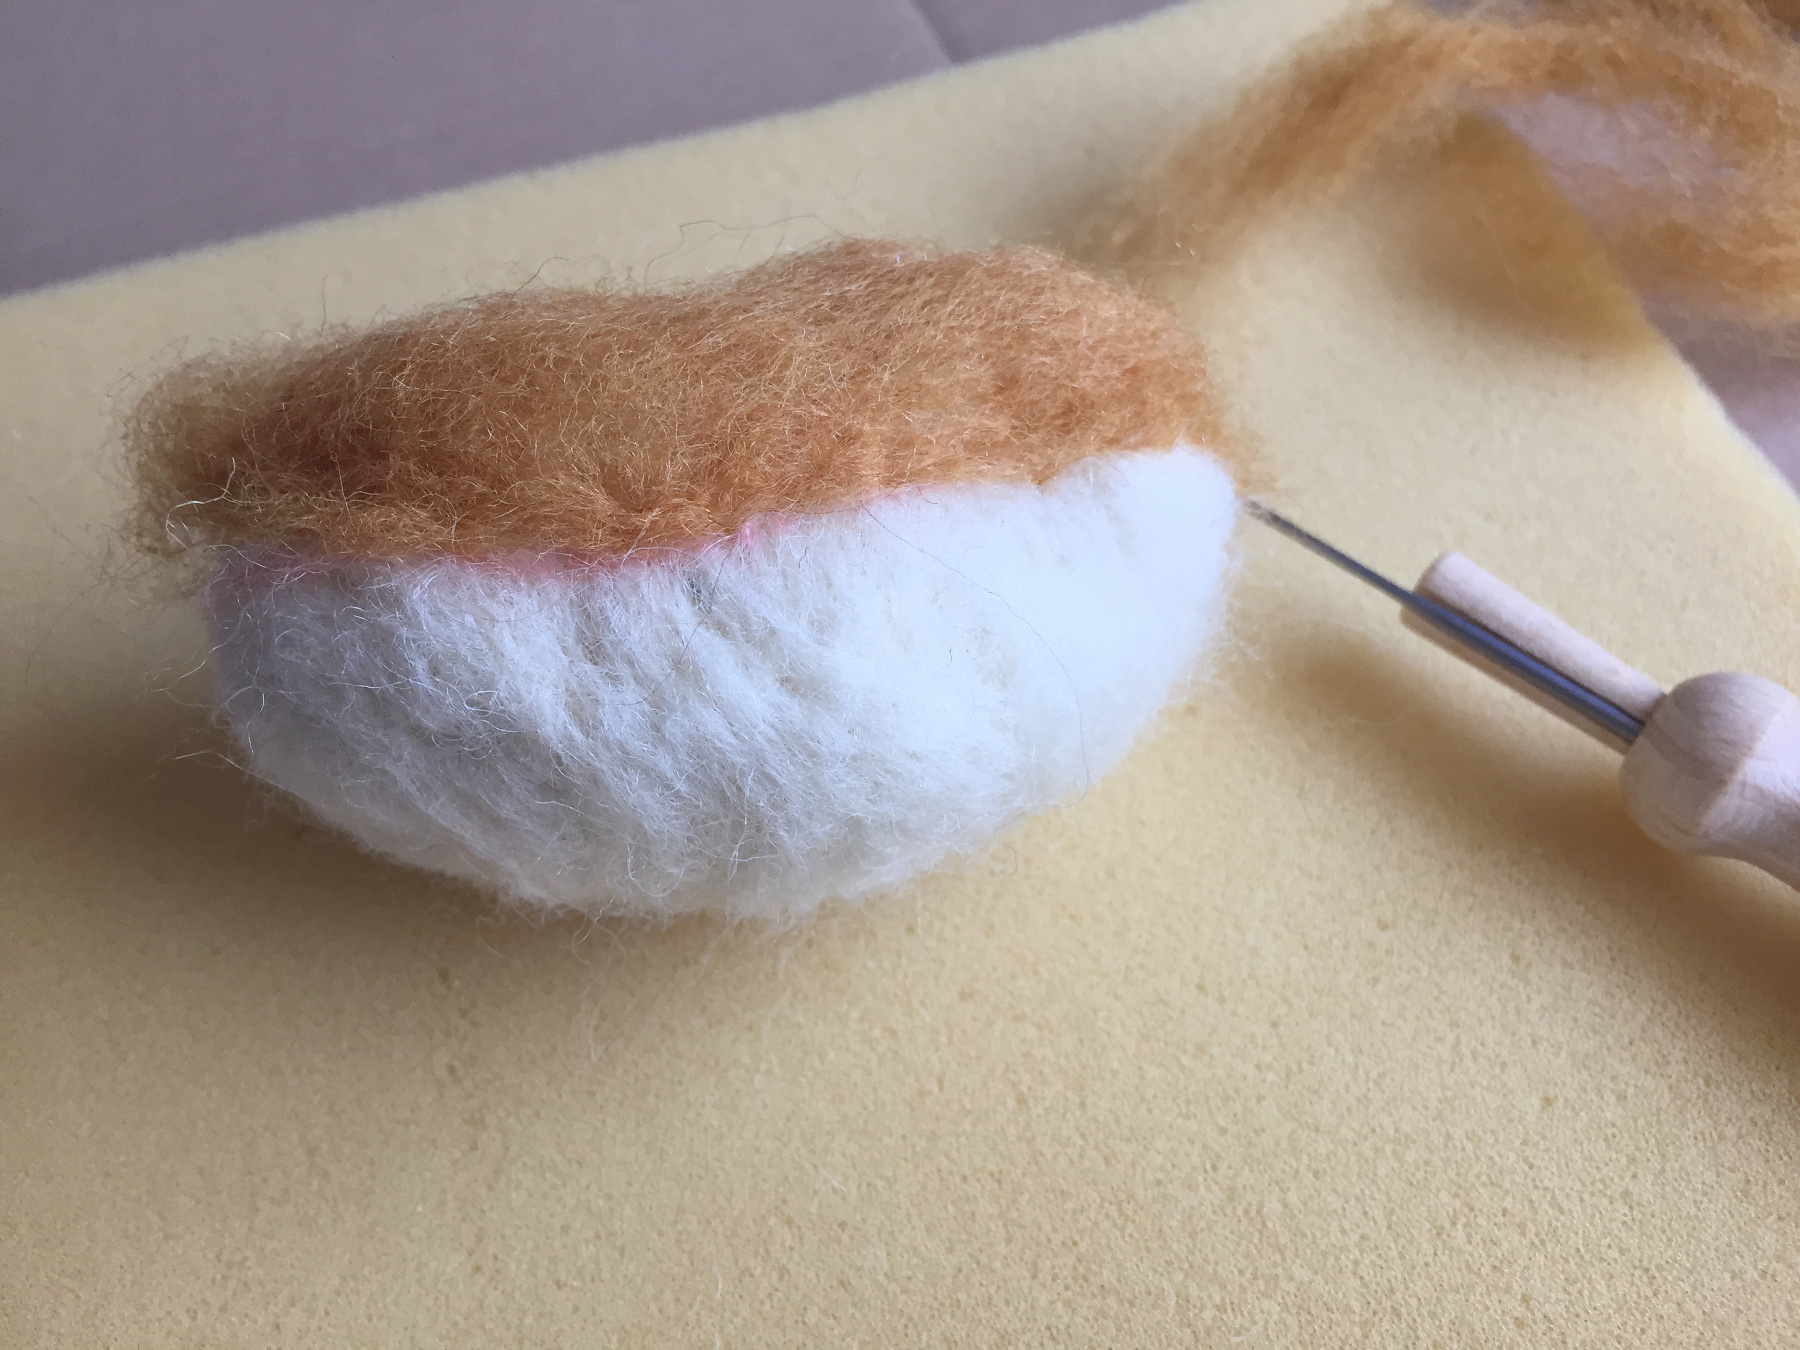
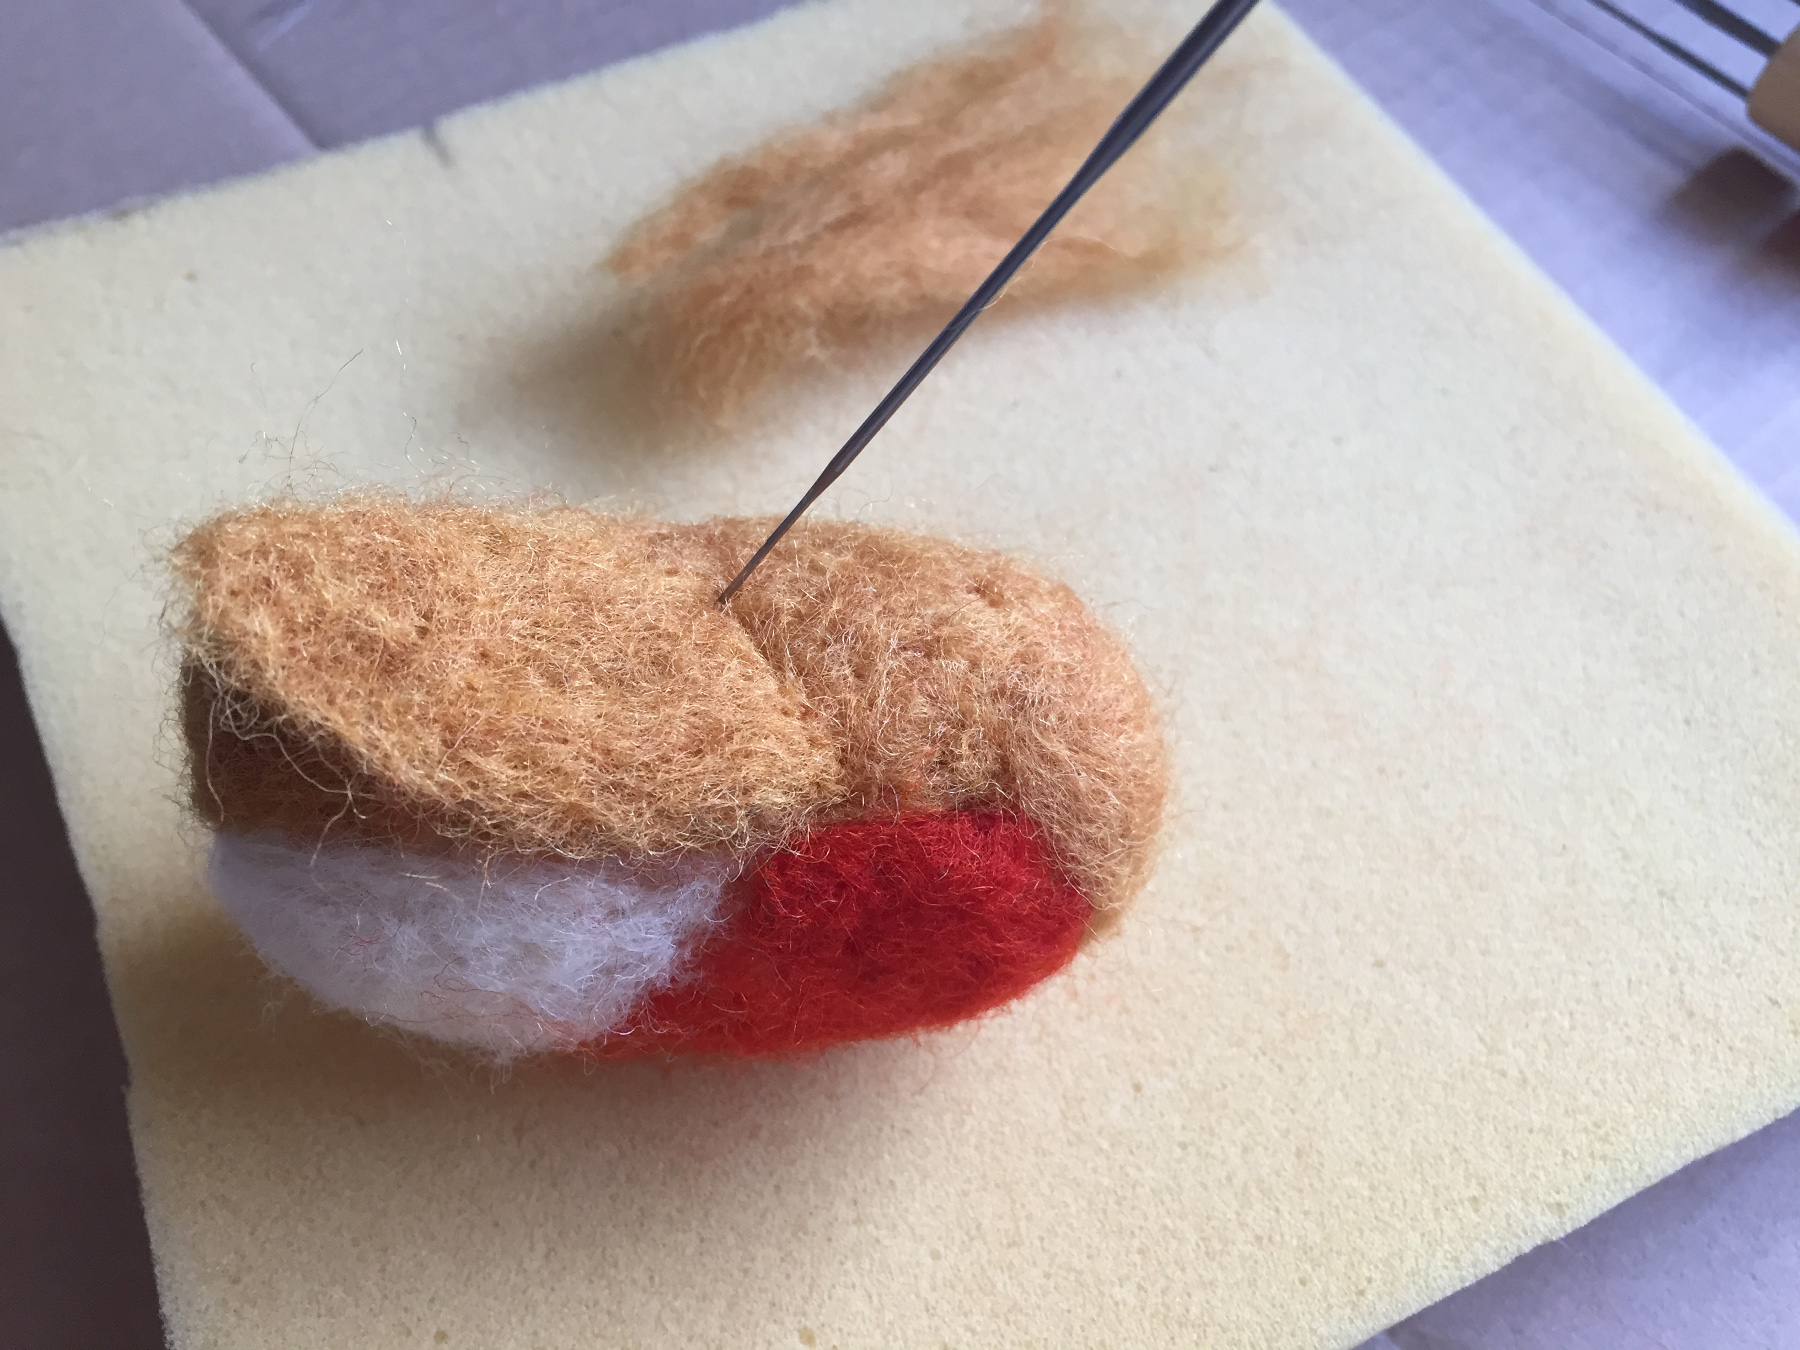
Place the wool on the back of the bird.
Until it's brown back is firmly attached.
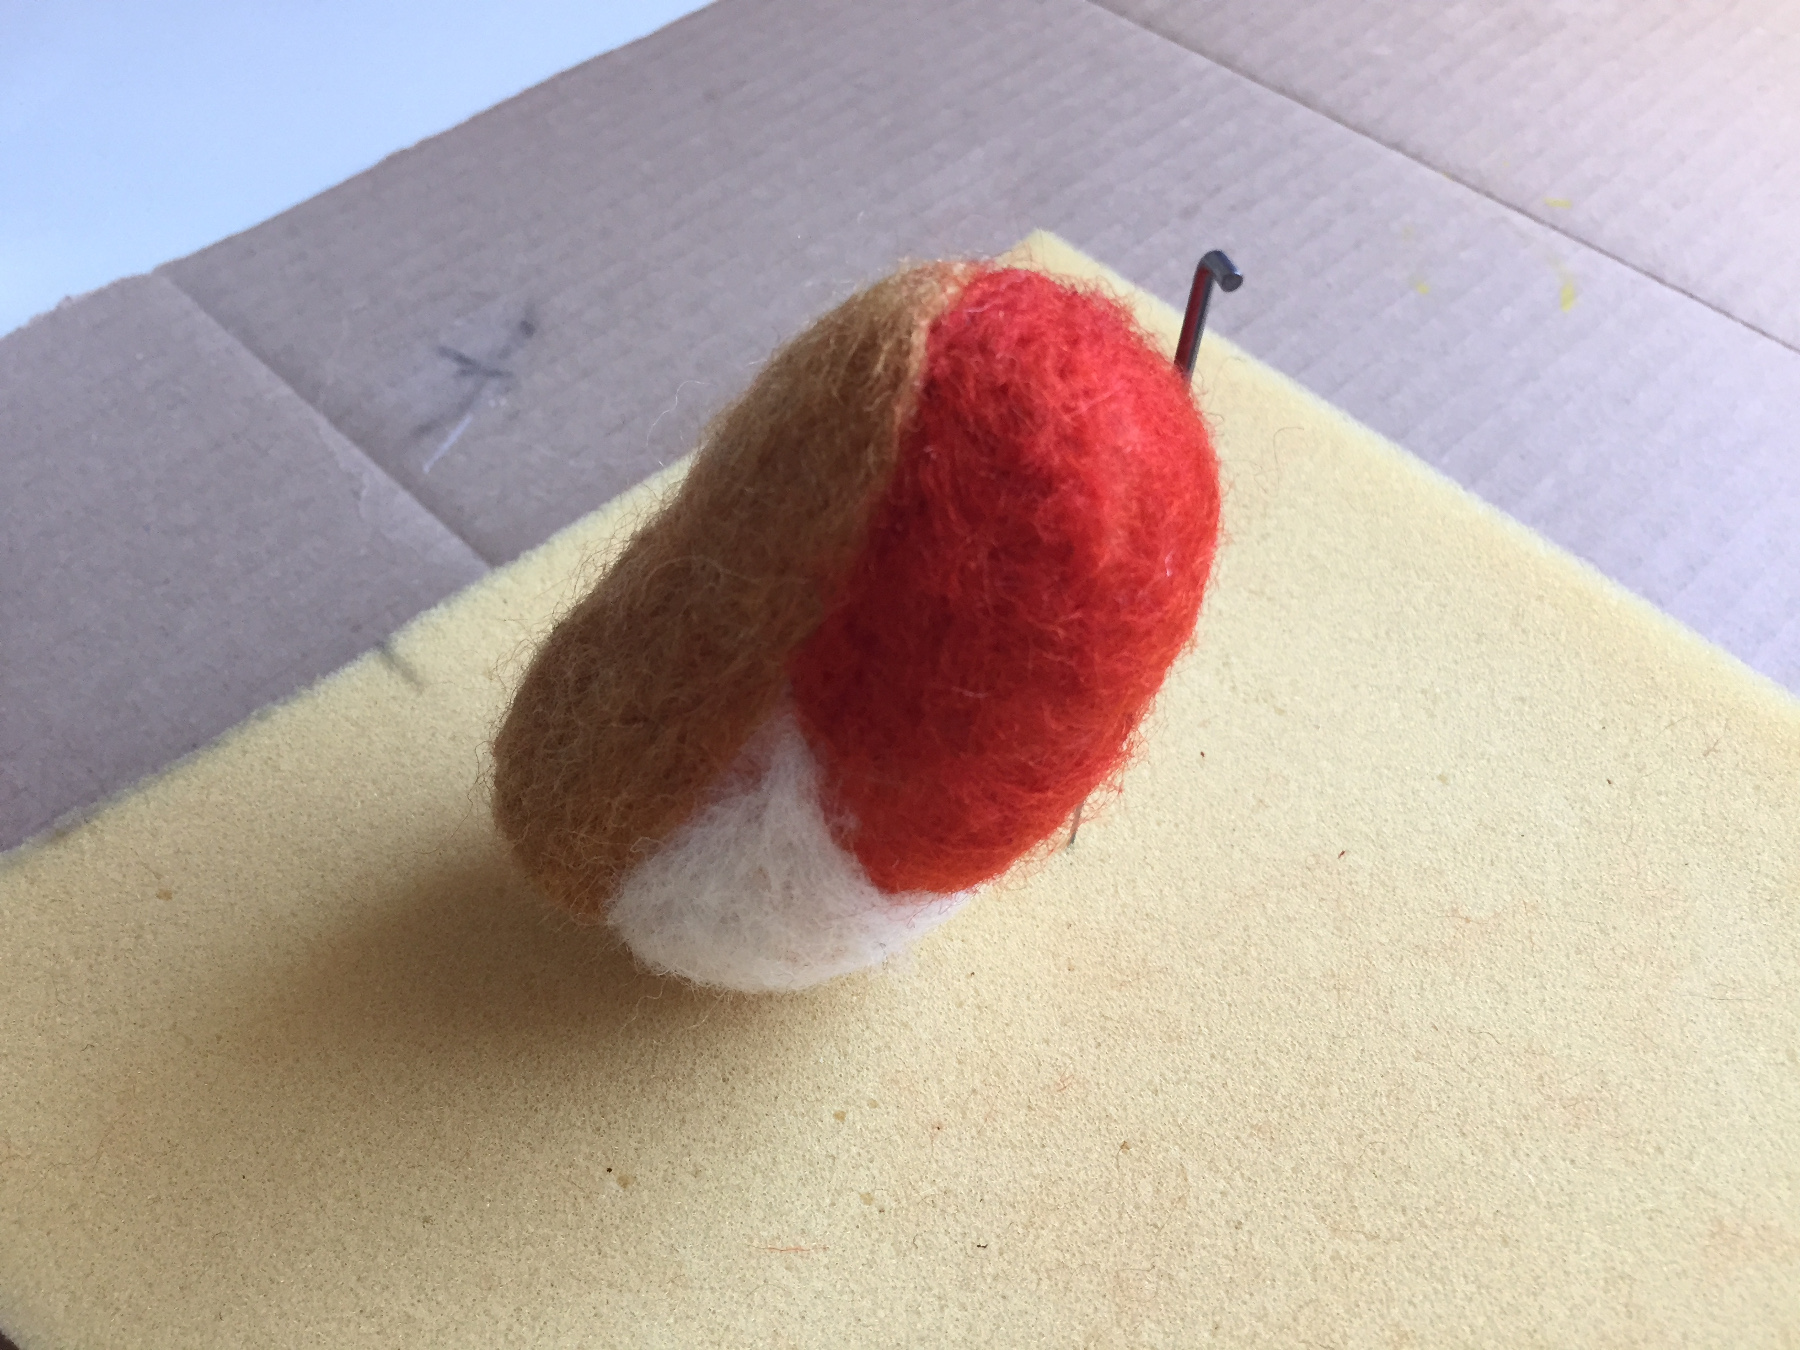
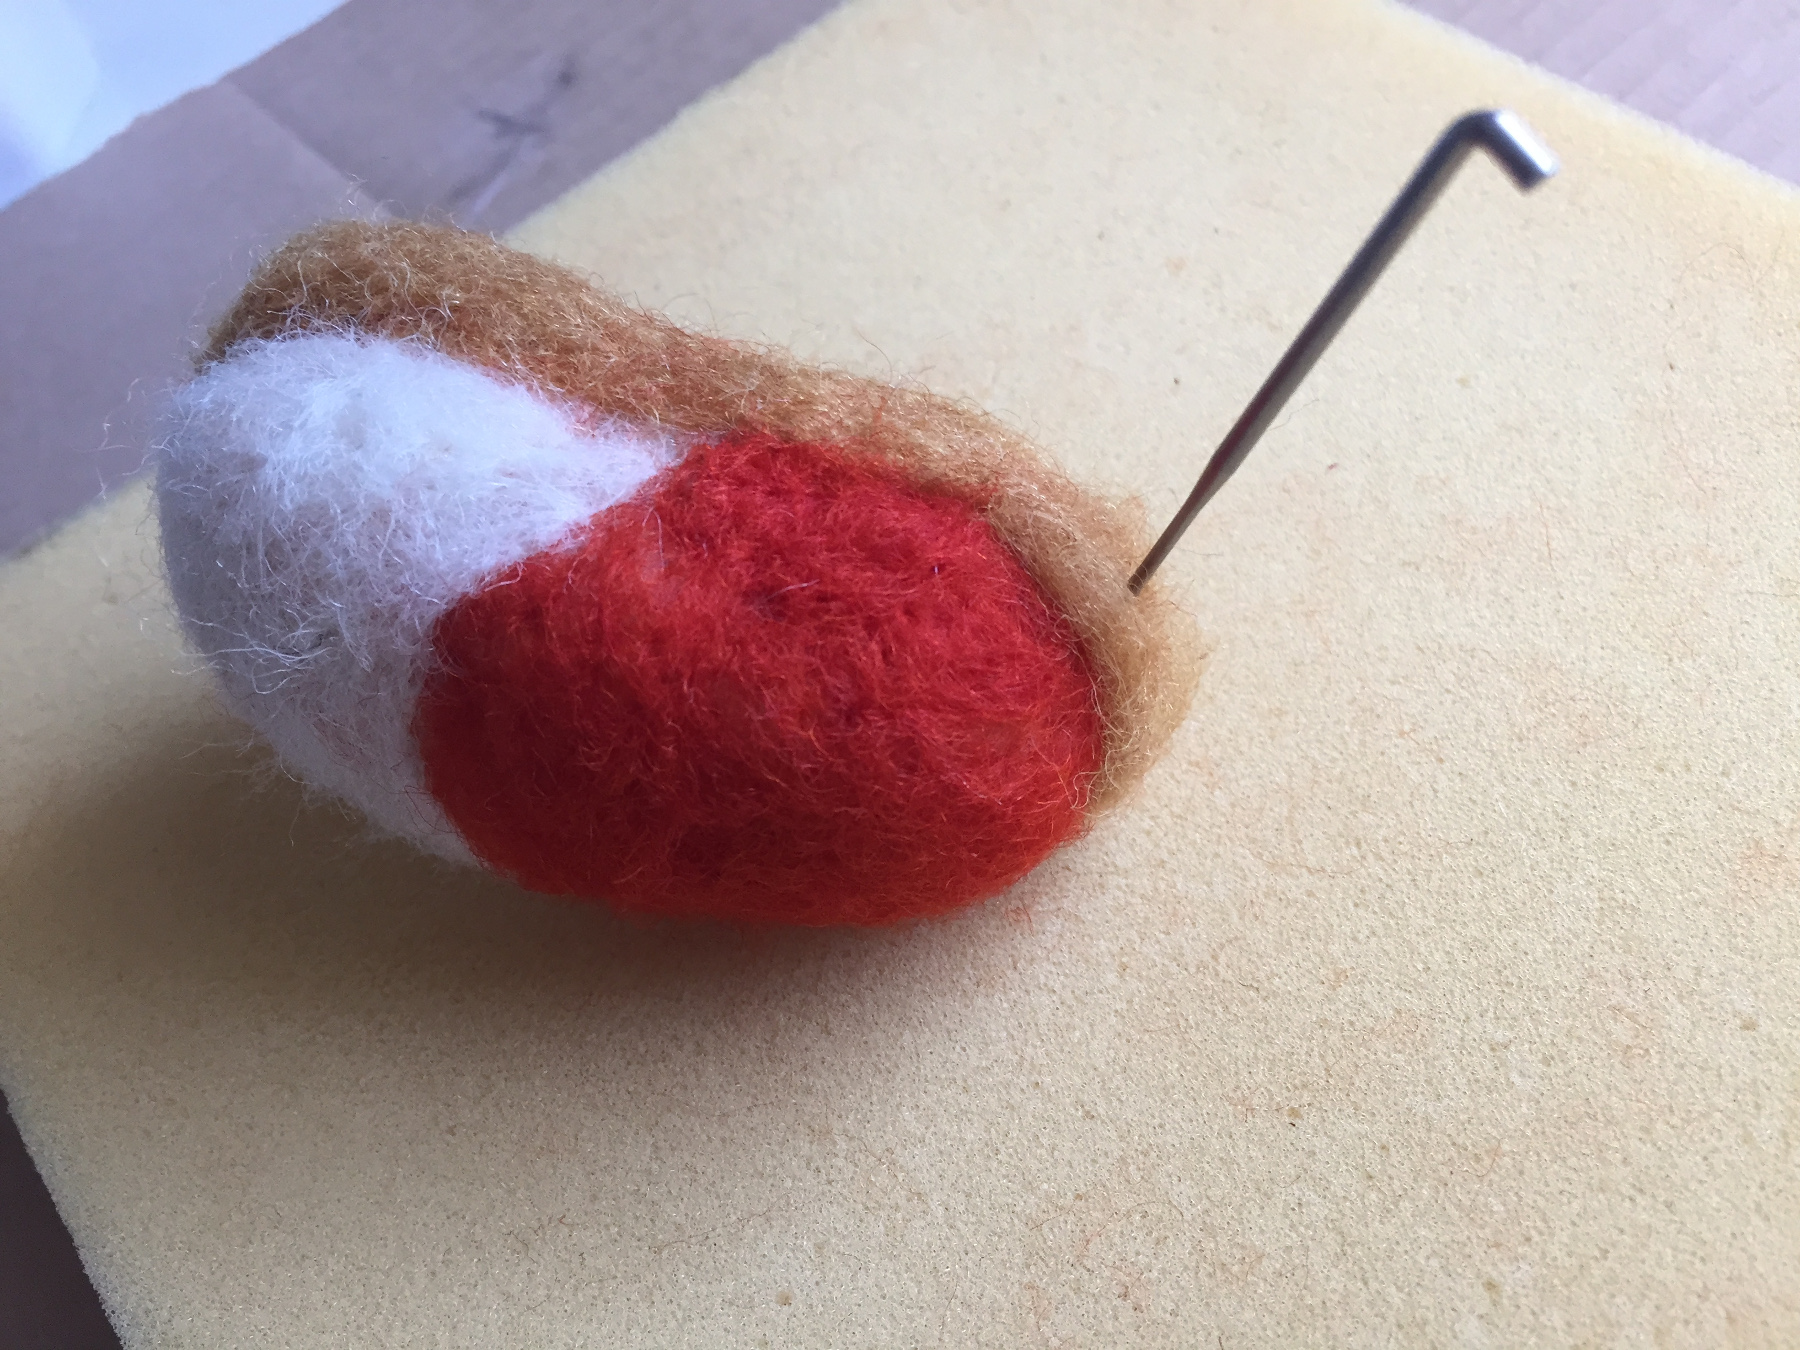
Continue in the same way with the orange head.
If needed attach a little more brown to the head.
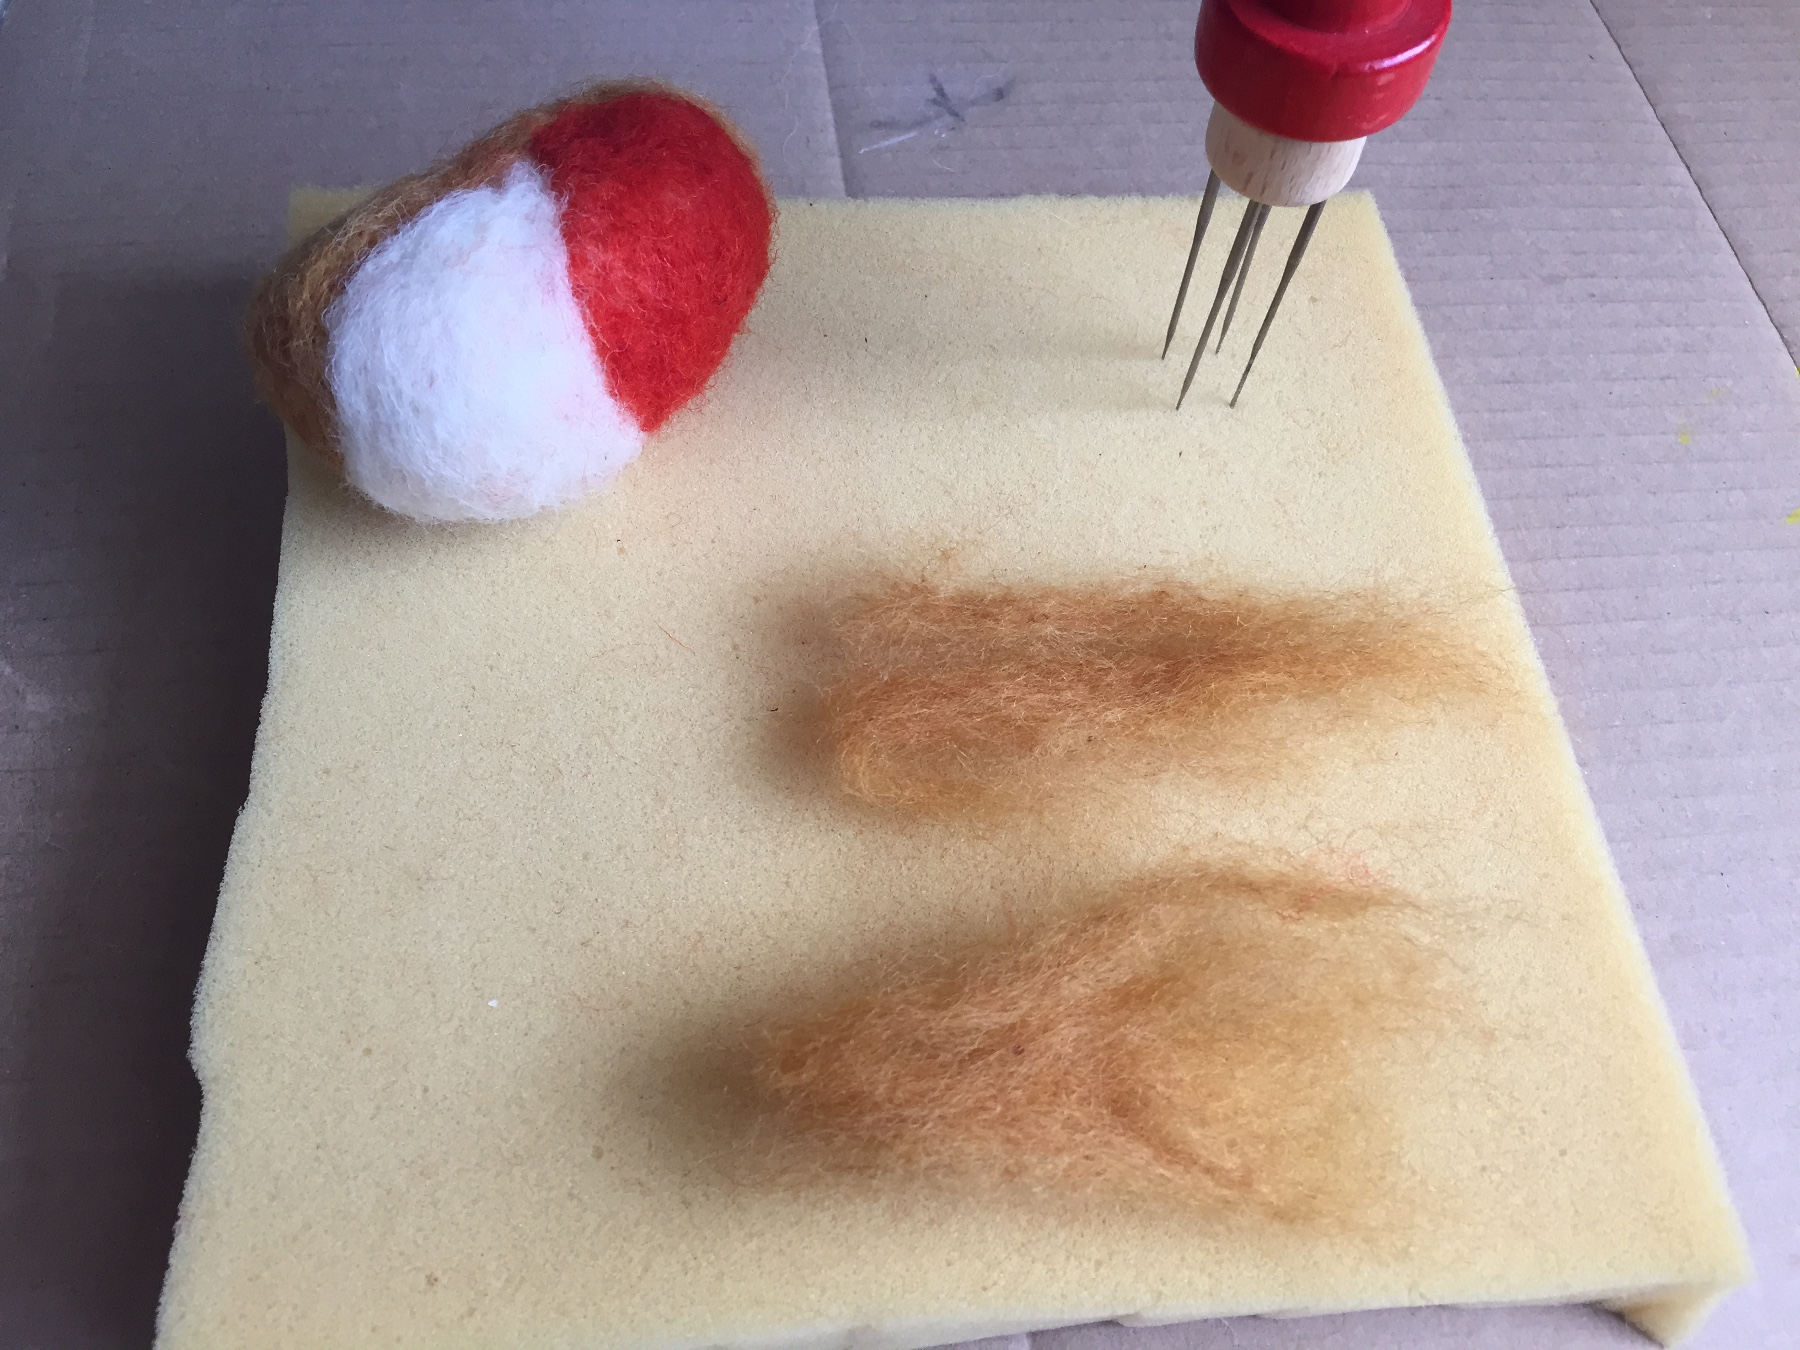
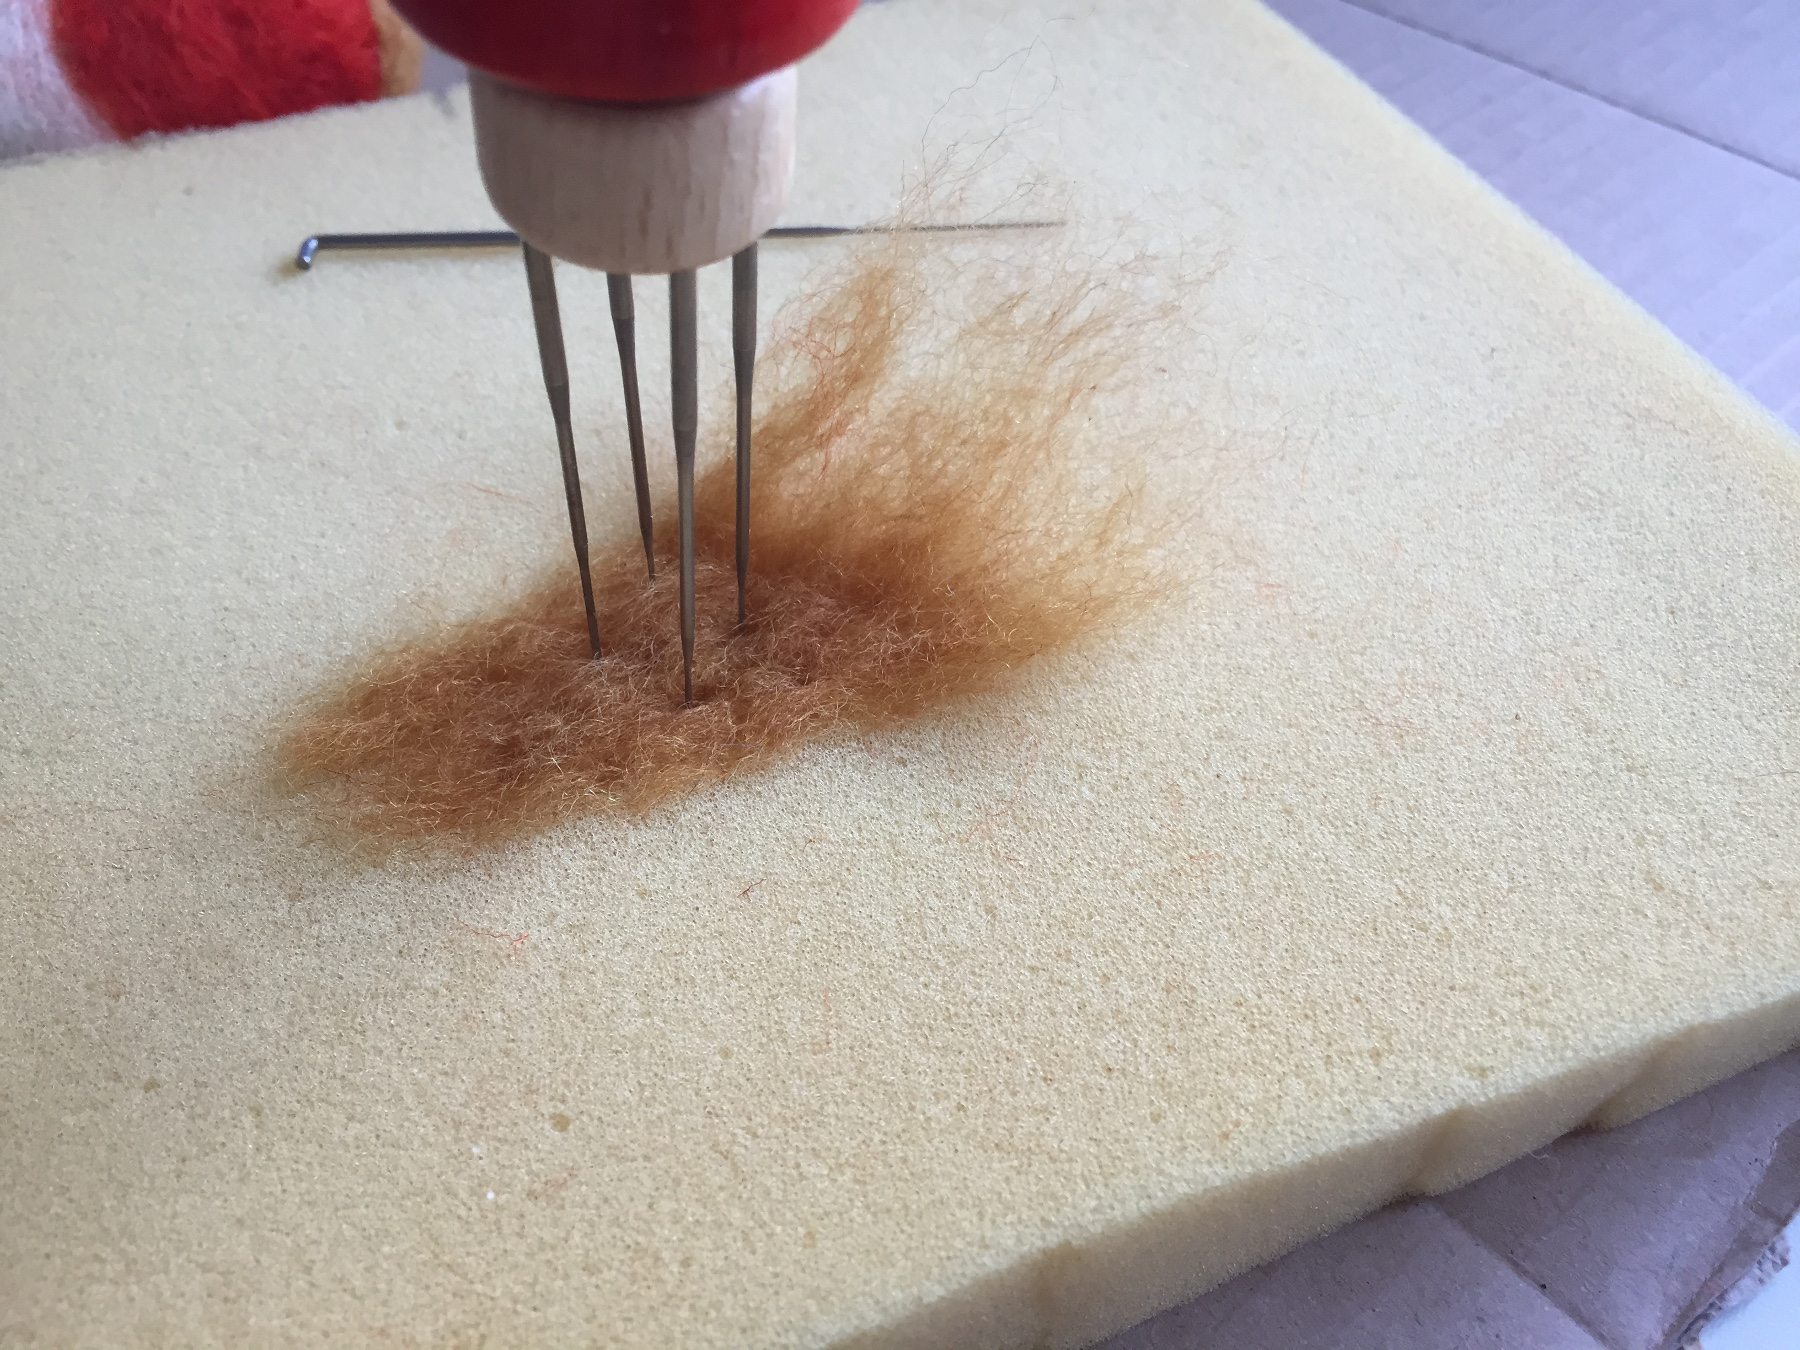
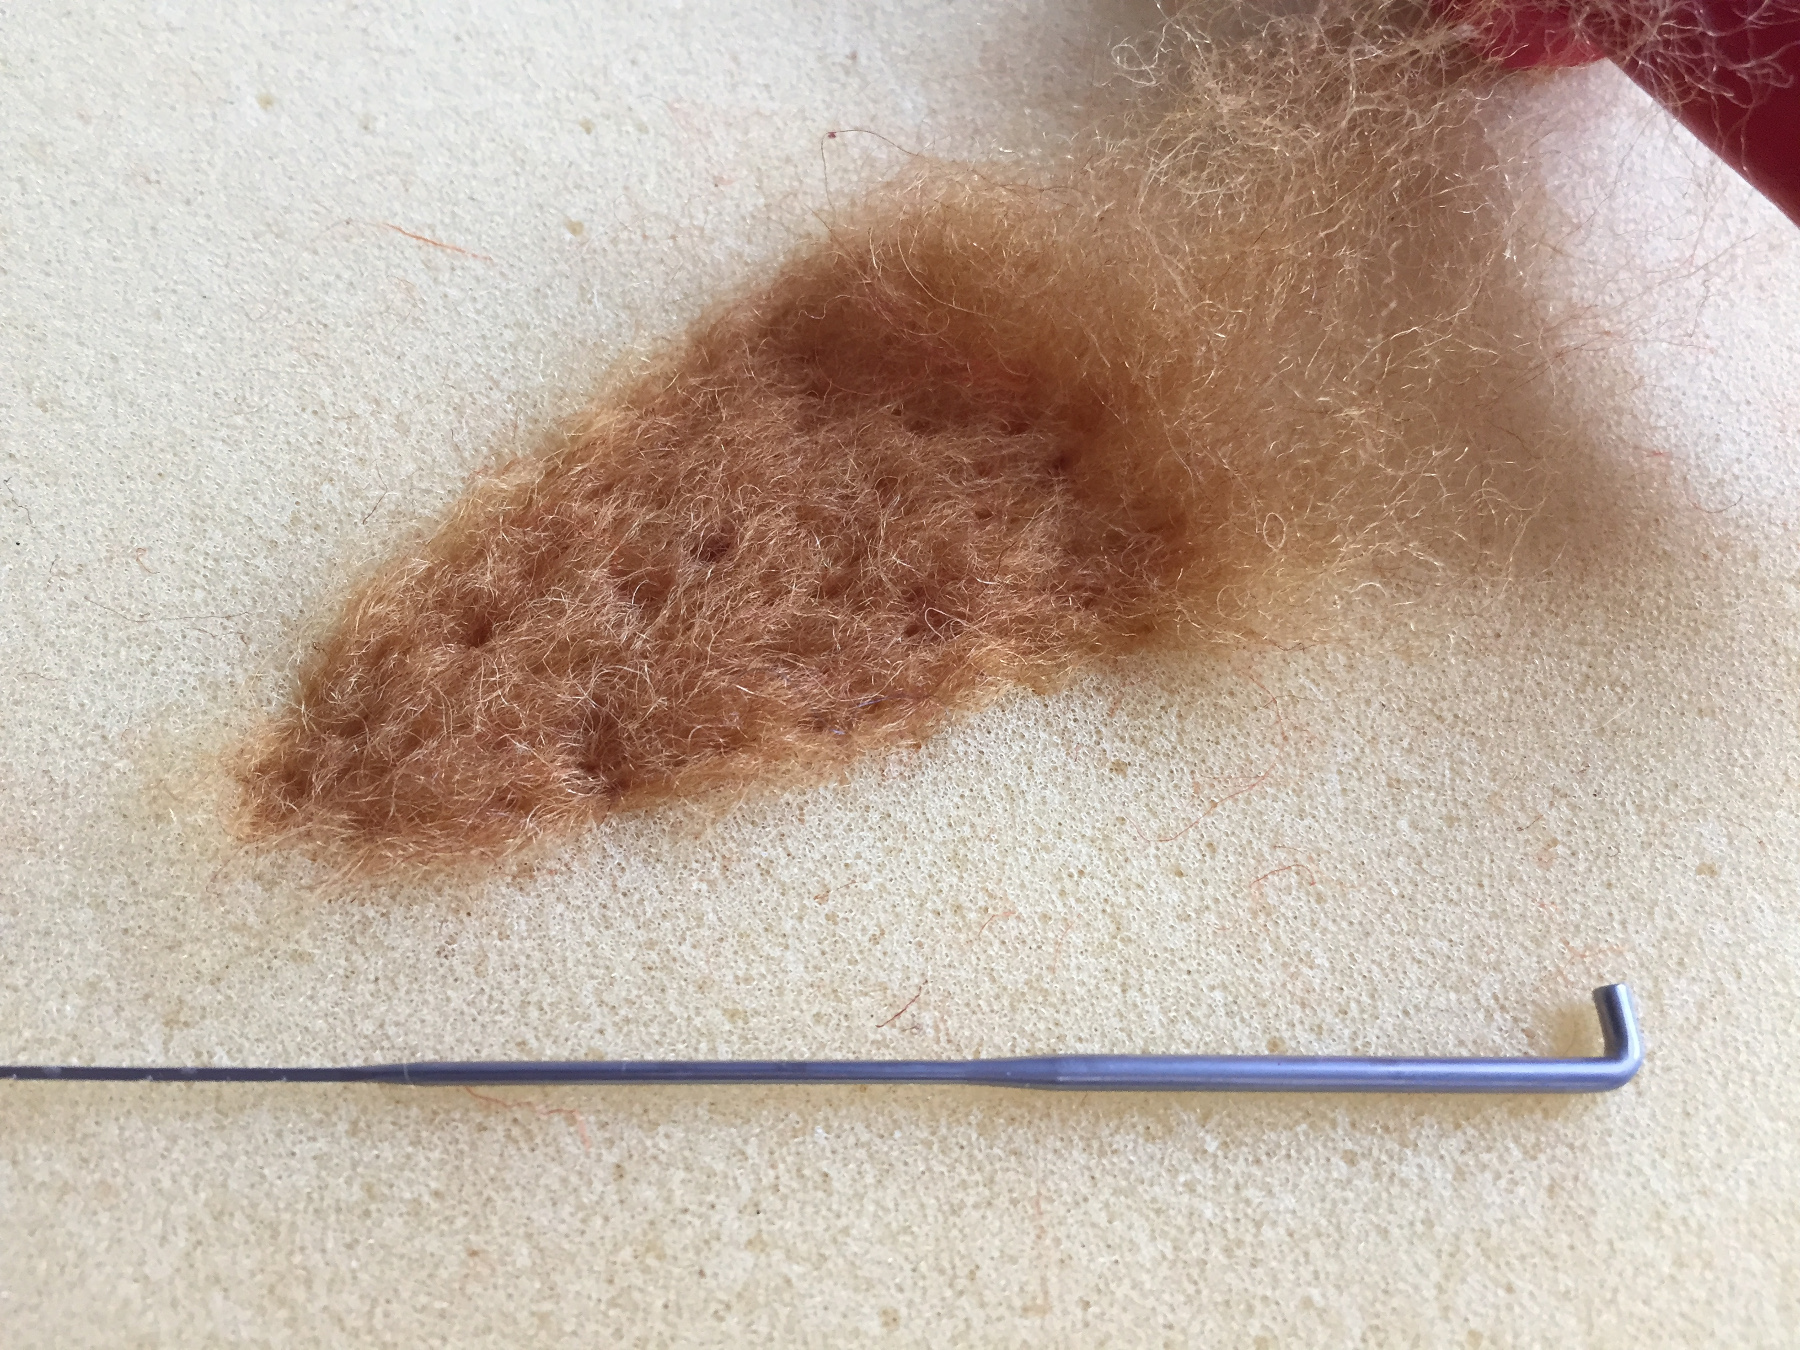
Then you start on the wings.
The wings are felted flat, do not prick too deep because then your wool will be stuck to your puncture mat. You can also use a multi-needle holder for the wings, which works nice and fast
Place two plucks of wool on the felting mat
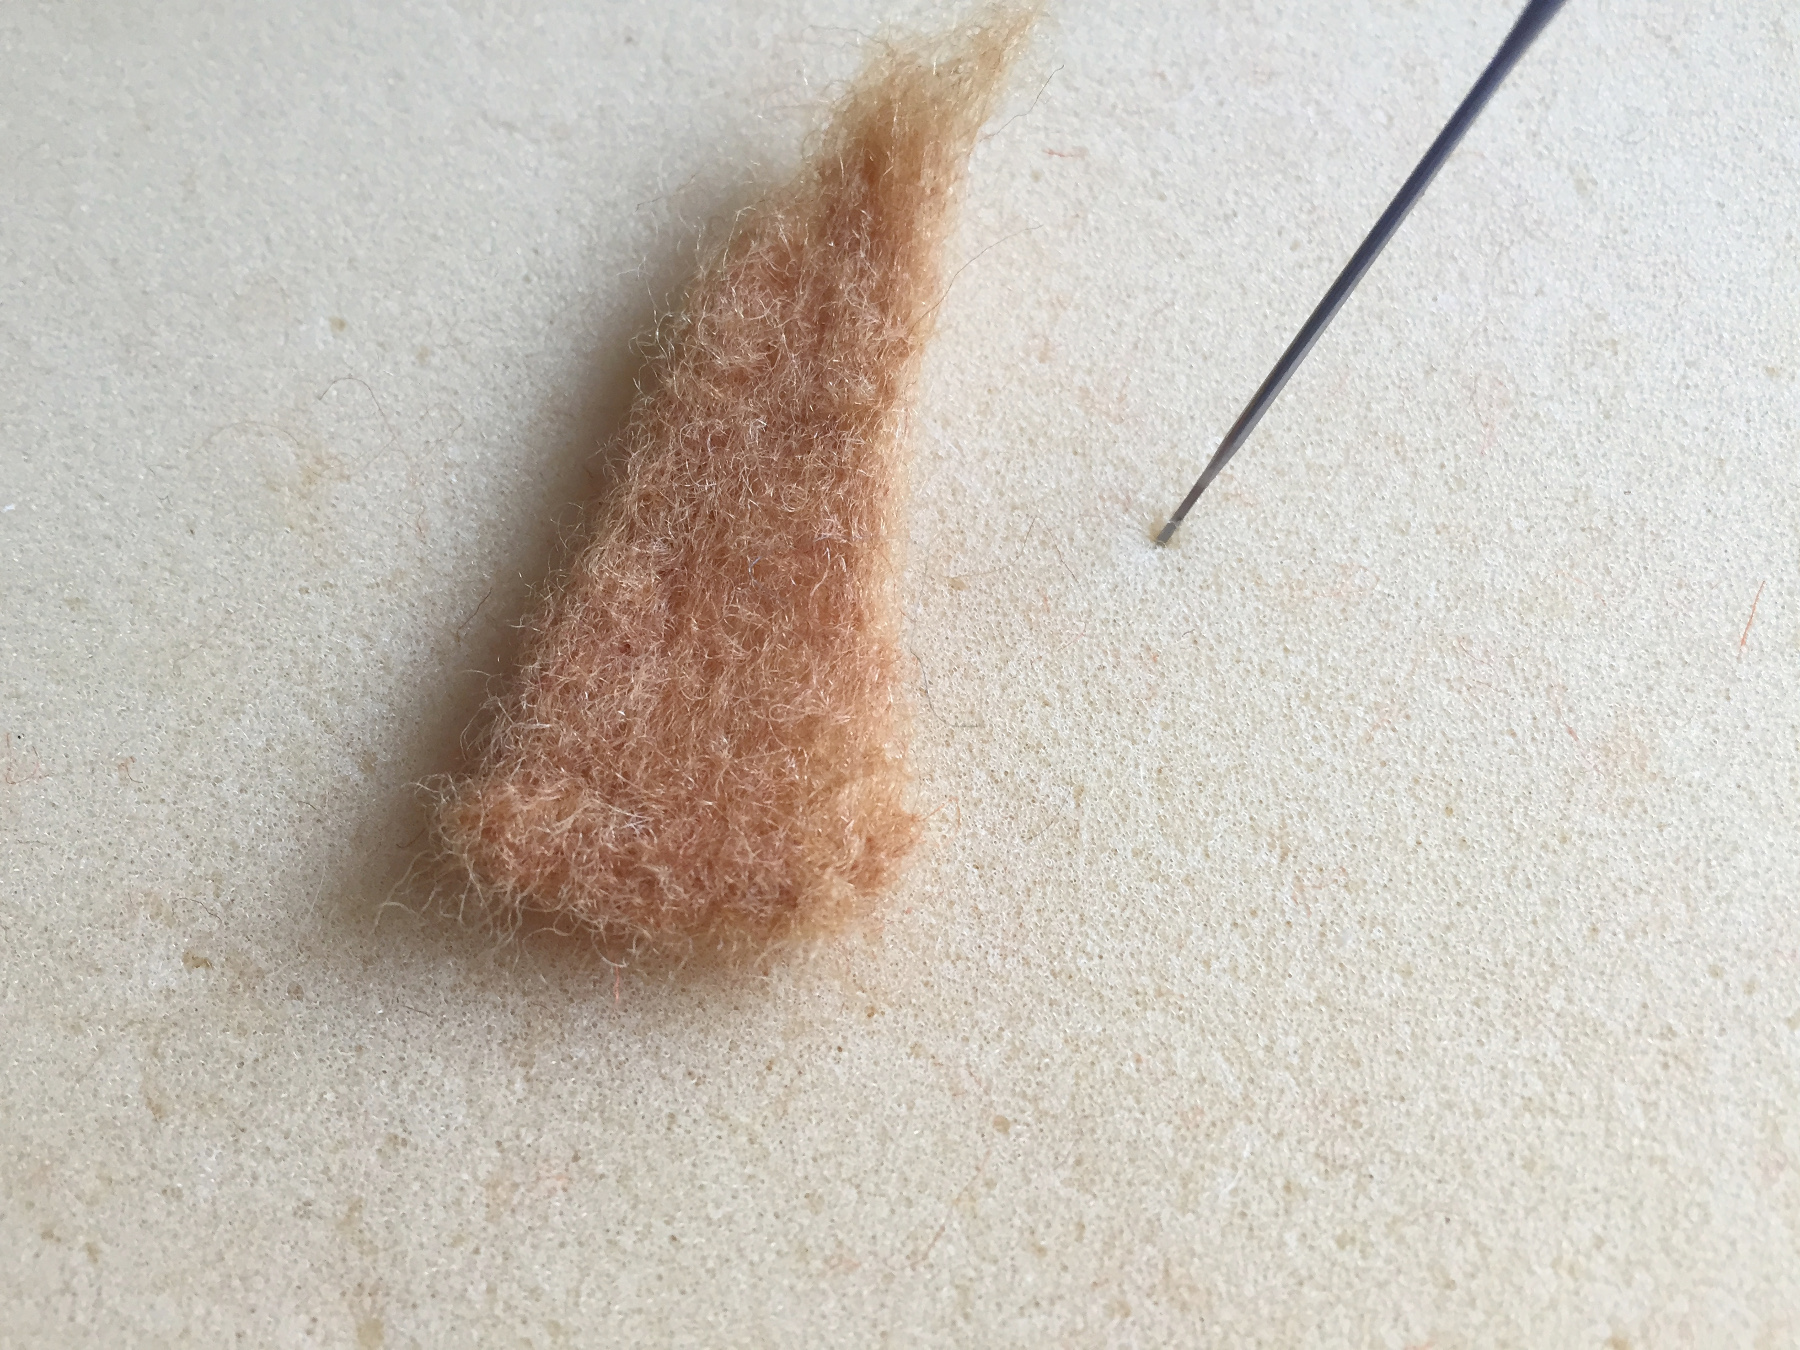
Prick the wings on both sides.
Prick the wings in shape.
Prick the wings on the bird.
How to make the tail
Prick it like the wings.
Prick the edge until firm.
Prick the tail in shape.
Attach the tail to the back.
Drill with the bradawl holes in the head.
Stick the eyes in the head using hobby glue.
How to make a beak of polymere clay and wire
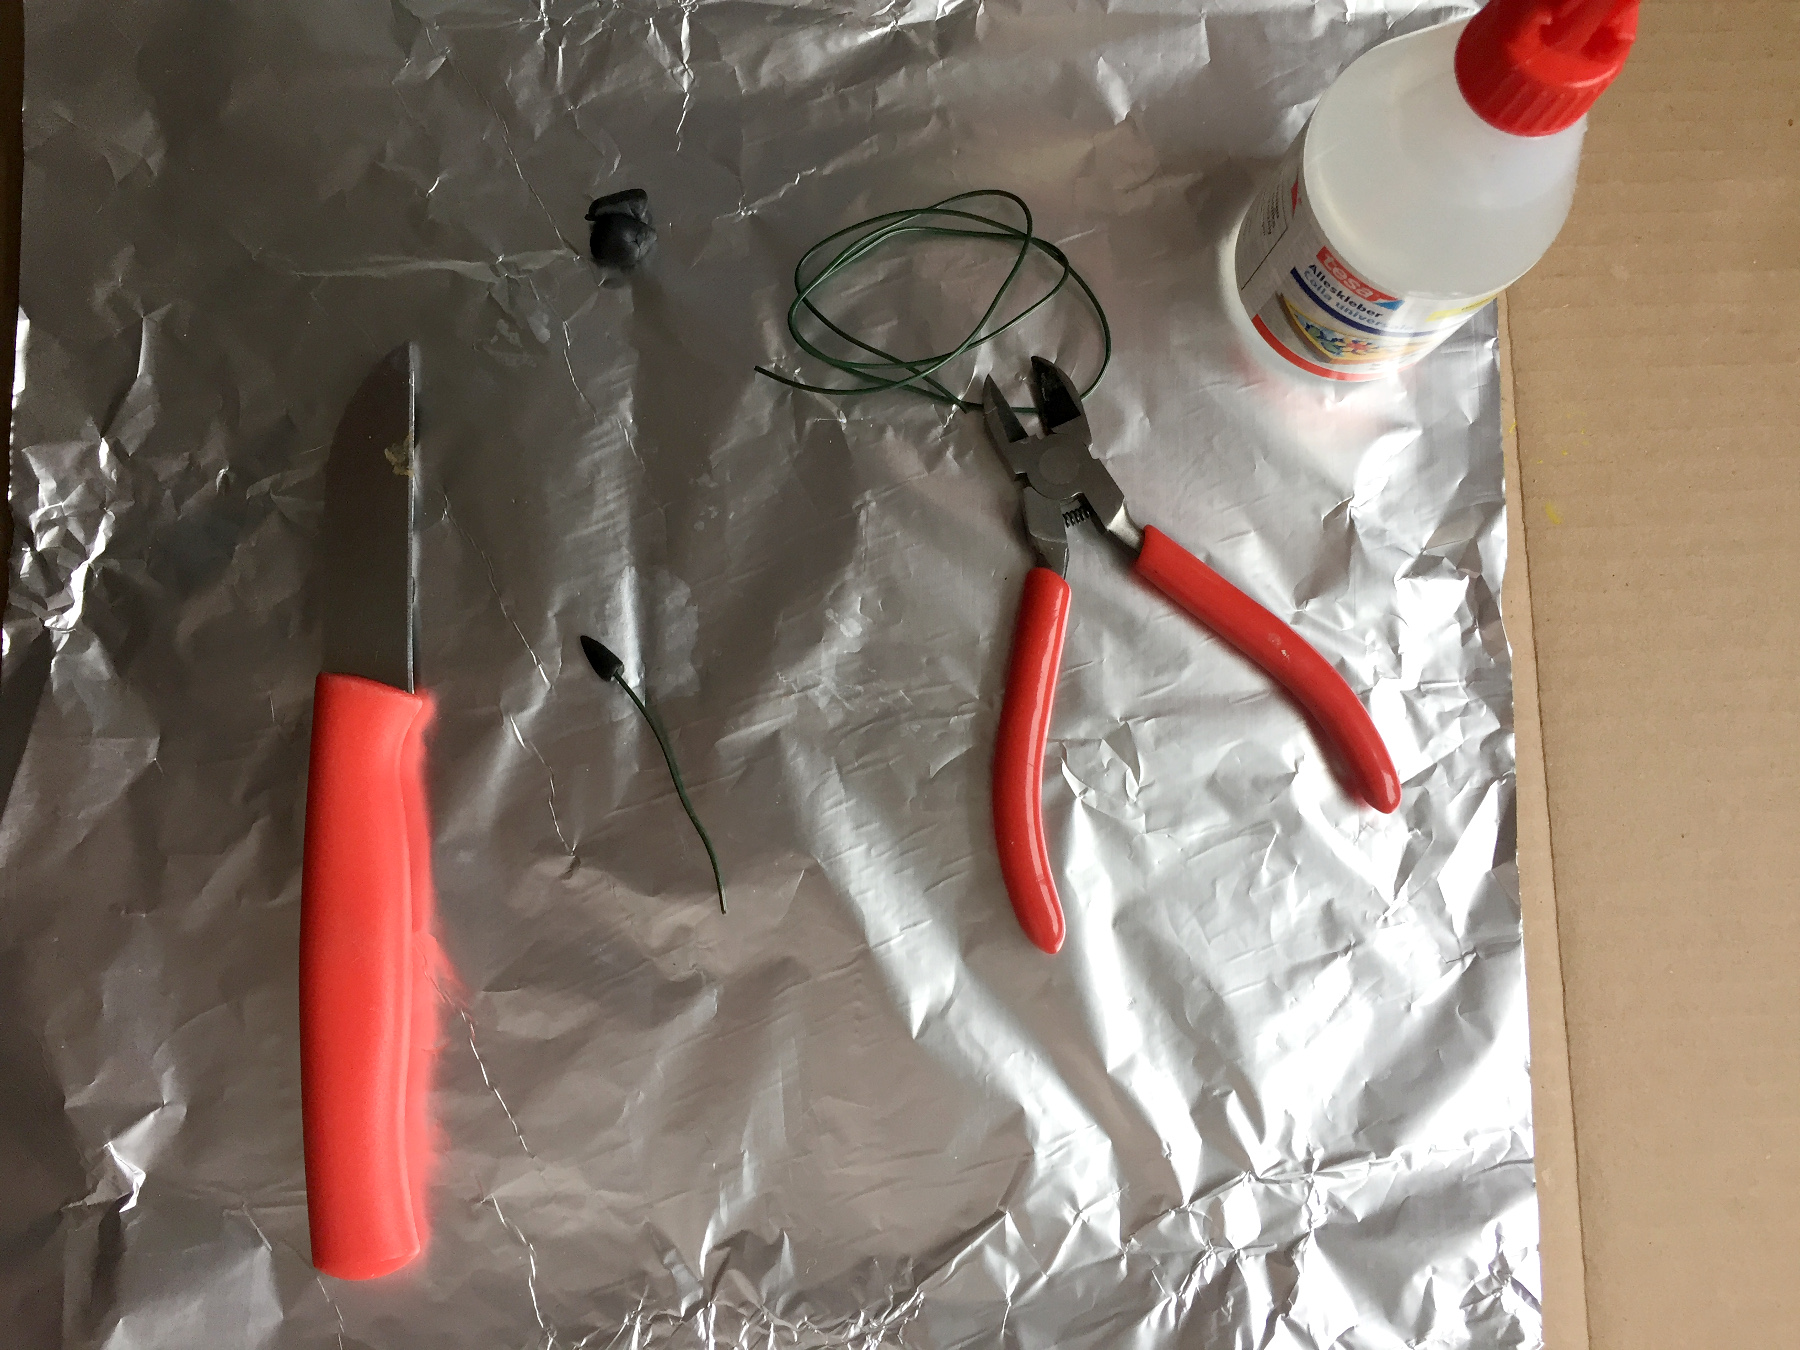
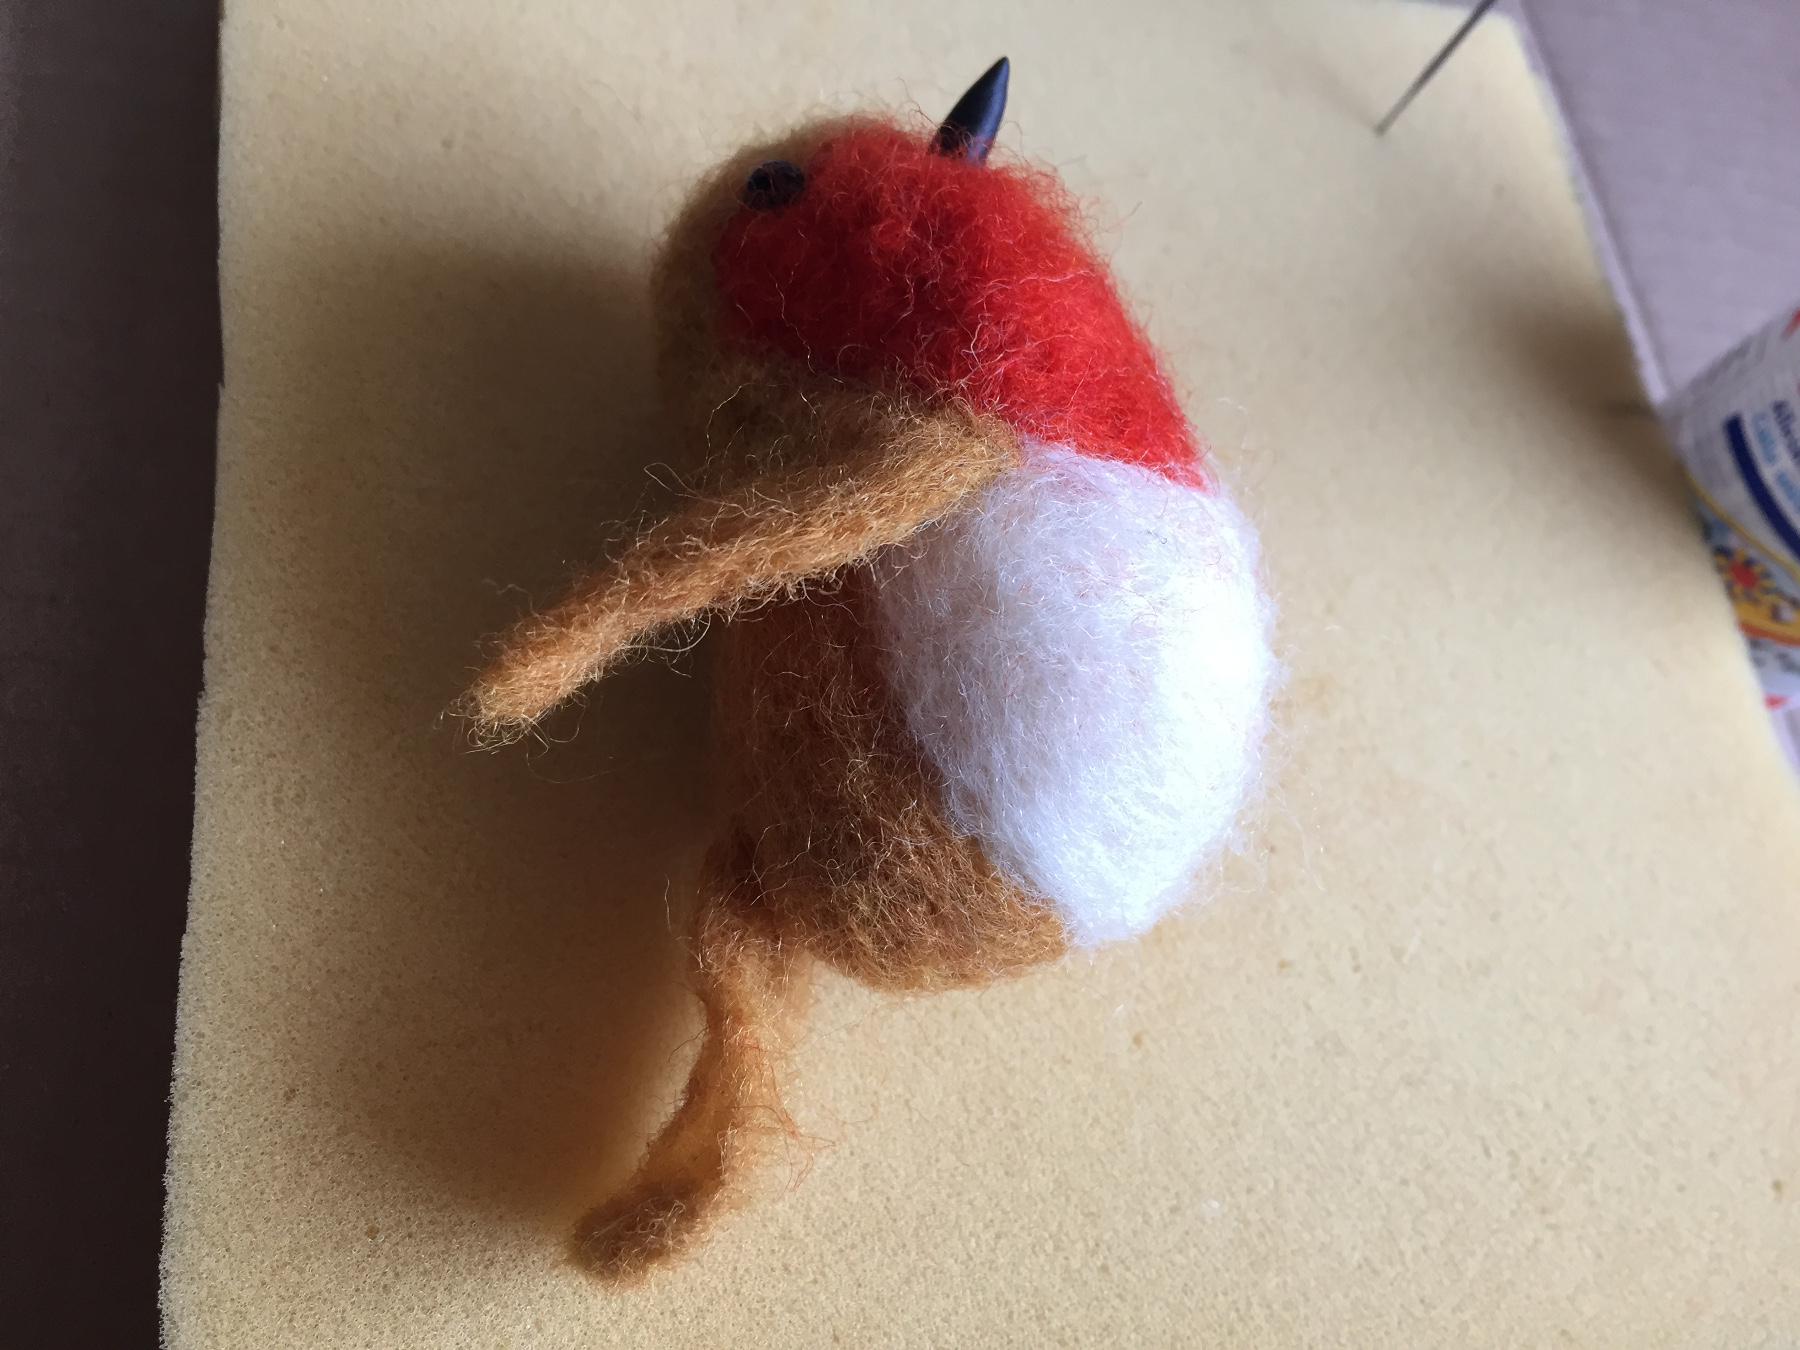
Knead the piece of clay.
Roll it into a tiny cone.
Stick in a piece of wire.
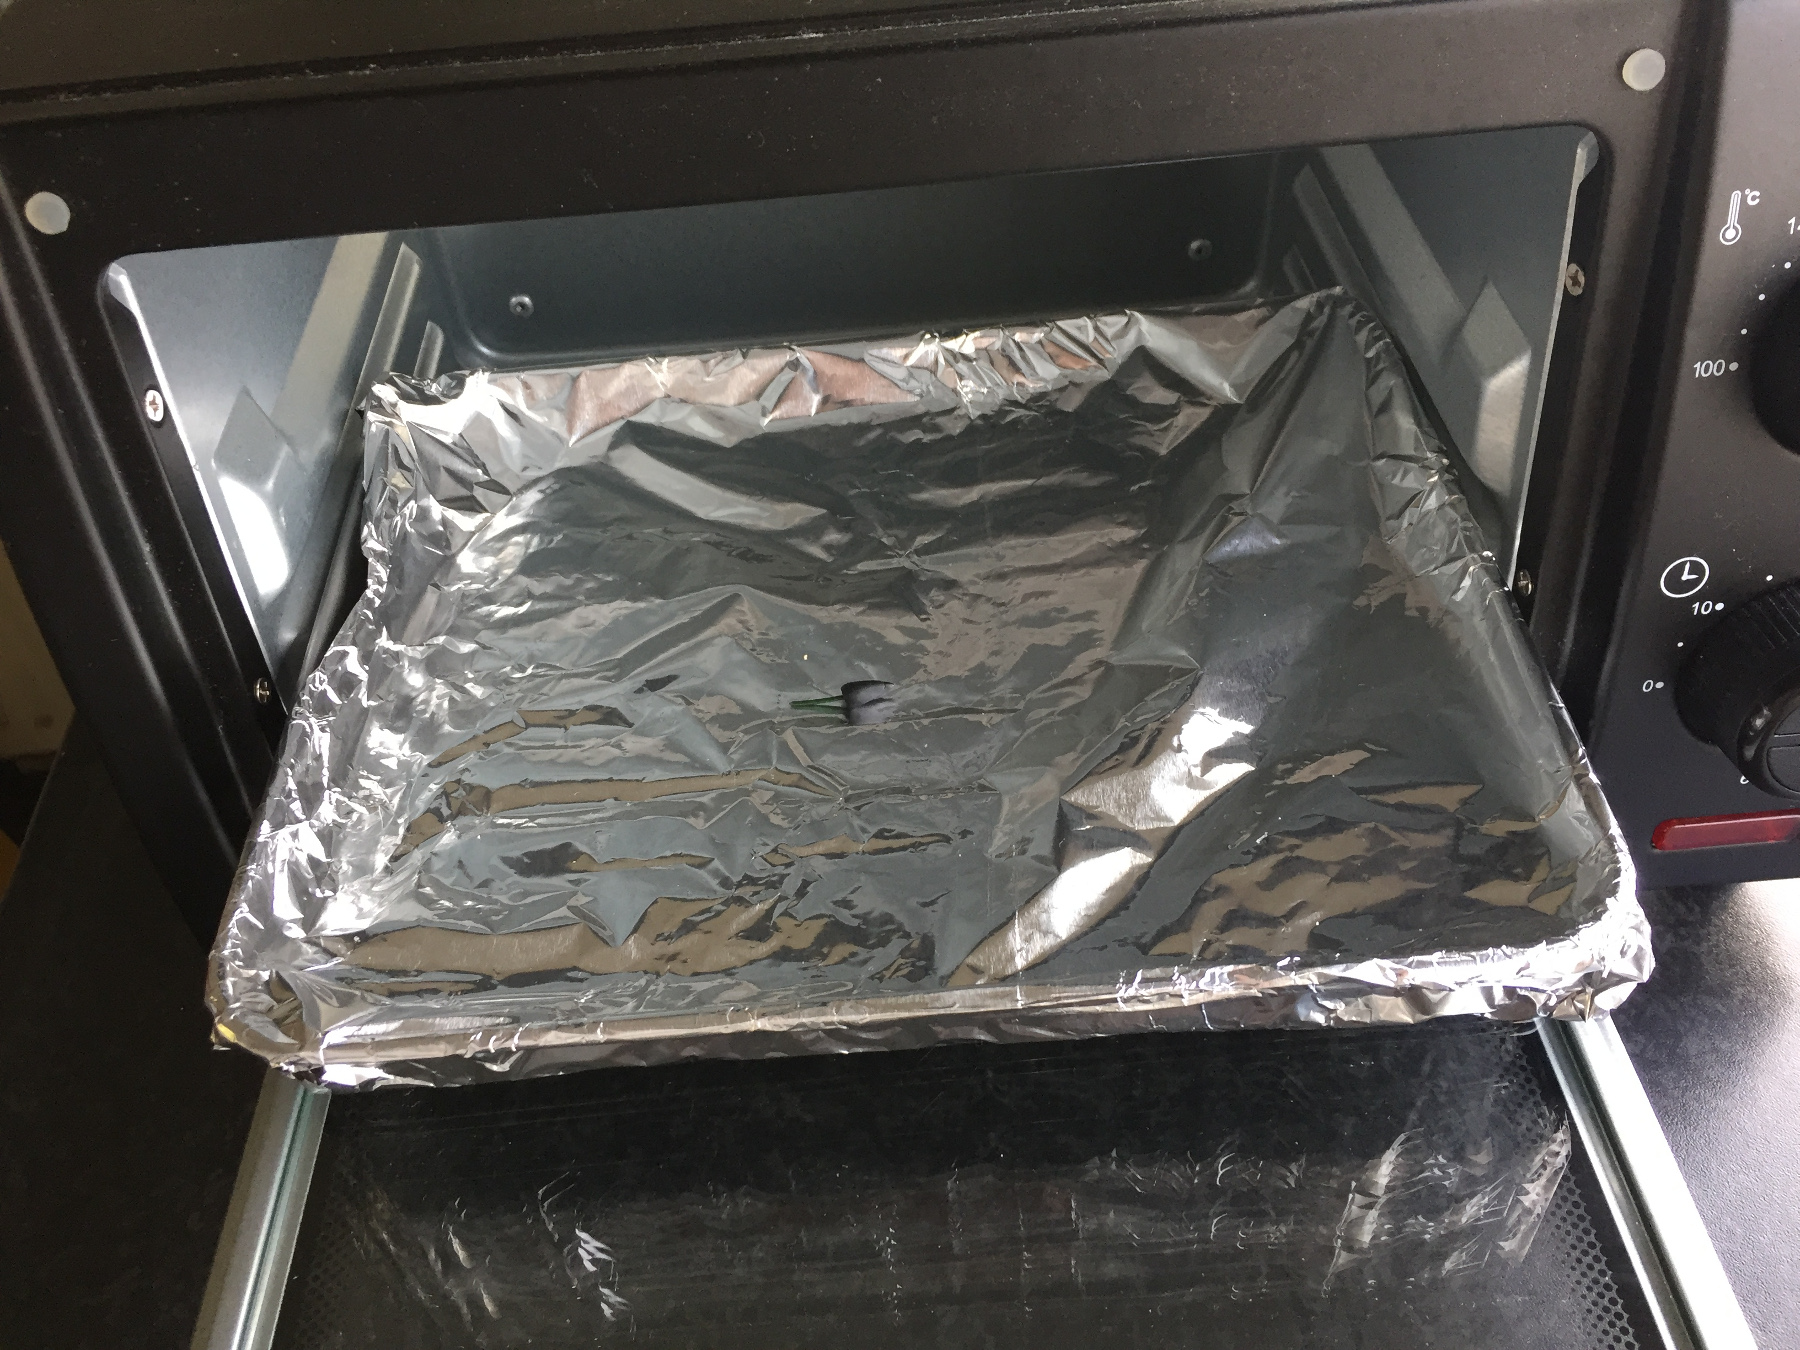
Bake it and stick it on the bird.
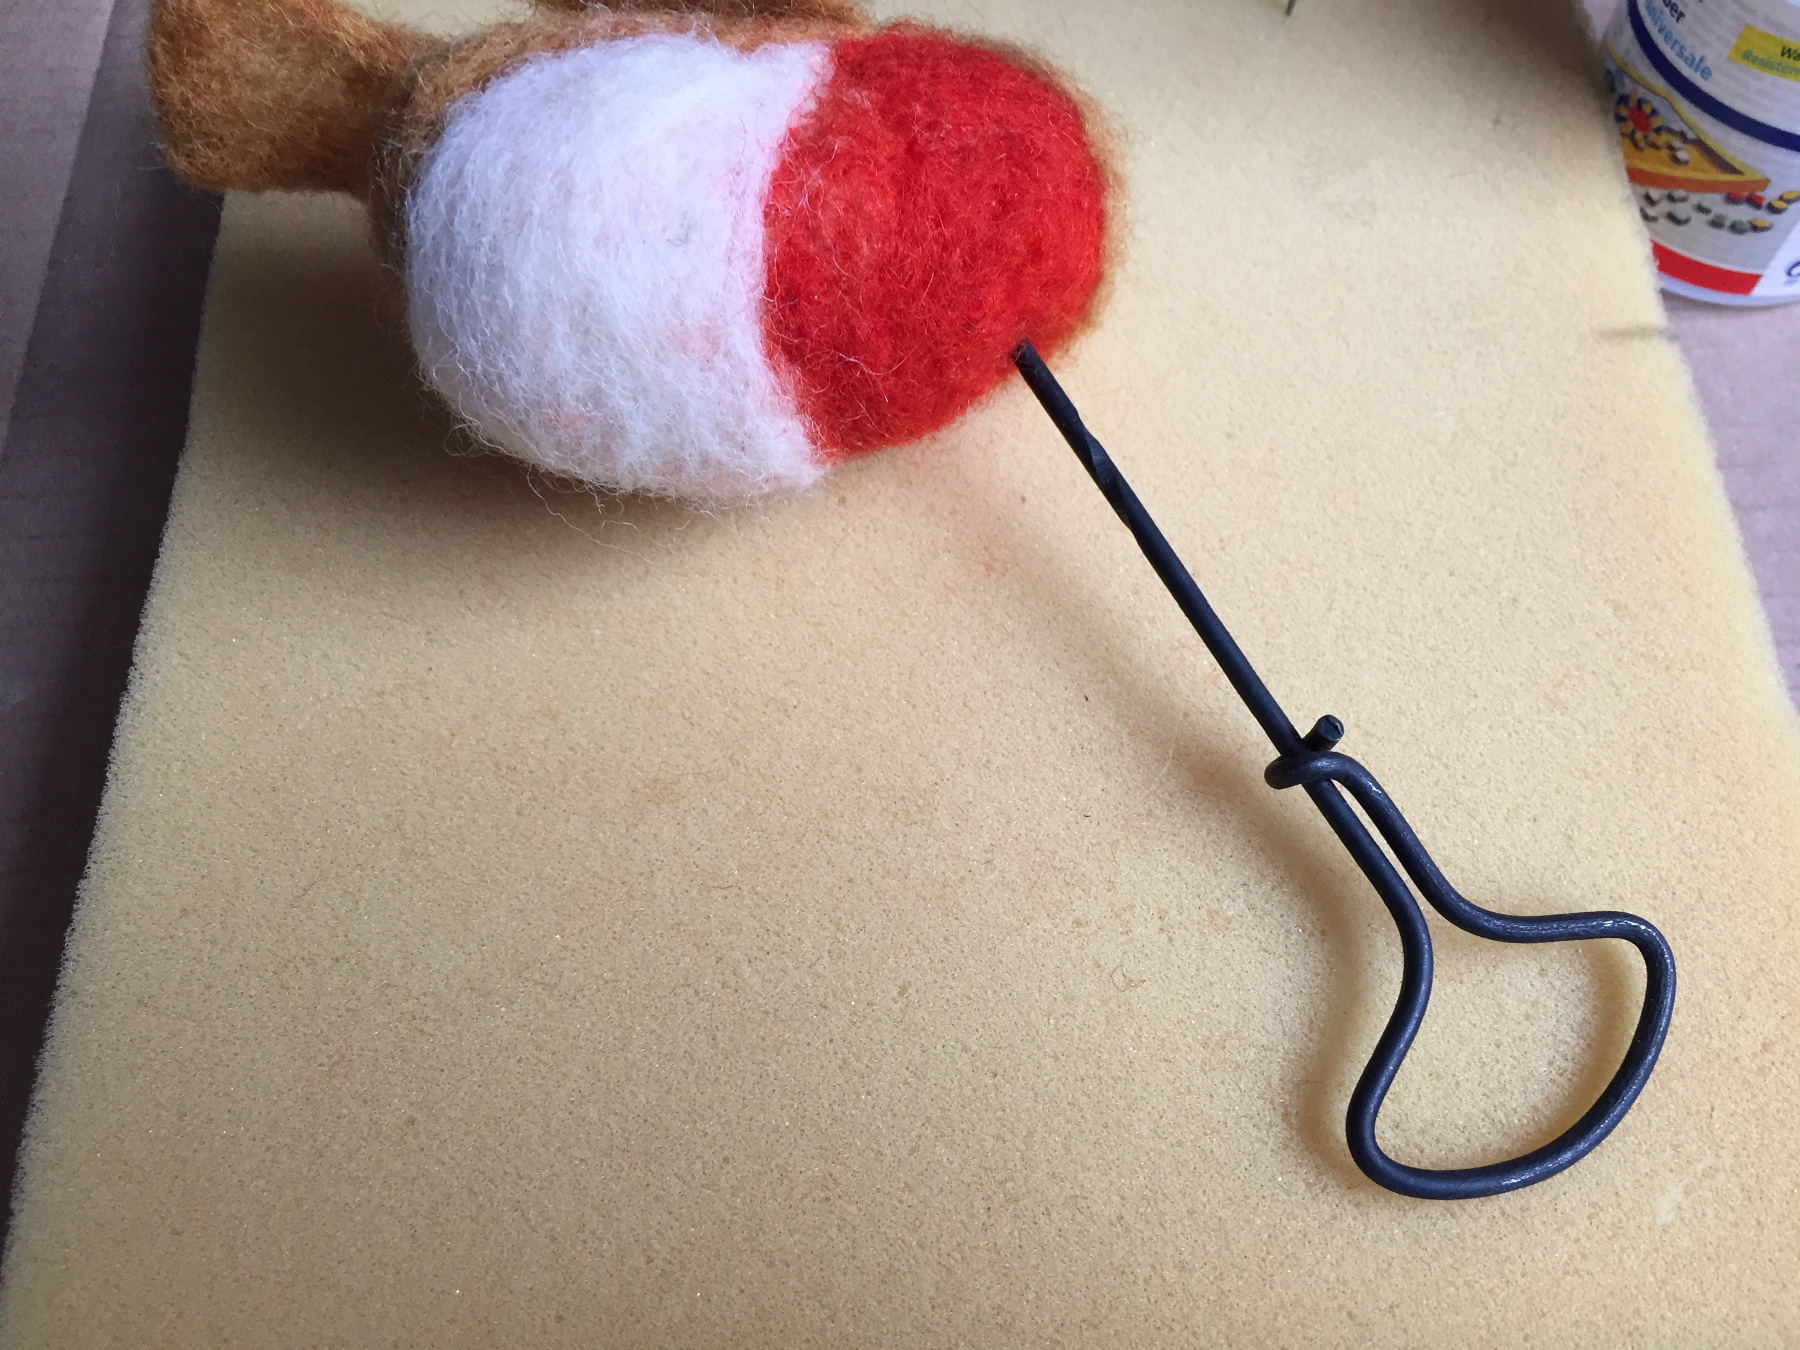
Finally you make the feet
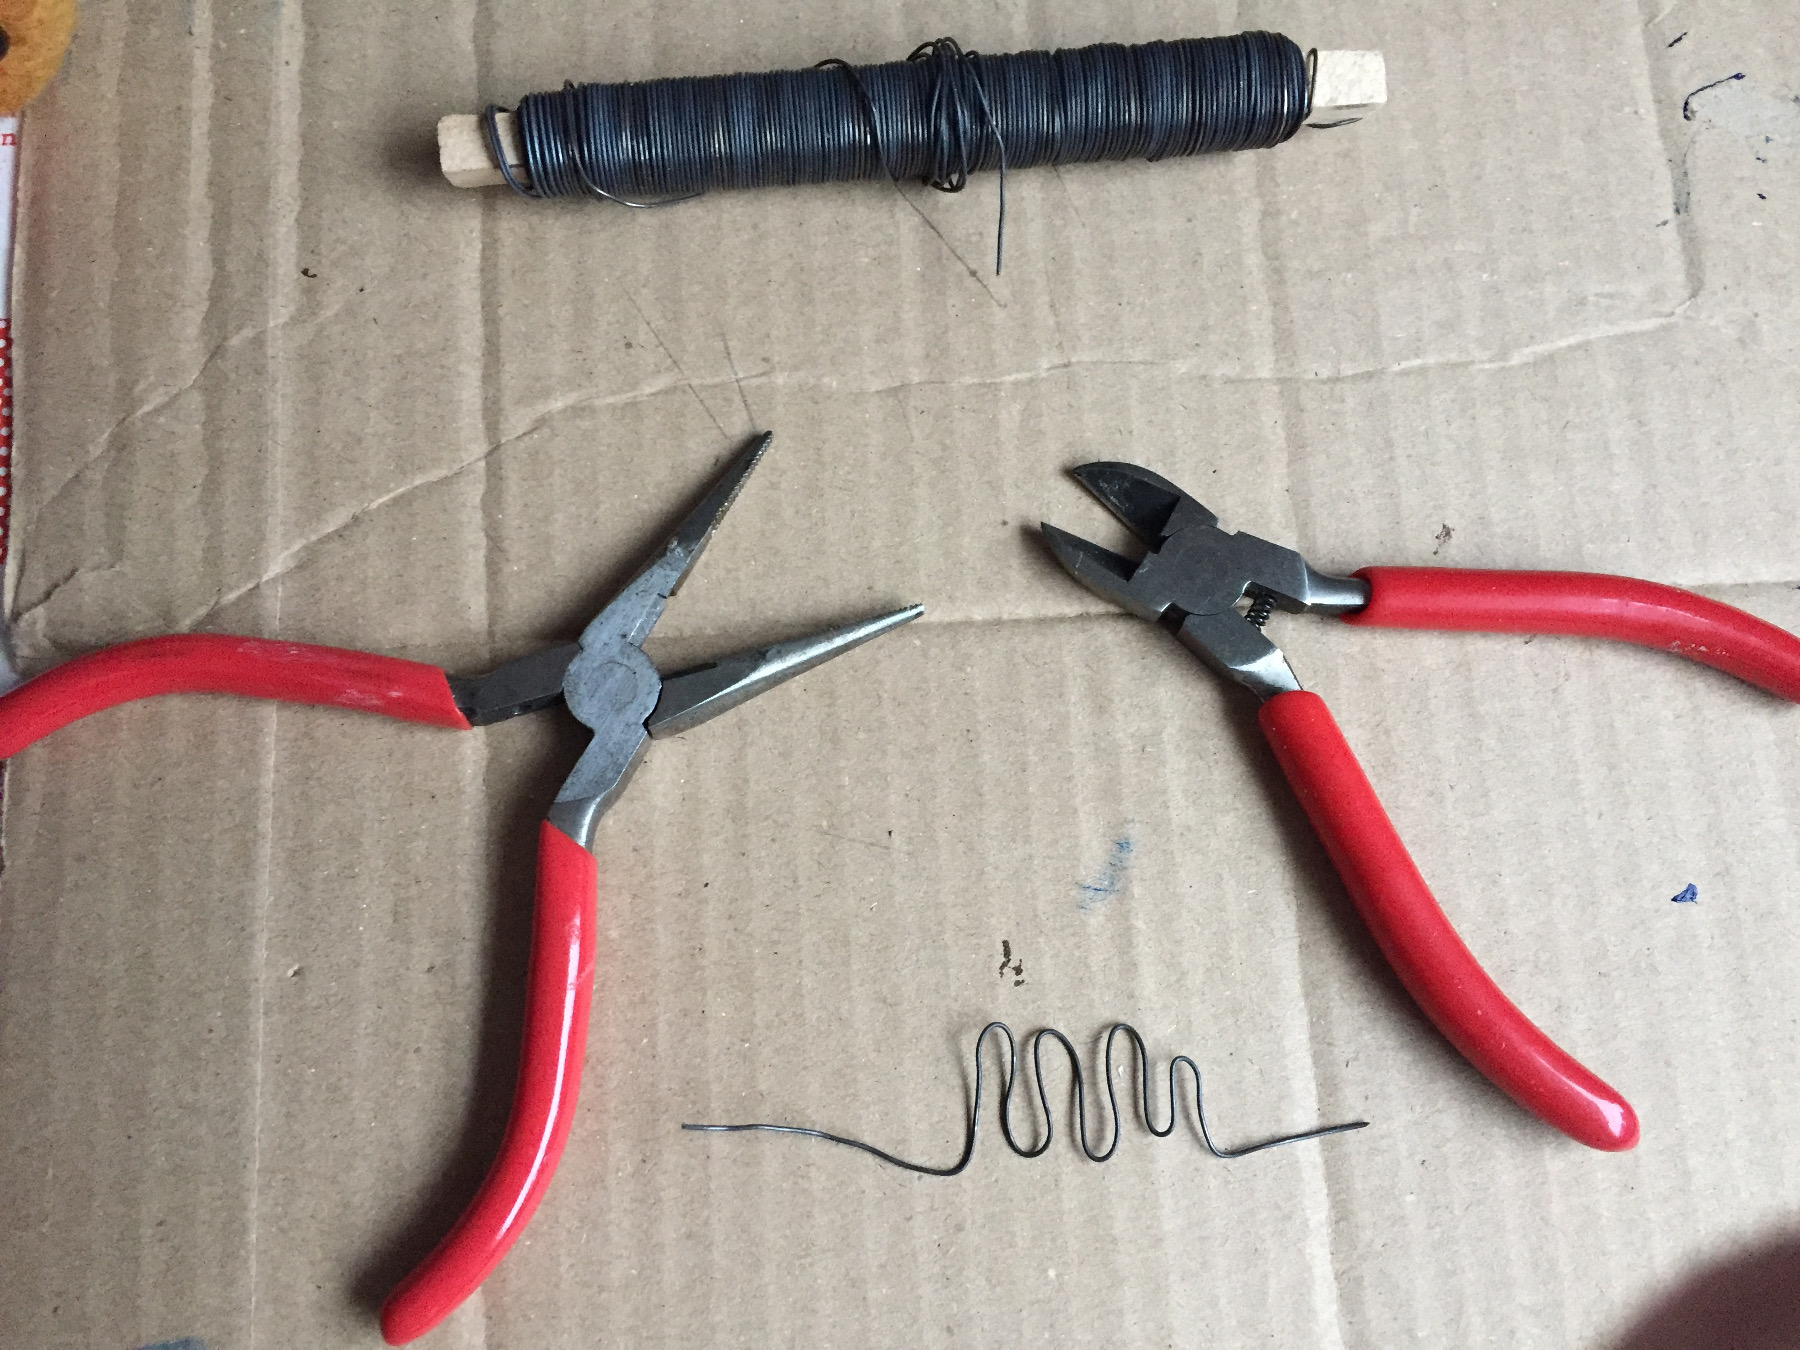
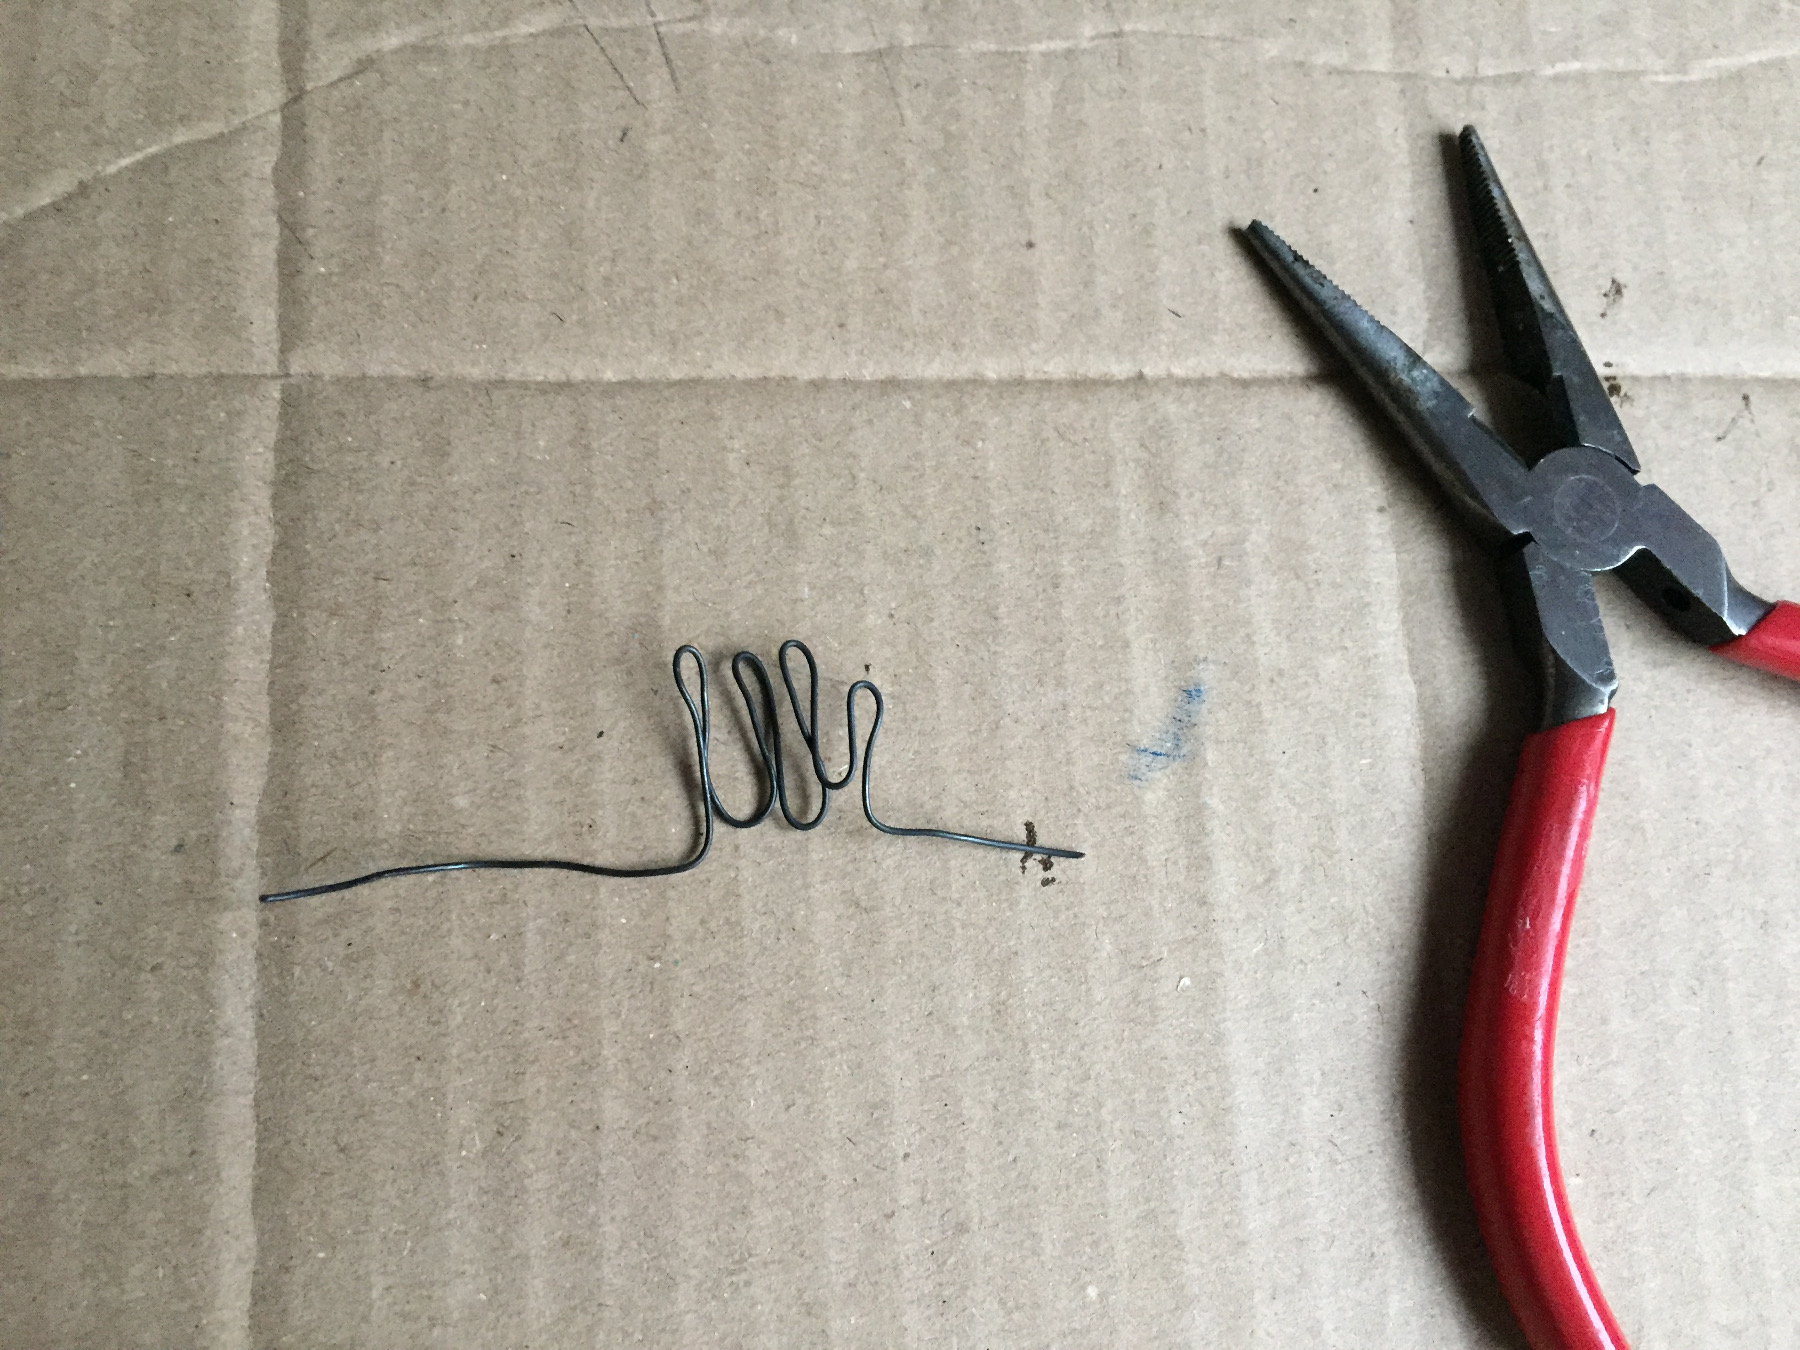
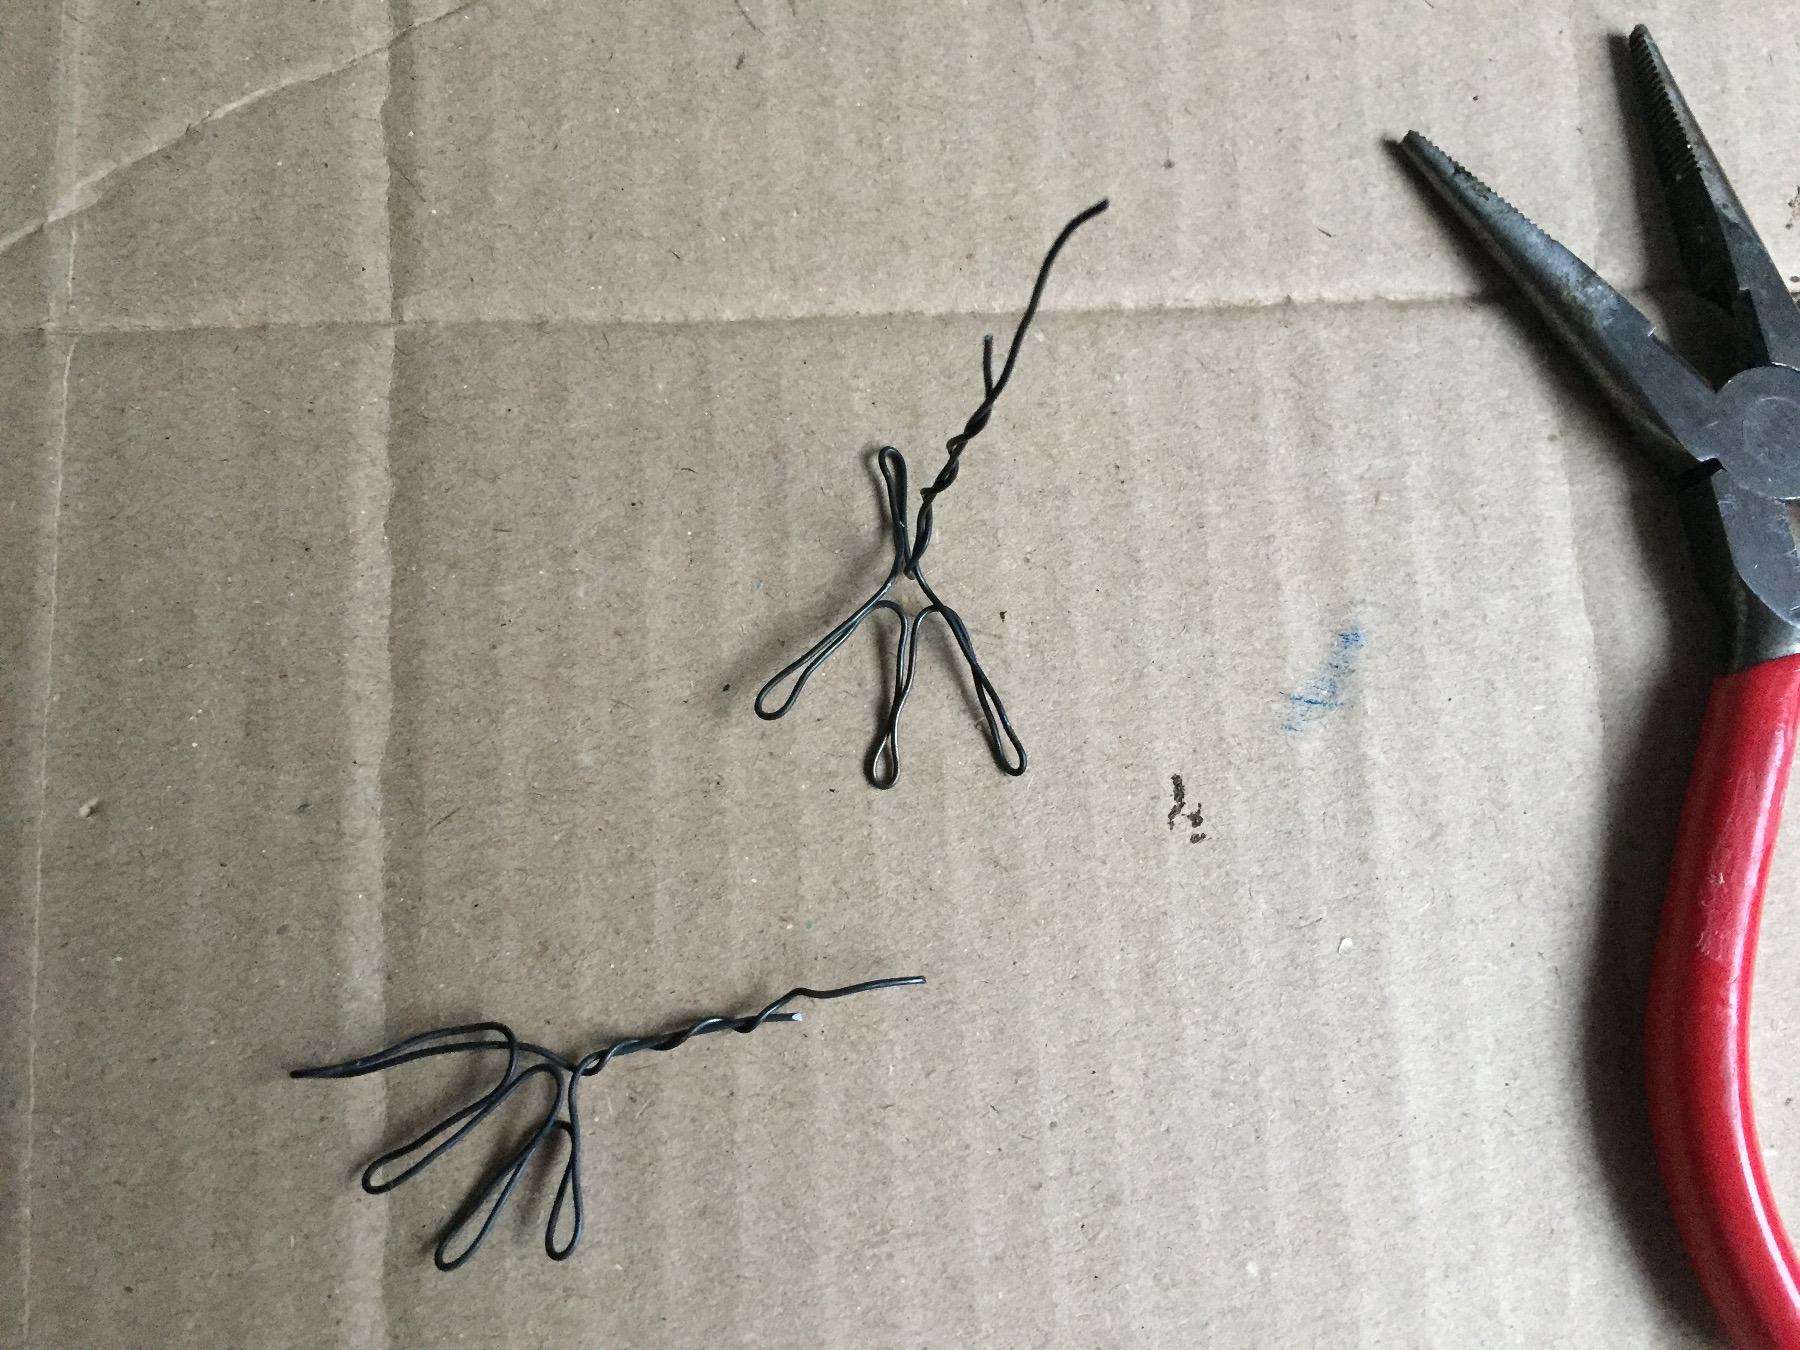
Bend the feet out of florist's wire.
Squeeze the bows together.
Then twist the longer ends.
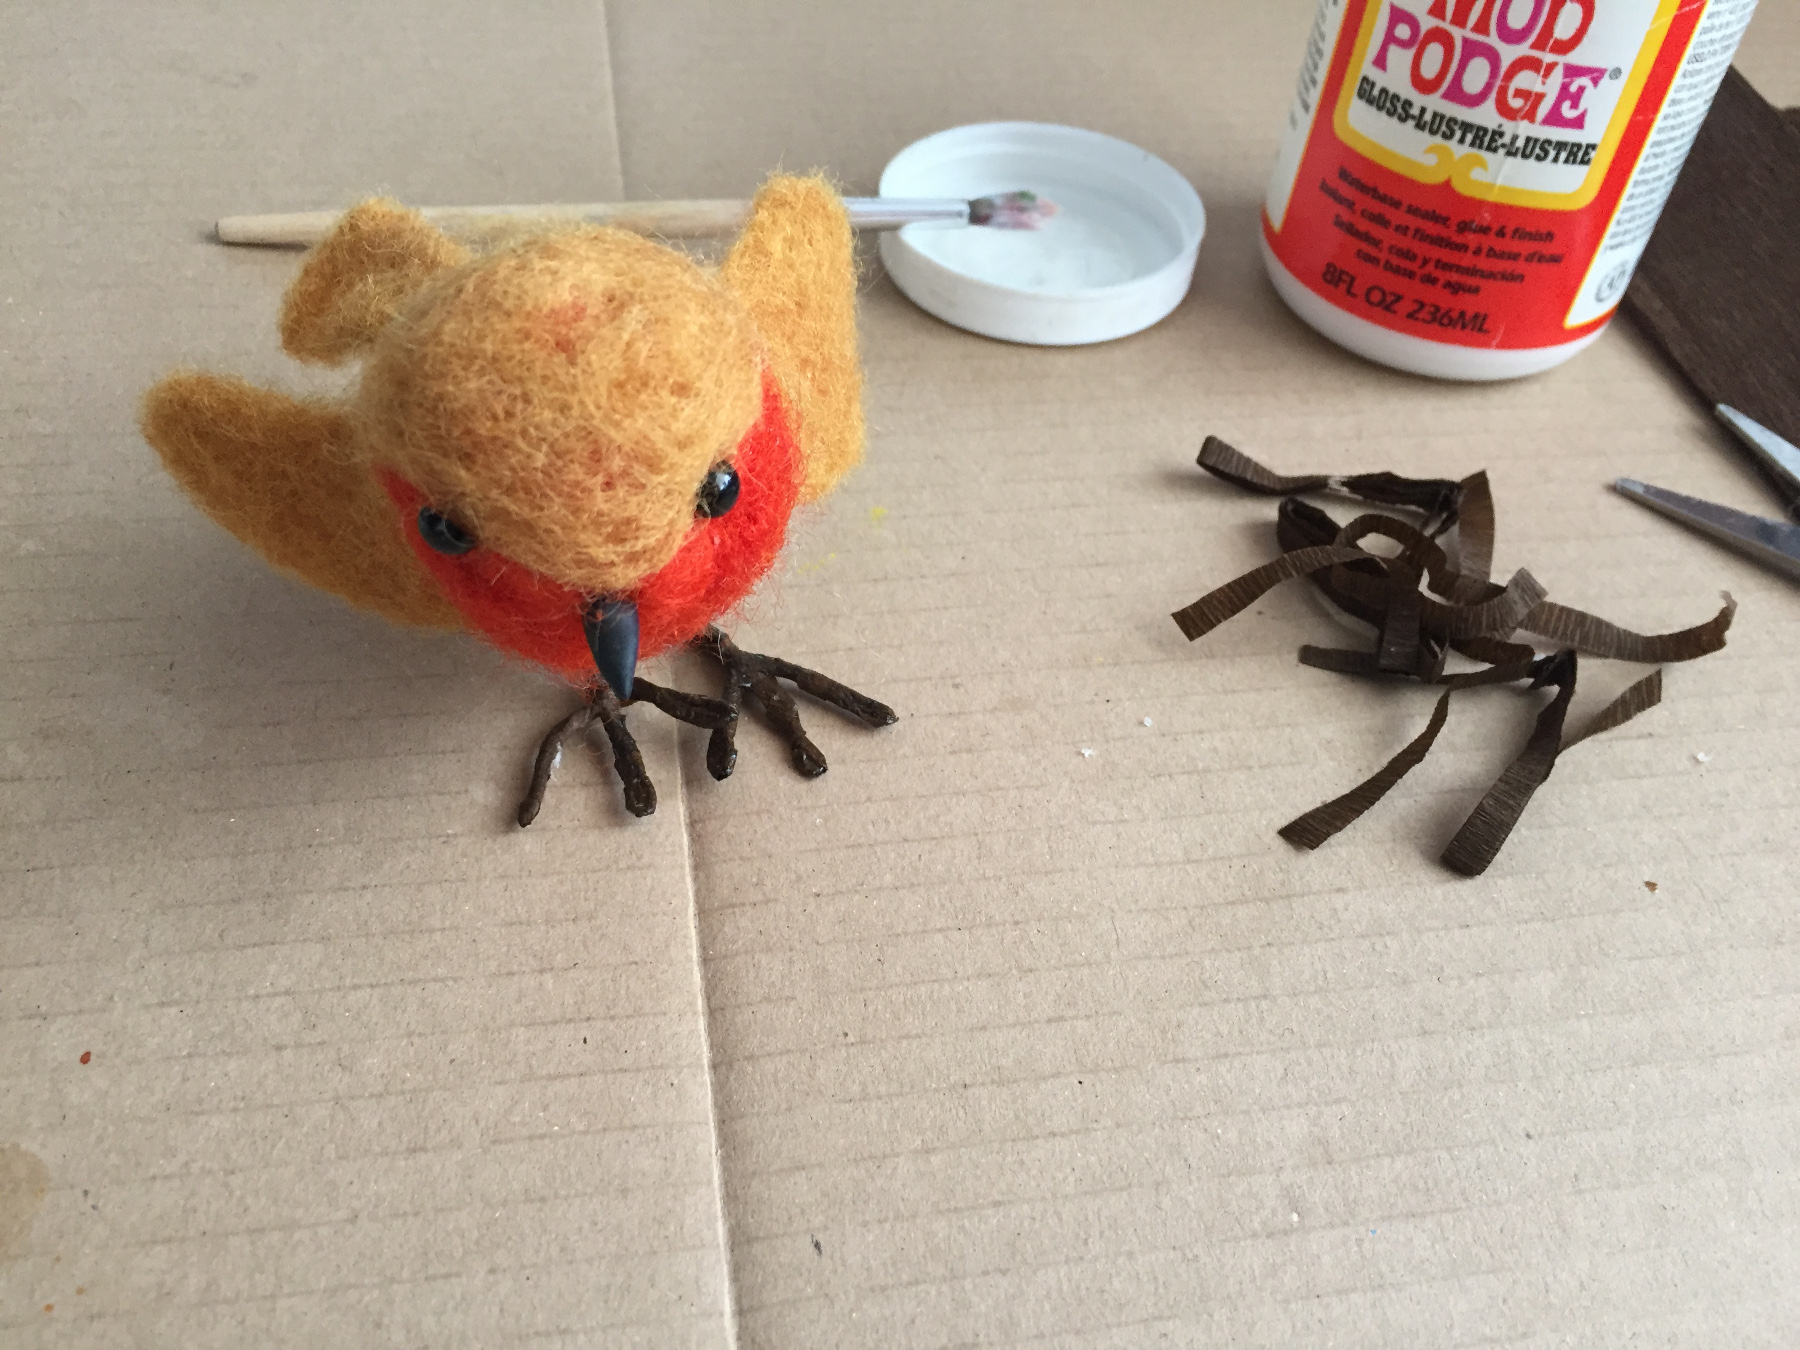
Stick the feet into the bird with some glue.
Hurray! Your Robin is ready!