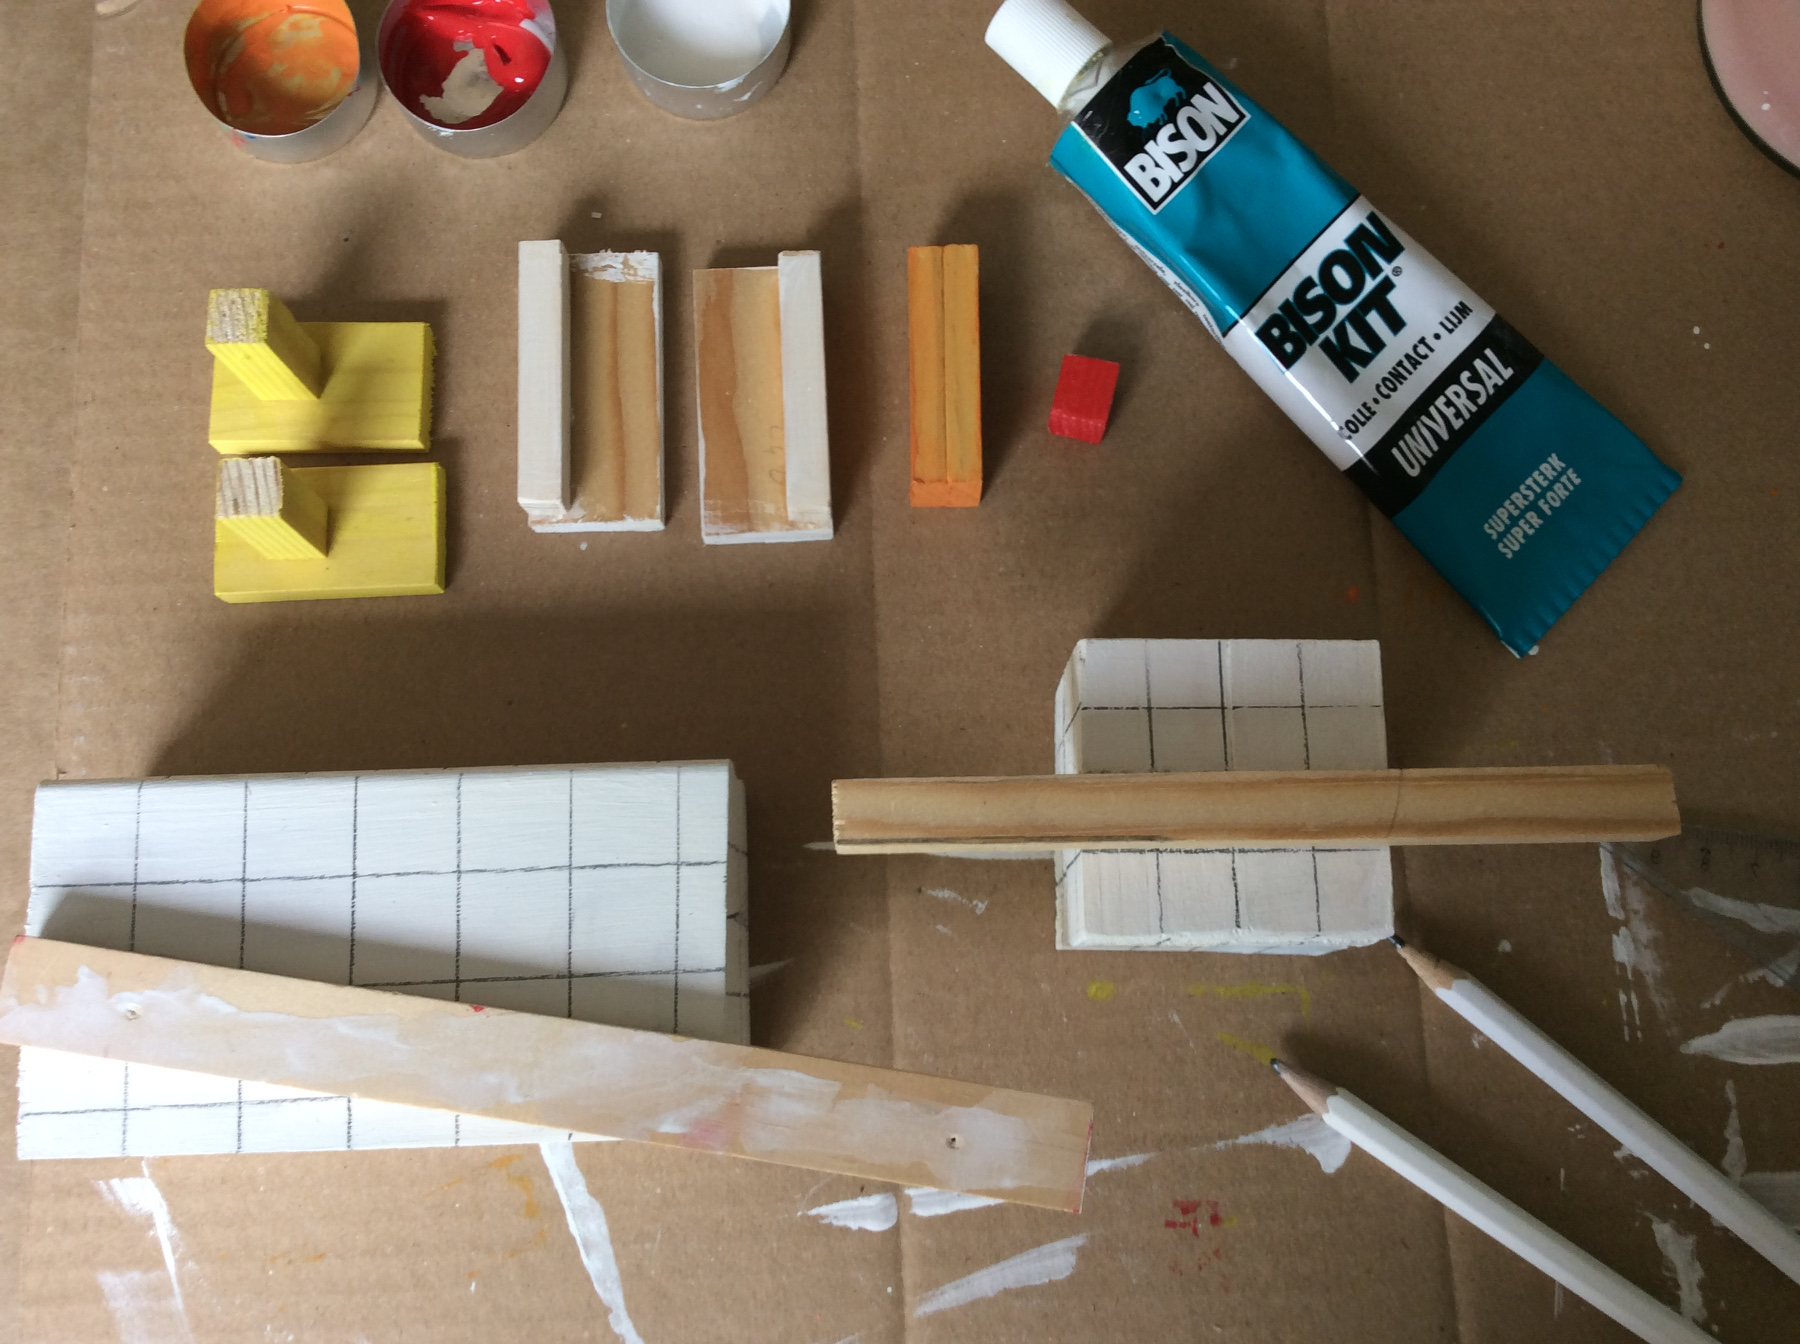
What do you need?
slat 65x12mm
slat 27x27mm
slat 27x6mm
slat 45x45mm
slat 18x7mm
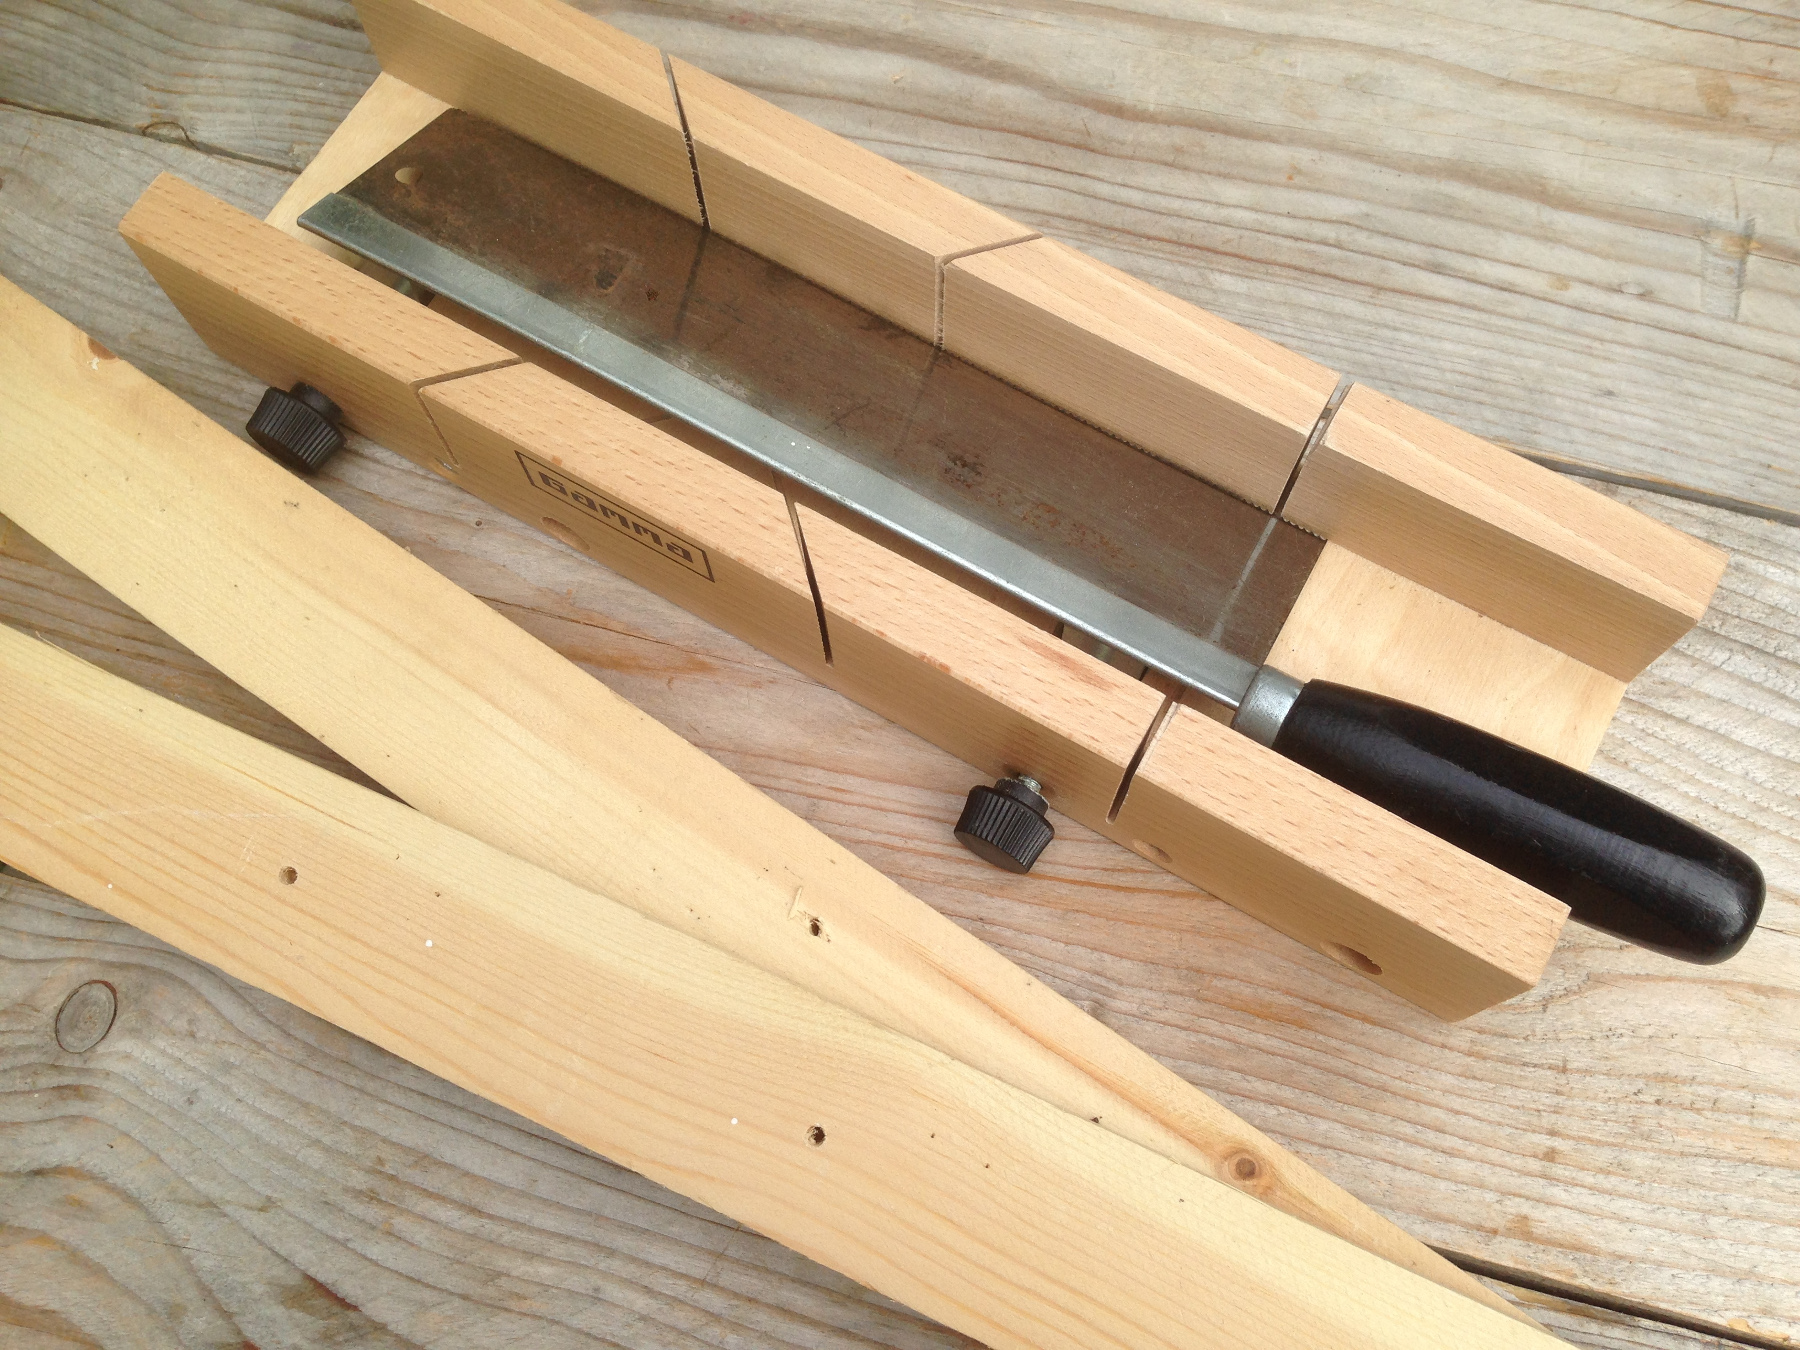
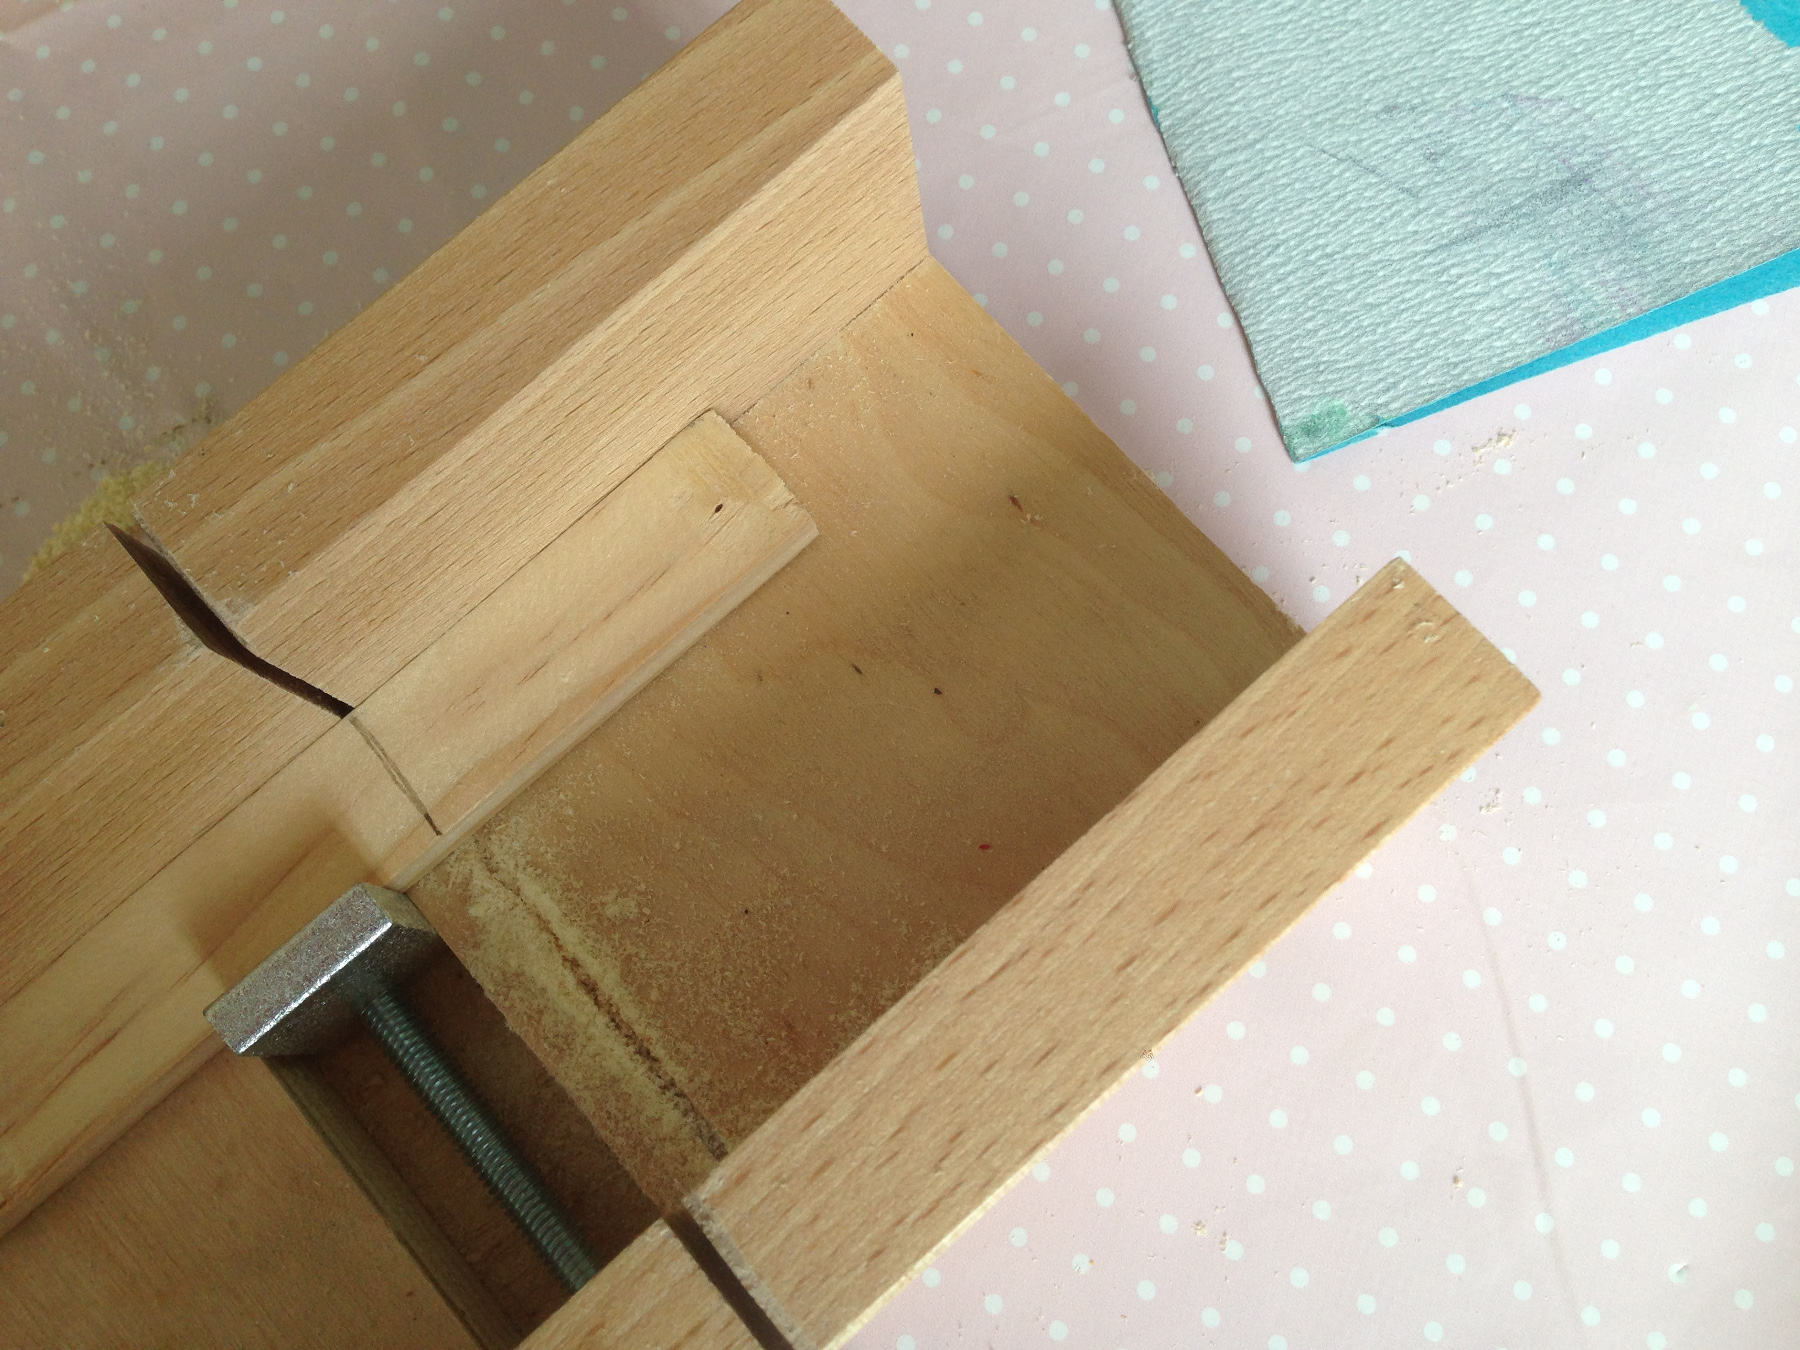
miter & saw
sandpaper
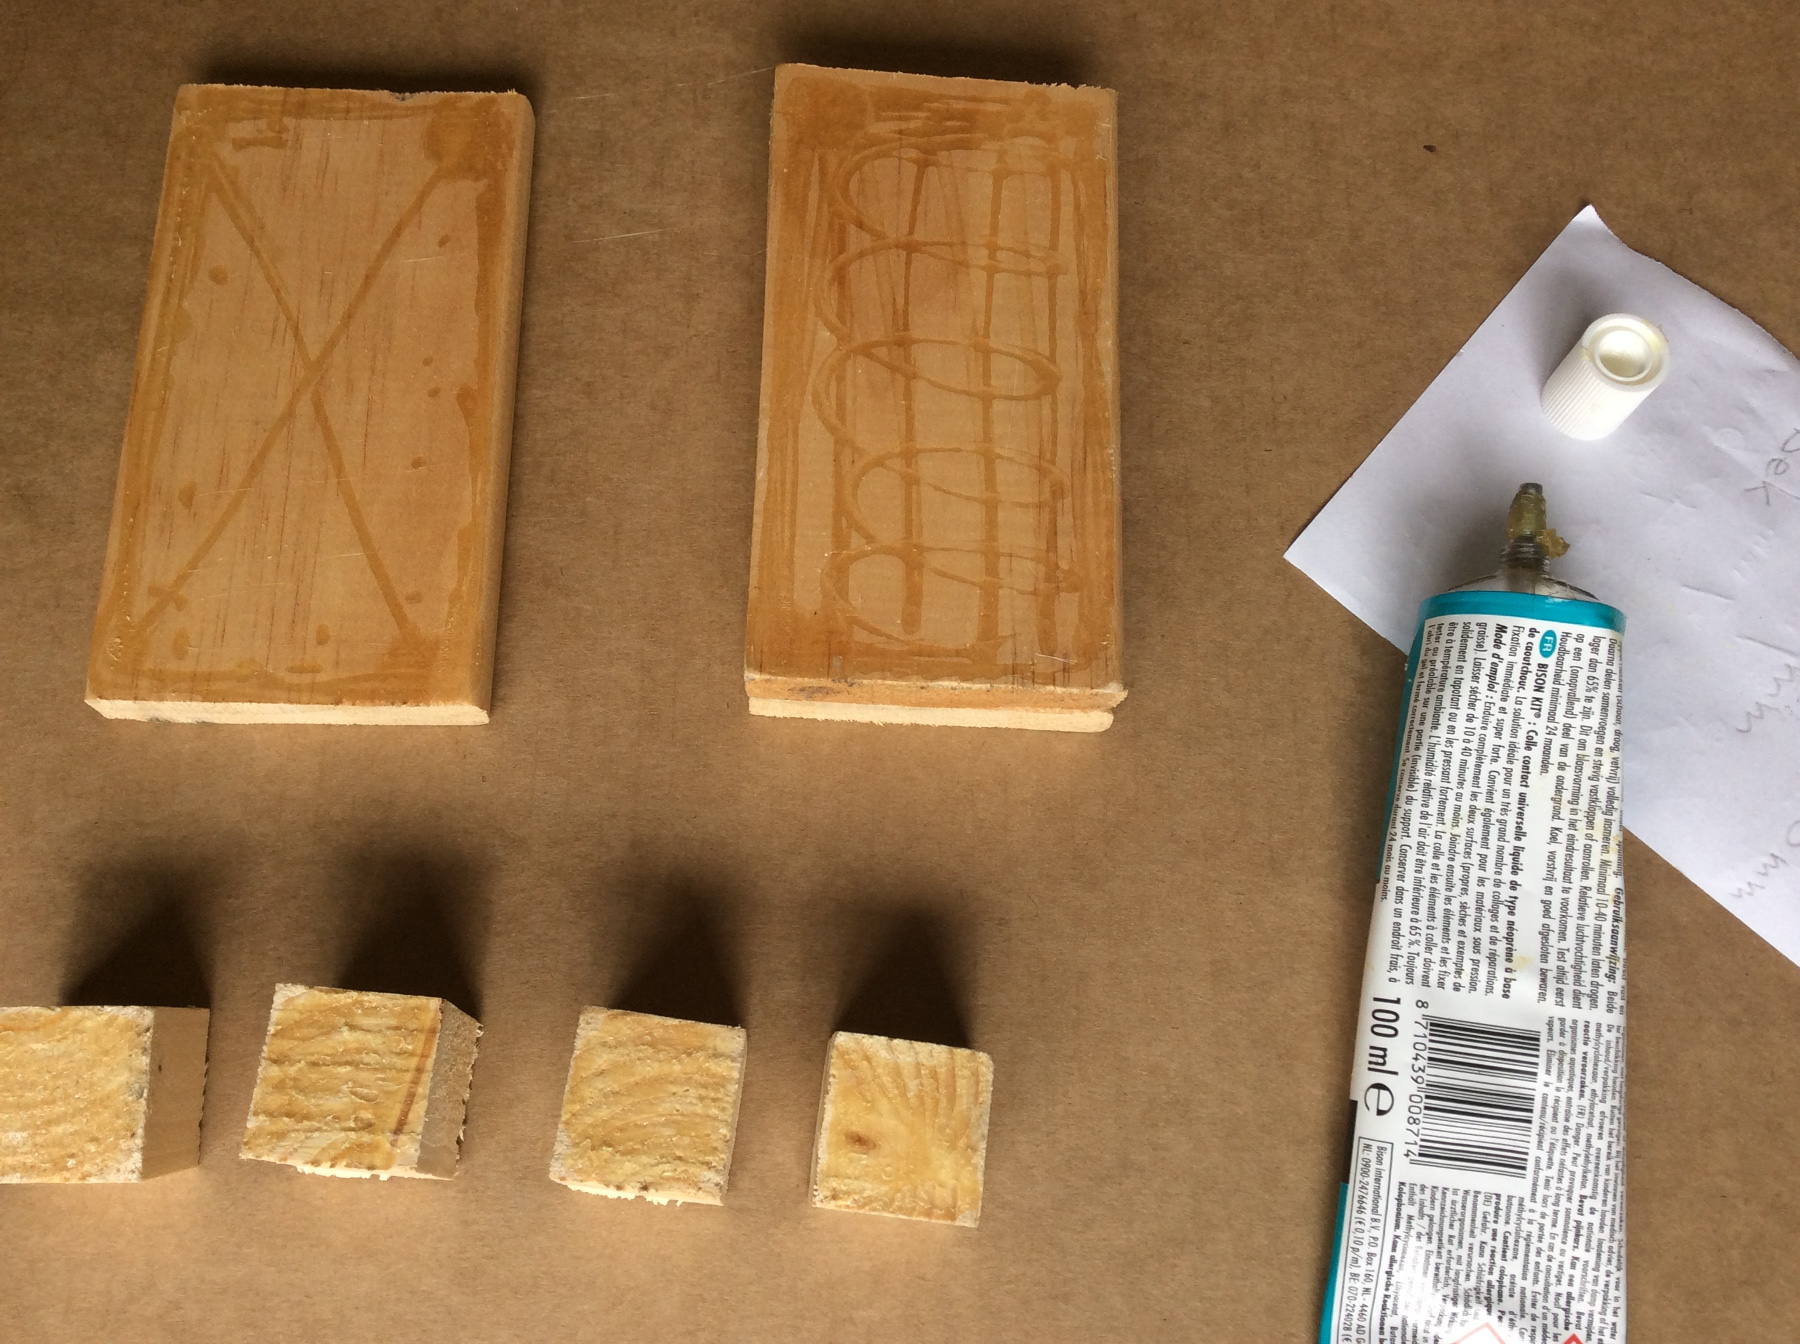
Bison contact glue
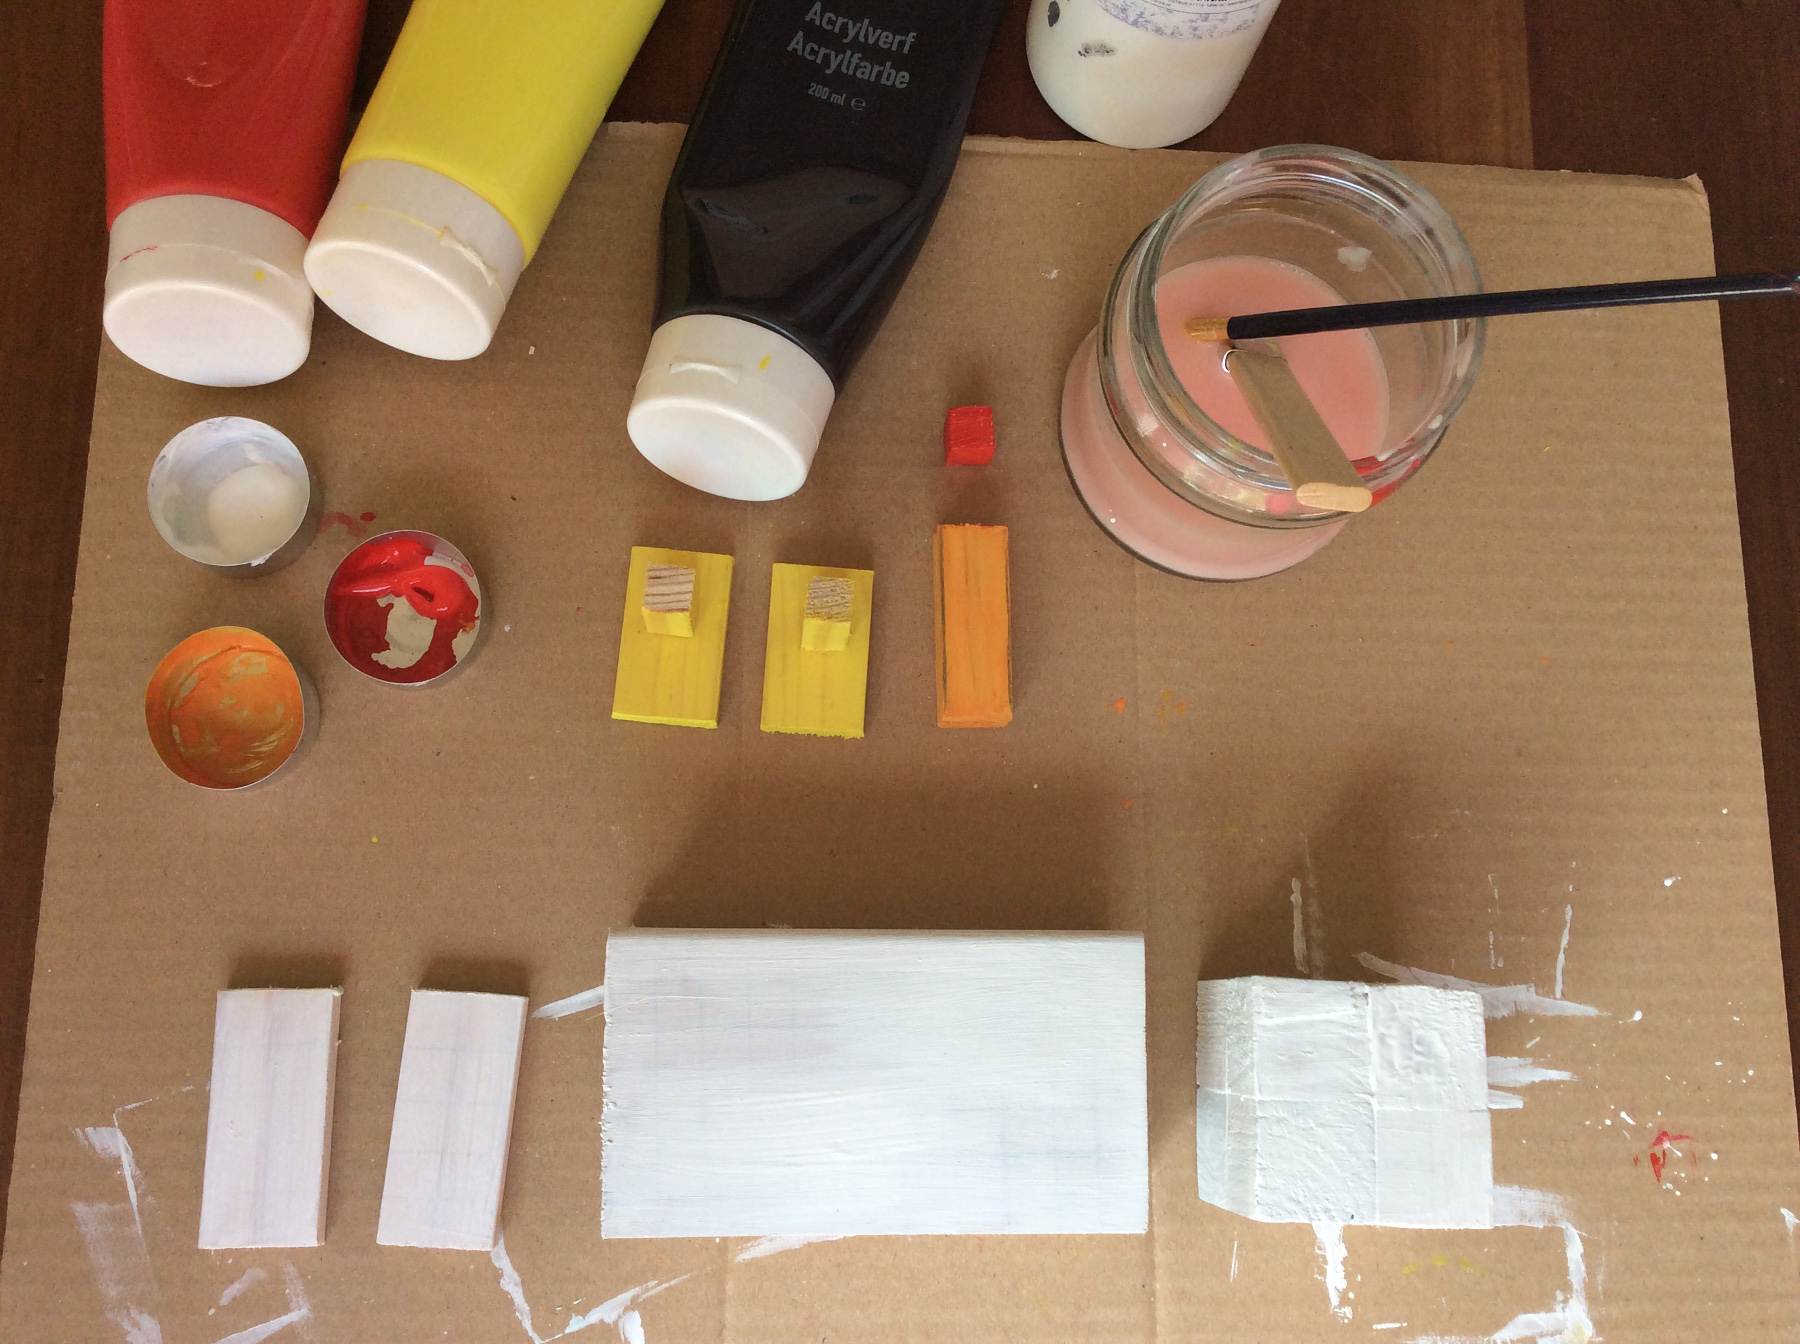
acrilic paint + paintbrush
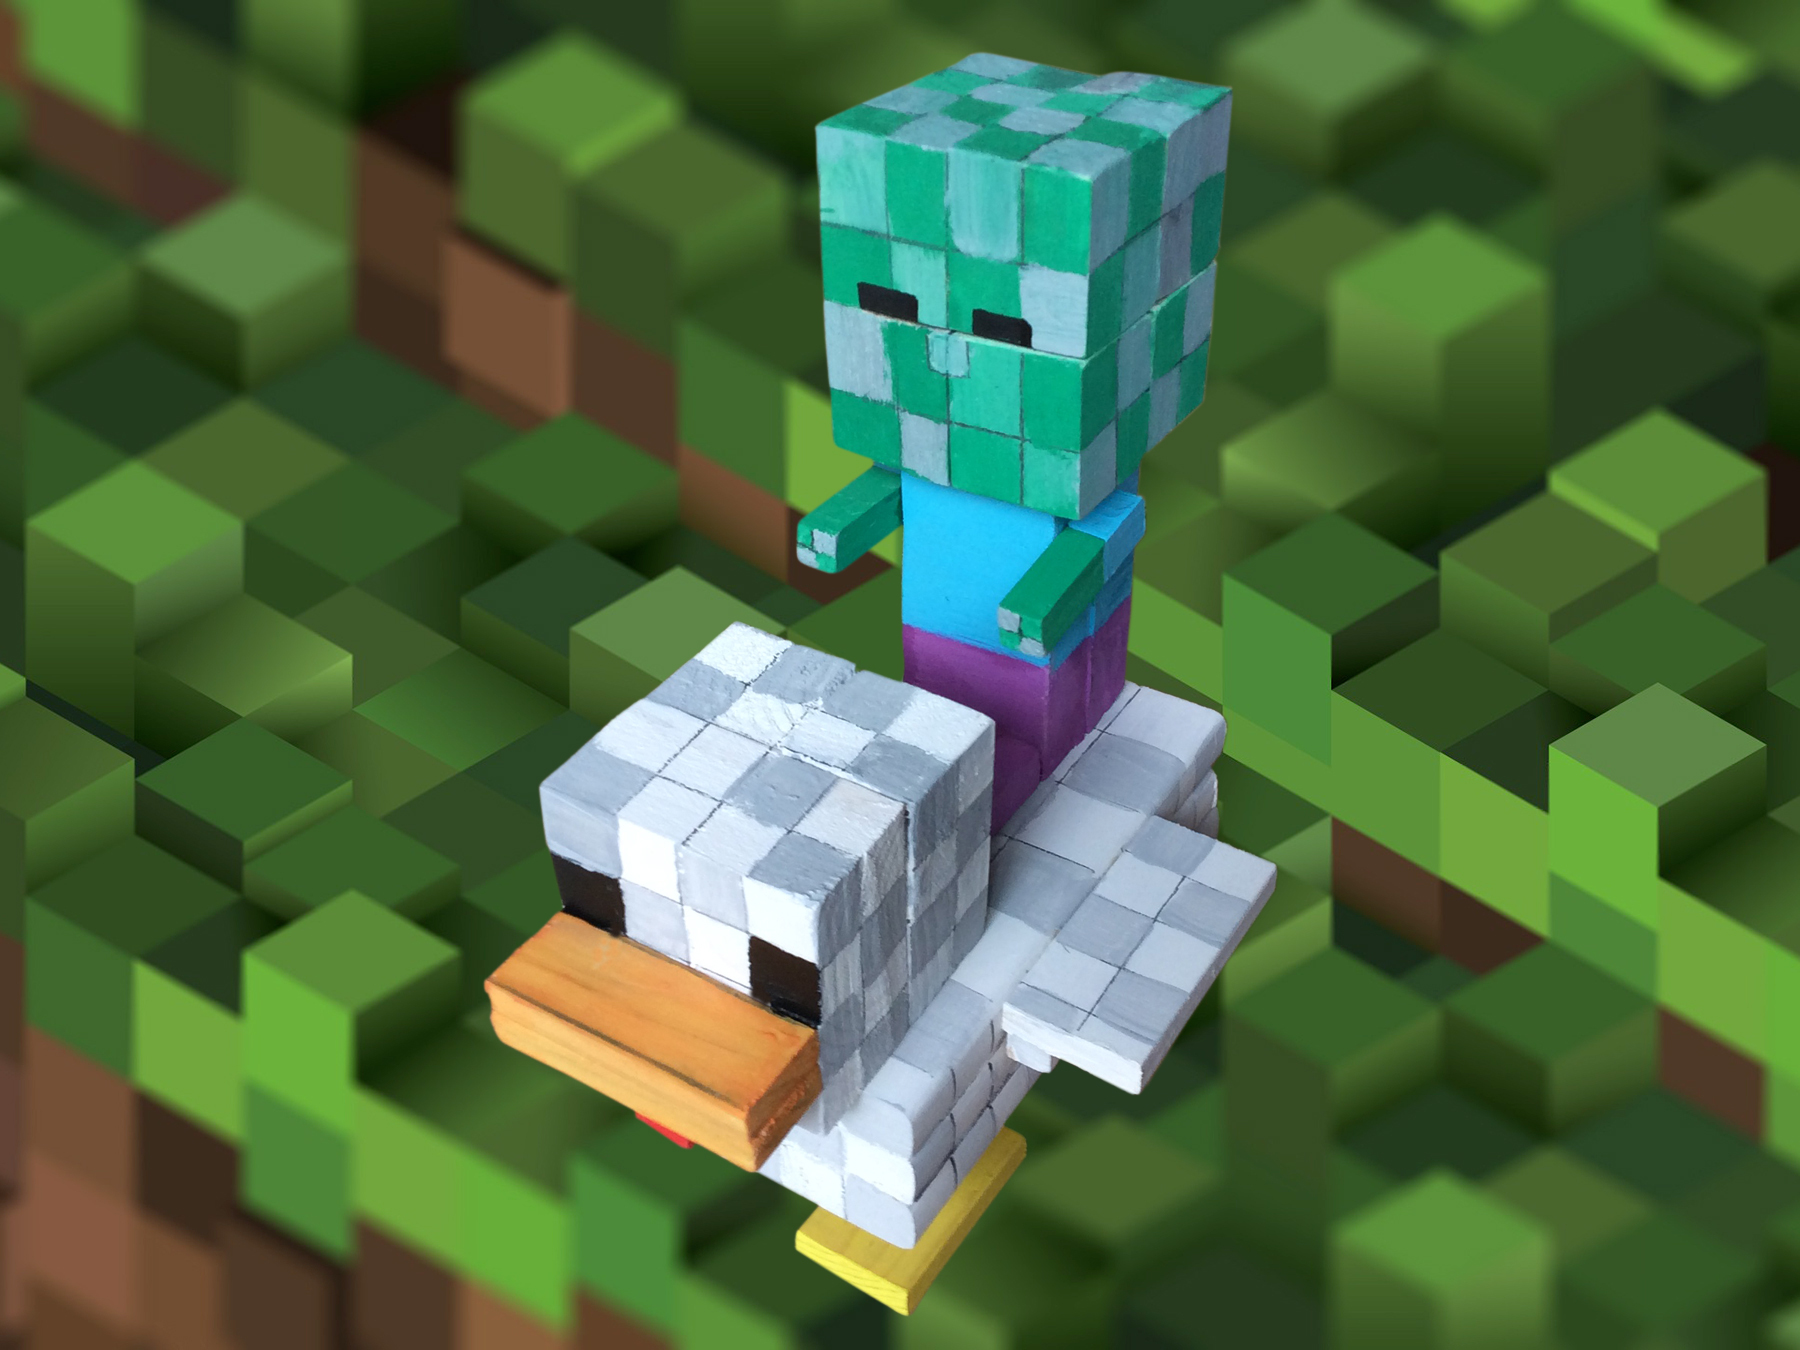
It took a while but now it is finally a fact, the Minecraft Chicken is online, hurray! After a long wait the chicken is finaly realised. Now we will saw for some time and then we will be sanding. It would be handy if an adult could help or supervise, to prevent accidents.
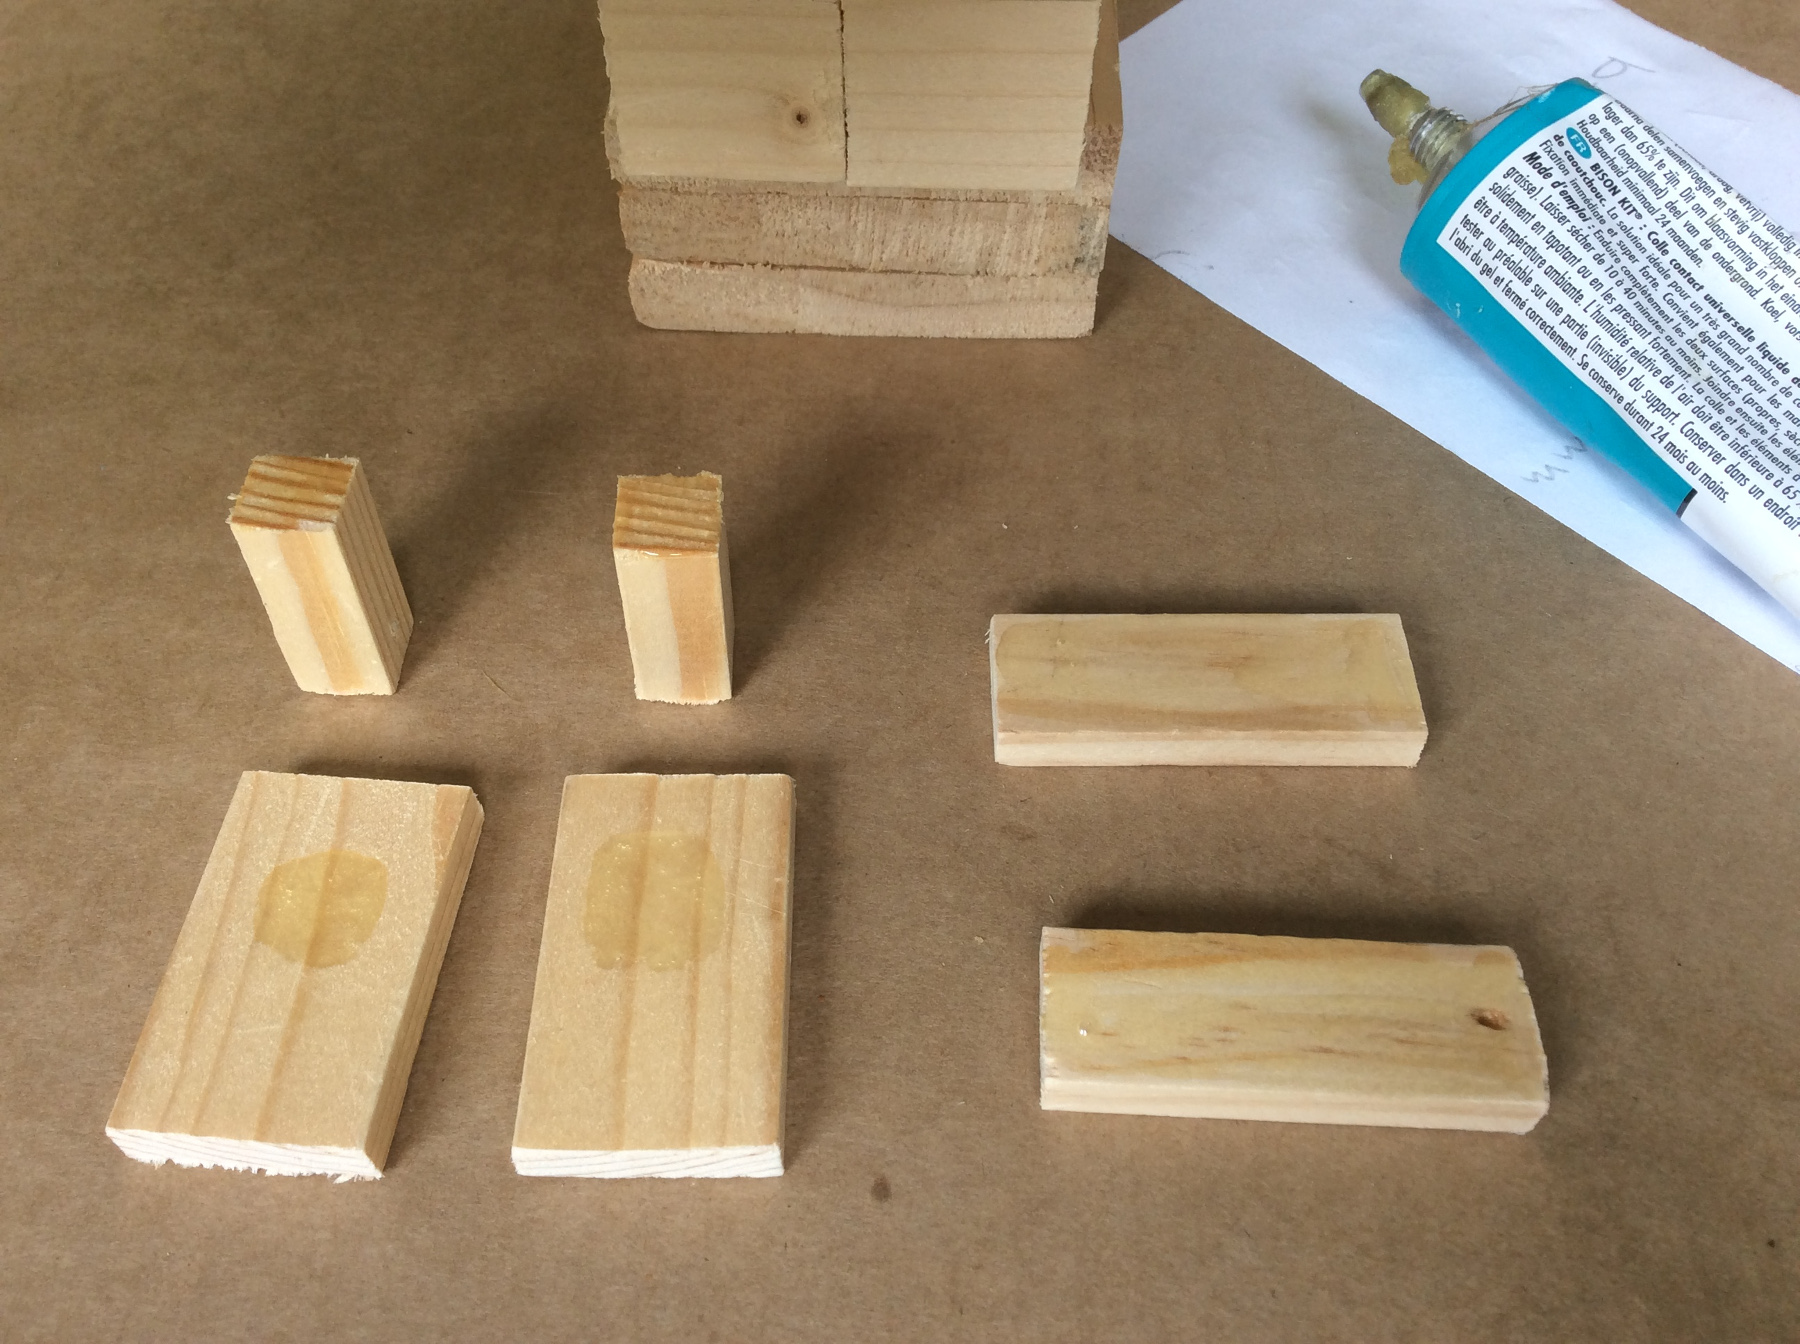
Please note when you ready to start to glue contact glue has to be applied to both sides, the glue needs to be in contact. First carefully read the instructions on the package, then you can't go wrong.
Here's how to make the Minecraft Chicken
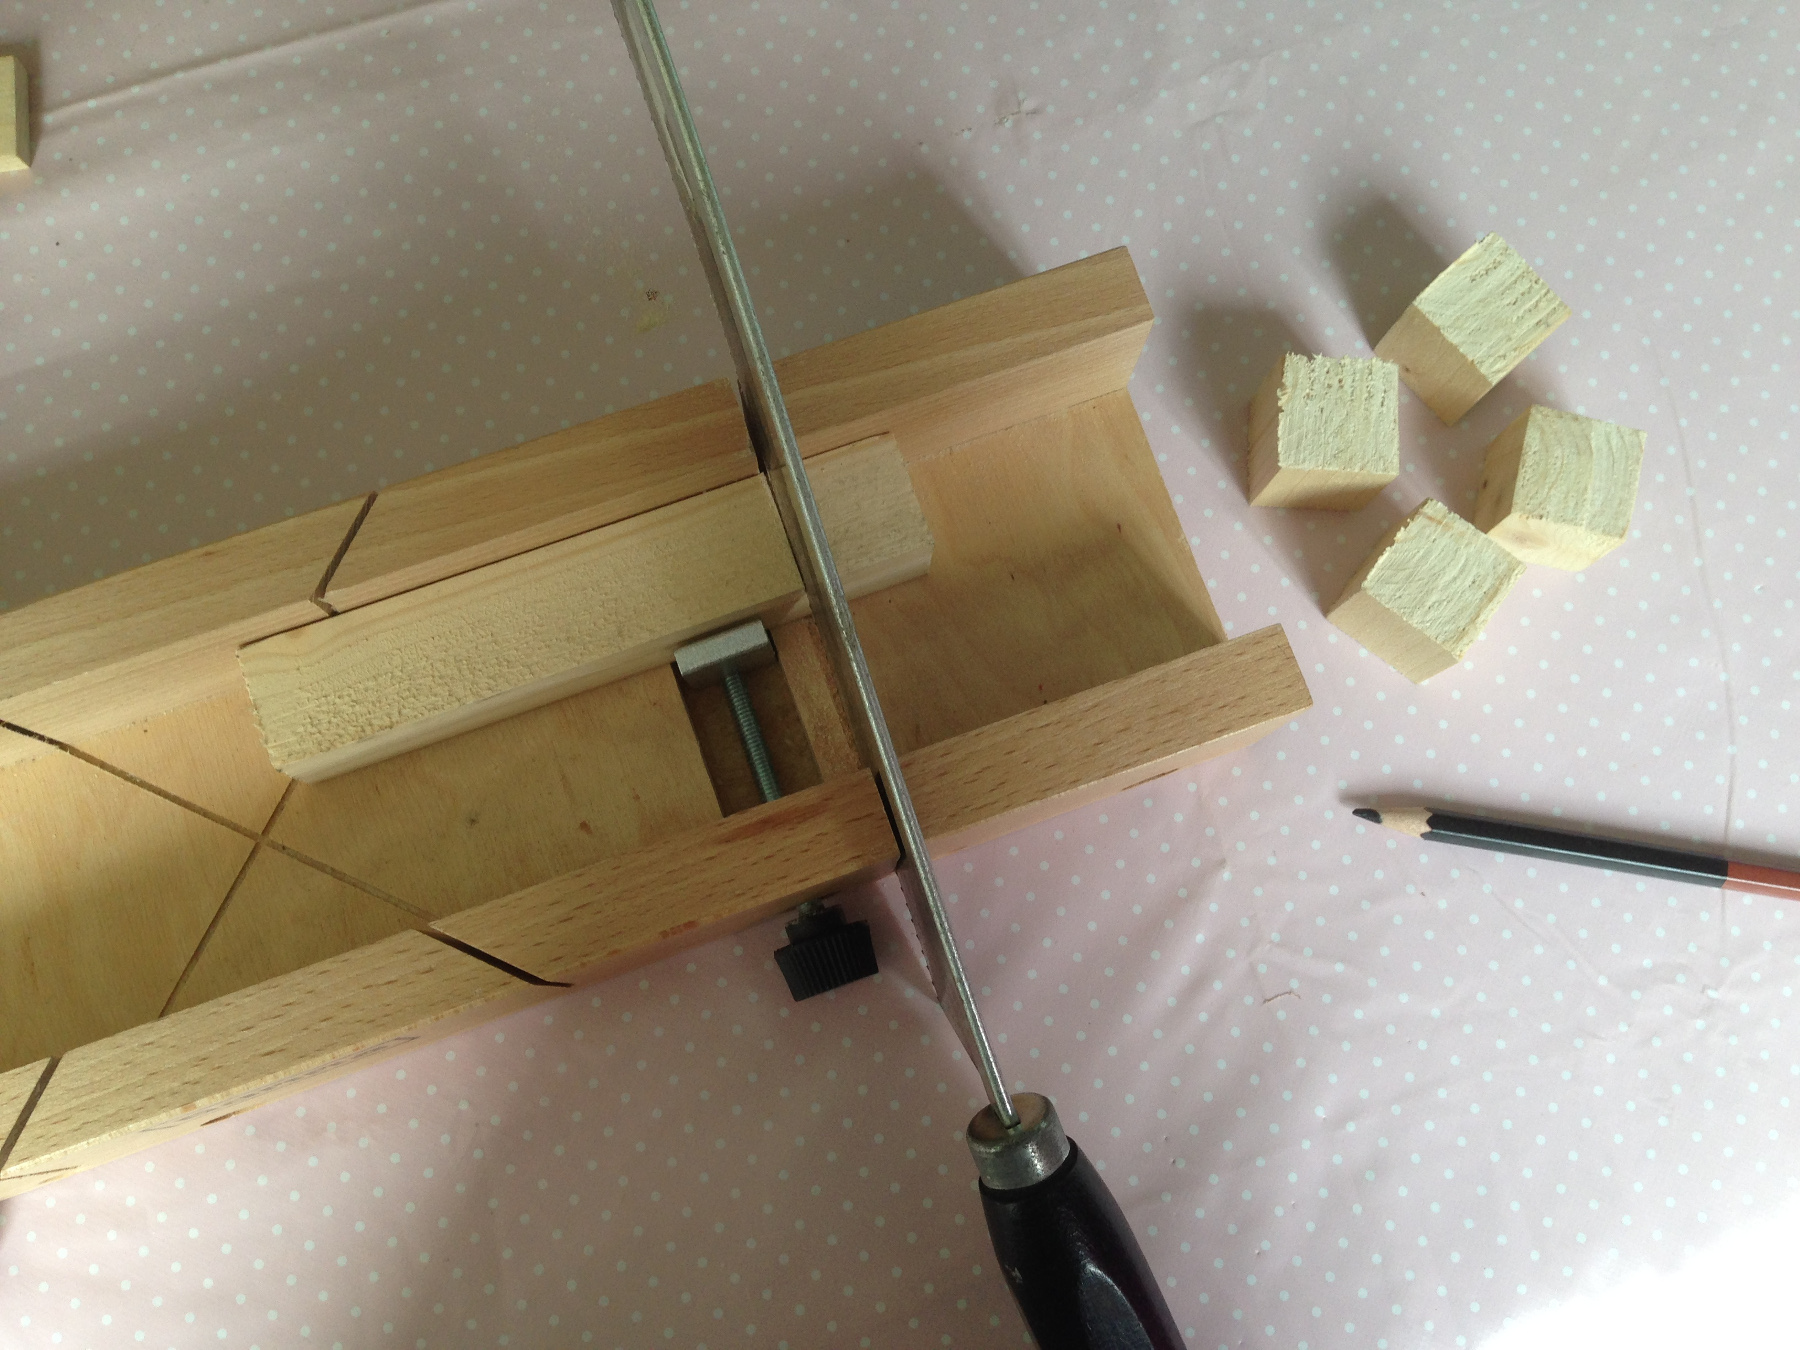
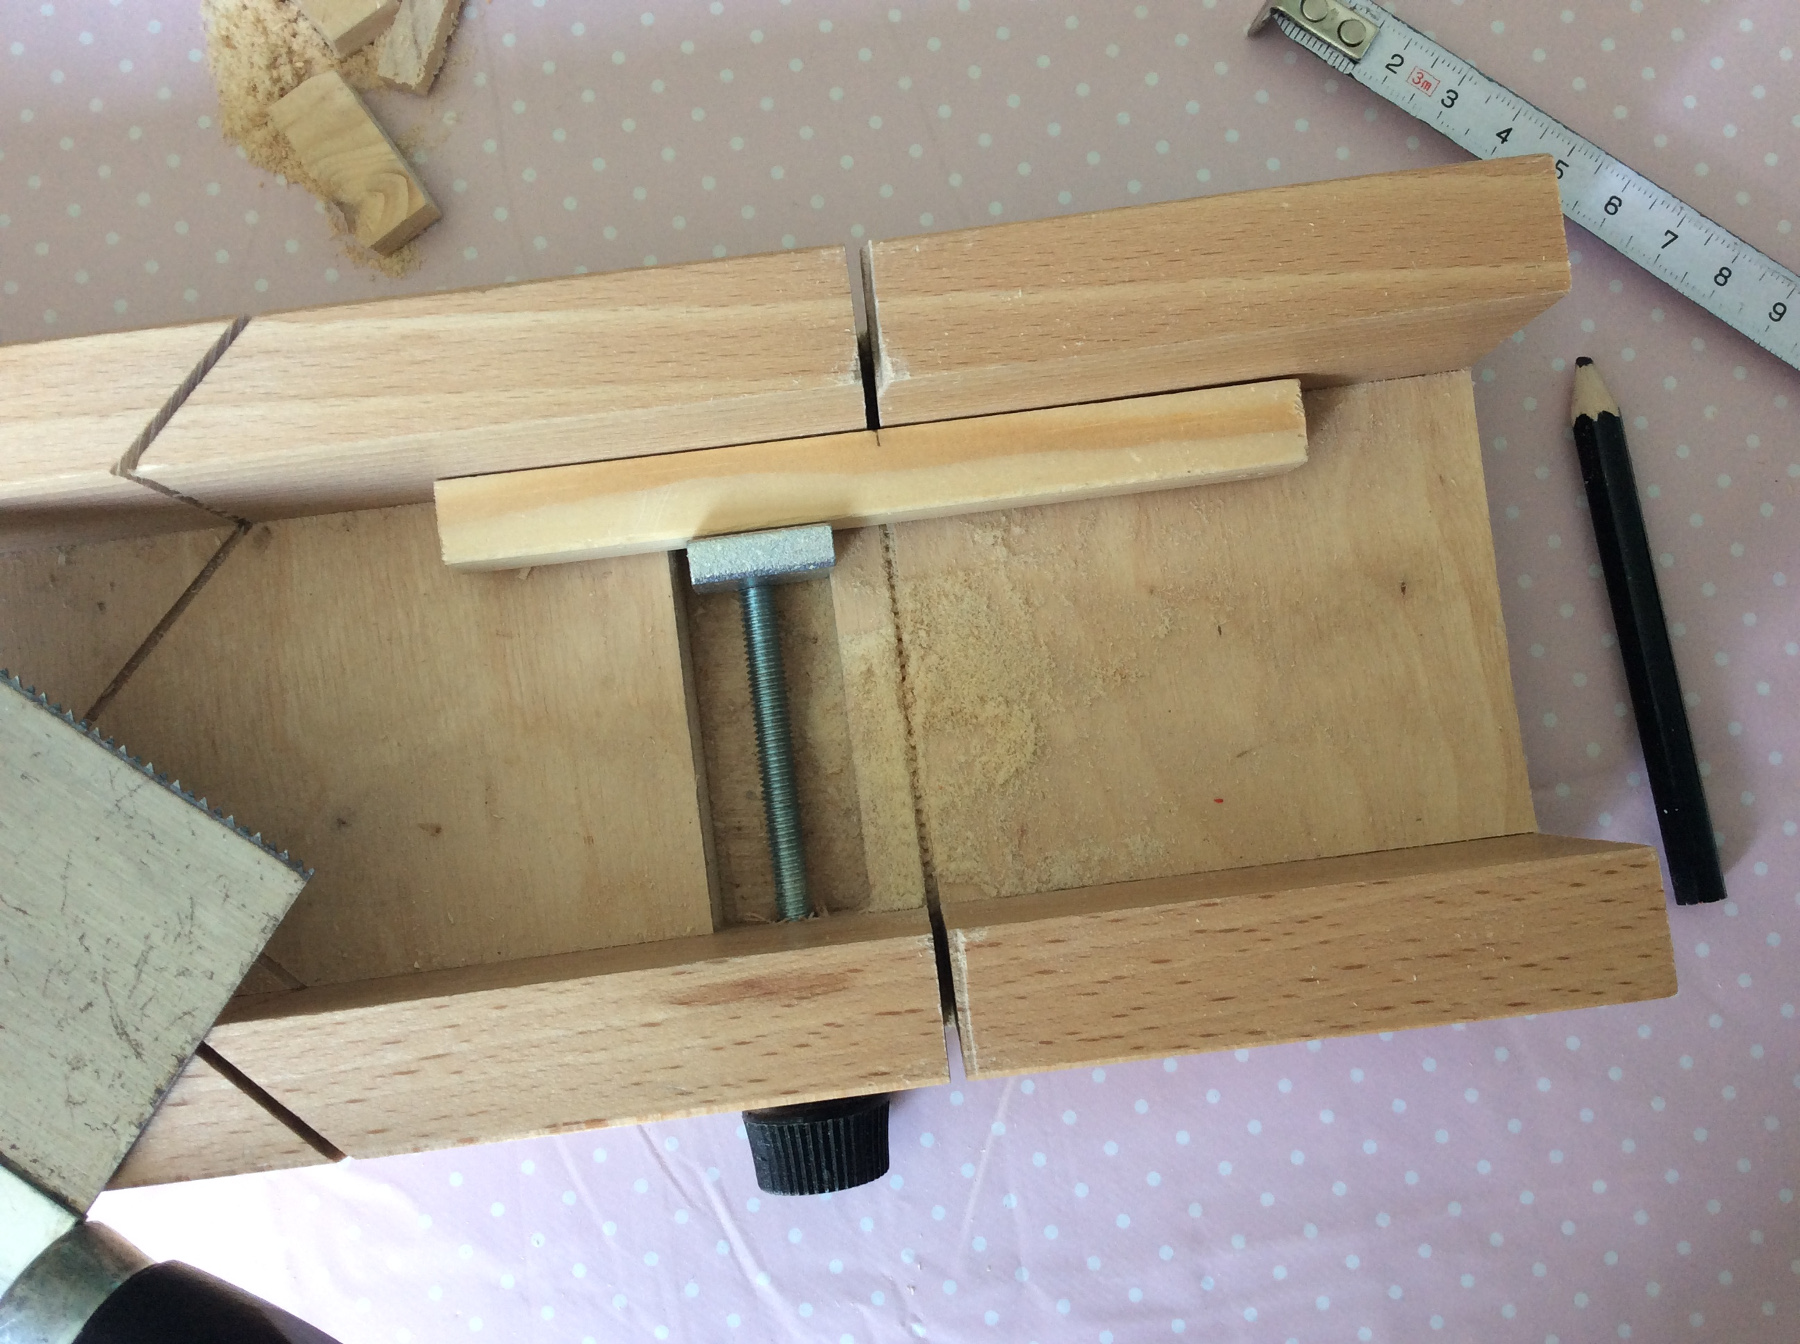
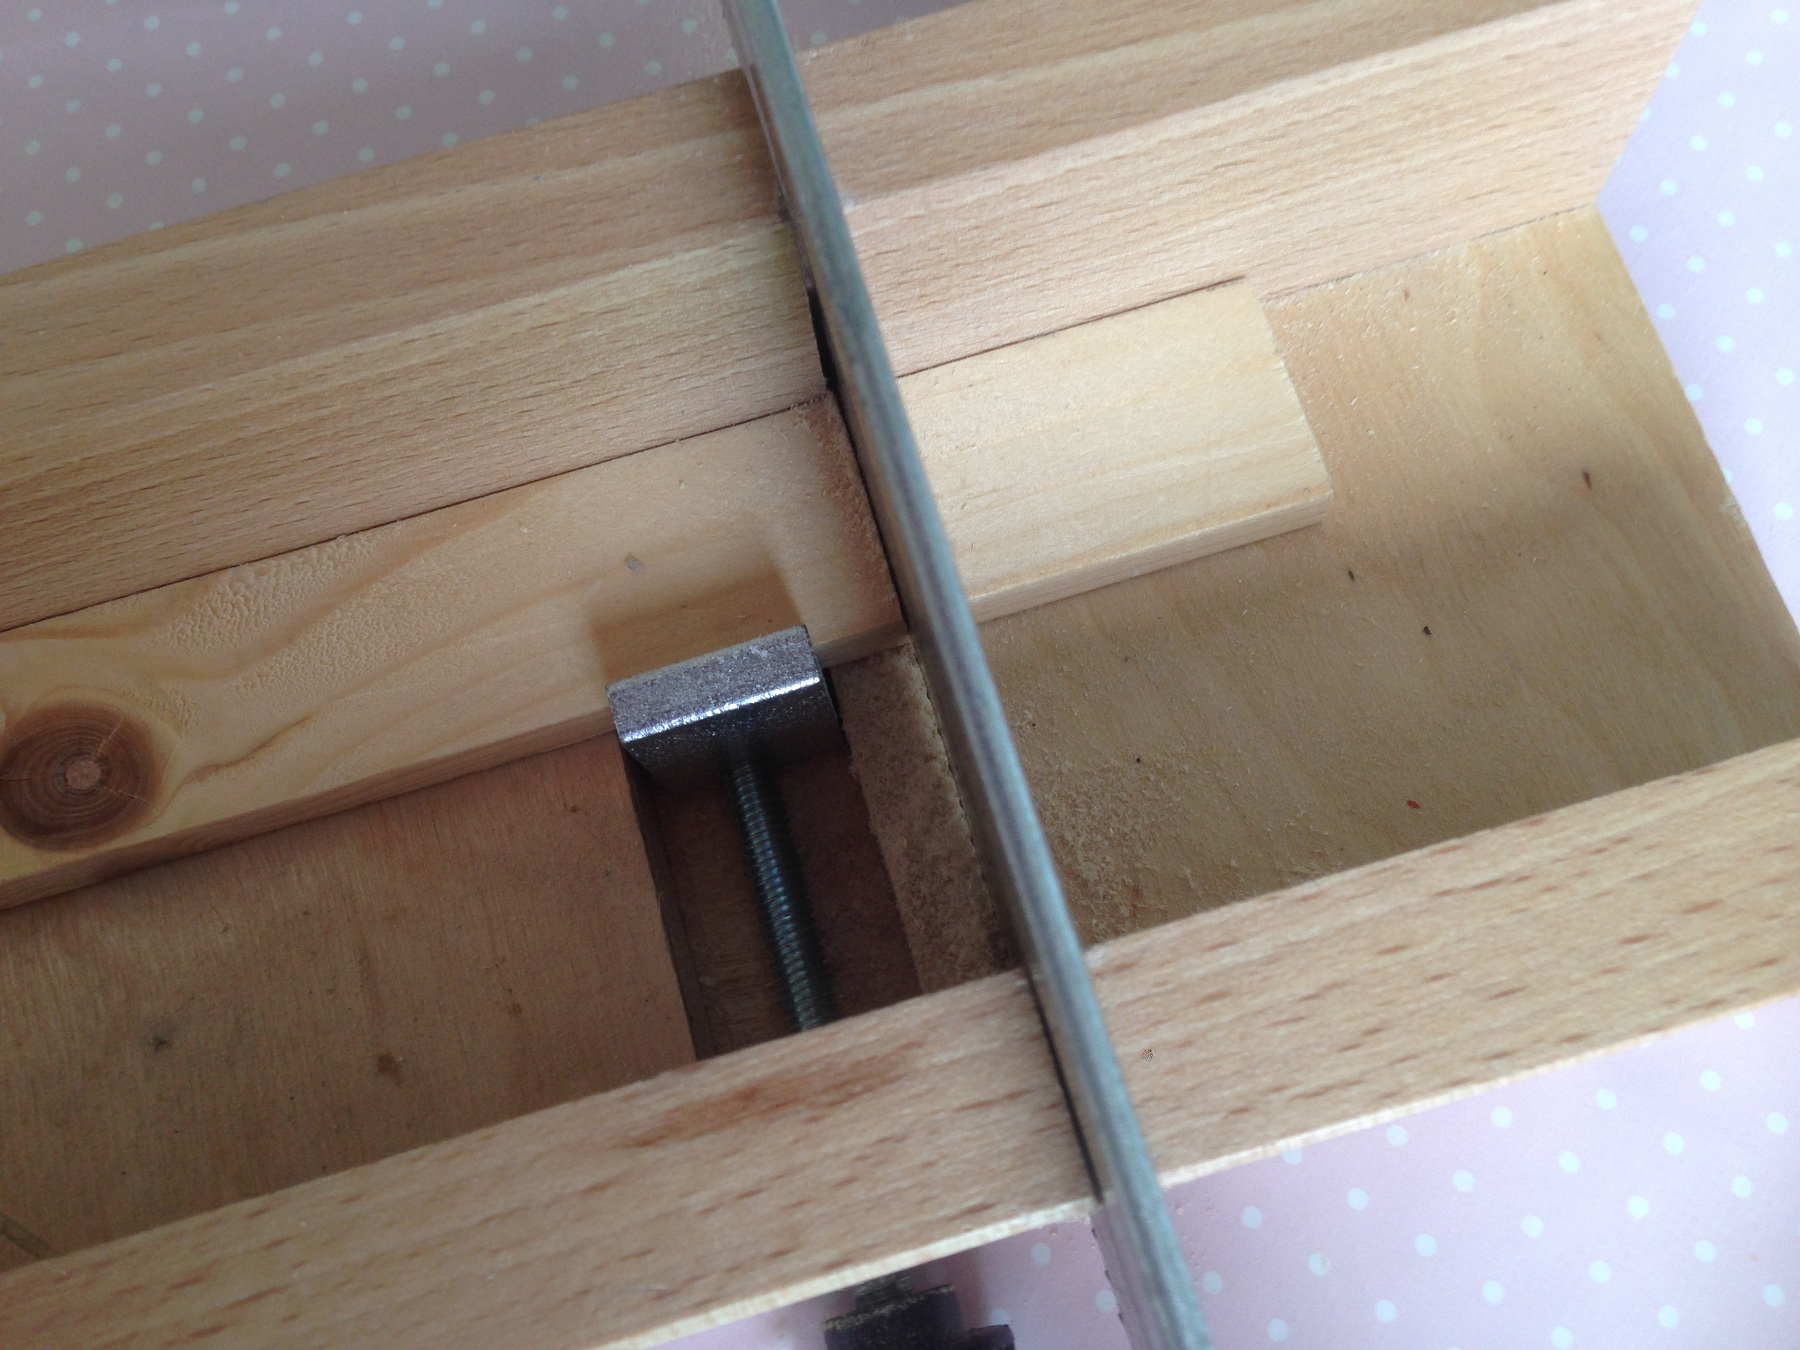
Saw 8 cubes of 27x27mm, the head
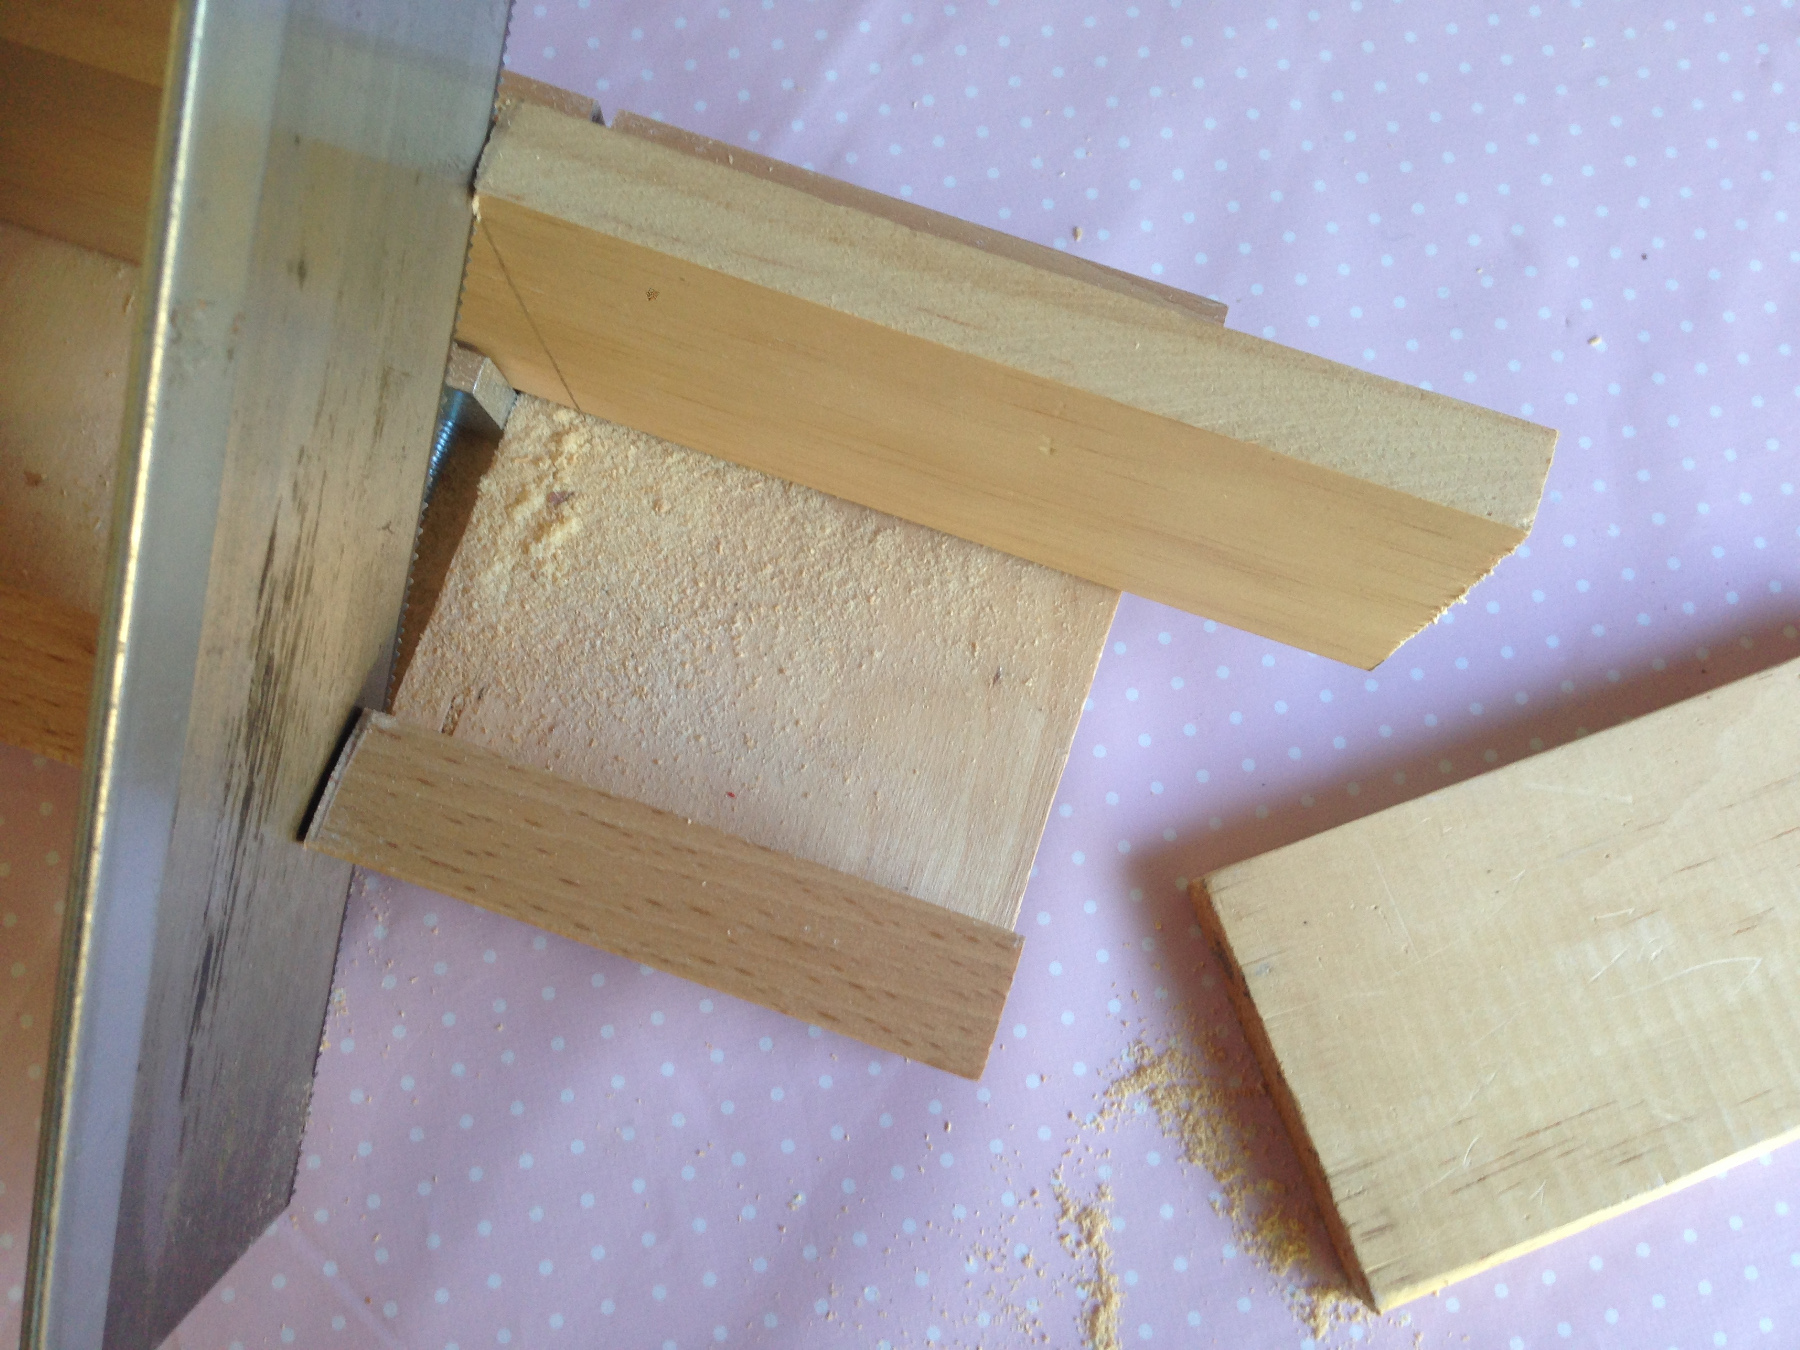
Saw 3 pieces of wood 65x12mm, length 12.5 cm , the body.
Saw 2 leggs 2.5cm+wattle 1cm+2 wing supports 5.5cm, slat 22x22mm.
Saw 2 feet of 45mm + 2 wings of , of slat 27x6mm.
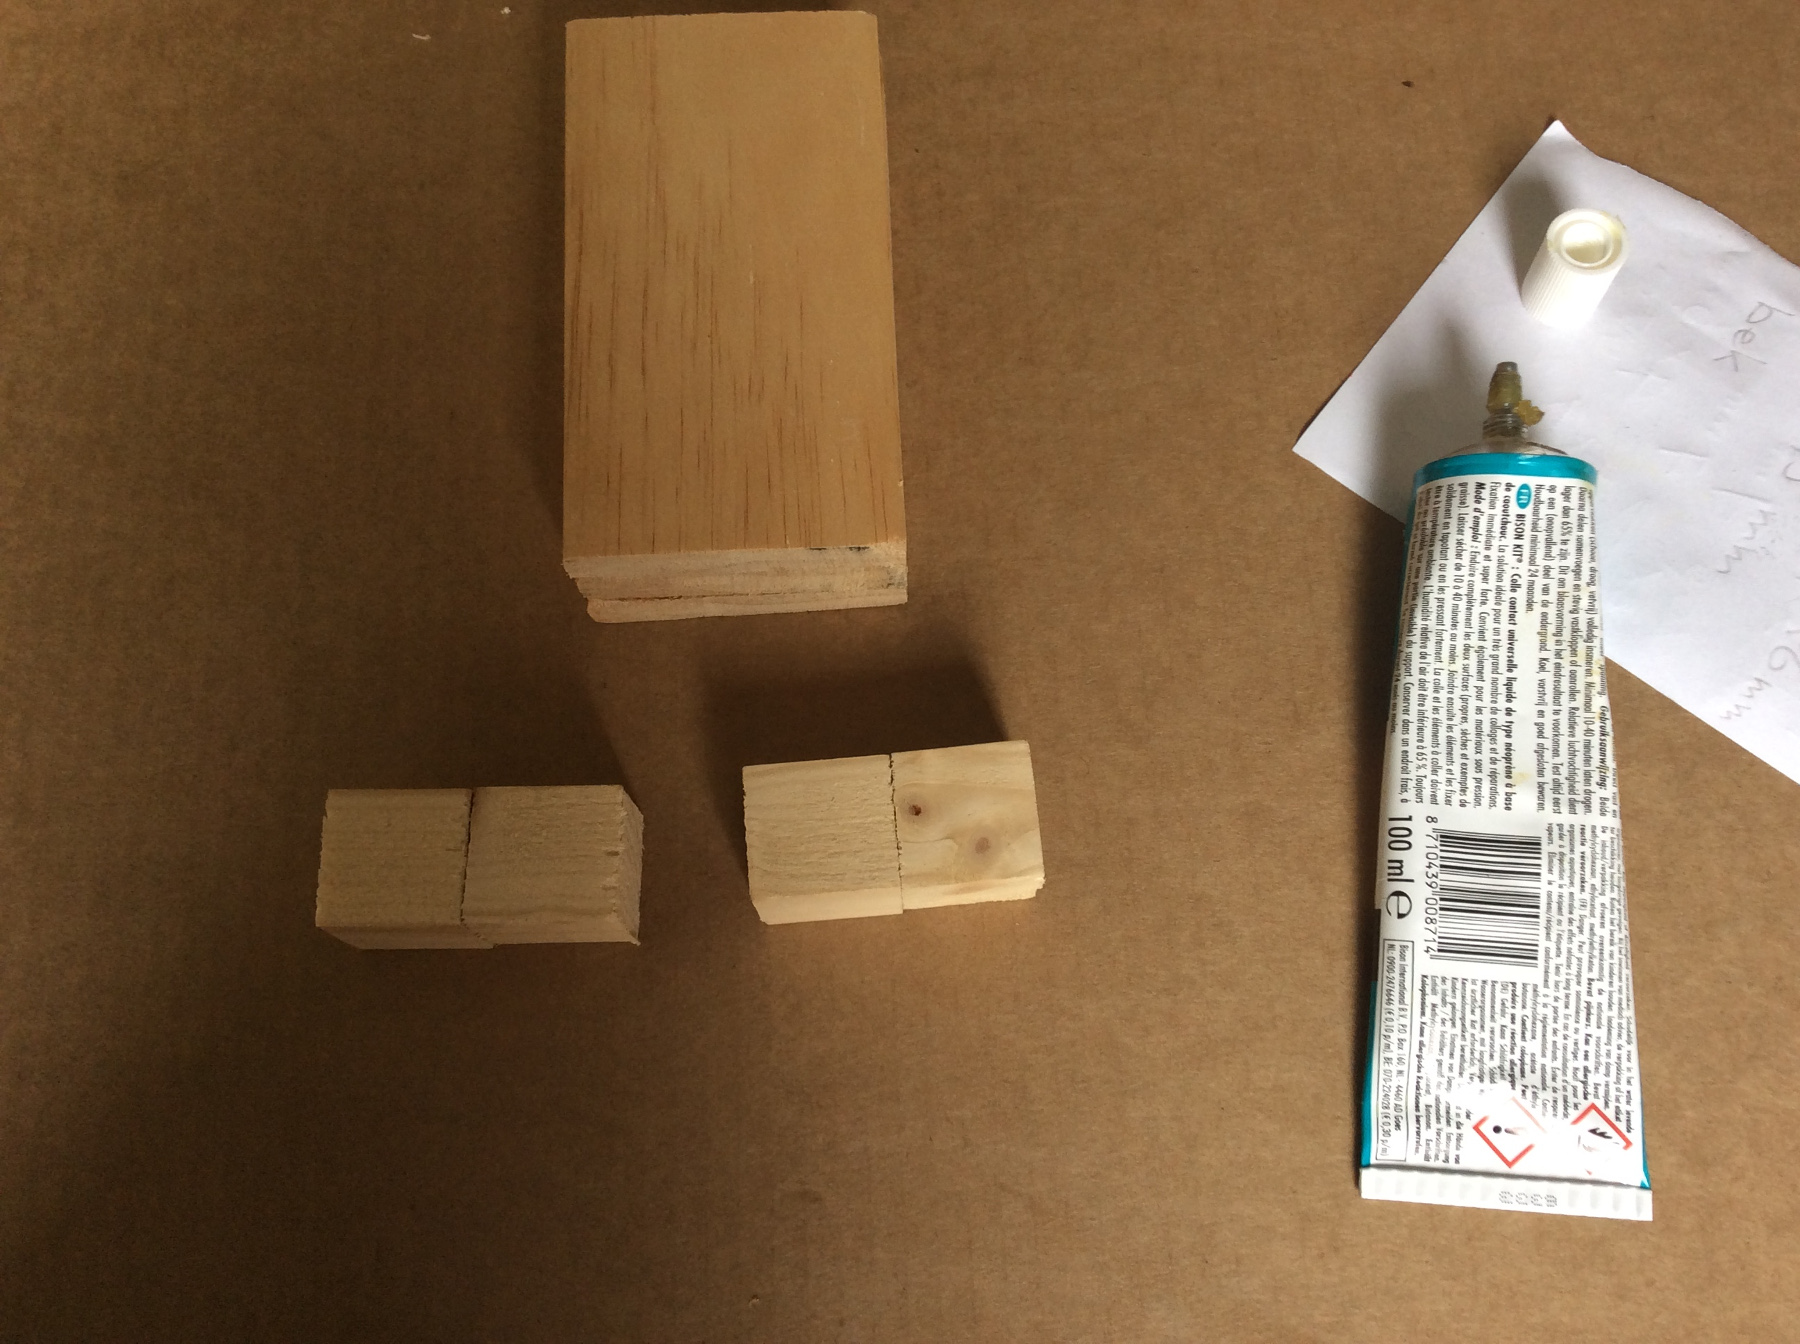
Saw 2 pieces of 5cm, slat 18x7mm, the beak.
Glue 3 pieces body and 8 cubes head together.
Follow the instructions on the tube Bizon contact glue.

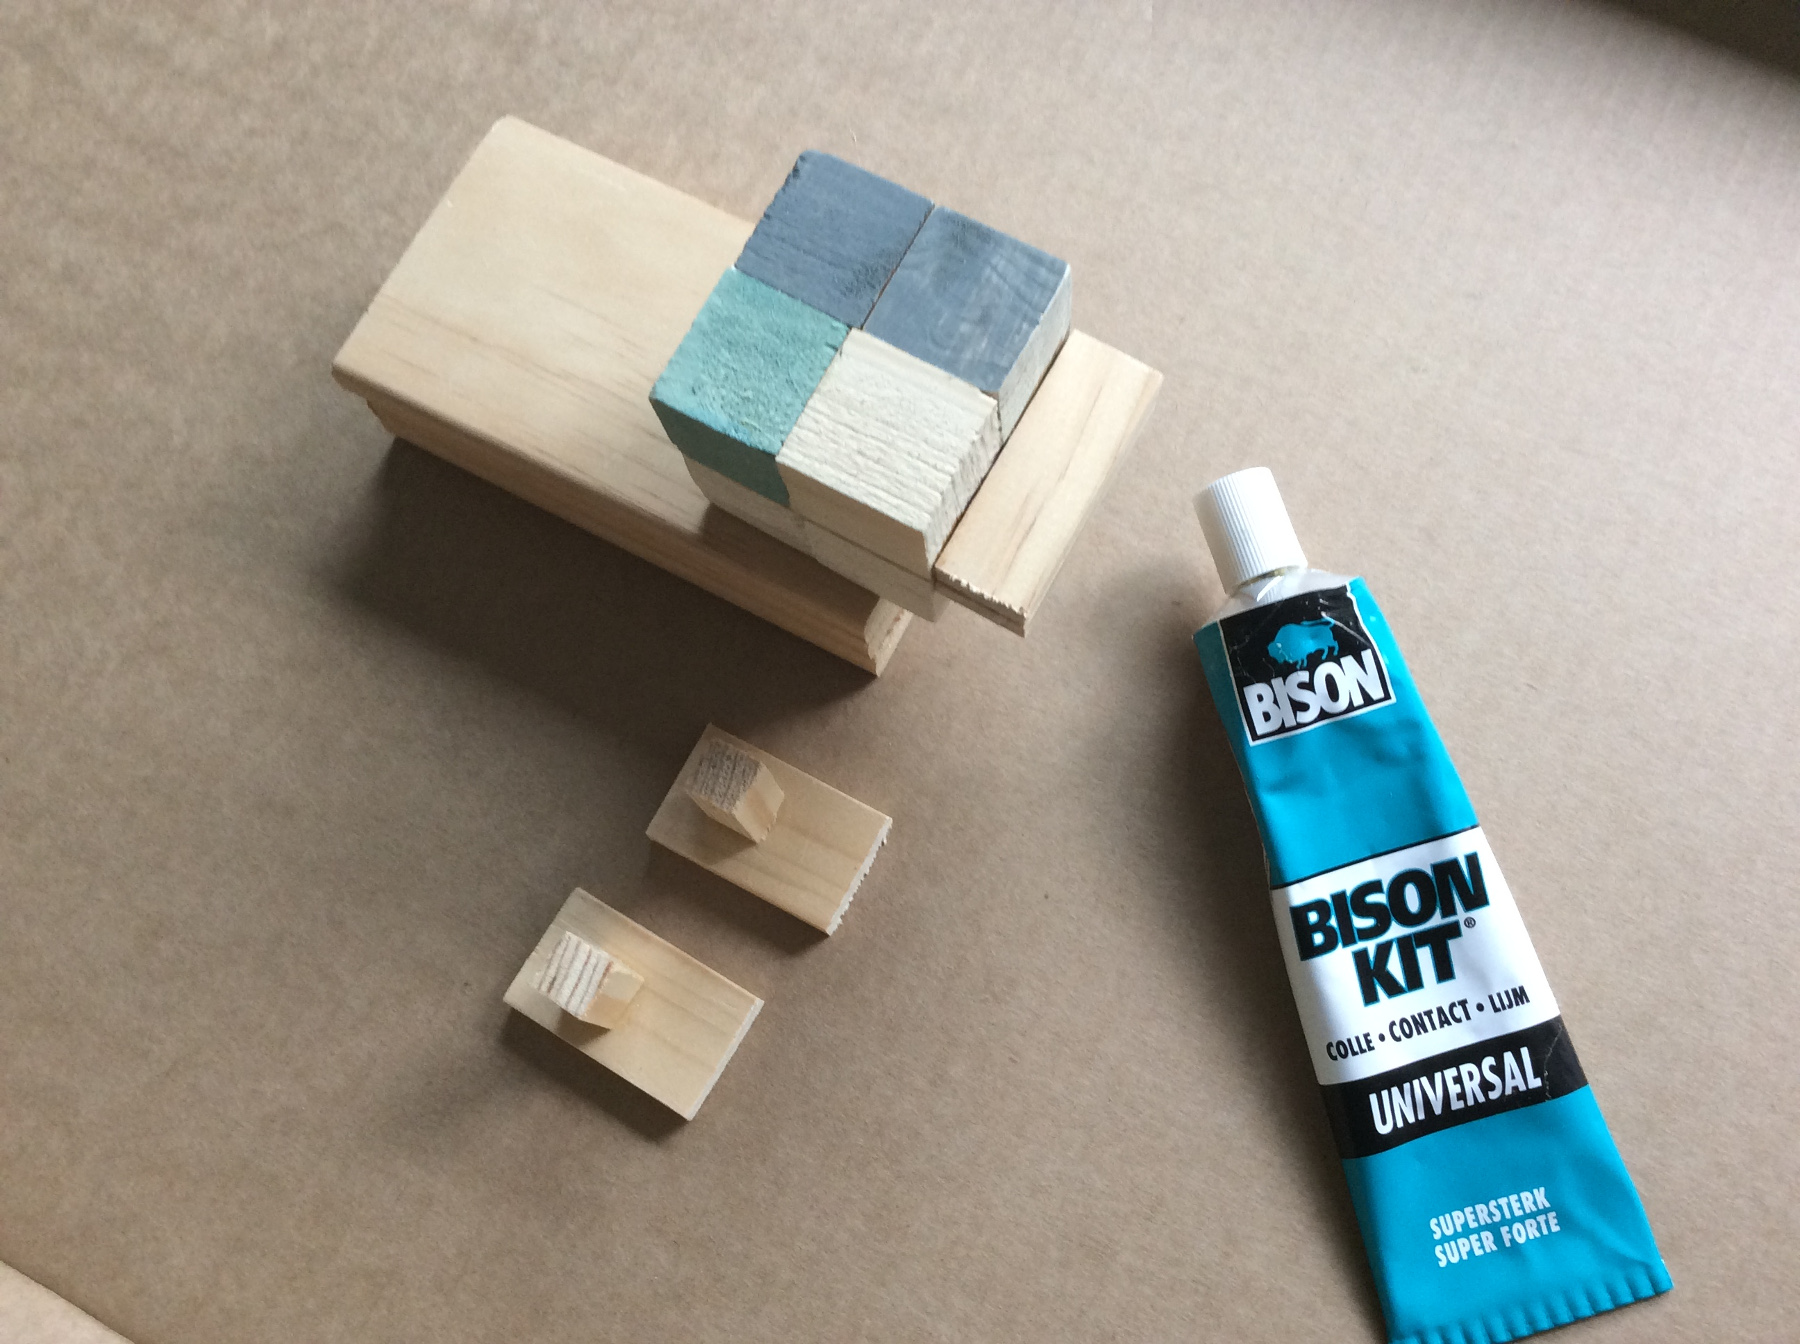
Left over cubes of the zombie come in handy now, use them.
Stick legs and wings + supports together too.
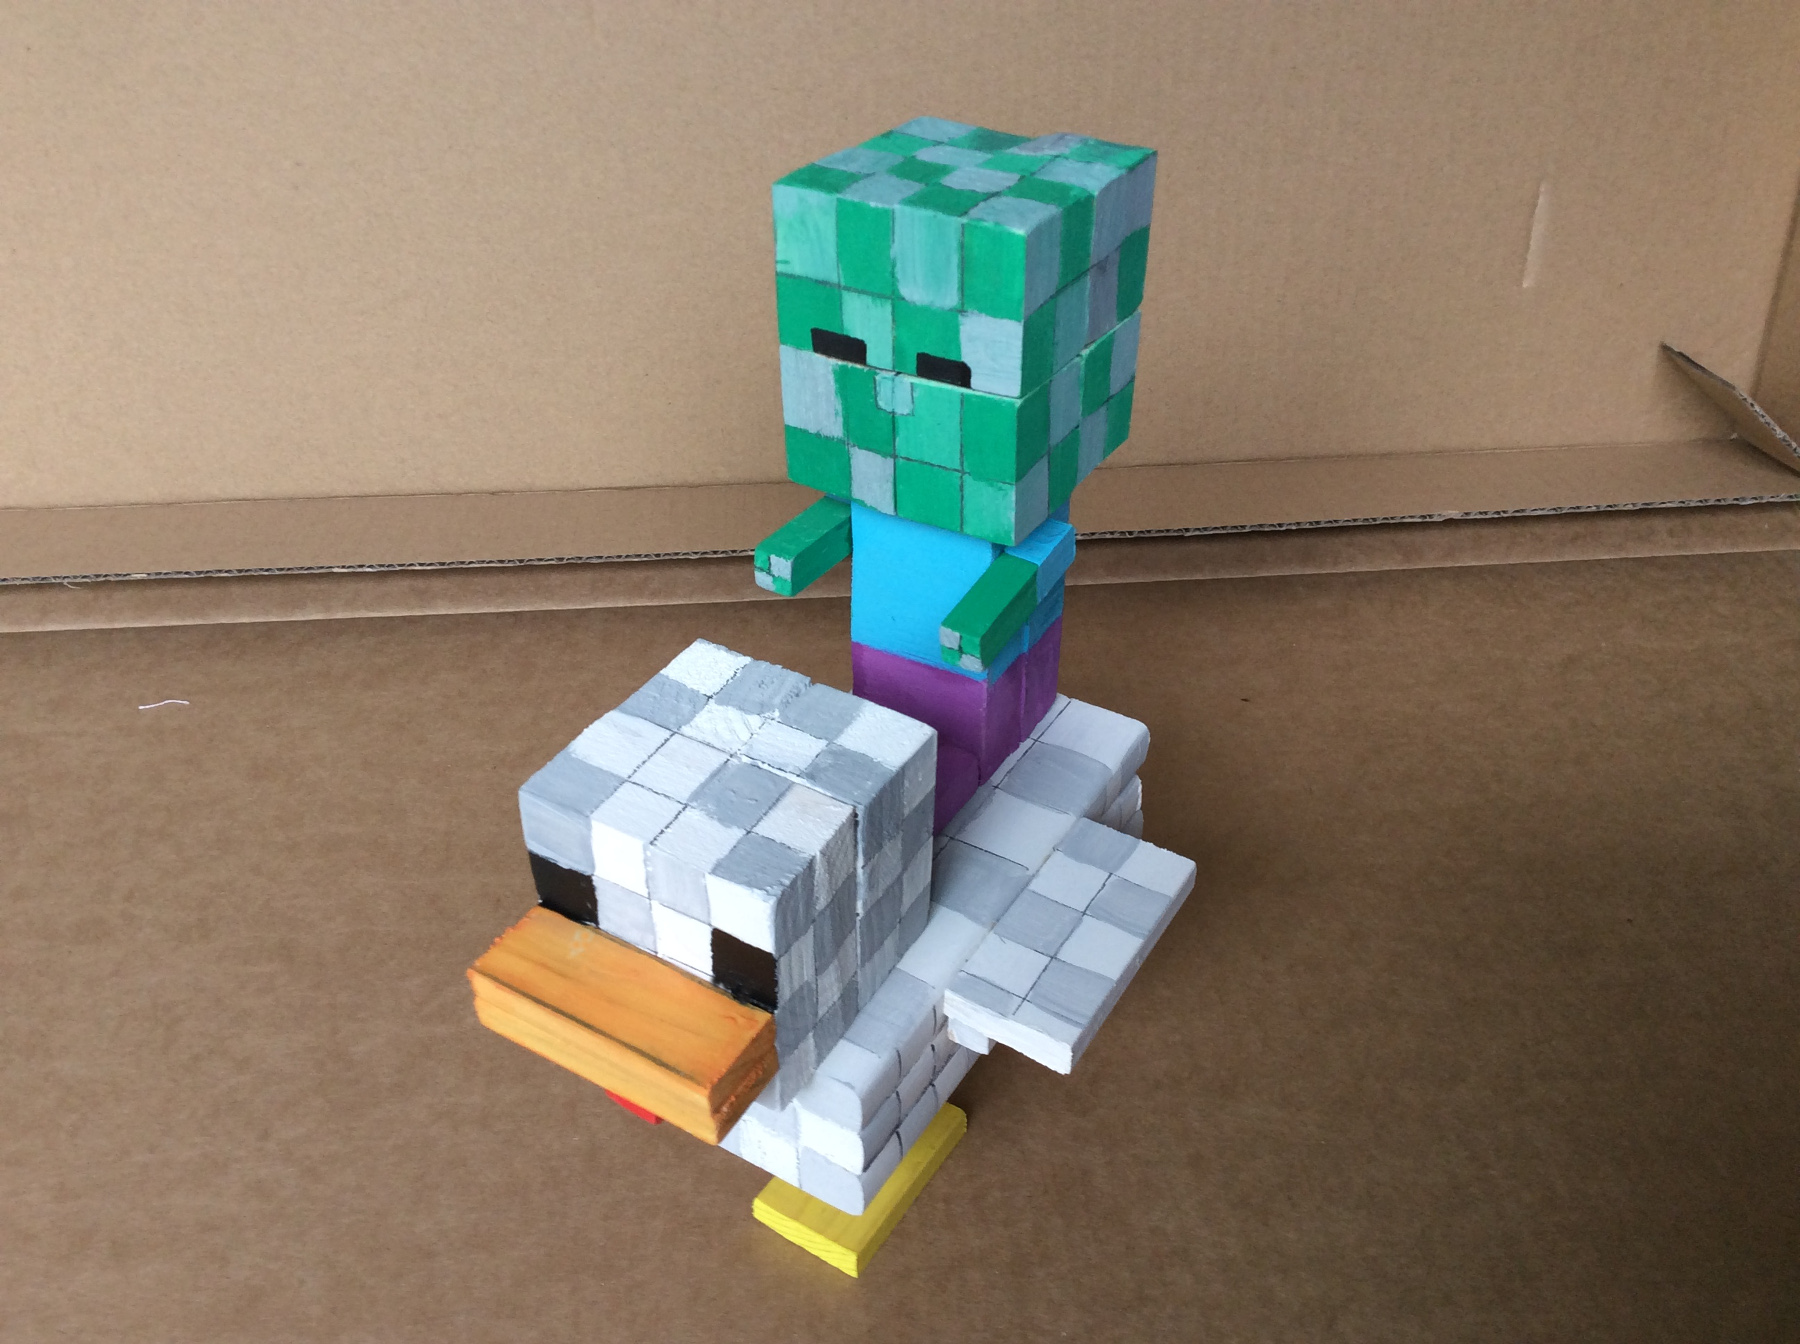
A peak ahead to see what the Minecraft Chicken will look like.
But do not glue, first we paint the loose parts.
Sand all sawed edges before you start to paint. When the parts are loose but already glued together like head, body, legs, wings and beak, then the painting is a lot easier than compared to the chicken being fully assembled.

Draw cubes on body, head and wings when the paint has dried.
Paint the drawn cubes alternatly grey, the white is already there.
Now assemble all loose body parts using glue, follow the instructions. on the glue
Finaly Minecraft chicken is ready, we're satisfied with how it turned out and Zombie is happy too!