Wat heb je nodig?
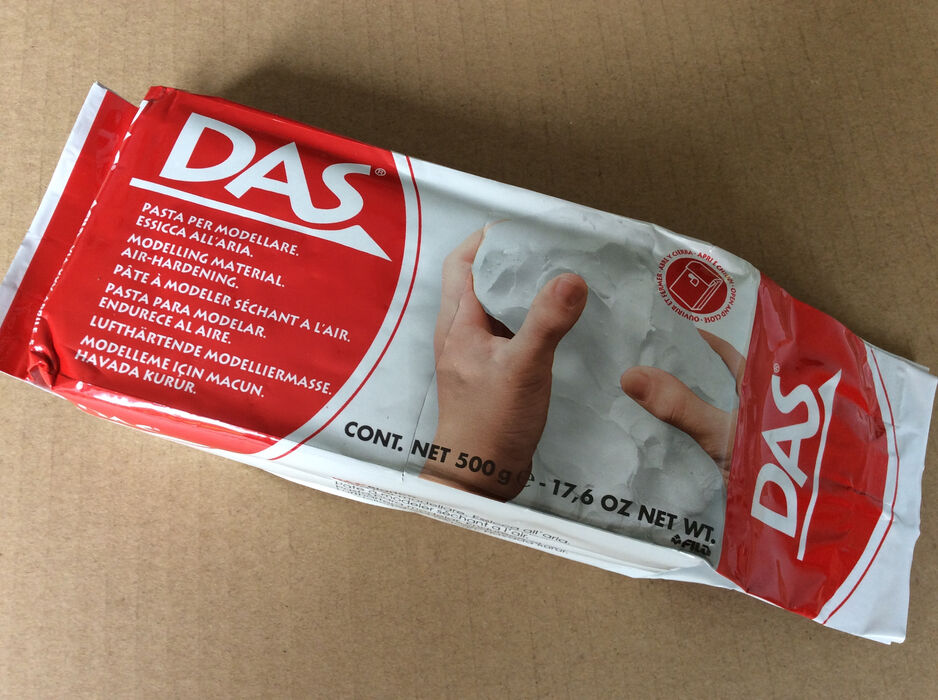
Das clay (48h drying time))
plastic modeling sticks of skewers
acrylic paint, white, black, green, brown, orange
glow-in-the-dark paint
black chenille sticks (pipe cleaners)
magnets
Bison contact glue
optional: acrylic varnish
Little ones can model and paint this craft too, but you should glue the magnets onto the clay figures!
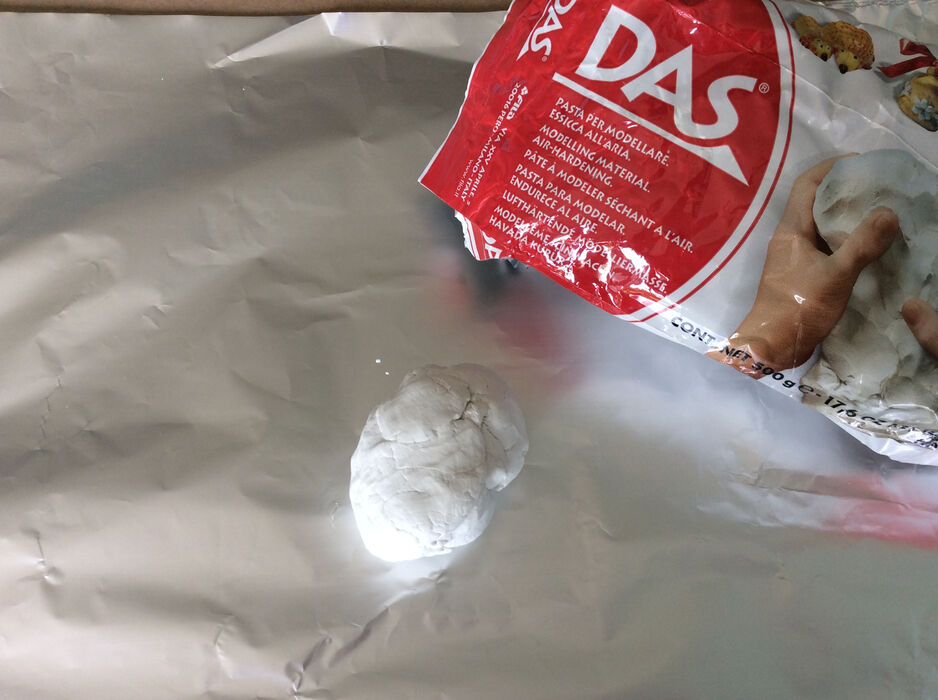
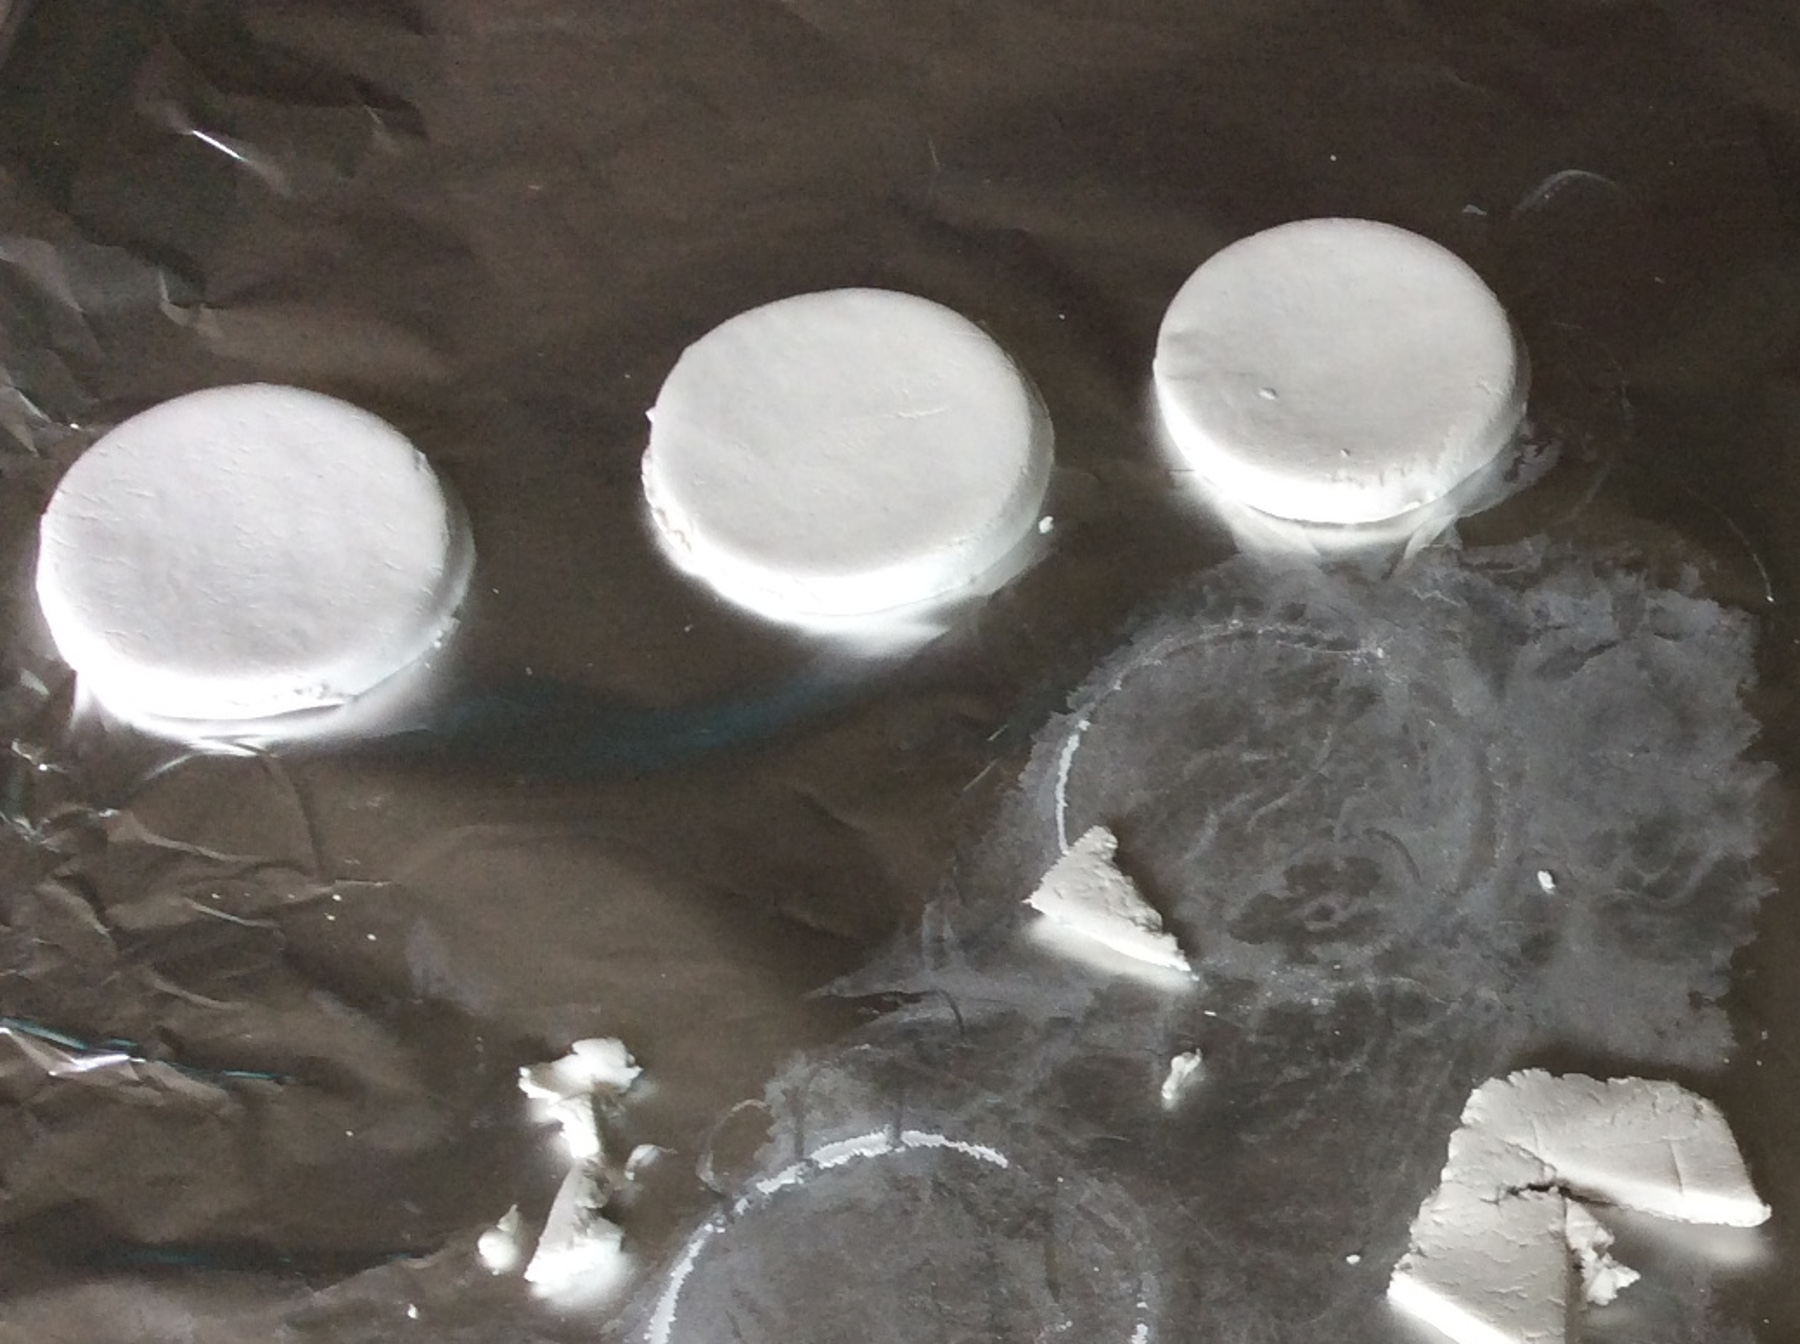
Knead the clay nice and soft.
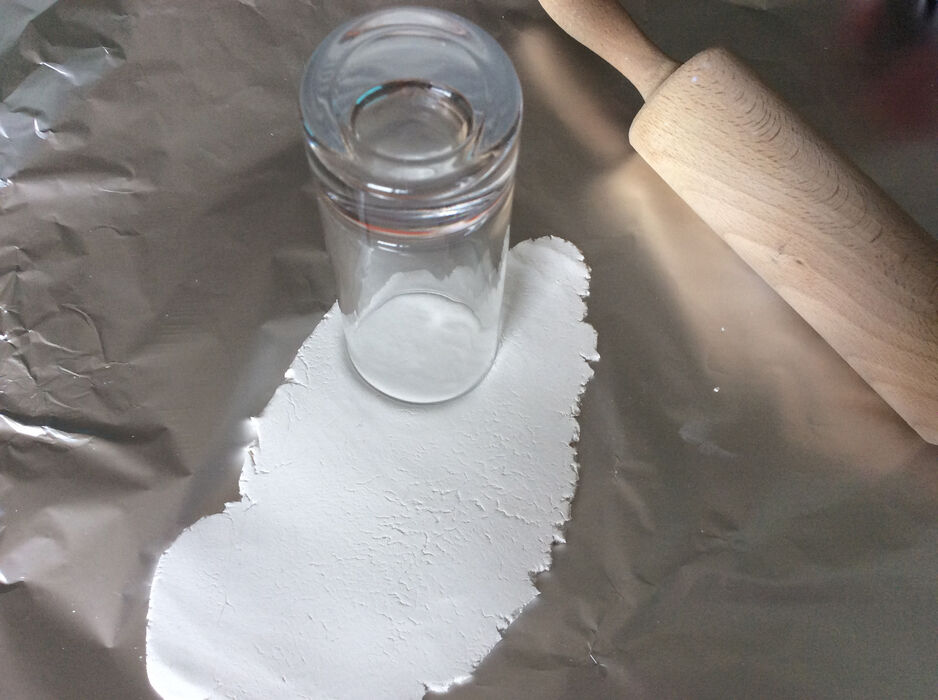
Cut out circles.
Flatten the circles.
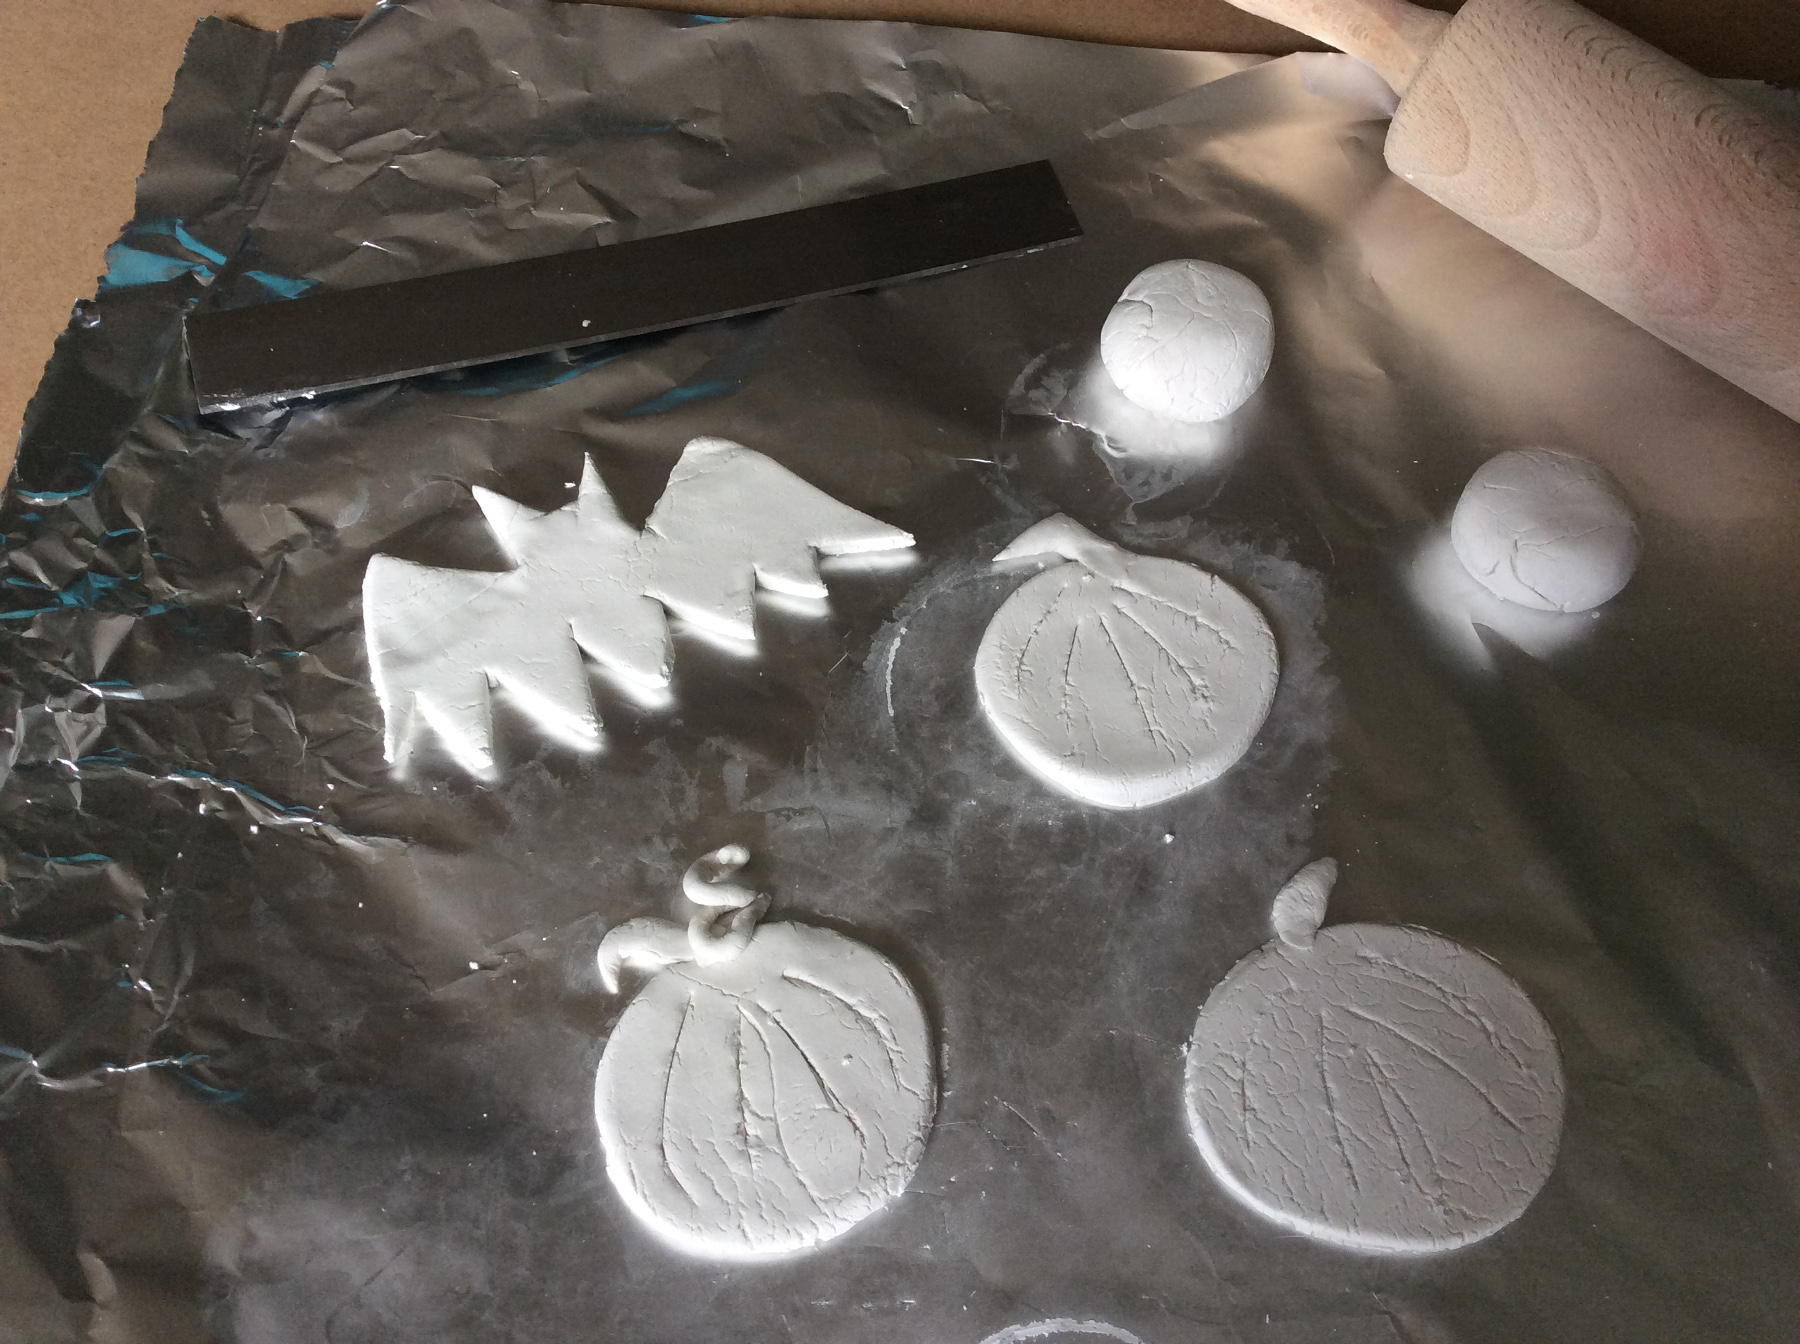
Press stripes into the pumpkins.


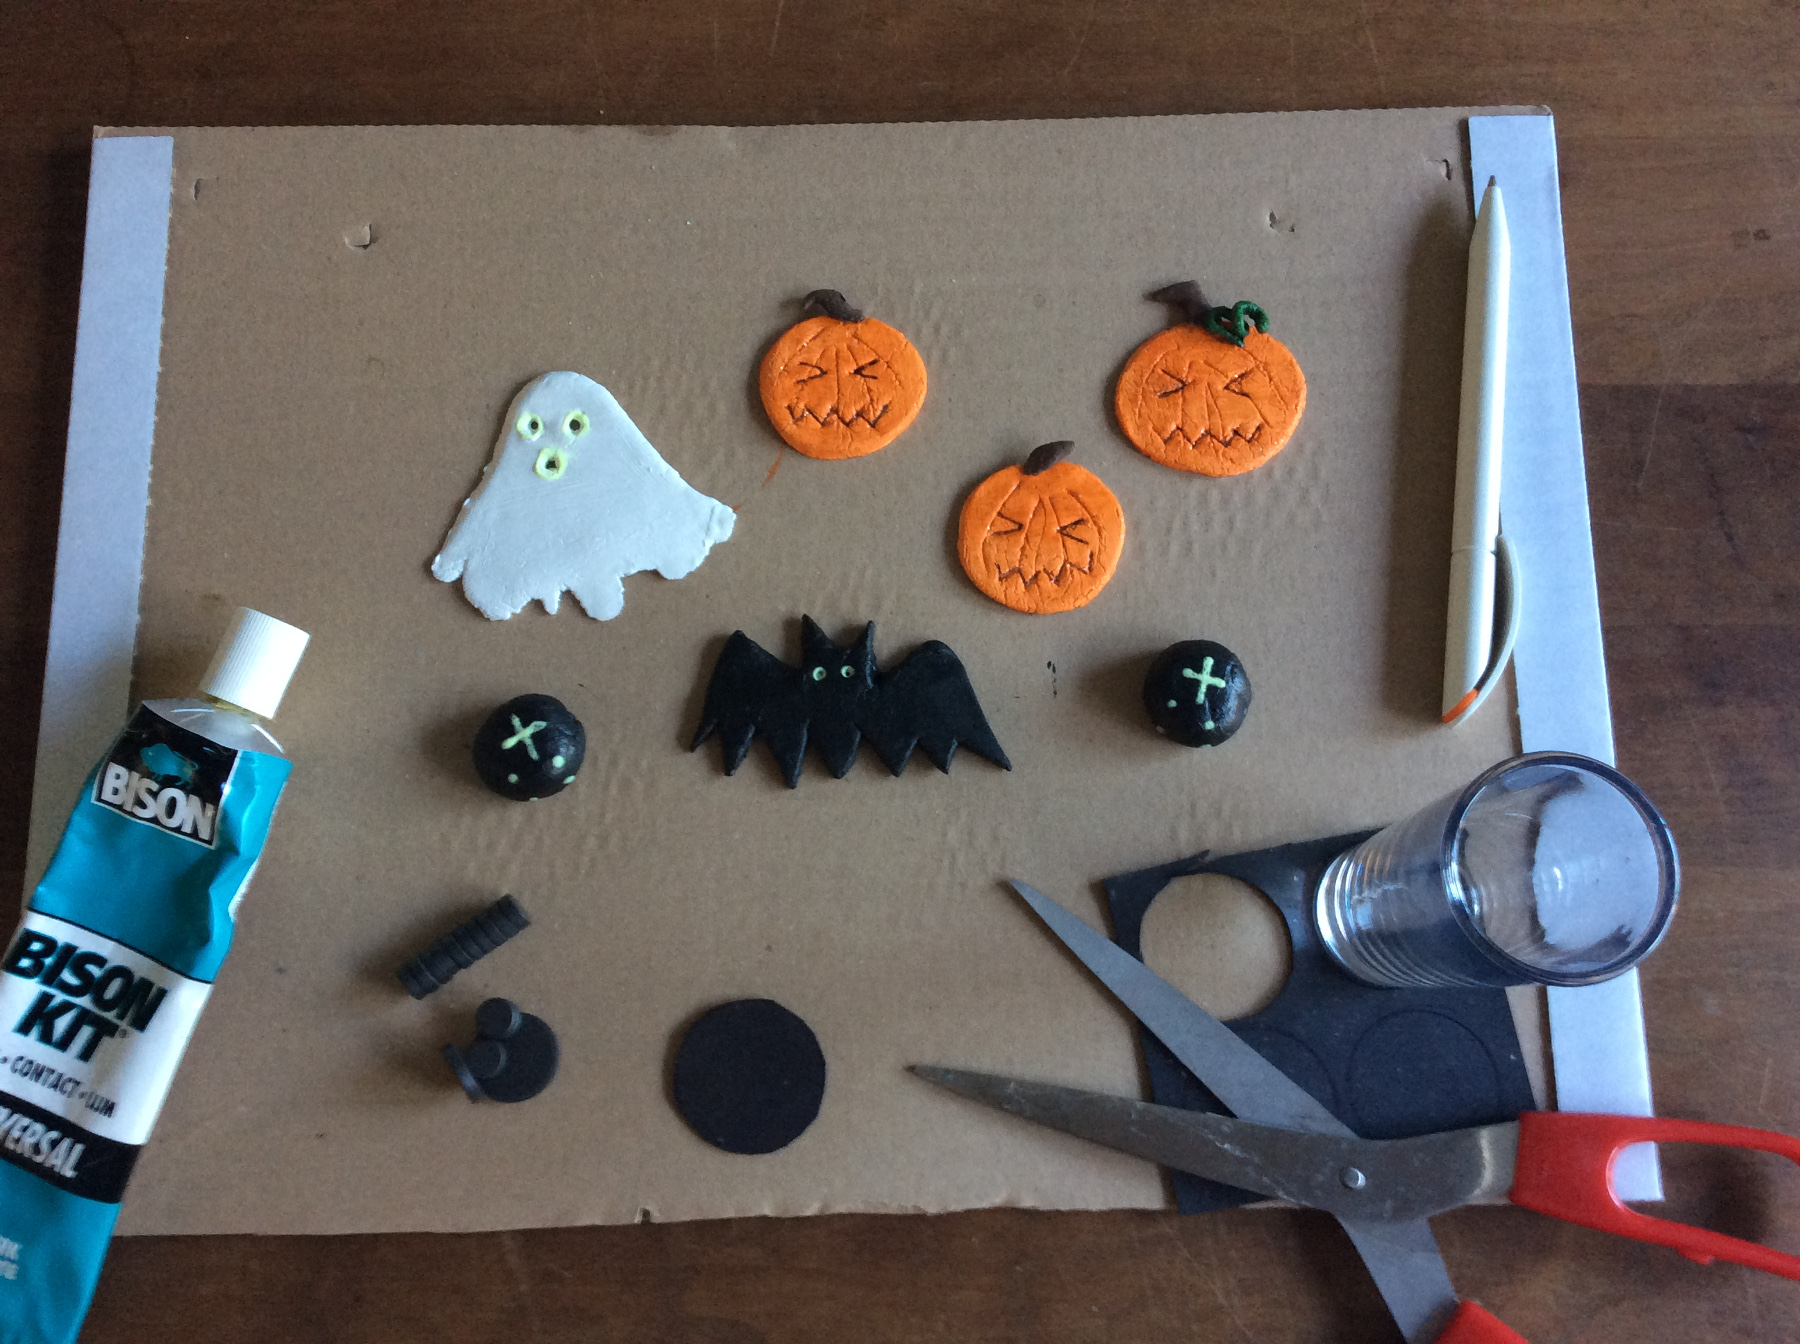
Also cut out a ghost.
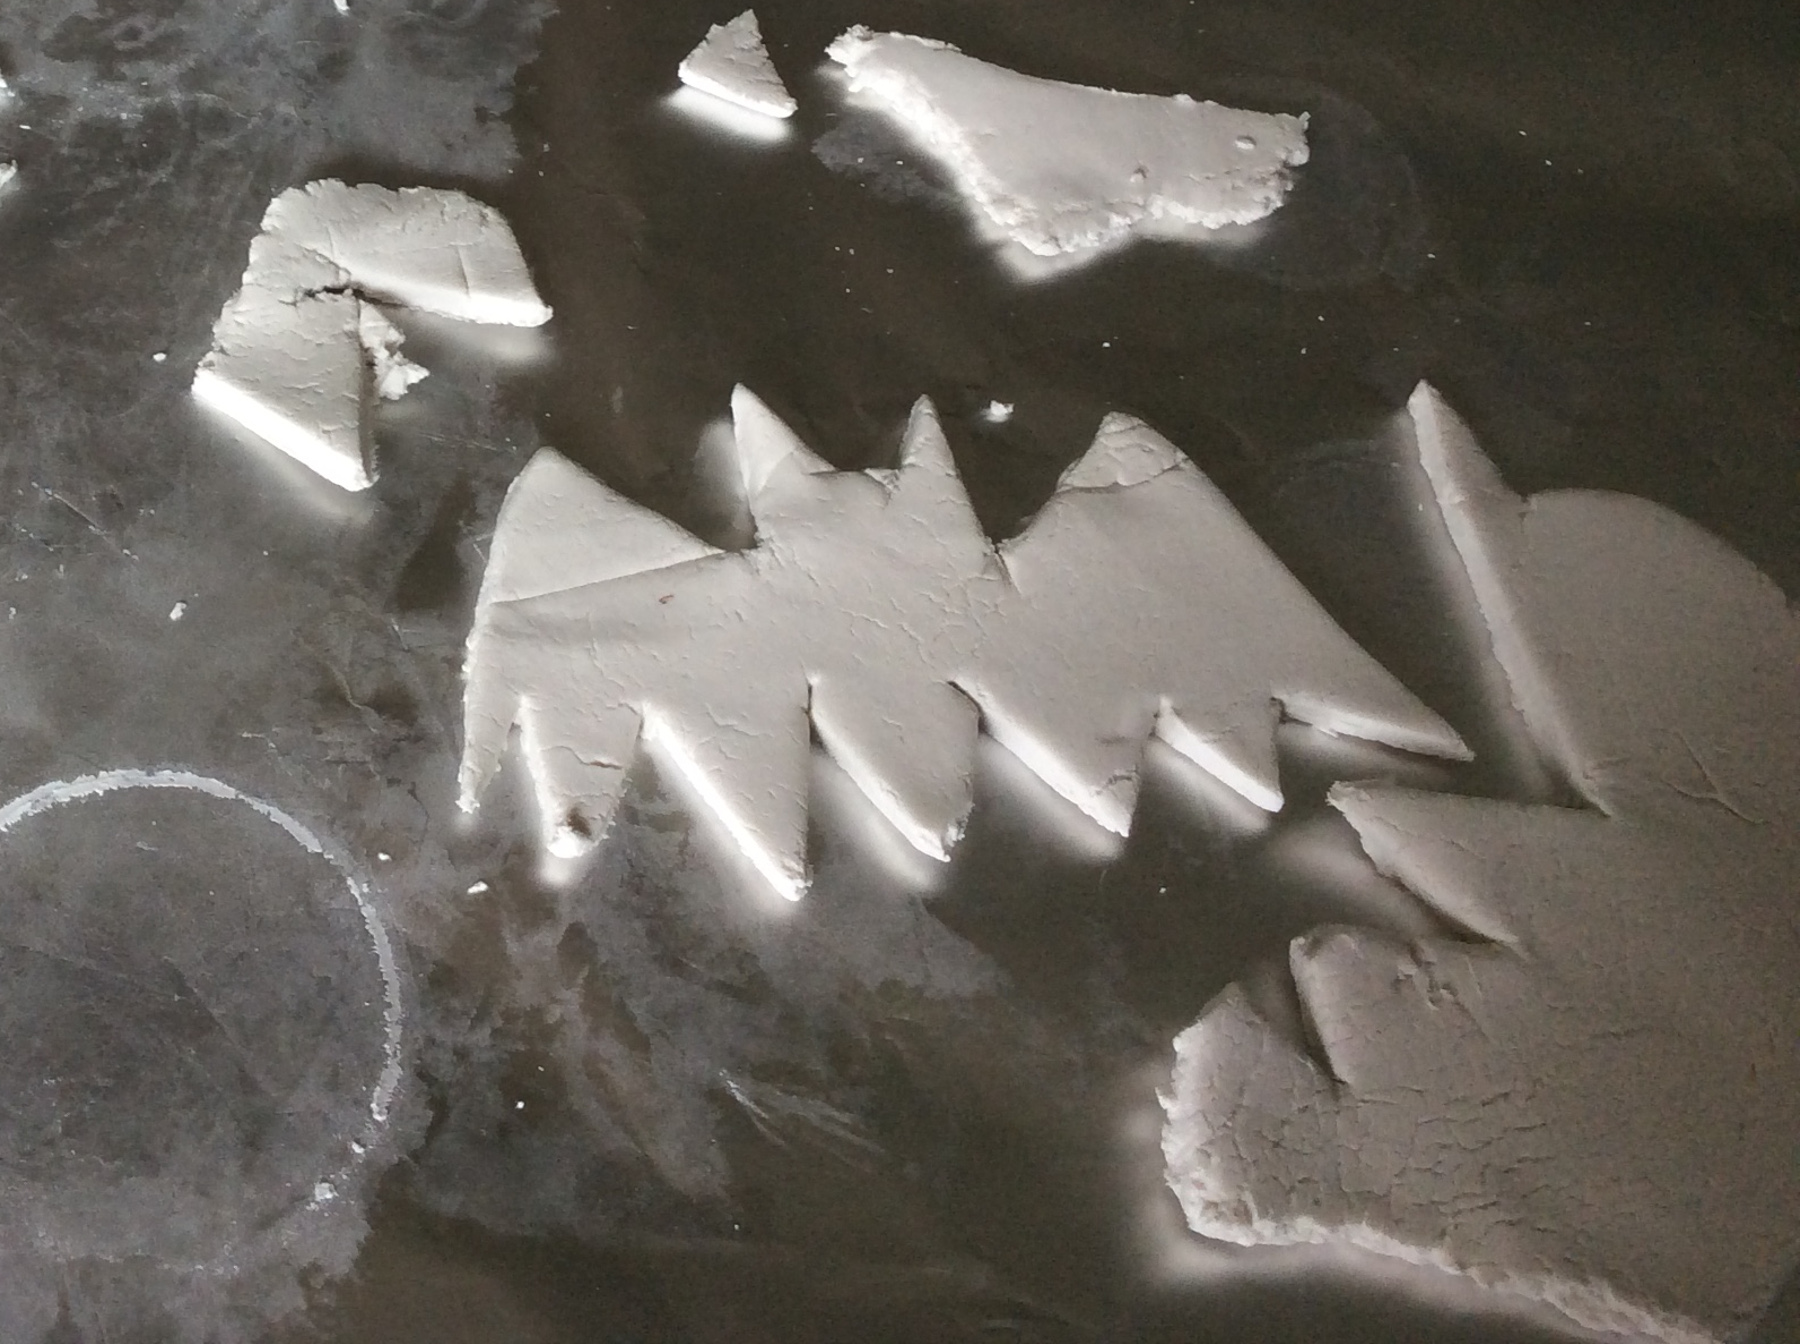
A bat ...
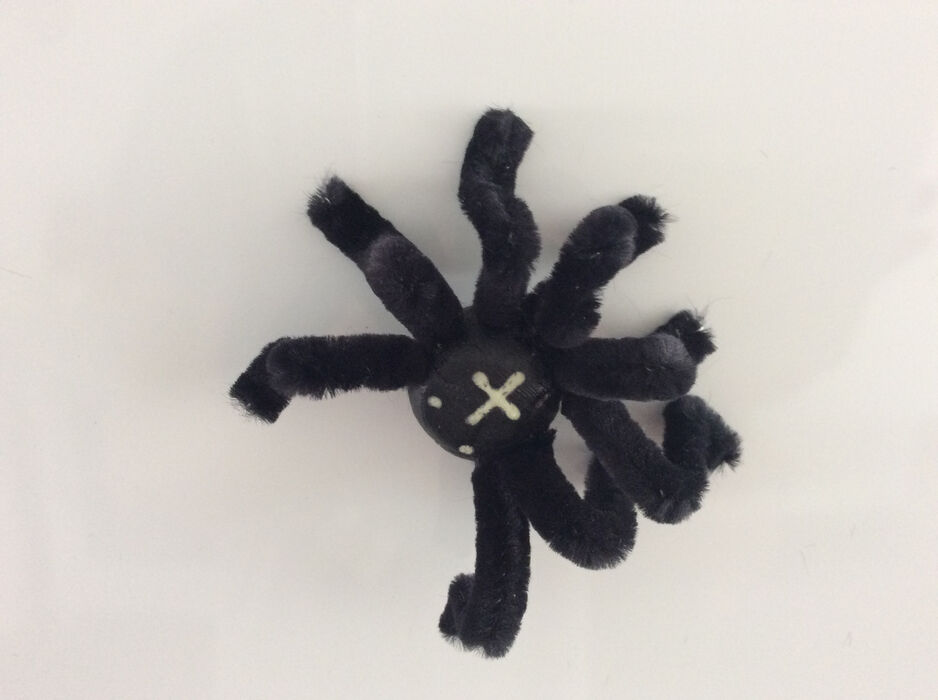
and 2 fat spiders.
Let the clay dry for 48 hours then you can paint the figures. When the paint is dry you can optional varnish the figures.
For the 'faces' of the ghost, bat and spiders we used glow-in-the-dark paint, for the eyes and mouths of the pumpkins we used a black feltpen.
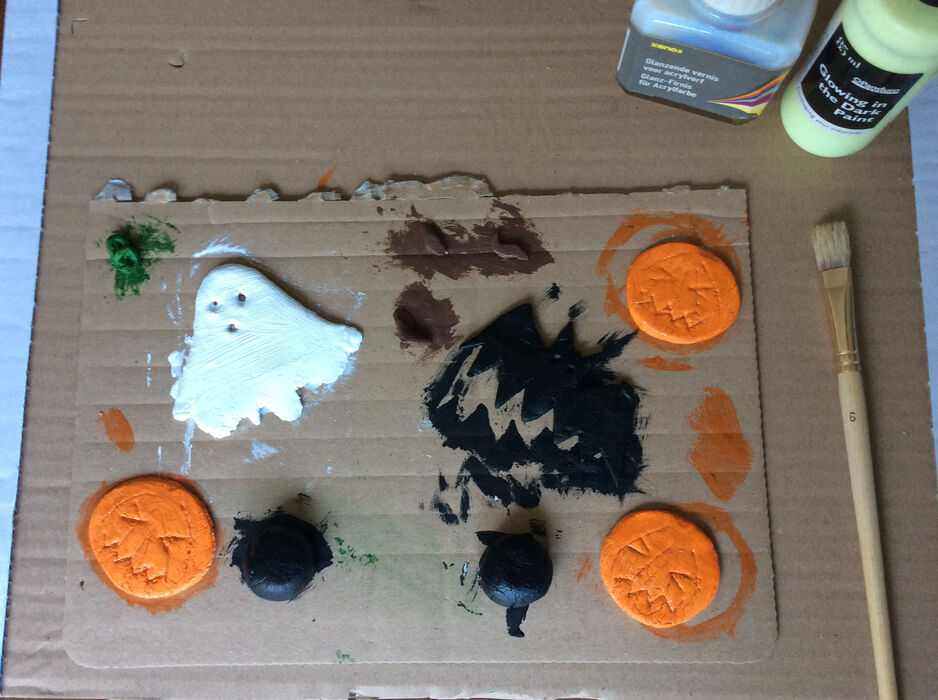
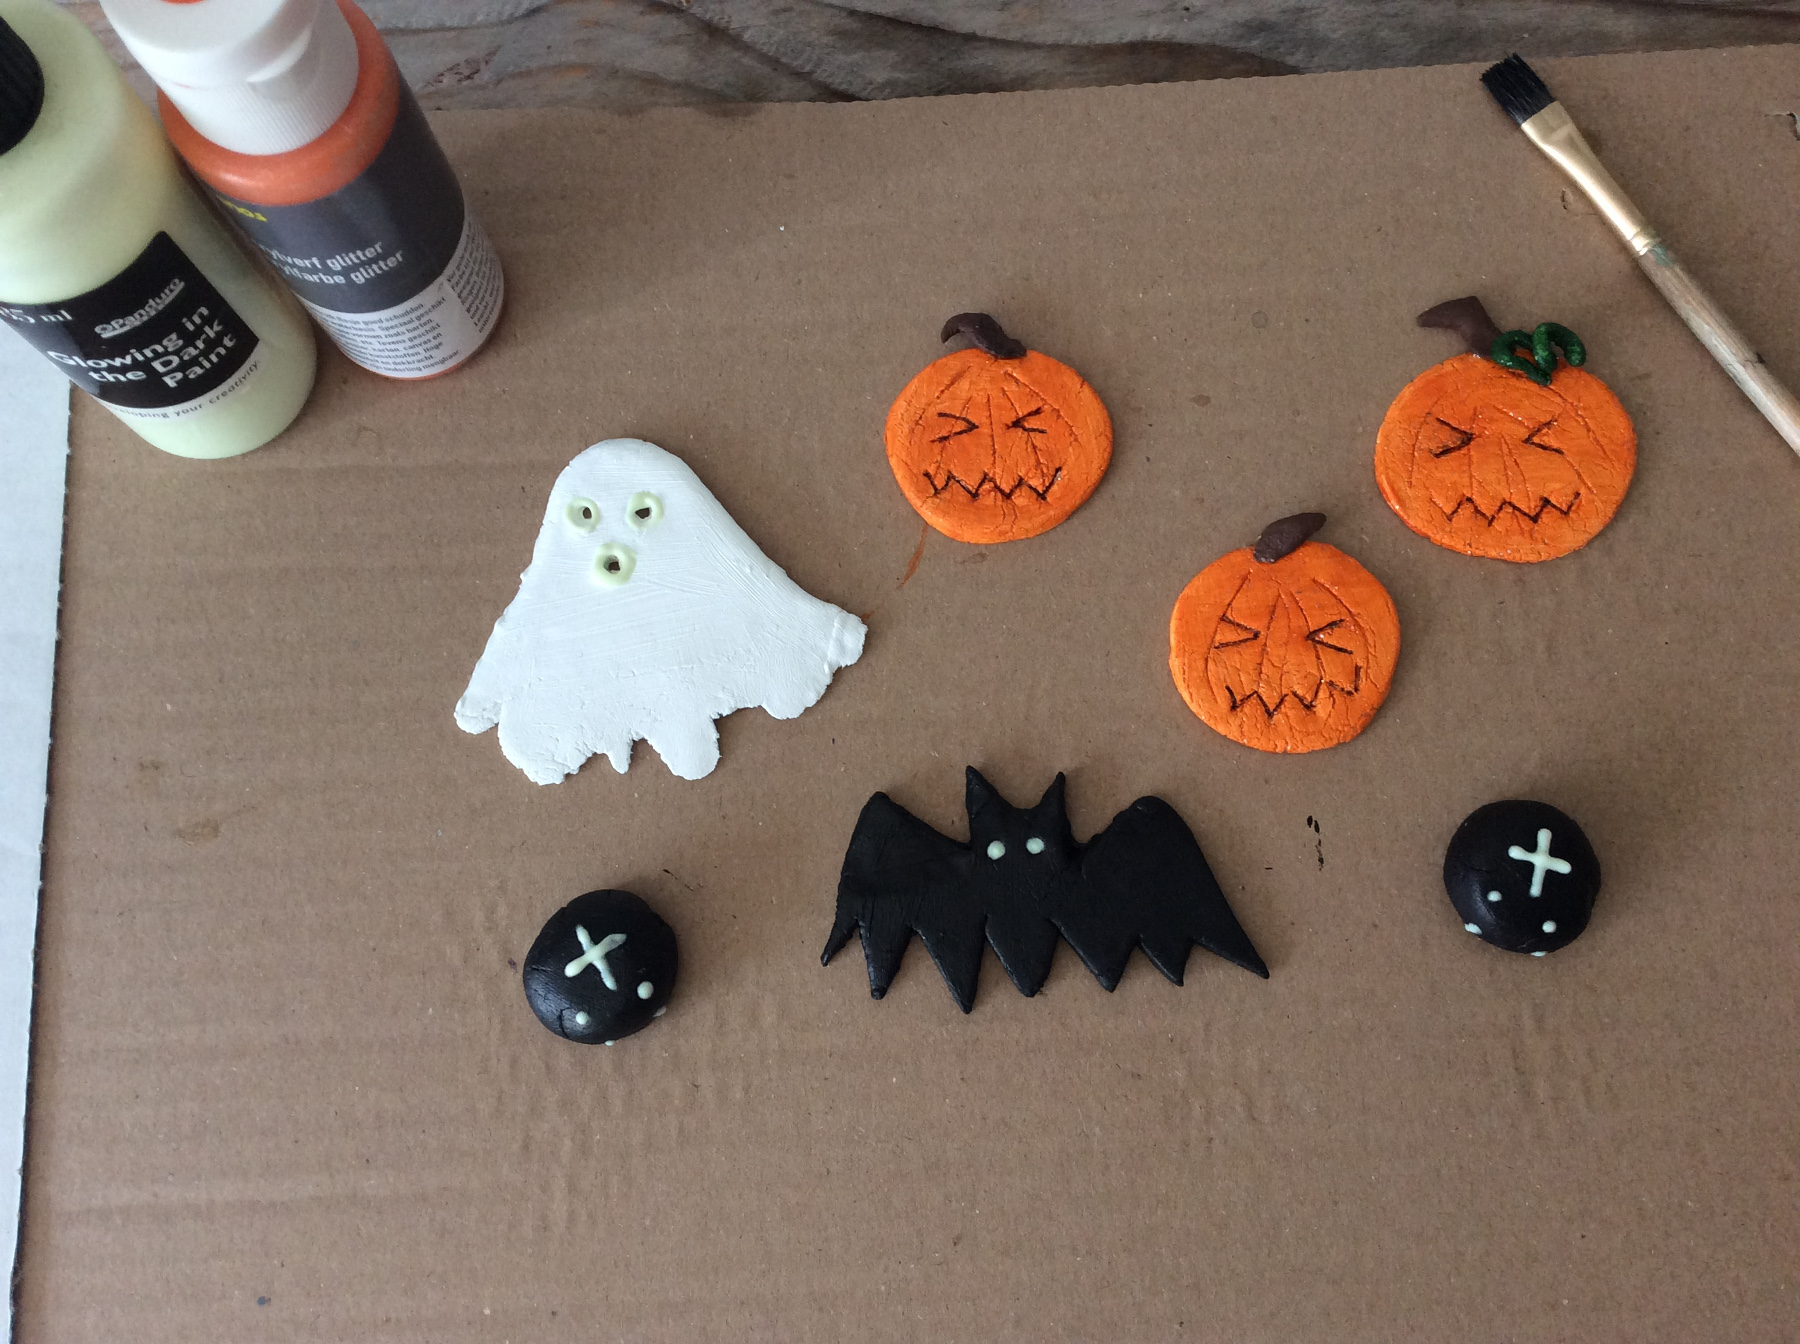
Paint all the parts seperately.
When the paint is dry you can make faces.
Cut out and stick stick magnets on the backside.
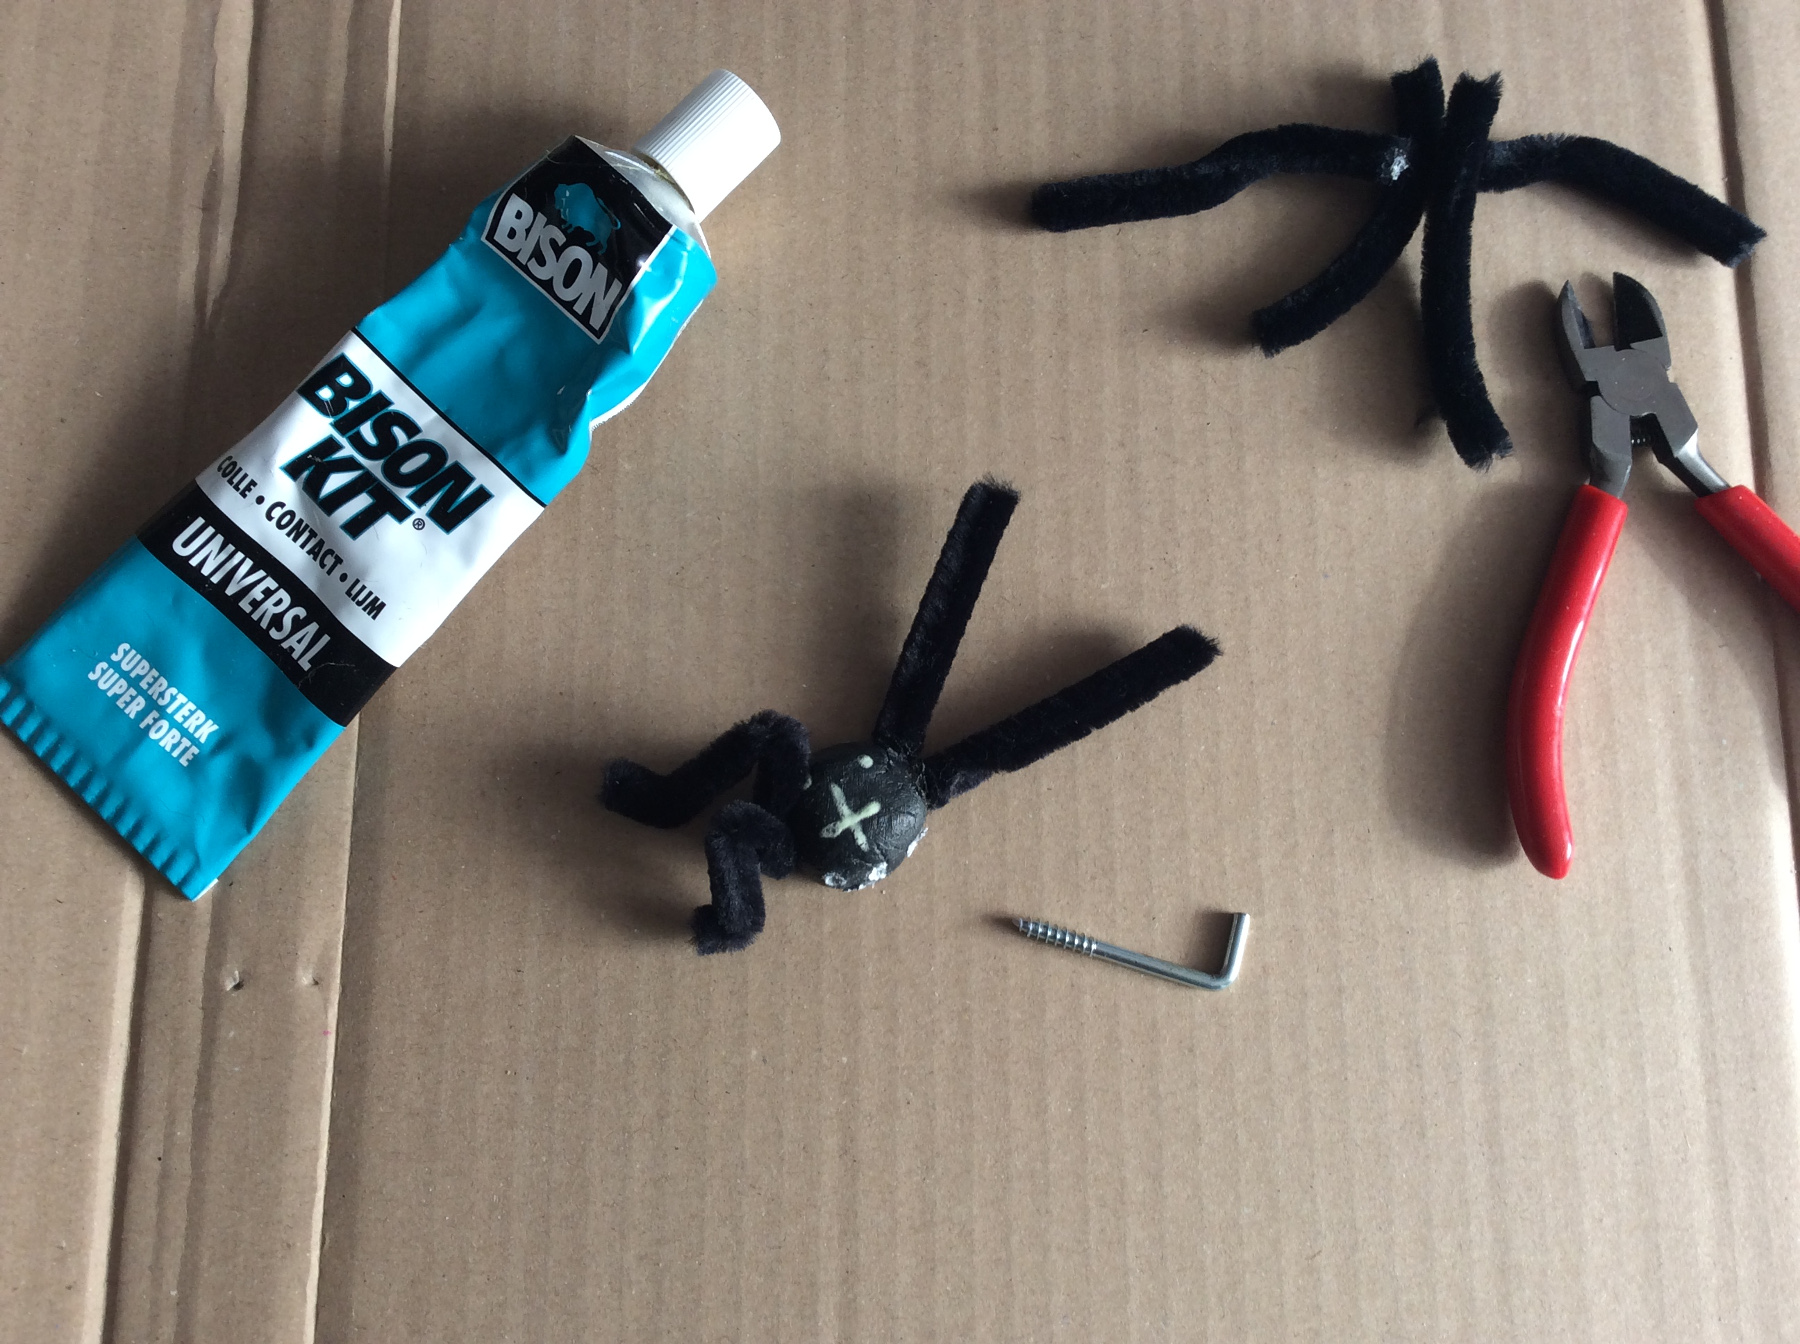
Drill holes into the spiders and glue the leggs in.
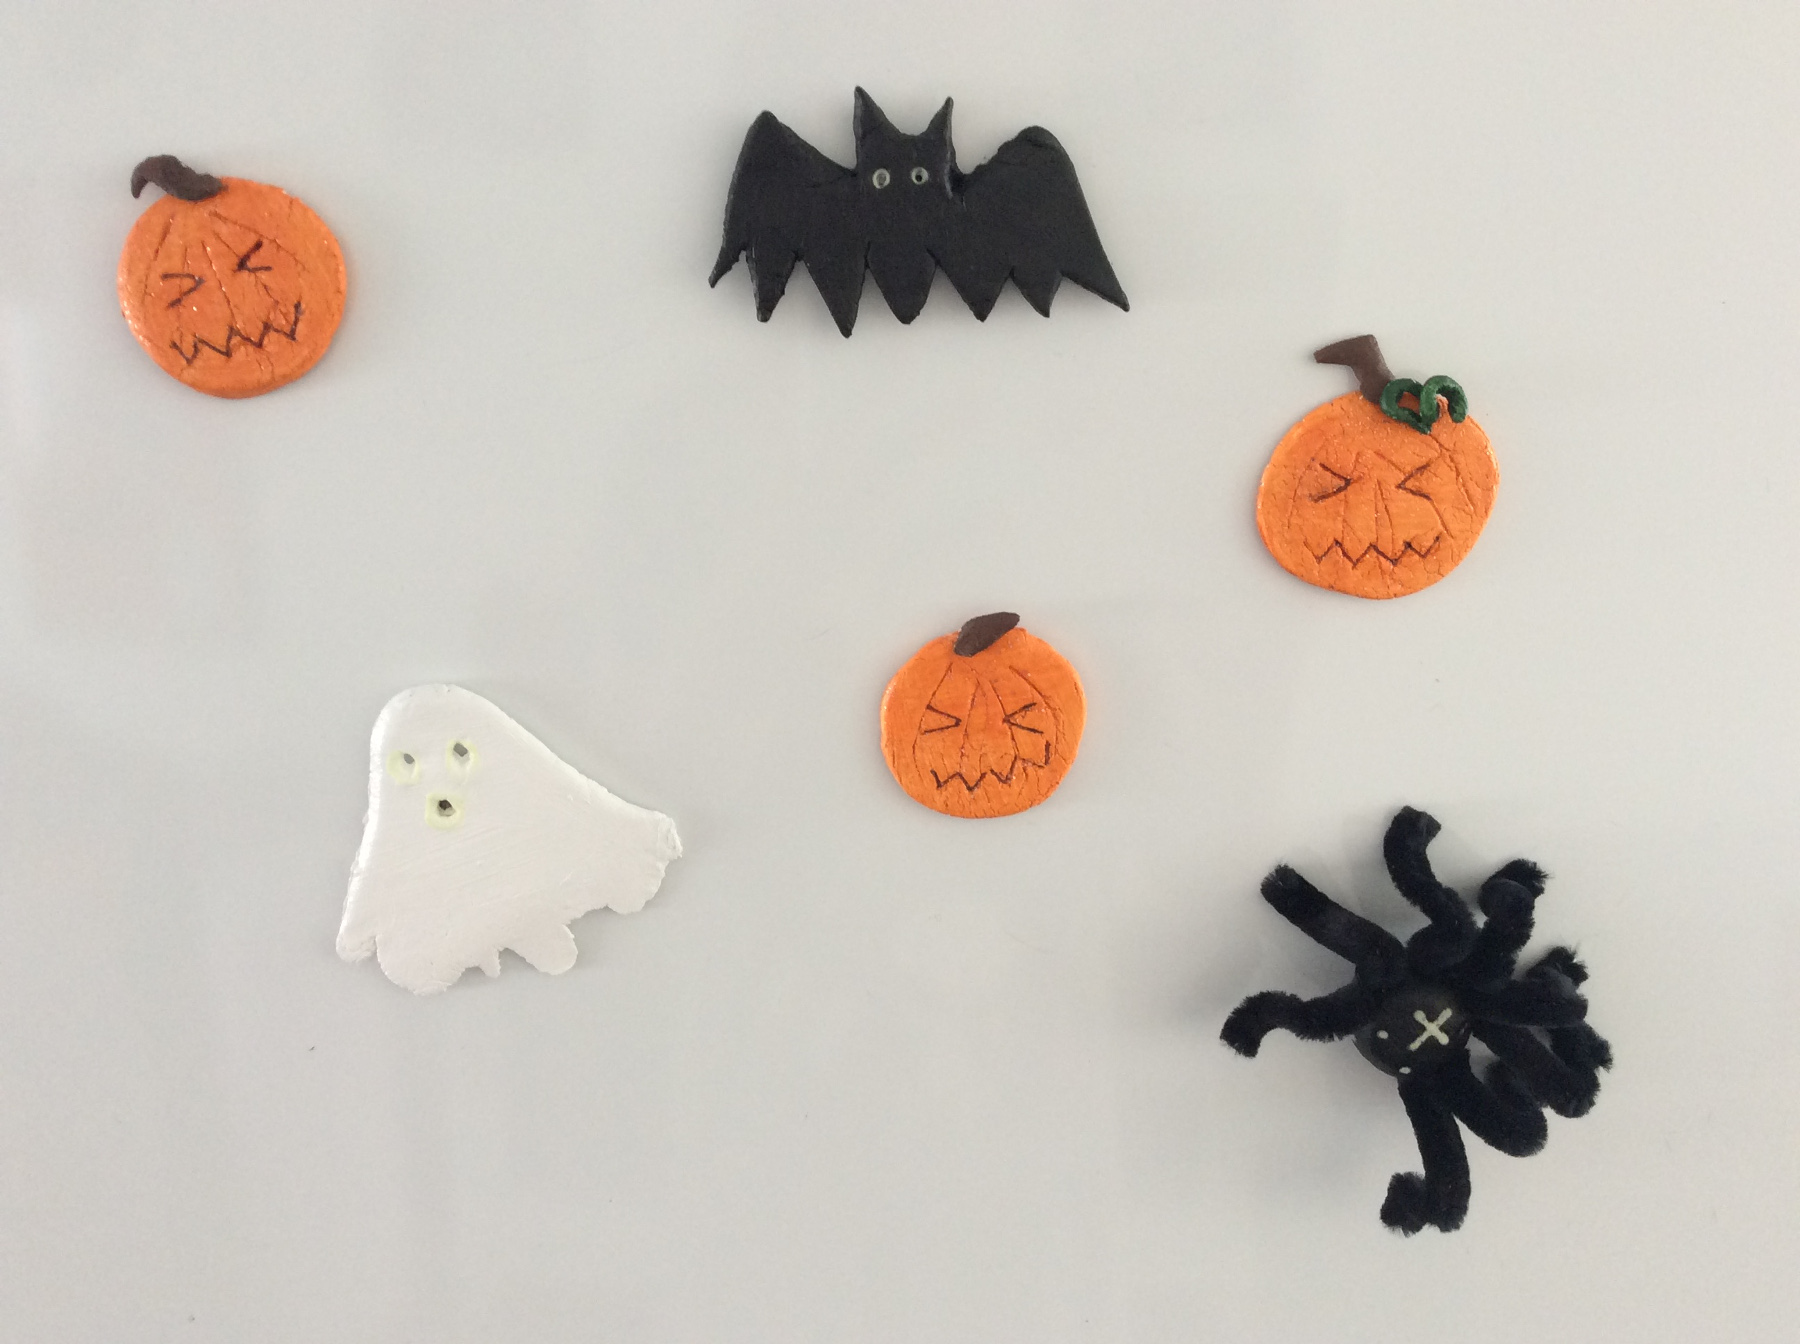
The magnets are ready, just stick them on.
Happy Halloween!