What do you need?
- a piece of black cardboard
- milky white, translucent plastic (bag)
- silver gray paint and brush
- transparent hobby glue
- strong glue (Bison)
- wooden slat of 2.10x1x1 cm
- Two metal eyelets
- pencil and scissors
To make this witches window besides materials you also need tools:
- miter box and miter saw
- hammer and nails or
- a heavy duty stapler
- Pliers
- a large darning needle
How to make the window
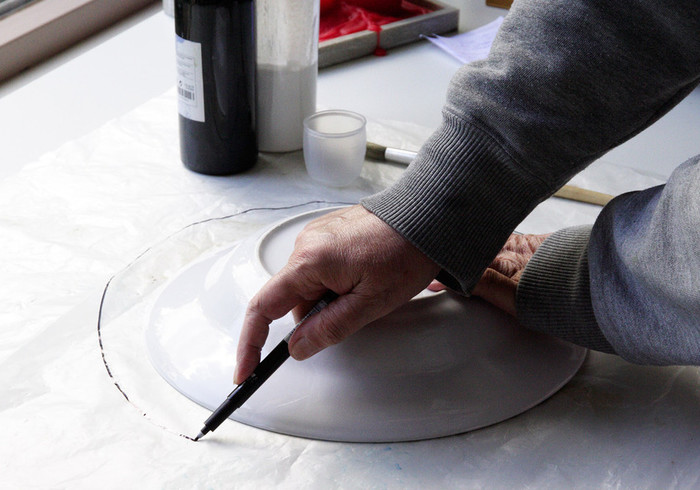
Trace a circle around a big plate on black cardboard.
Cut in the middle a cross with a knife and cut out the circle.
Draw a larger circle on the milky plastic and cut it out also.
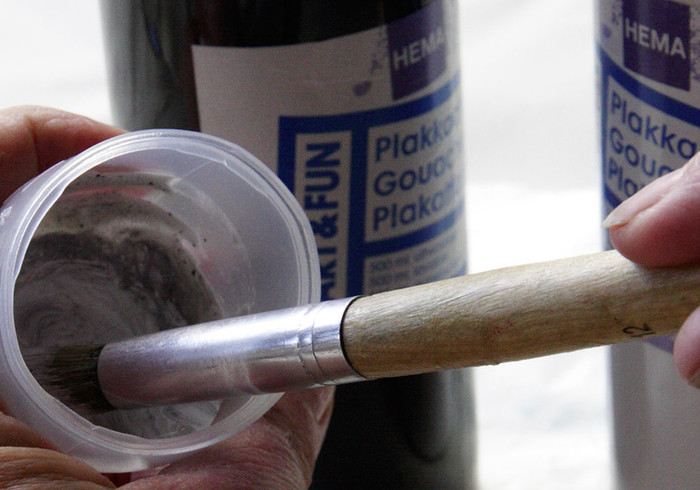
Mix black and white acrylic paint until it's silver grey.
Rub gray paint on the "moon" and wipe it in circles with a piece of paper towel.
Glue the moon when dried to the back of the black cardboard.
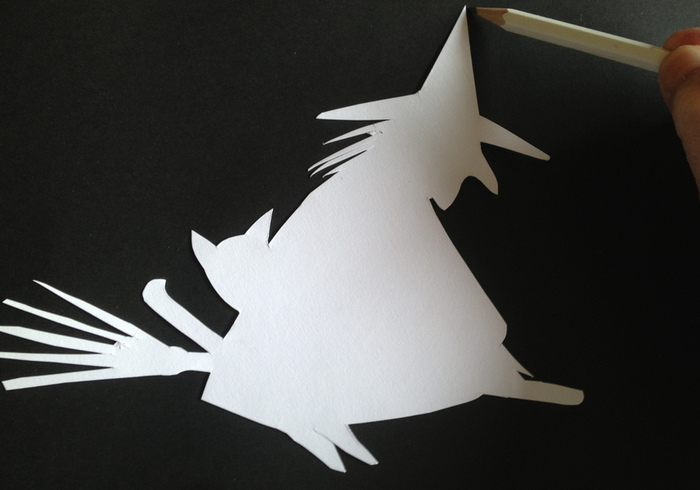
Download our witch, print and cut her out. Trace the witch on cardboard and cut her out.
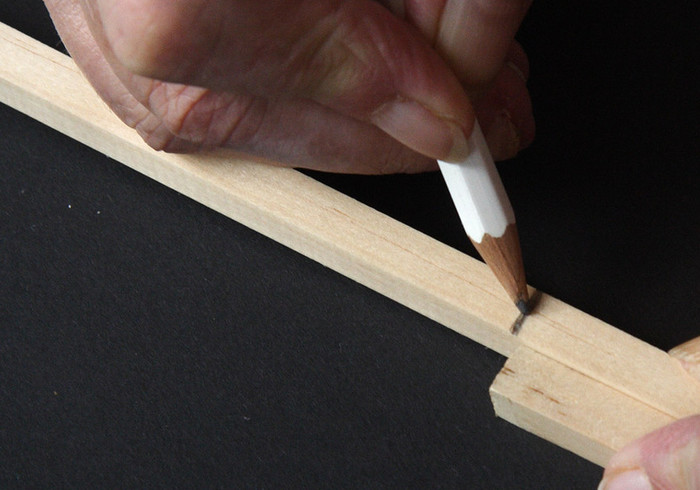
Meet the slats off along the cardboard, mark with pencil and cut them off.
Repeat this on the long side of the cardboard.
Cut off two of the same size slats again.
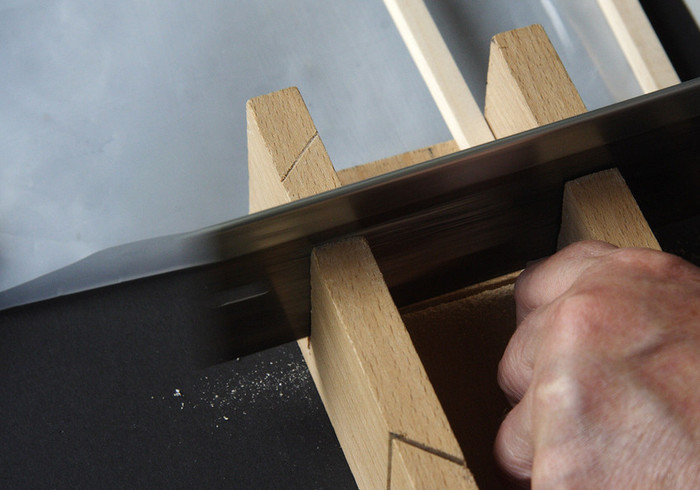
Use a miter box to saw the slats straight.
Use a heavy duty stapler to drive staples into the corners, or use hammer and nails.
Twist two small eyelets into the slat on both short sides to hang it.
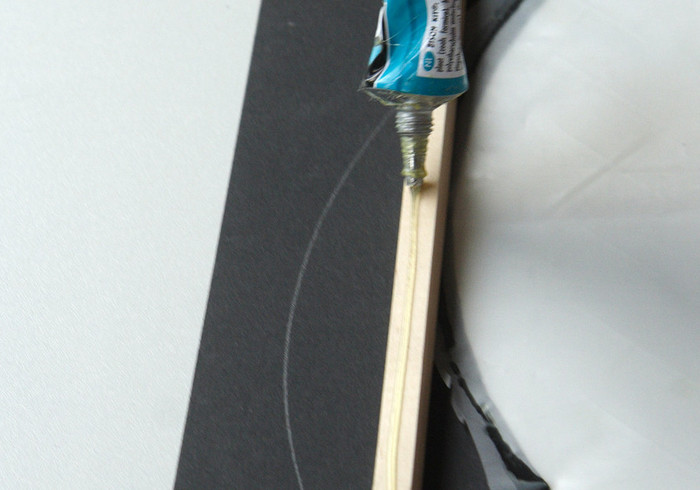
Rub Bison glue onto the frame of slats.
Divide the glue with a piece of paper, let it dry a bit before sticking it on.
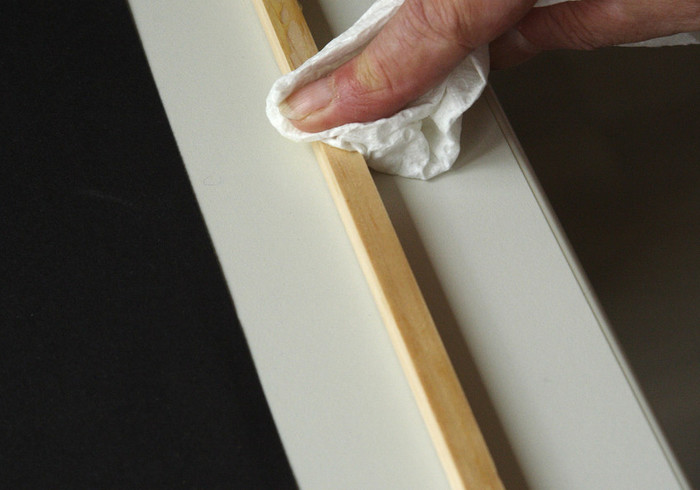
Stick the witch on the front, on the moon. Press the witch firmly on with a cloth.
Glue the frame to the back of the carton board to make it sturdy.
Prick holes in the cardboard with the needle and place a light behind it.
Hang the witch in the window and in the evening take a look outside with the kids. Admire the witch on her good side, she looks really pretty in the dark.


