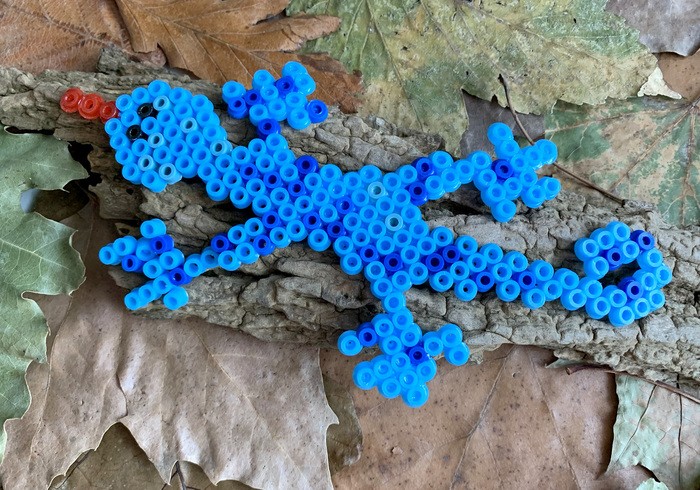
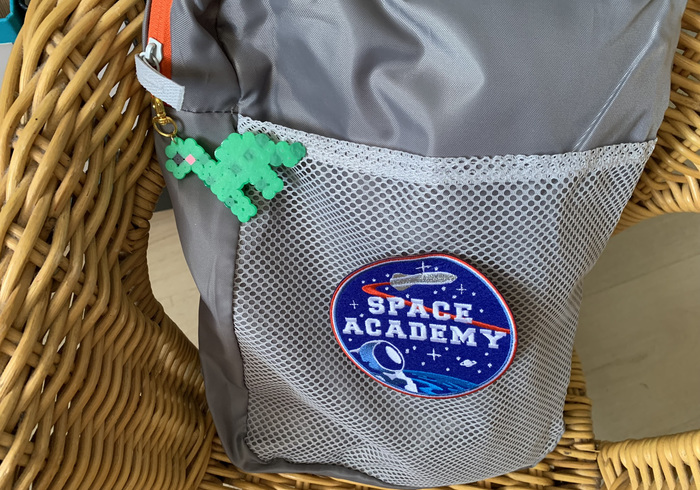
What do you need for the lizard?
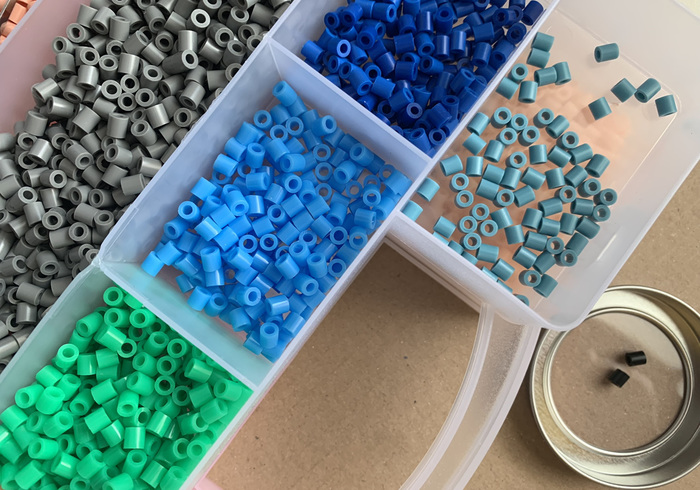
perler beads in three shades of blue
2 black and 3 red perler beads
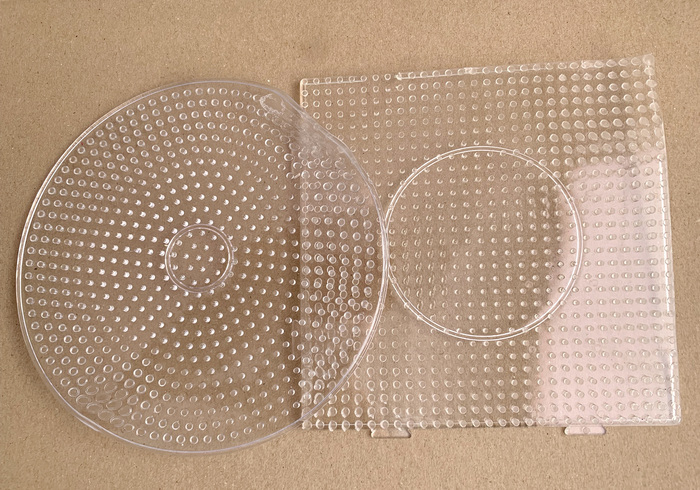
base plates for perler beads
baking paper
iron (for adult use only)
For the dinosaur
perler beads, in 2 shades of green
1 black and 1 pink perler bead
small base plate
baking paper & iron
keychain
The mini monsters make lizards and for the youngest crafters we have a pattern for a baby dinosaur. Isn't that fun? With perler beads you can make anything you like, all you need is a pattern and a mom or grandma with an iron! We took care of the patterns, do you have a mom or gran with an iron?
How to make a lizard
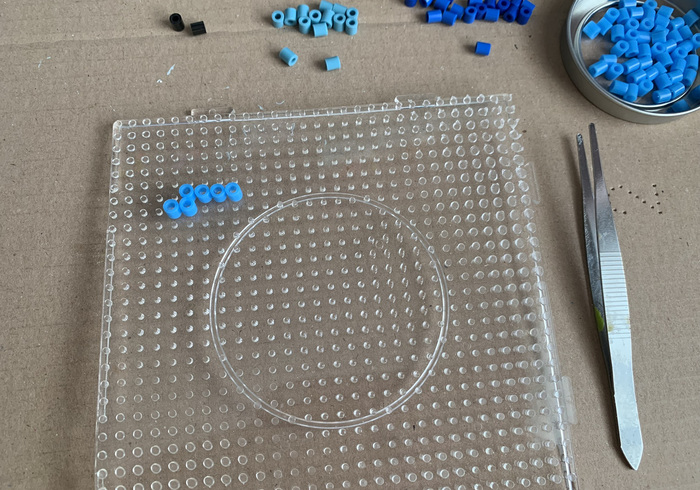
First choose the colors you like.
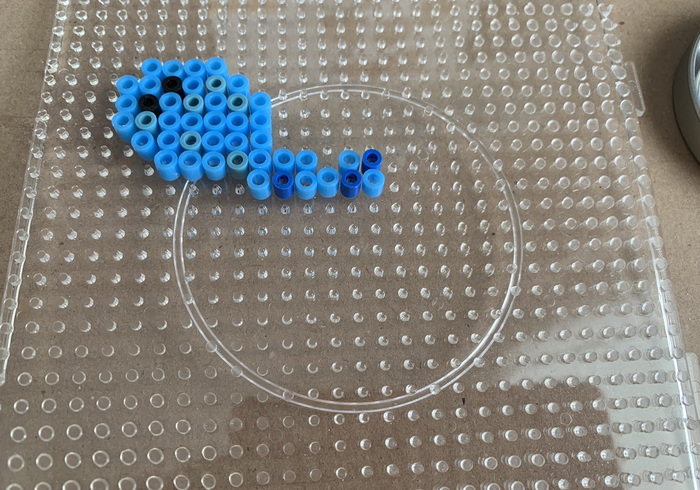
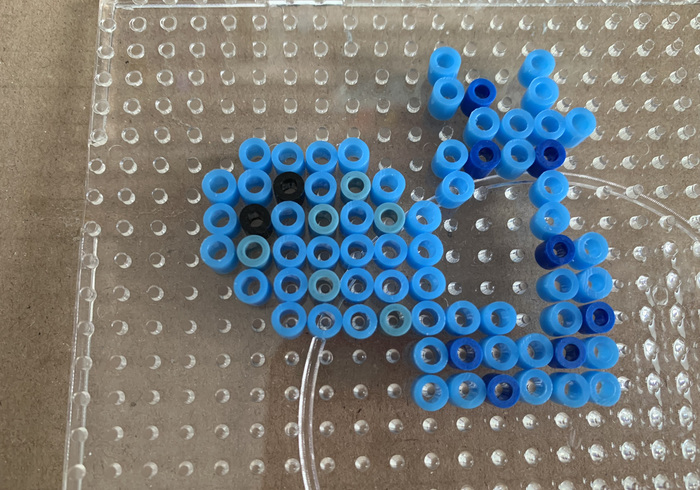
Start with the head.
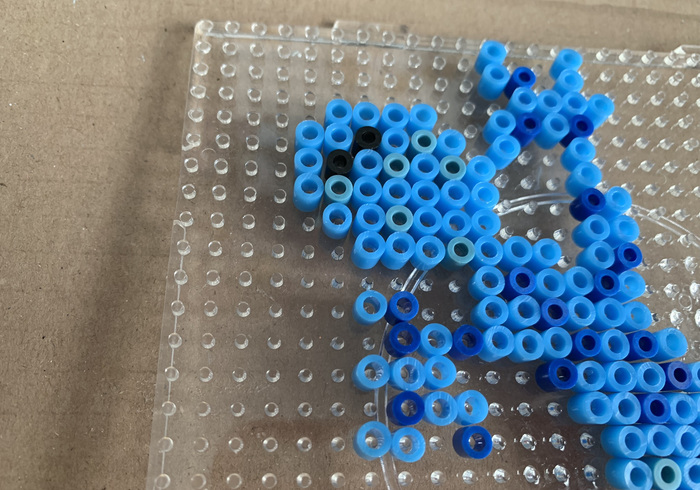
Then paw by paw.
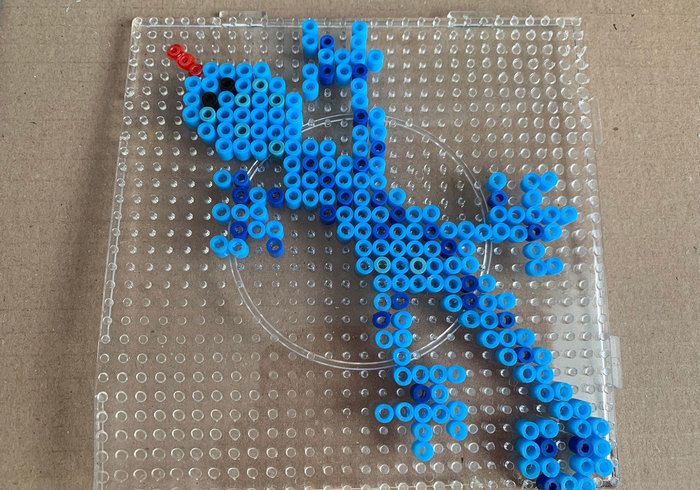
To the tip of the tail.
Finally add on a tongue, using 3 red perler beads.
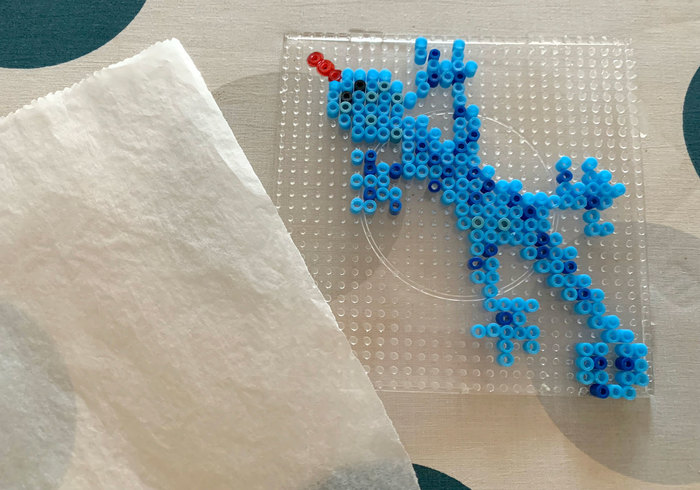
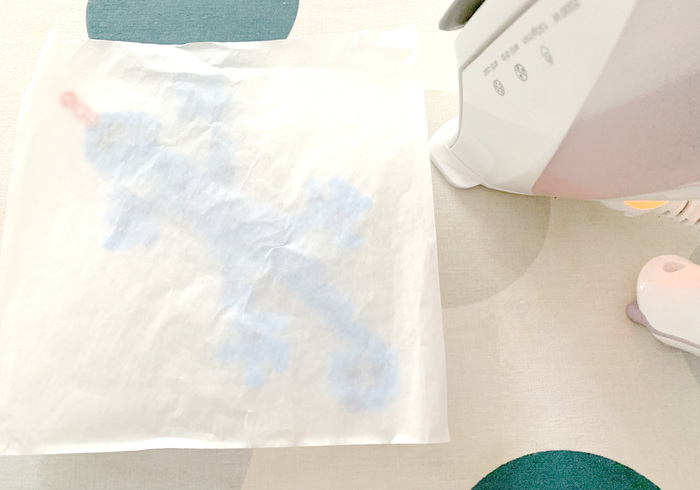
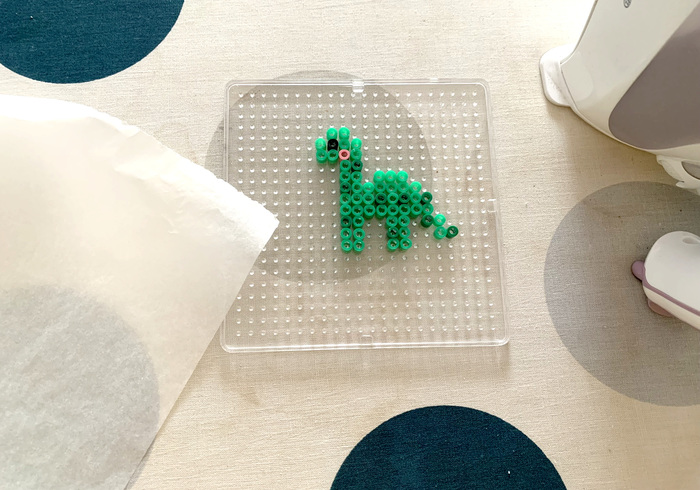
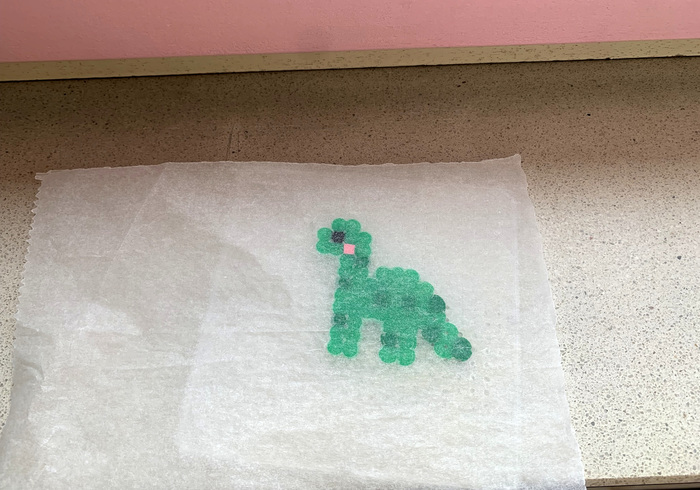
Call Mum (or gran) with the baking paper and iron.
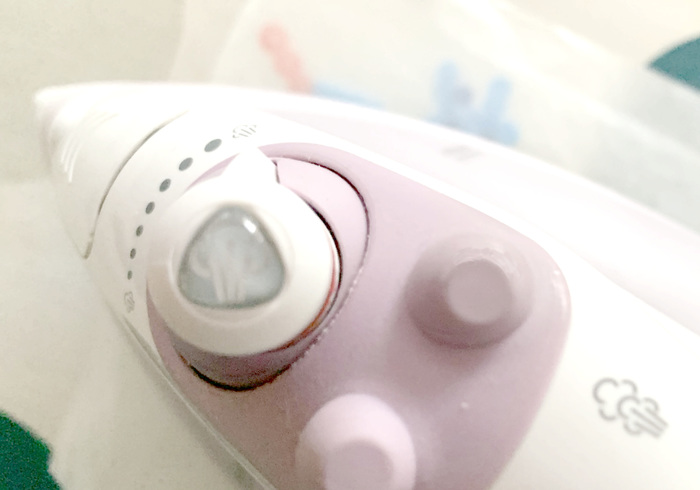
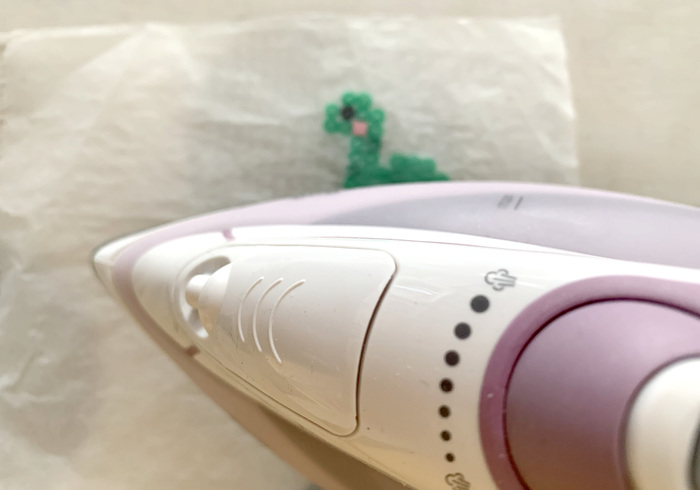
Turn the iron on high heat but without the steam!
Iron circular, for +/- 20 seconds.
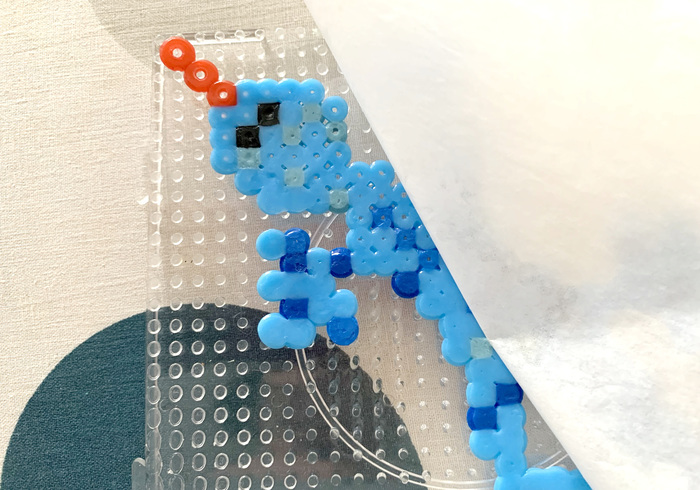
Gently peel off the baking paper .
Let your craft cool down a tat.
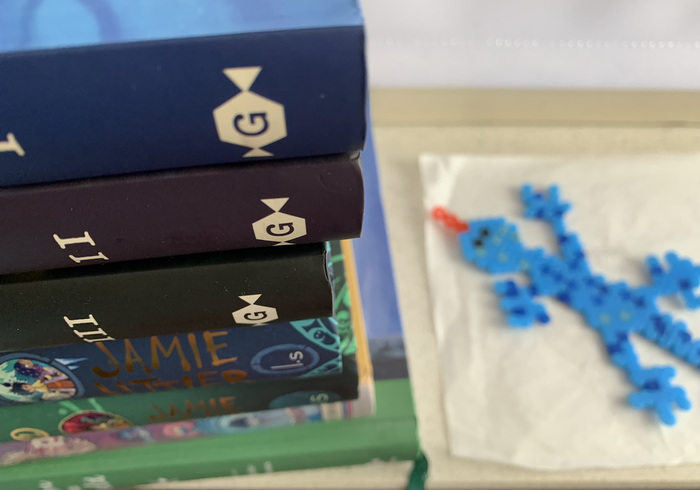
Place a stack of heavy books on top.
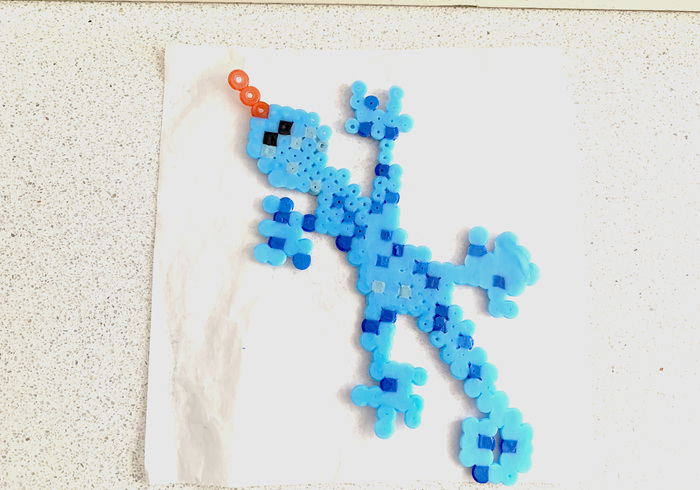
Sometimes larger Perler bead crafts warp a bit, but a stack of thick books flattens them again nicely. Then your lizard is ready!
How to make a baby Dinosaur
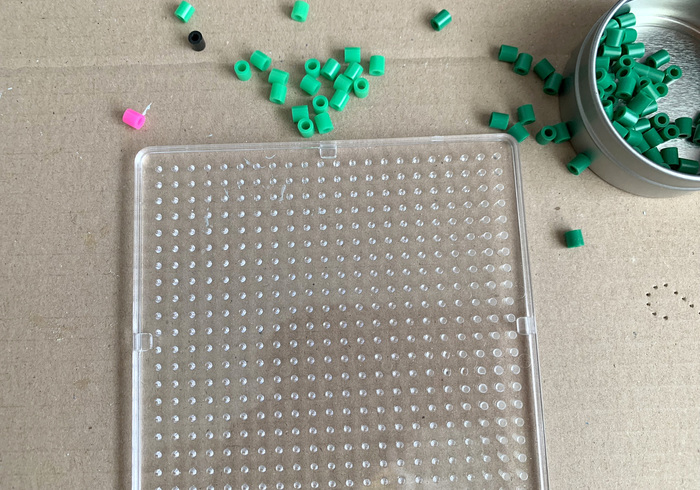
Choose your colours.
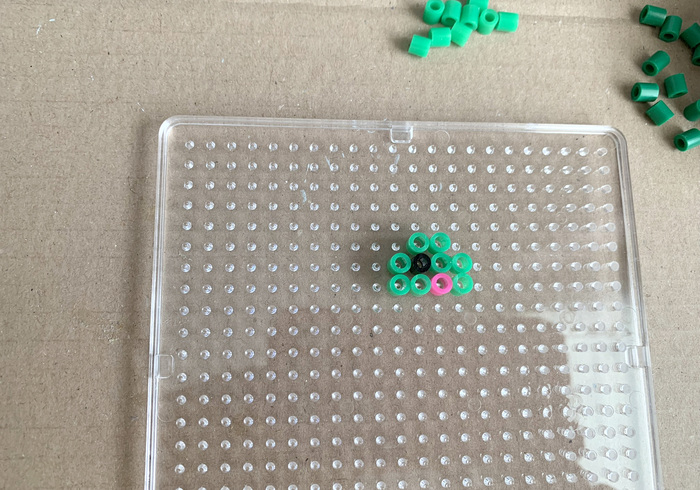
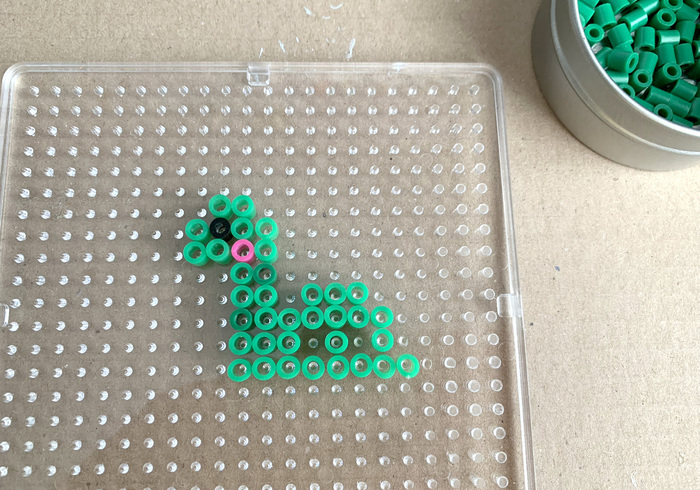
Push the head on the base board.
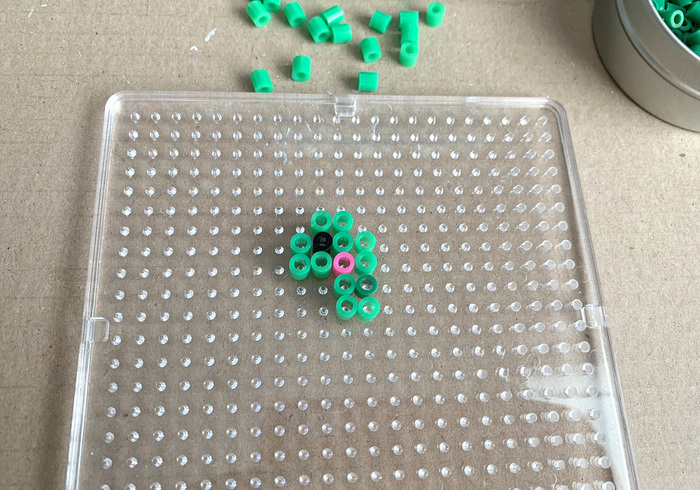
Continue with the neck.
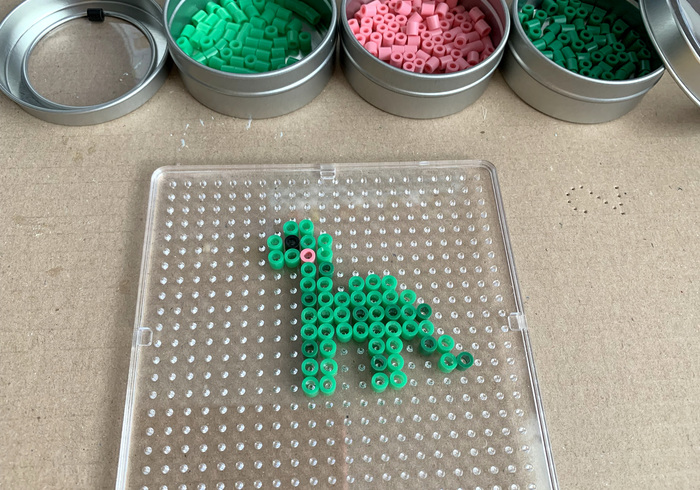
Then you make the body.
Finally you press in the tail and legs.
Your dinosaur is ready for ironing.
Just count to twenty.
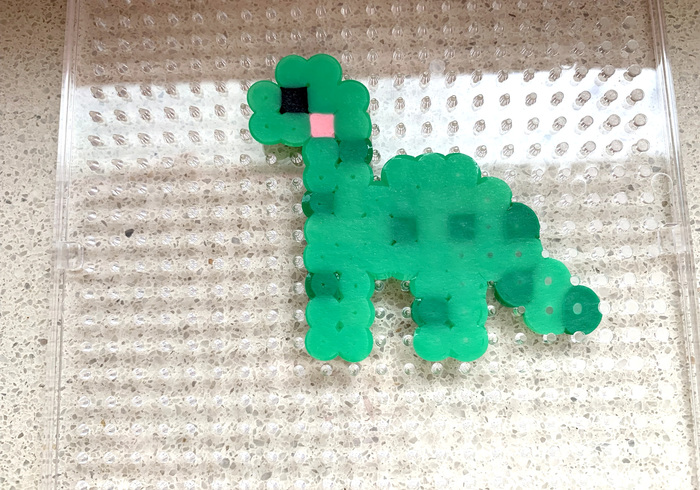
Let your dinosaur cool.
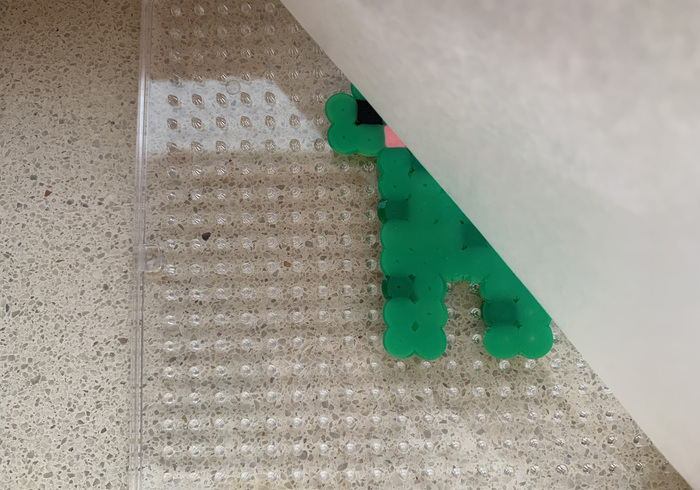
Peel off the baking paper.
Remove the dinosaur gently.
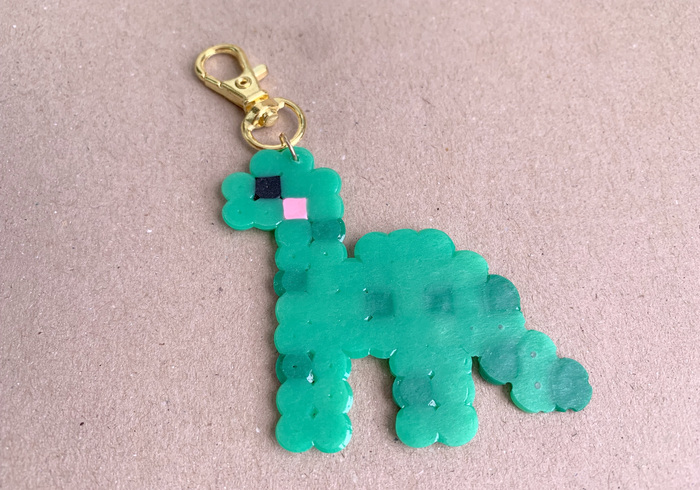
Hang baby on a keychain.
If you want to attach a key ring to your animal, ask mom (or grandma) if she wants to poke a bigger hole with a hot needle
The lizard can be on display in your room right away, but also fun things can be made with these animals. With a key ring on it, you can hang your lizard or dino on your school bag.
Have fun with it!

