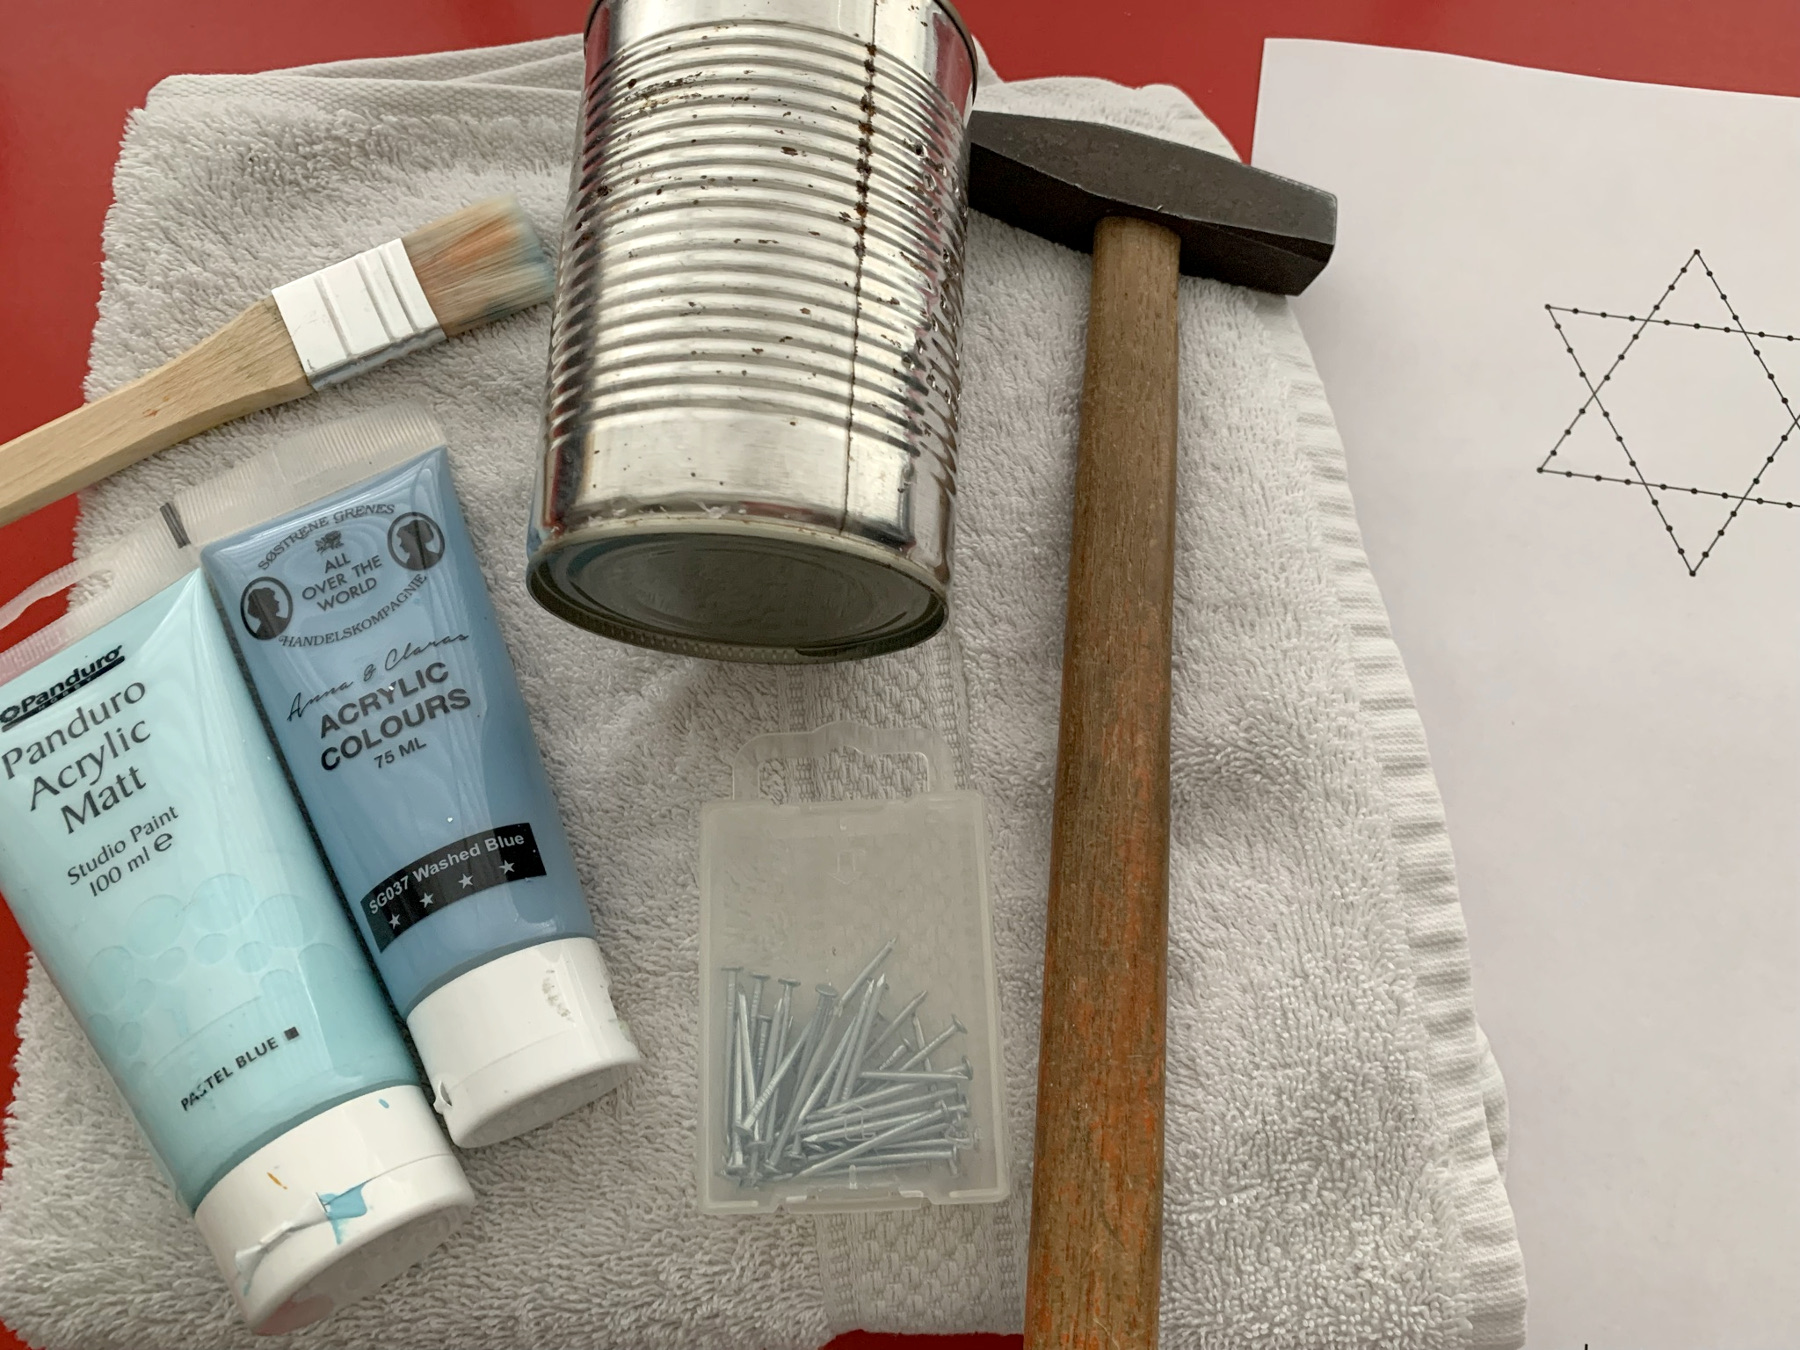
What do you need?
our Star of David PDF
adhesive tape
an empty can
a towel
a hammer
a small nail
paint
paint brush
tea light or LED light
Today we recycle a can in a beautiful light. A light to add to all the Hanukkah lights that will soon be shining over the world. We're going to hammer and paint, we love it!
We started yesterday, when we filled our can with water and put it in the freezer. This morning we printed our PDF in advance, we are ready. We are really eager to start!
How to make a Hanukkah light
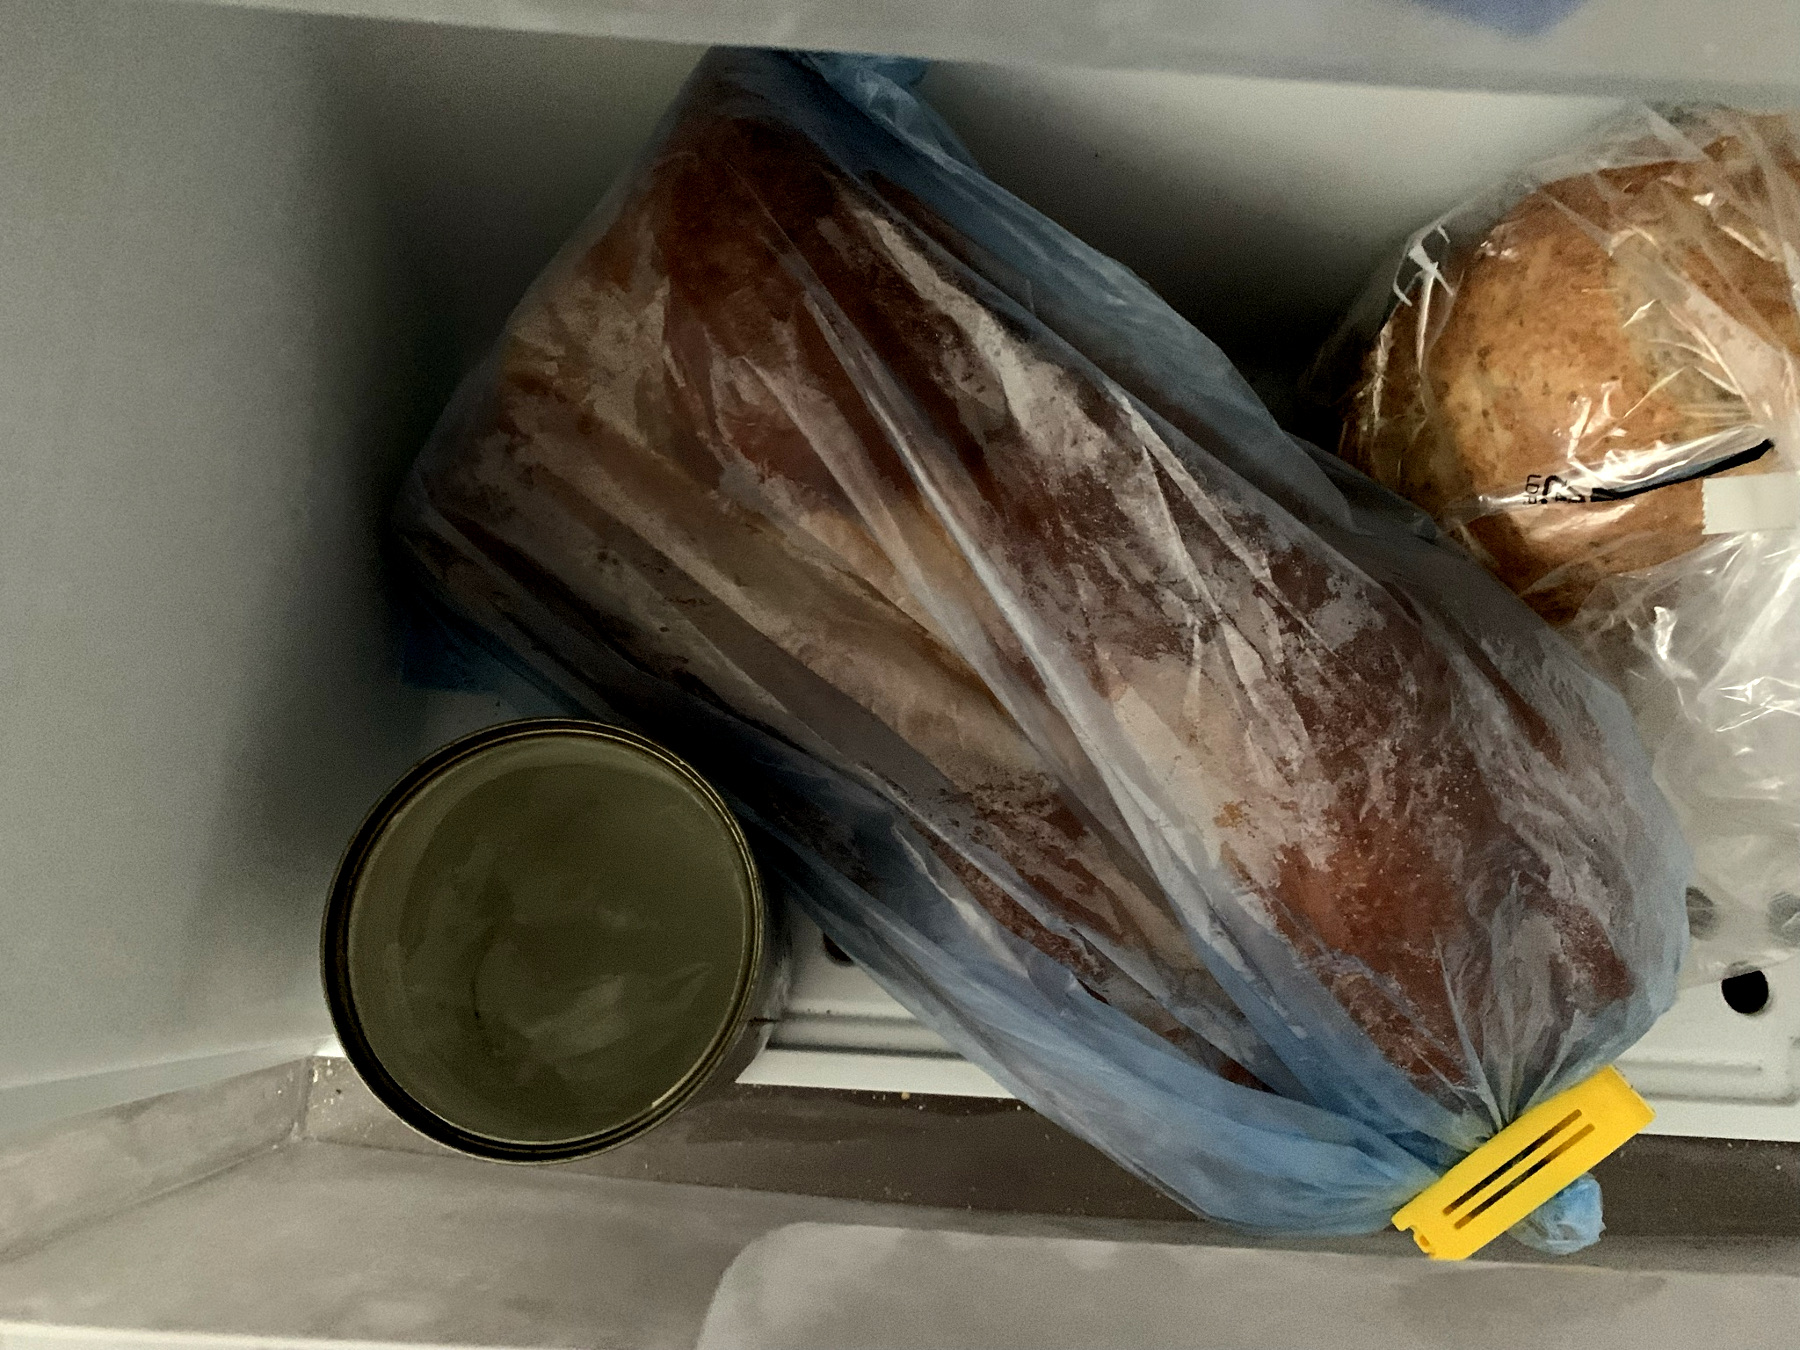

The water in the can is well frozen!
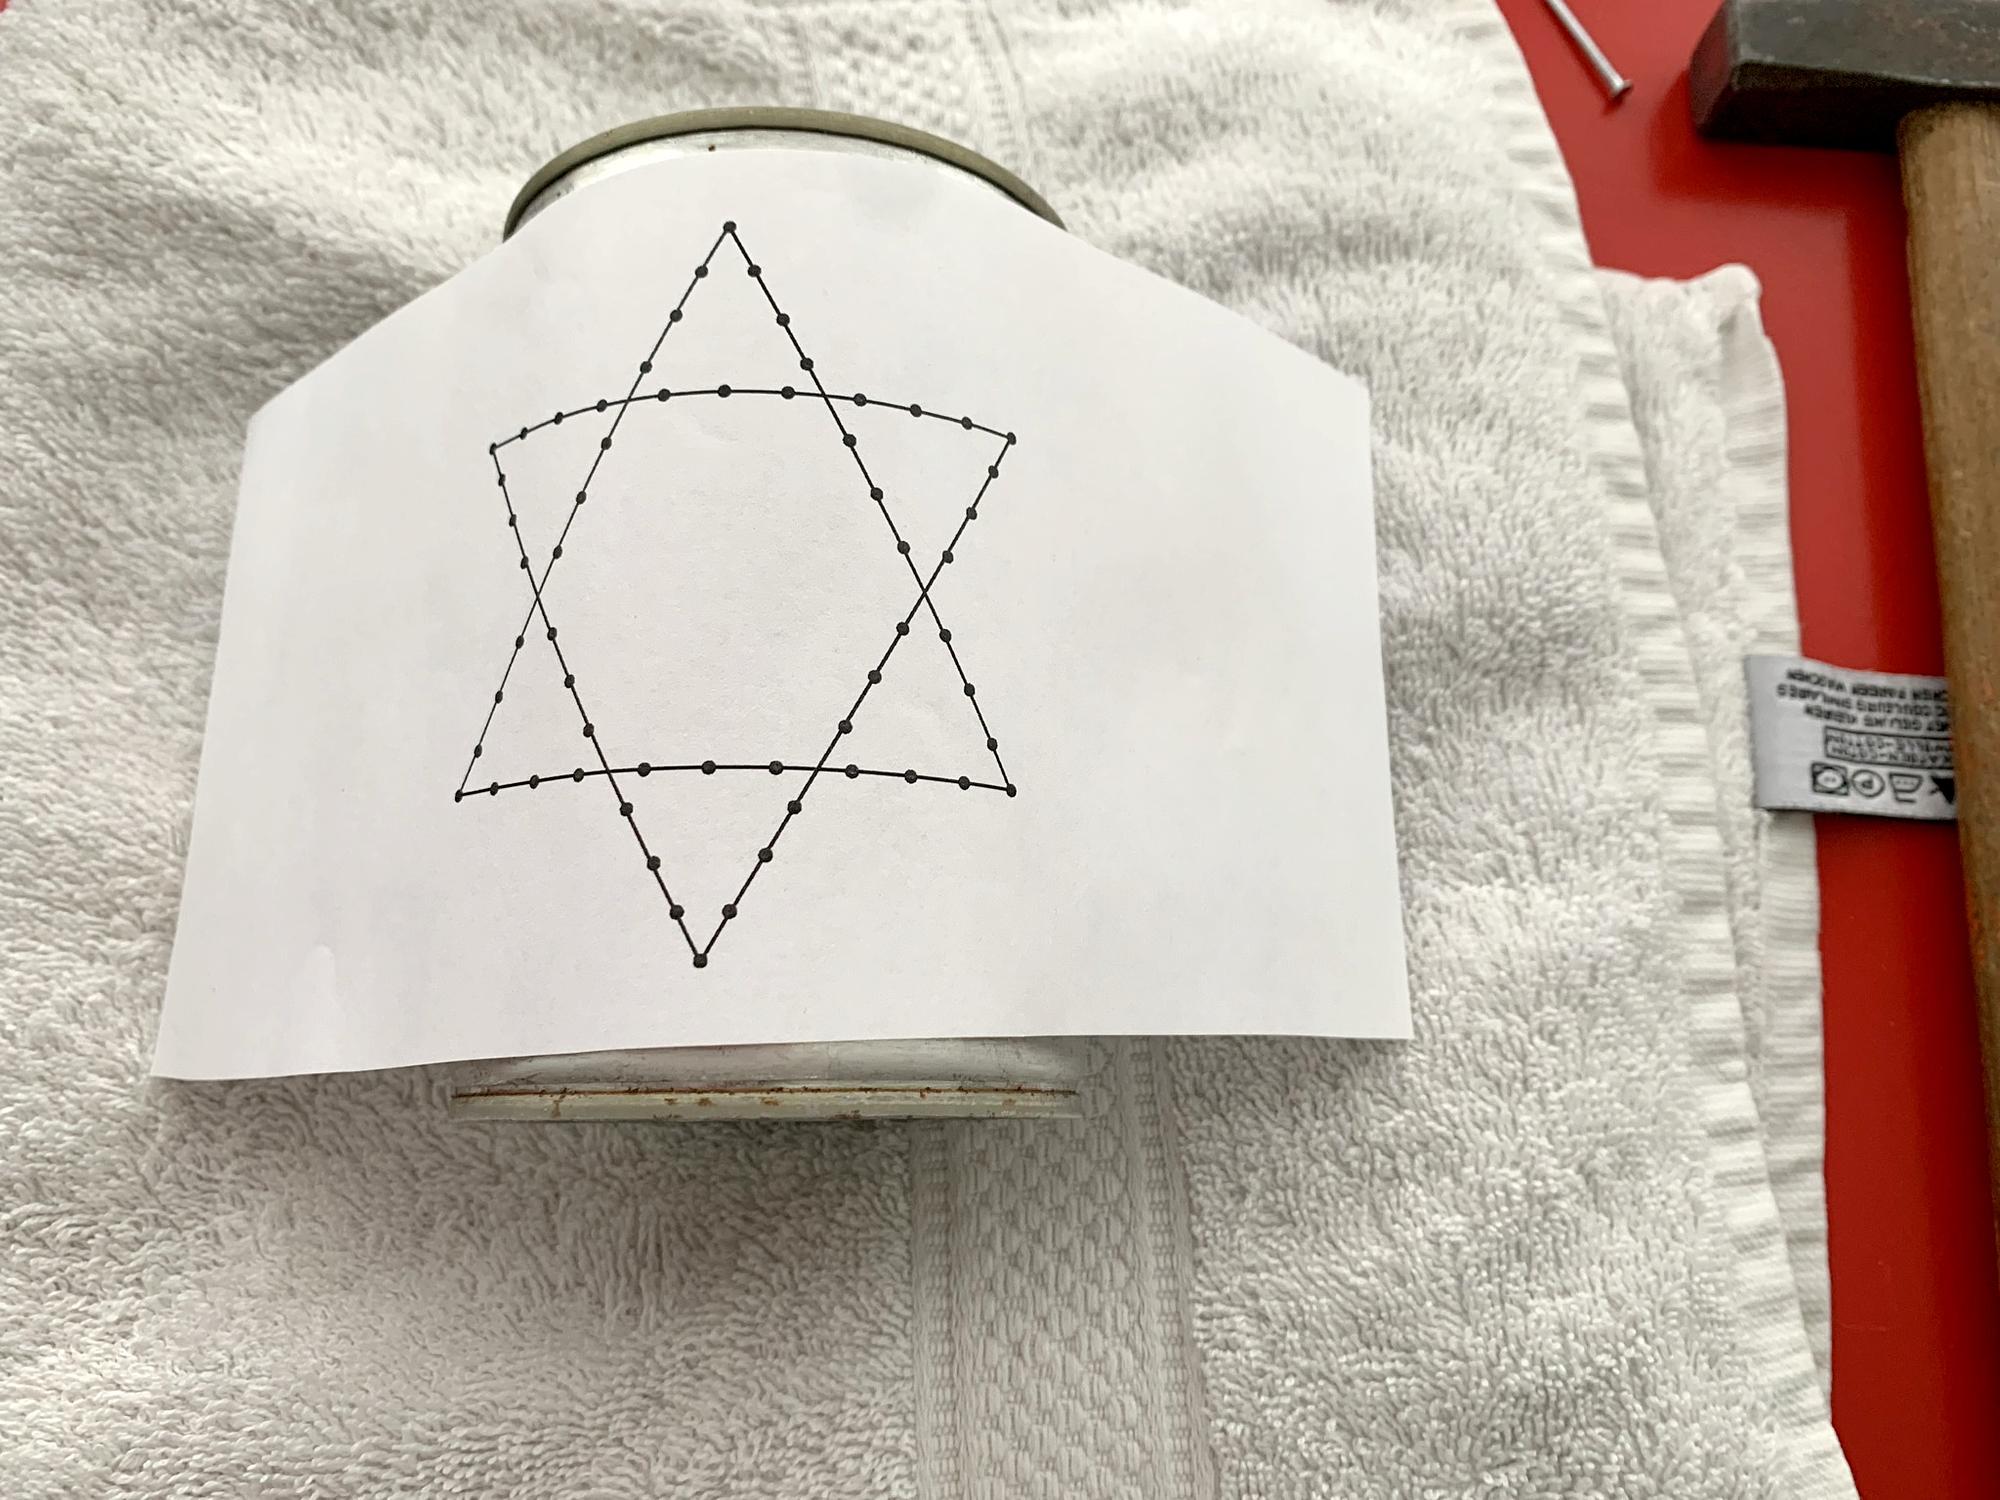
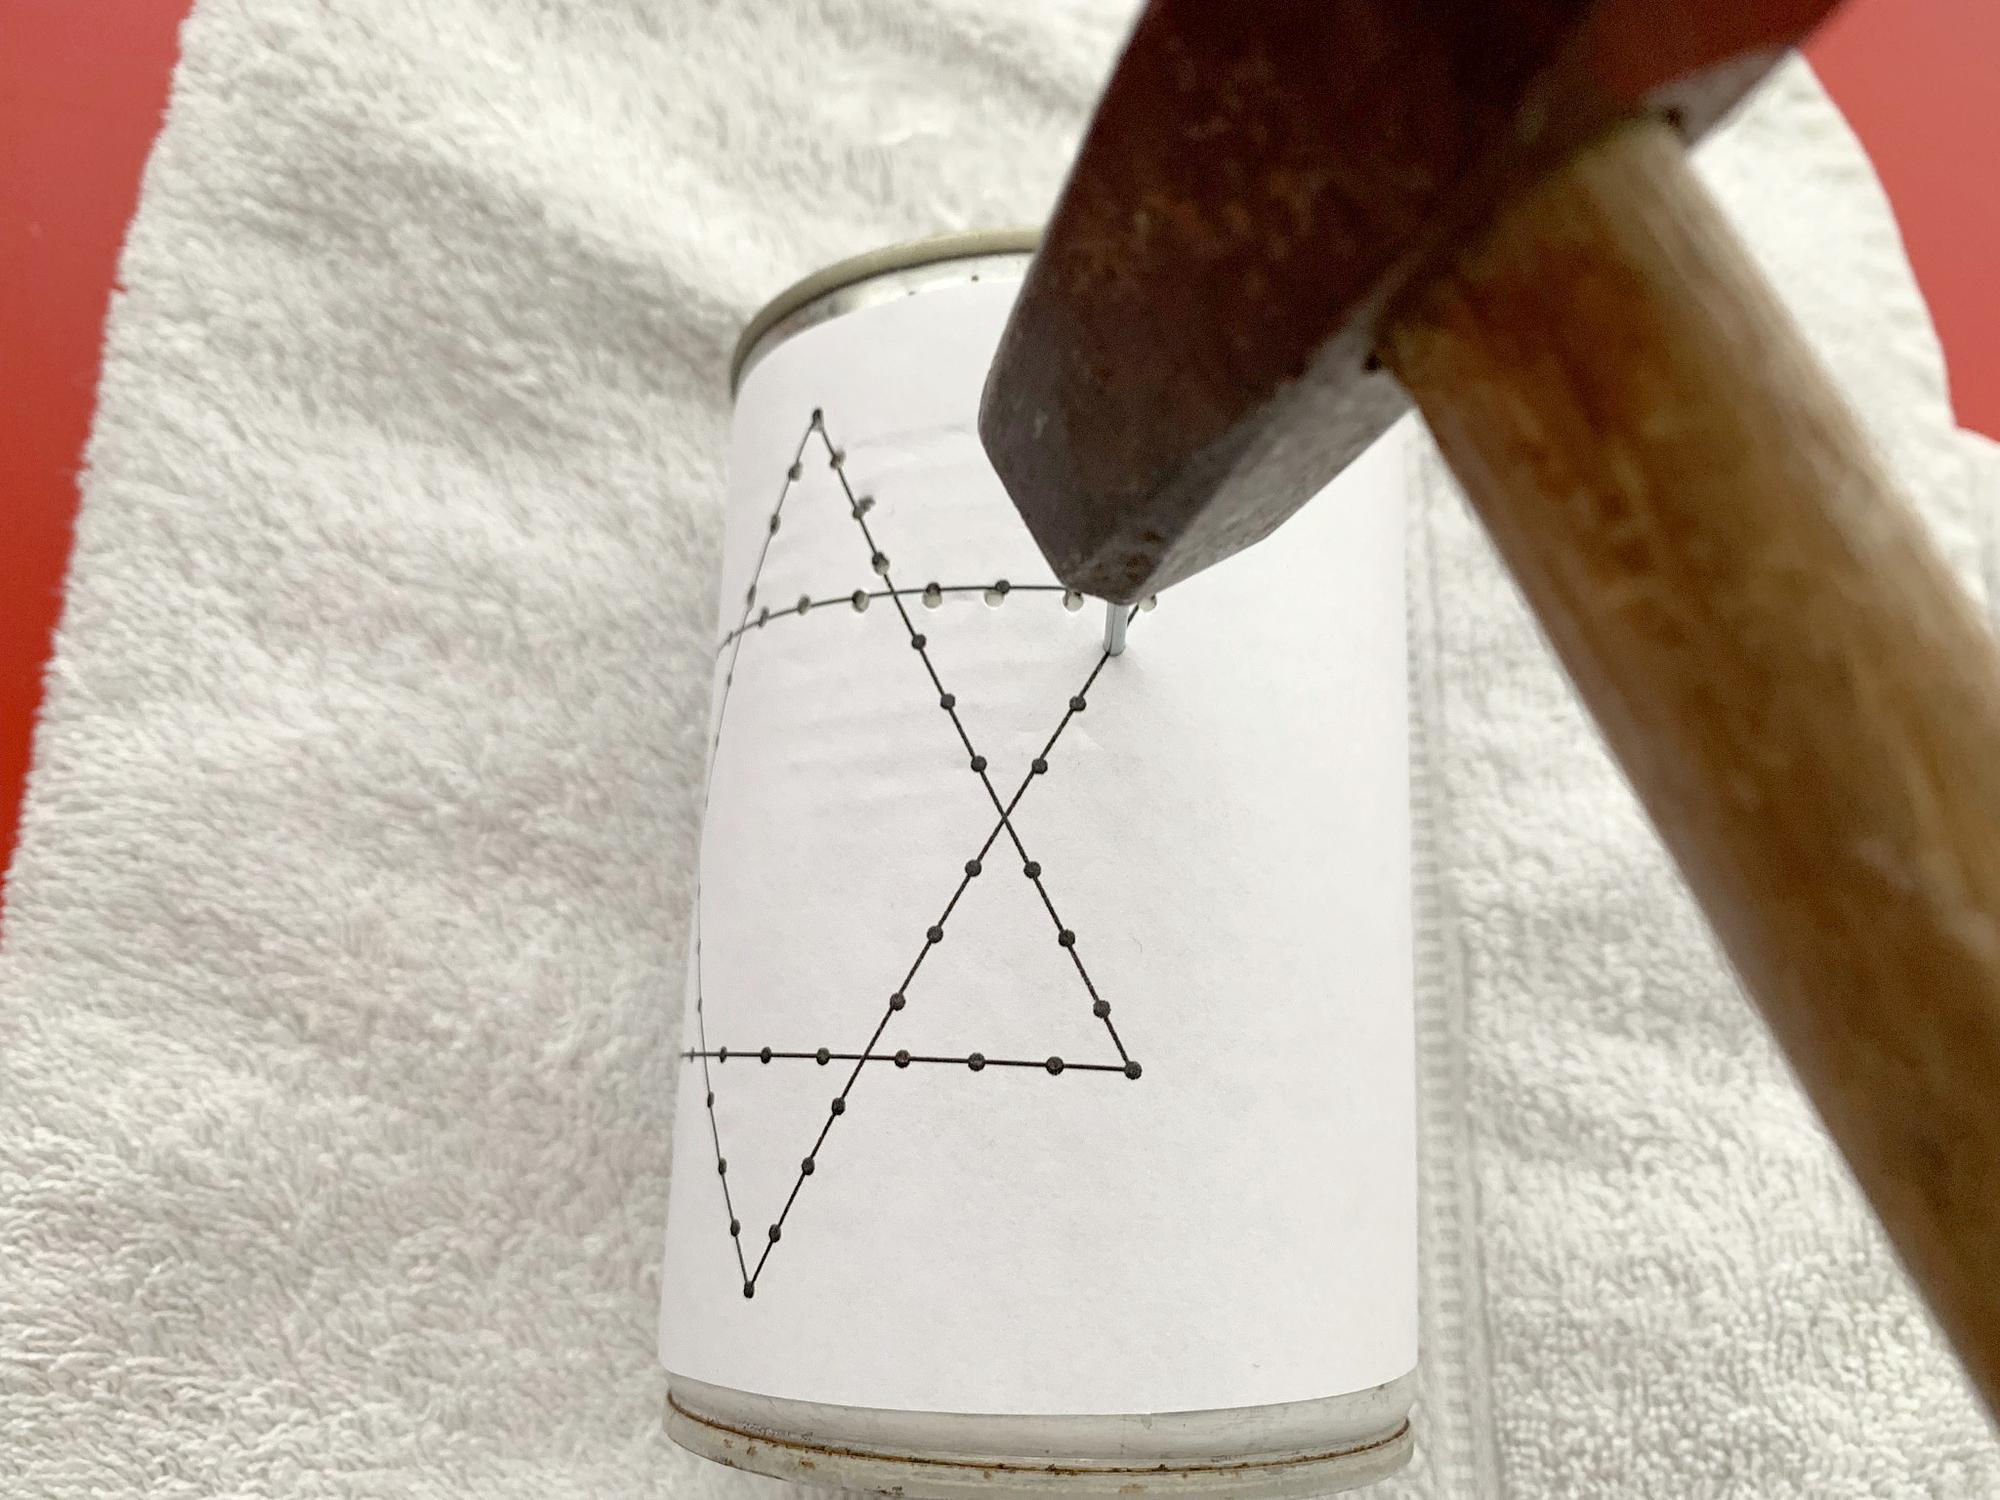
We cut the PDF to size and fold it around the can.
We fasten the paper on the back, using adhesive tape.
Place the can on a folded towel because the ice will melt.
Place the nail on a dot and tap the nail with the hammer, firmly but not too hard. Start at the top because that's where the ice will start to melt.


Remove the paper template from the can.
Check if all the dots were hit.
- Place the tin under the hot tap so the ice will come loose
- Pour the melted ice out of the can and dry the can well, be careful on the inside, it is very sharp!
- Take a break of an hour, so the can is completely dry after and then you can paint
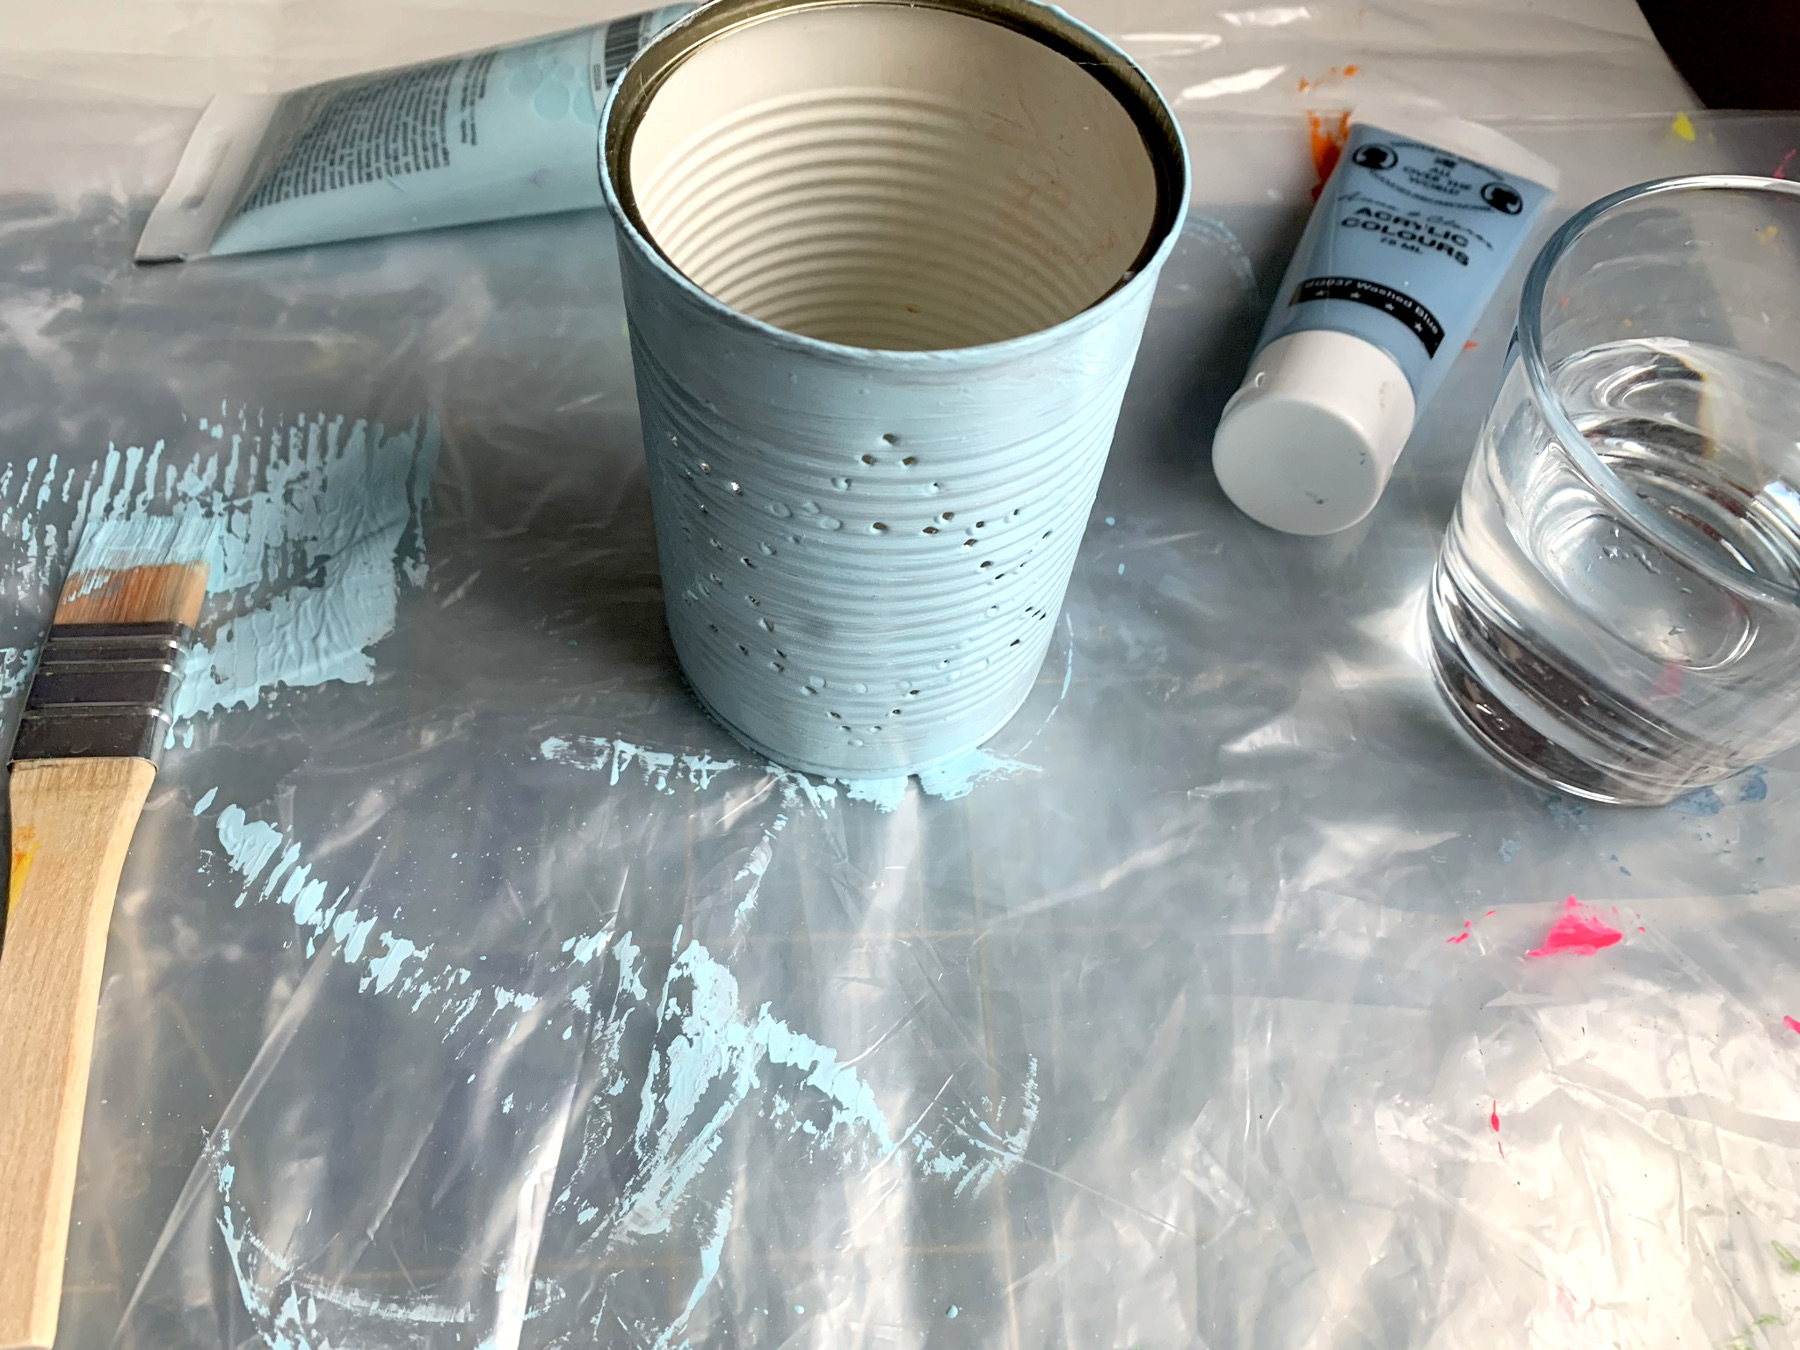
Give the can a layer of paint and let it dry.
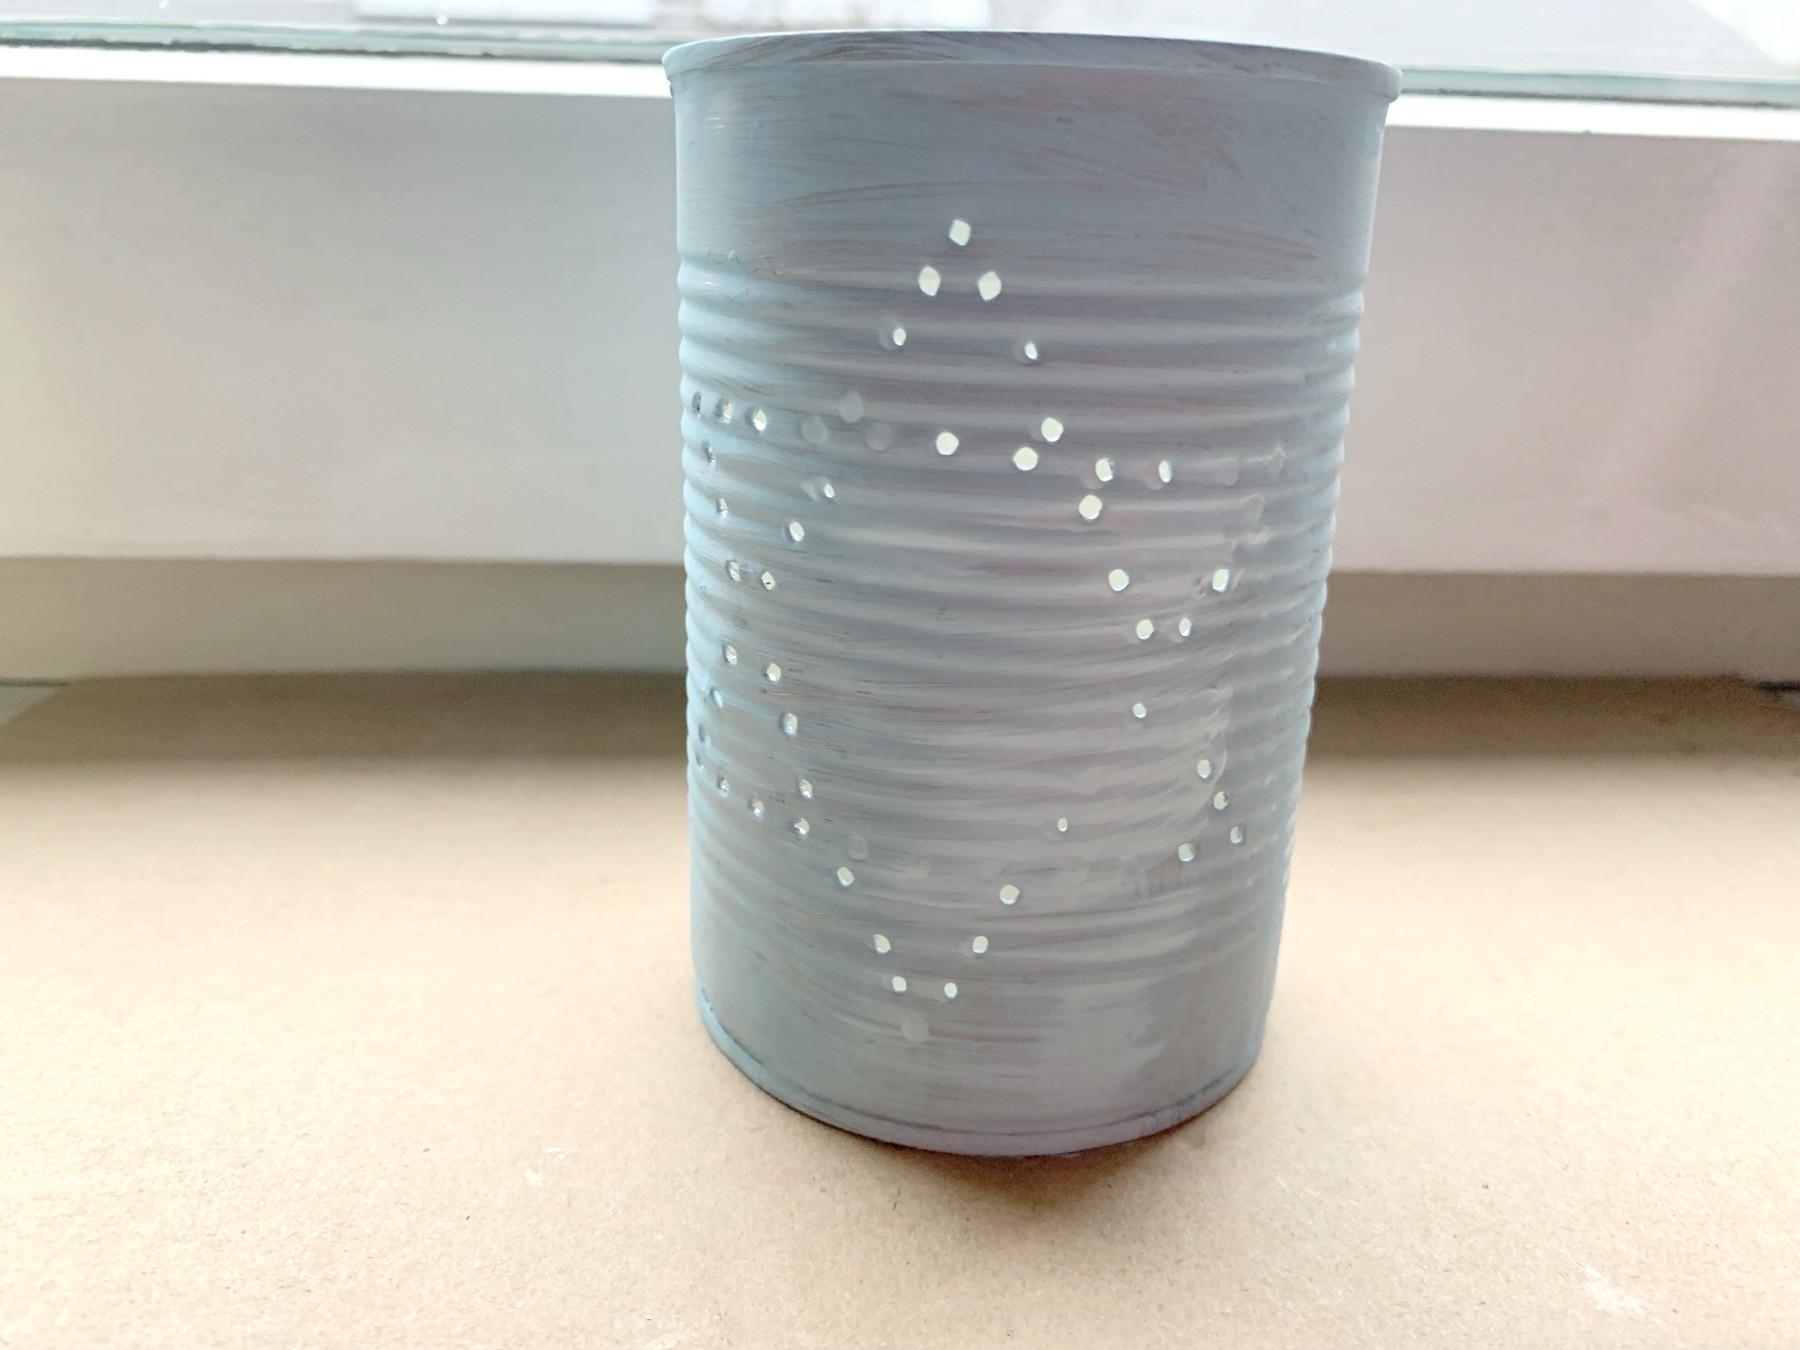
Give a second layer of paint and let dry again.
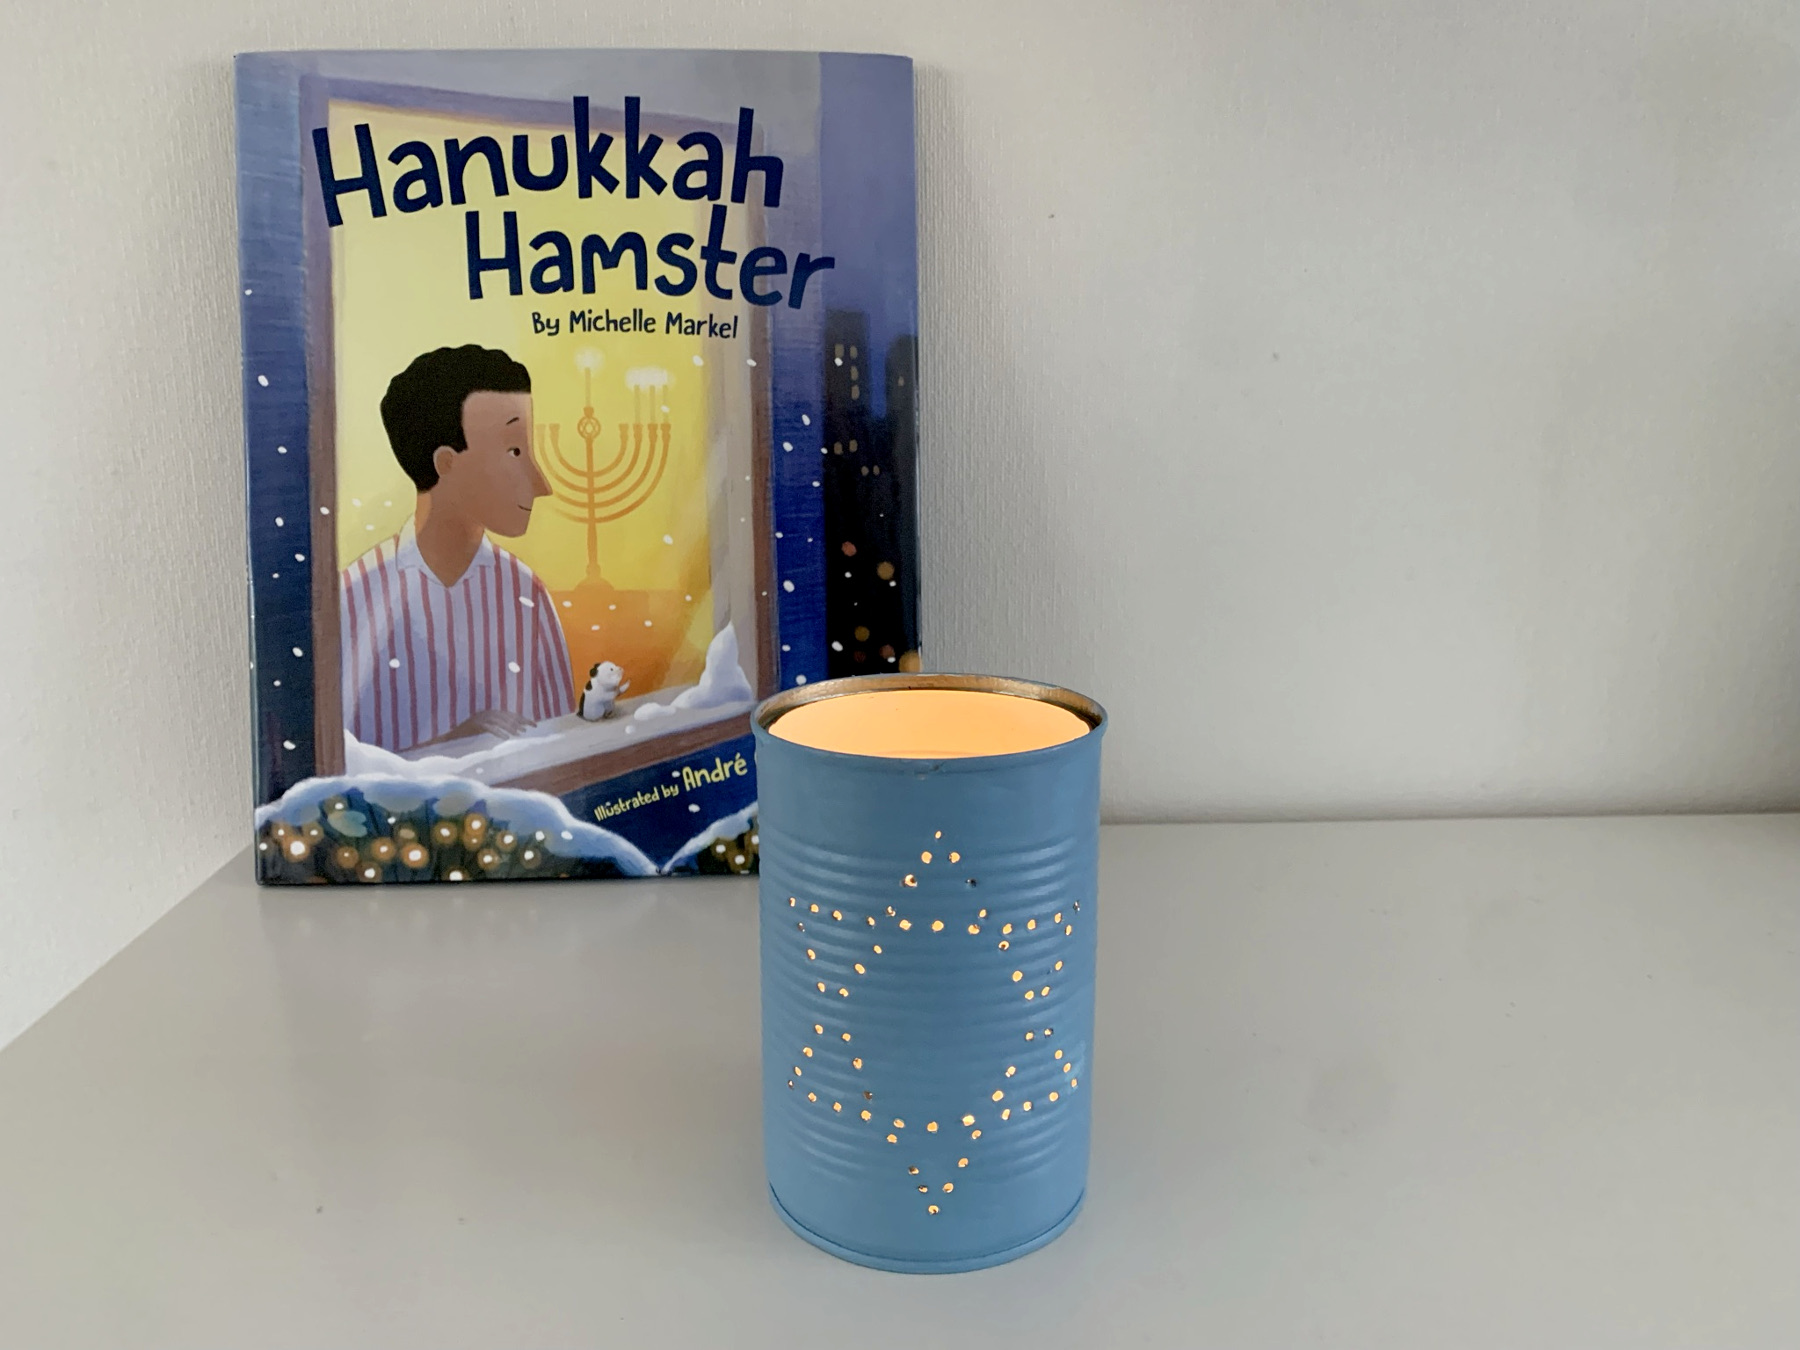
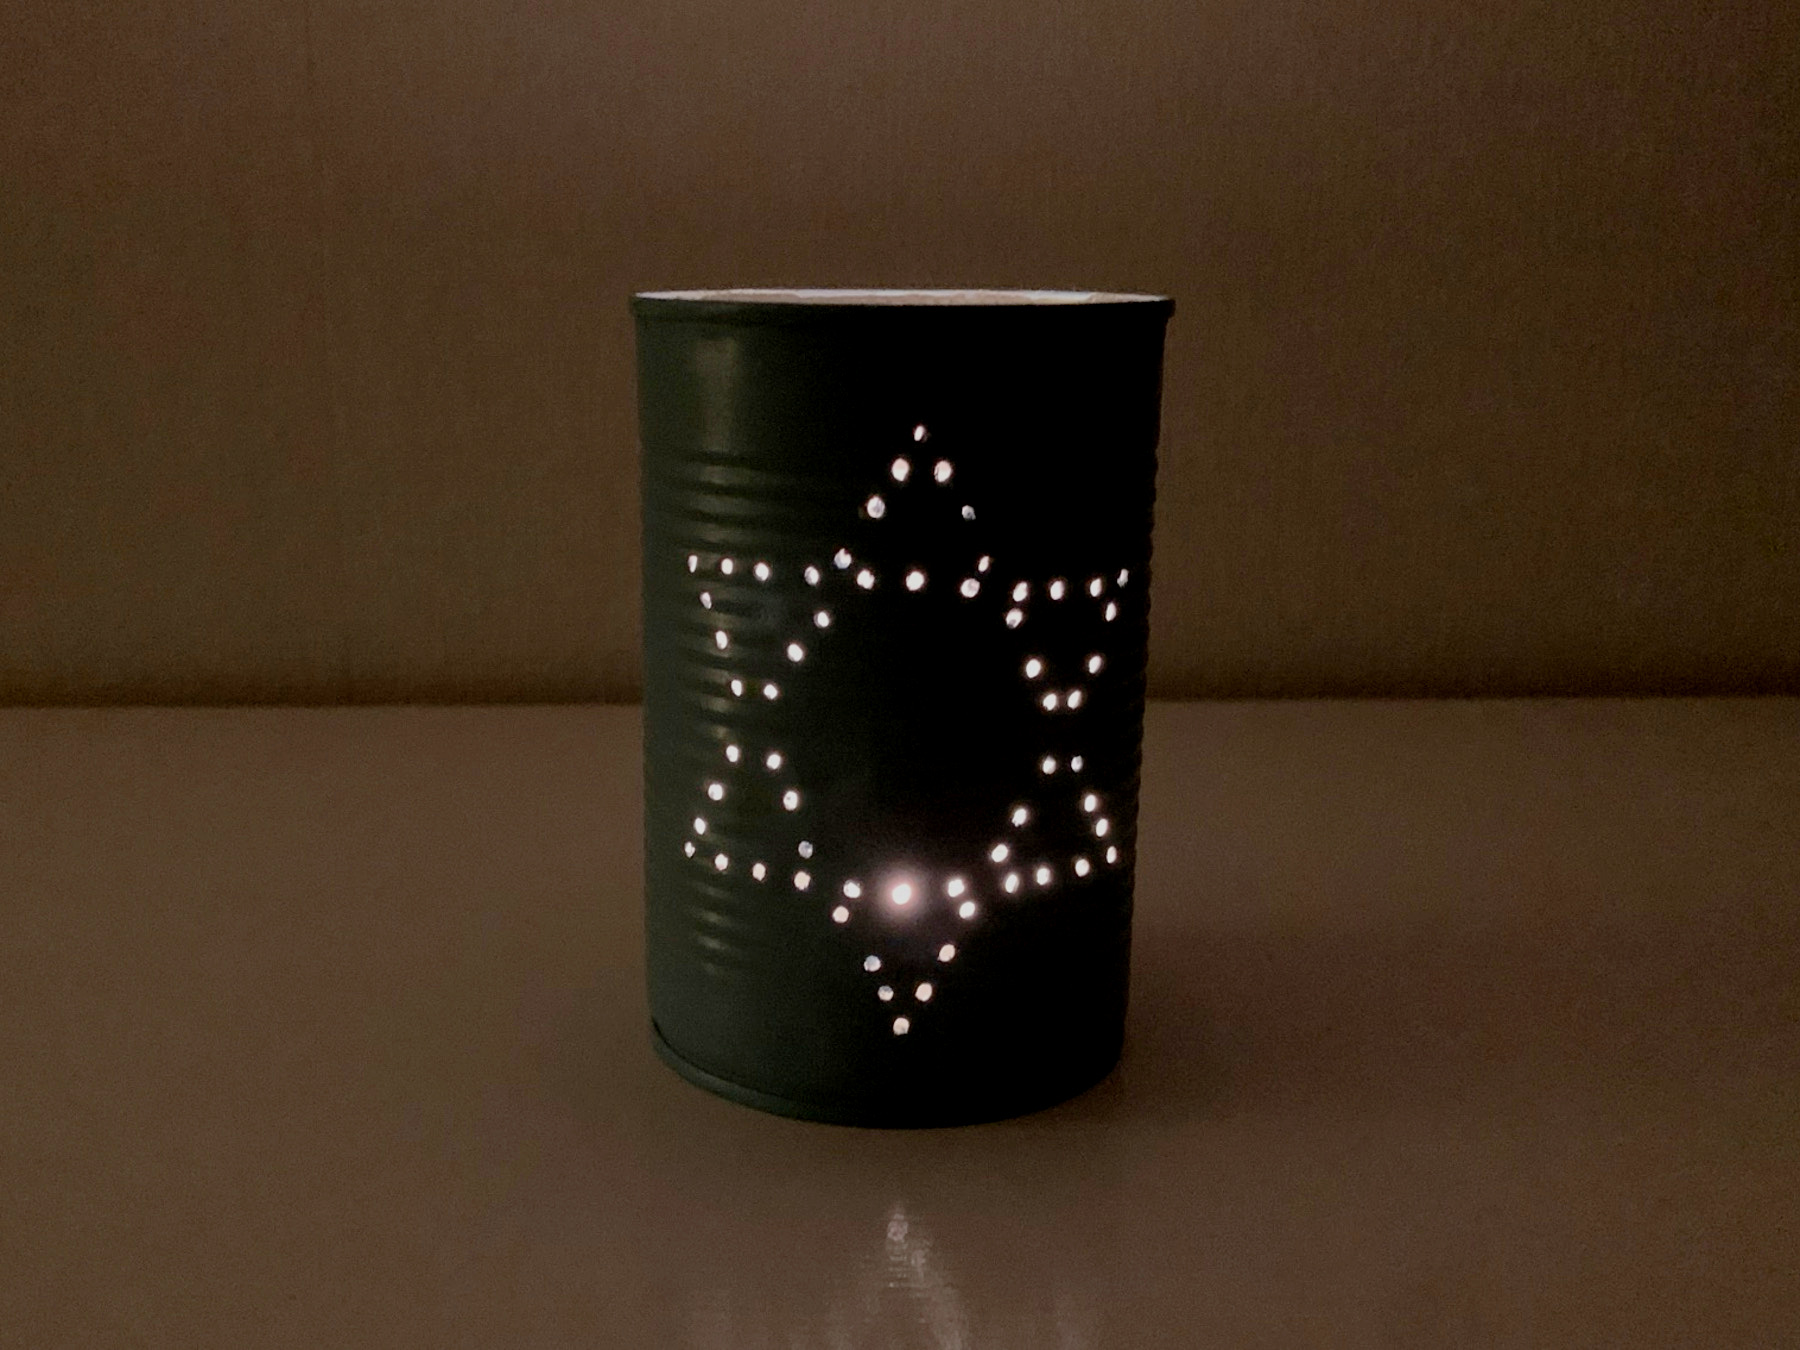
Look how beautiful it glows in the dark!
We wish everyone who celebrates a Happy Hanukkah!