What do you need?
a printer
sheets with 4 A6 adhesive labels
transparent adhesive plastic
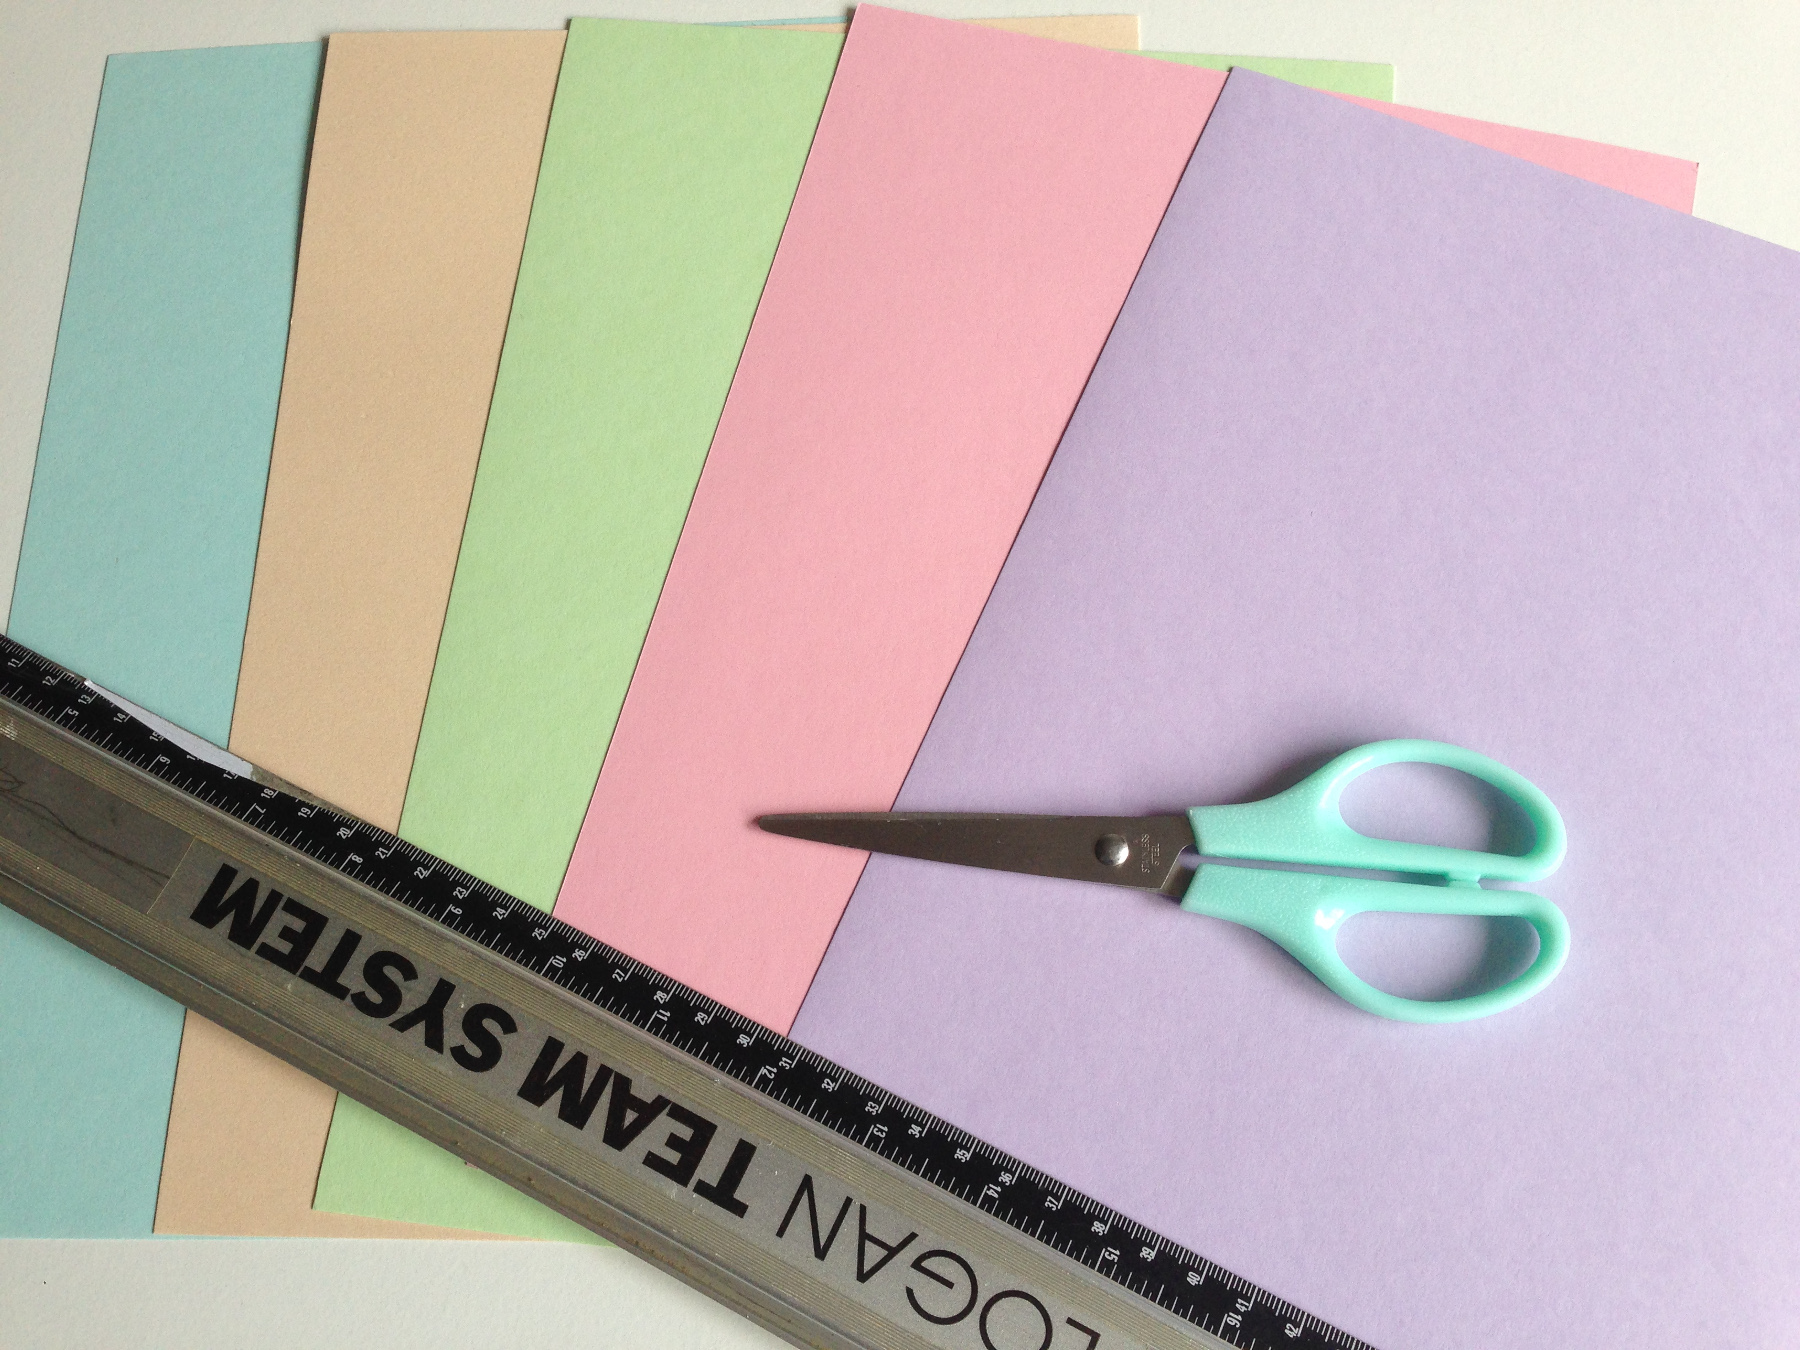
scissors
various small boxes
A4 paper white
A4 paper coloured
a glue stick
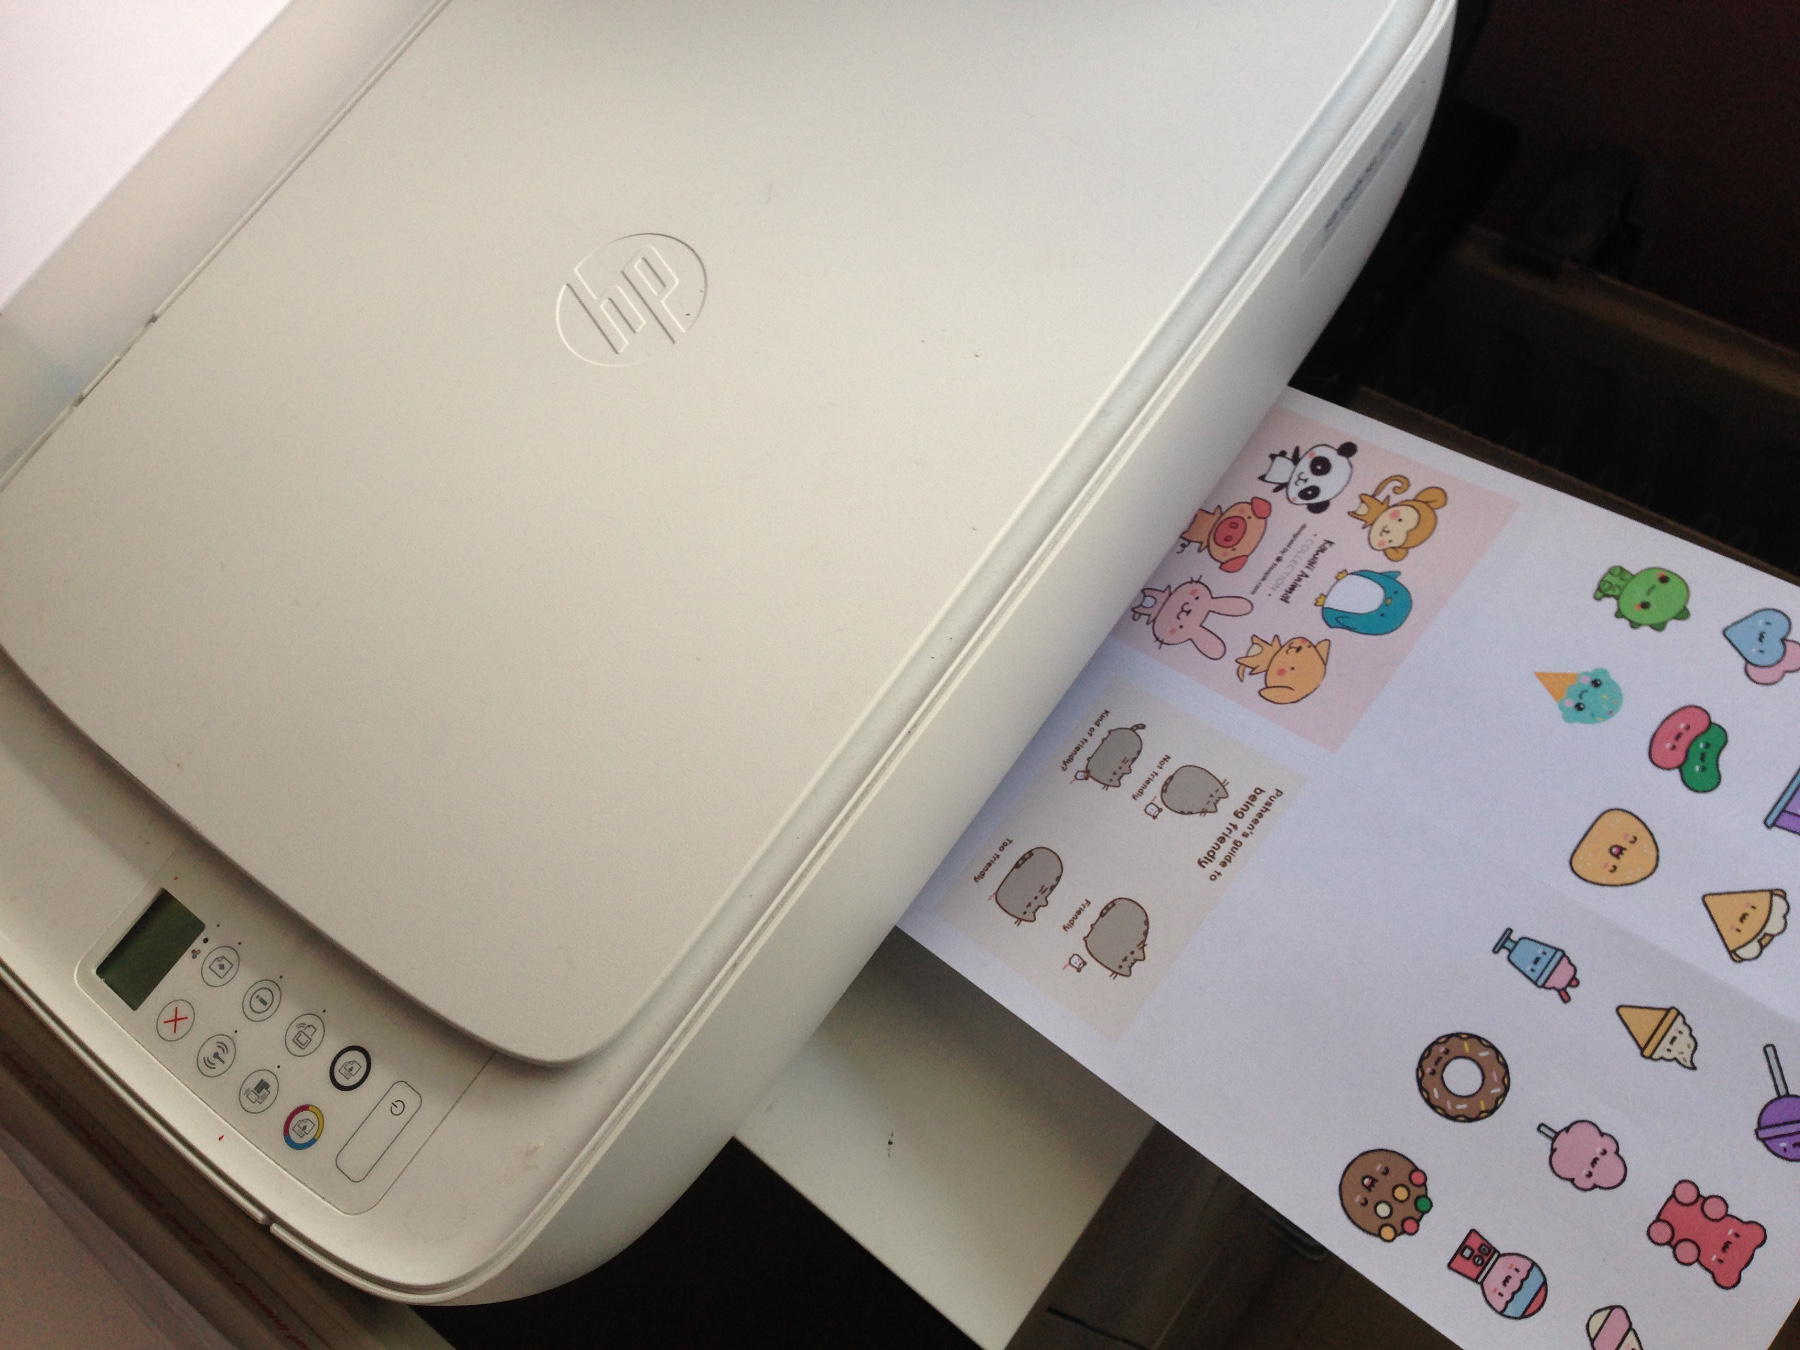
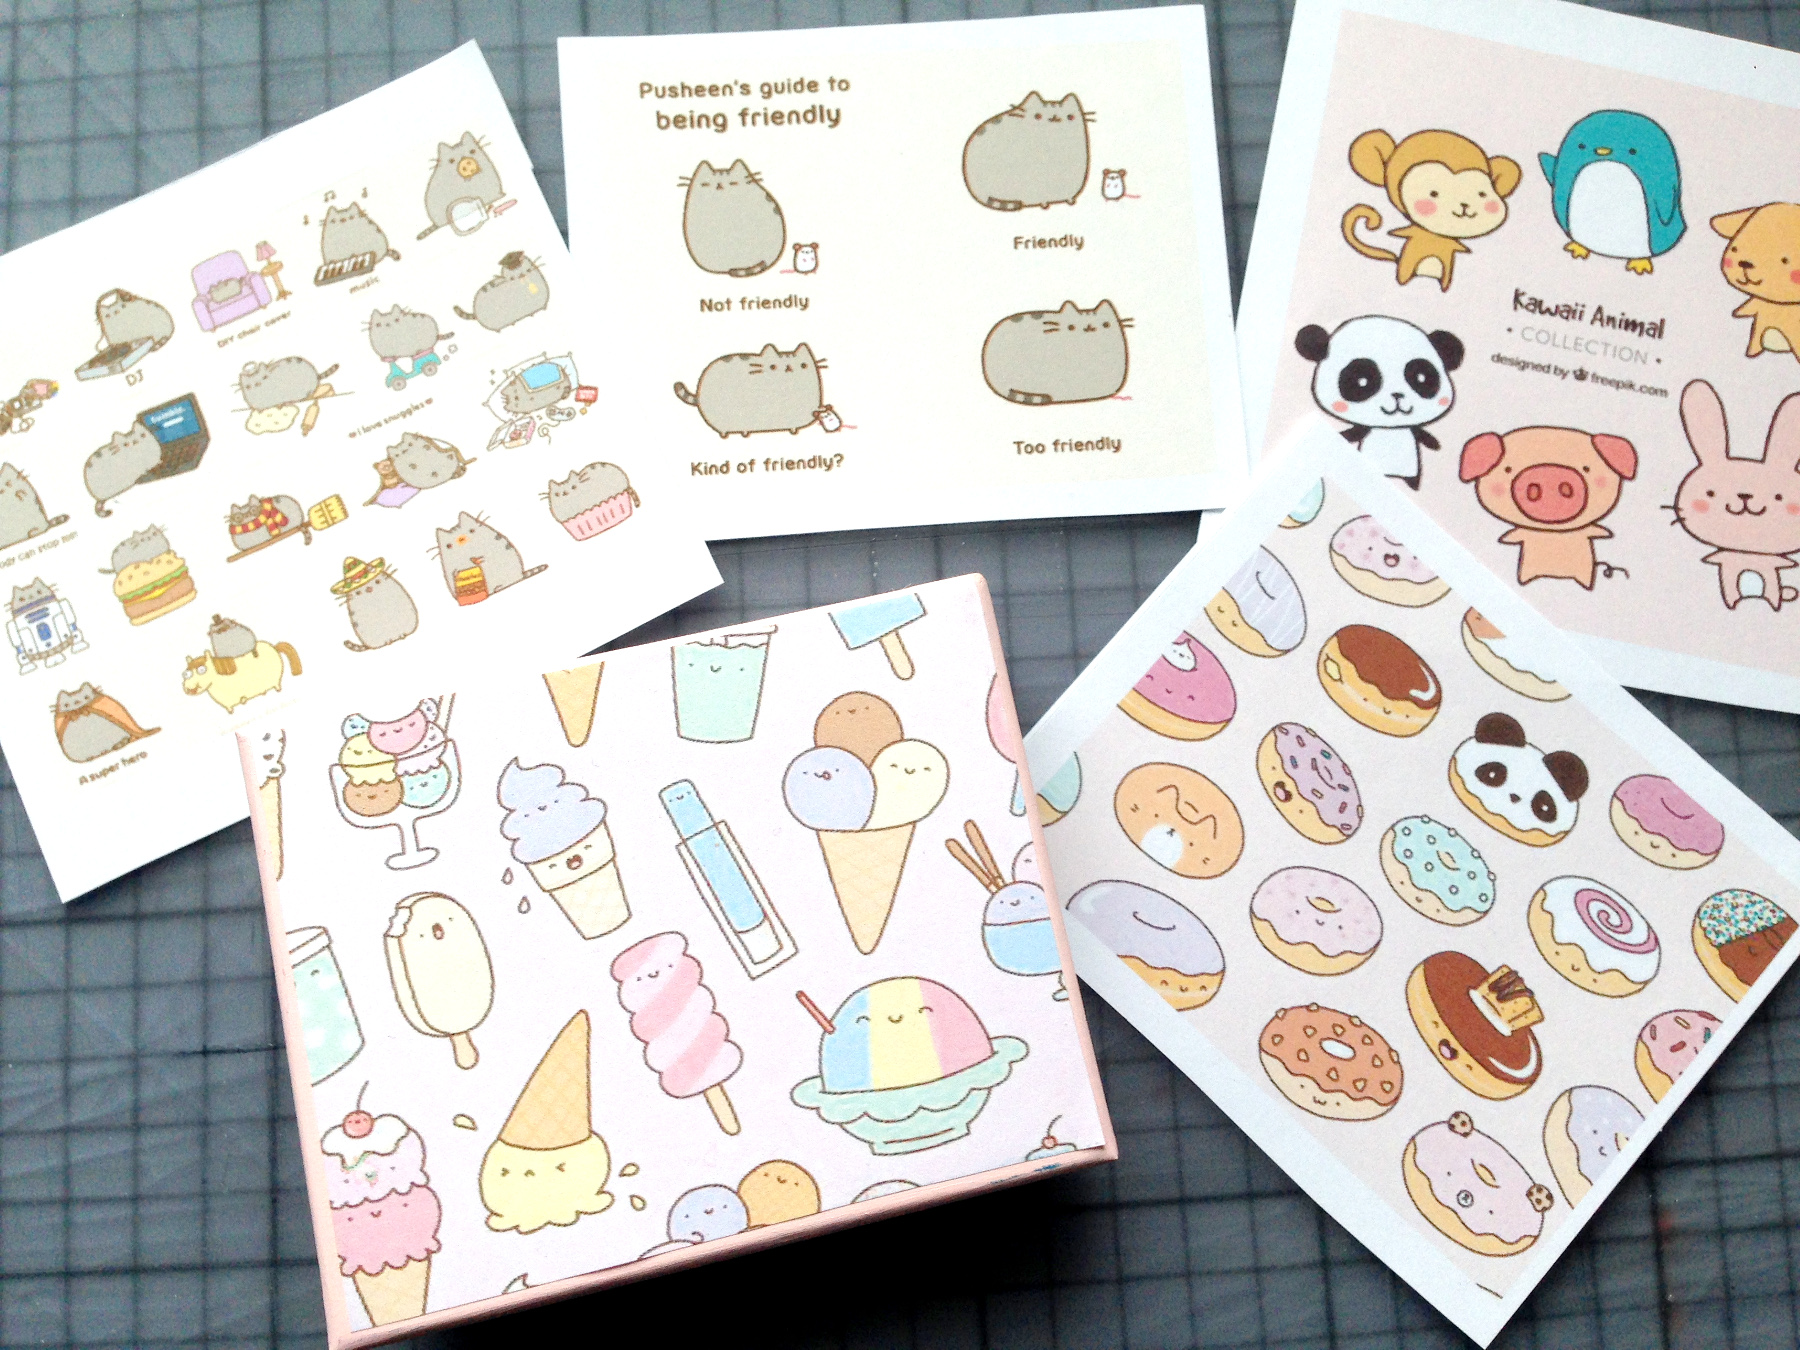
To make the cutest kawaii stickers yourself, you do need a printer and ask your parents if they have any large adhesive labels, 4 in A6 size on 1 sheet. You have that? Then you're all set to go! To keep your stickers neat for a long time you can stick transparent cover paper on them, but that is not required.
We have already found cute Kawaii images on the internet for you and made them to the right size for printing. Choose which one you like the most, download the PDF then print them on adhesive labels. There are also A4 sized ones to decorate small boxes with the help of a glue stick. Maybe one of your parents can help you out with the printing.
How to make the stickers
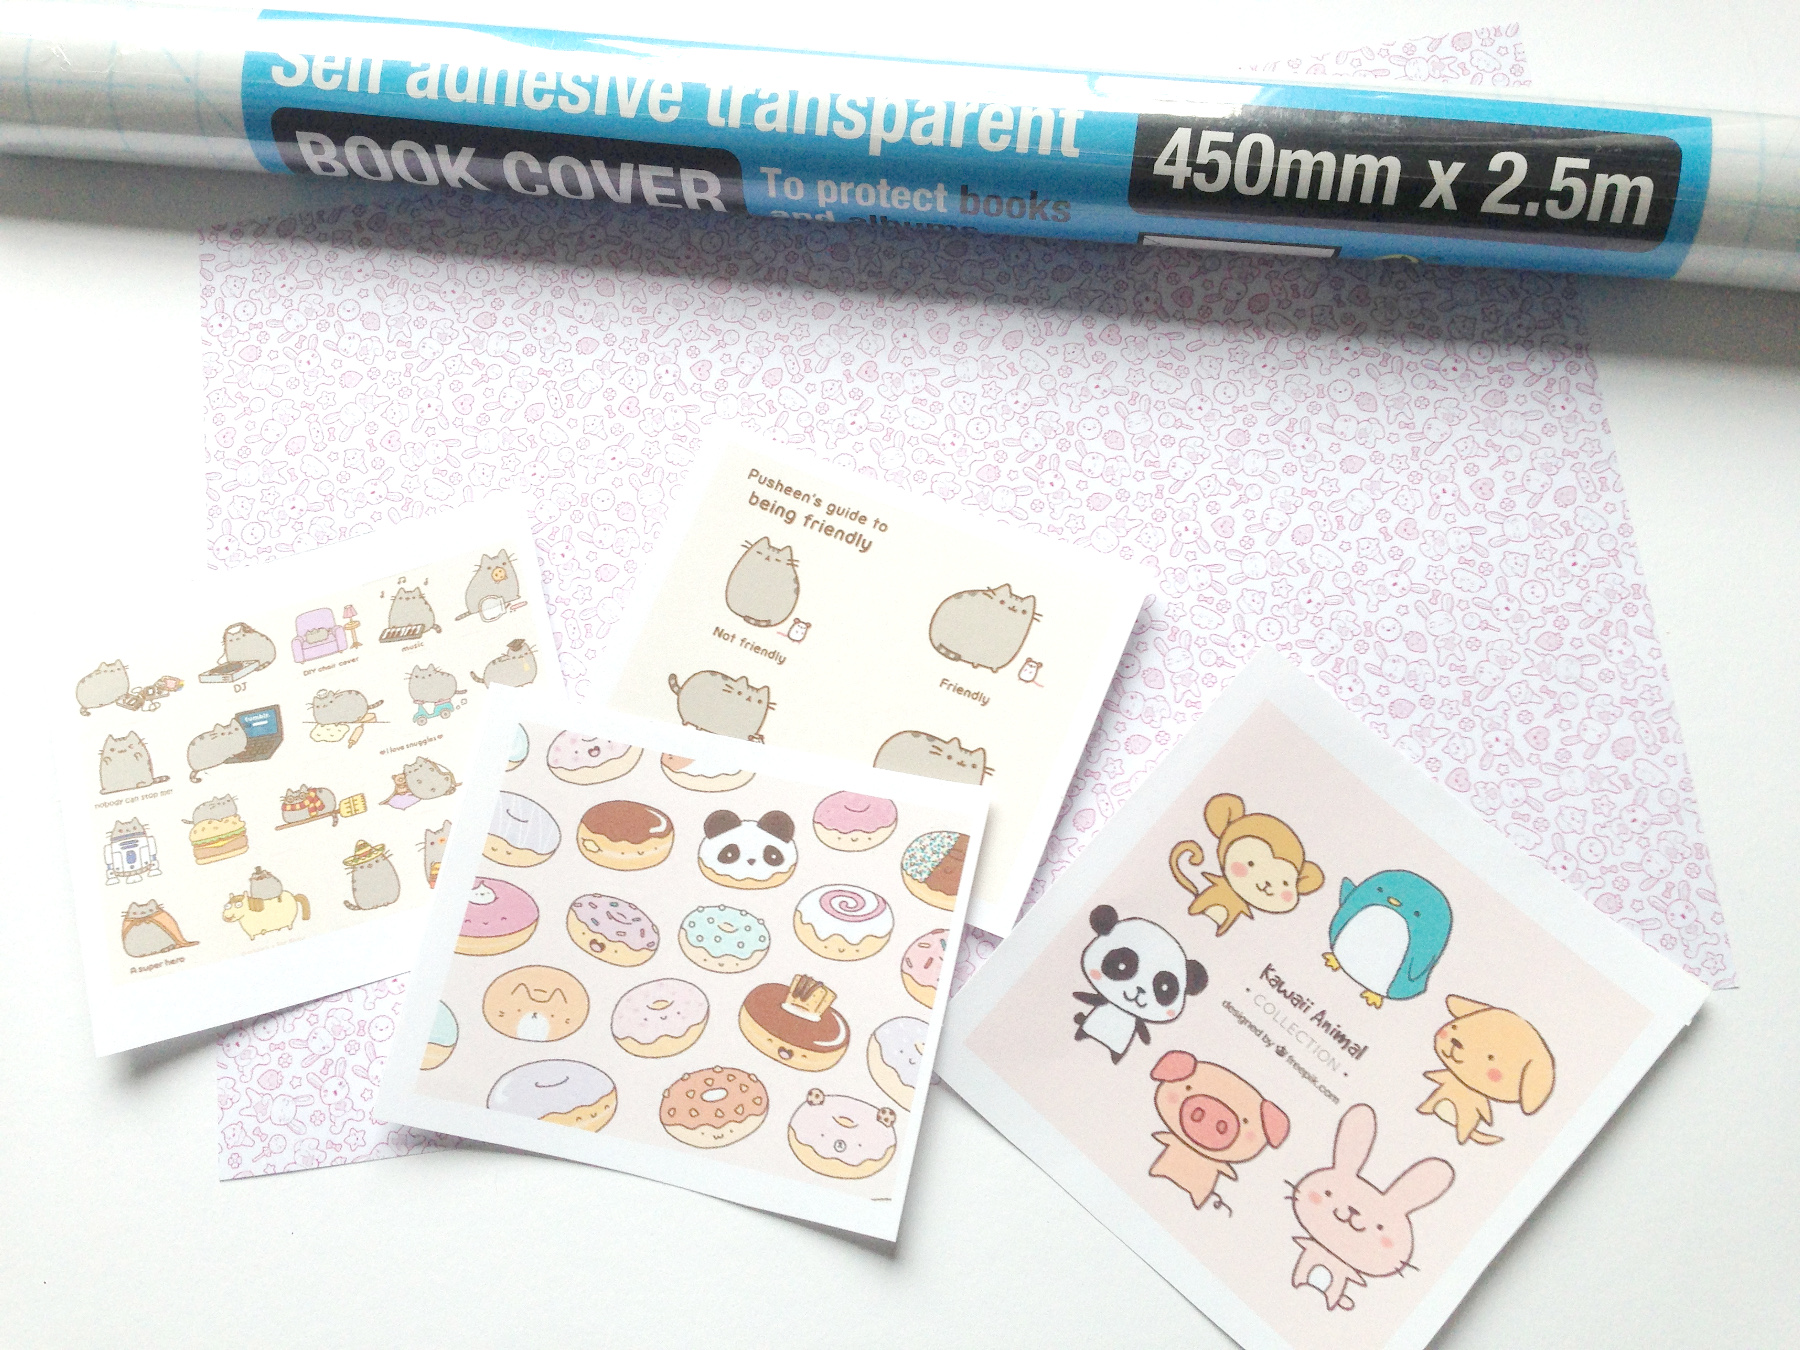
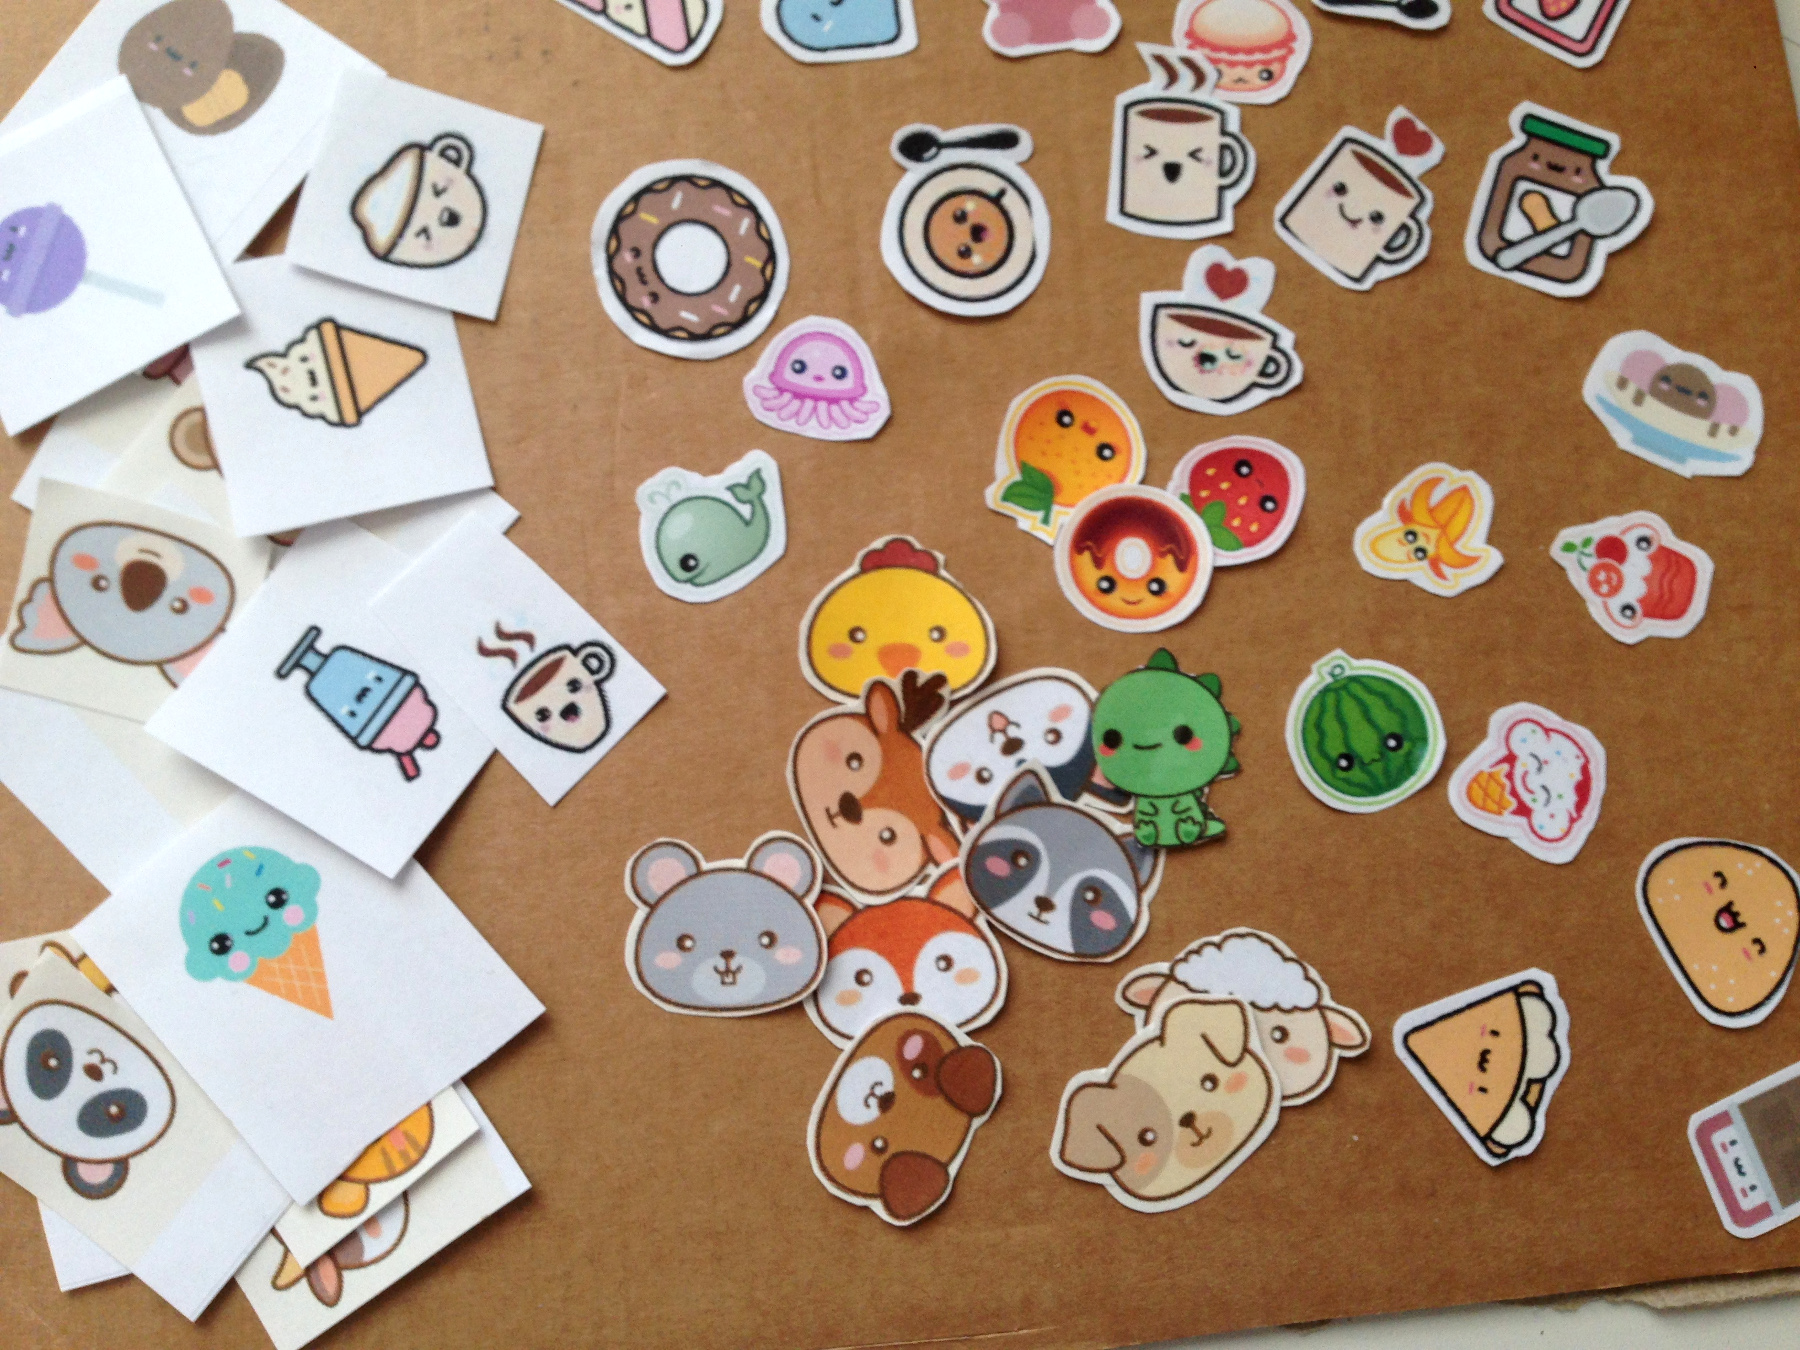
Stick adhesive plastic on the sticker sheets.
Cut out the little stickers with a white edge all around.
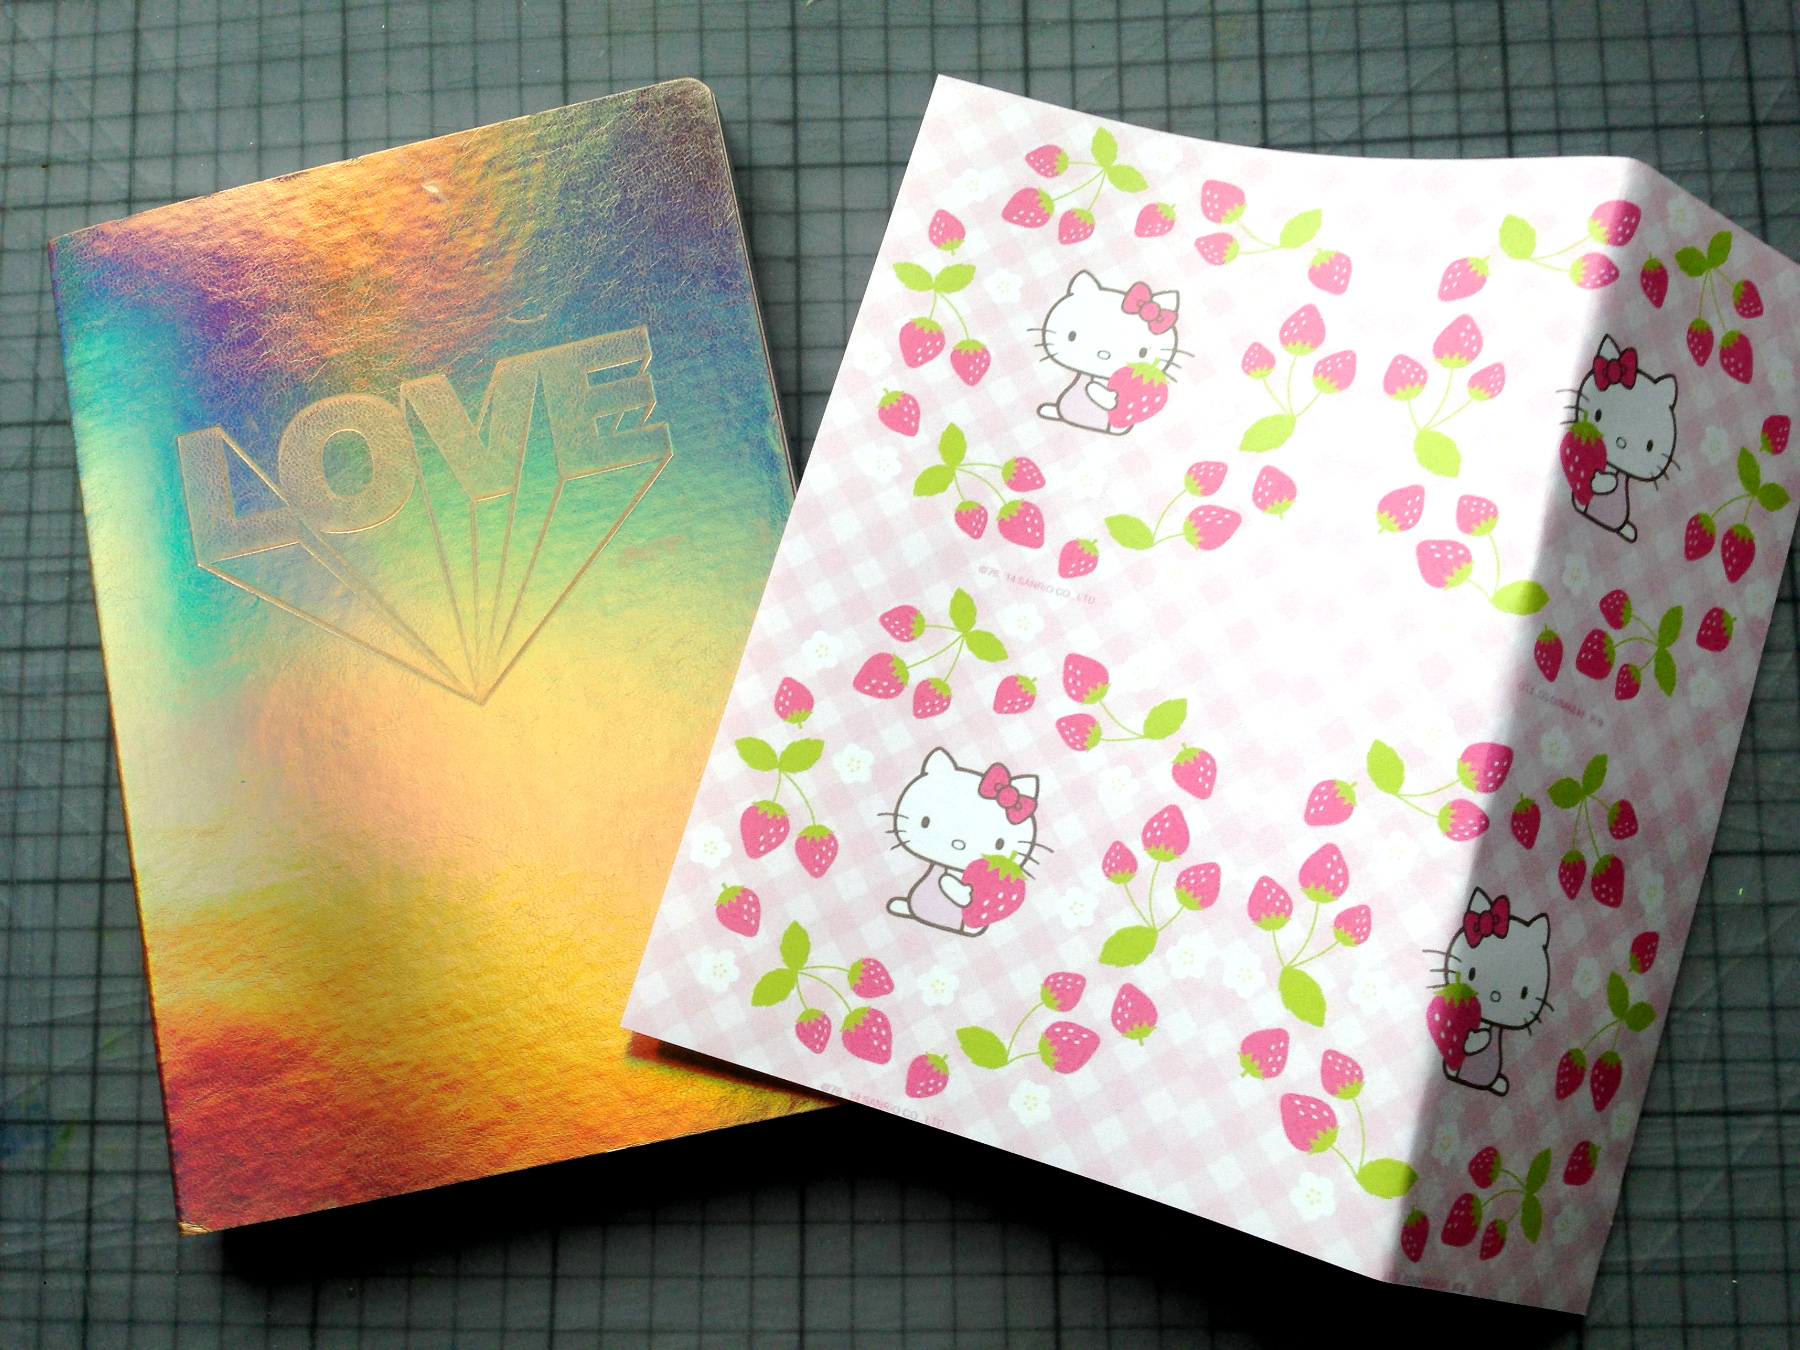
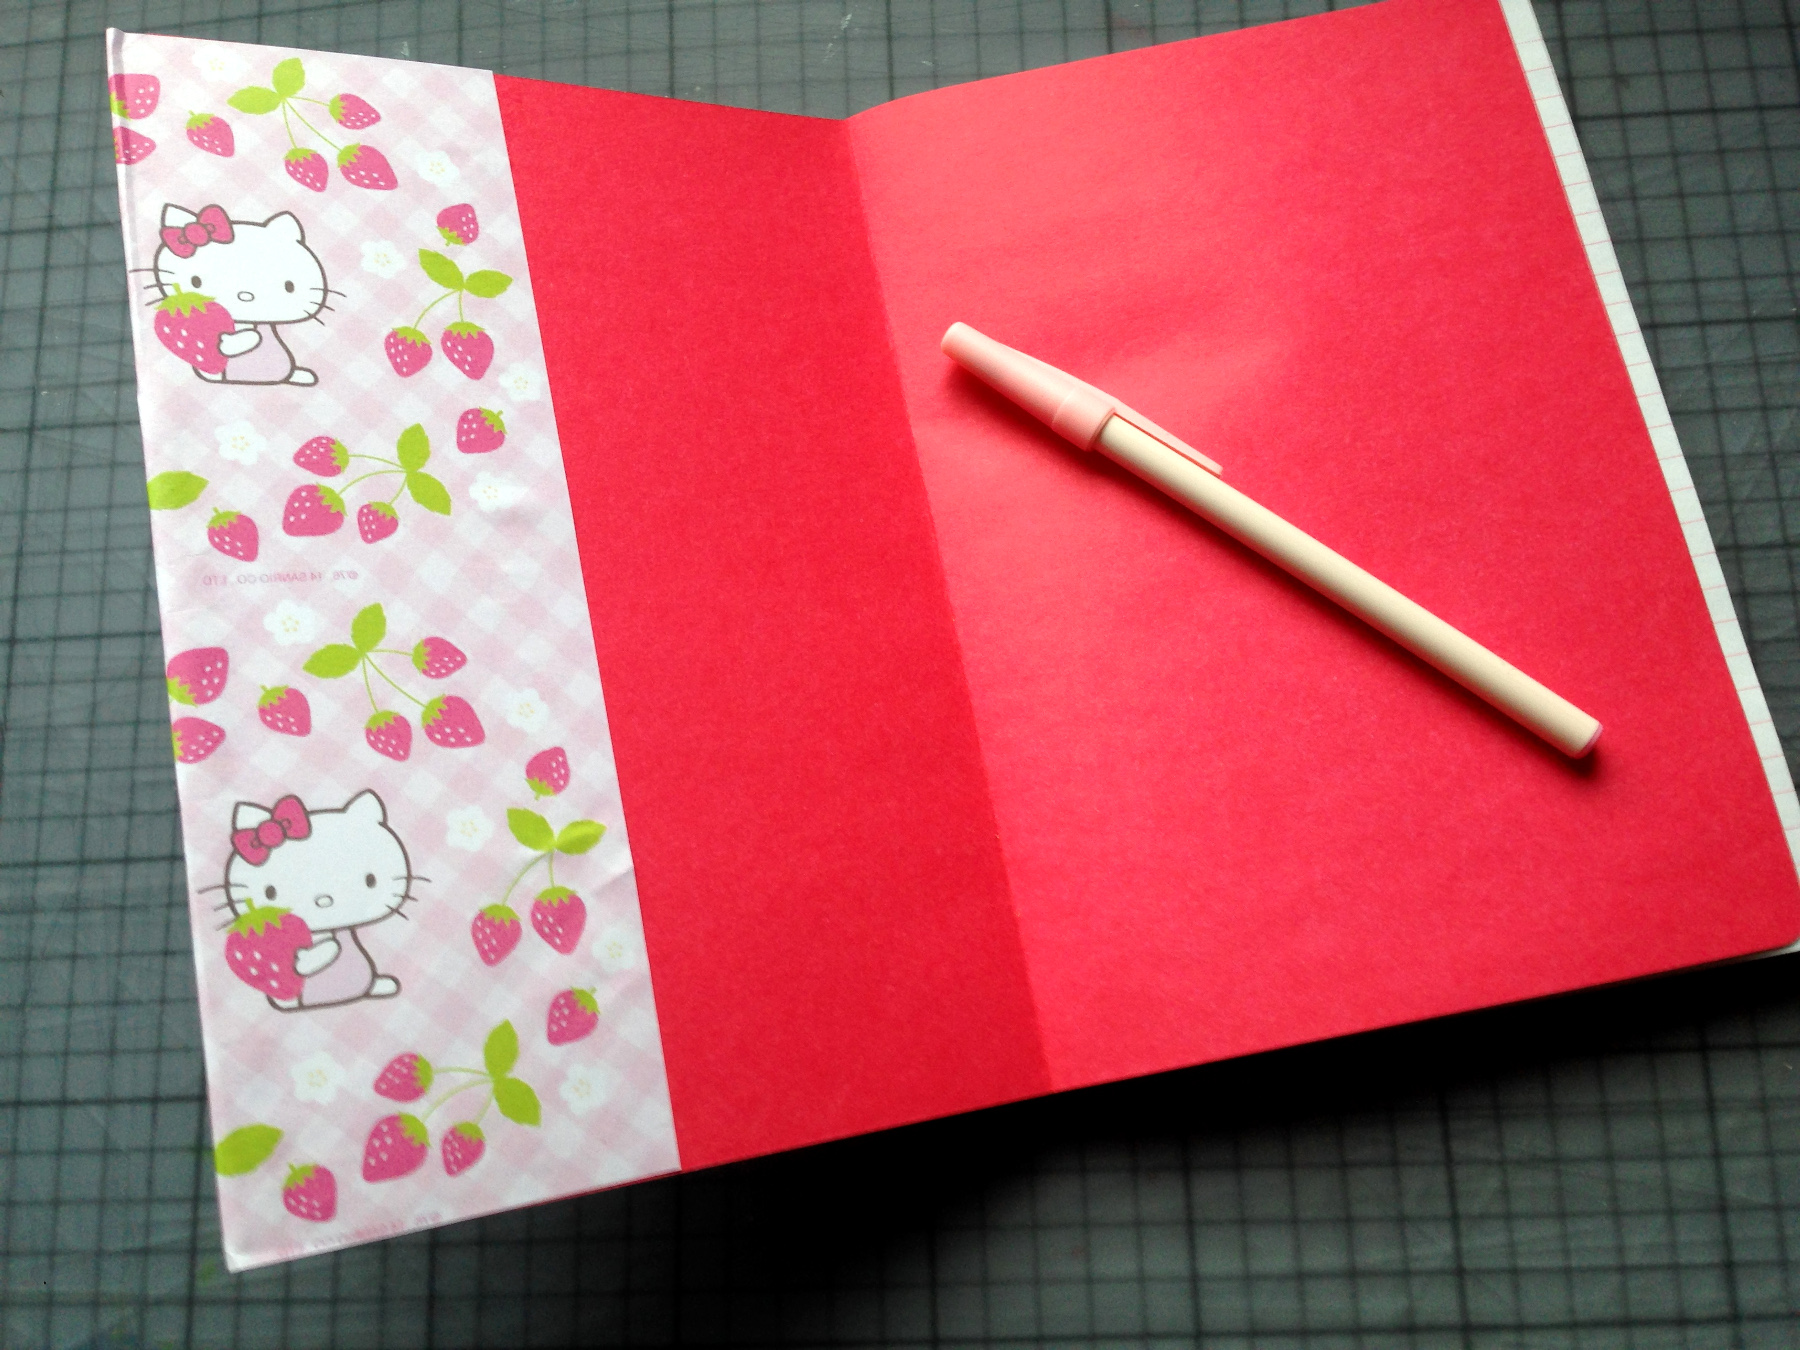
Give a notebook a make-over with a cute Kawaii print.
Stick on the print then glue the rest inside.
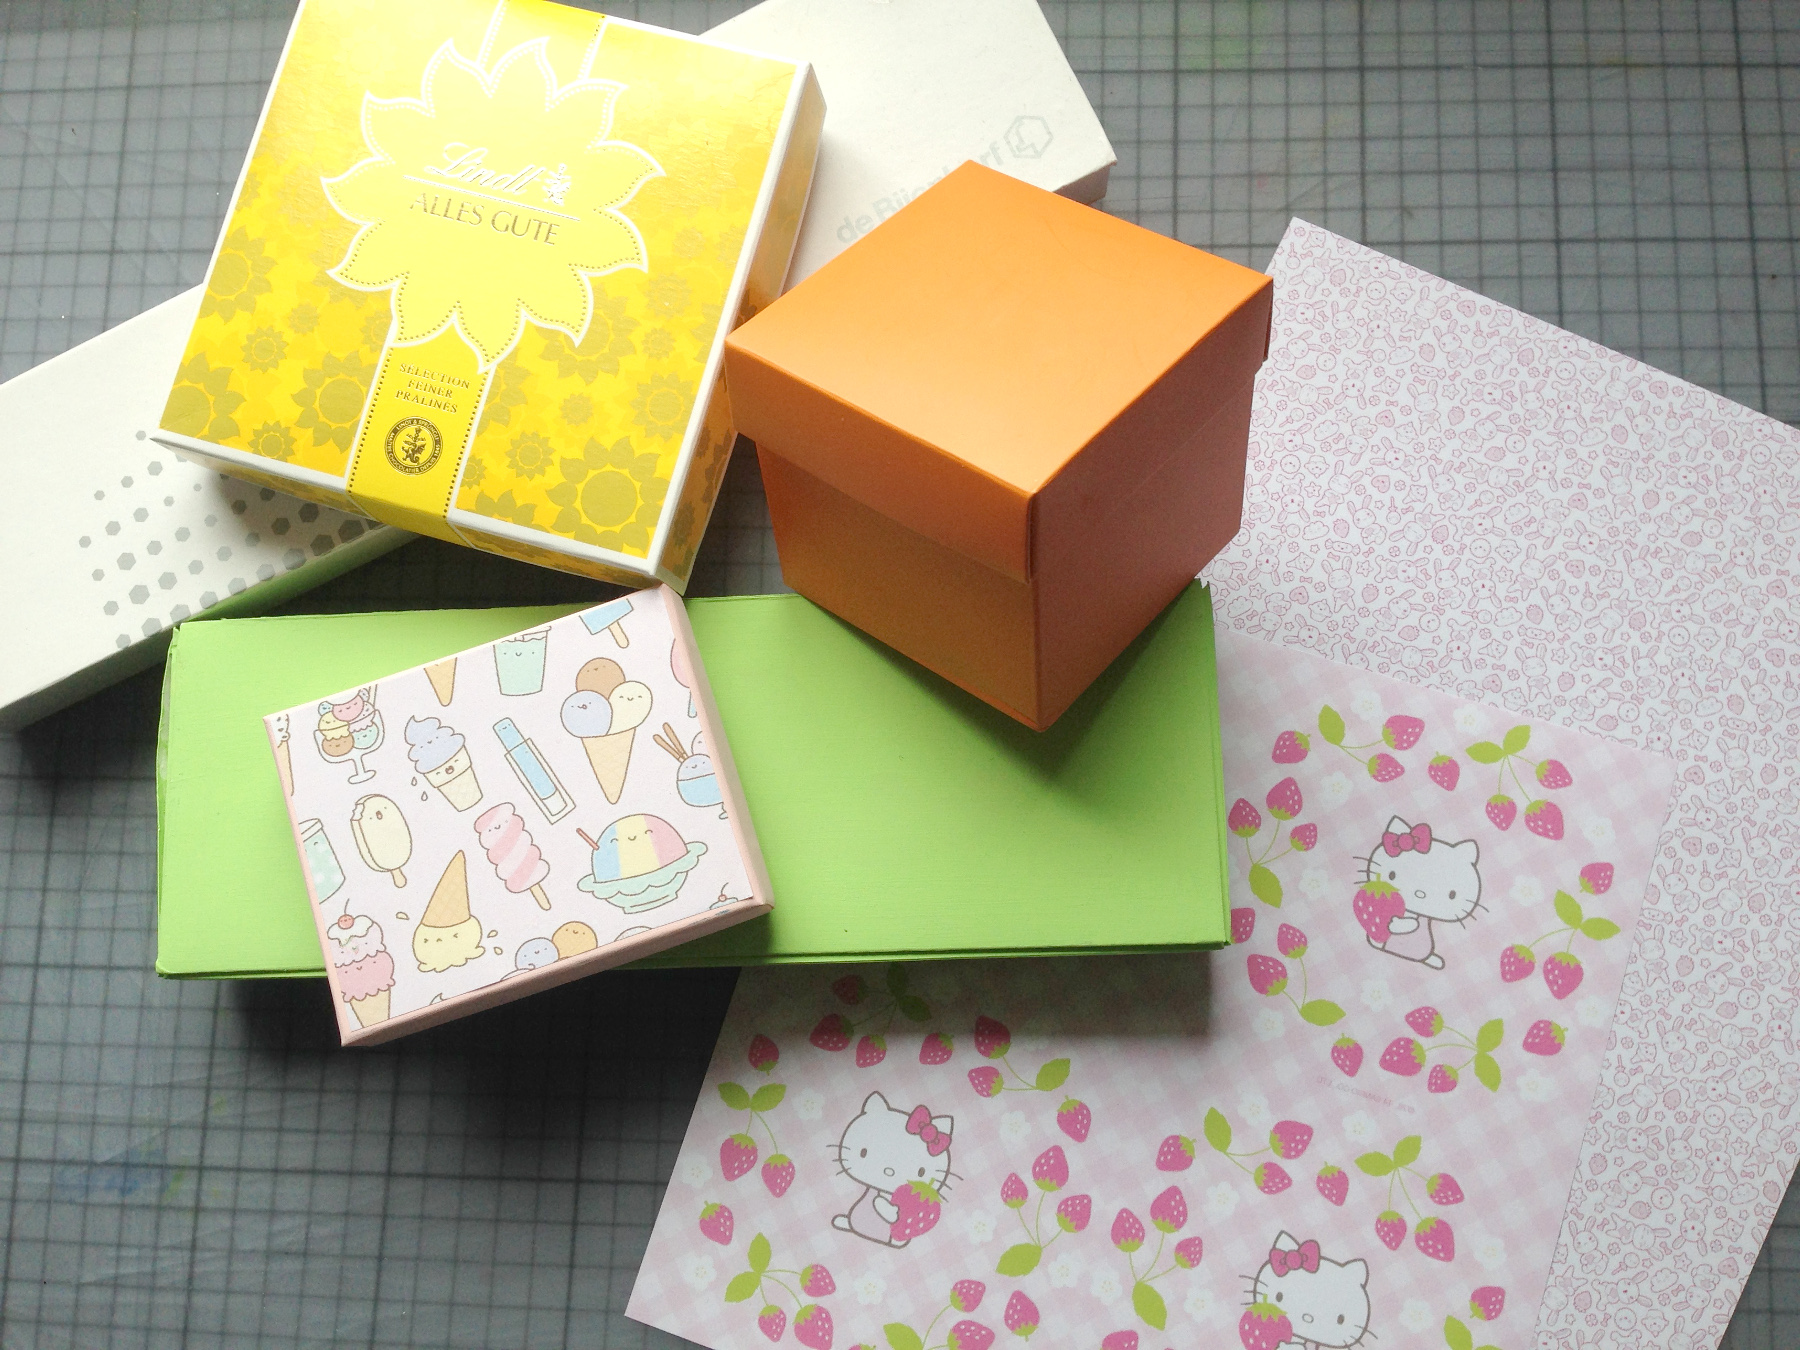
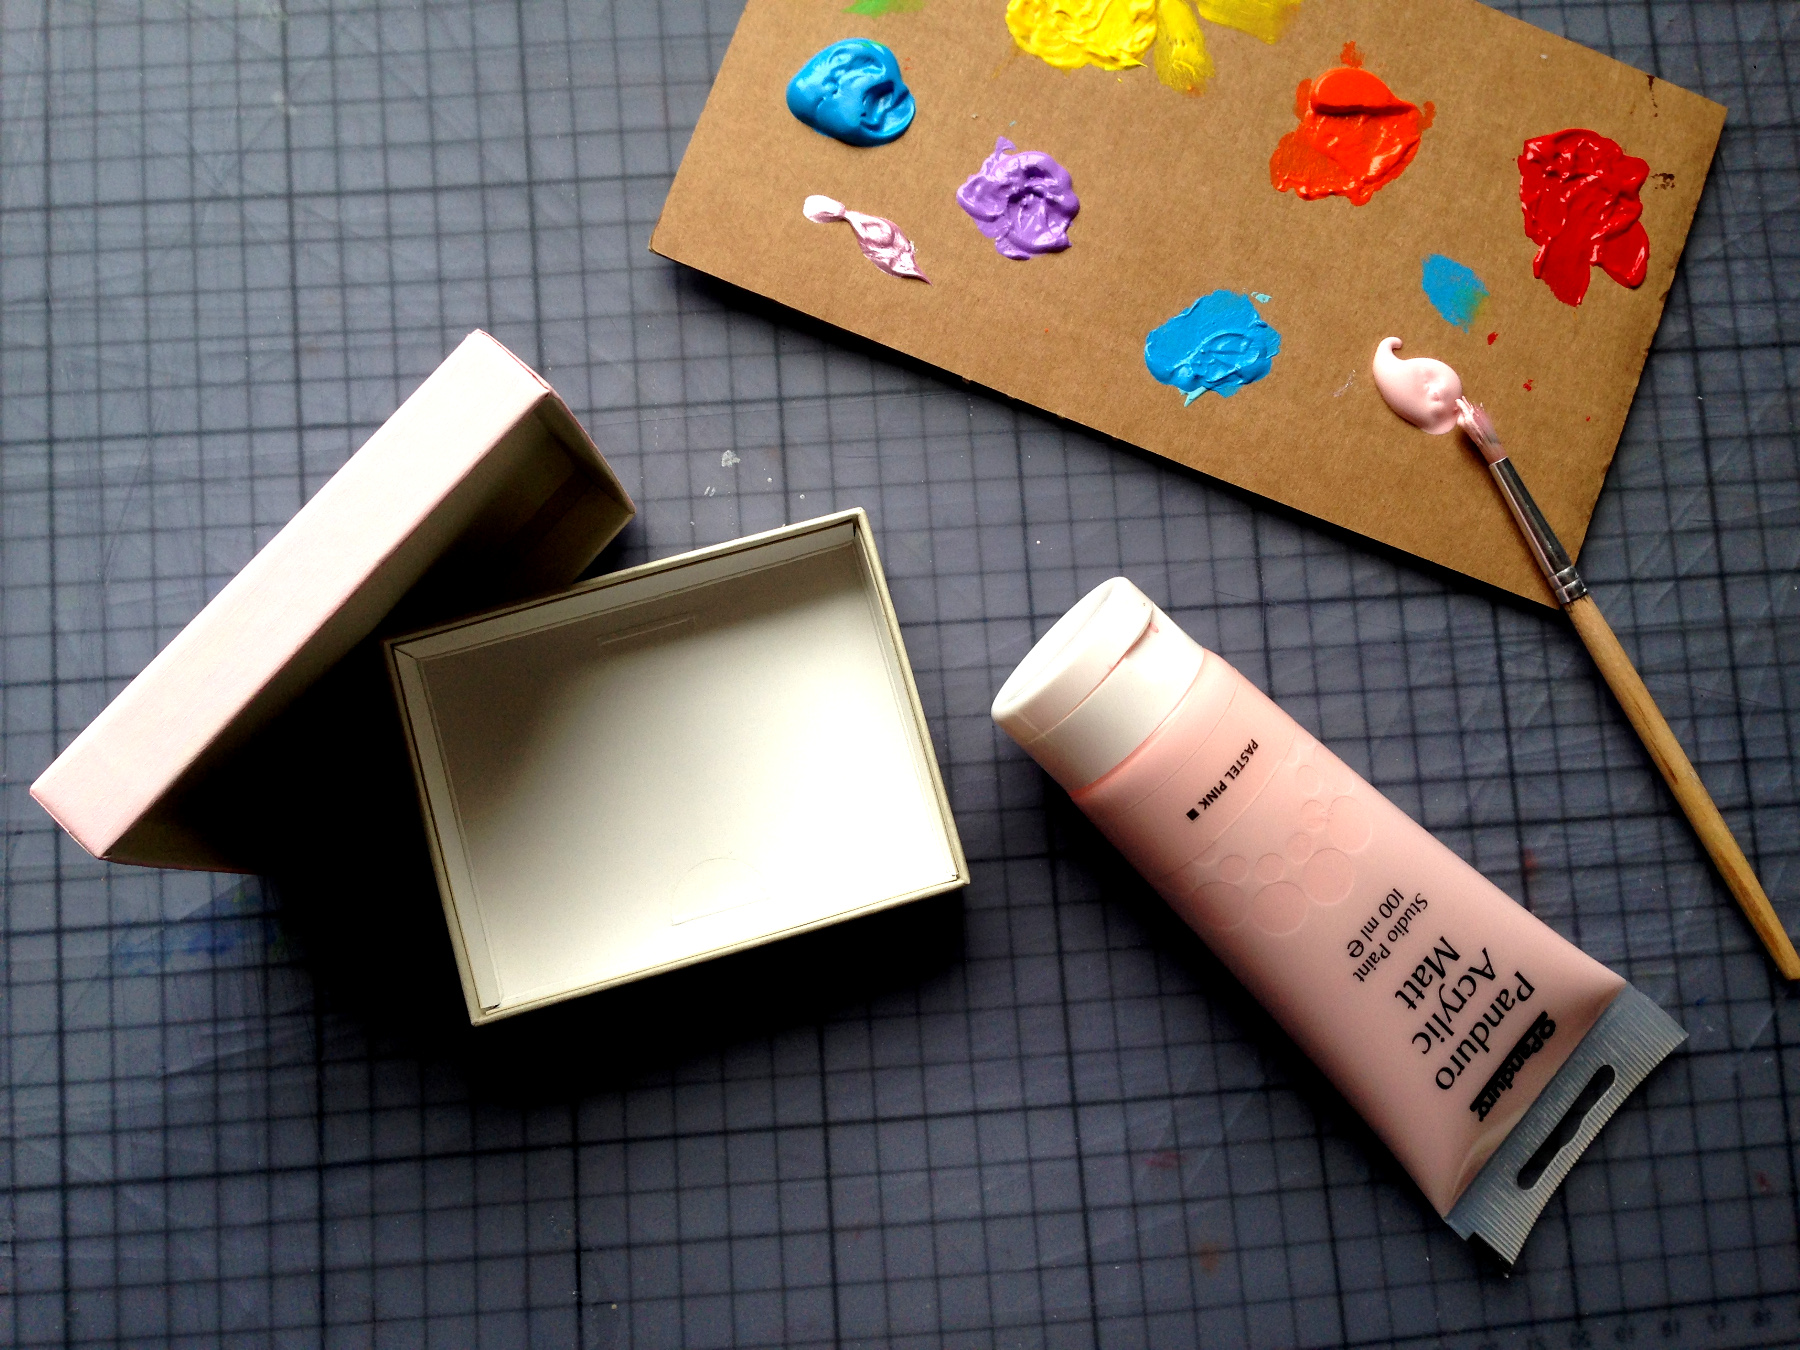
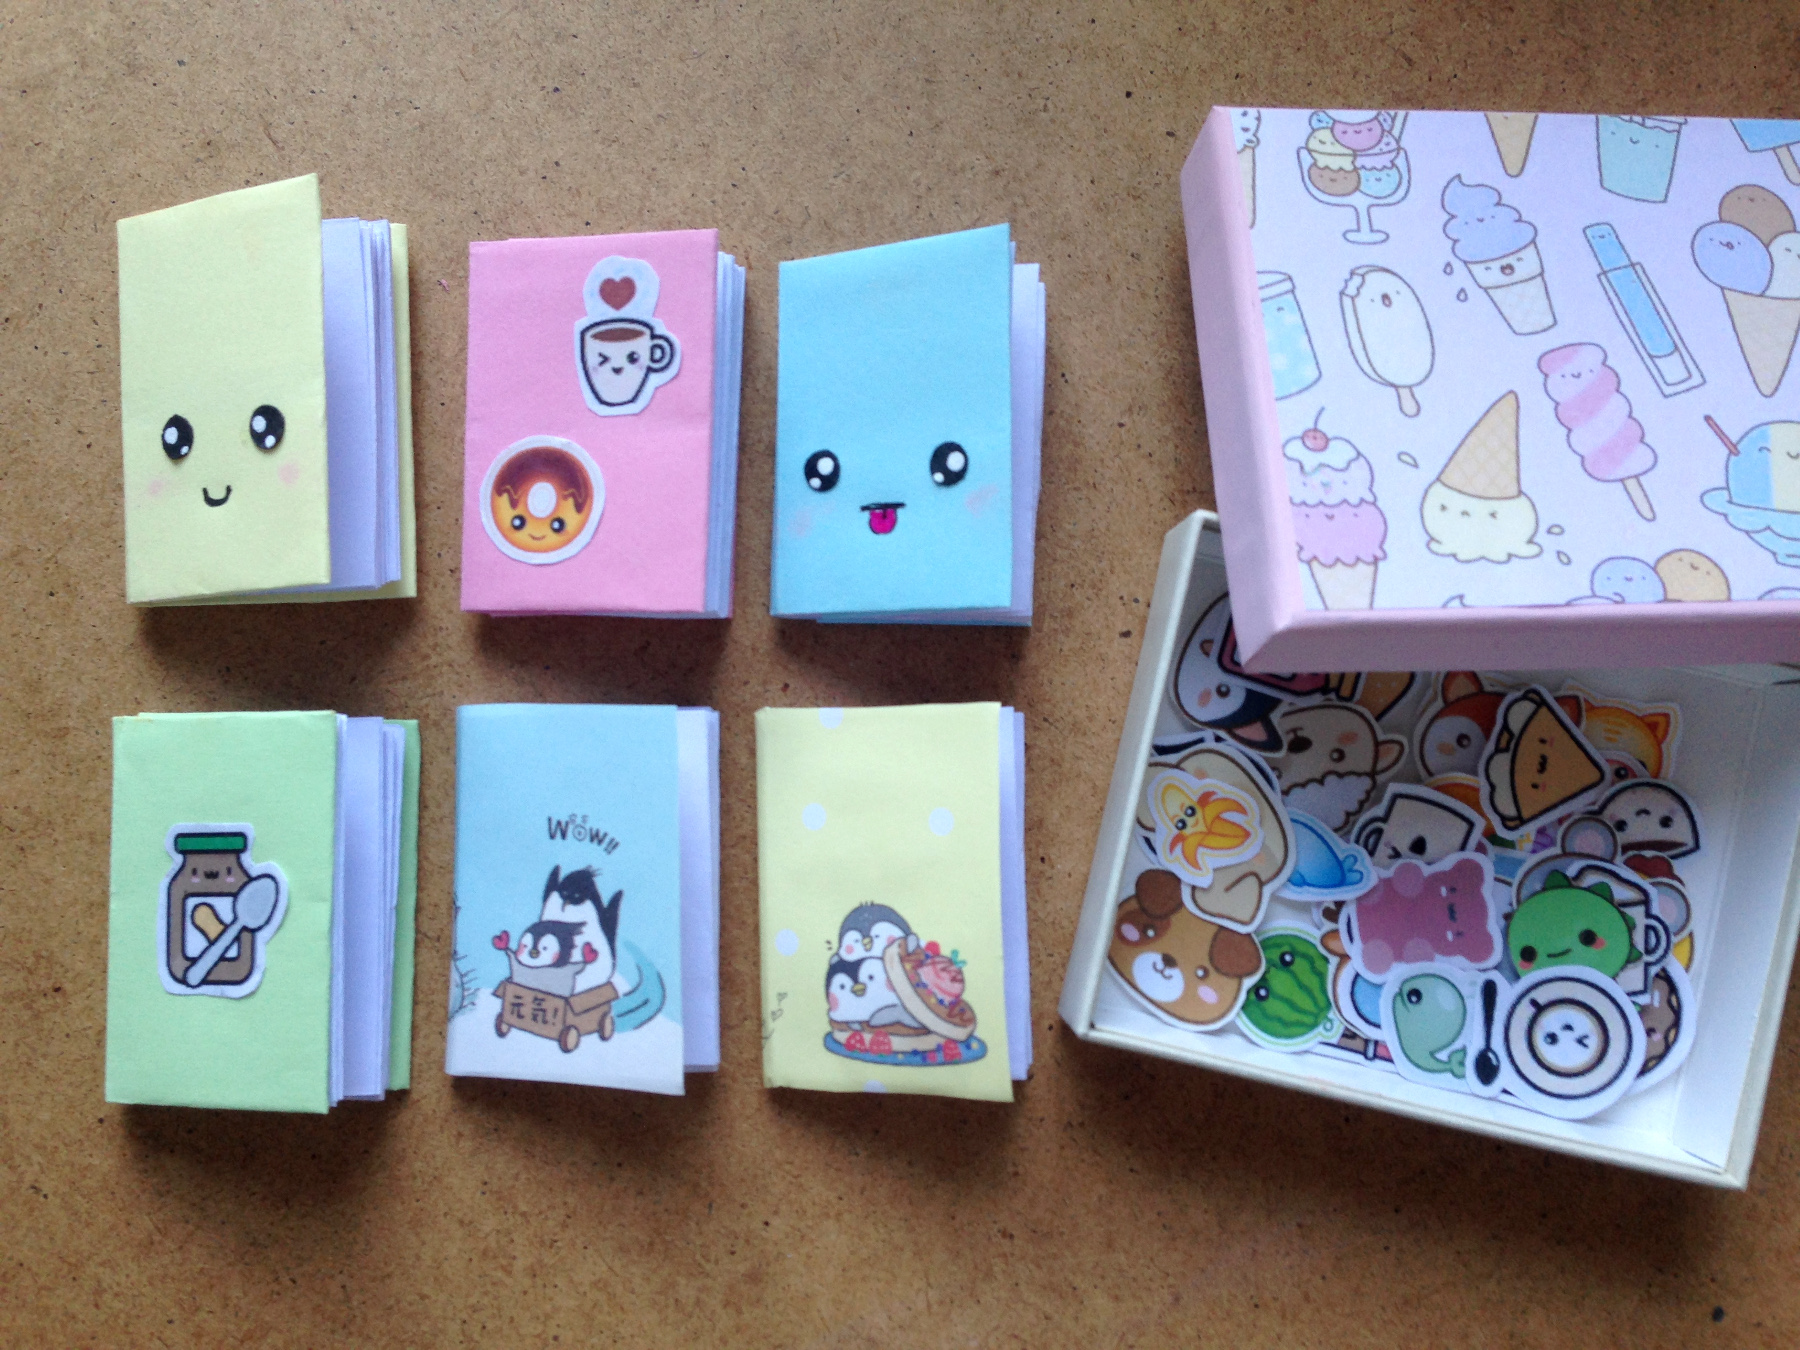
Turn boring empty boxes into cute keepsake boxes.
Paint the box and / or the lid in a matching colour.
Pick out the cutest sticker and stick it on top of the lid.
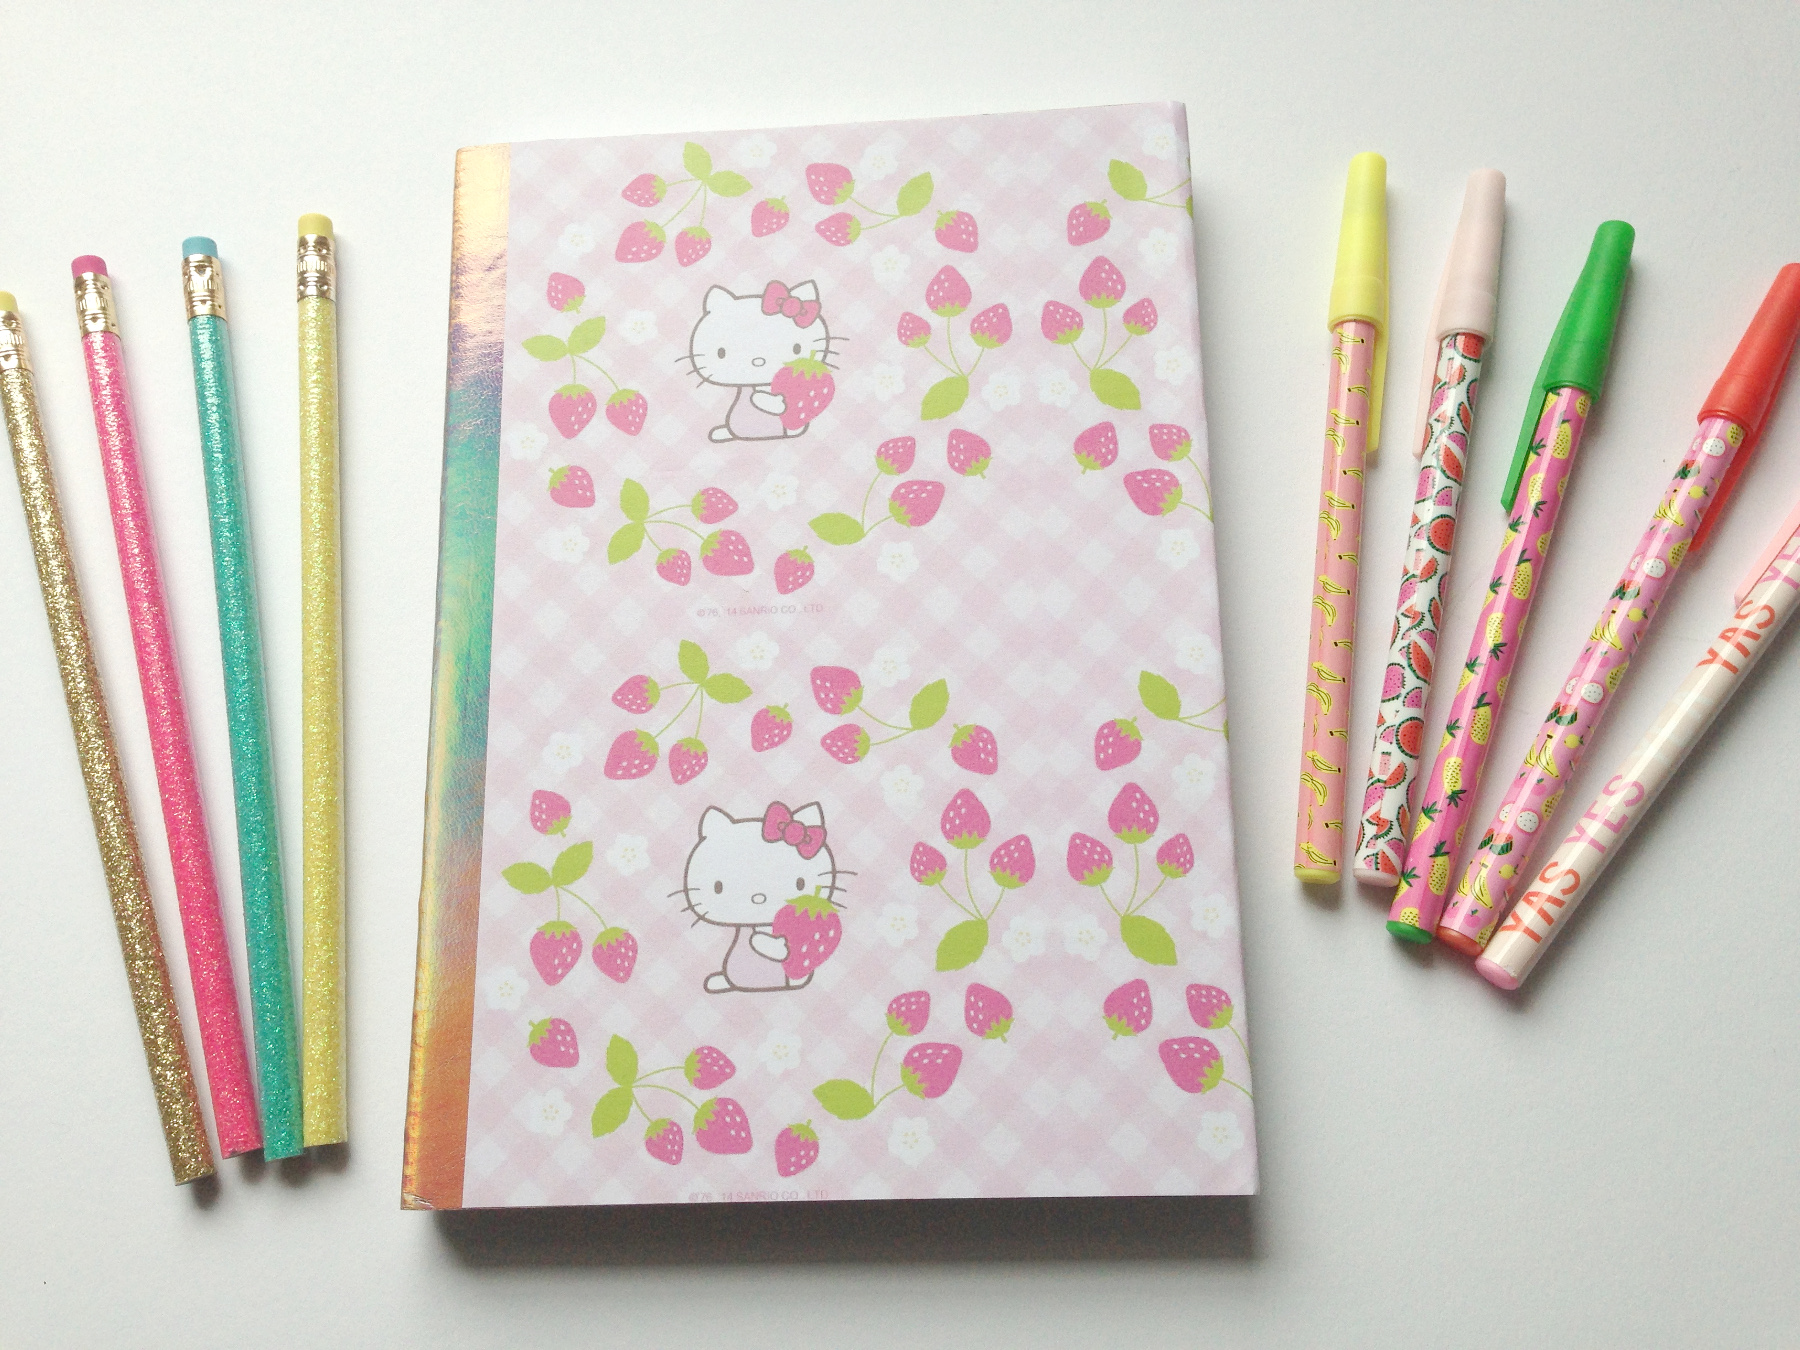
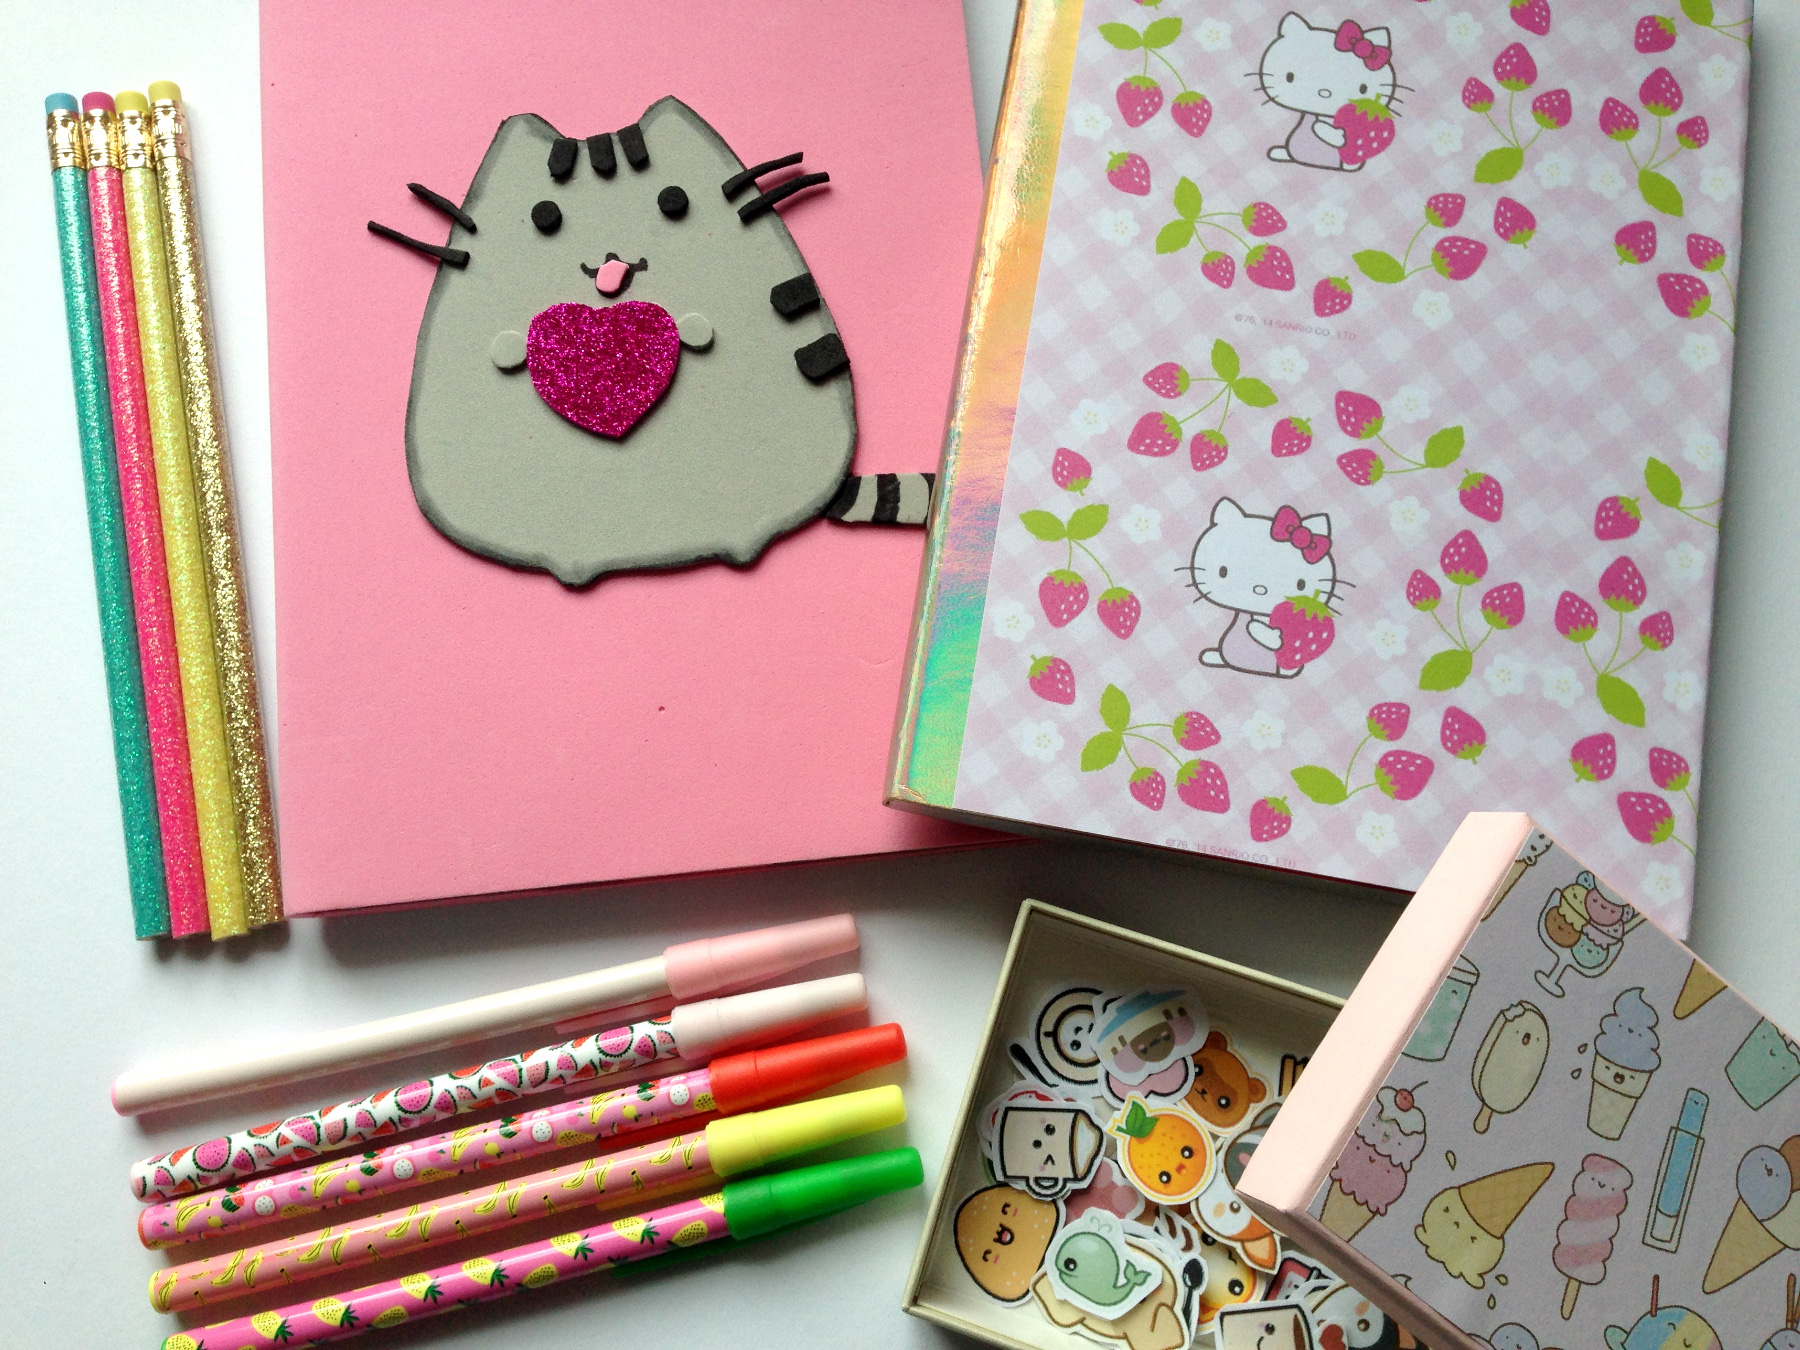
You can give cute pens and / or pencils to go with the book.
Include the box with the little kawaii-stickers.
Last year we already made a diary with Pusheen on the cover which also made a great gift!
How to make your own miniature notebooks
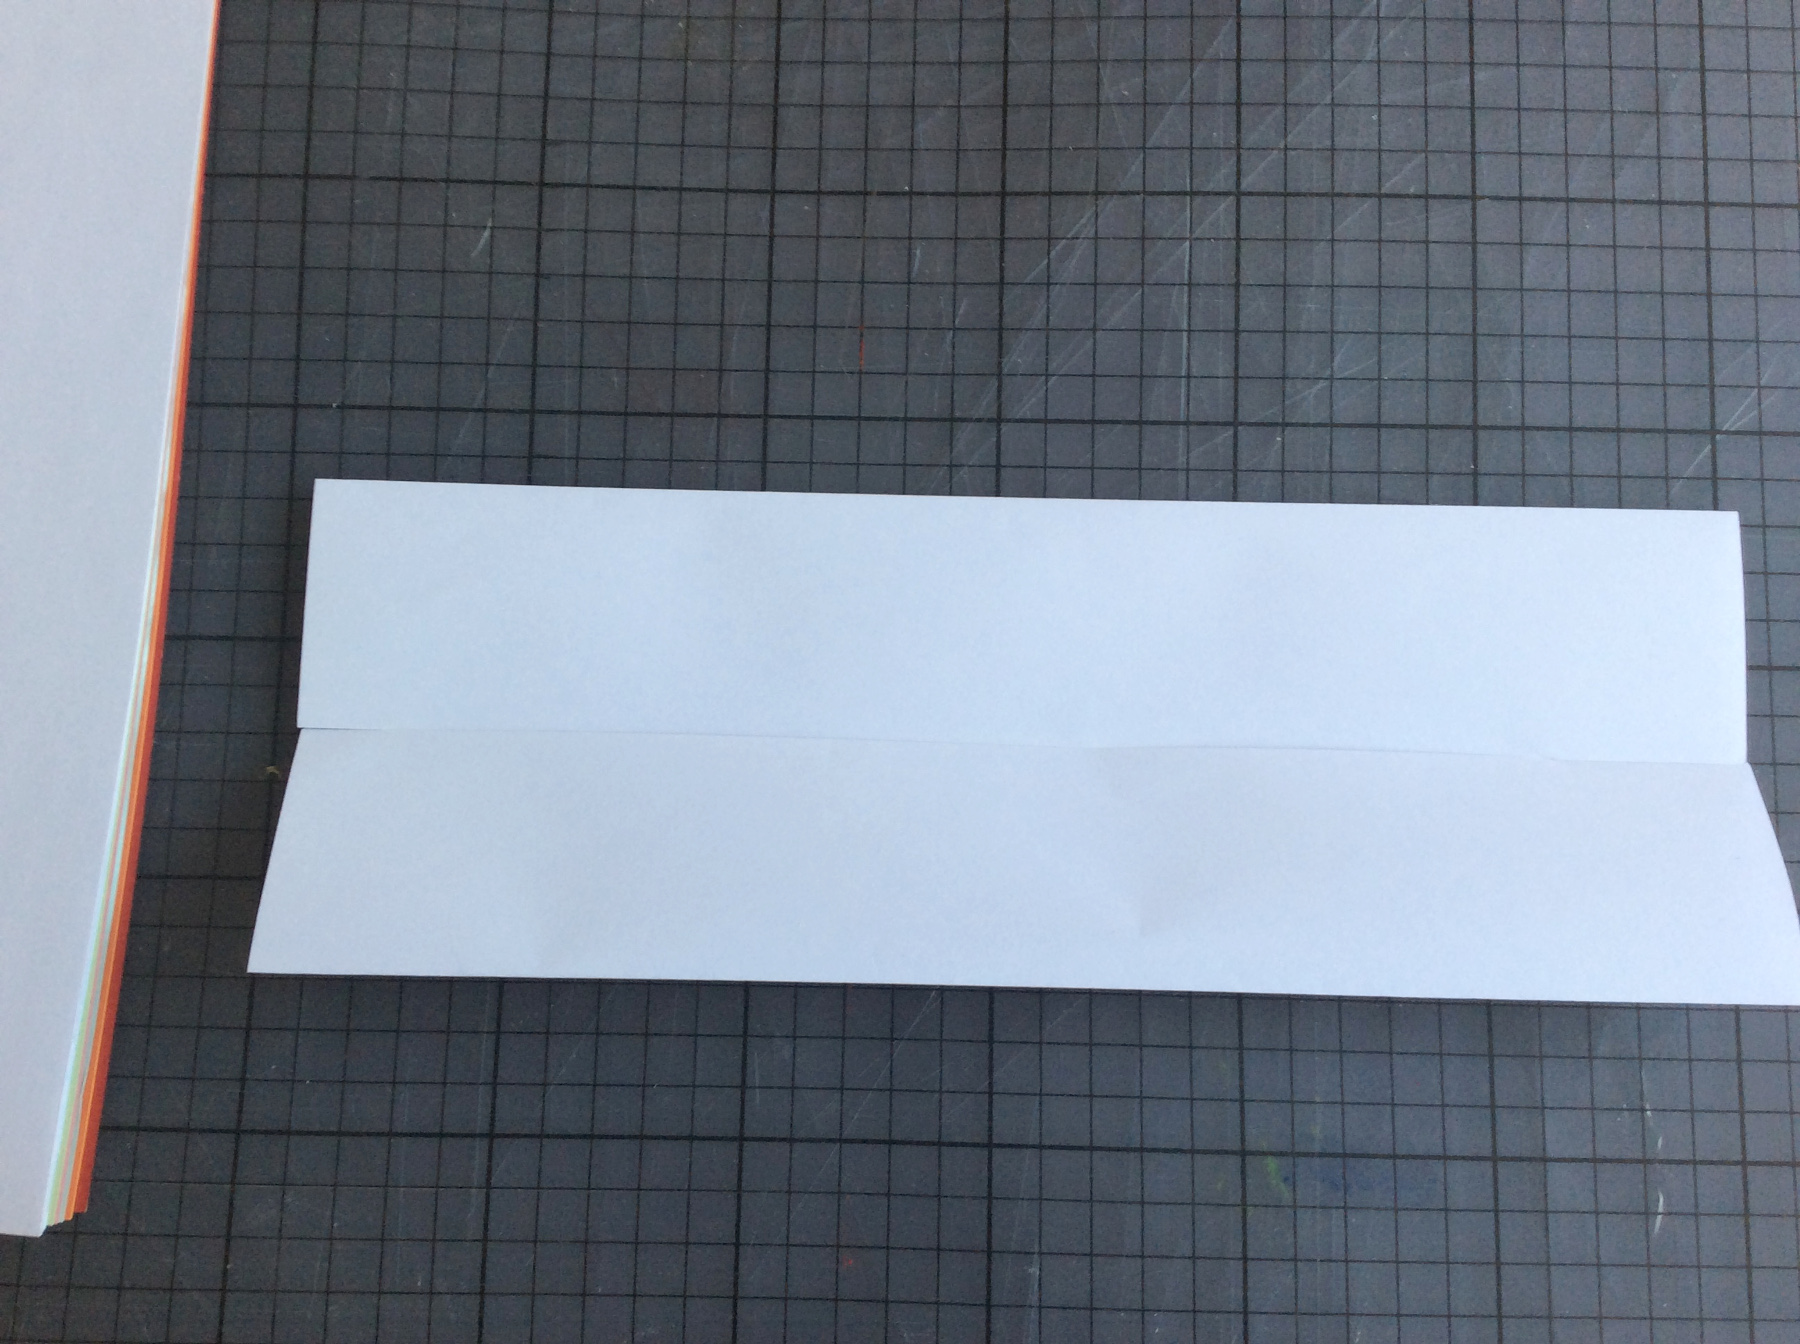
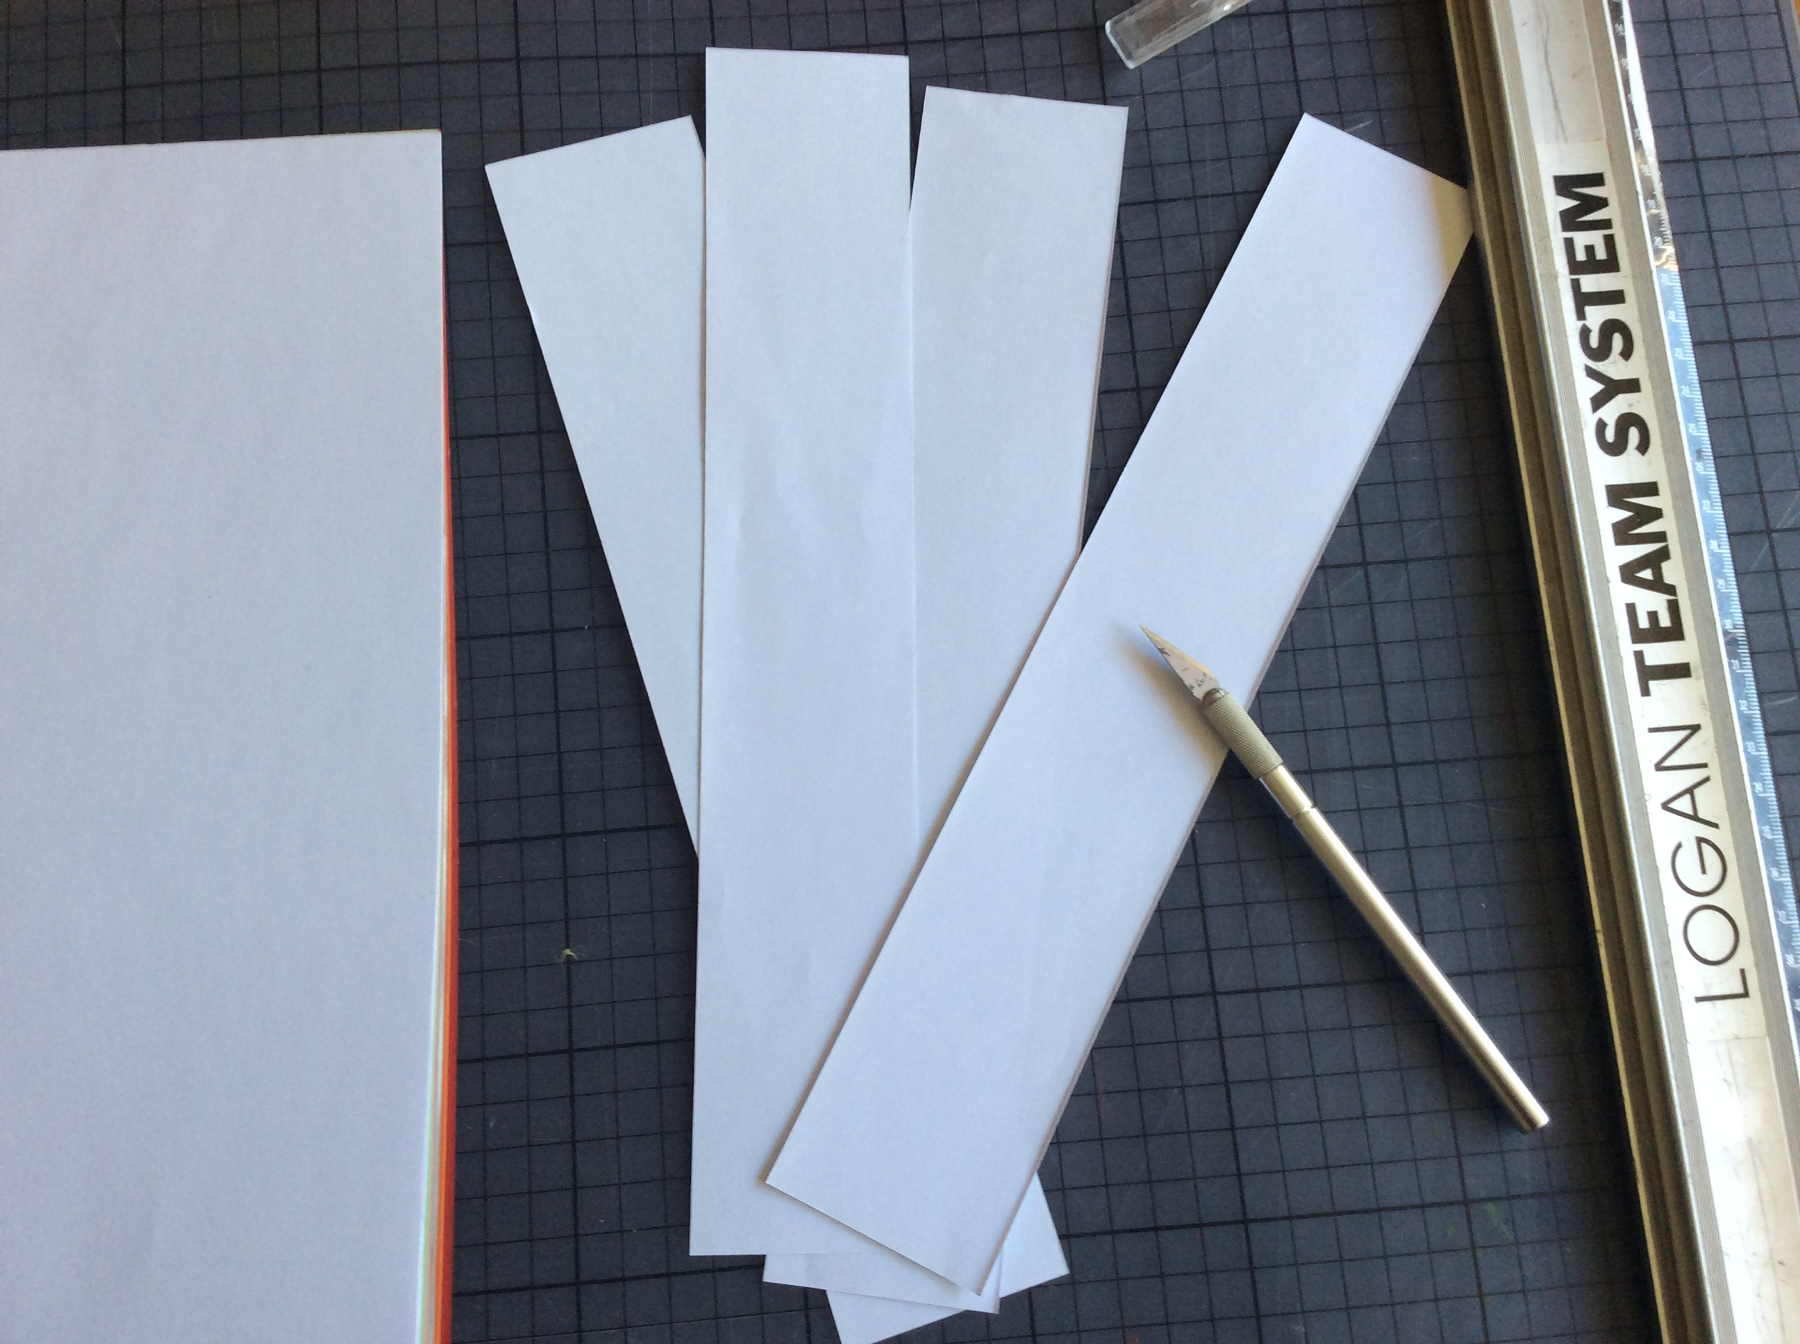

Fold an A4 sheet in half, then in half again.
Cut the paper into 4 strips then fold the strips into quarters.
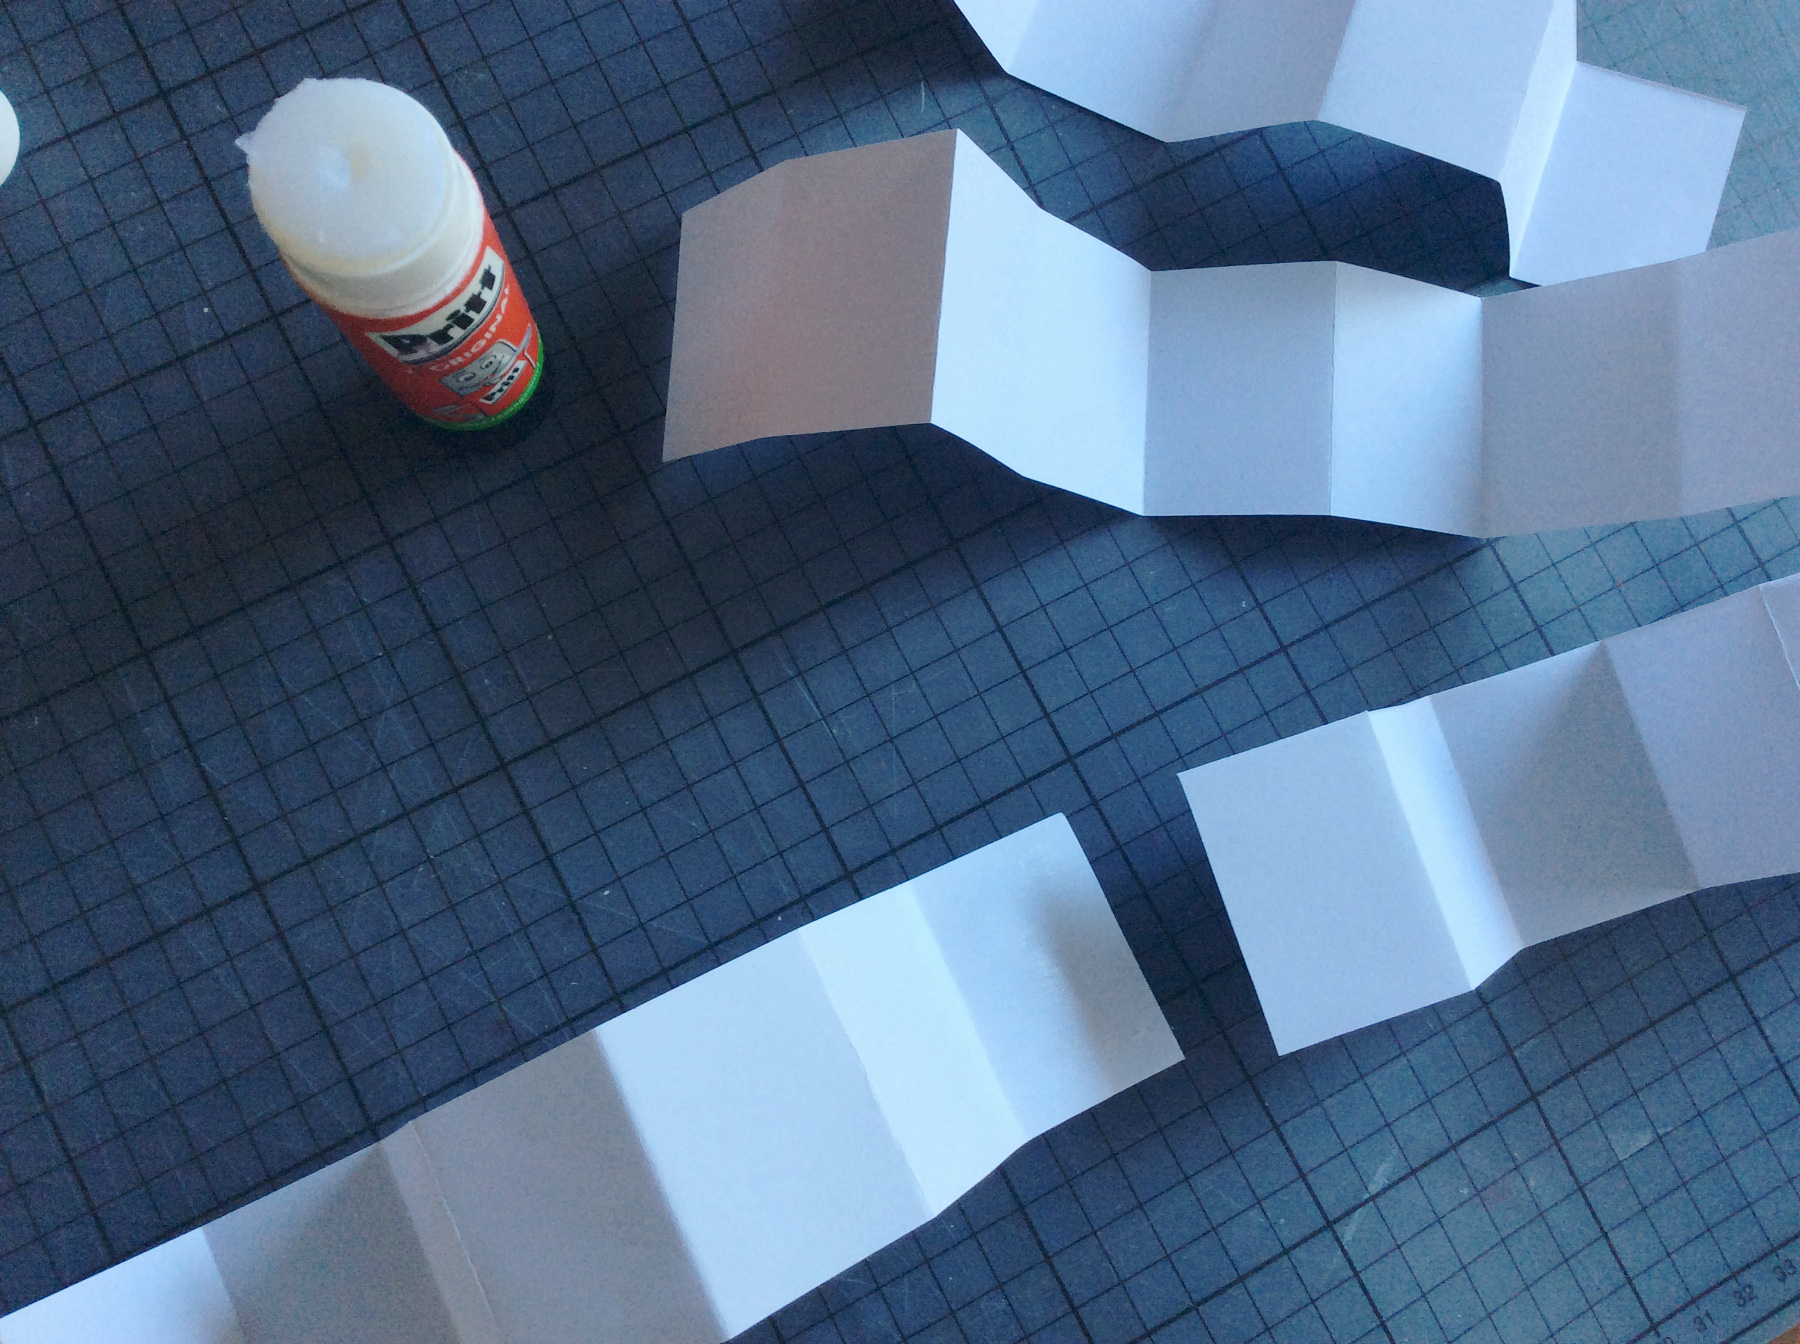
Then fold all 4 strips into eights, like a harmonica.
Glue the ends of the strips on top of each other.
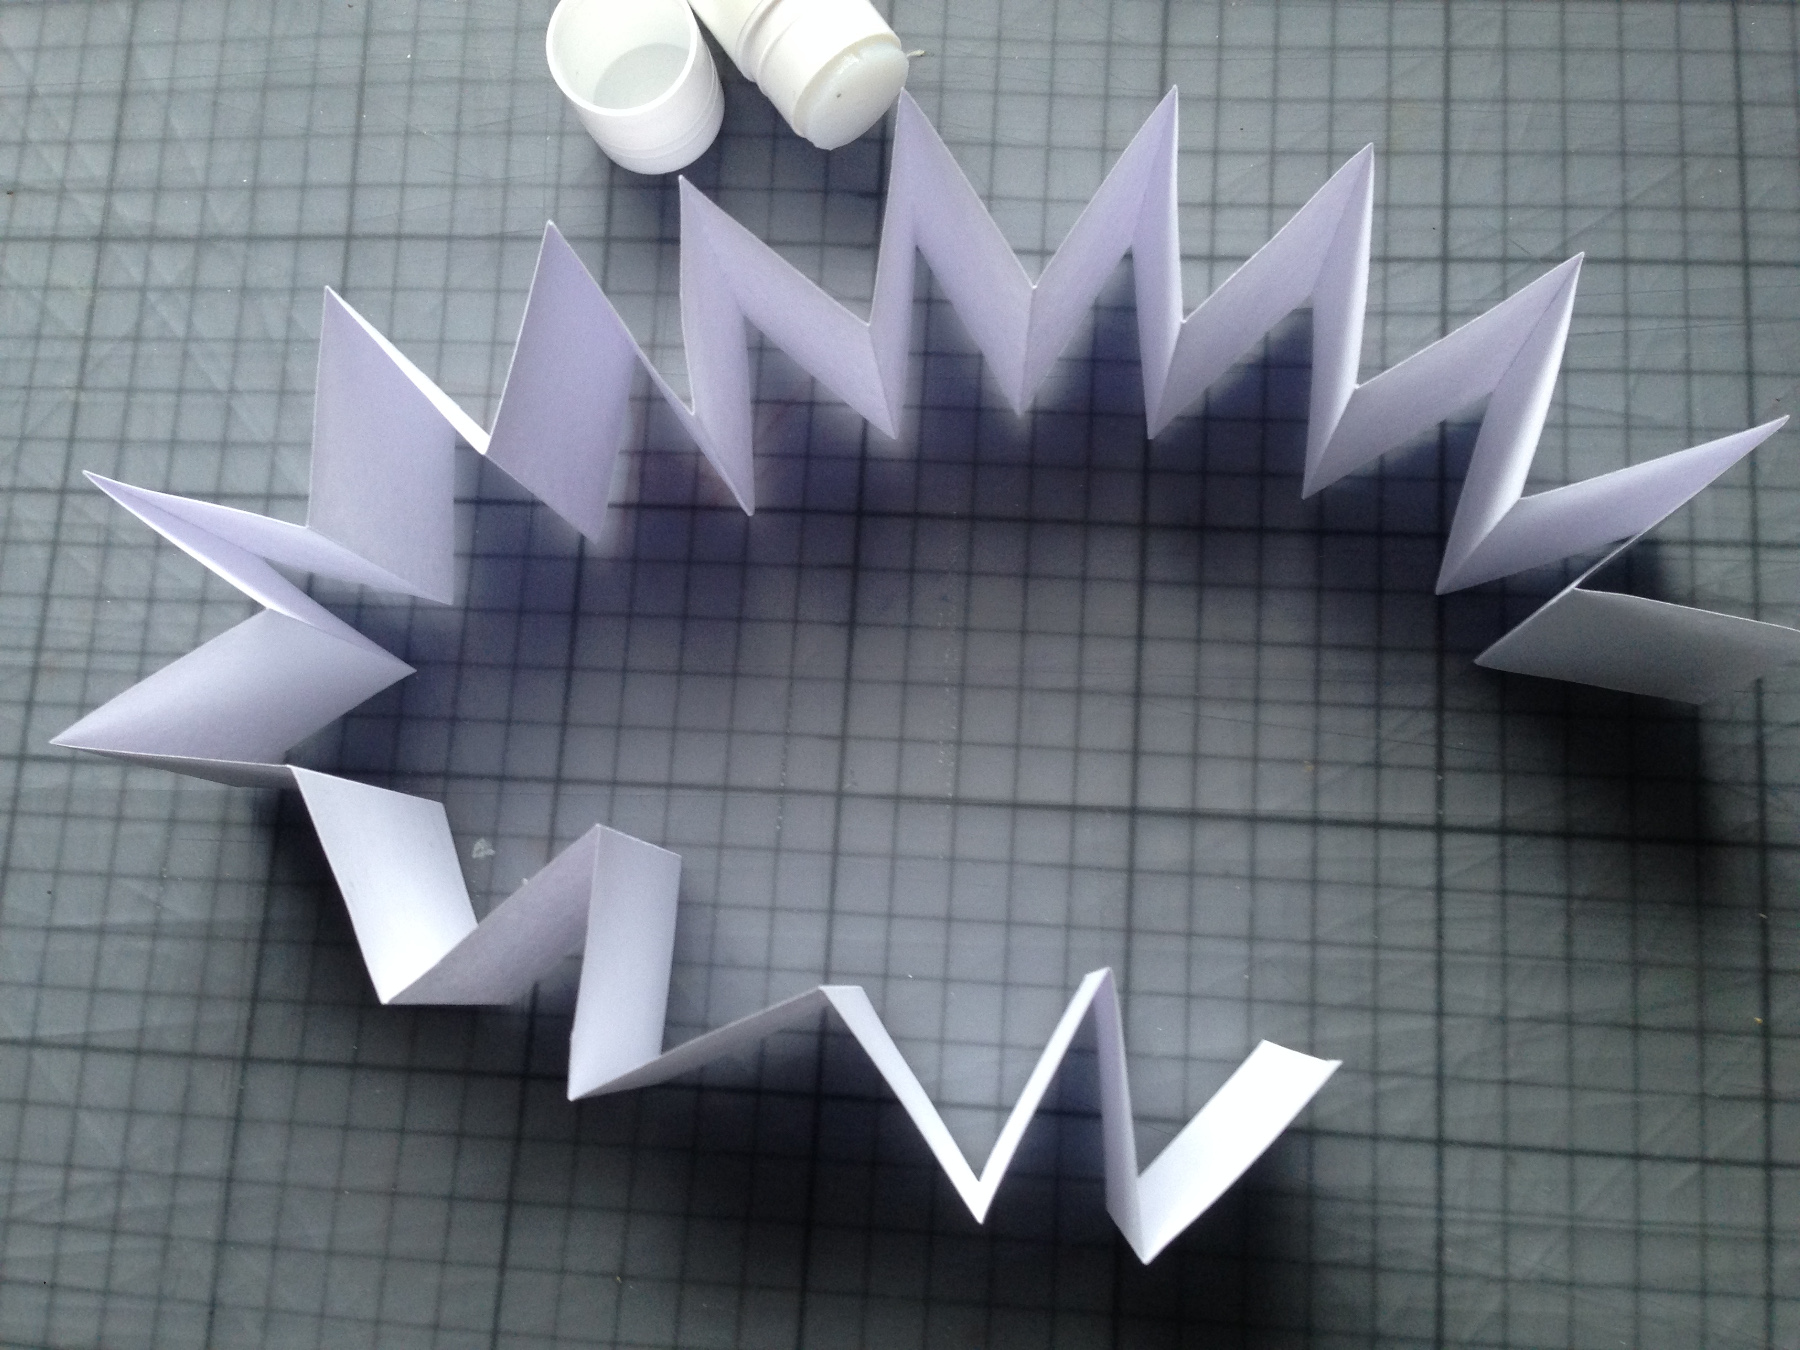
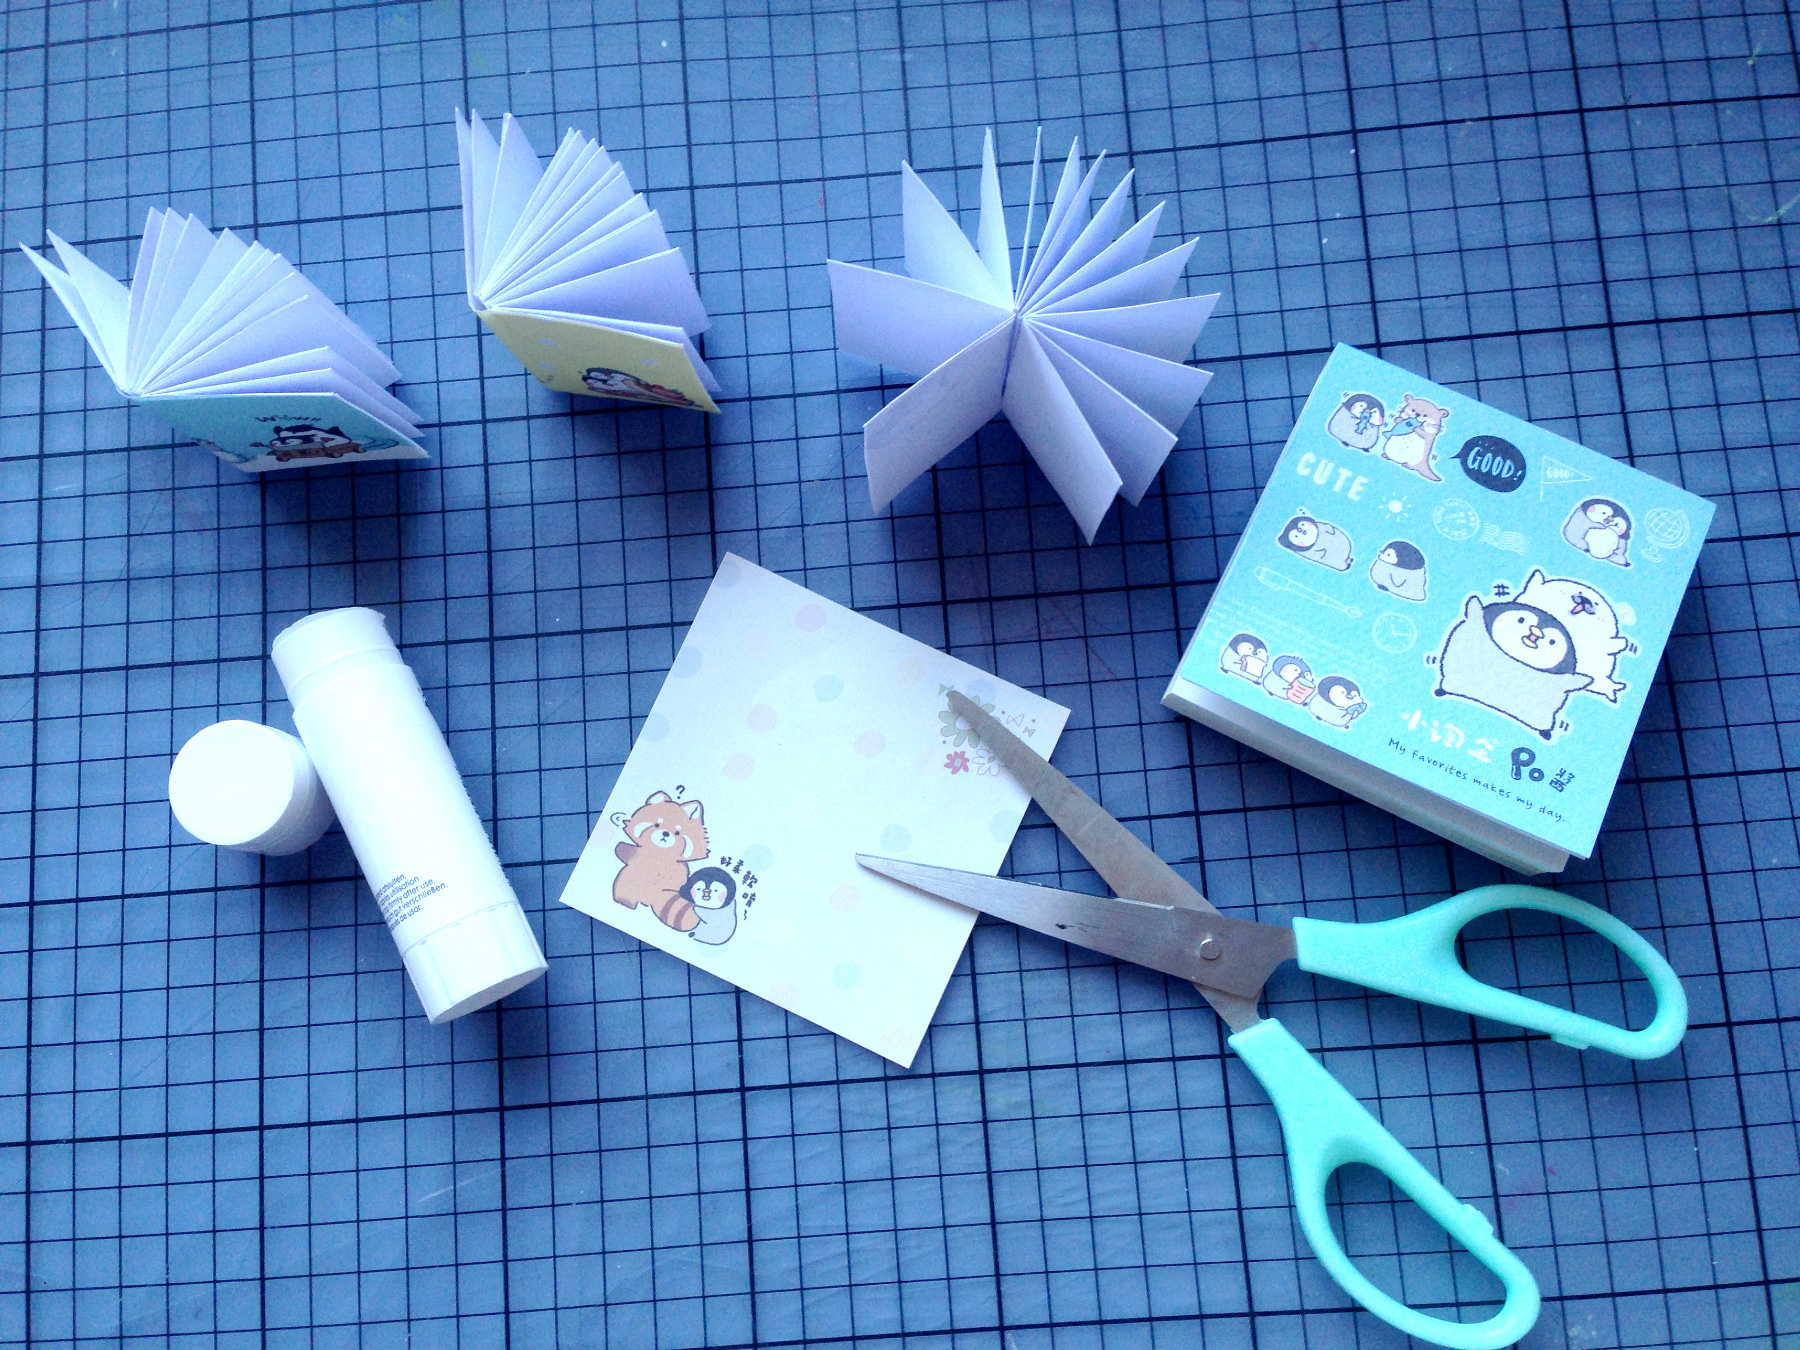
Now you have 1 long strip, strike glue on one side then fold the strip in again.
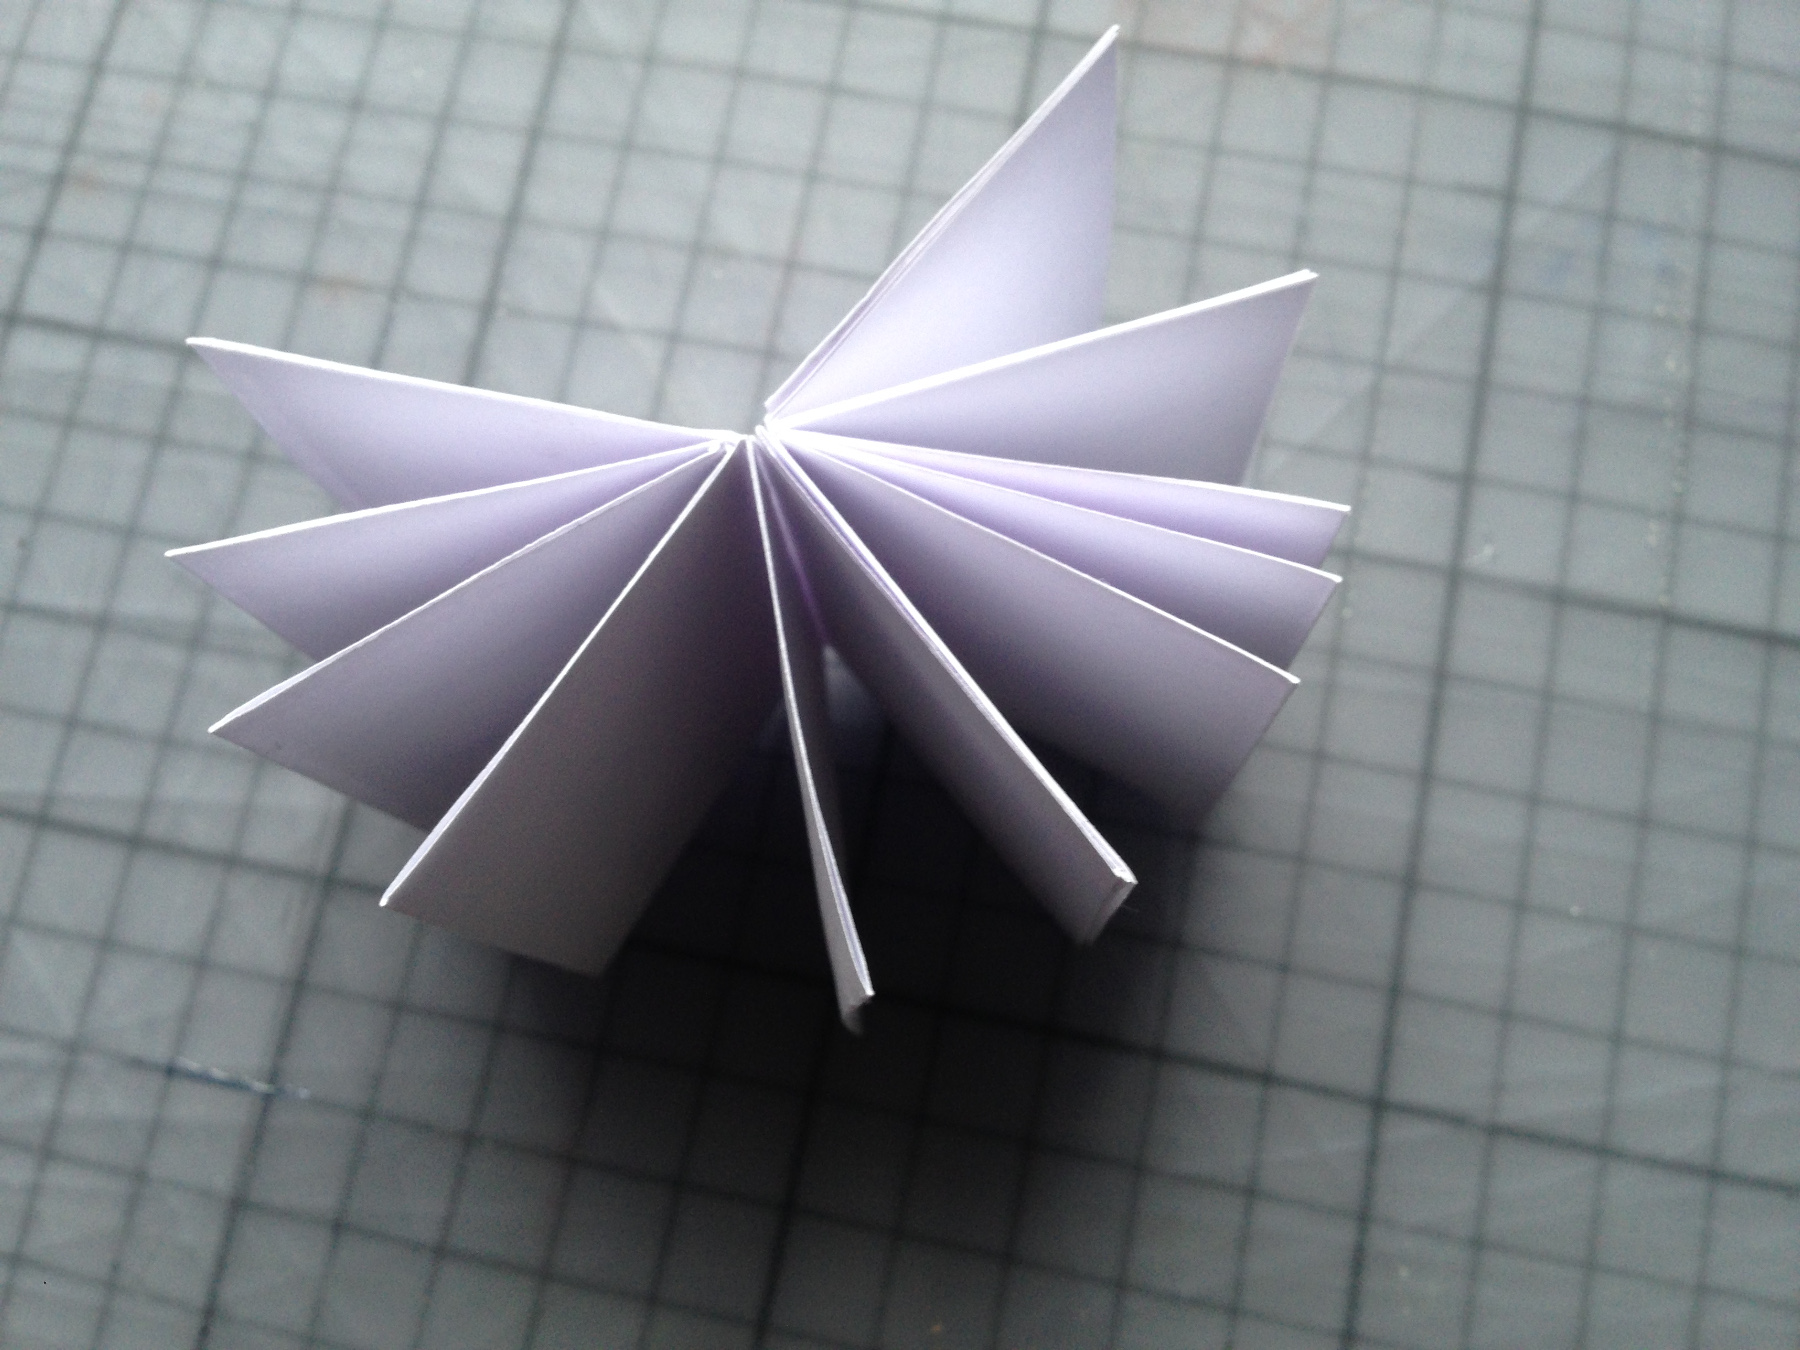
Press the pages firmly together and allow the glue to dry.
Stick on a coloured memo bloc cover, memo bloc is a souvenir from Taiwan.
Or make a plain cover for your notebooks in a pastel colour, then you can draw on it or you can stick the little kawaii stickers on.
Cut one A4 sheet in 4 equal parts, or if you like to use different colours cut 4 A4 sheets in 4 equal parts ;)

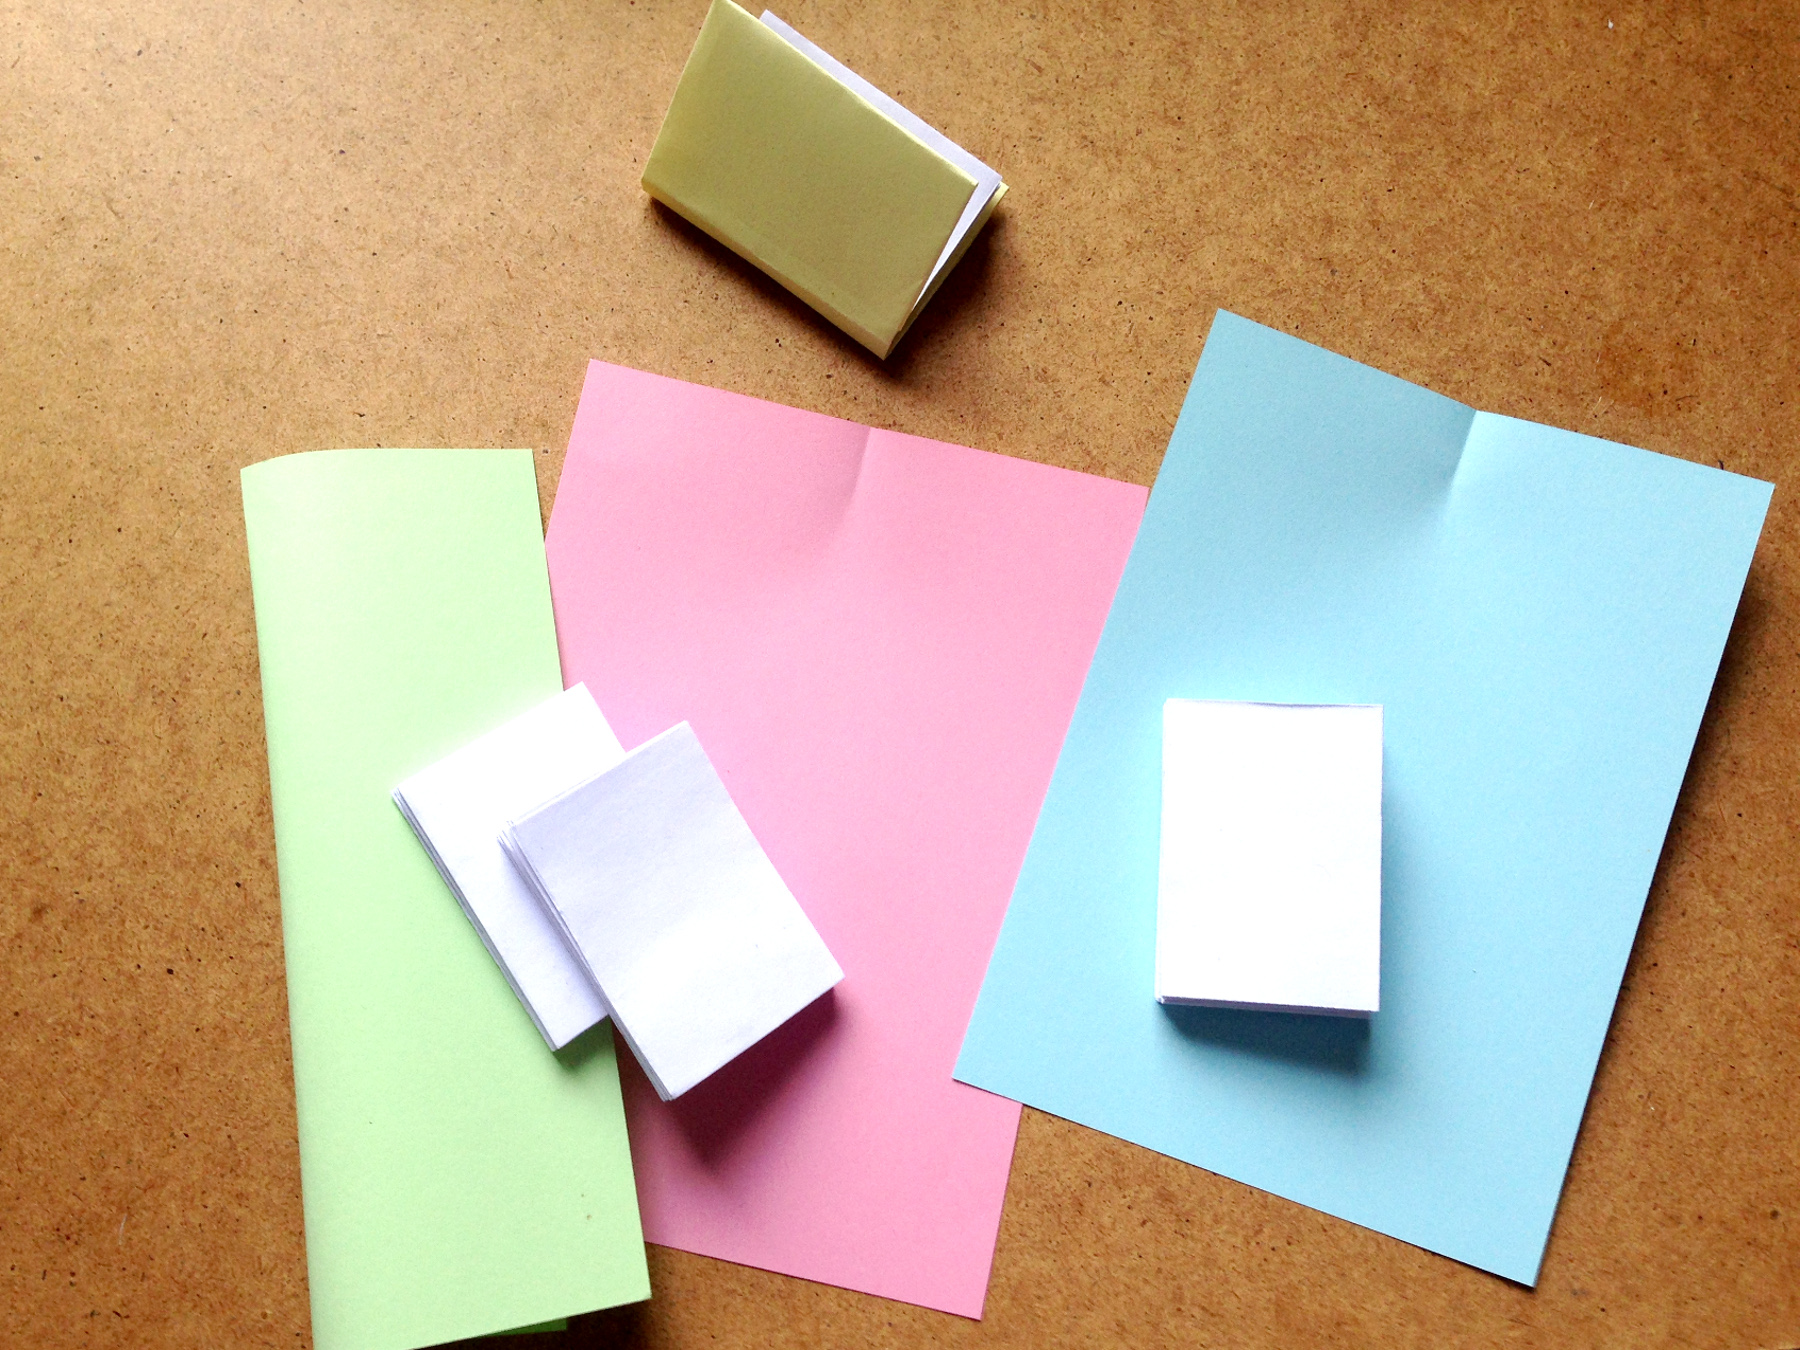
Cut 1 coloured A4 paper into 4 equal parts or use various colours.
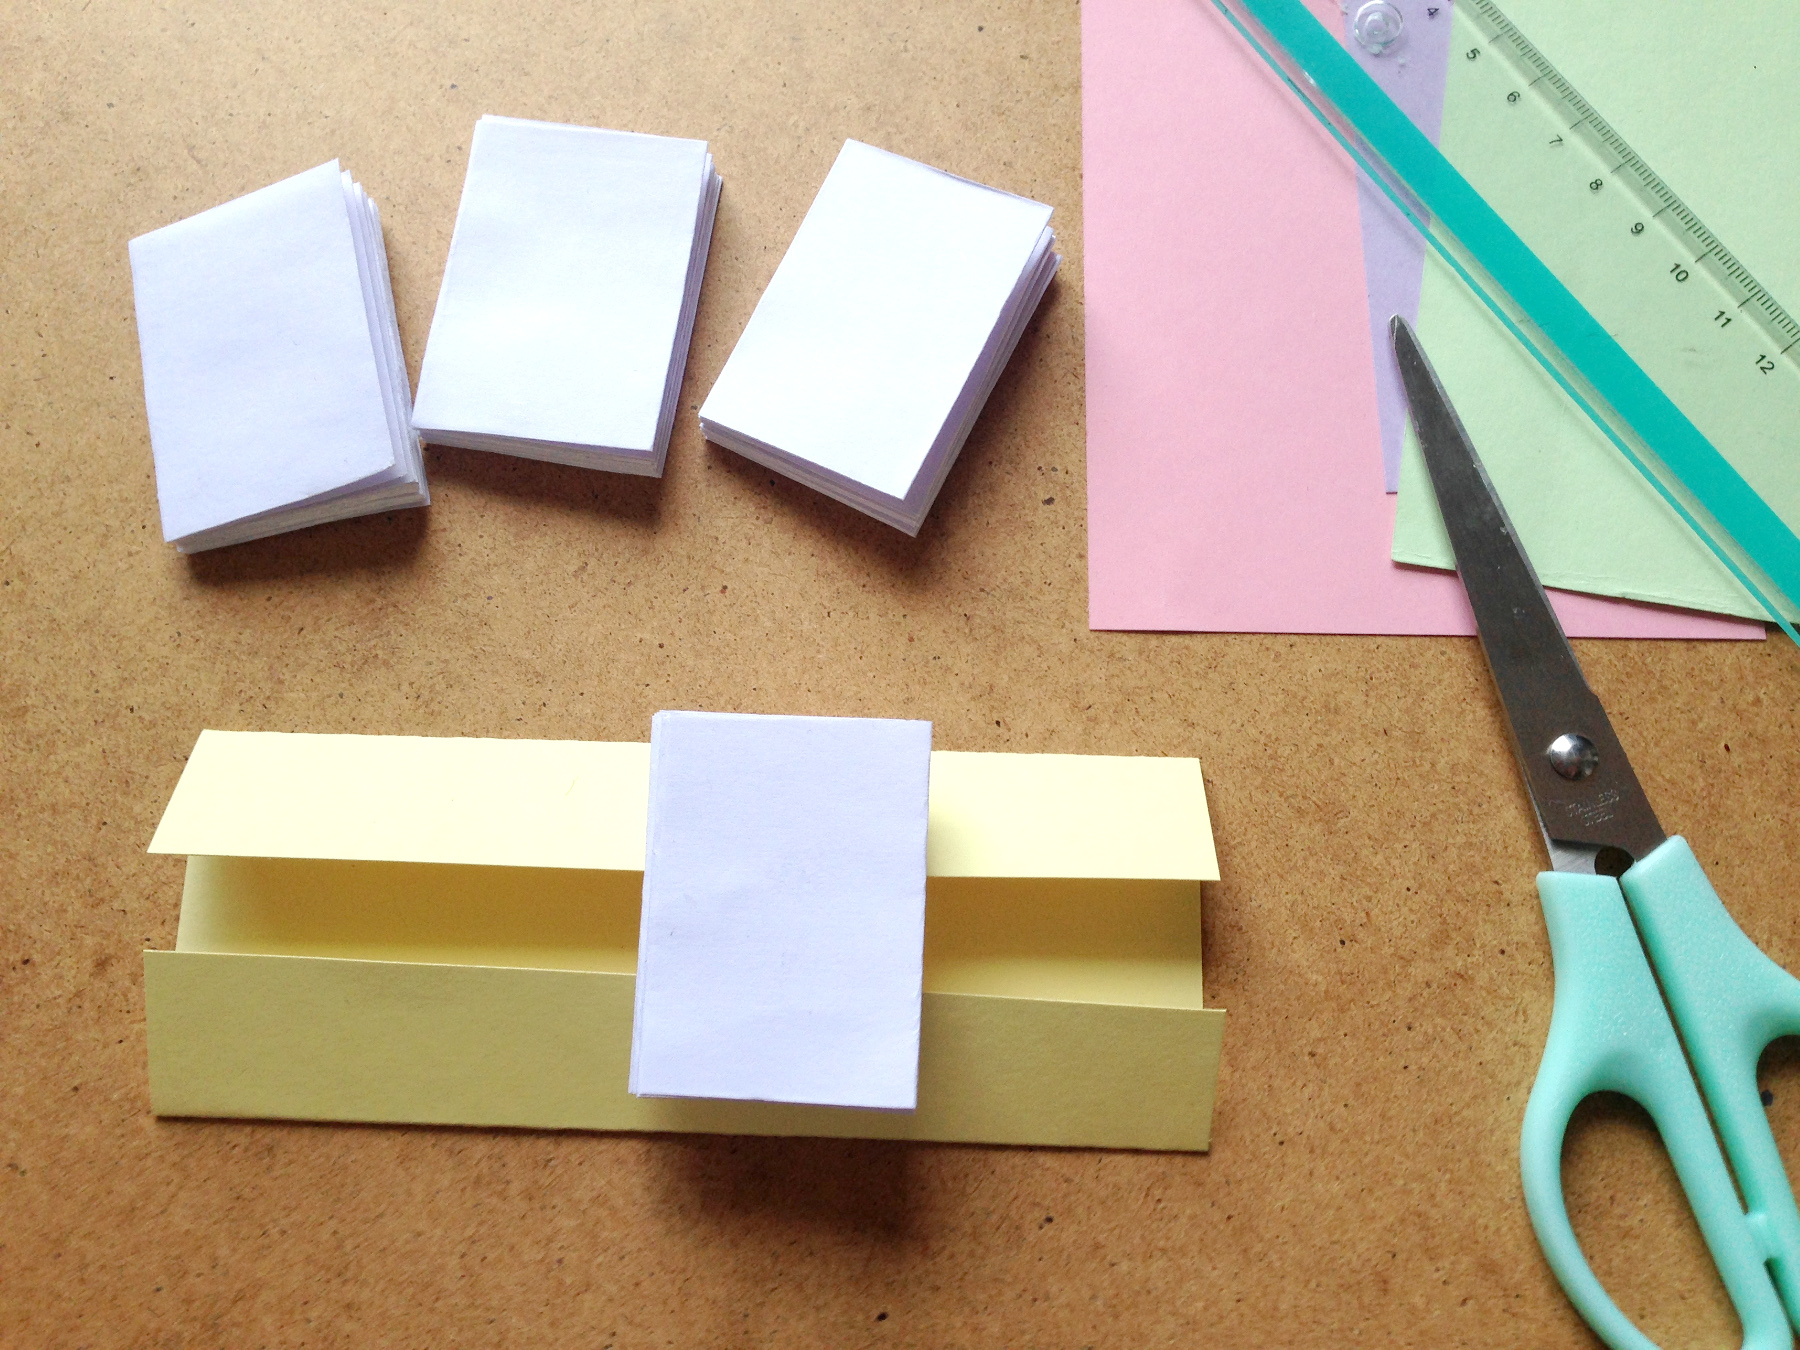
Fold 1 part lengthwise in half and press in a mark.
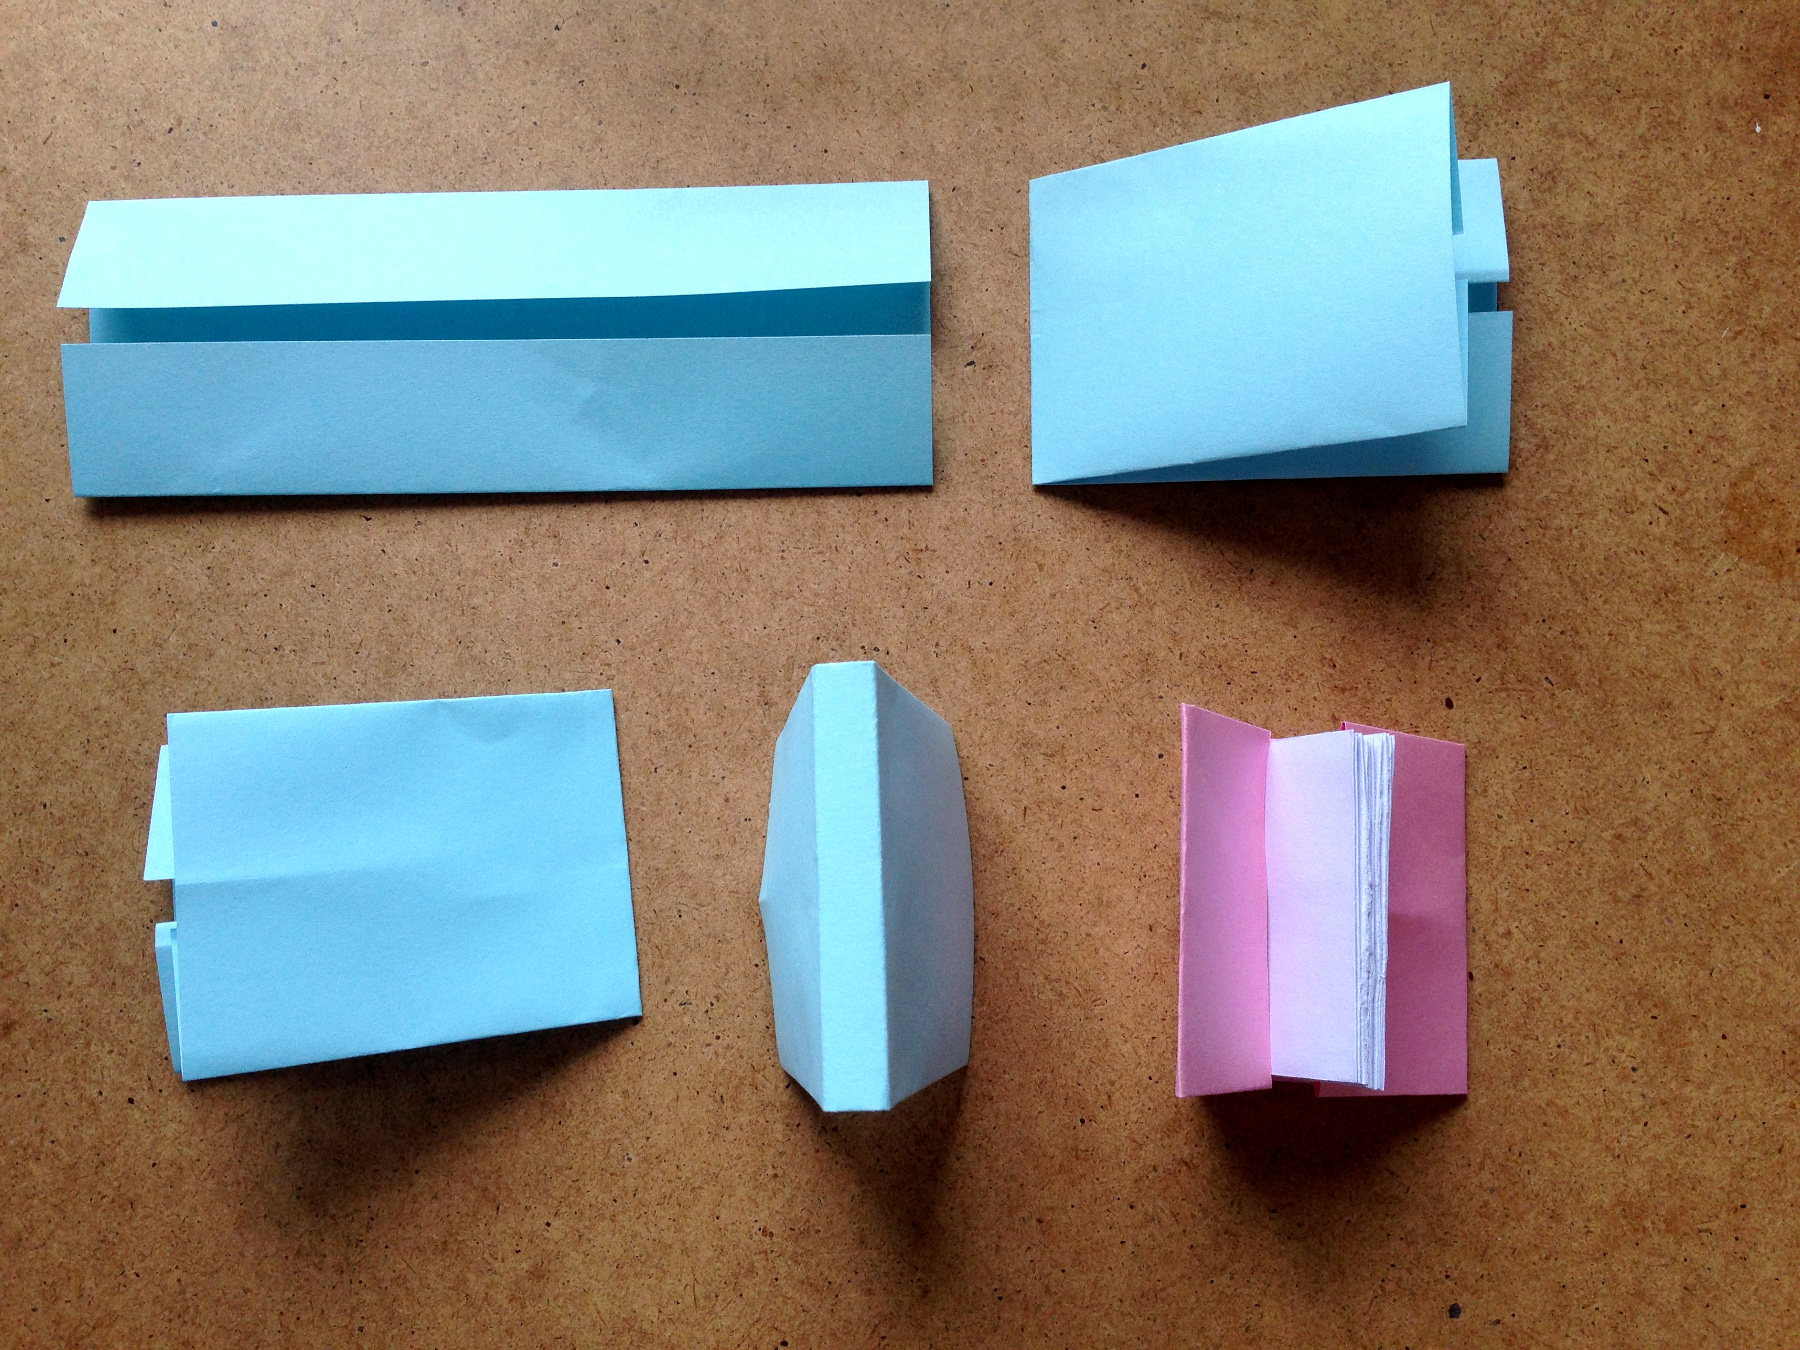
Fold to and bottom side in to the size of your book.
Fold left to right to the thickness of the back of your book.
- Repeat this from left to right and make sharp creases for the back of the book.
- Then fold both overlaps around the first and the last page of the book to the inside.
- Finally slide the first and the last page of the book into the cover and your done!
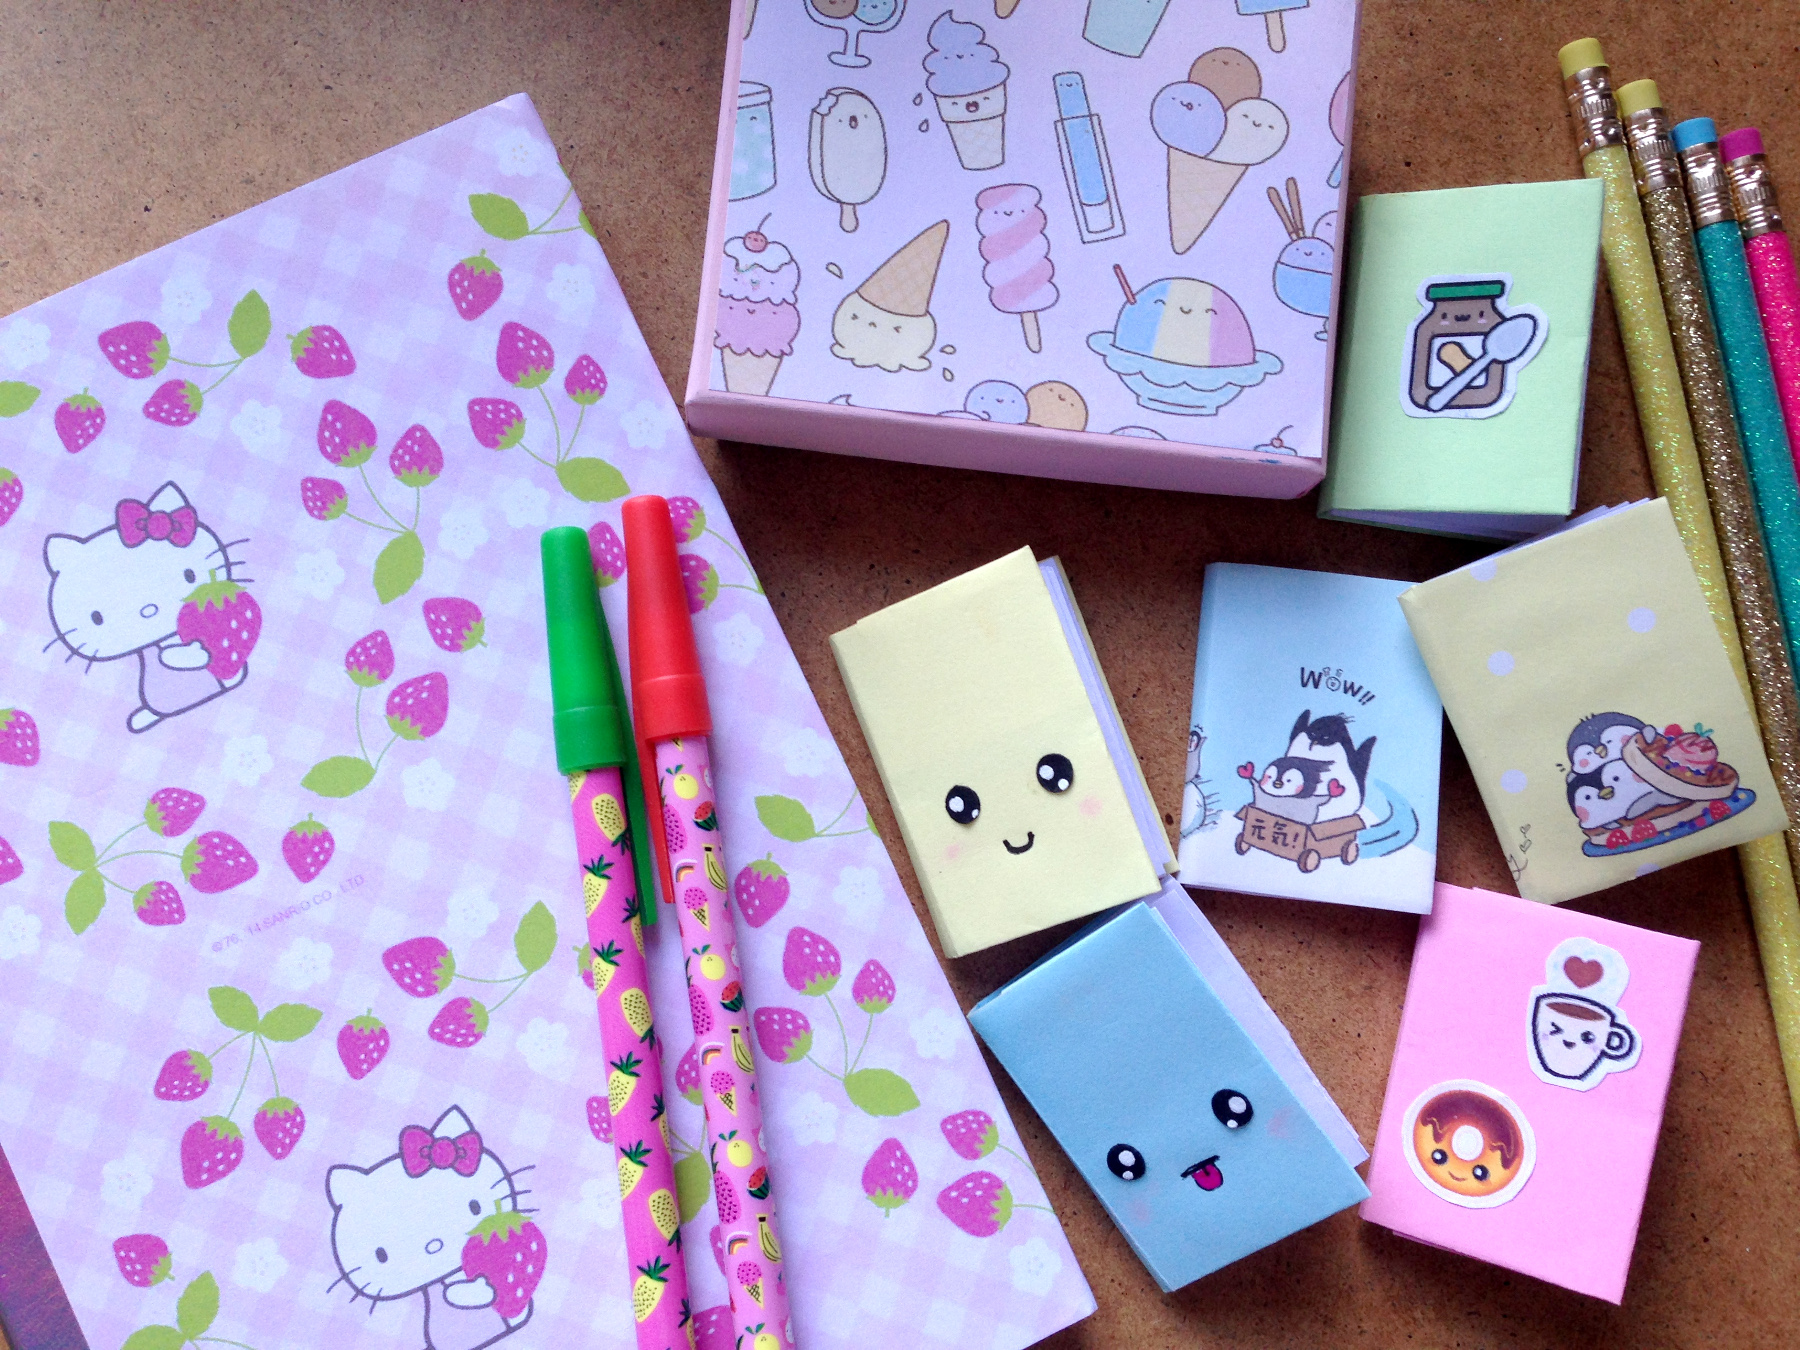
Wow! These presents look very cute indeed!