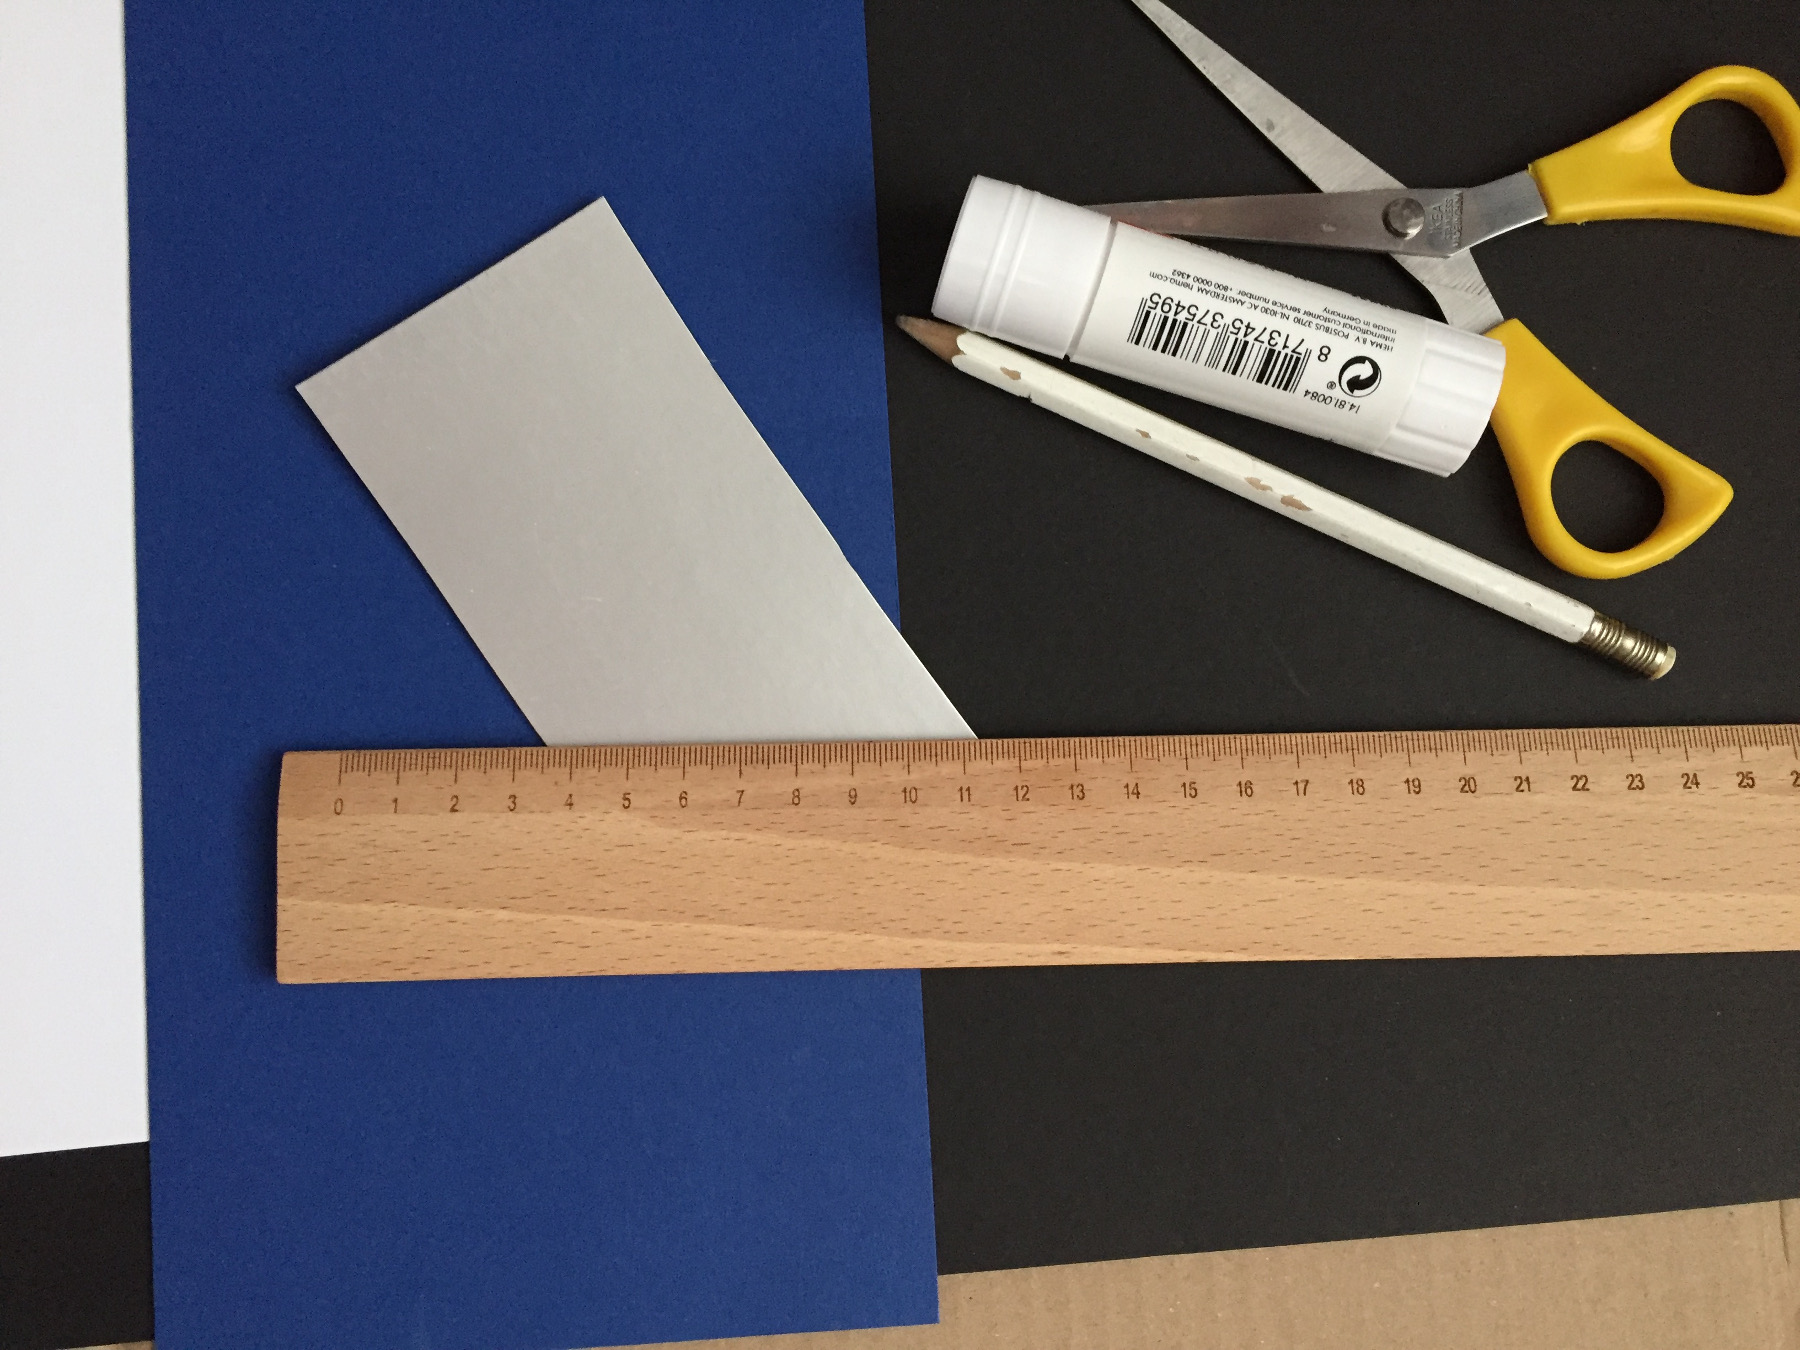
What do you need?
a piece of black cardboard, 18x9cm
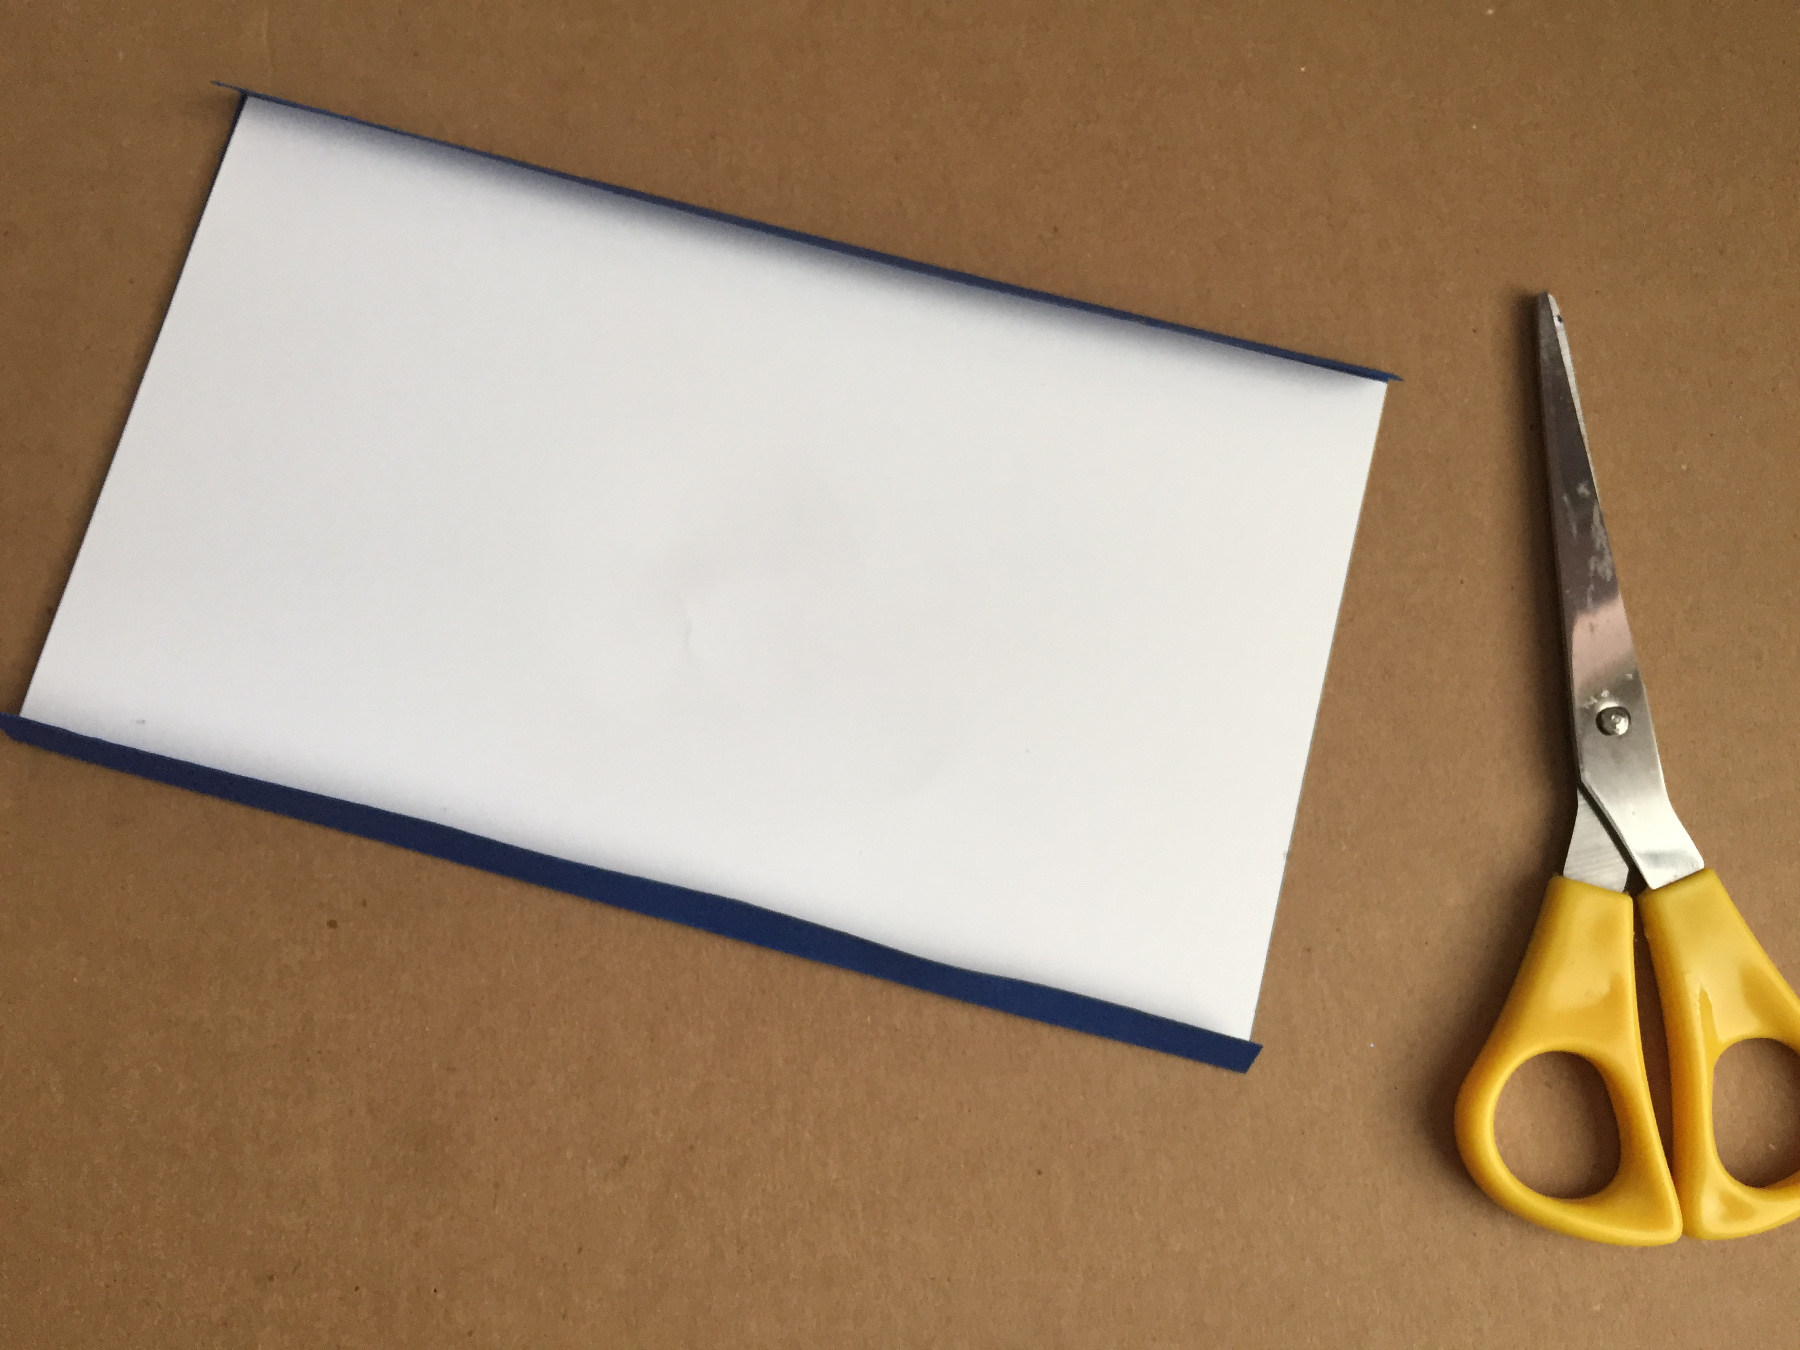
a piece of white cardboard, 12.5x9cm
a piece of blue cardboard, 11.5x9cm
small piece of silver cardboard, 10x10cm
a piece of gold paper
pencil and ruler
scissors
glue stick

Today we're making an educational craft that preschoolers love, but so do the older mini-monsters. By moving the slider you can see the position of the moon in the different phases, just as the moon looks in the sky. This is also a fun craft to use during Ramadan to visualize the phases of the moon for the kids.
How to make a Moon Phase Glider
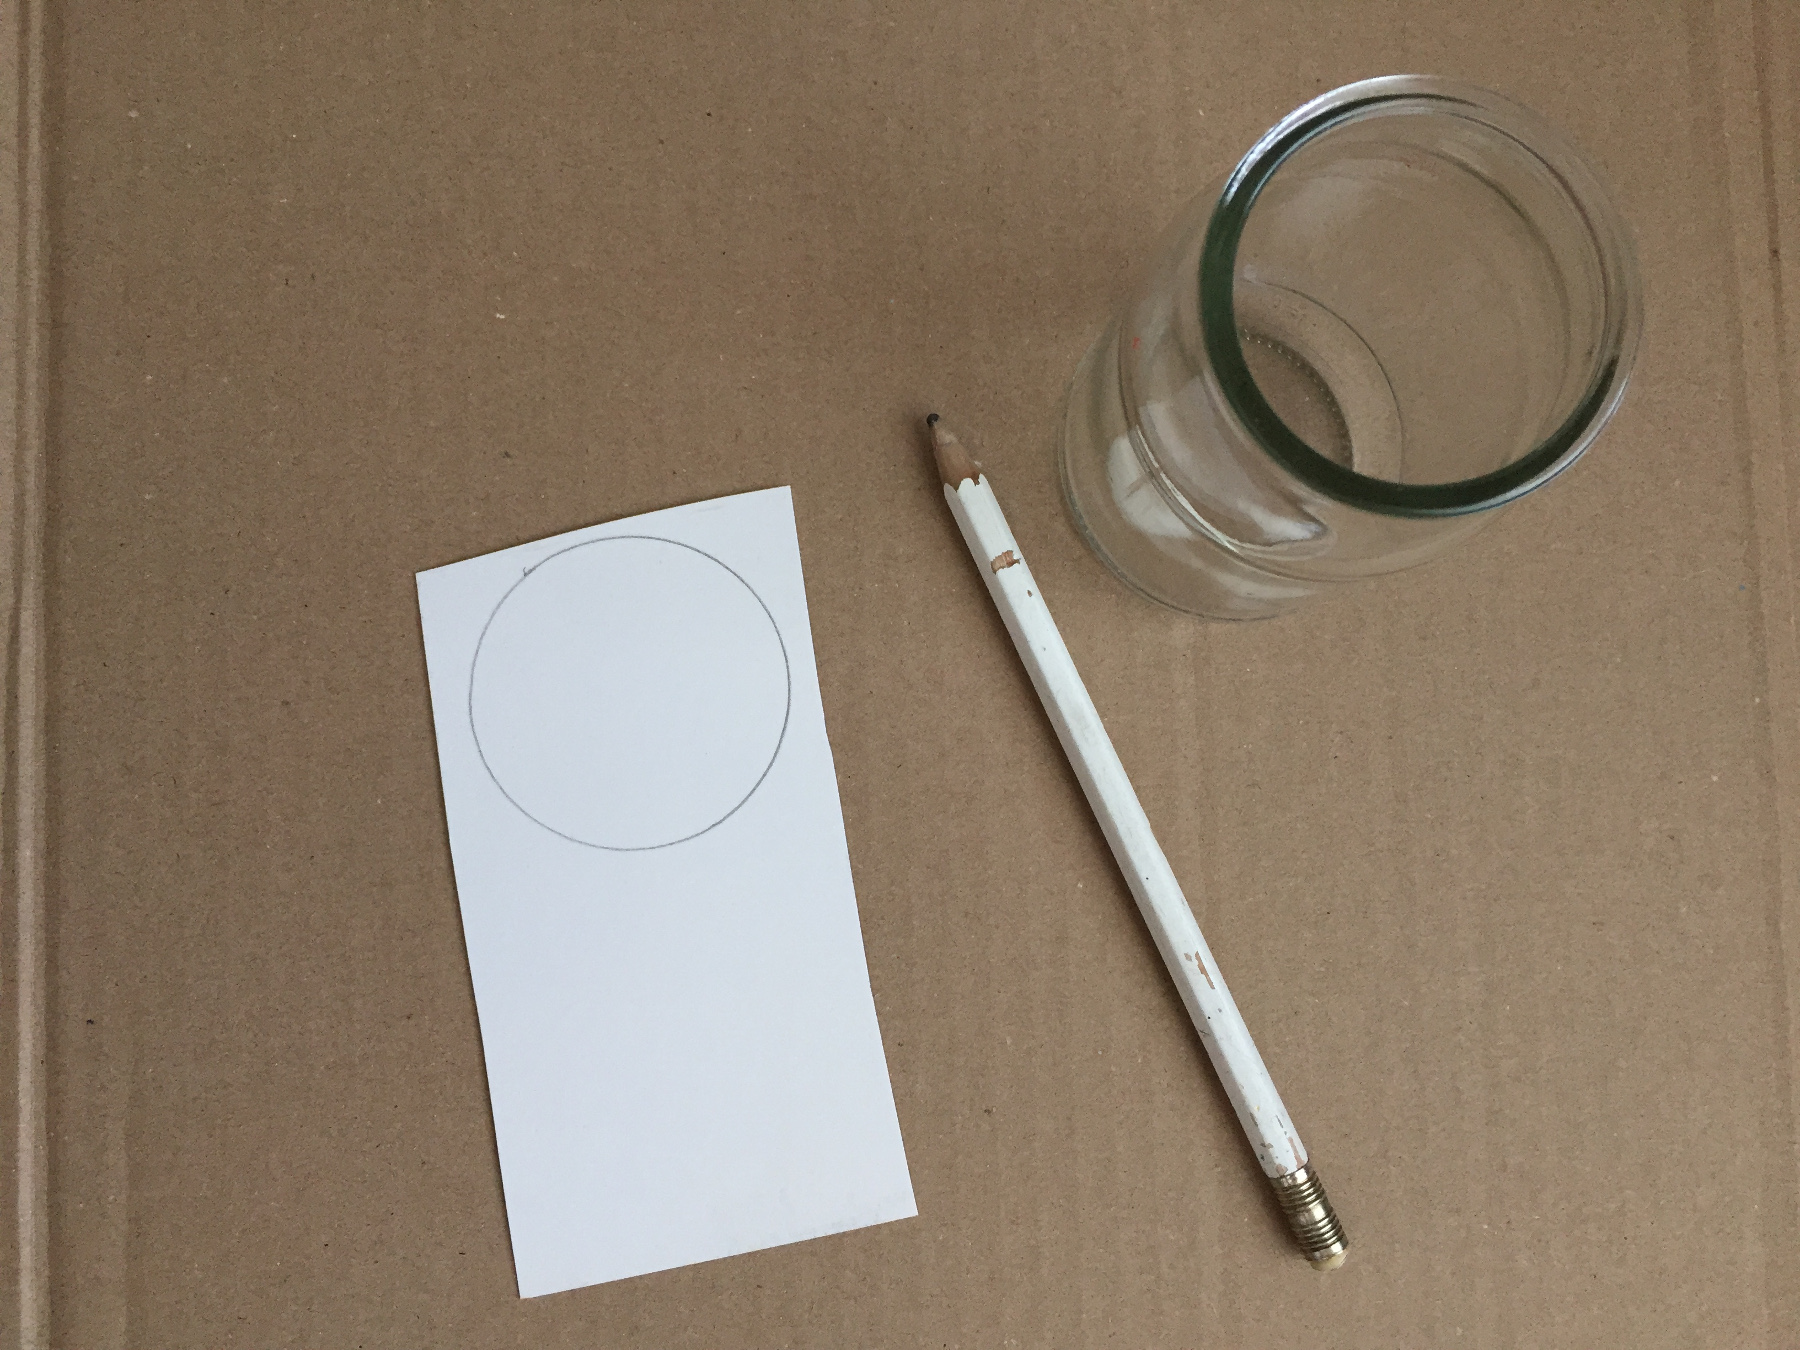
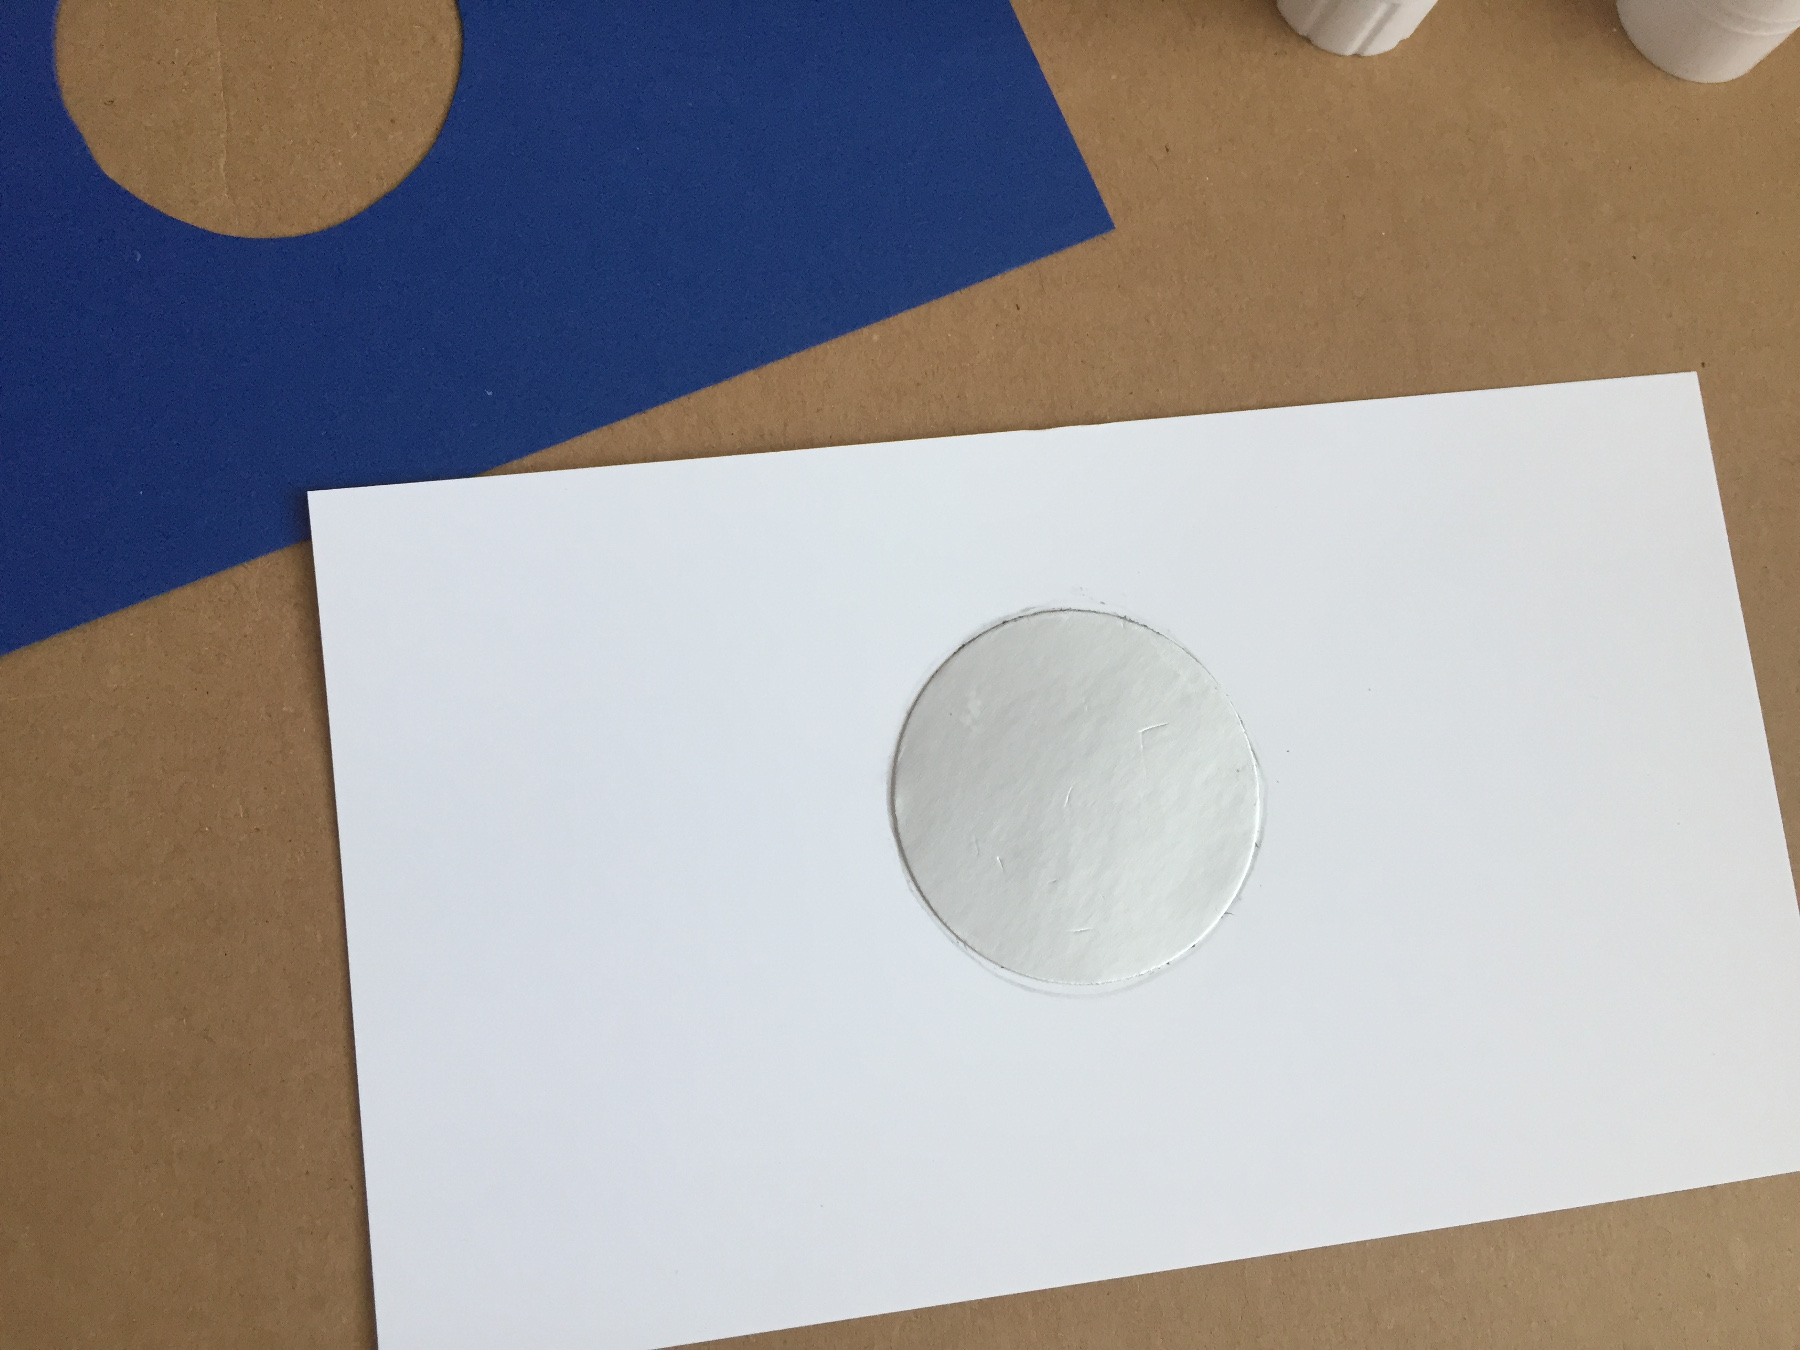
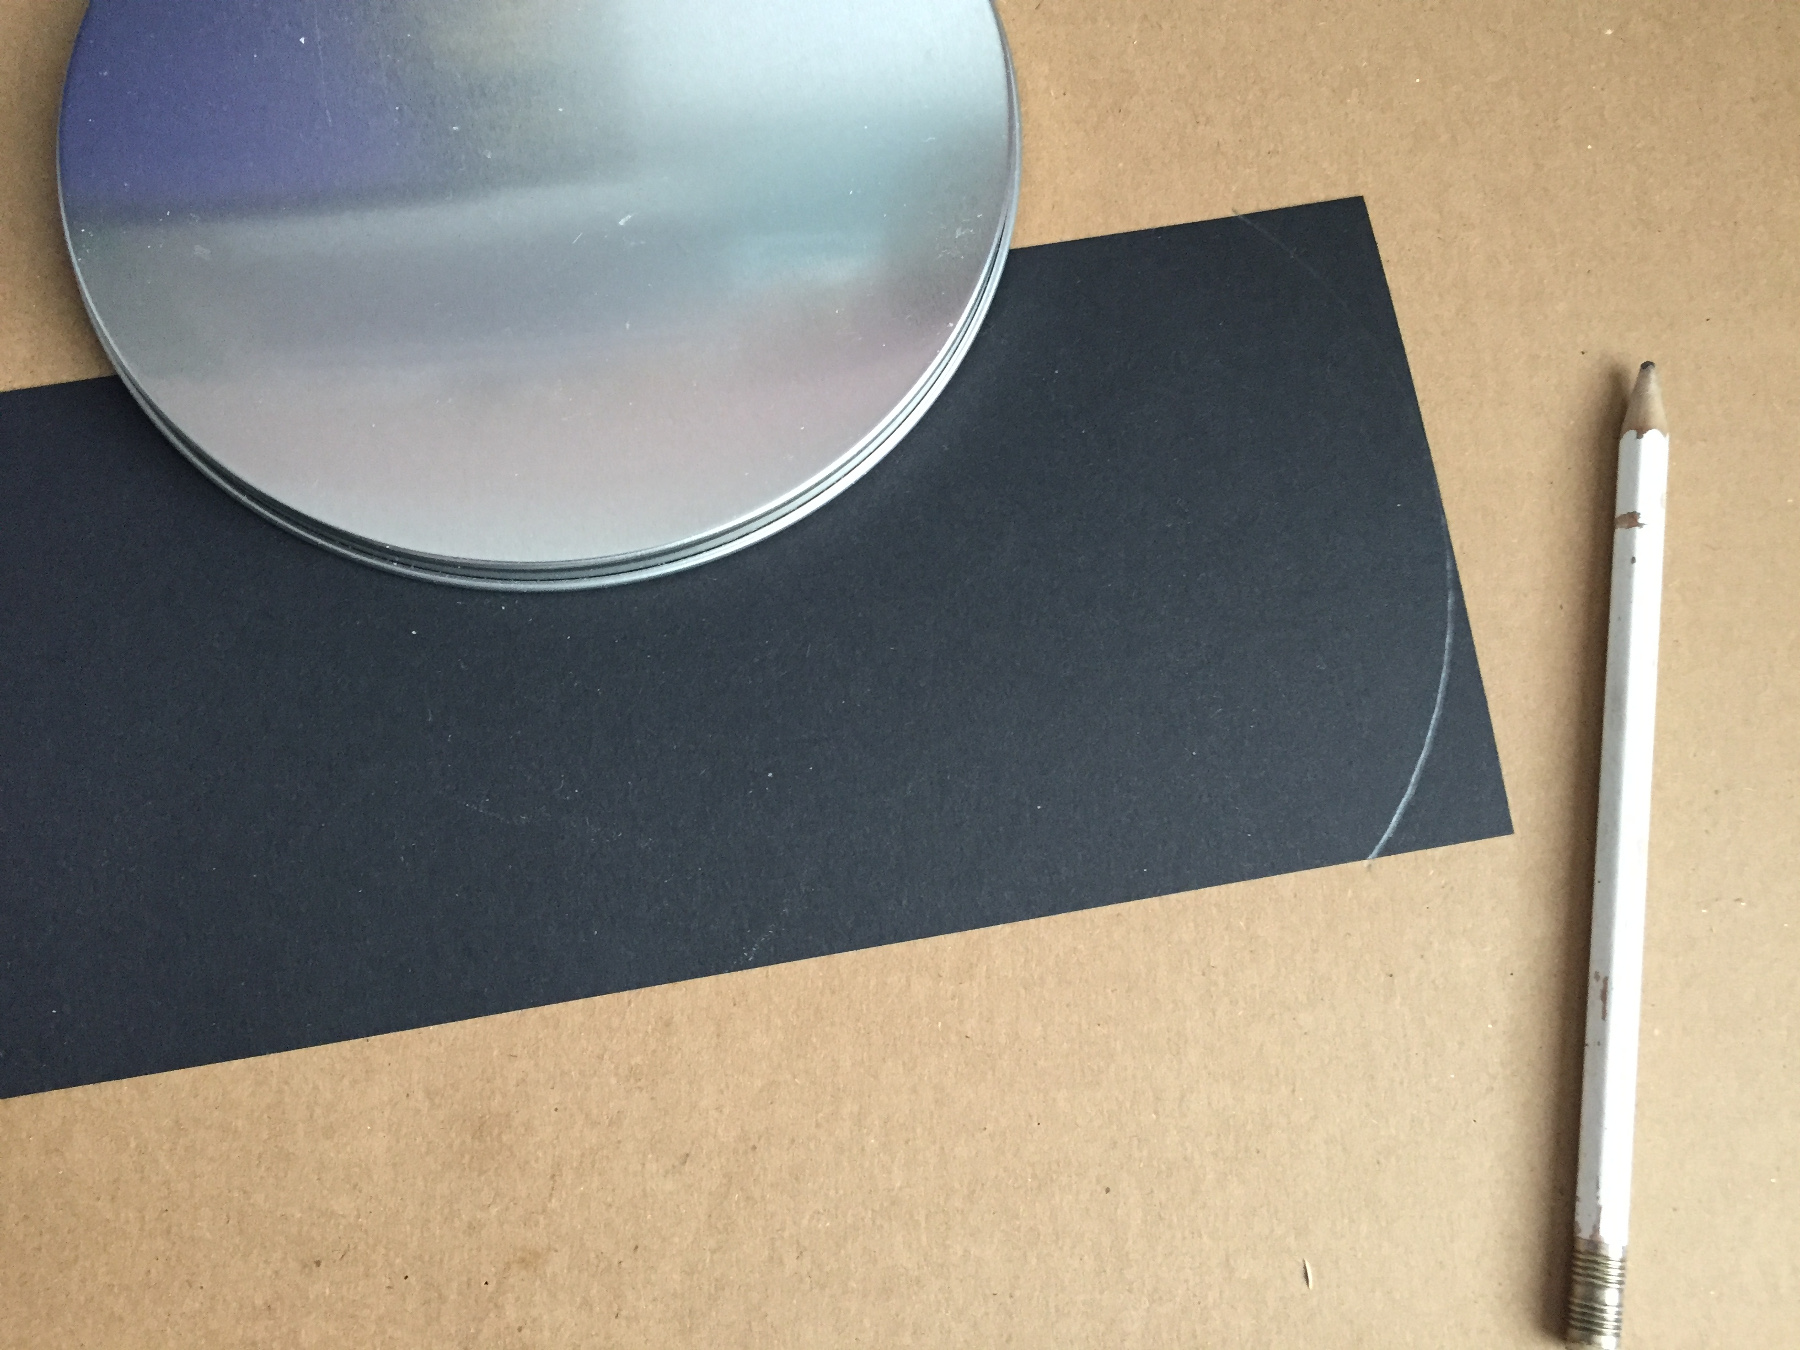
Trace a circle on the silver cardboard.
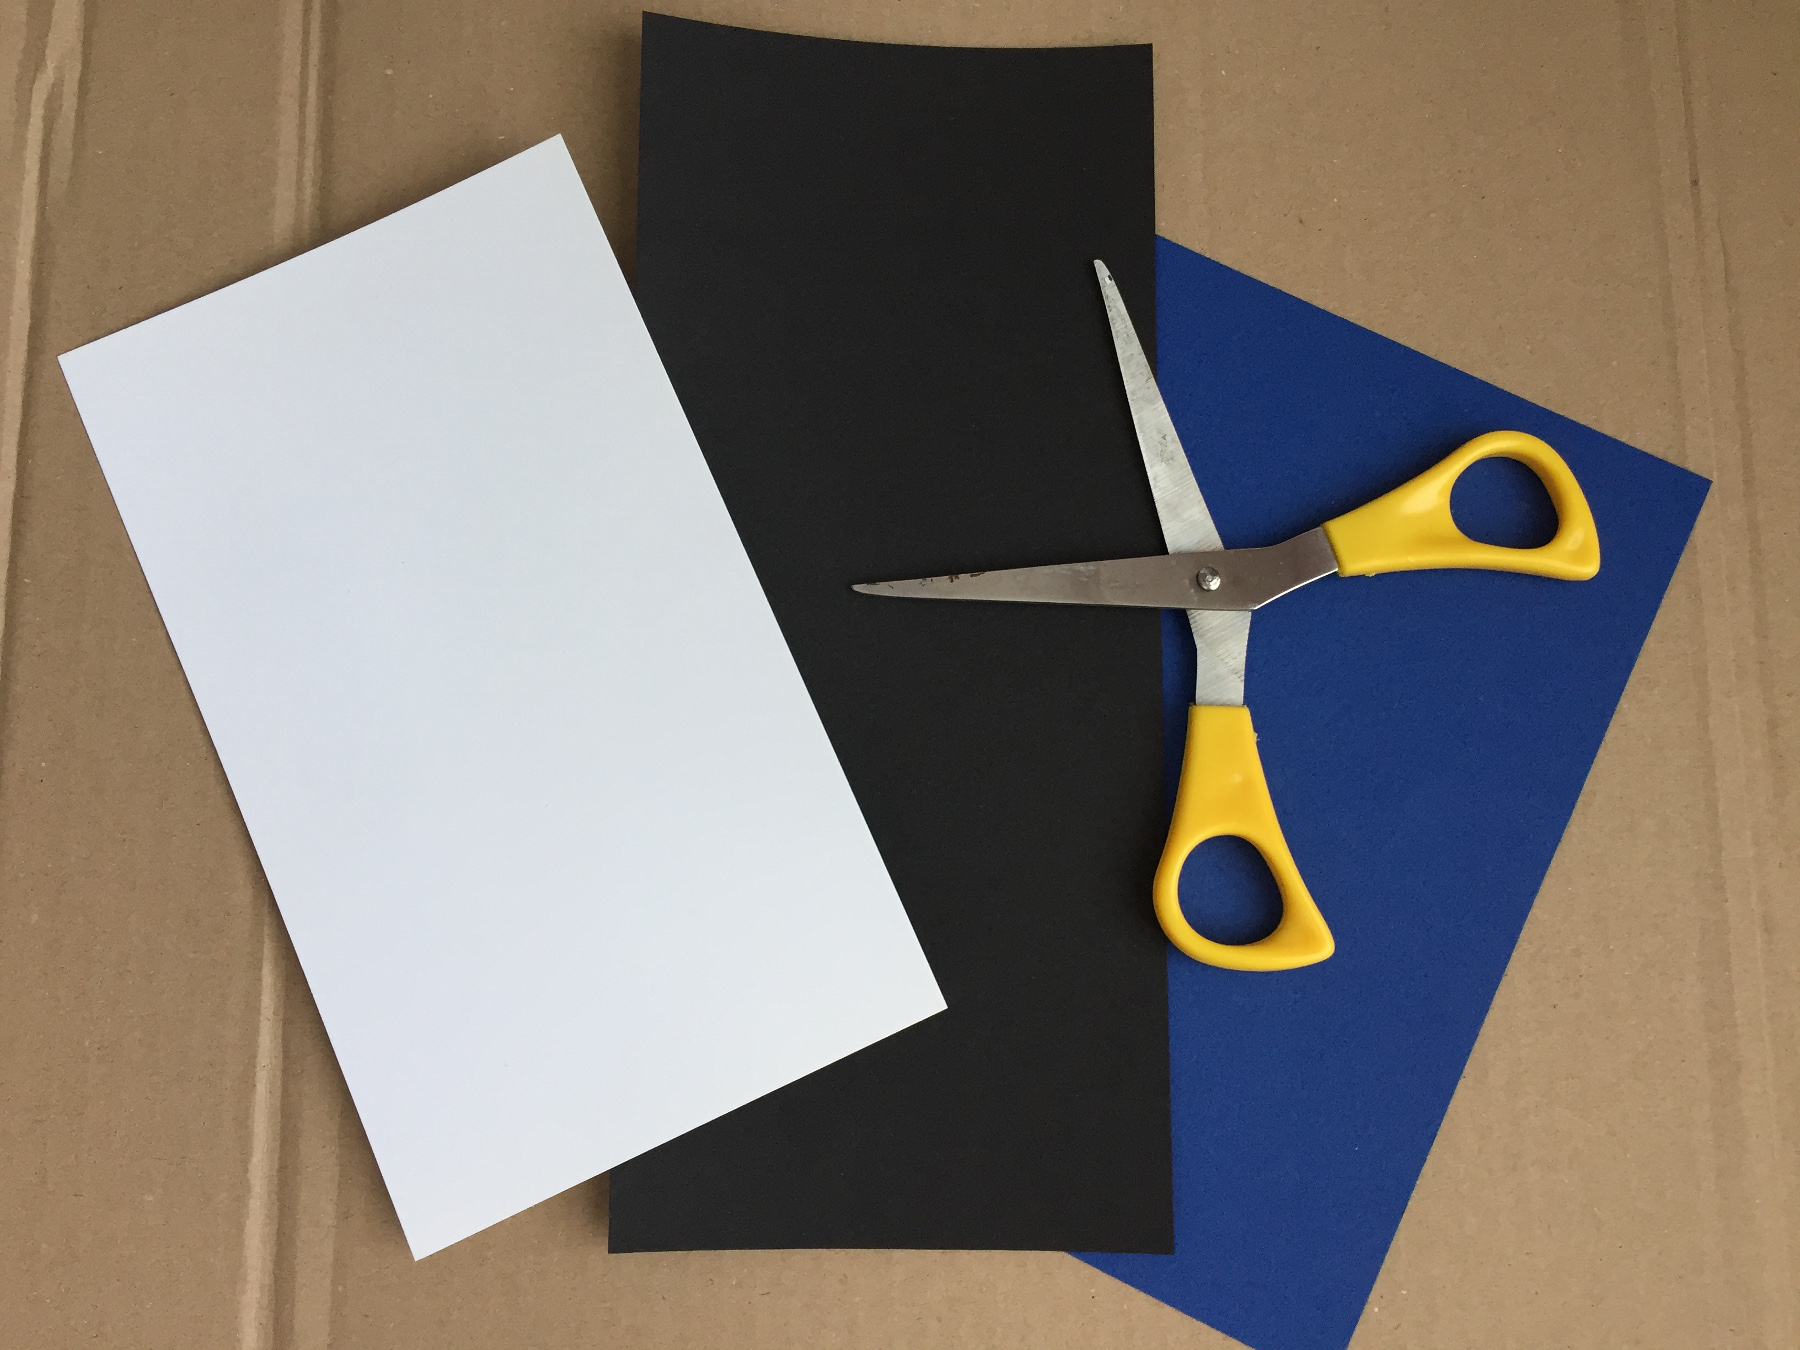
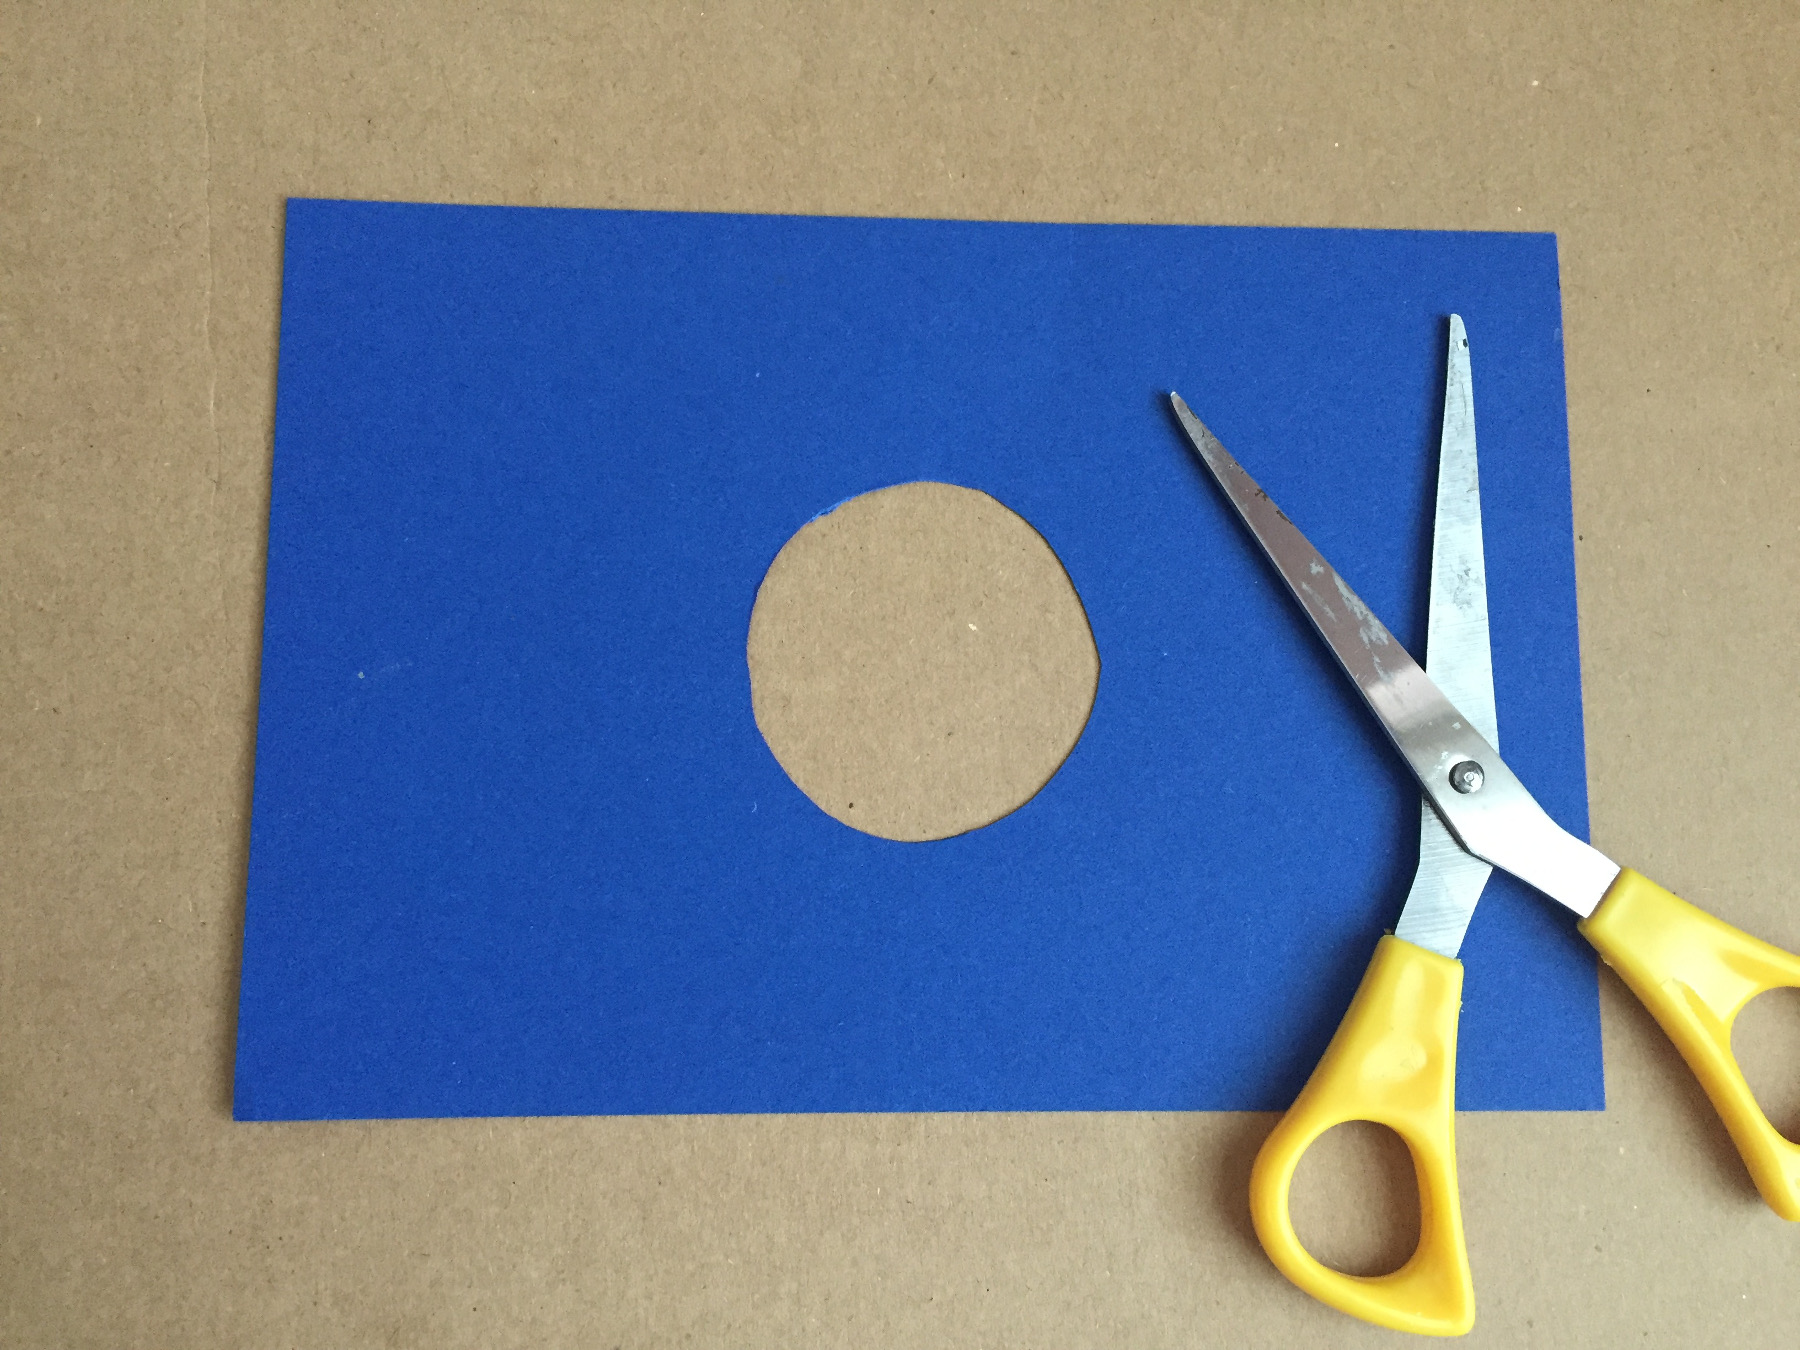
Cut the three colours of cardboard to size.
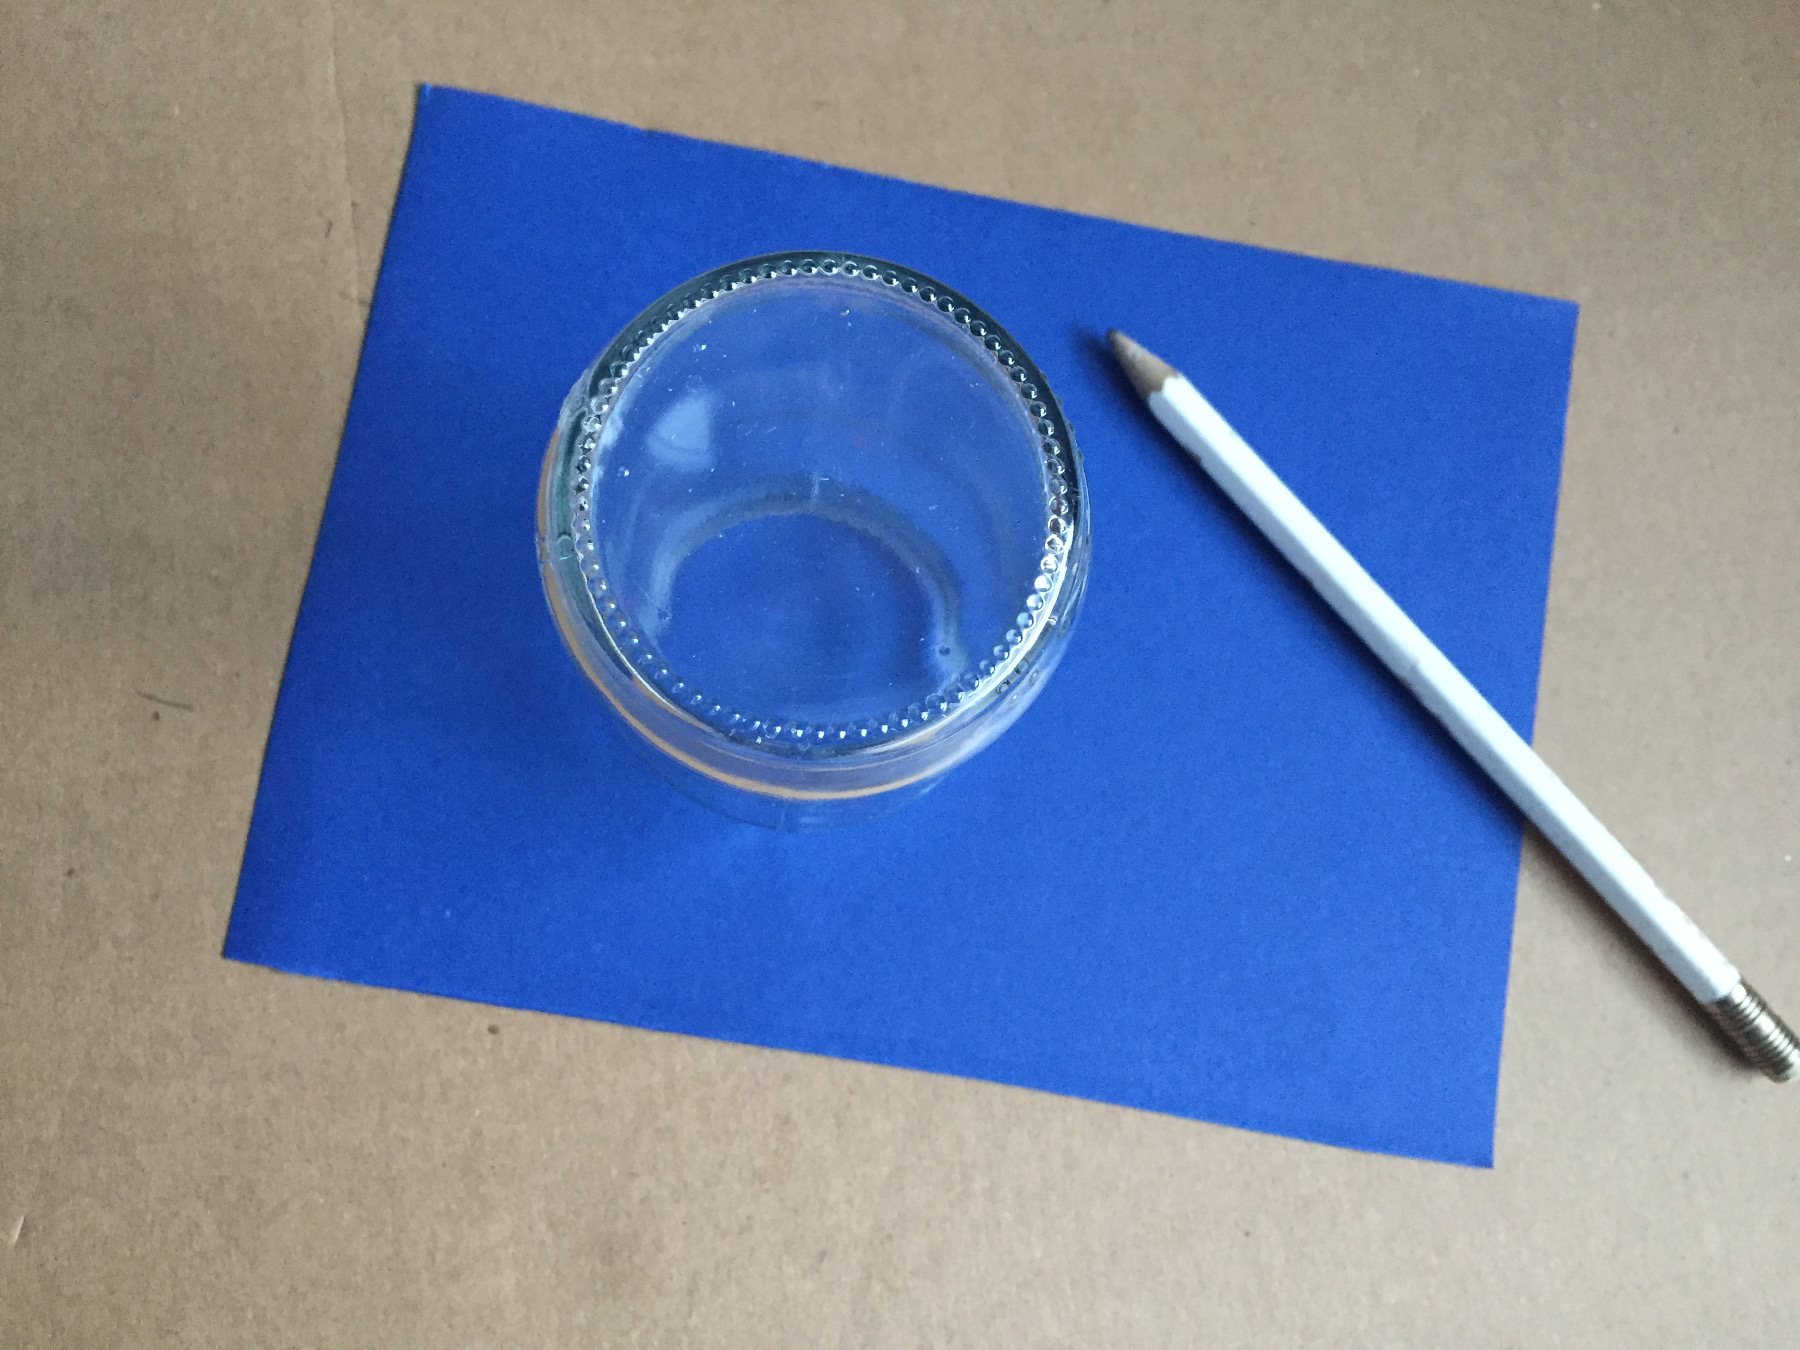
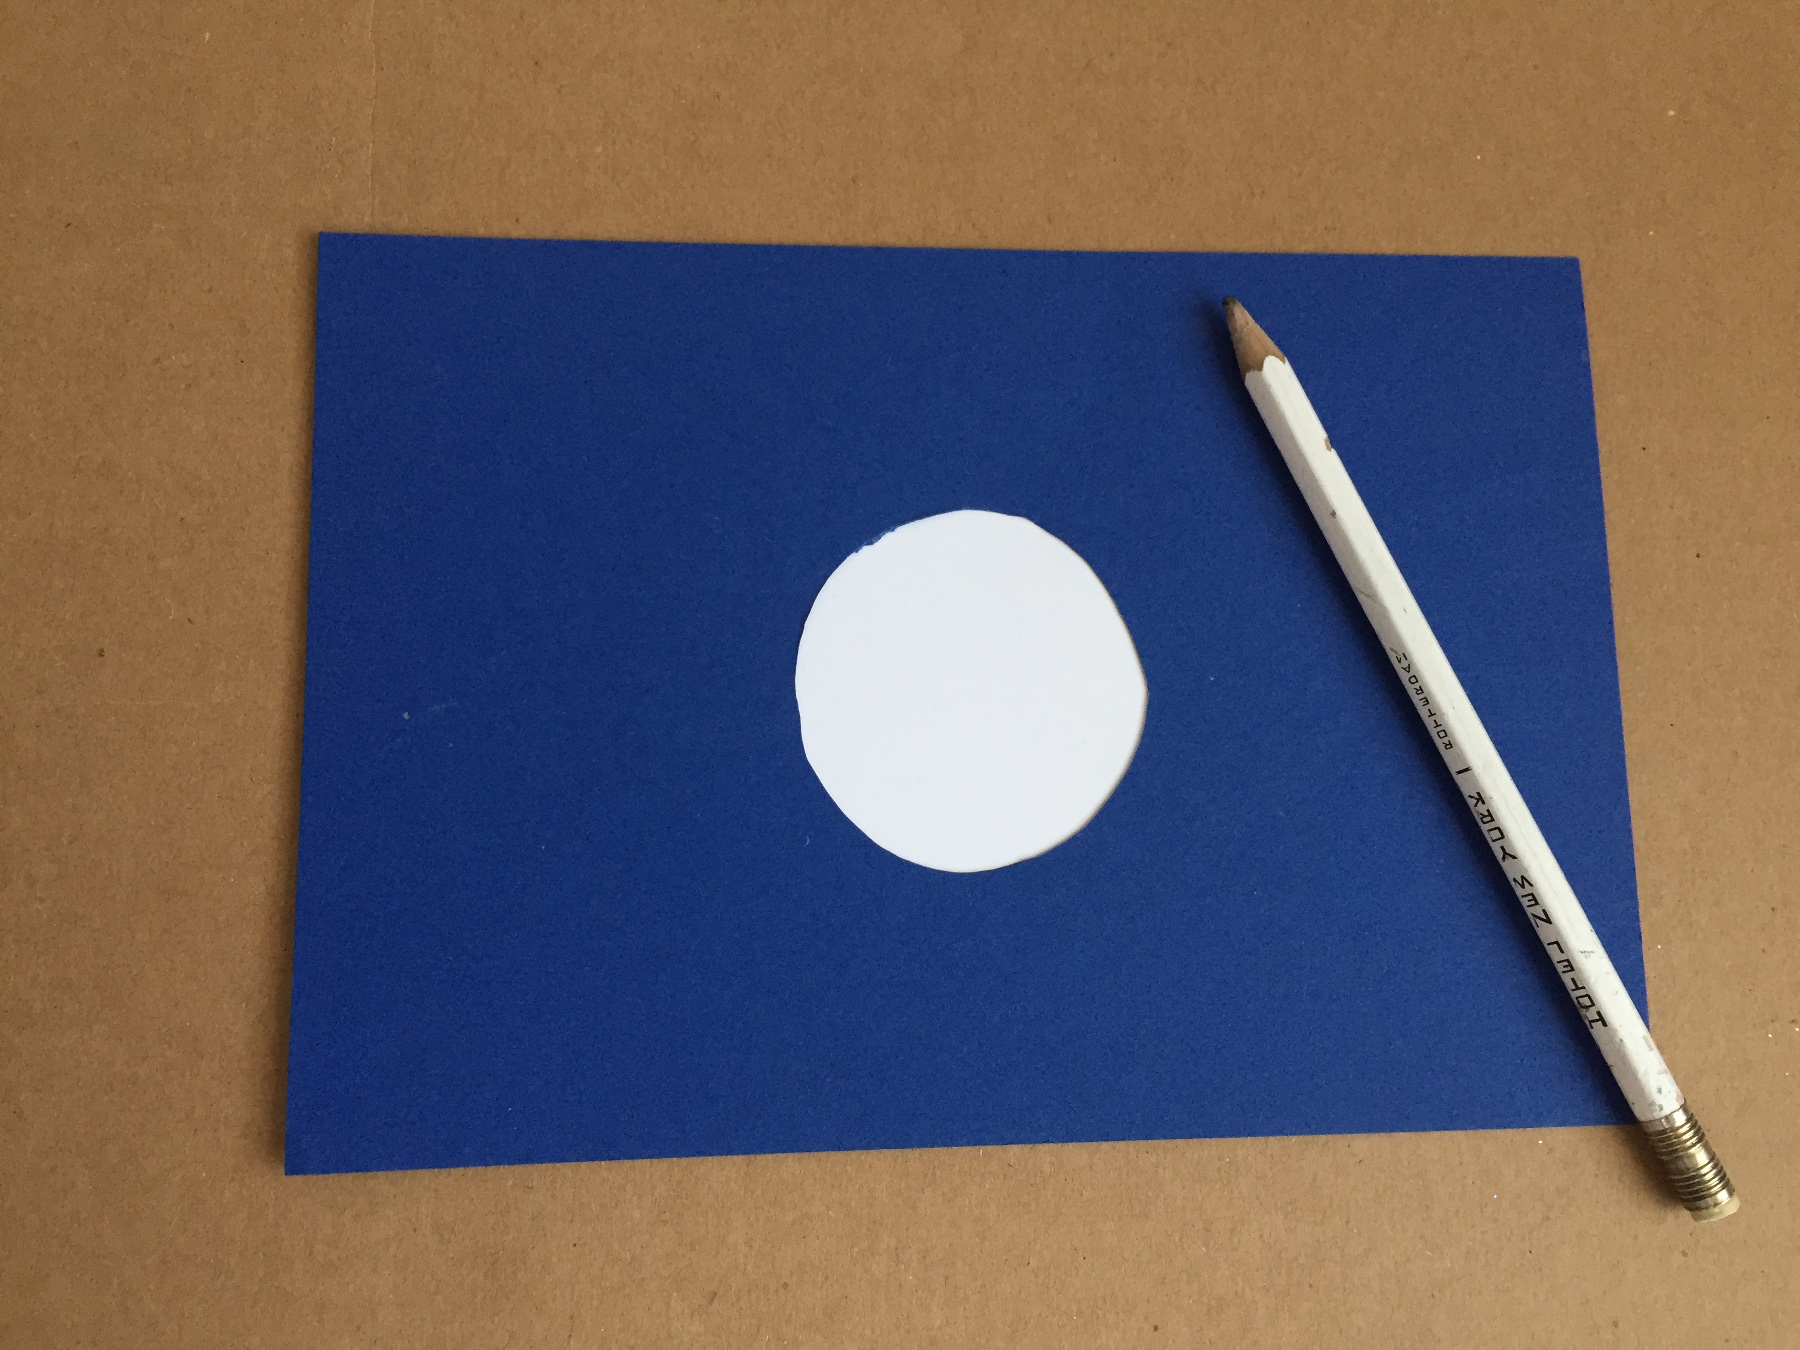
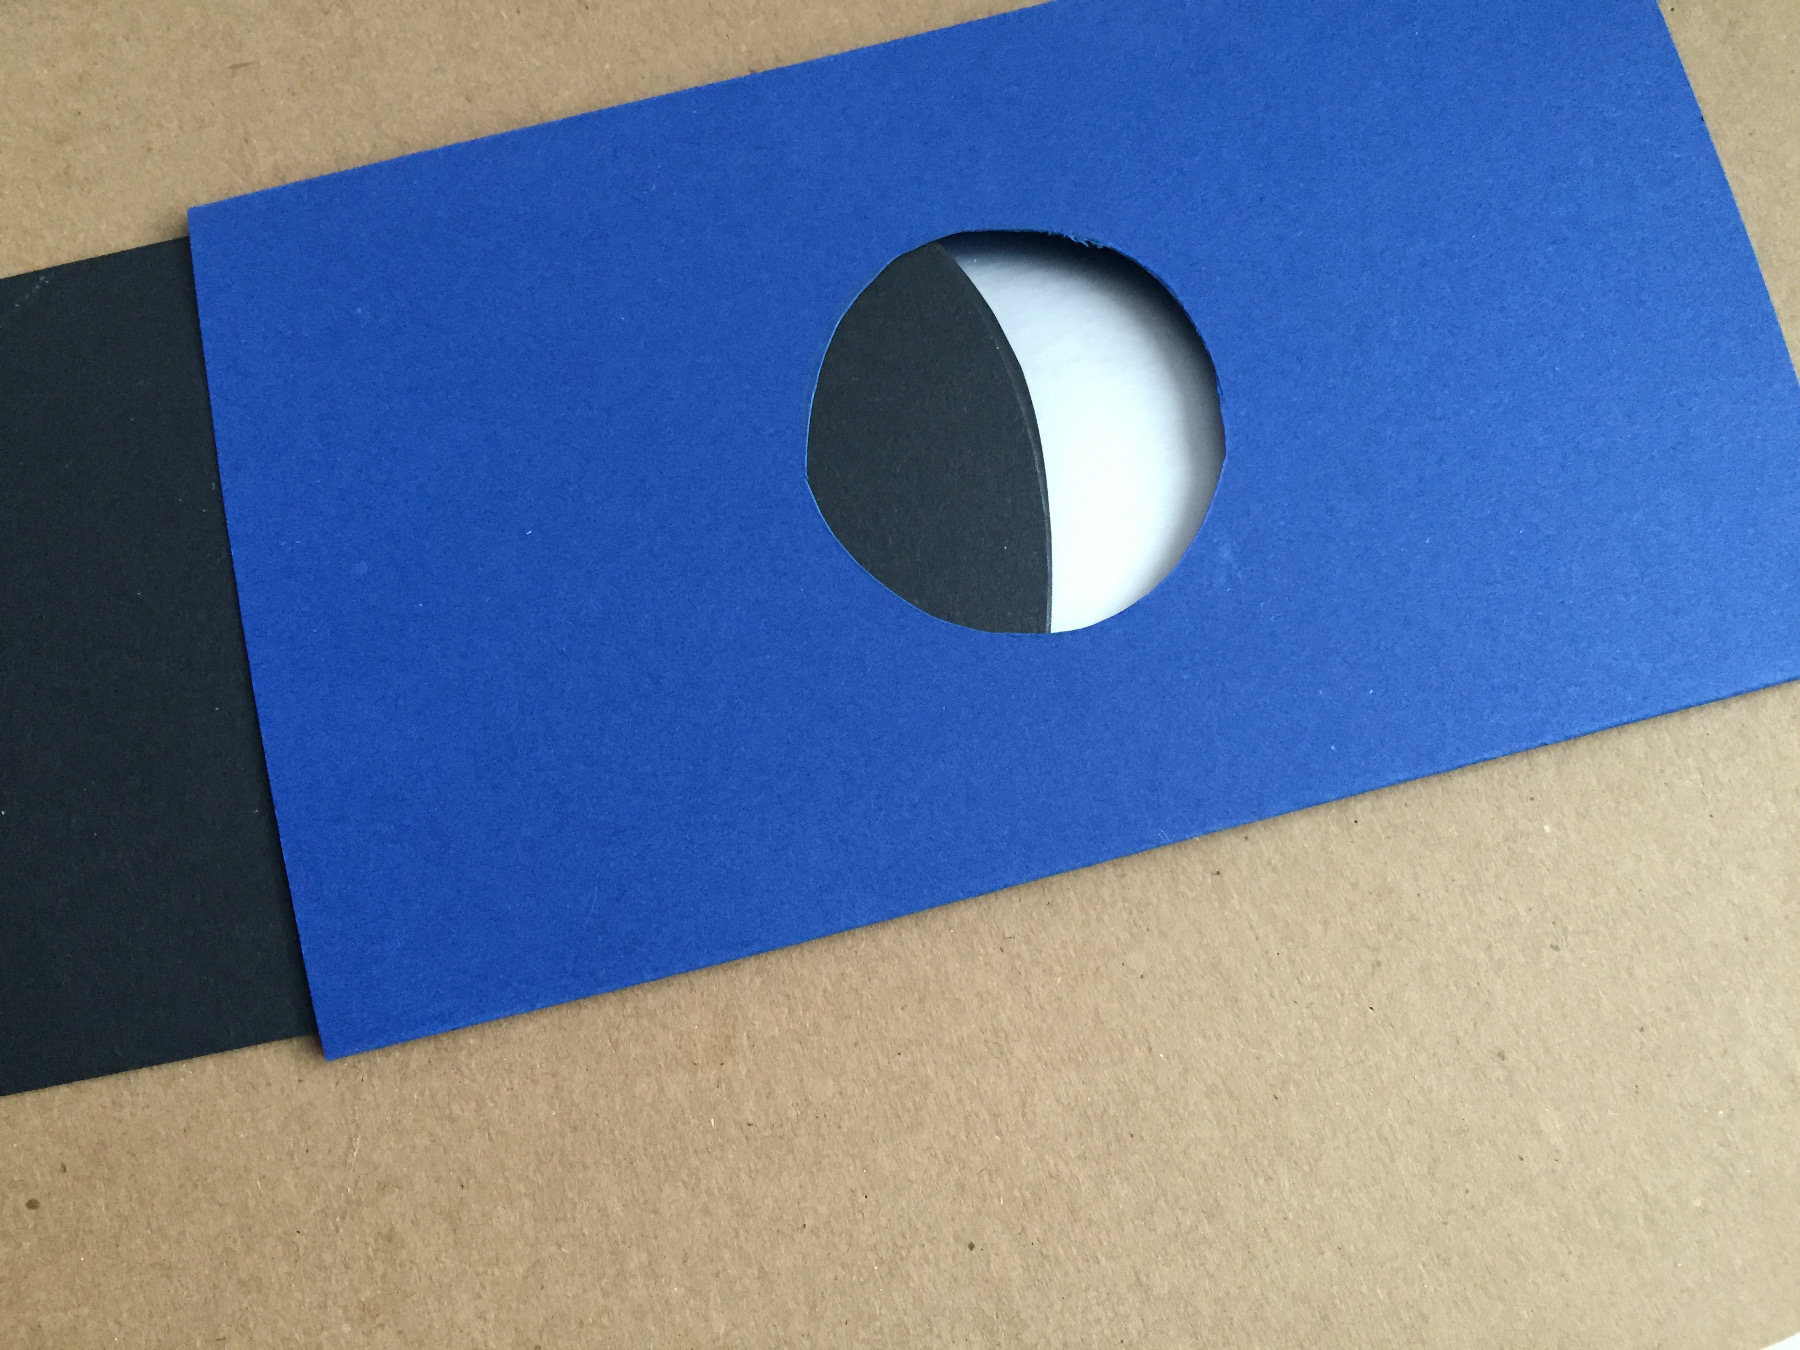
On blue trace a circle, approximately in the center.
Cut out the circle a fraction smaller than the drawing.
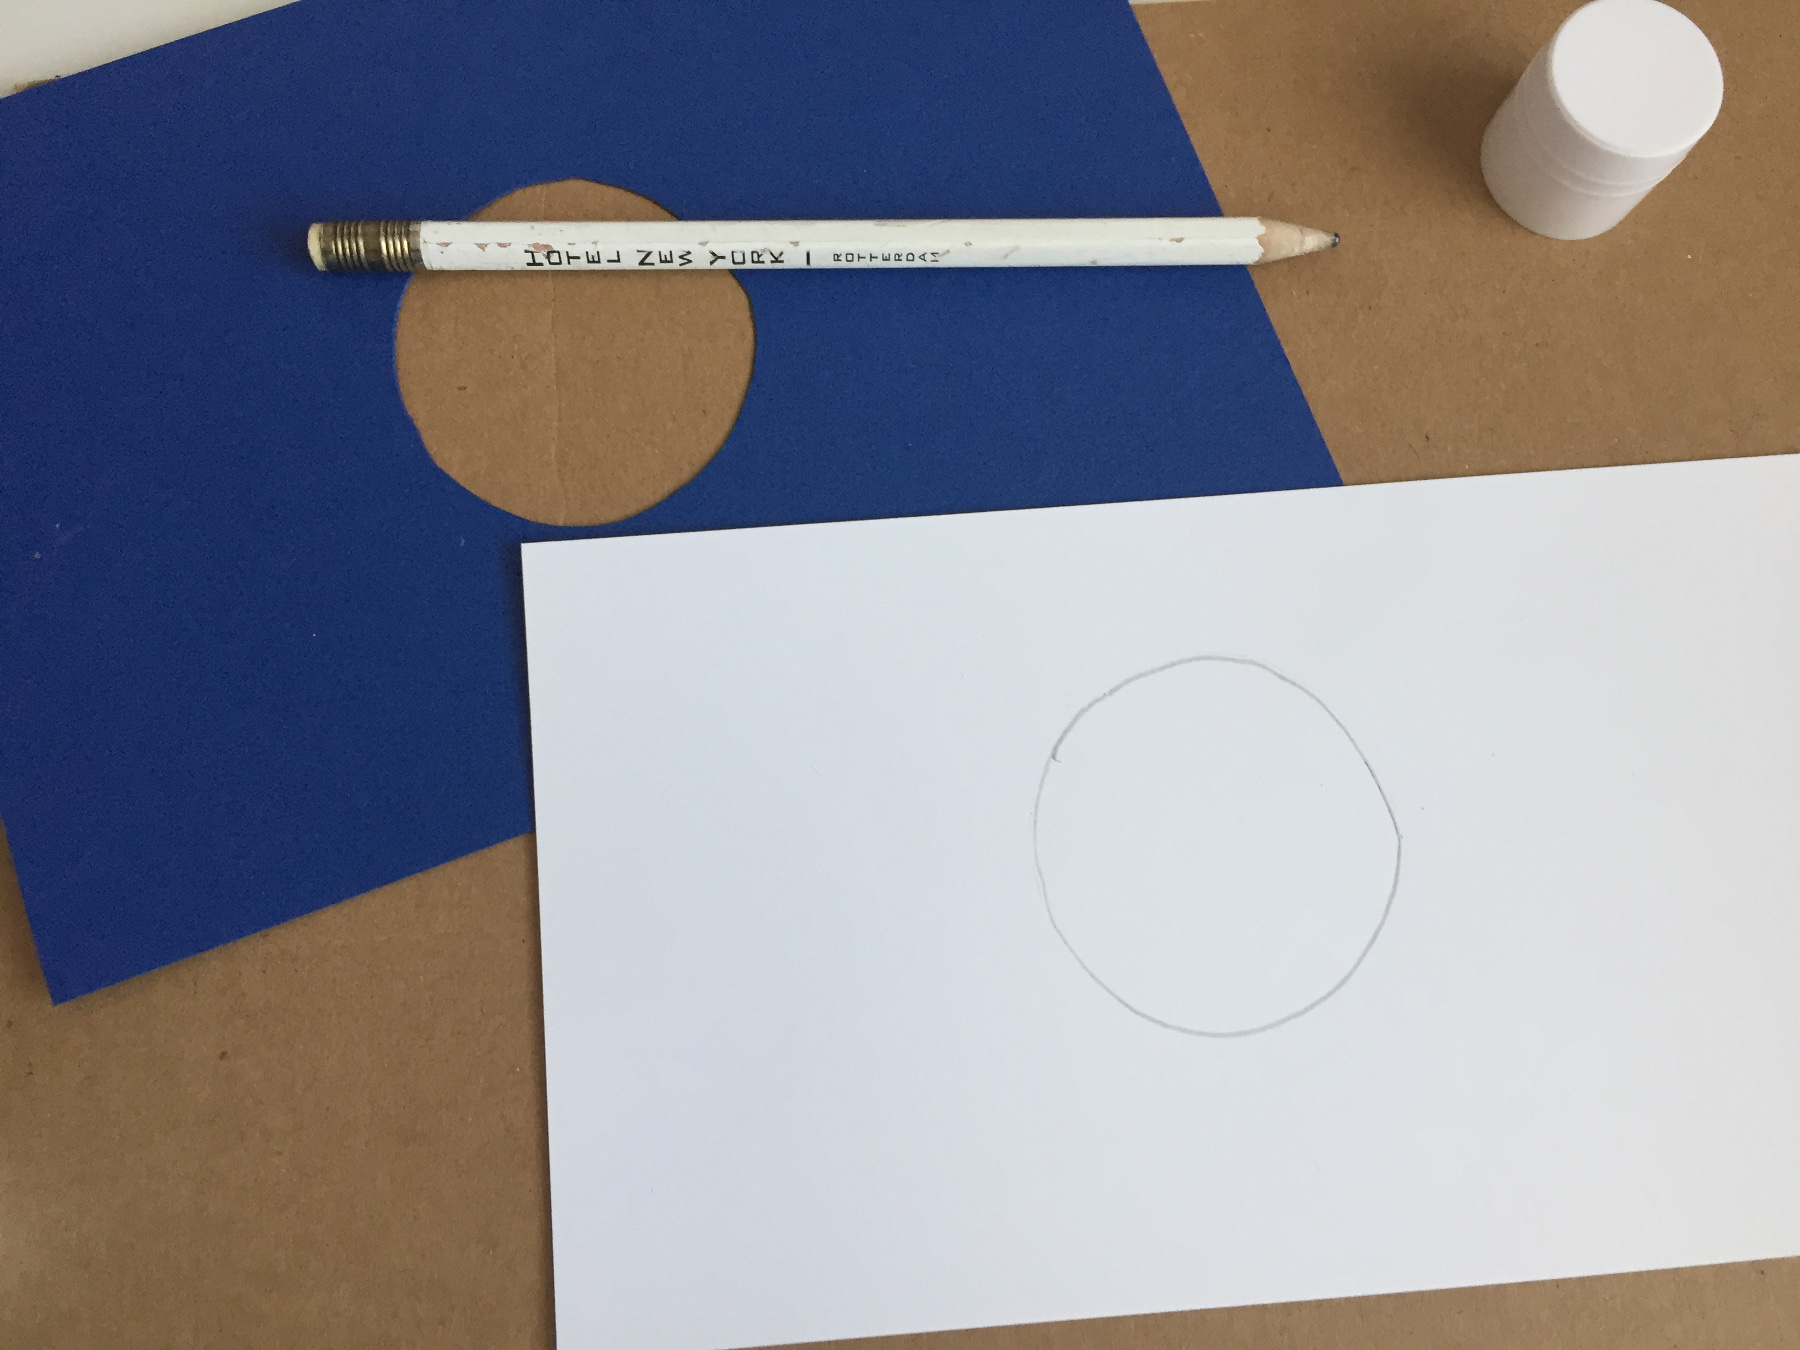
Place blue on white and trace the circle.
The circle doesn't have to be exactly in the center.
Stick the 'moon' on the circle.
Place the white on top of the blue paper, with the moon downward
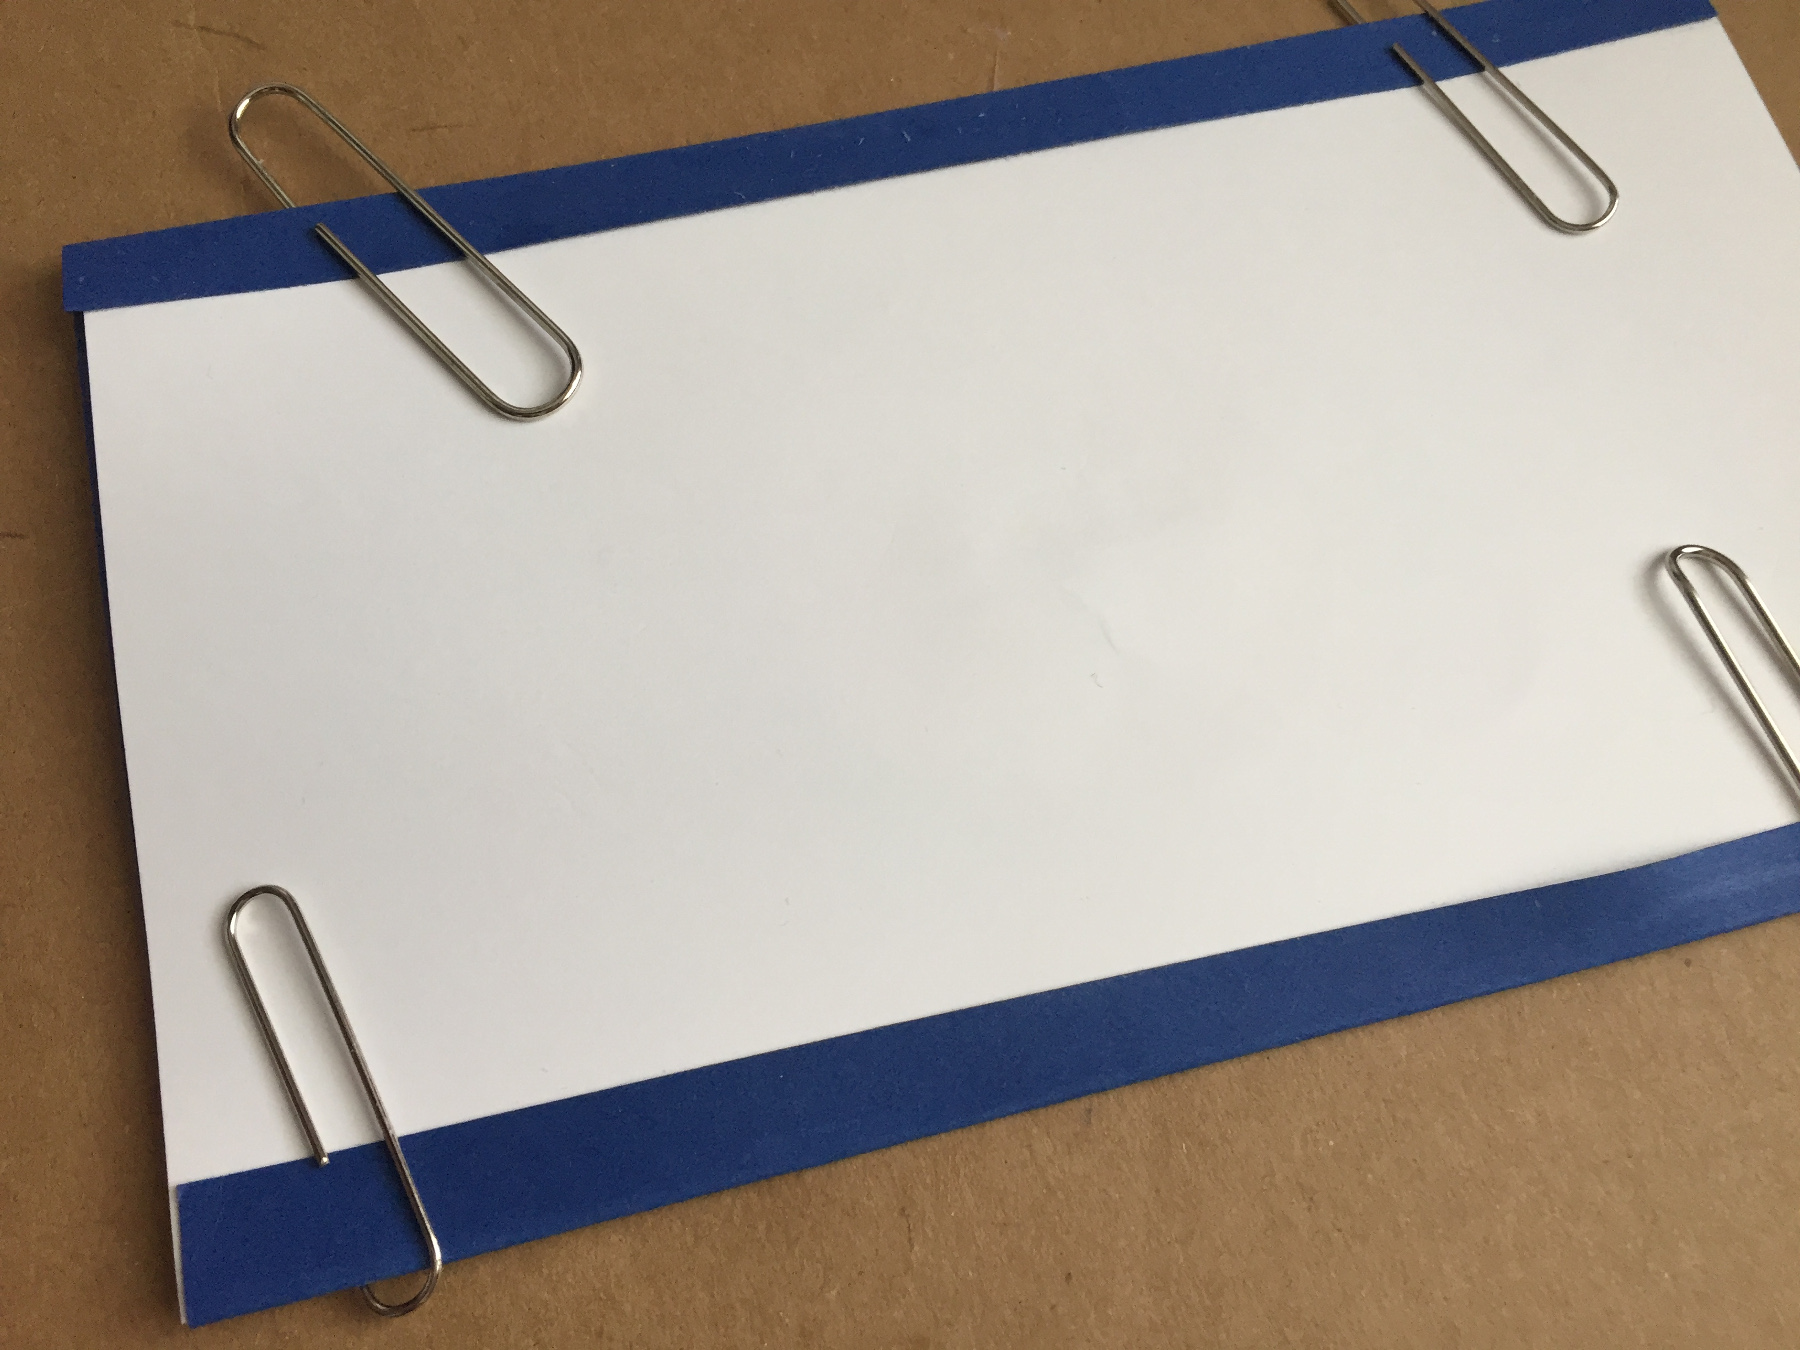
Score the blue edges with closed scissors.
Fold the edges sharply and stick them on.
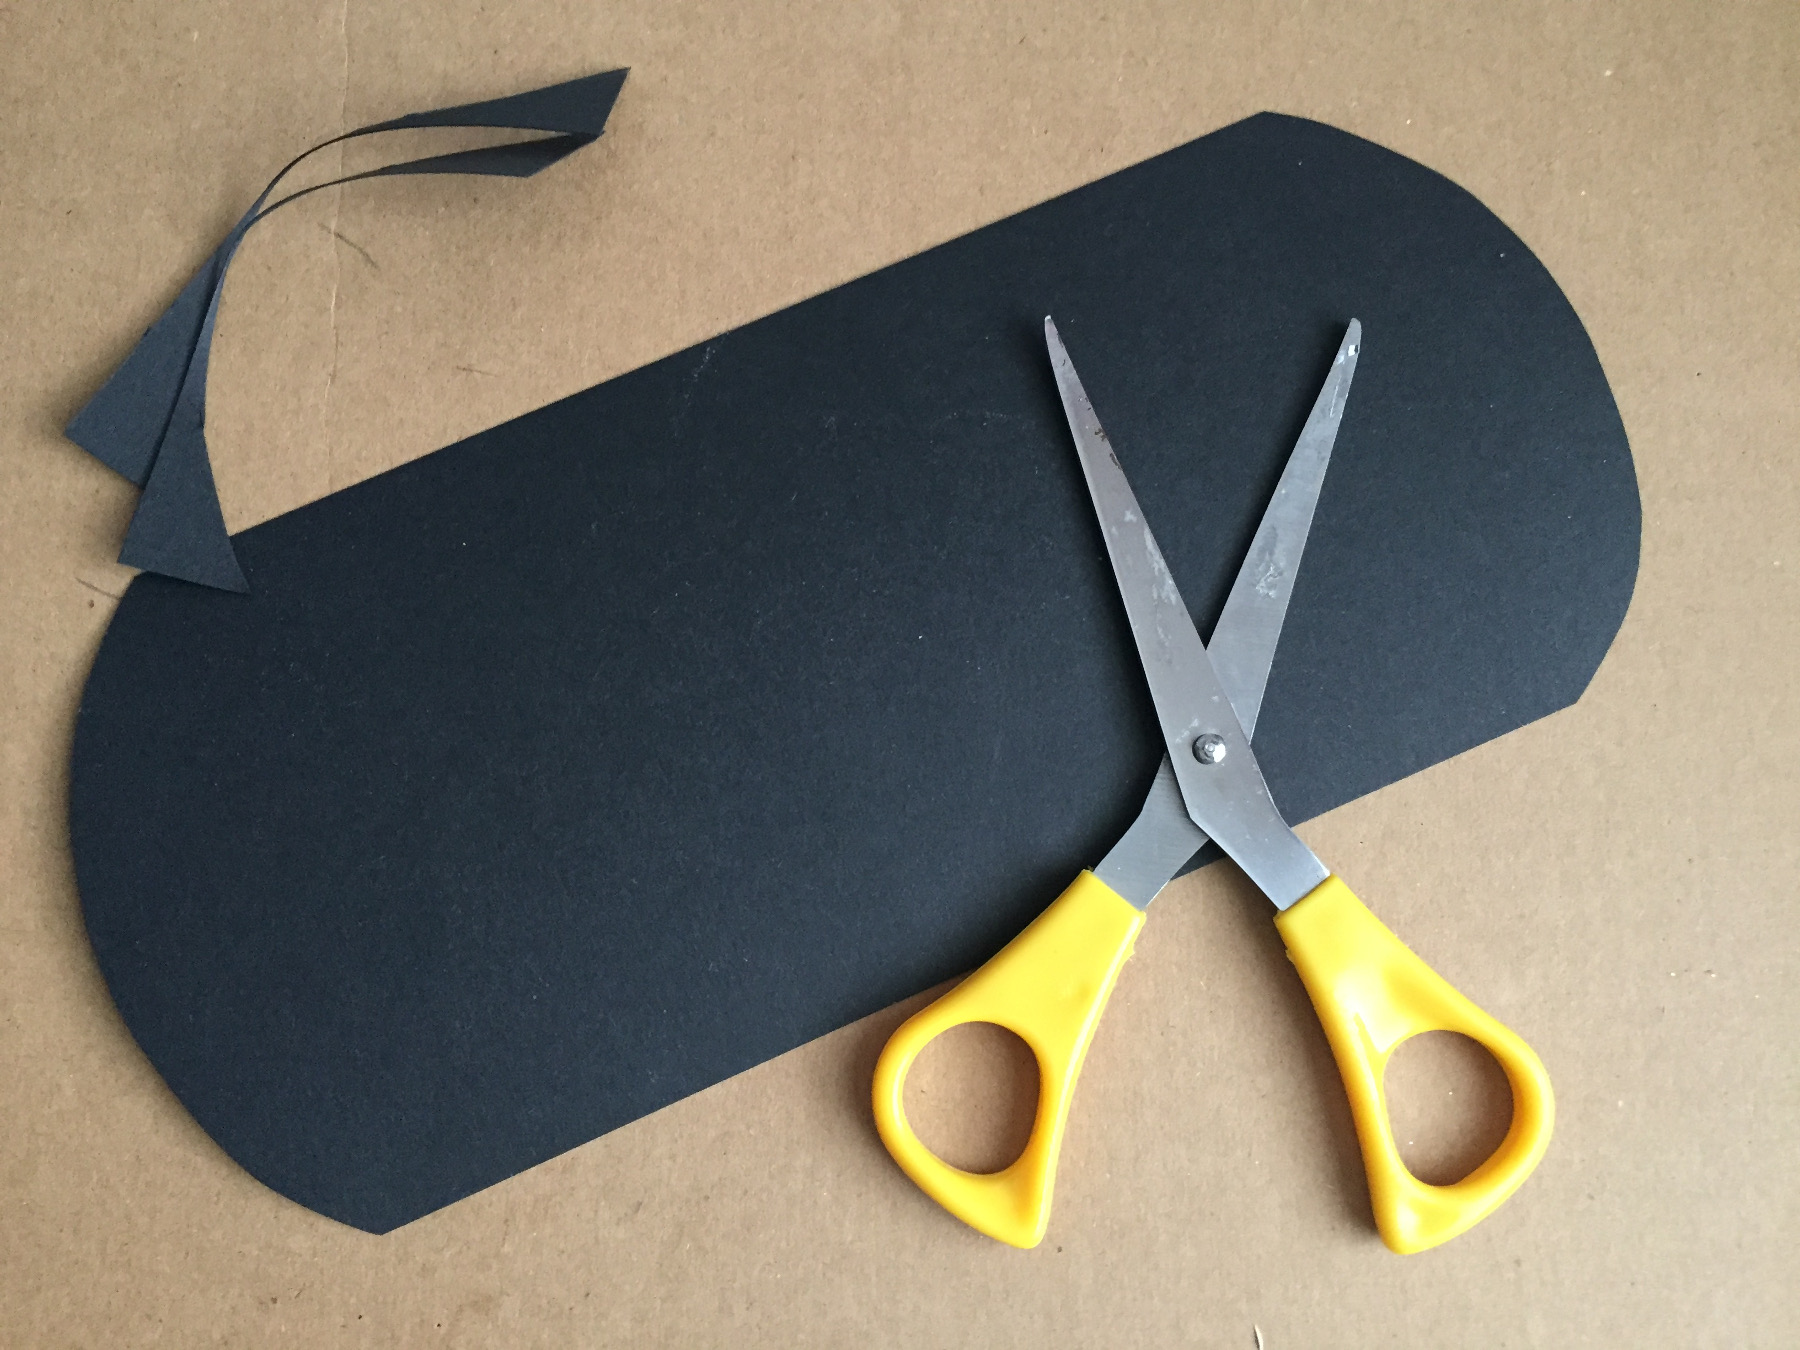
Draw both the ends of the black cardboard round.
Cut off the edges you drew, on both sides.

Check if the slider moves easily back and forth.
We decorate the moon phase slider with gold stars.
Now we have to think carefully about how it is with the new moon, waxing moon and the quarters ;))
Happy Eid al Fitr!