

What do you need?
paper & pencil
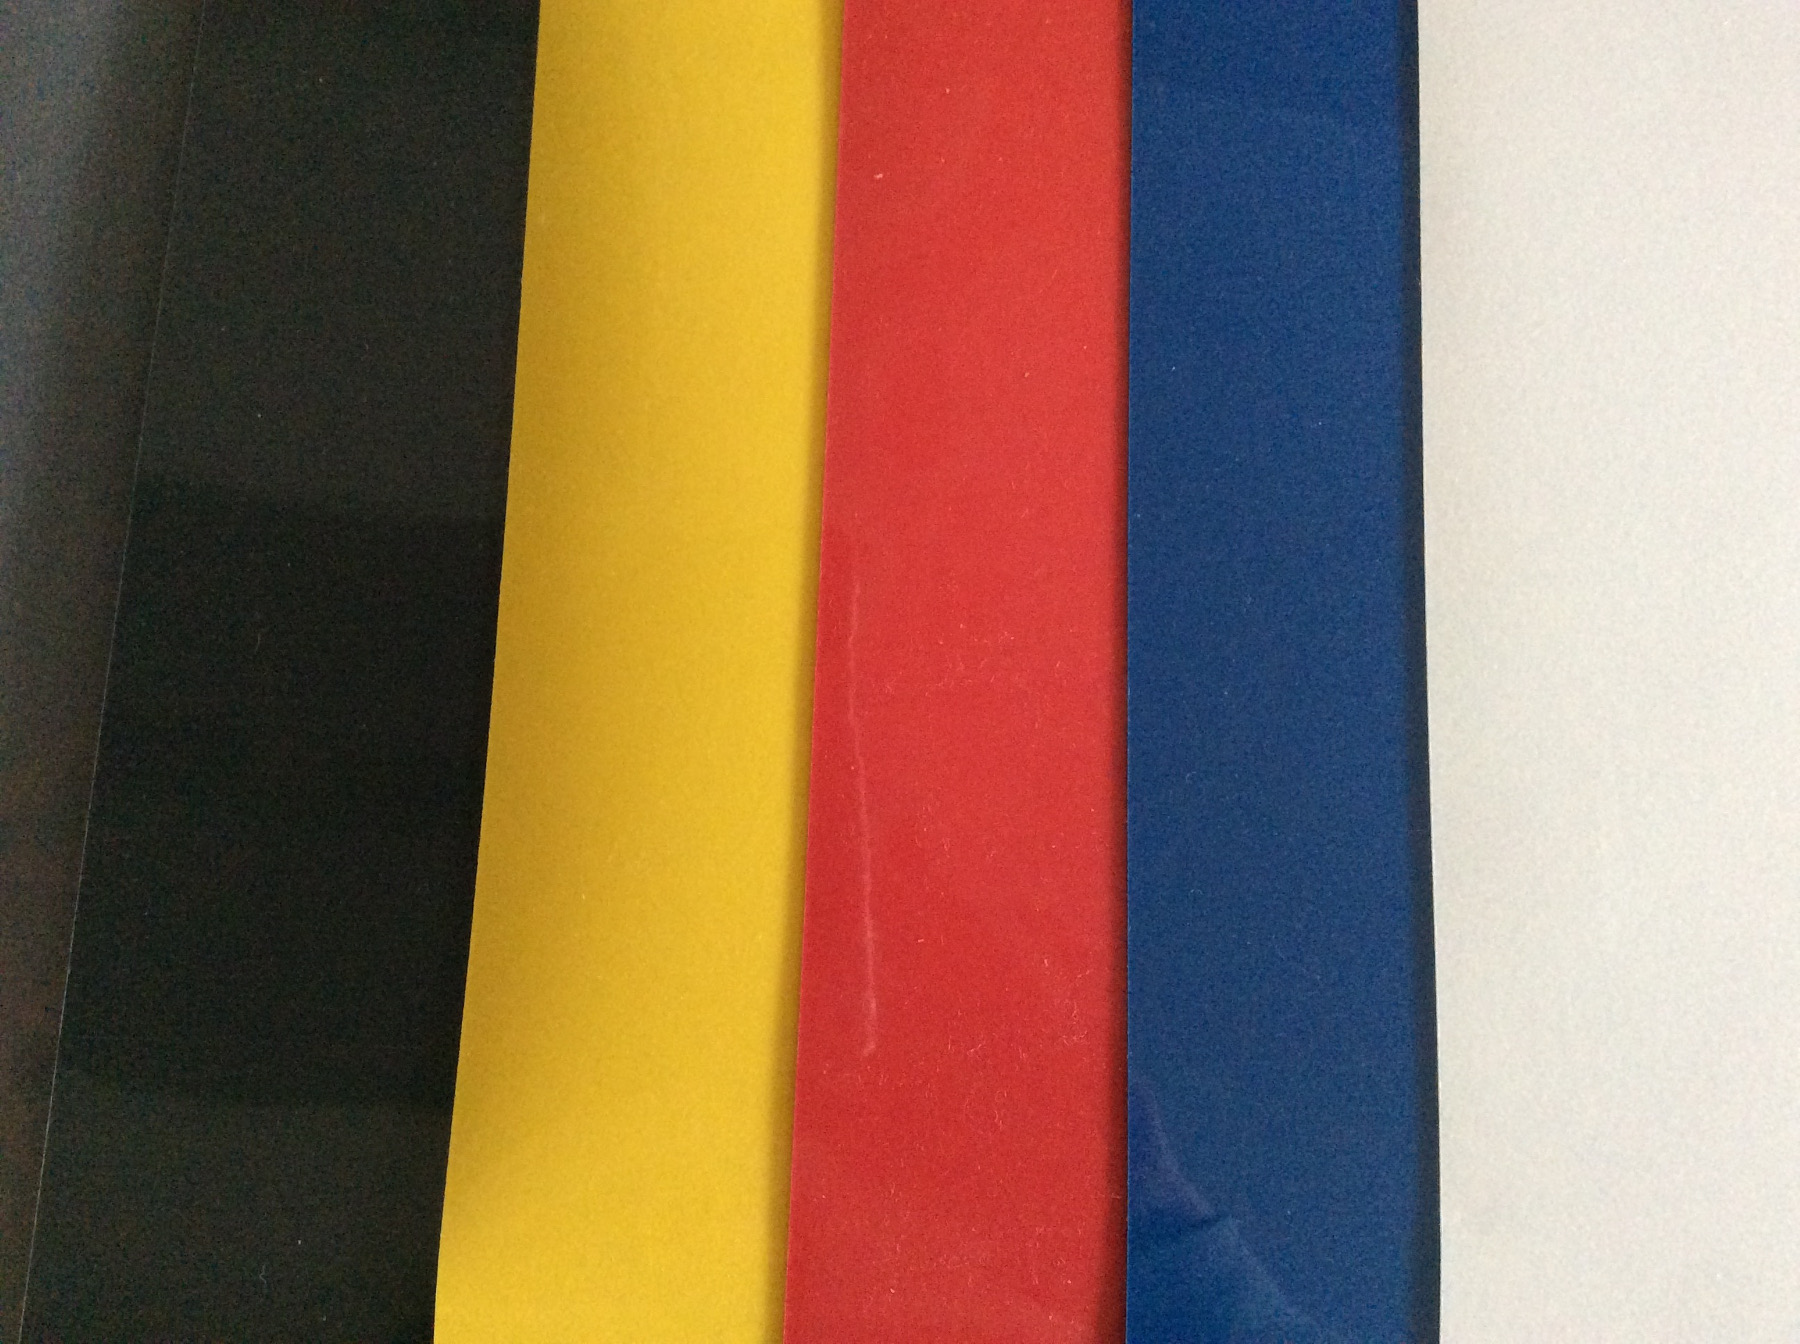
flock foil (red, blue, yellow, white & black)
scissors
glue stick
waxed paper
iron
T-shirt
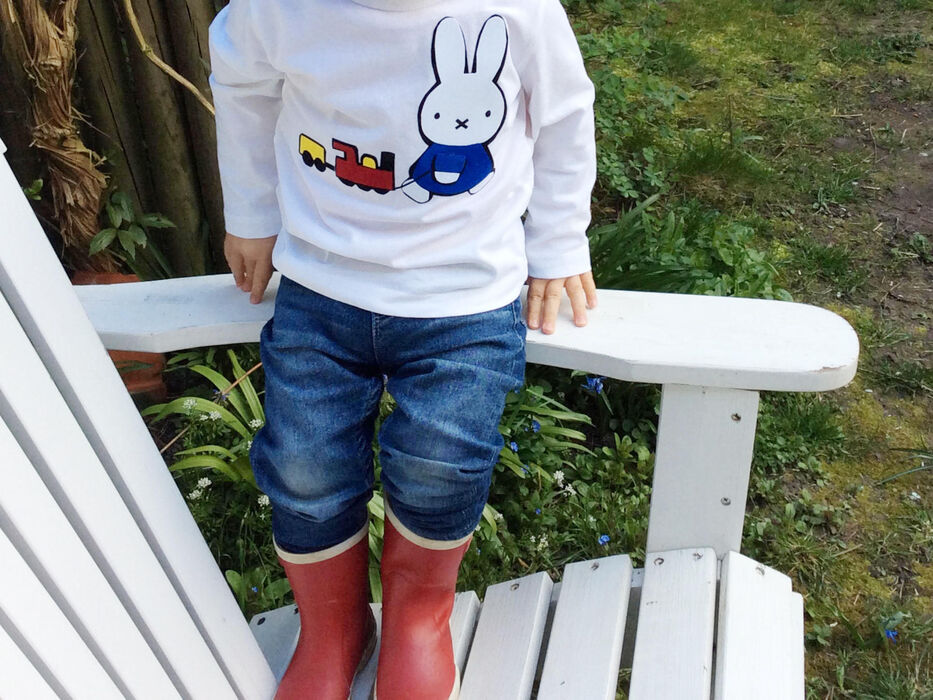
Decorating your own T-shirt with your favorite image isn't difficult, but you do have to spend some money first. It's great fun to make a T-shirt to your own taste, and Puk is a fan of Miffy and trains. So today we are making this Miffy shirt for him, we found the perfect image online.
Tip! Remember that it is perfectly fine to craft something for yourself, but of course, you are not allowed to sell T-shirts with someone else's drawing! You can also download the work instructions as a PDF.
How to make a Miffy T-shirt
Start by tracing an online image
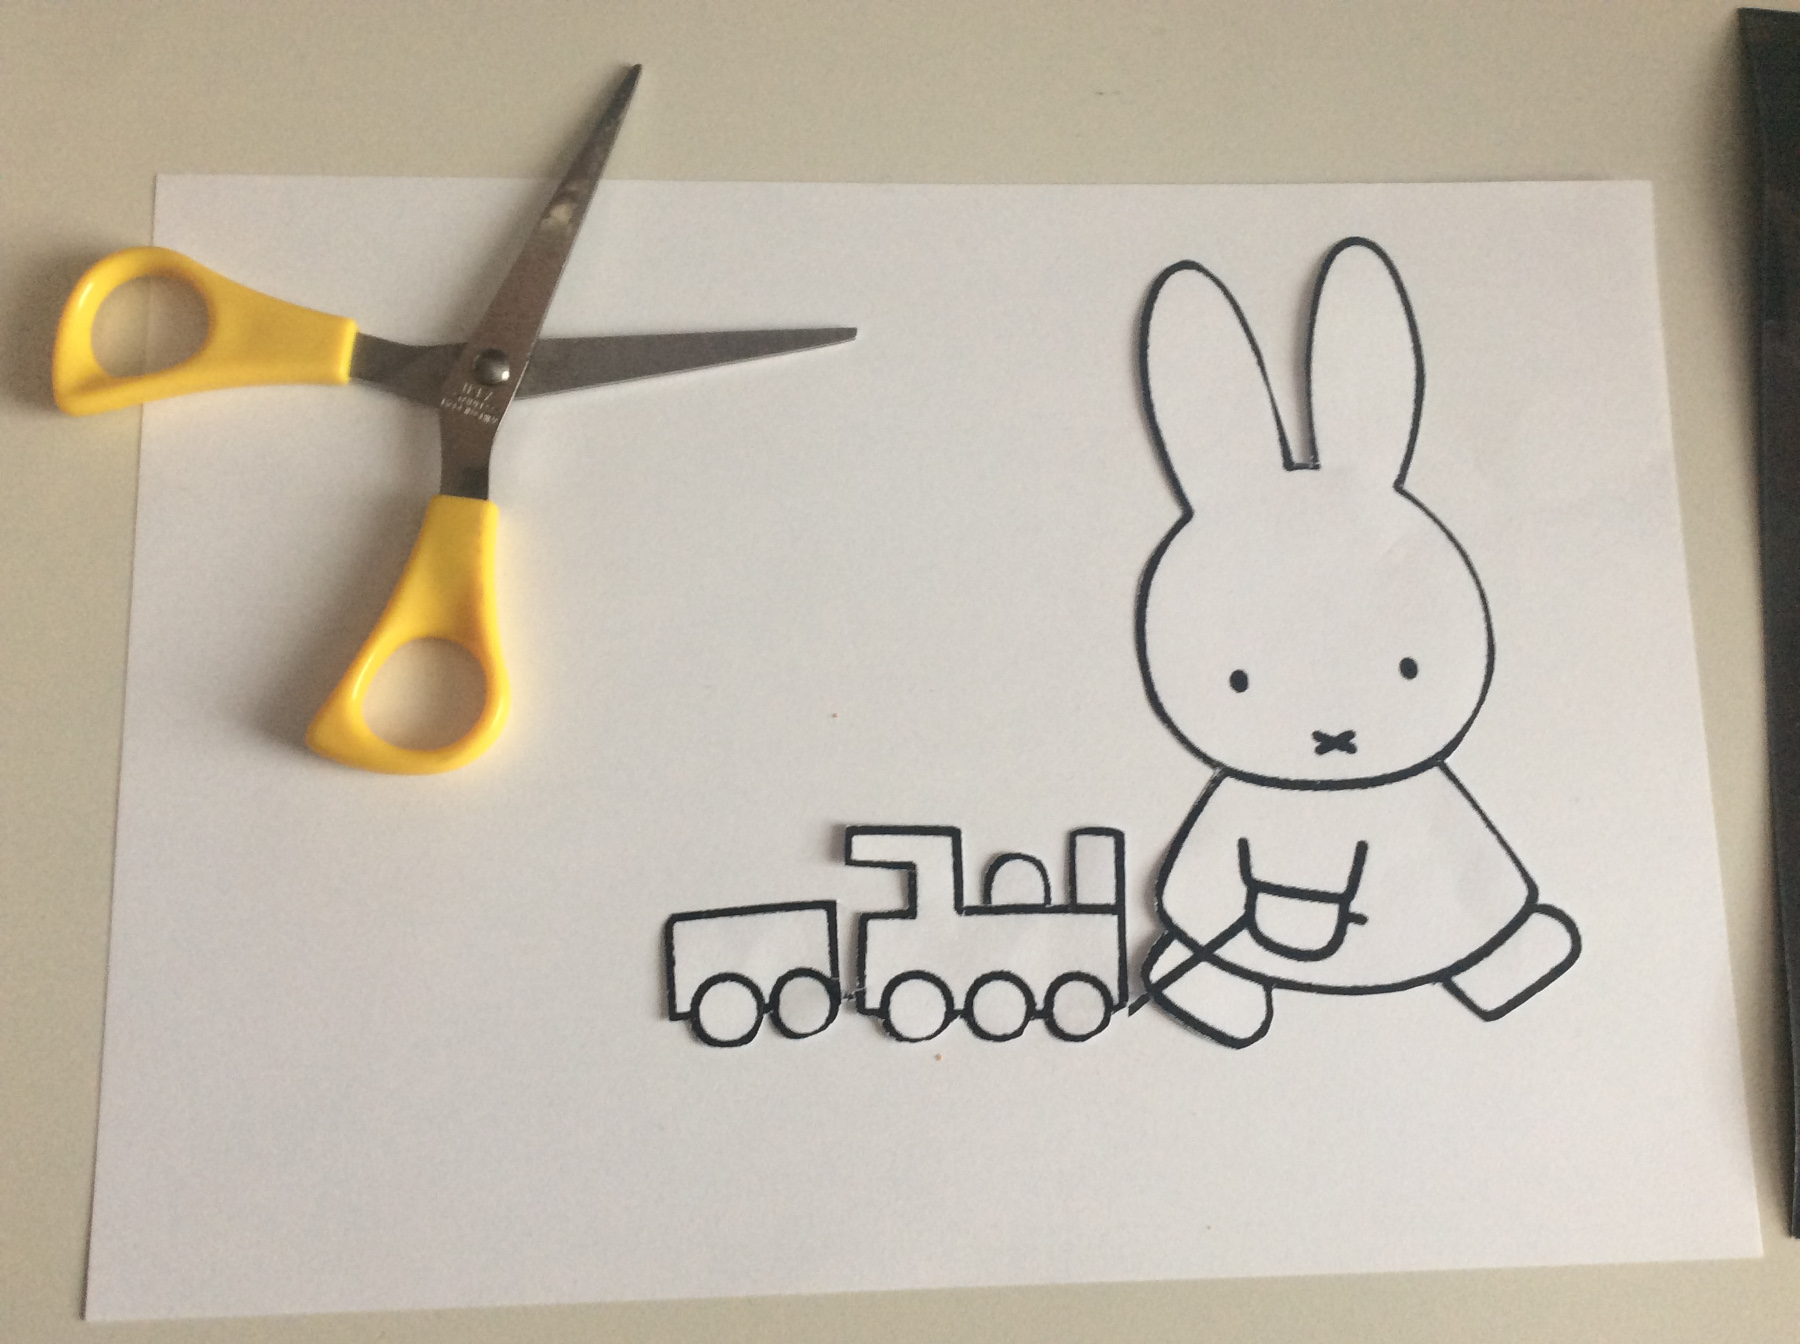
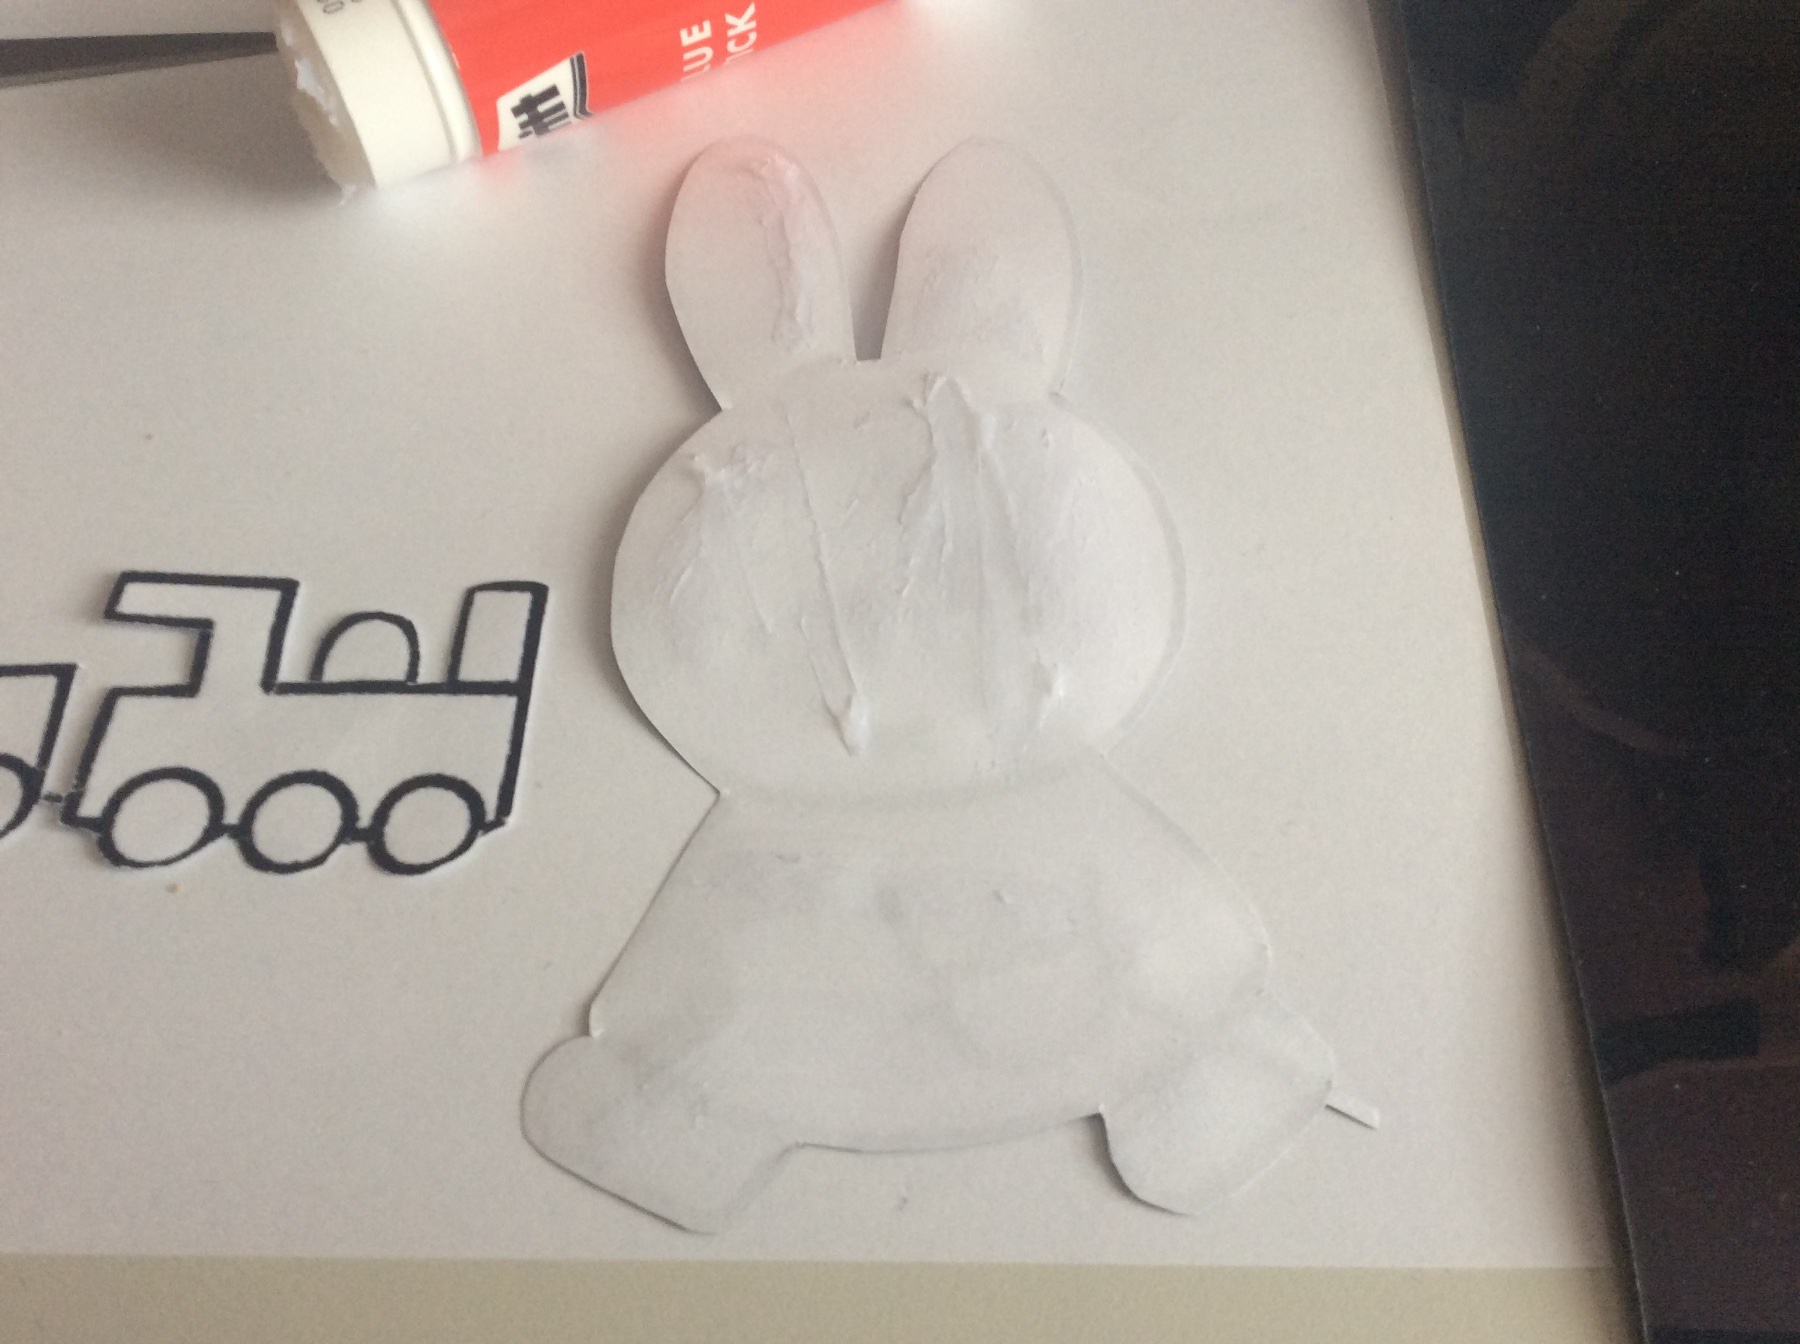
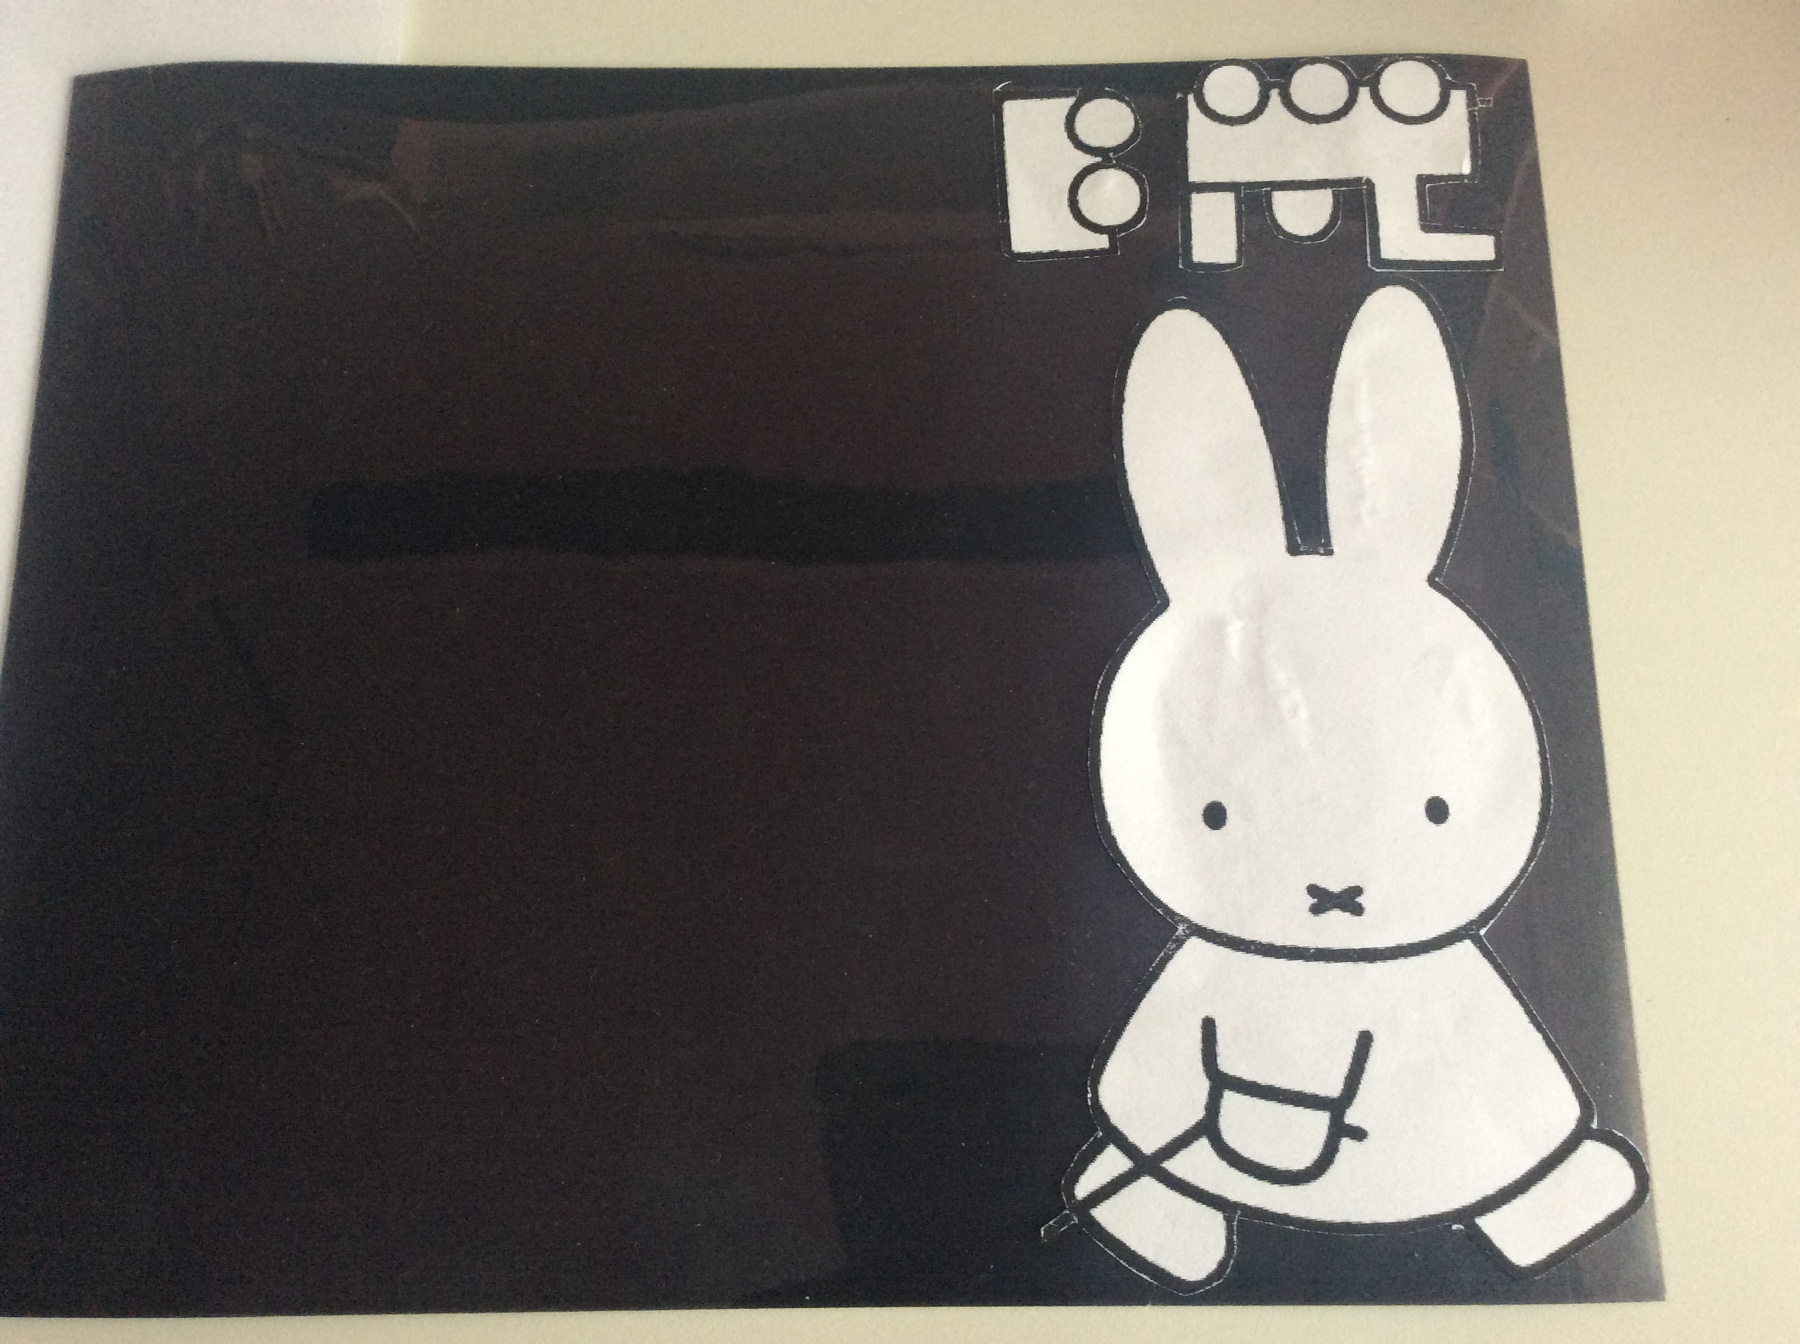
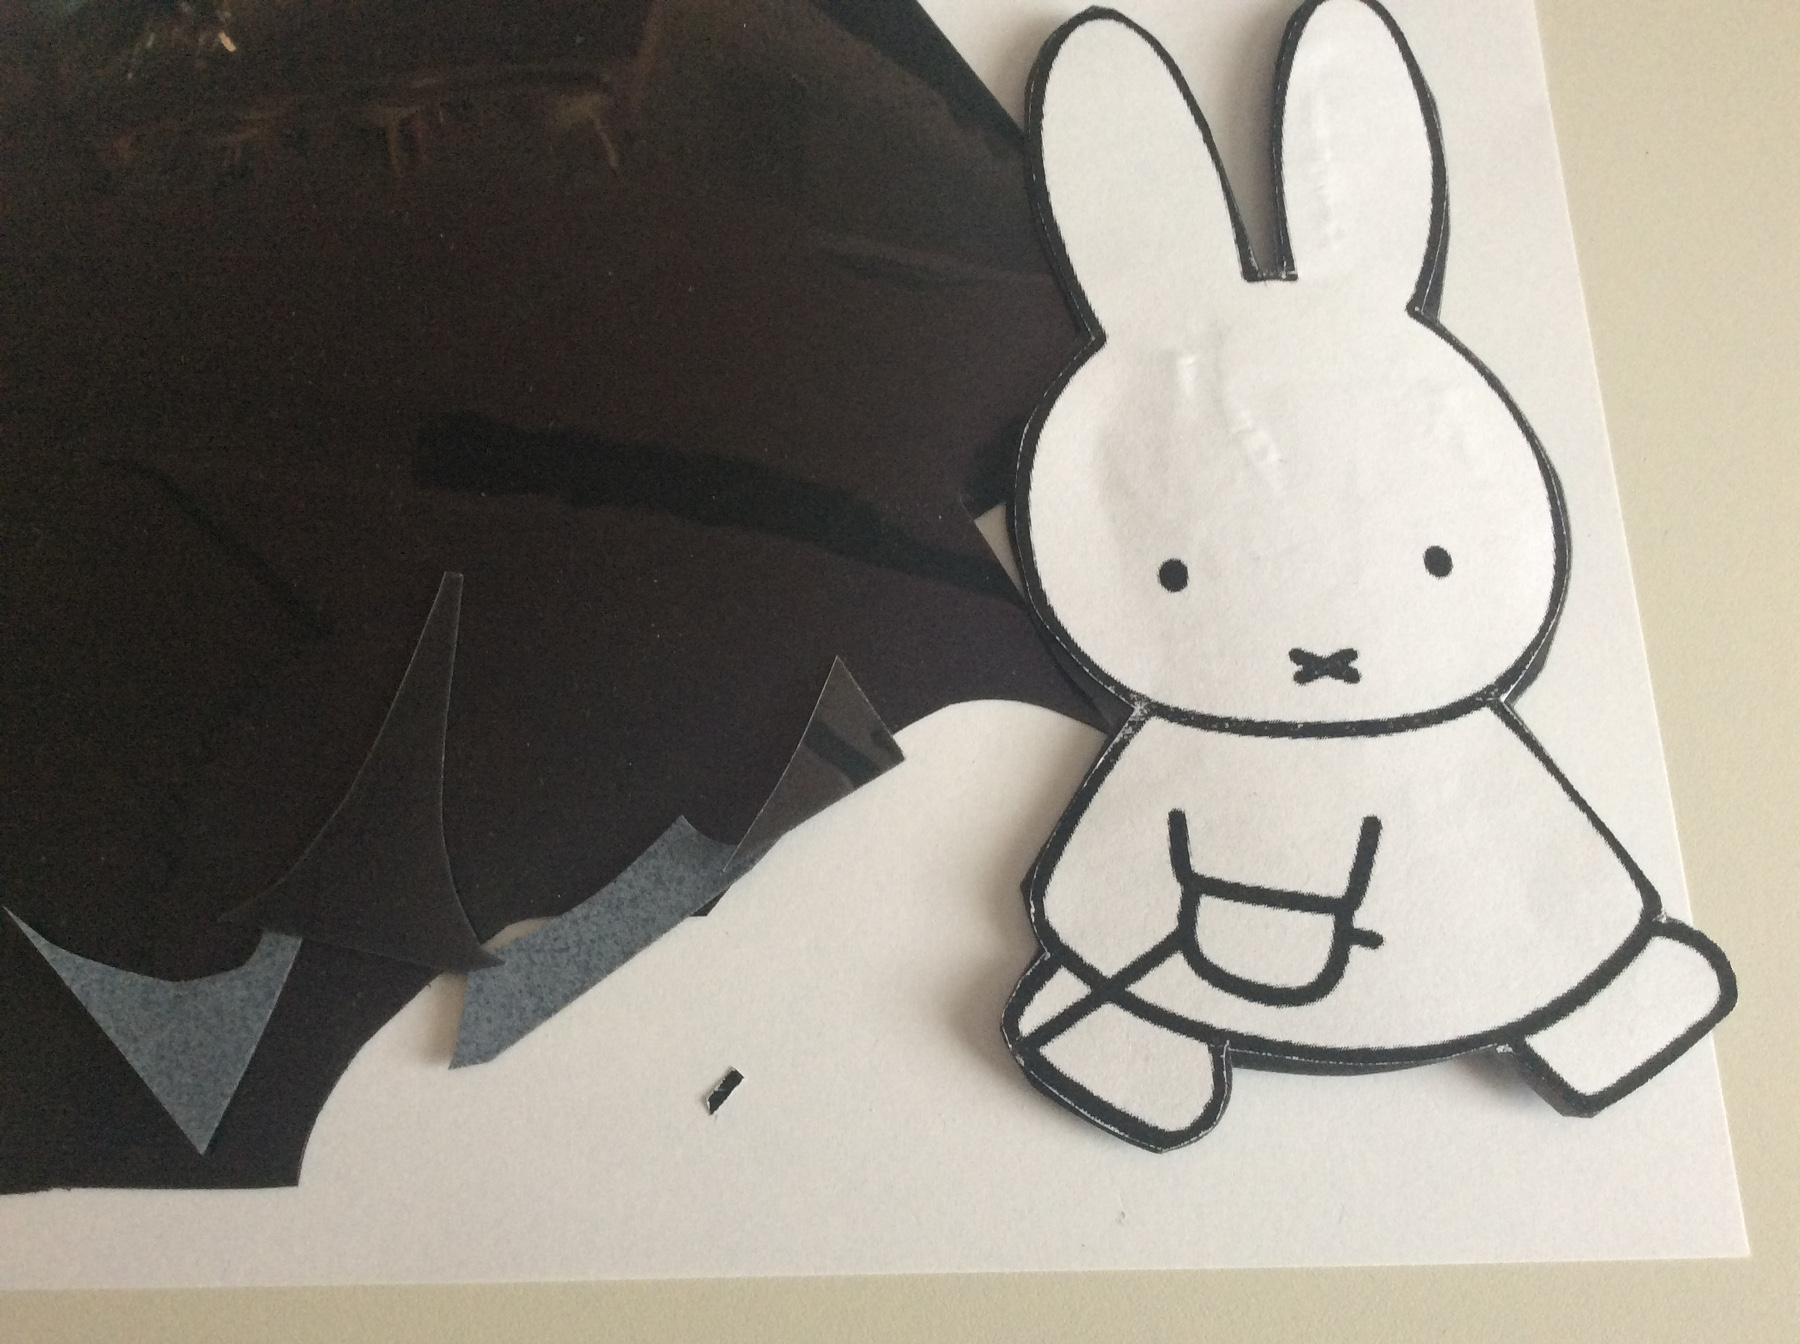
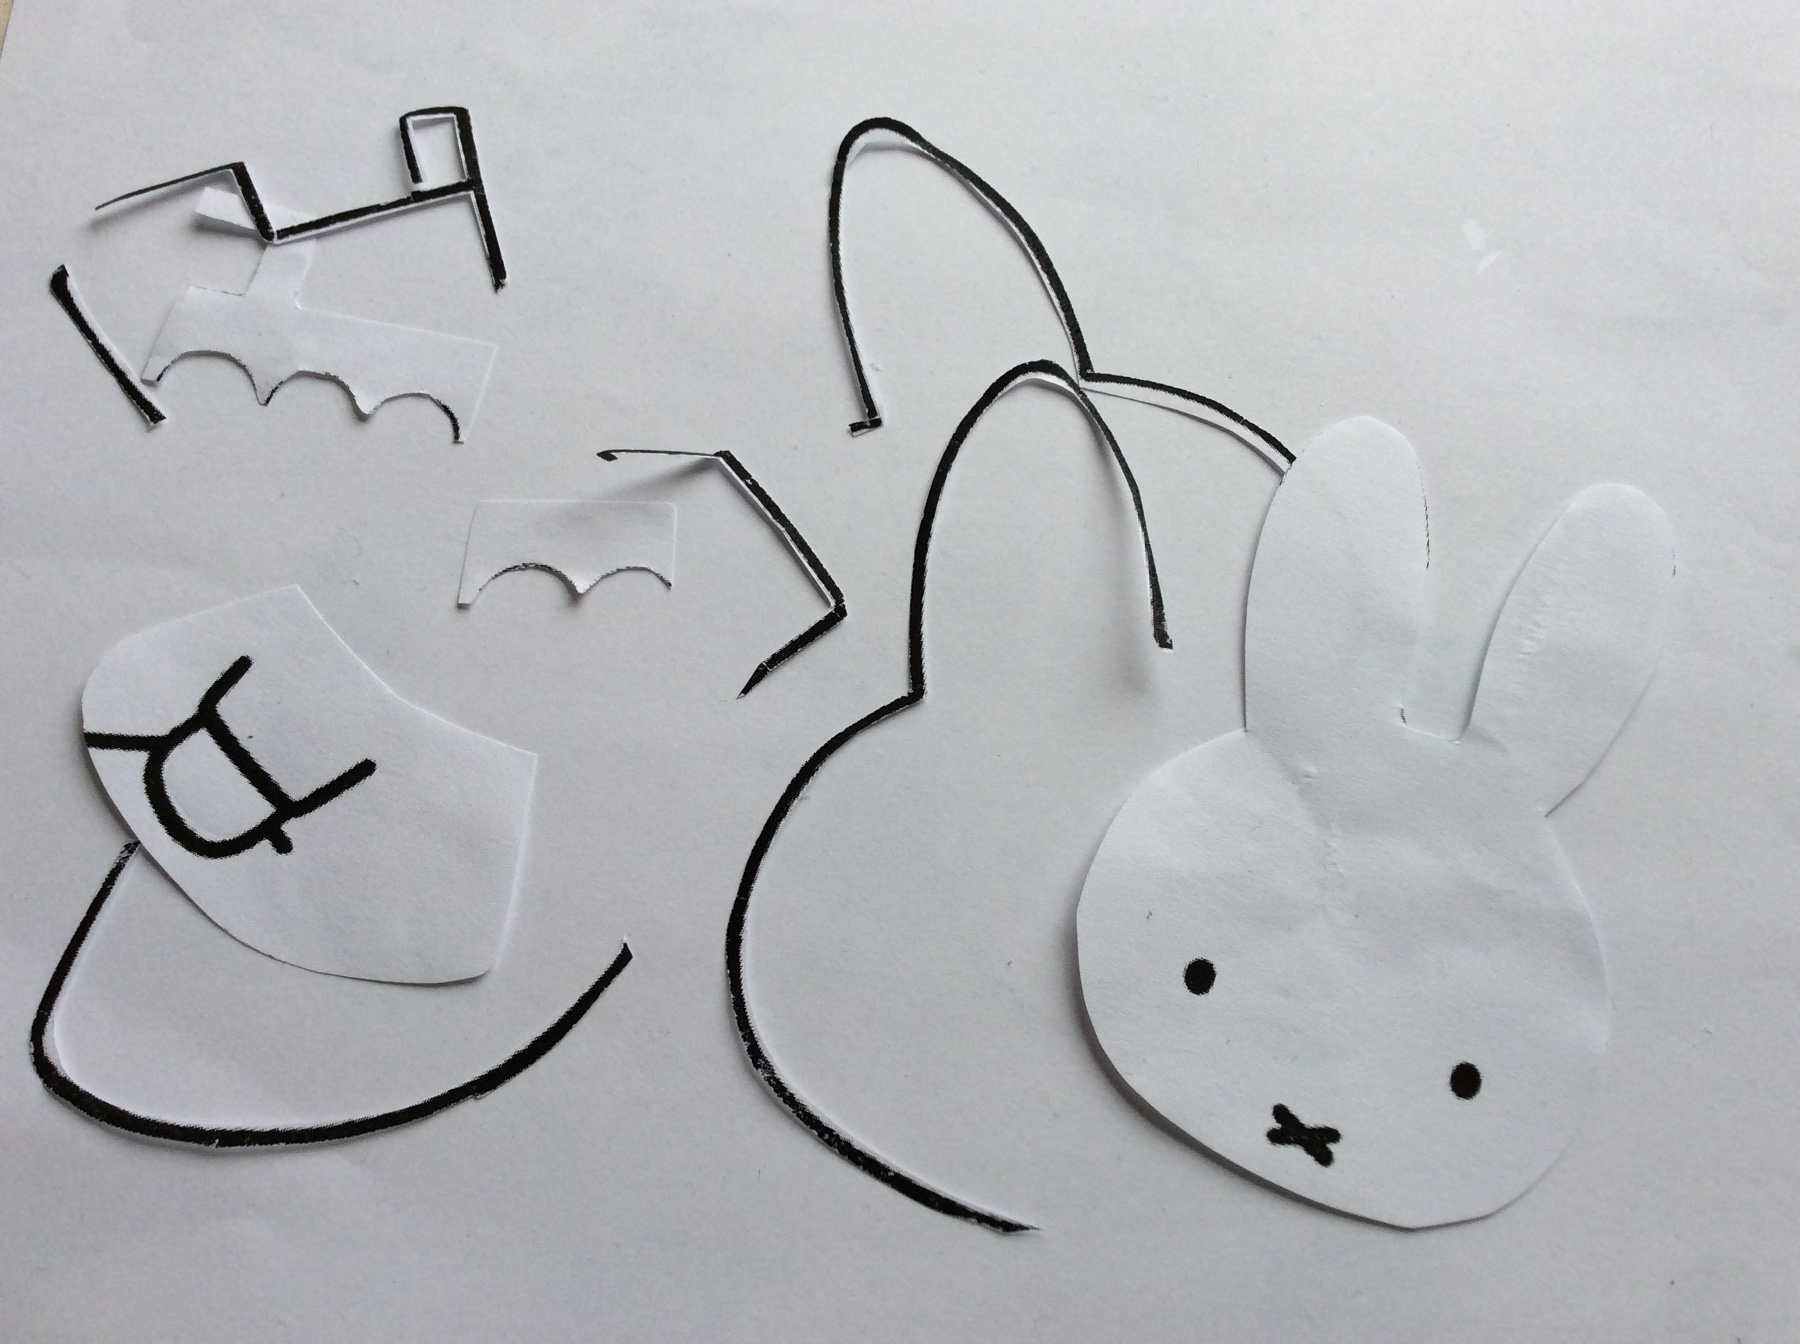
Cut out the parts.
Glue the back of the parts.
Stick the parts on black (shiny side).
Cut out the parts.
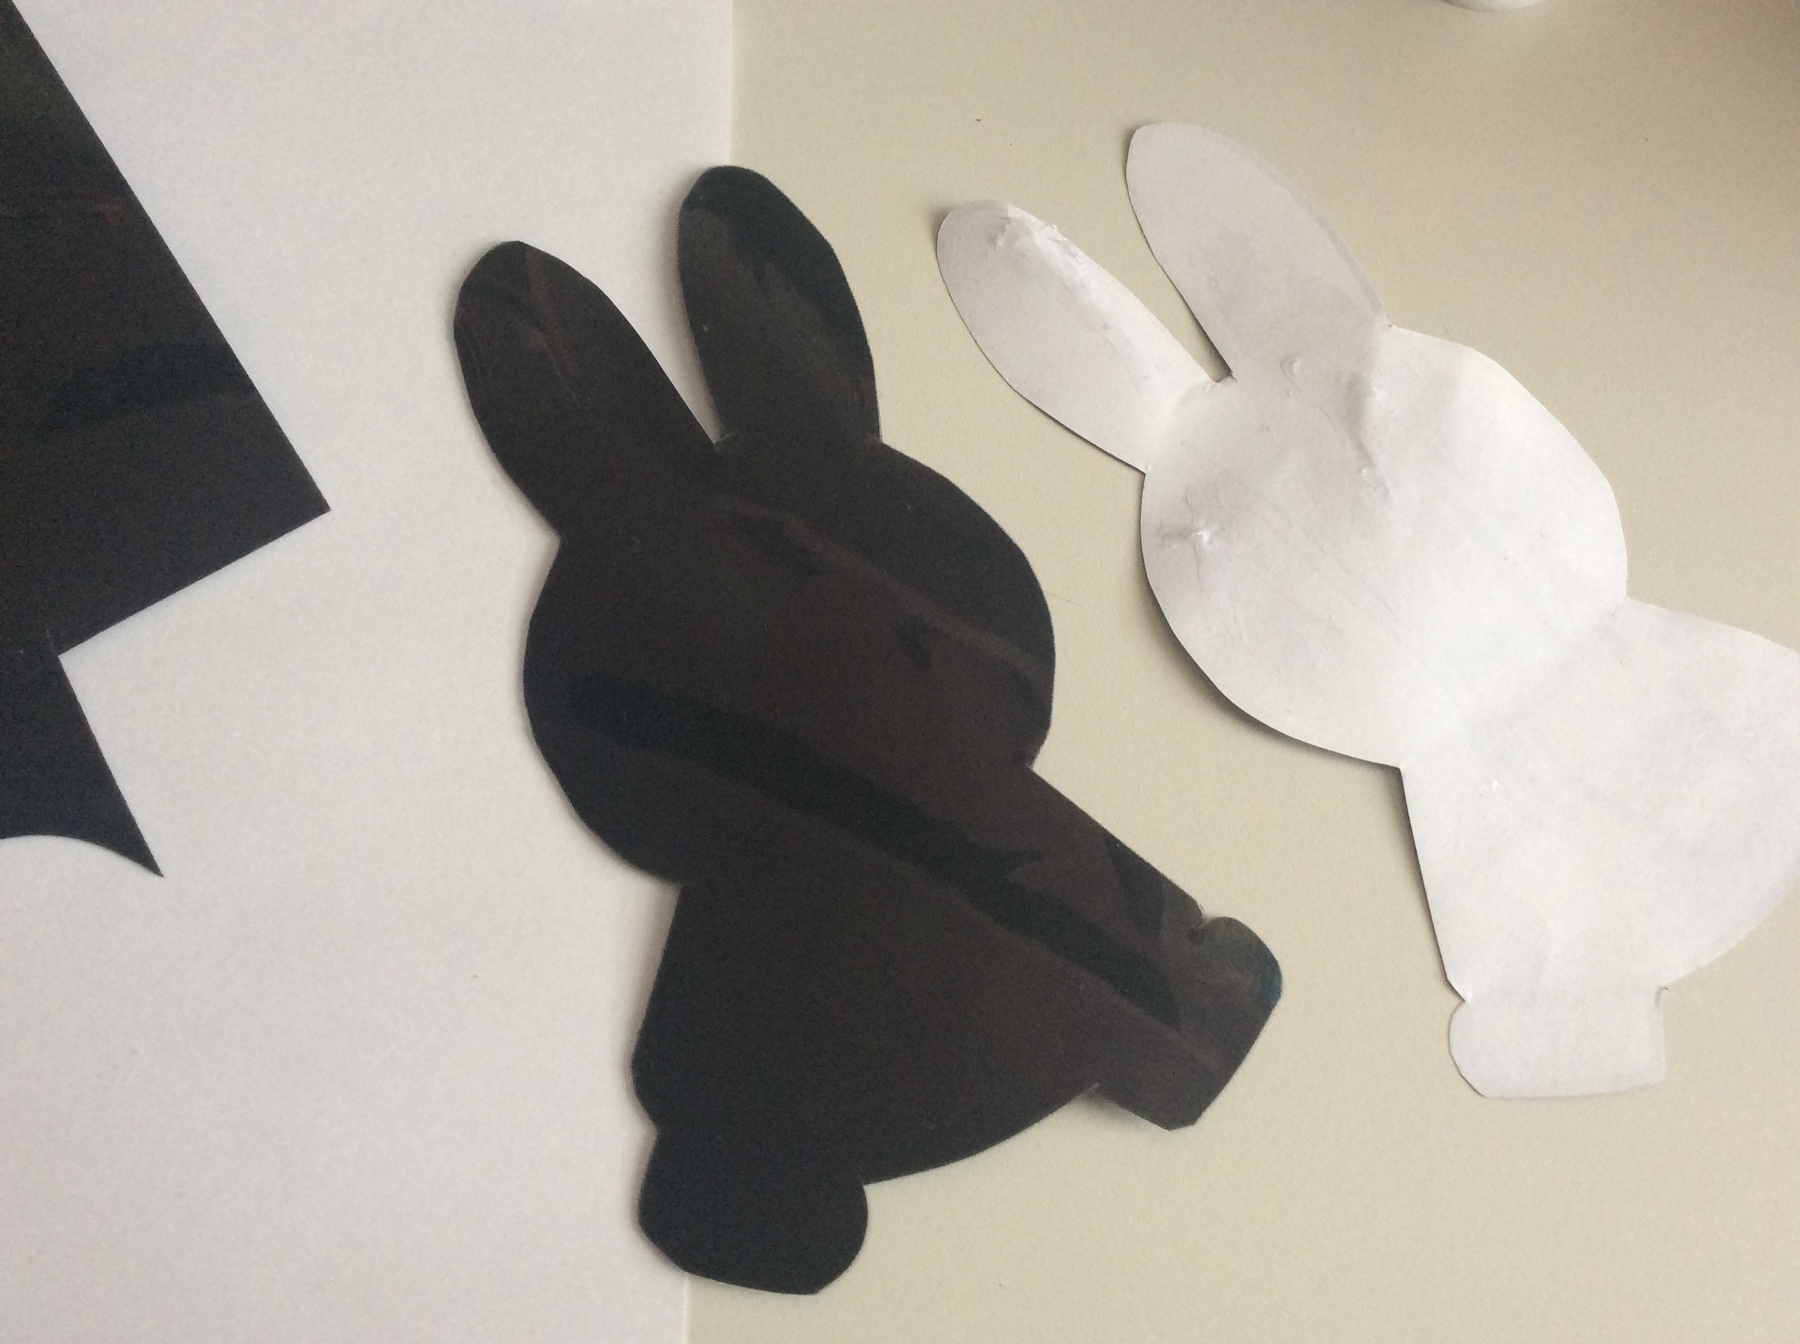
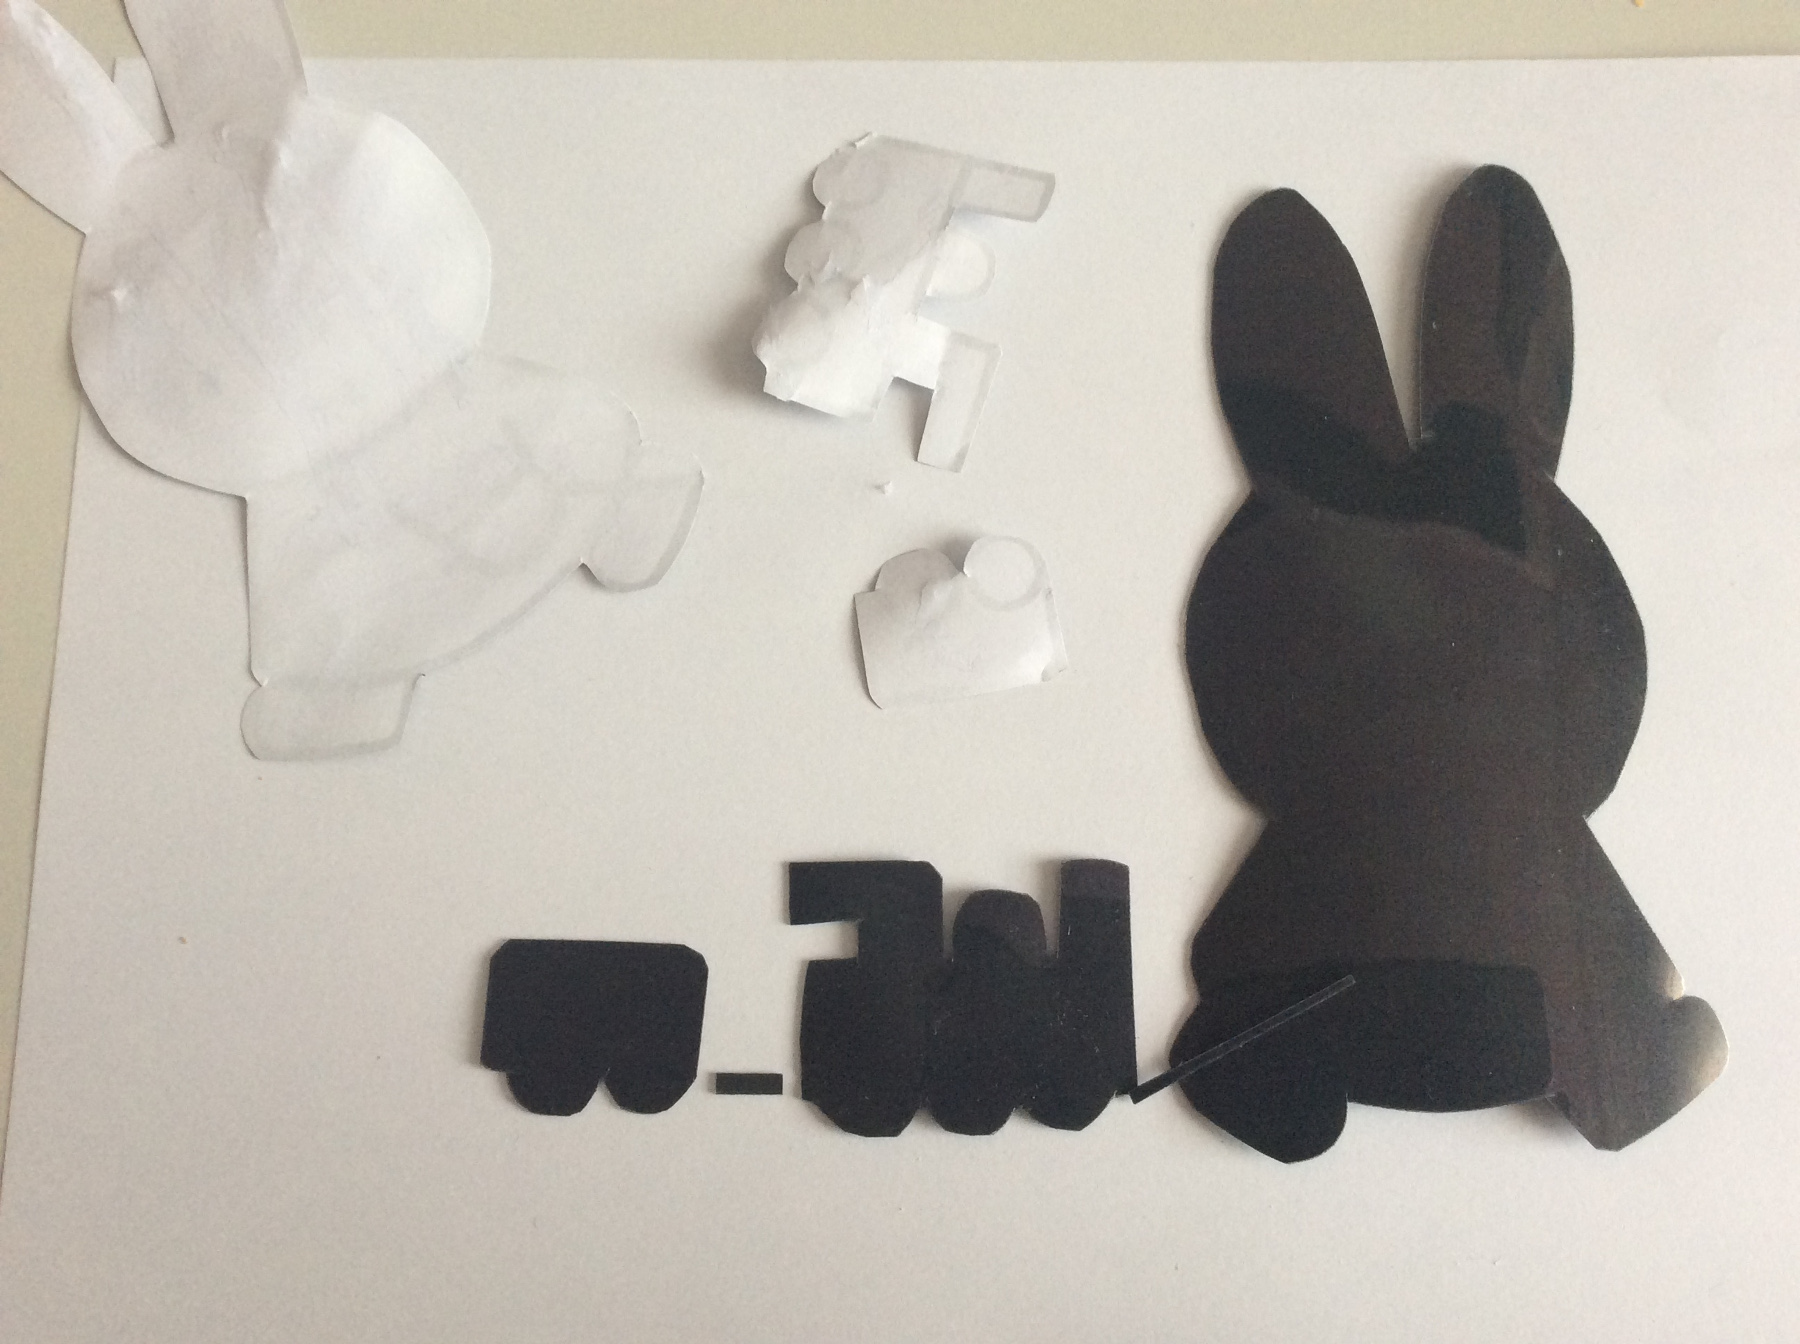
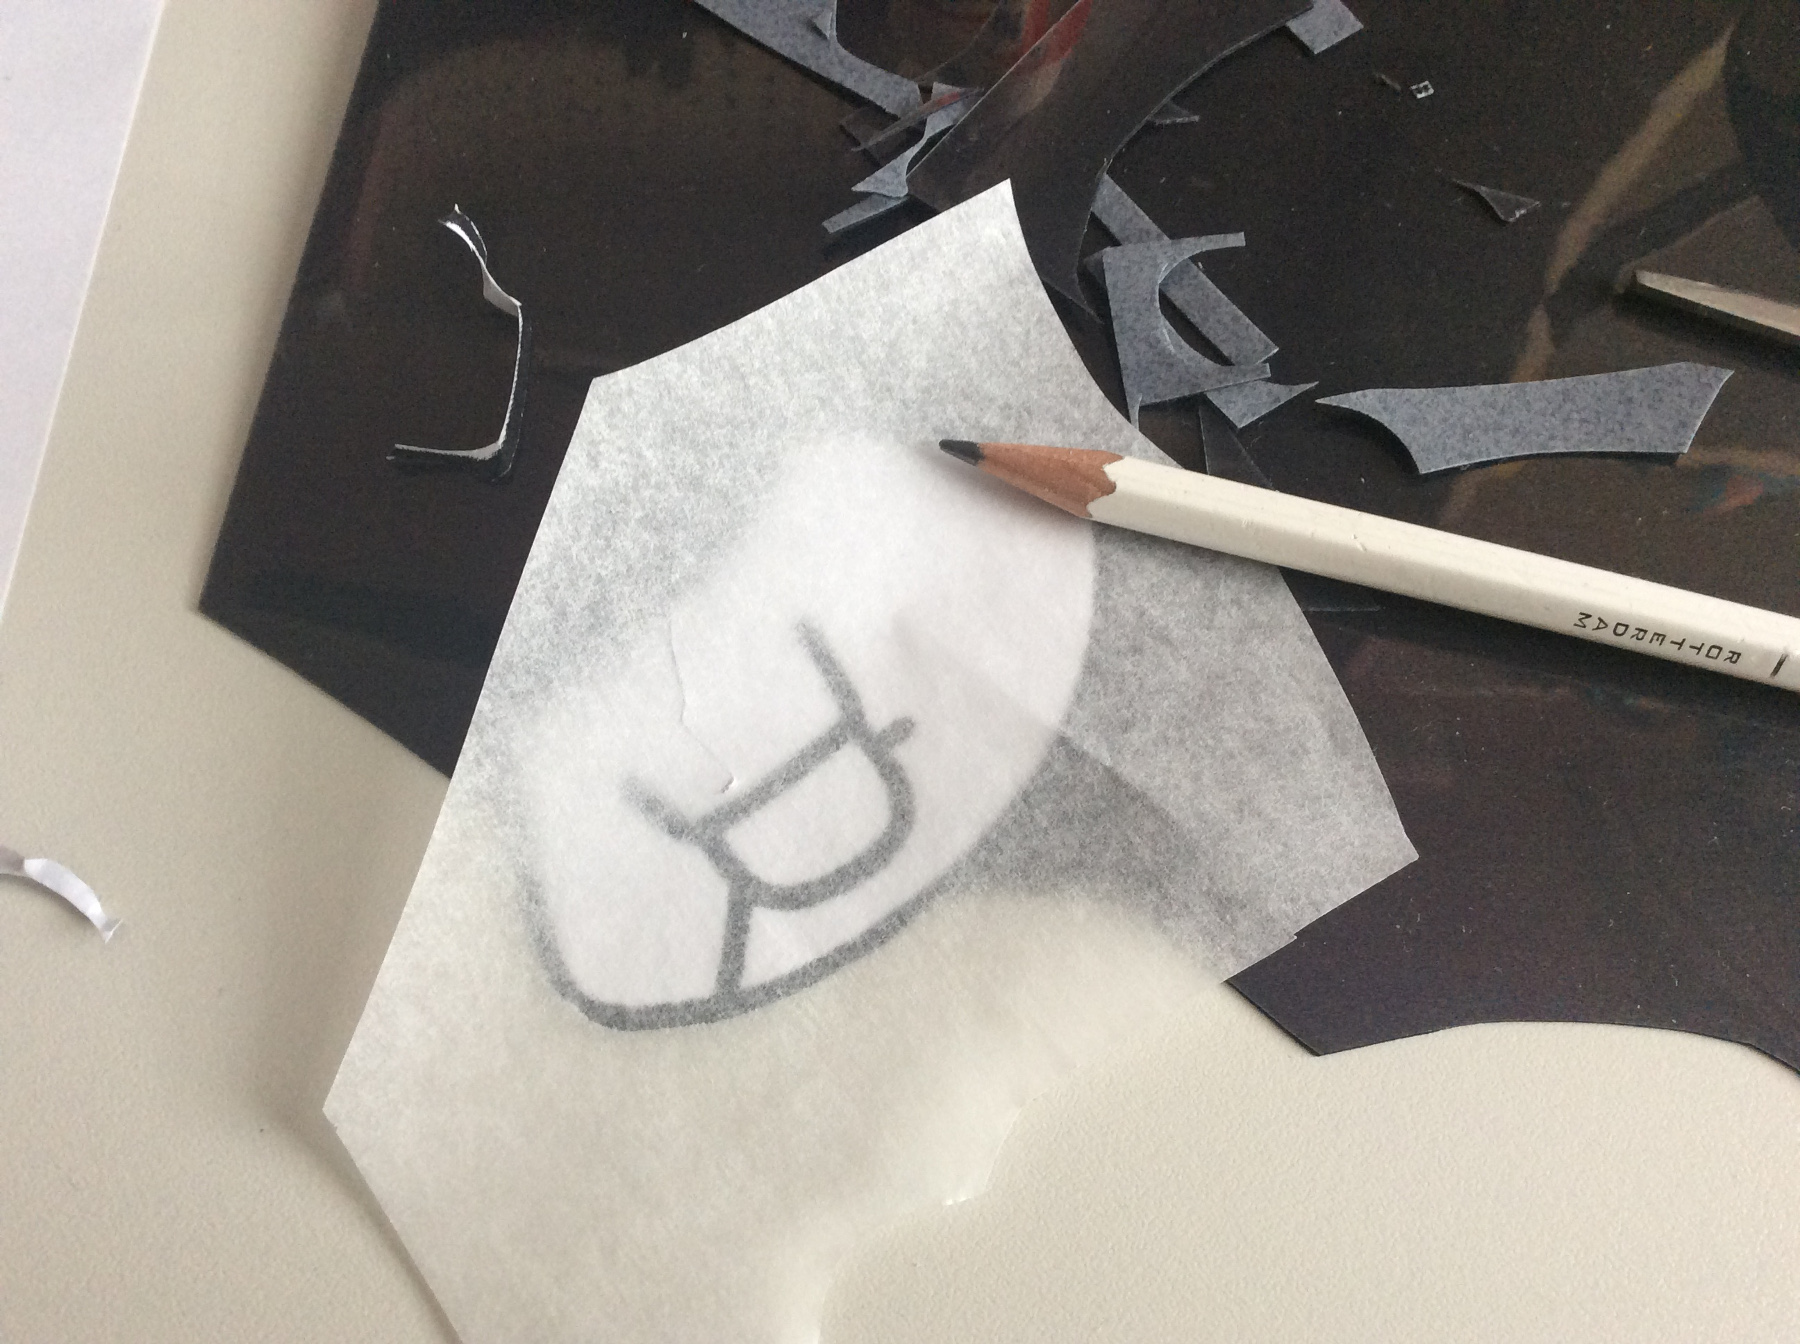
Pull off the paper.
We do have five parts.
We miss the arm.
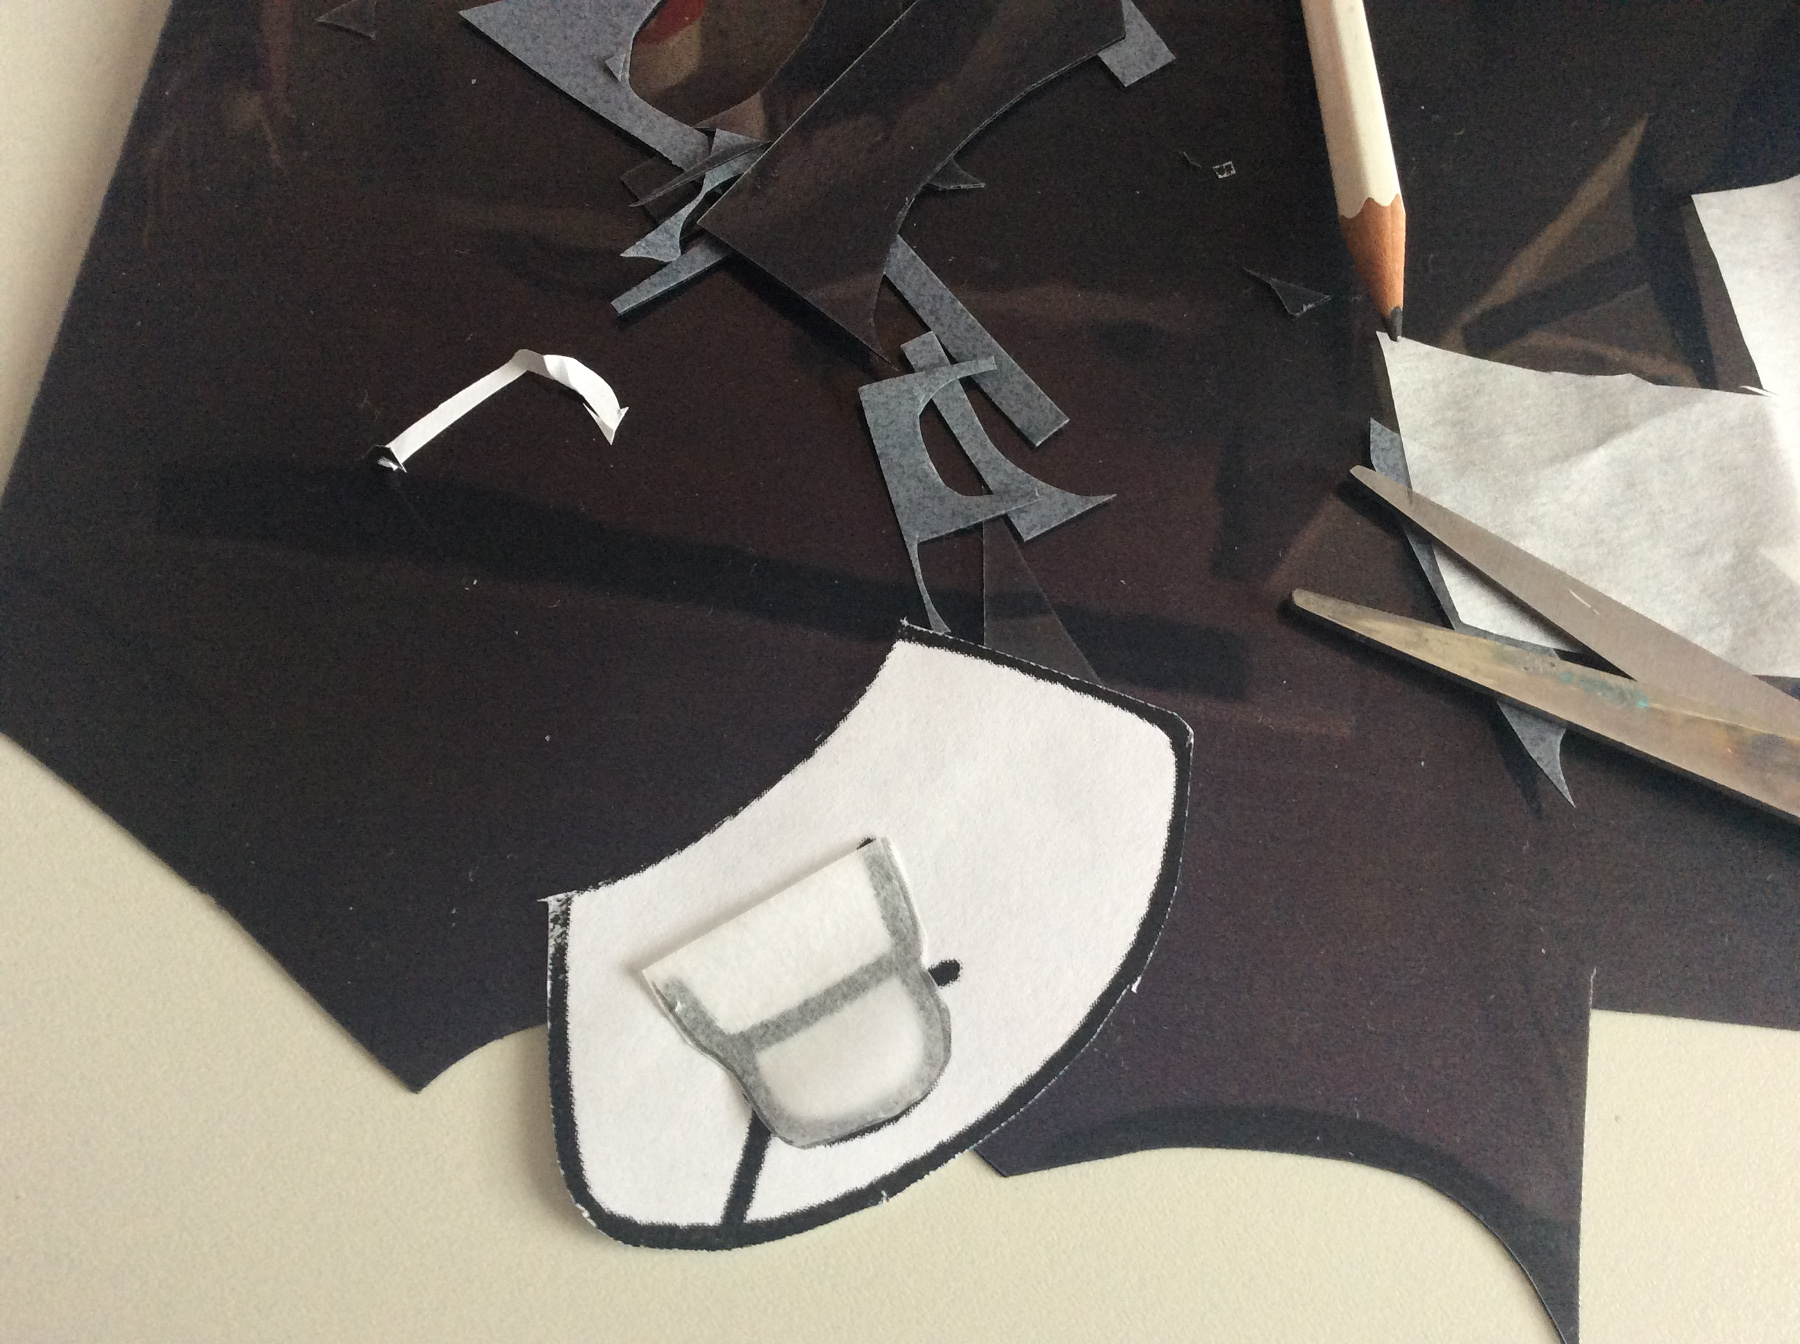
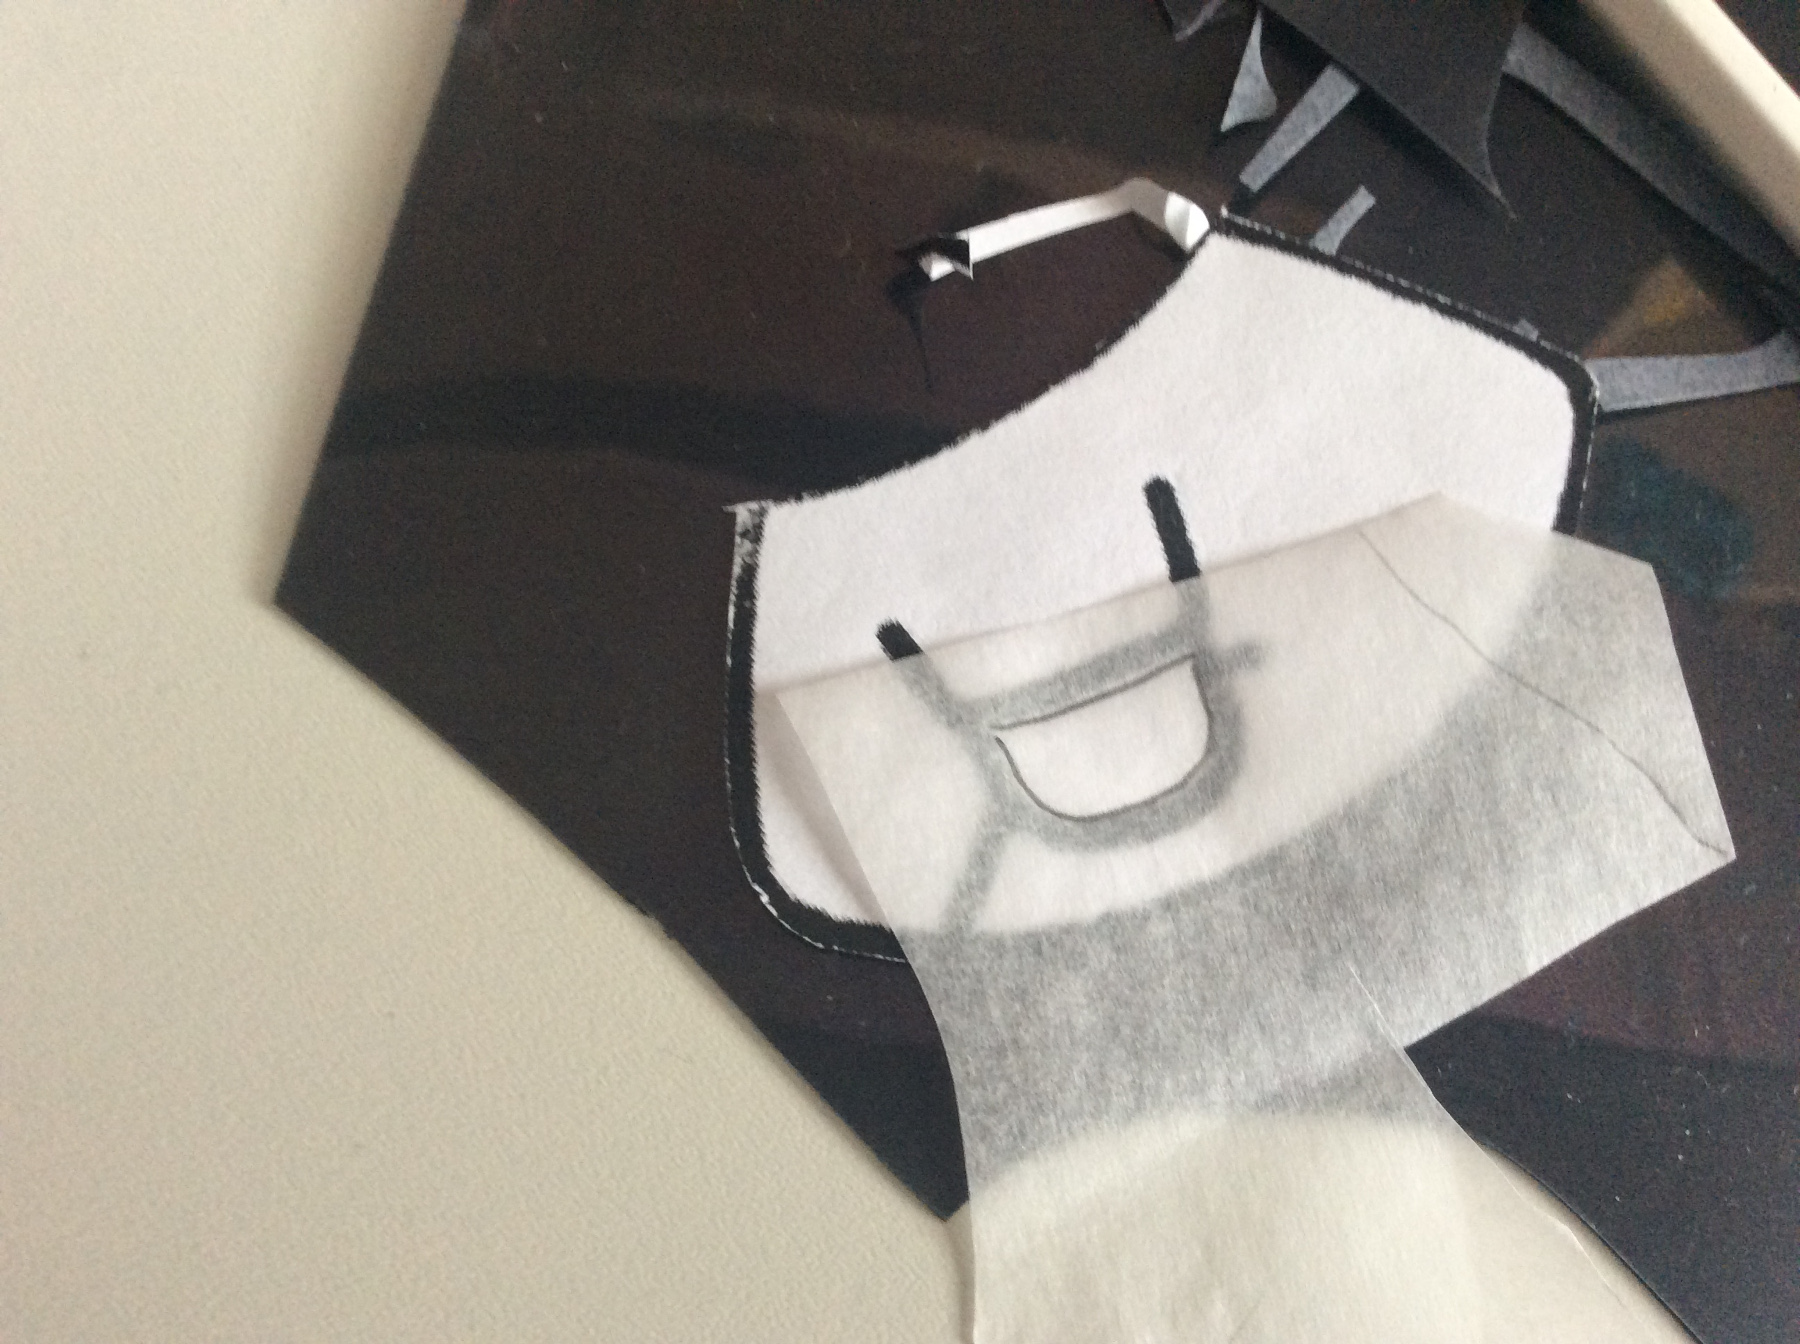
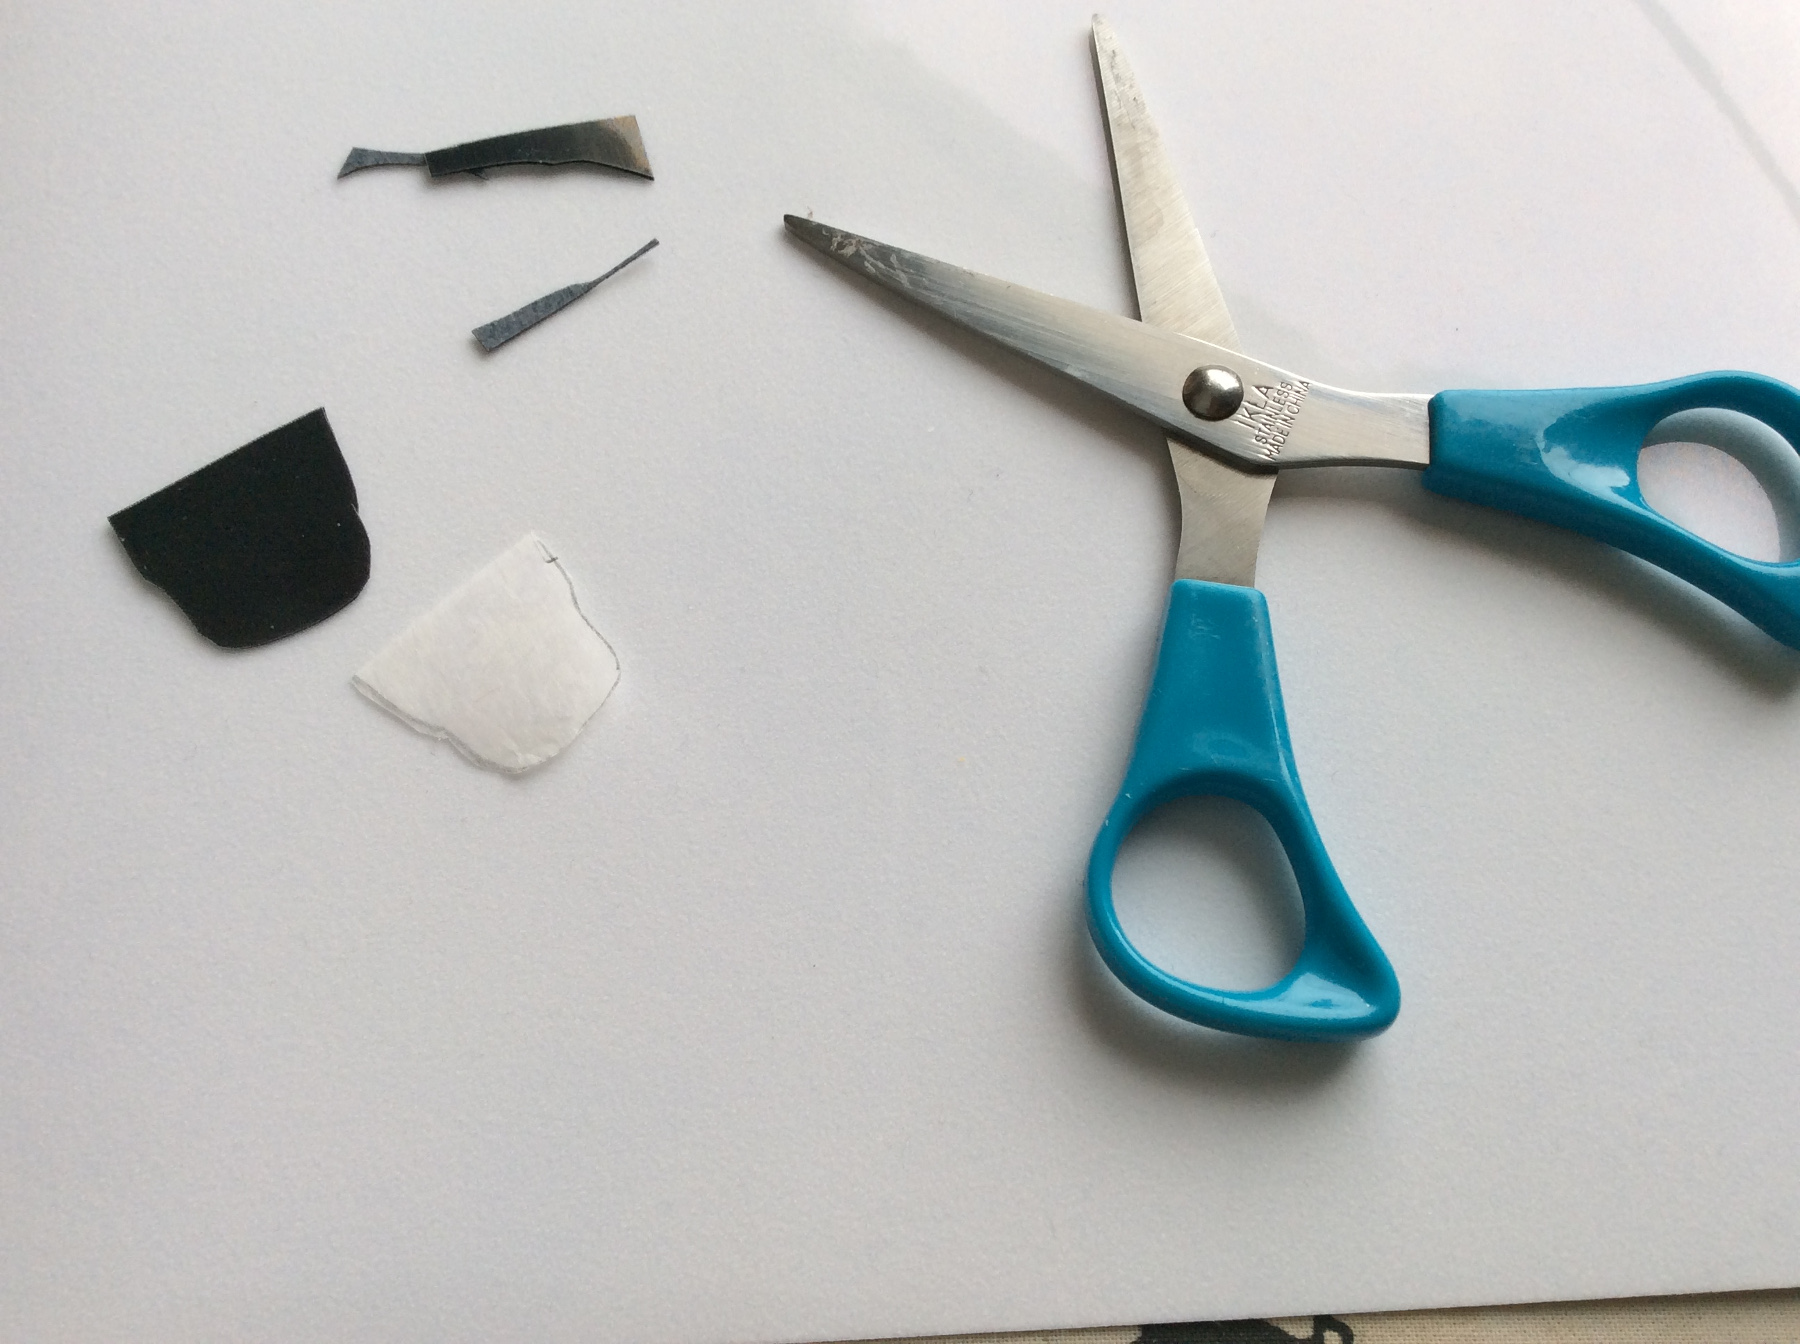
Trace the arm and cut out.
Trace the hand and cut out.
Stick on black and cut out.
Cut off all black outlines.
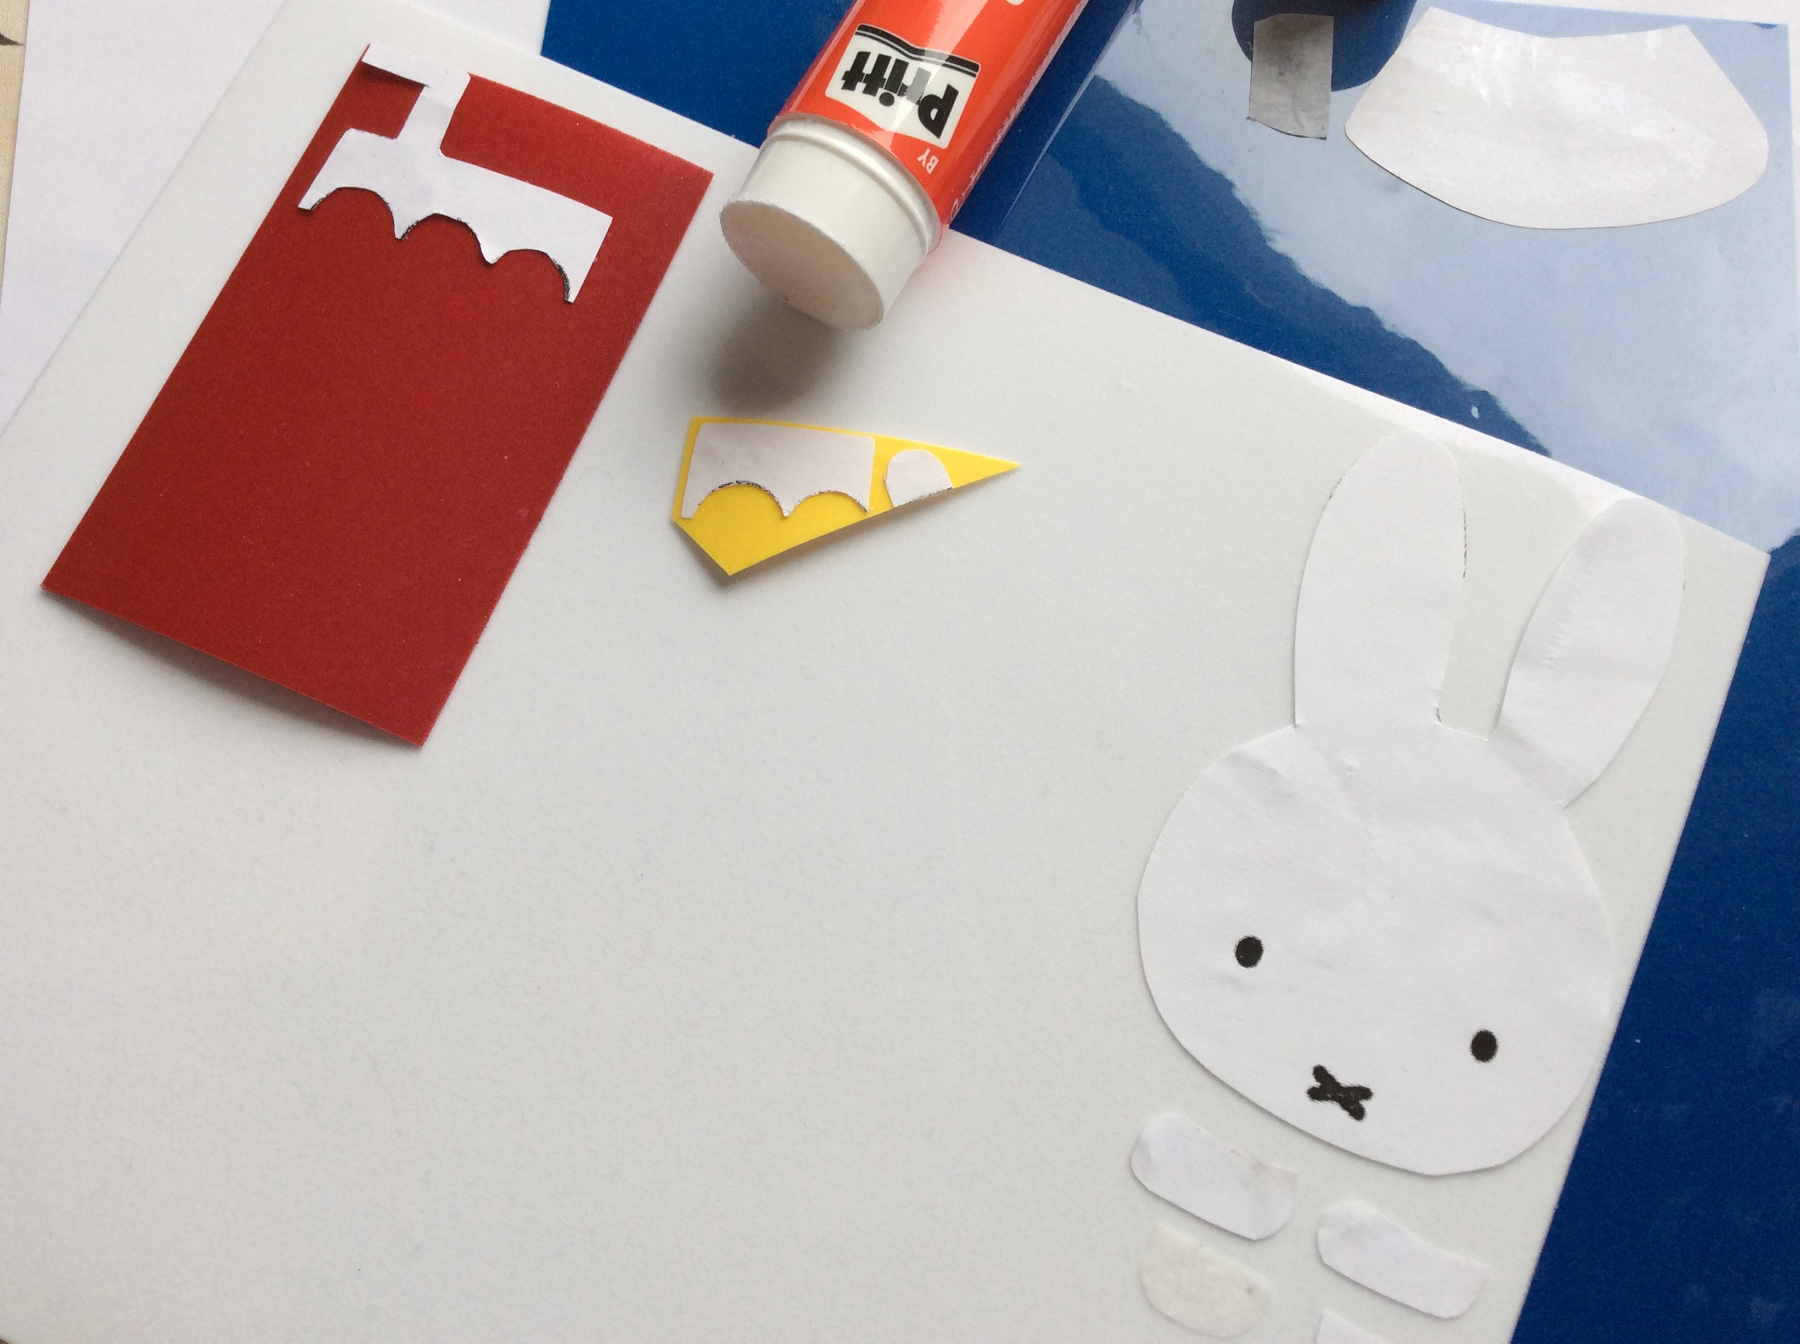
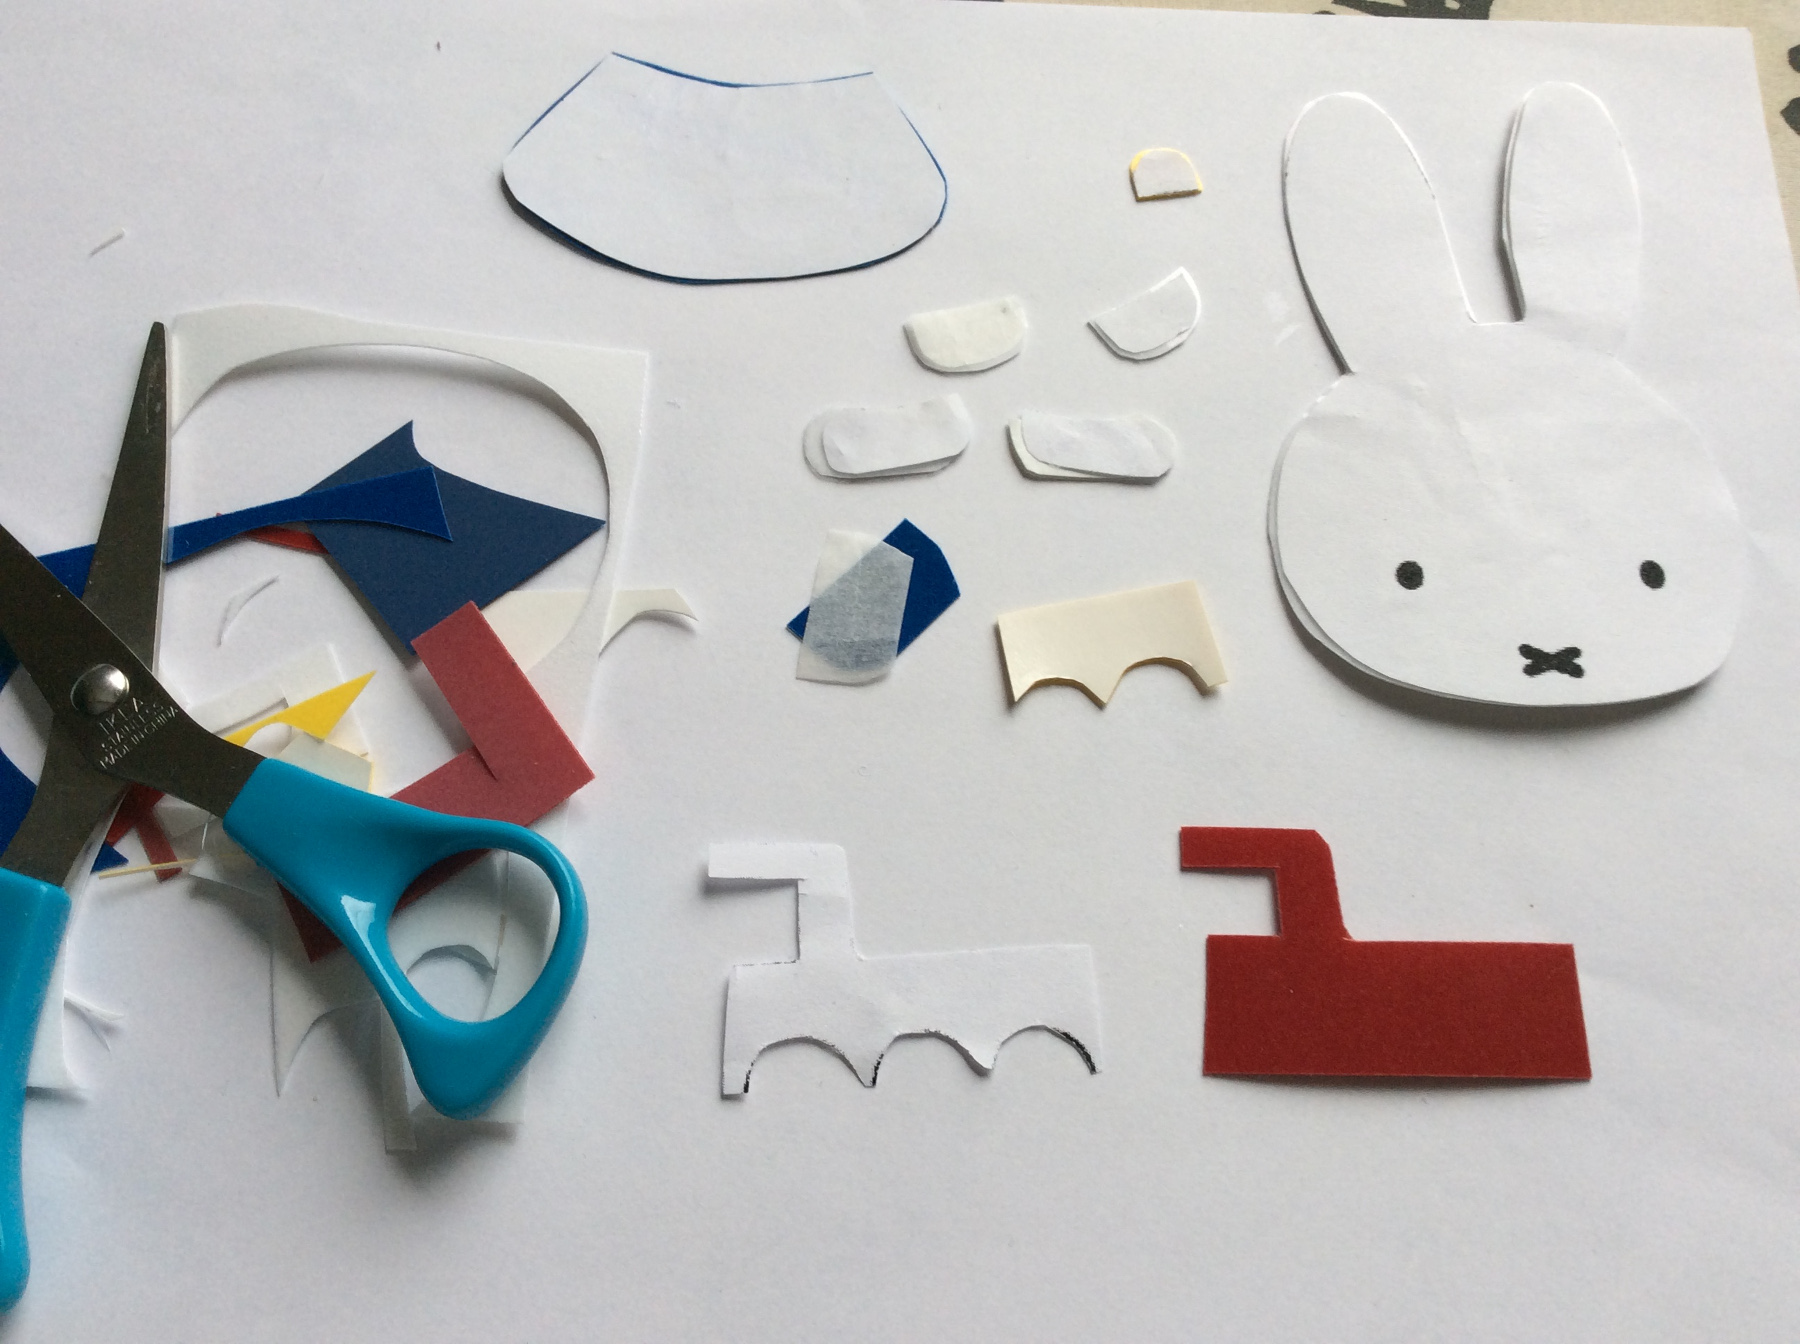
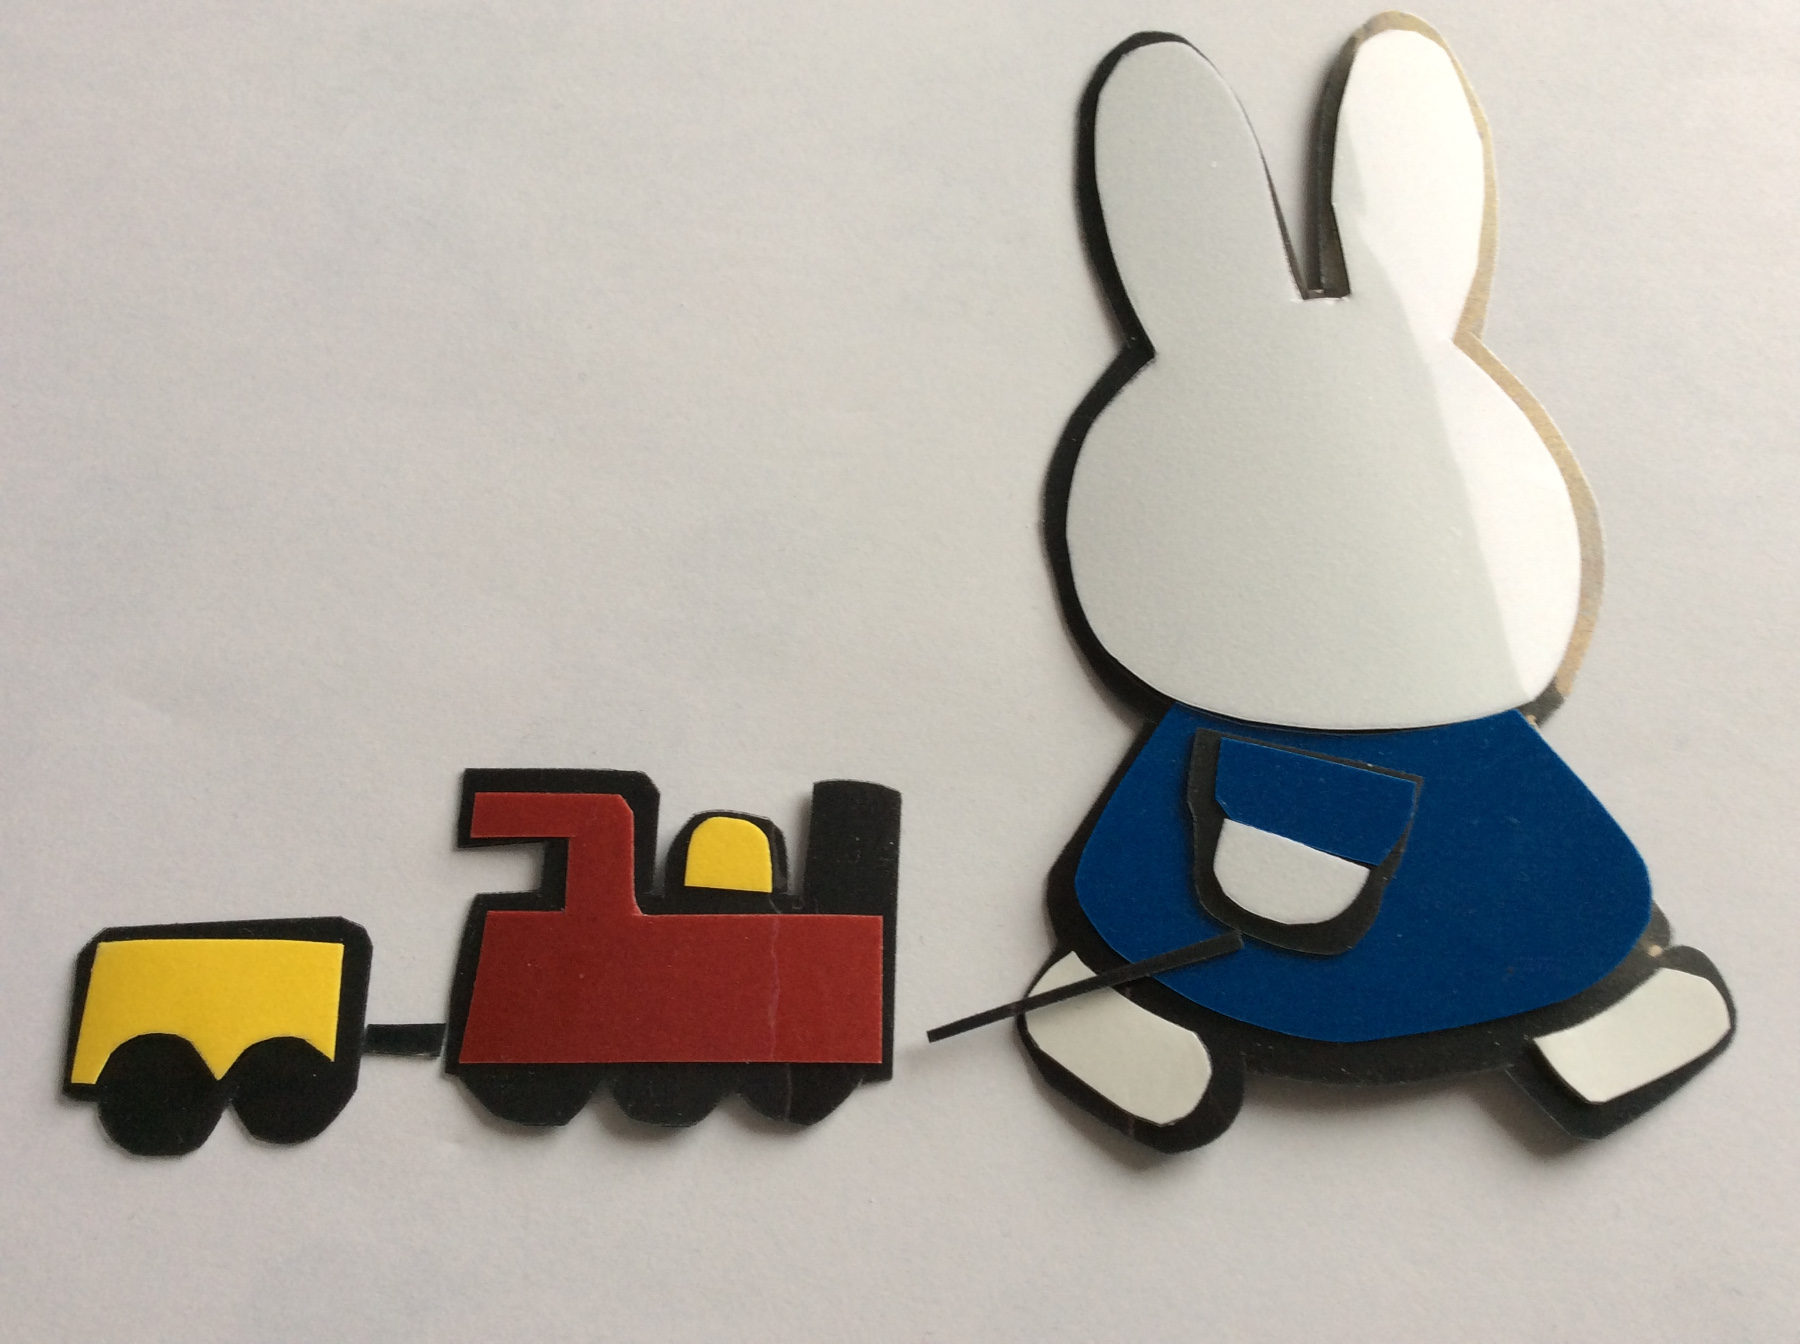
Stick the parts on the right foil colours.
Cut out all loose parts.
This is how Miffy should look.
How to iron the image on the T-shirt
- Wash the new T-shirt before you iron on the Miffy and let the shirt dry thoroughly
- Only then place the black parts with the shiny side up on the shirt and cover the flock foil with baking paper
- Set the iron to cotton max. and let it get very hot before you start ironing
- Iron the image on with pressure for 15-20 seconds
- Remove the plastic layer from your image once it has completely cooled down
- Turn the shirt inside out and iron the image on the inside as well
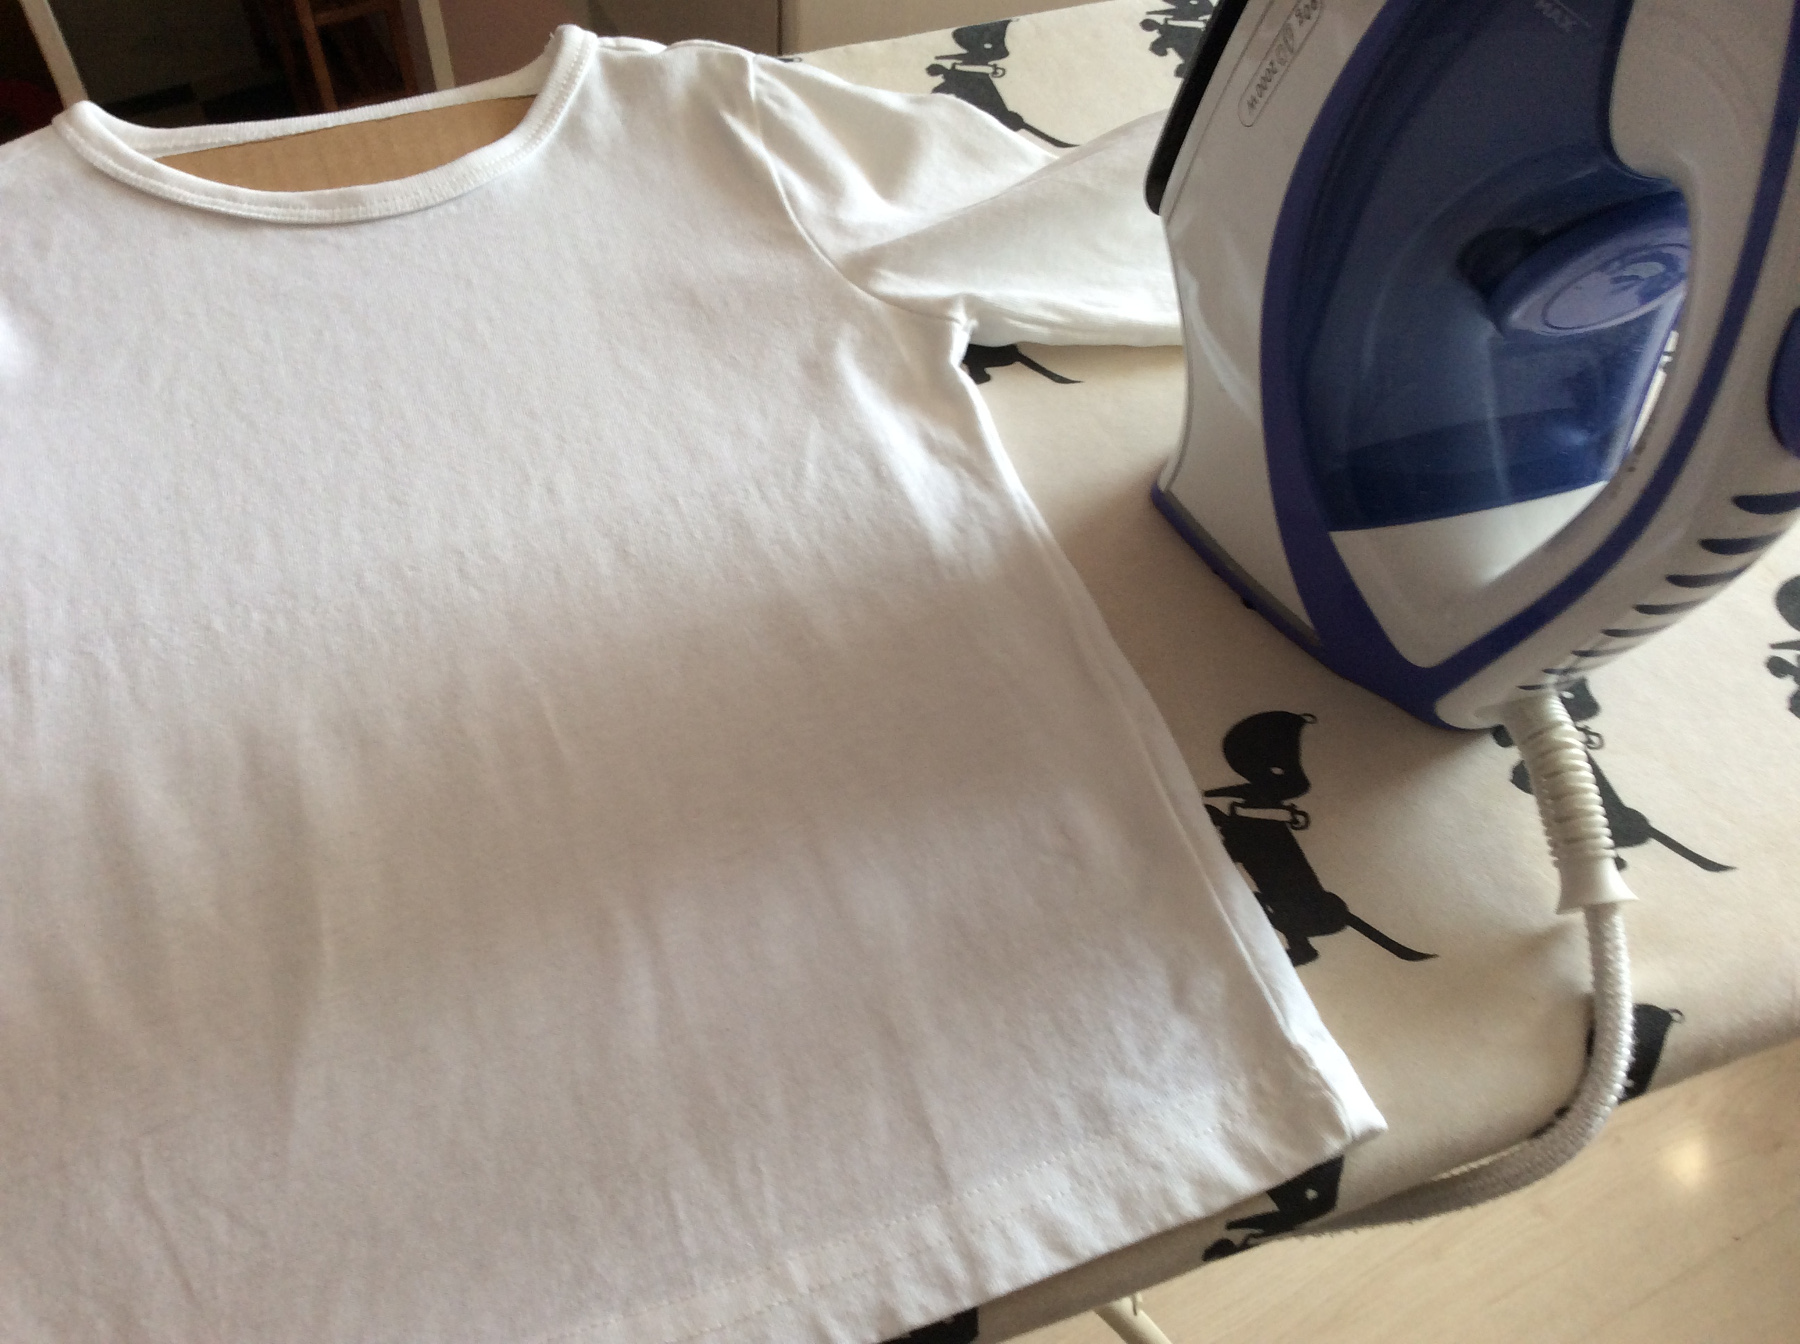
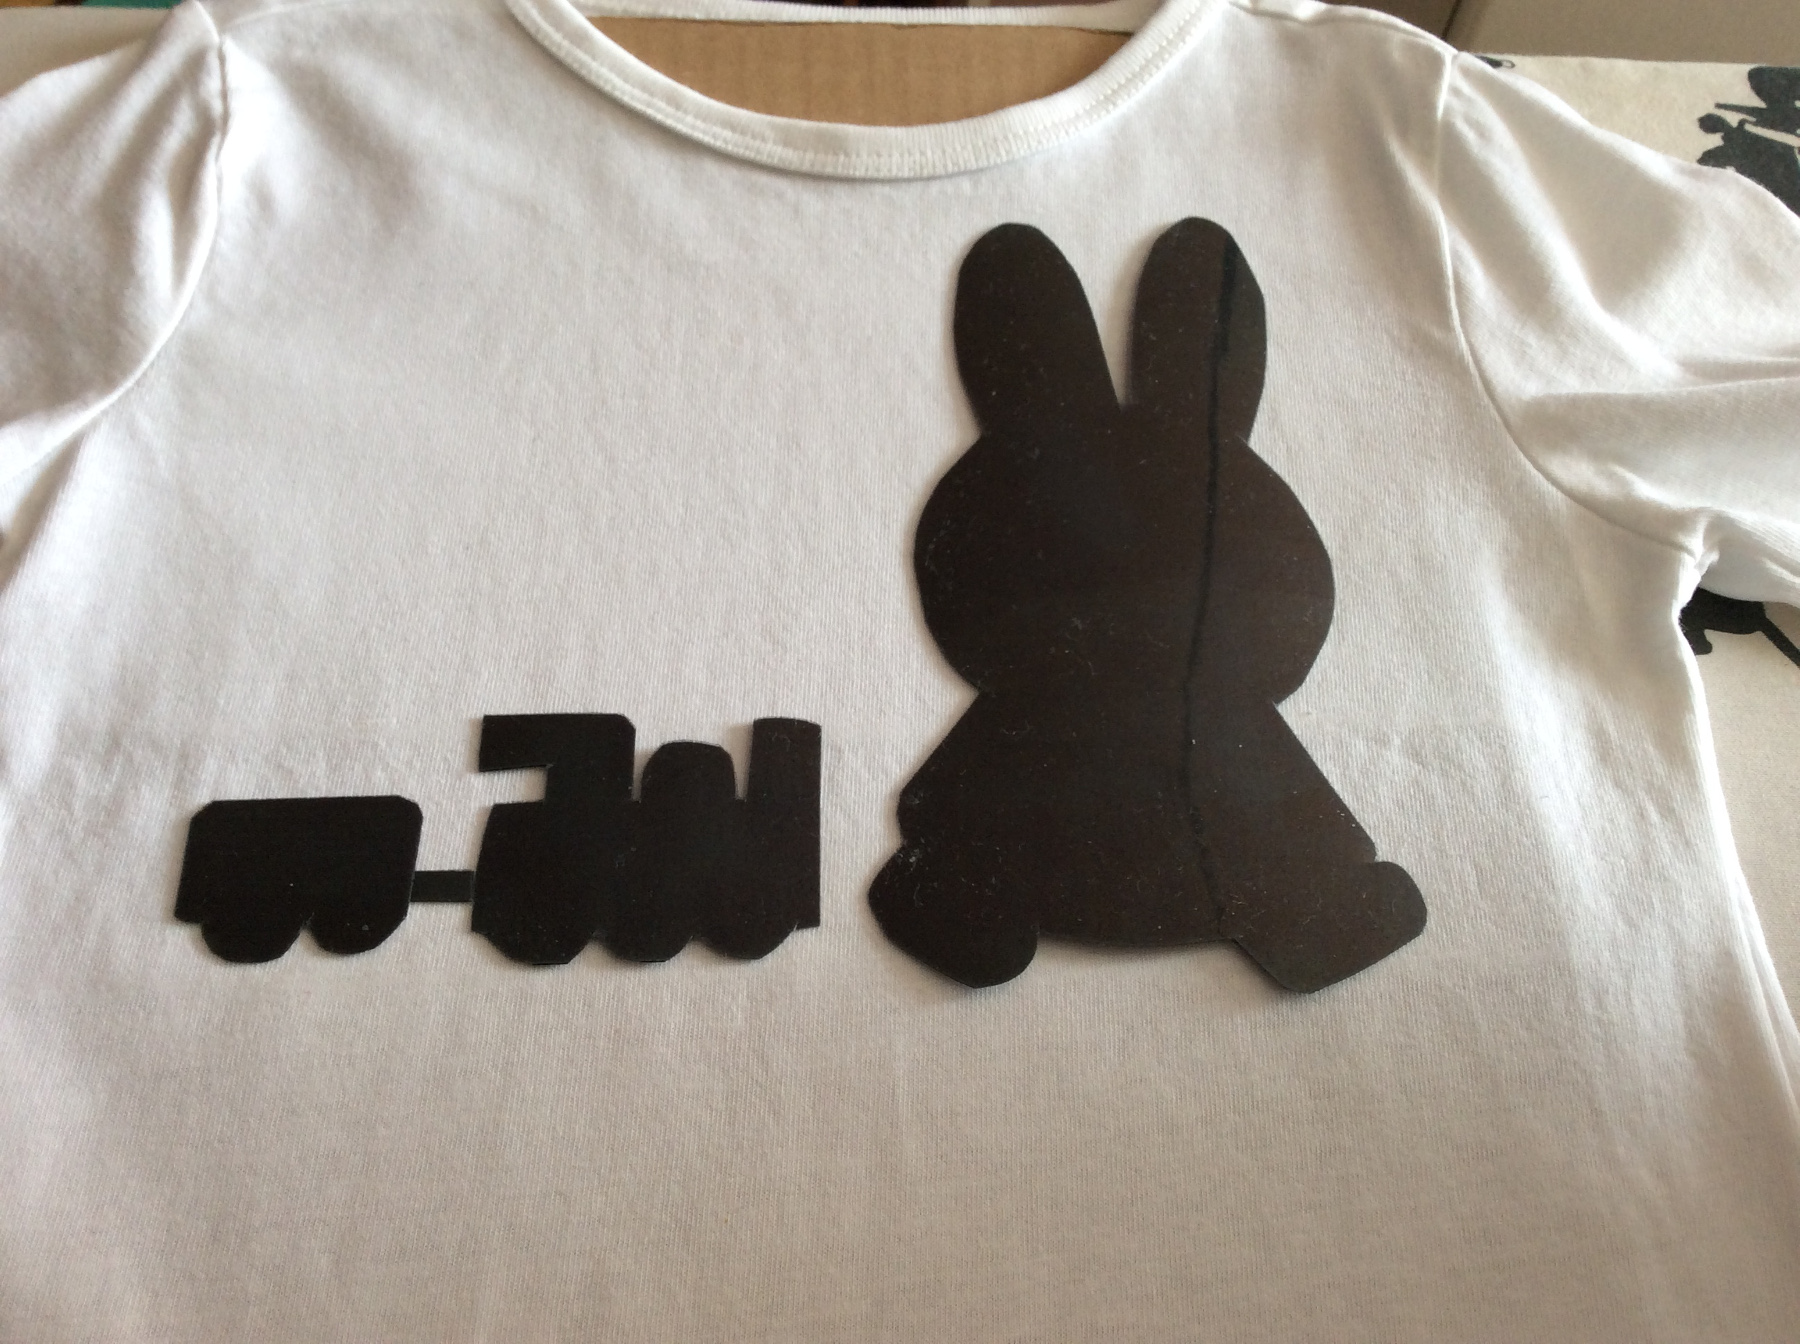
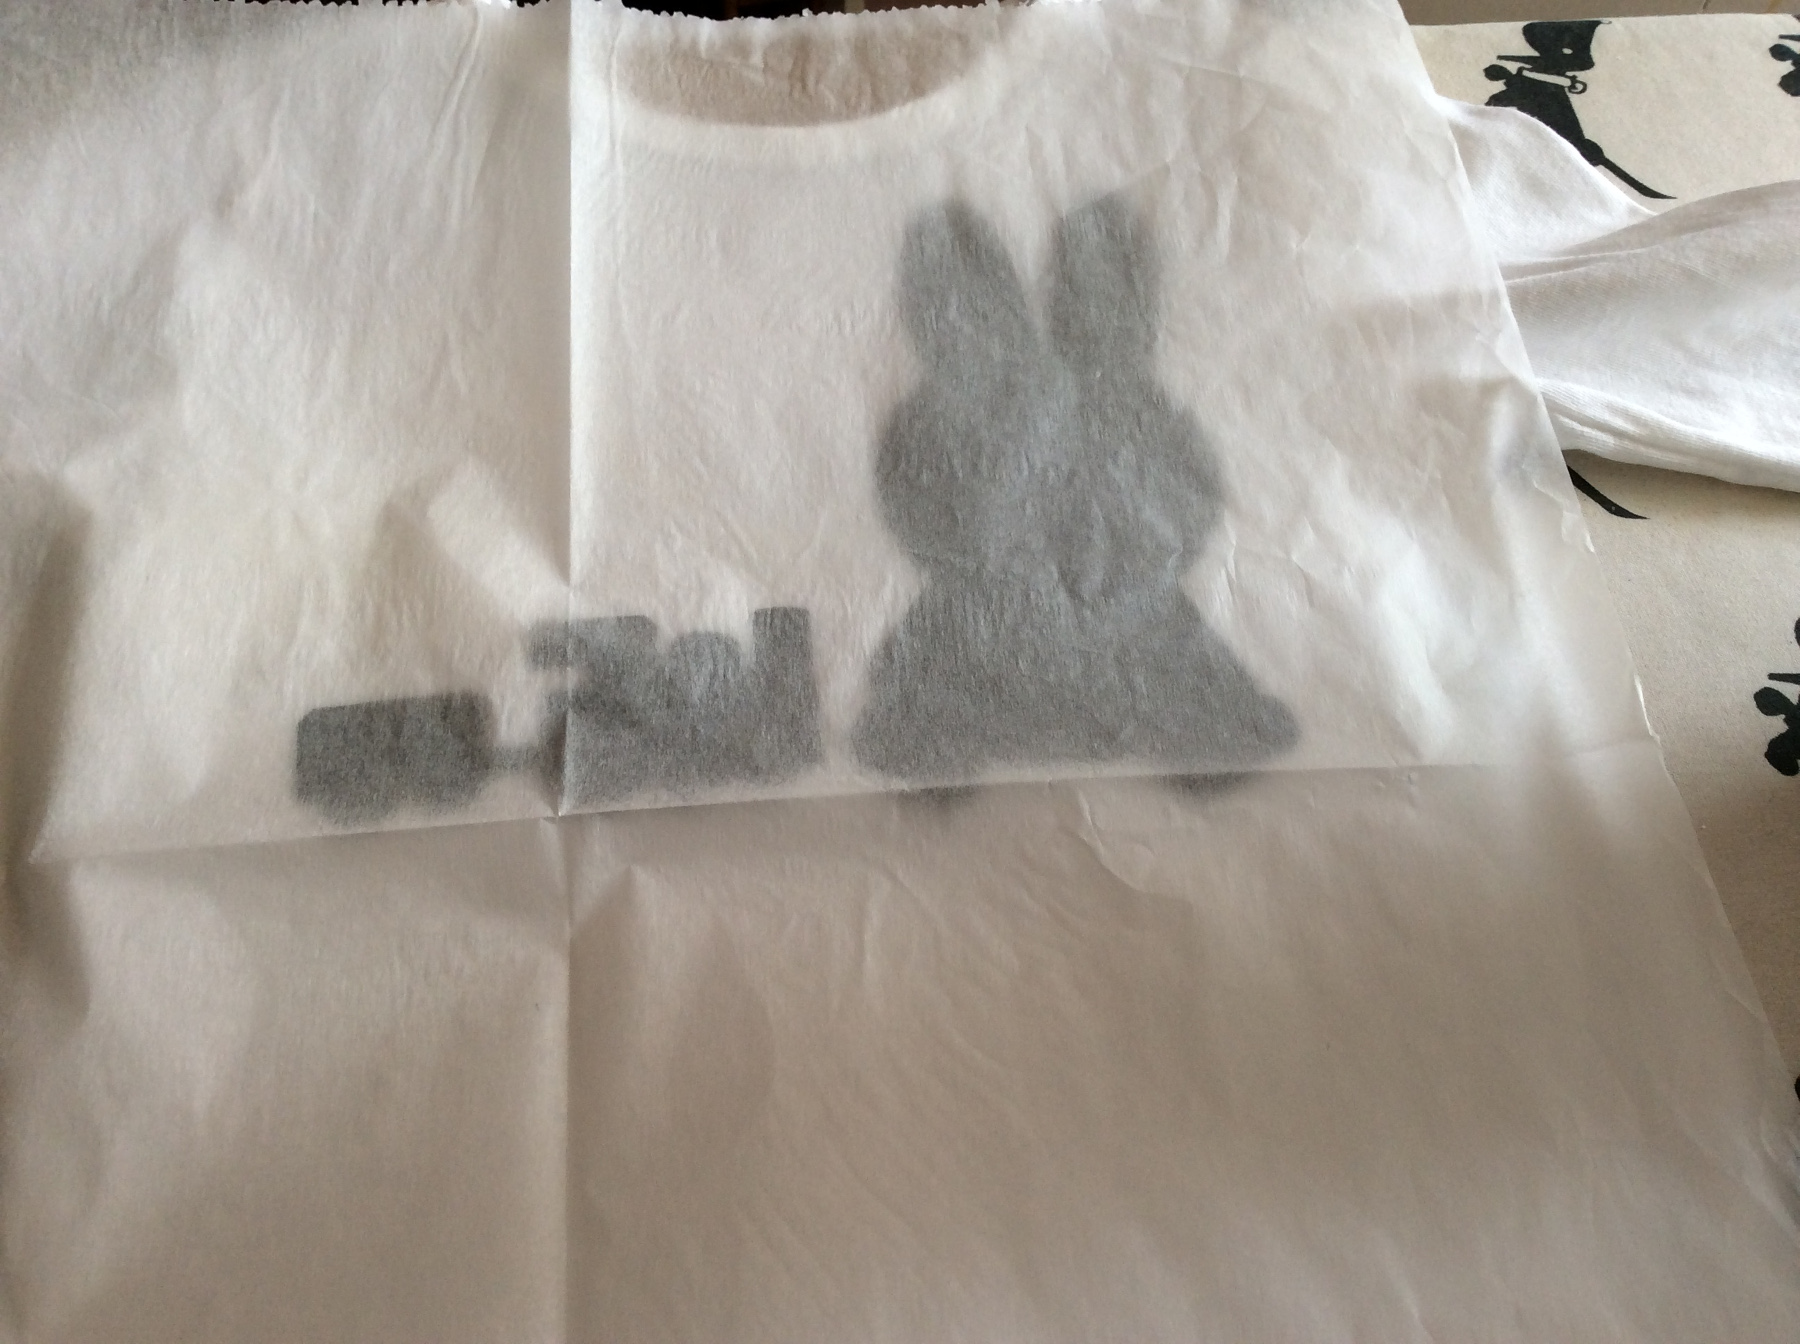
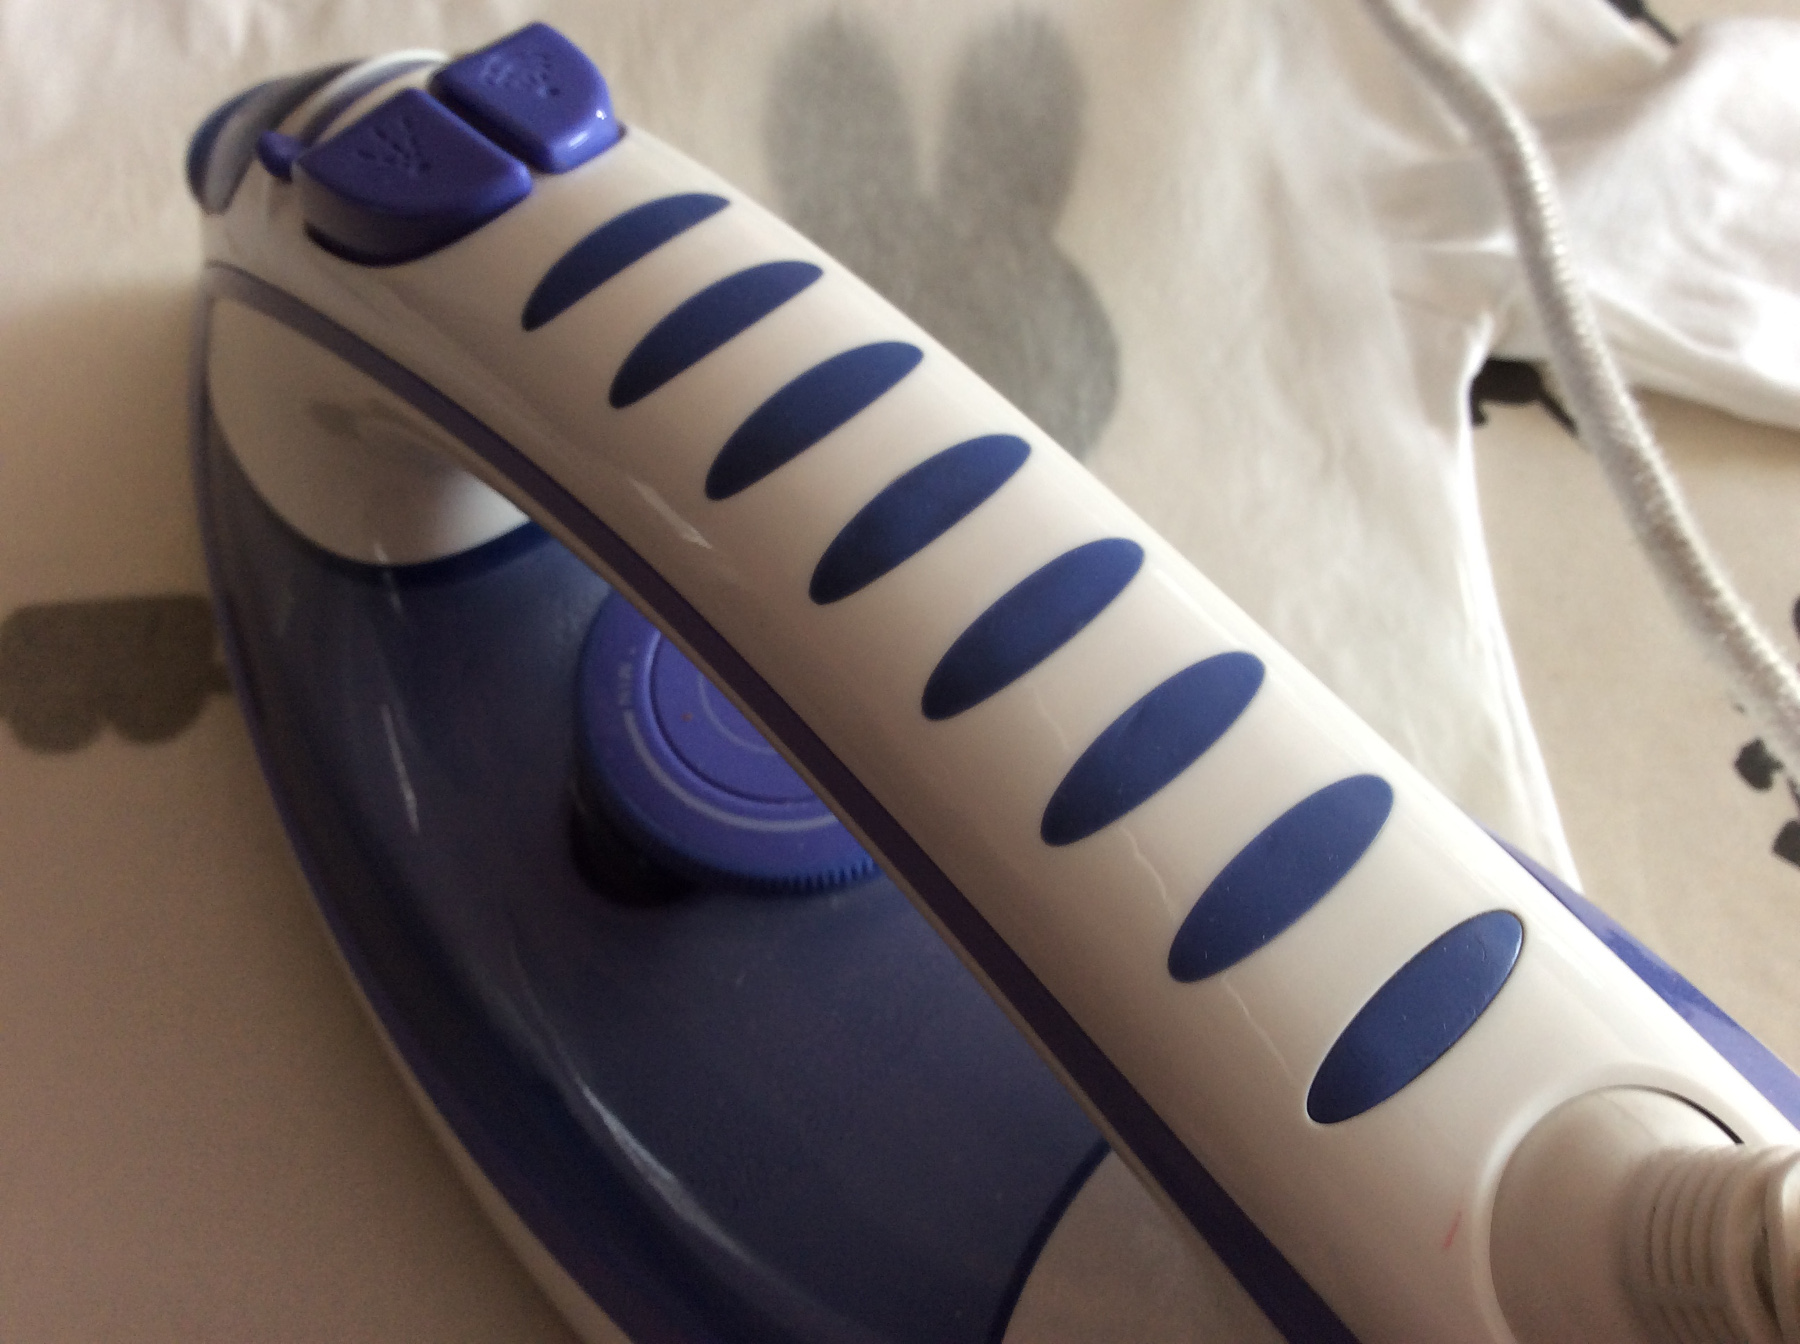
First you iron the T-shirt.
Place the loose parts precisely.
Cover the foil with baking paper.
Iron the foil neatly in place witht pressure..
How to iron the coloured parts on
- Place the coloured parts very precisely on the black image
- make sure you do not shift the loose parts while ironing
- This is achieved by moving the iron and not shifting it
- Apply firm pressure to the edges of the image while ironing
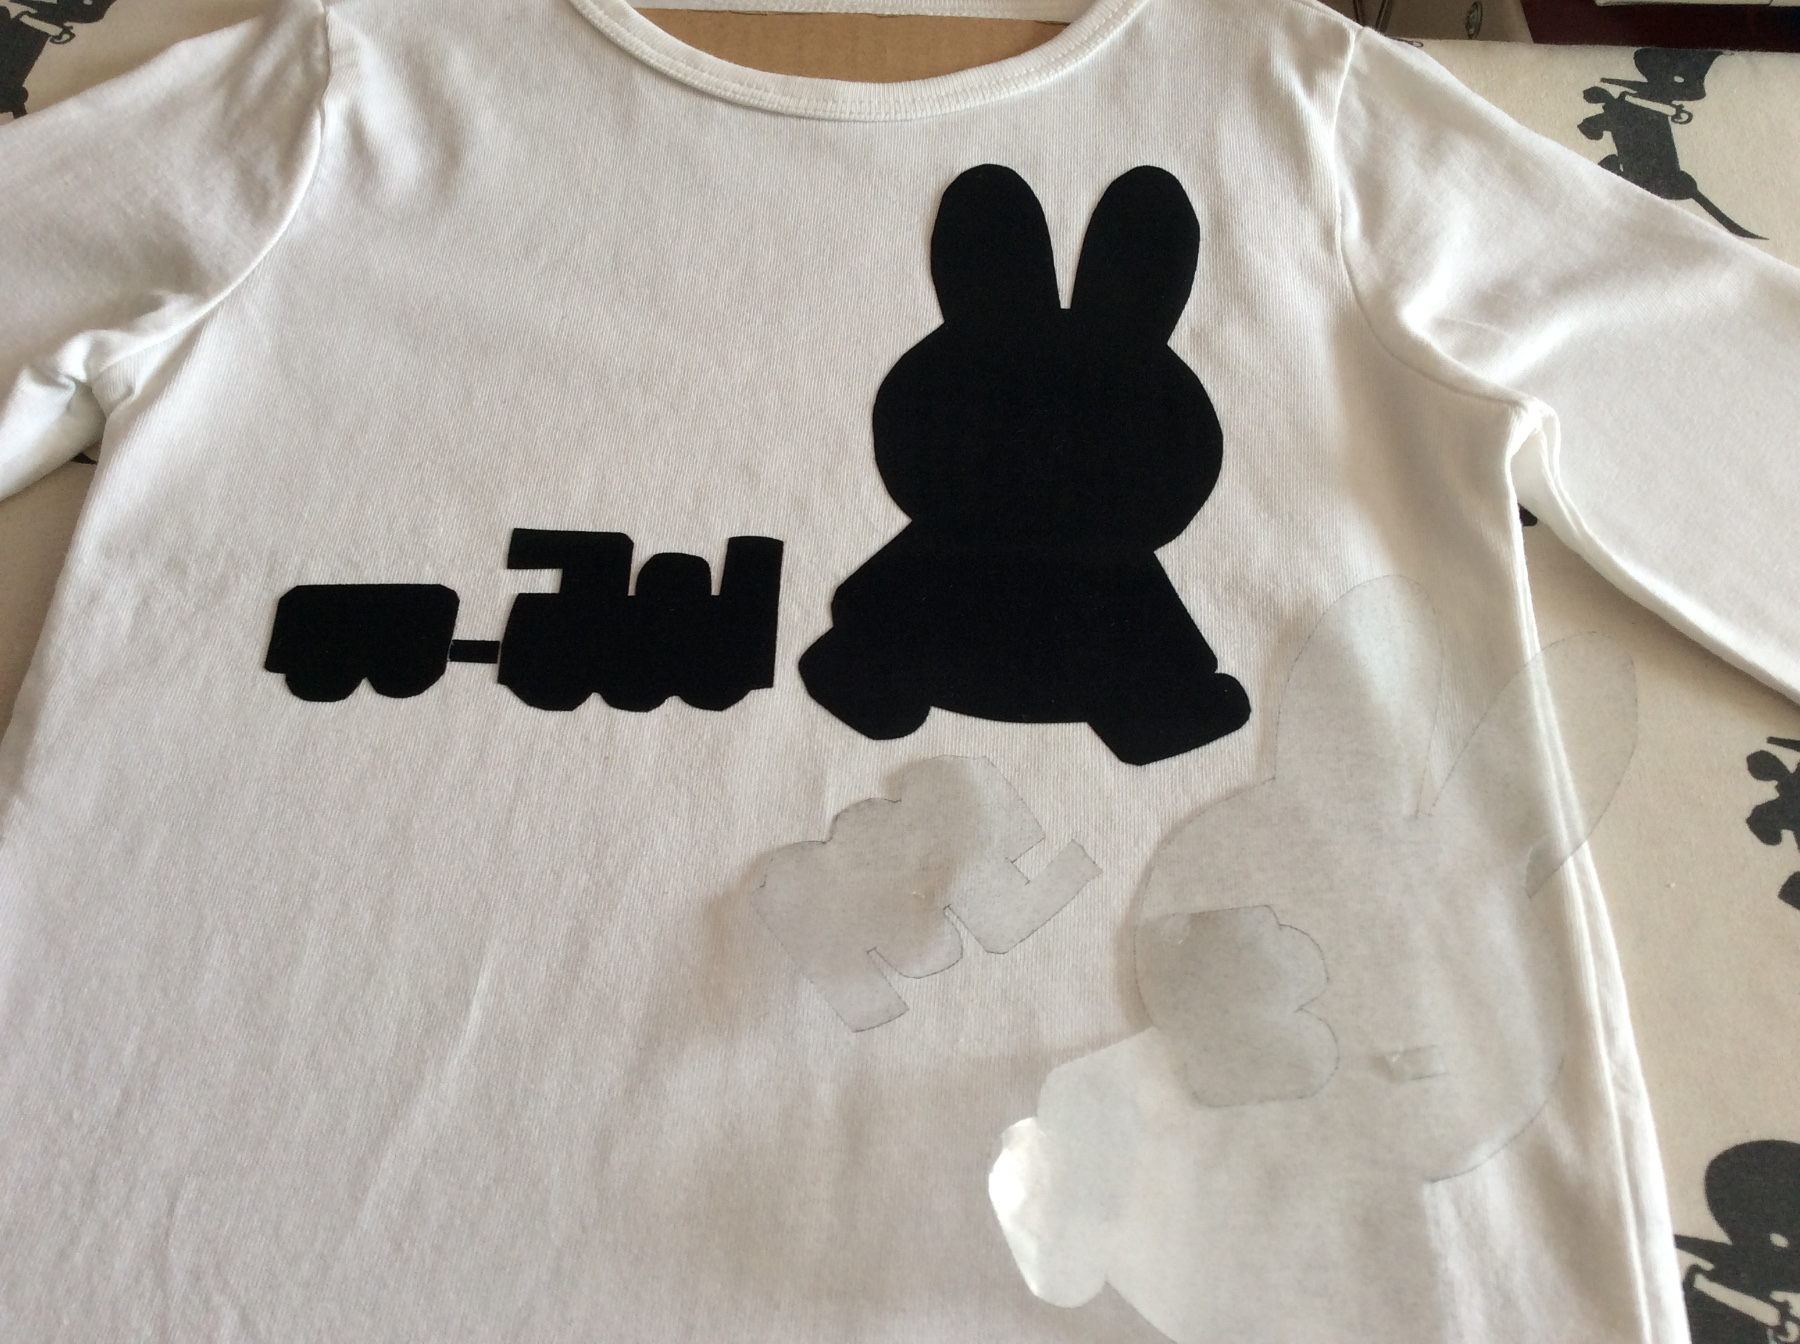
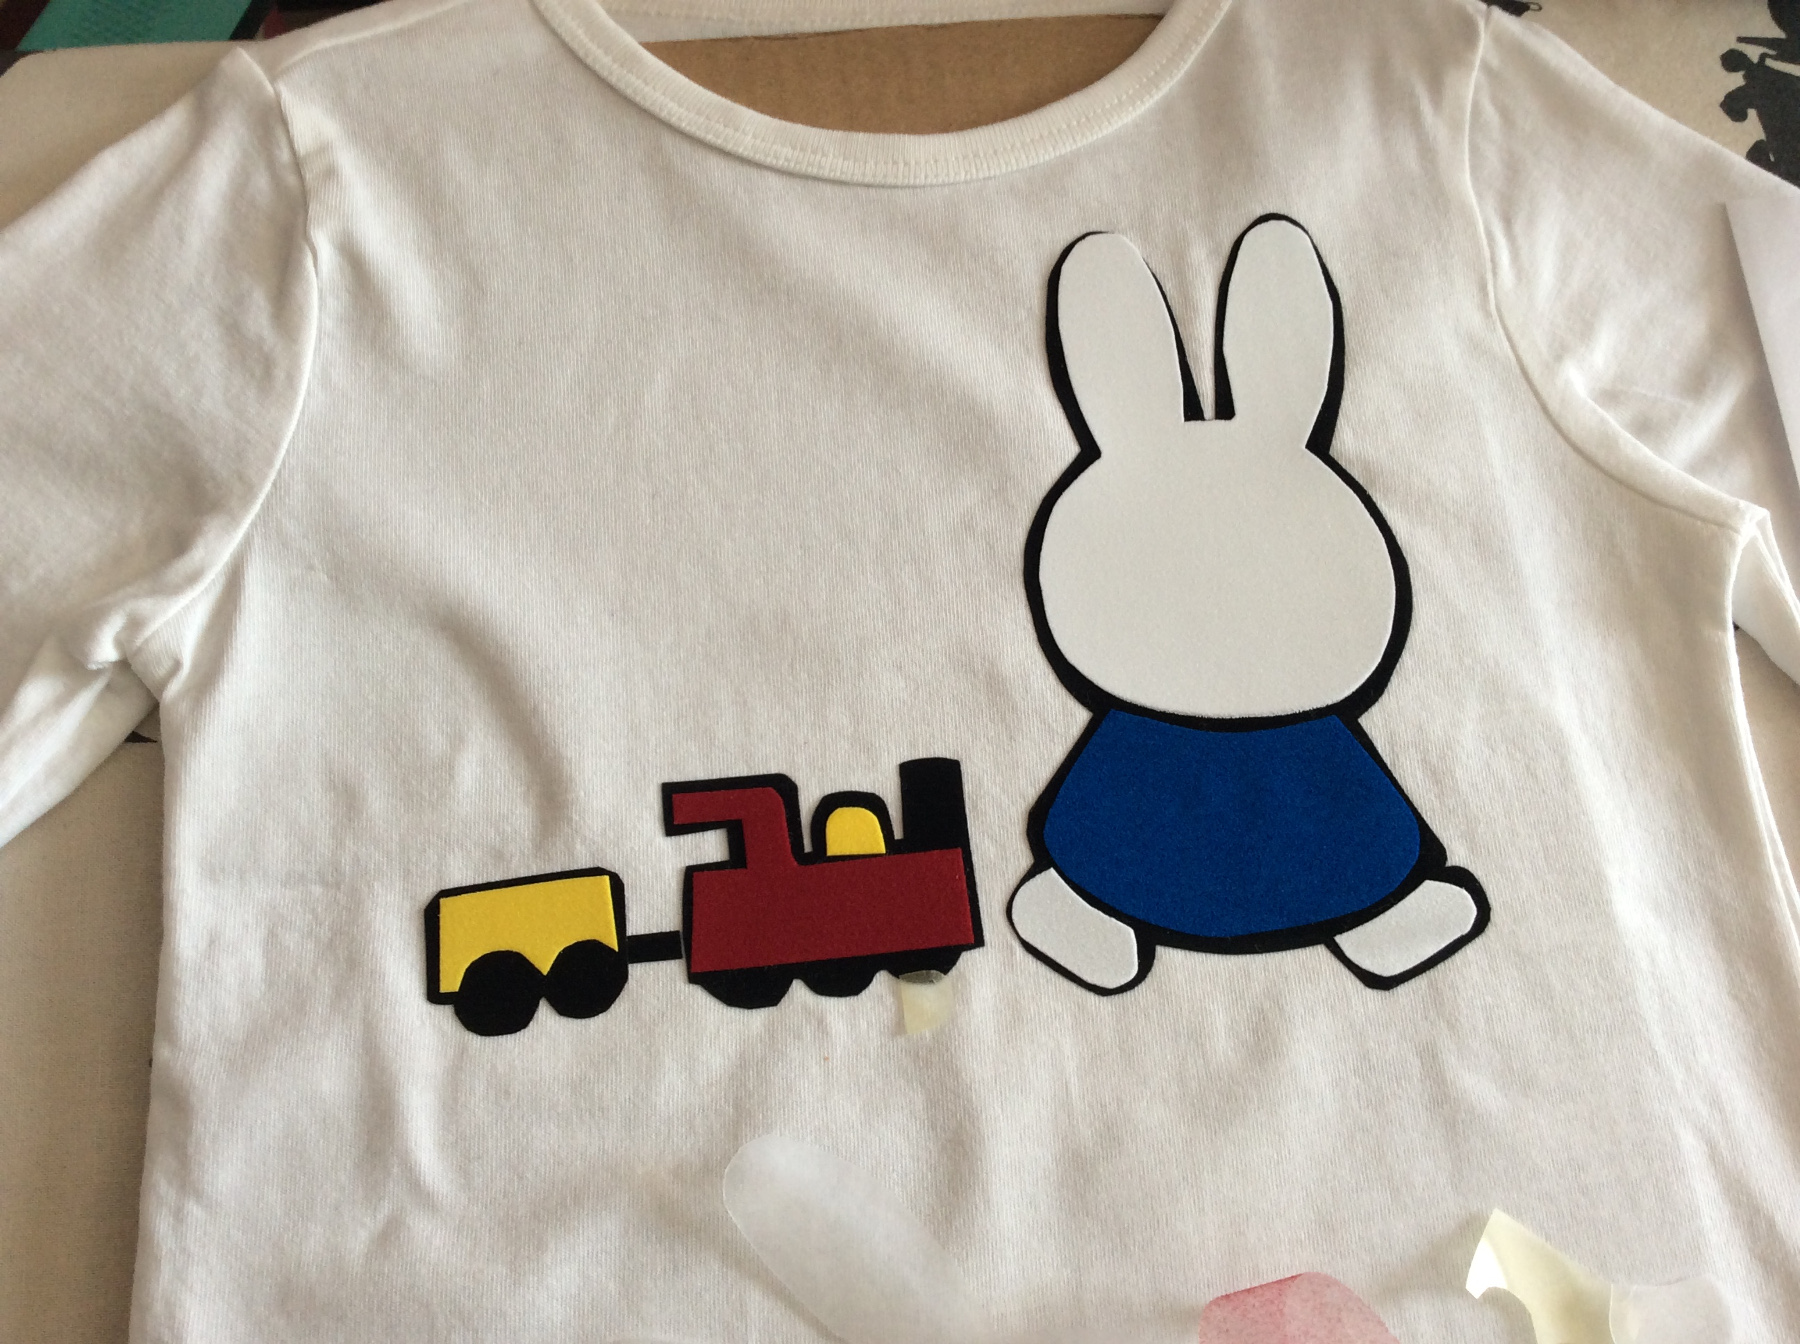
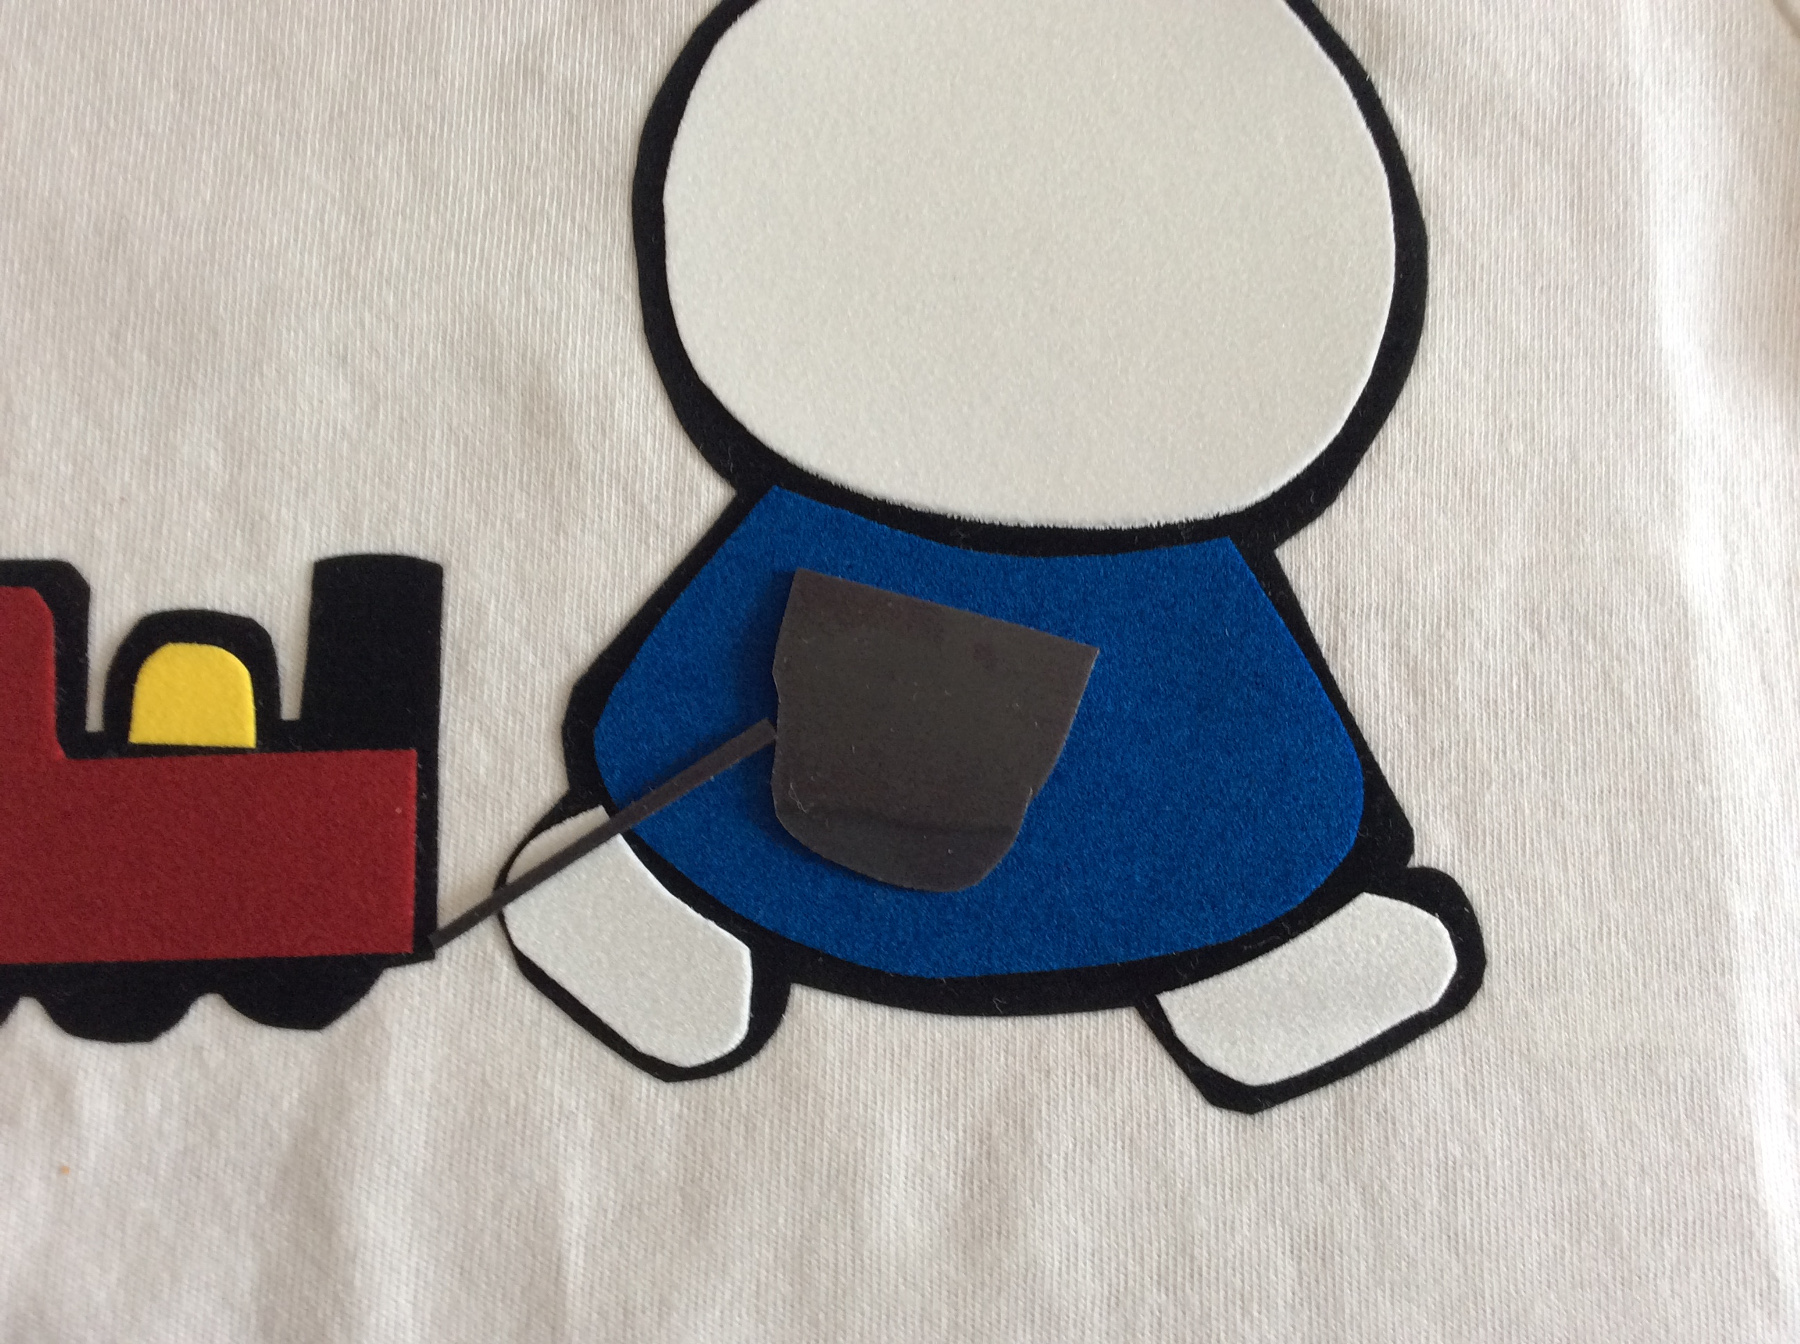
Let the black cool completely then gently remove the plastic.
Arrange the coloured parts on the black, follow the instructions above.
Now iron the arm and the string on, first in black then the blue with the white hand.
Let the image cool down completely again and only then carefully peel off the plastic layer.
If you follow the instructions above exactly and work neatly and precisely, nothing can go wrong and the shirt will turn out very beautiful
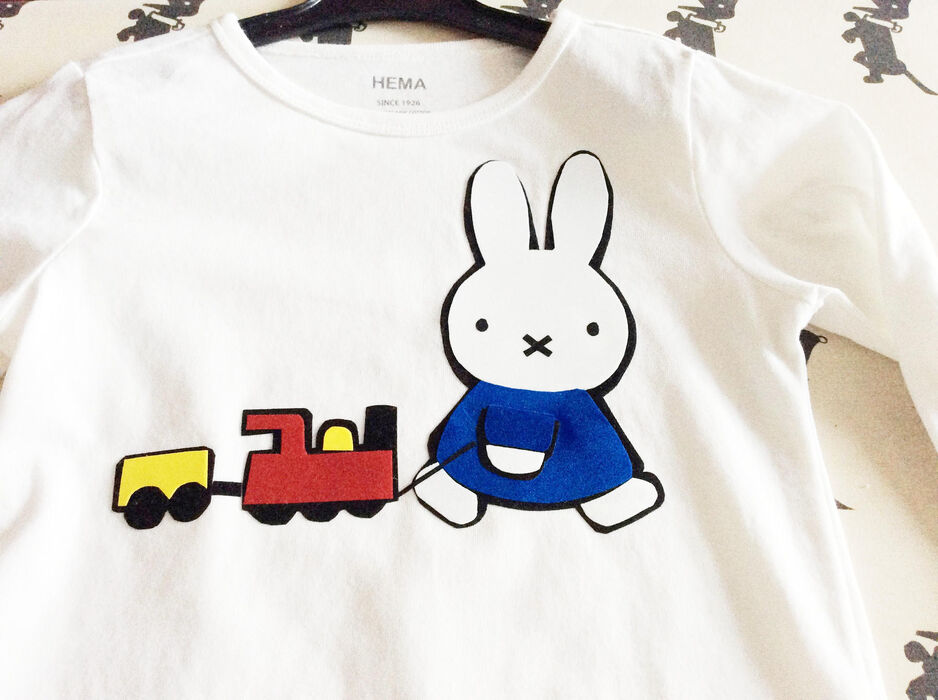
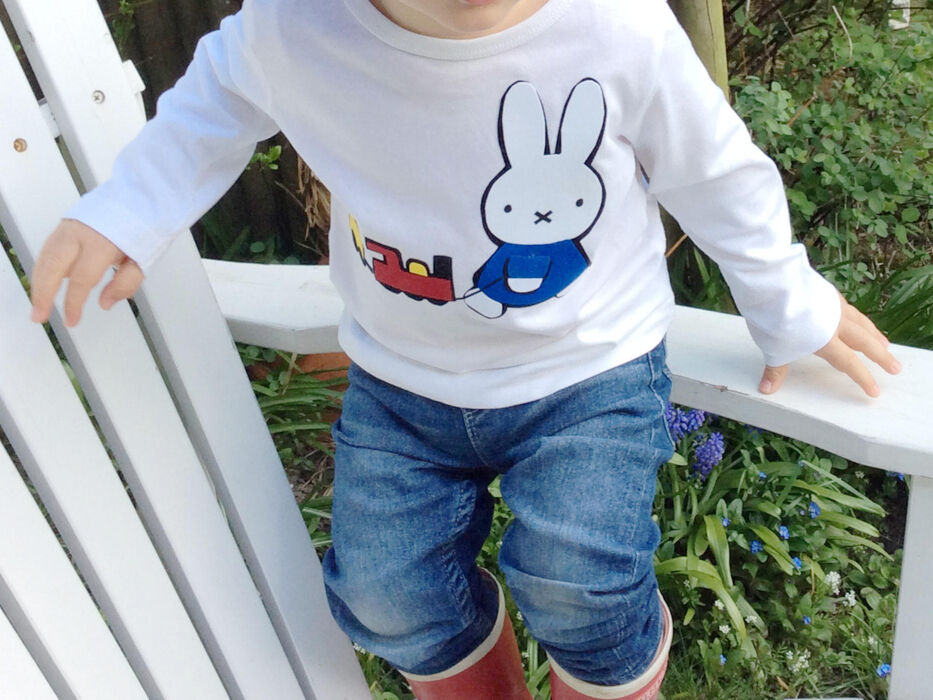
Finally iron a black cross nose and two little black eyes on Miffy's face.
Puk is very happy with his new Miffy T-shirt!
Just a quick washing tip:
Wash the T-shirt inside out and, if necessary, iron it also on the inside, then the image will stay looking good for much longer!