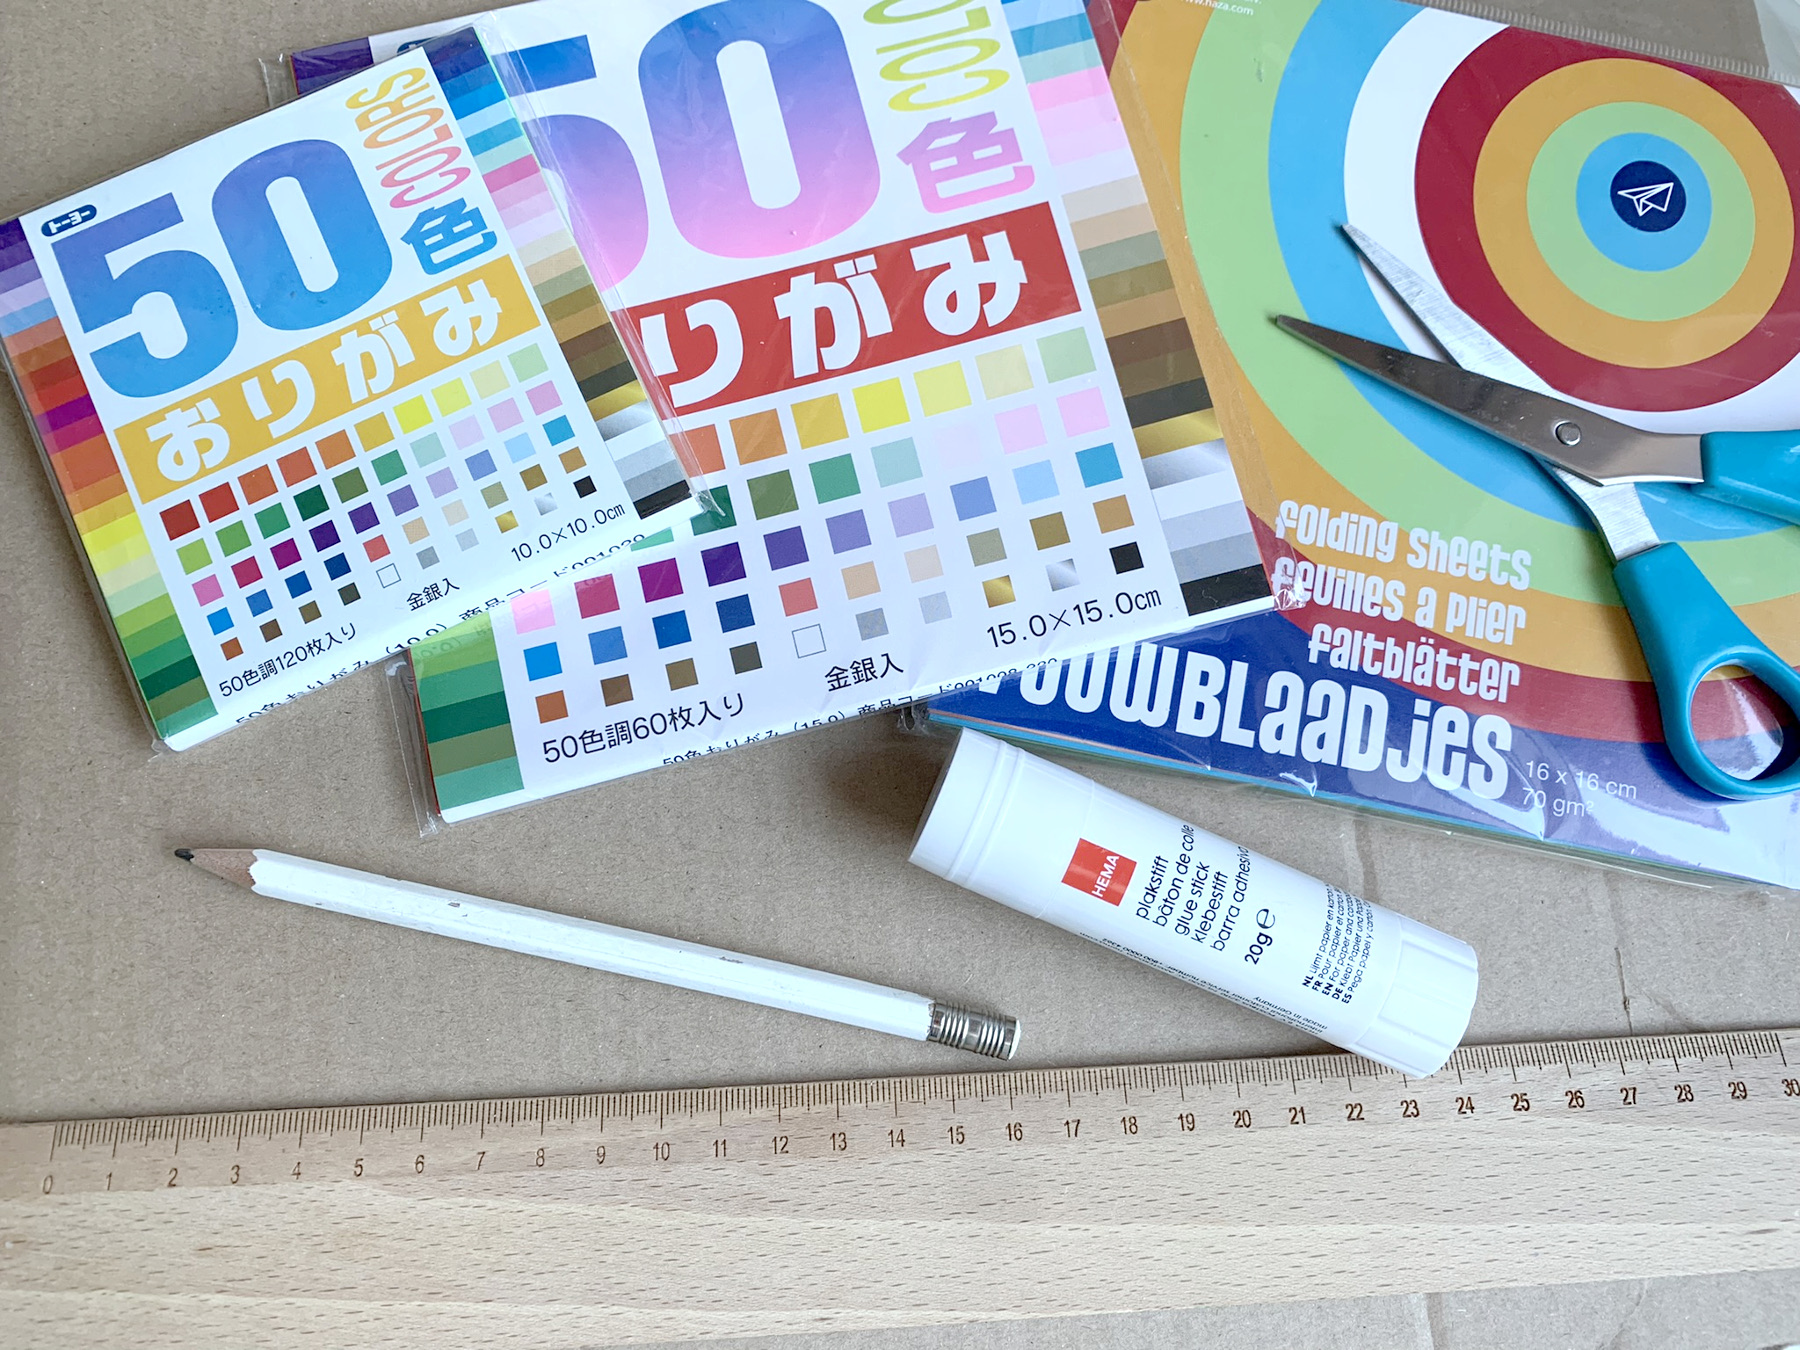
What do you need?
any coloured square of paper is fine!
1 sheet of green and 1 black
pencil and ruler
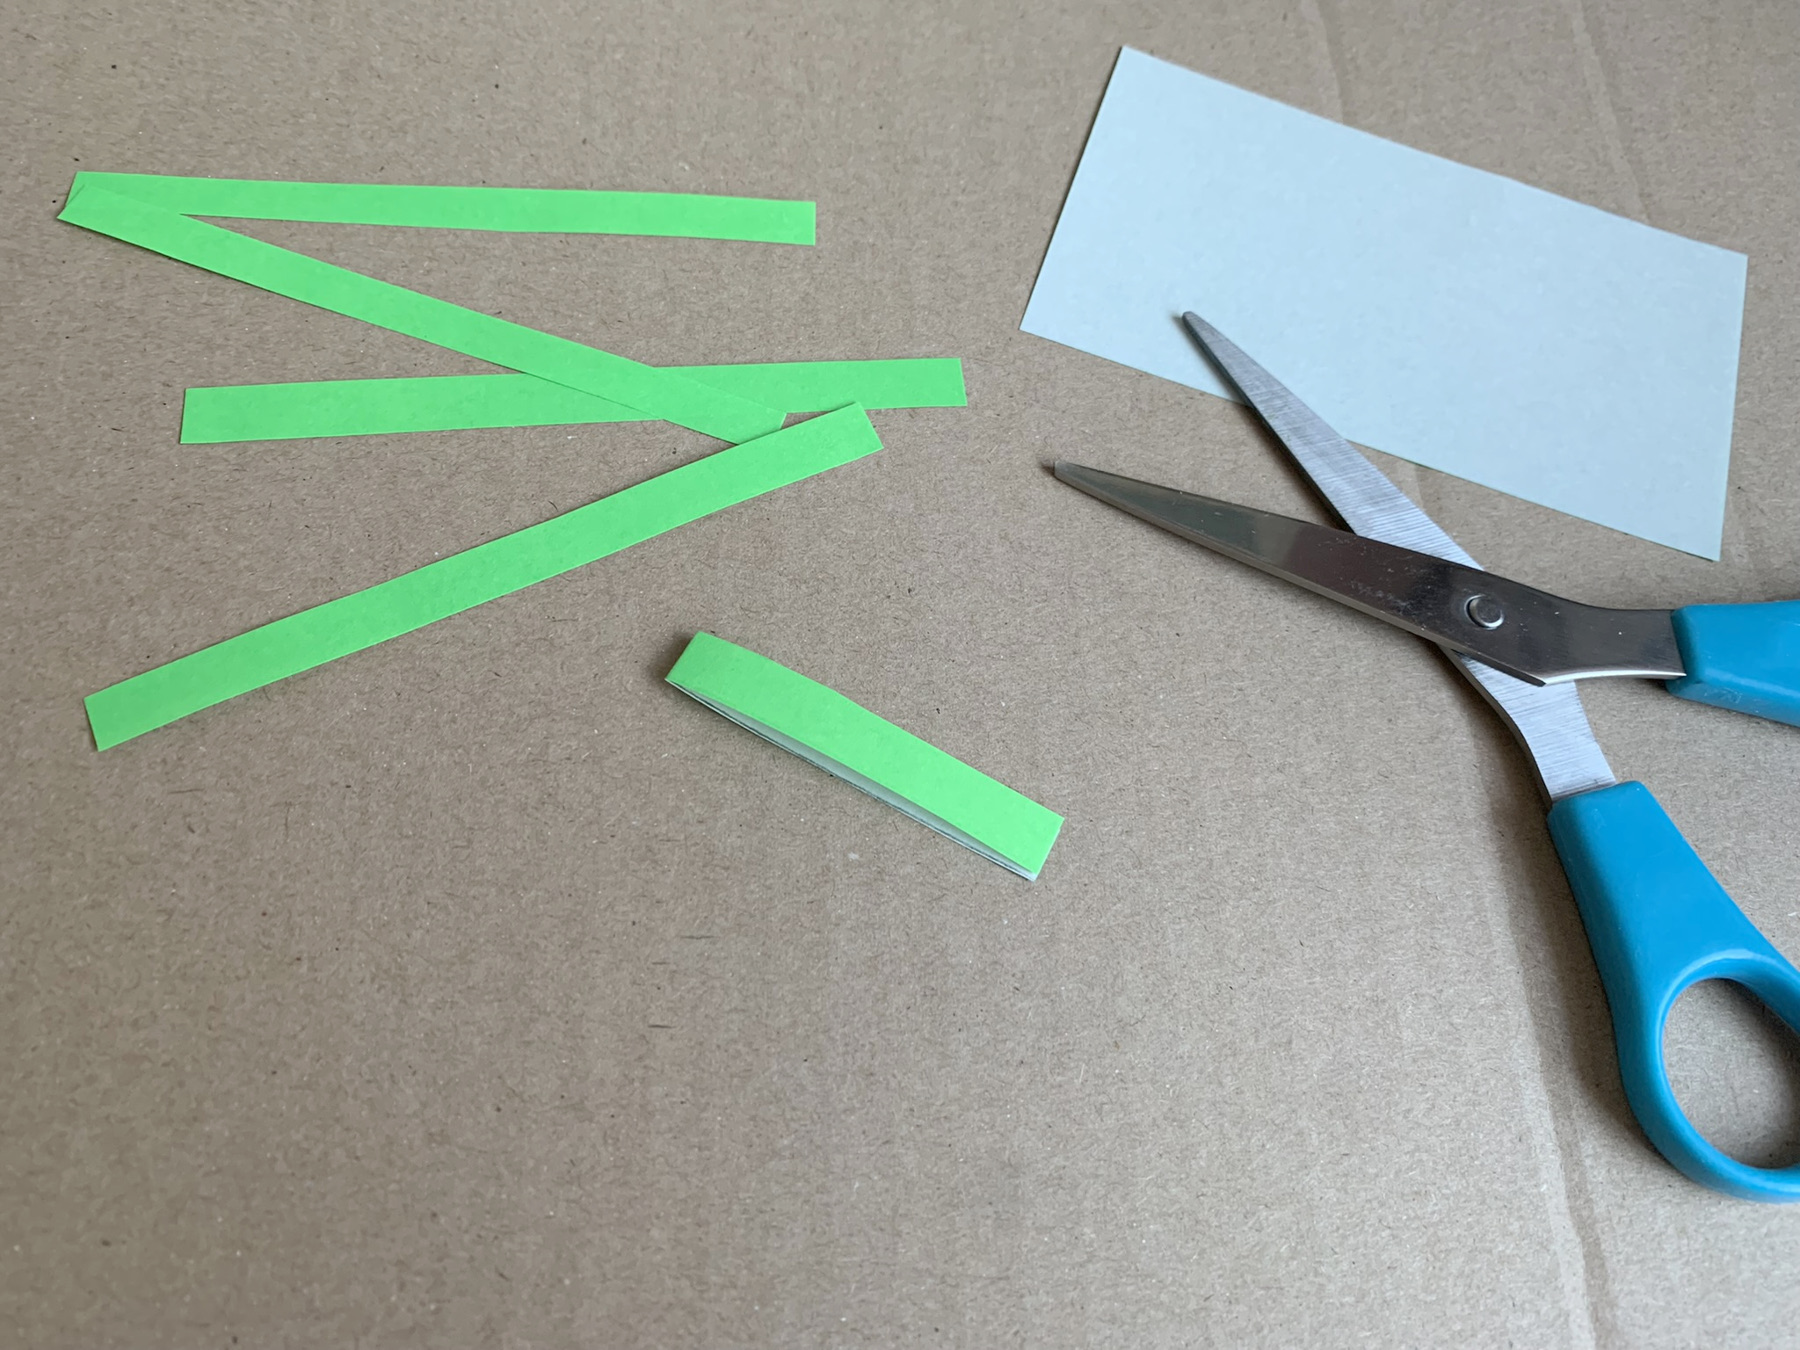
scissors
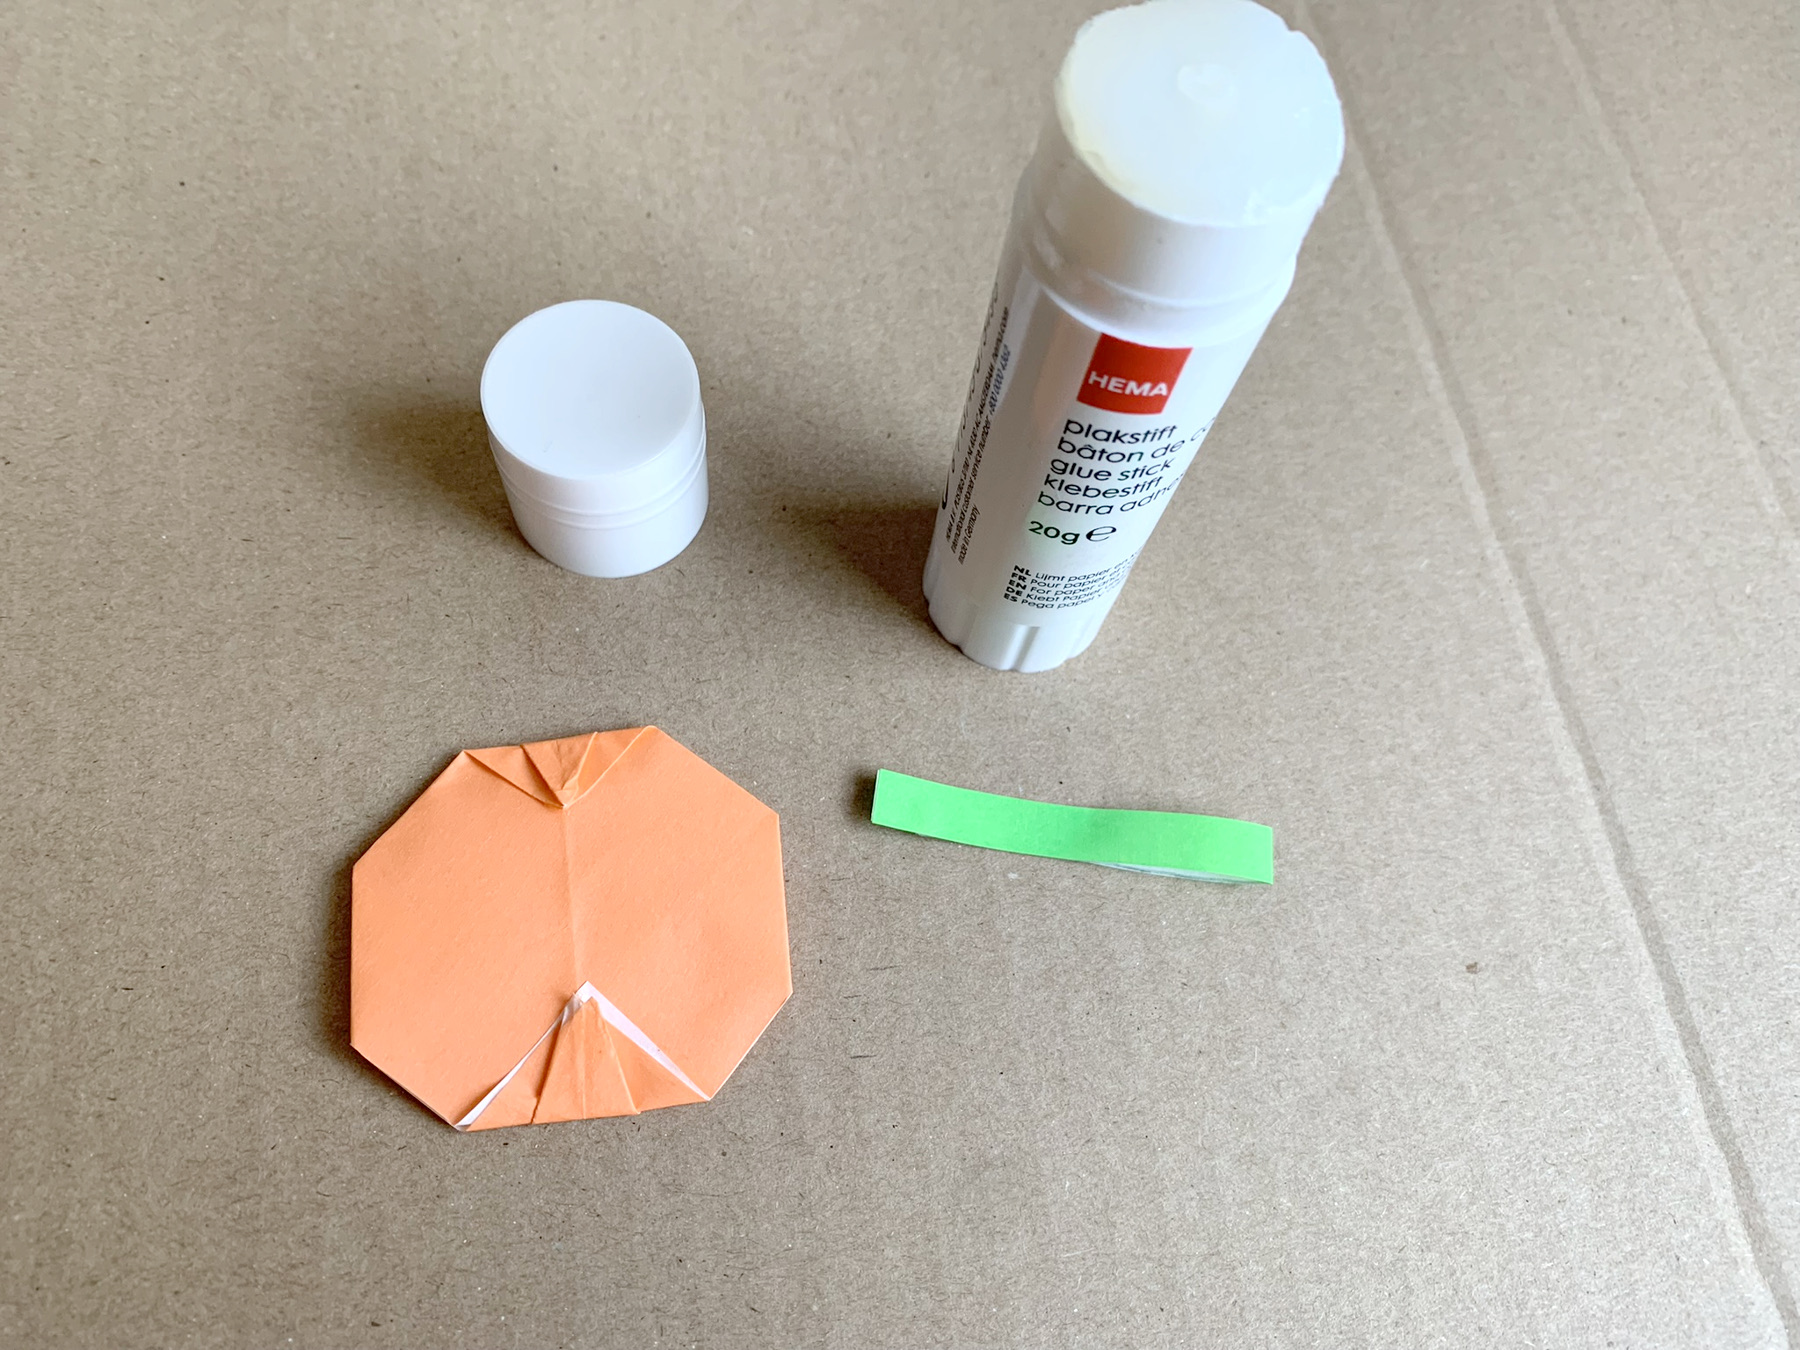
a glue stick
string or thin rope
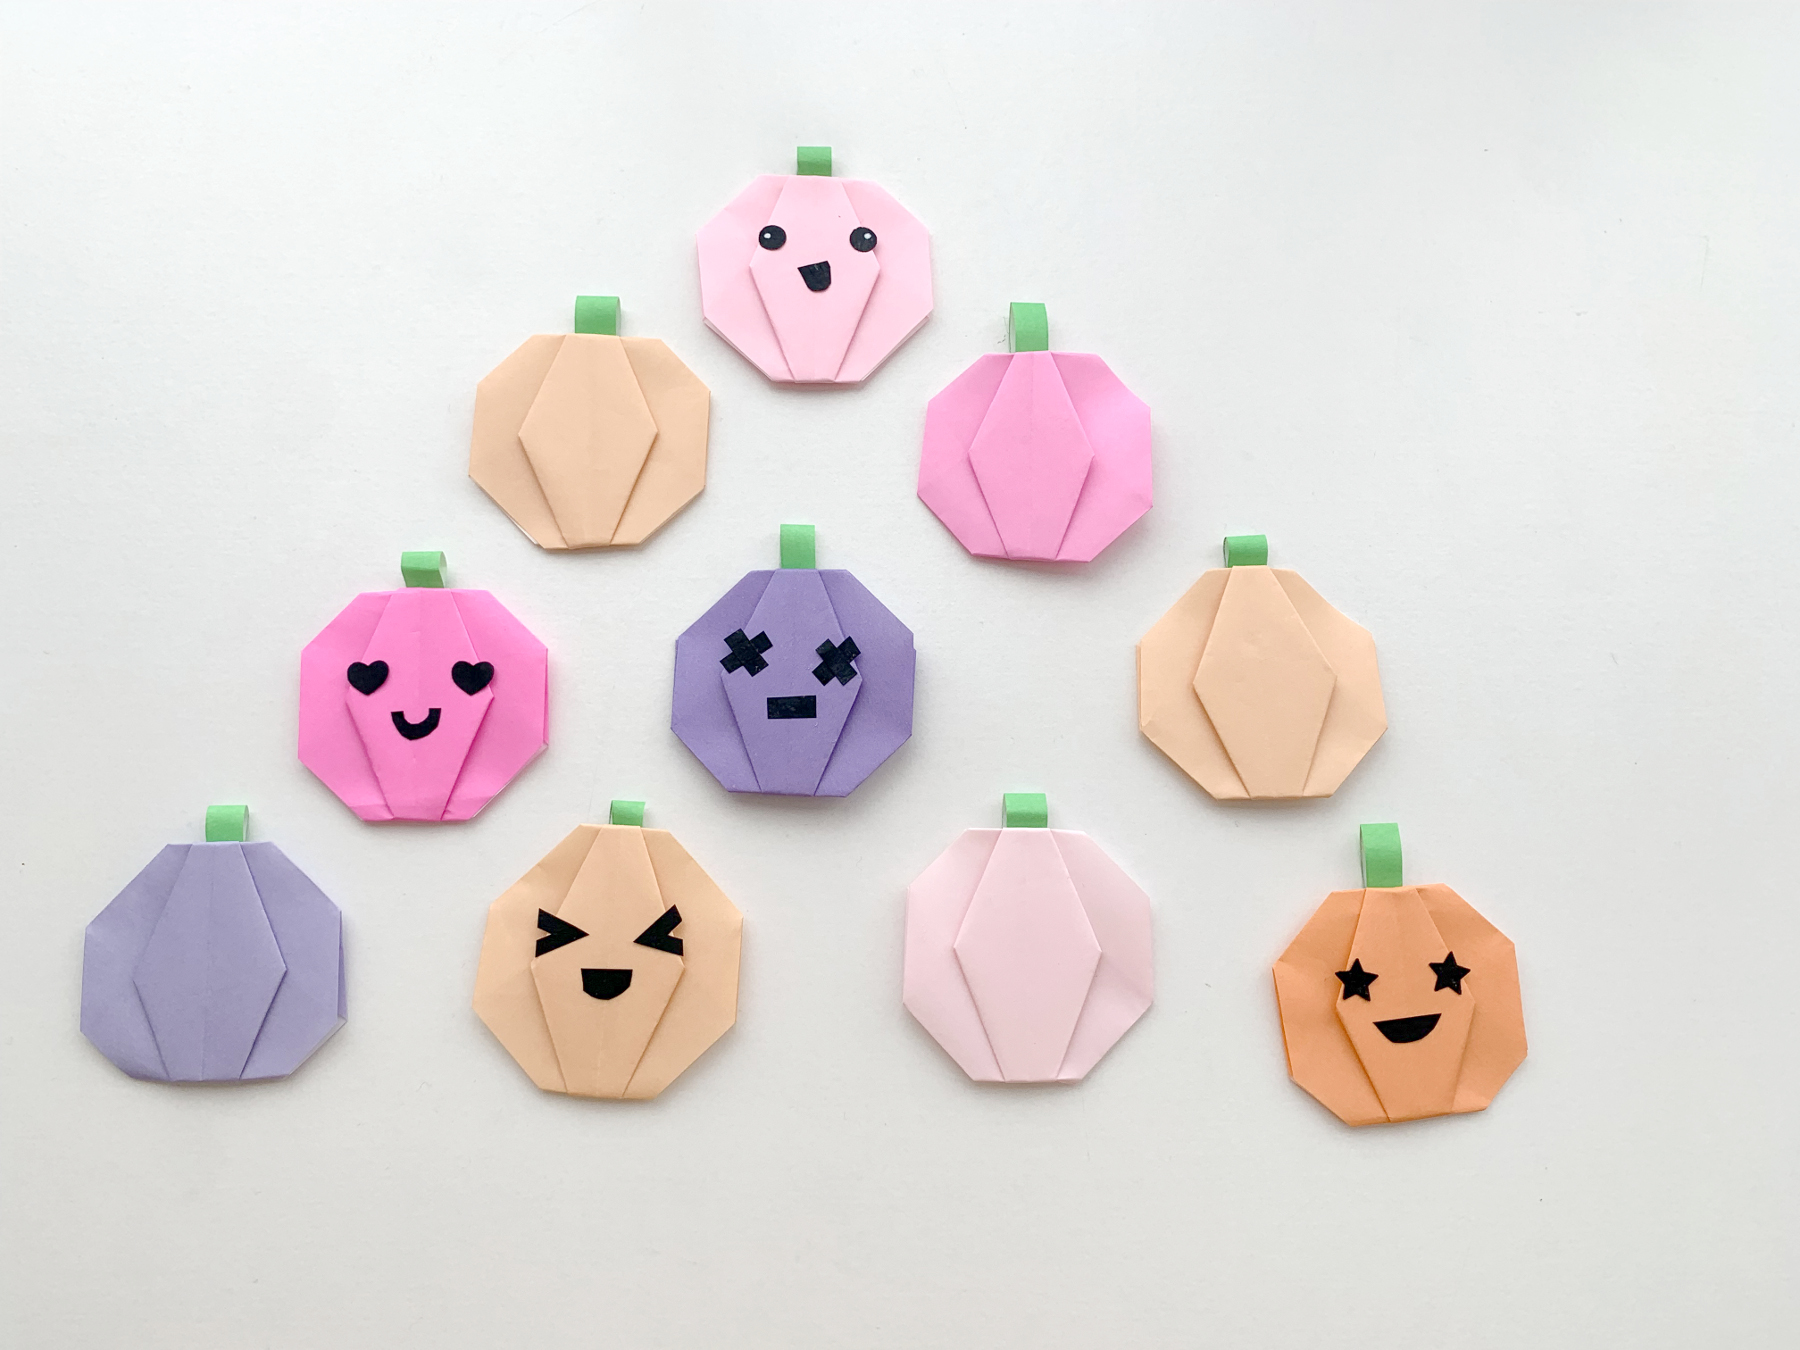
These cute origami pumpkins we made with this youtube video. They are very easy to fold because it is very clearly explained how to do it. We make them in miniature, with origami folding leaves of 10x10cm. Our leaves are colored on 1 side so then you start with the white side up. So fold along with our pictures or with the youtube video.
Here is how we made the pumpkins
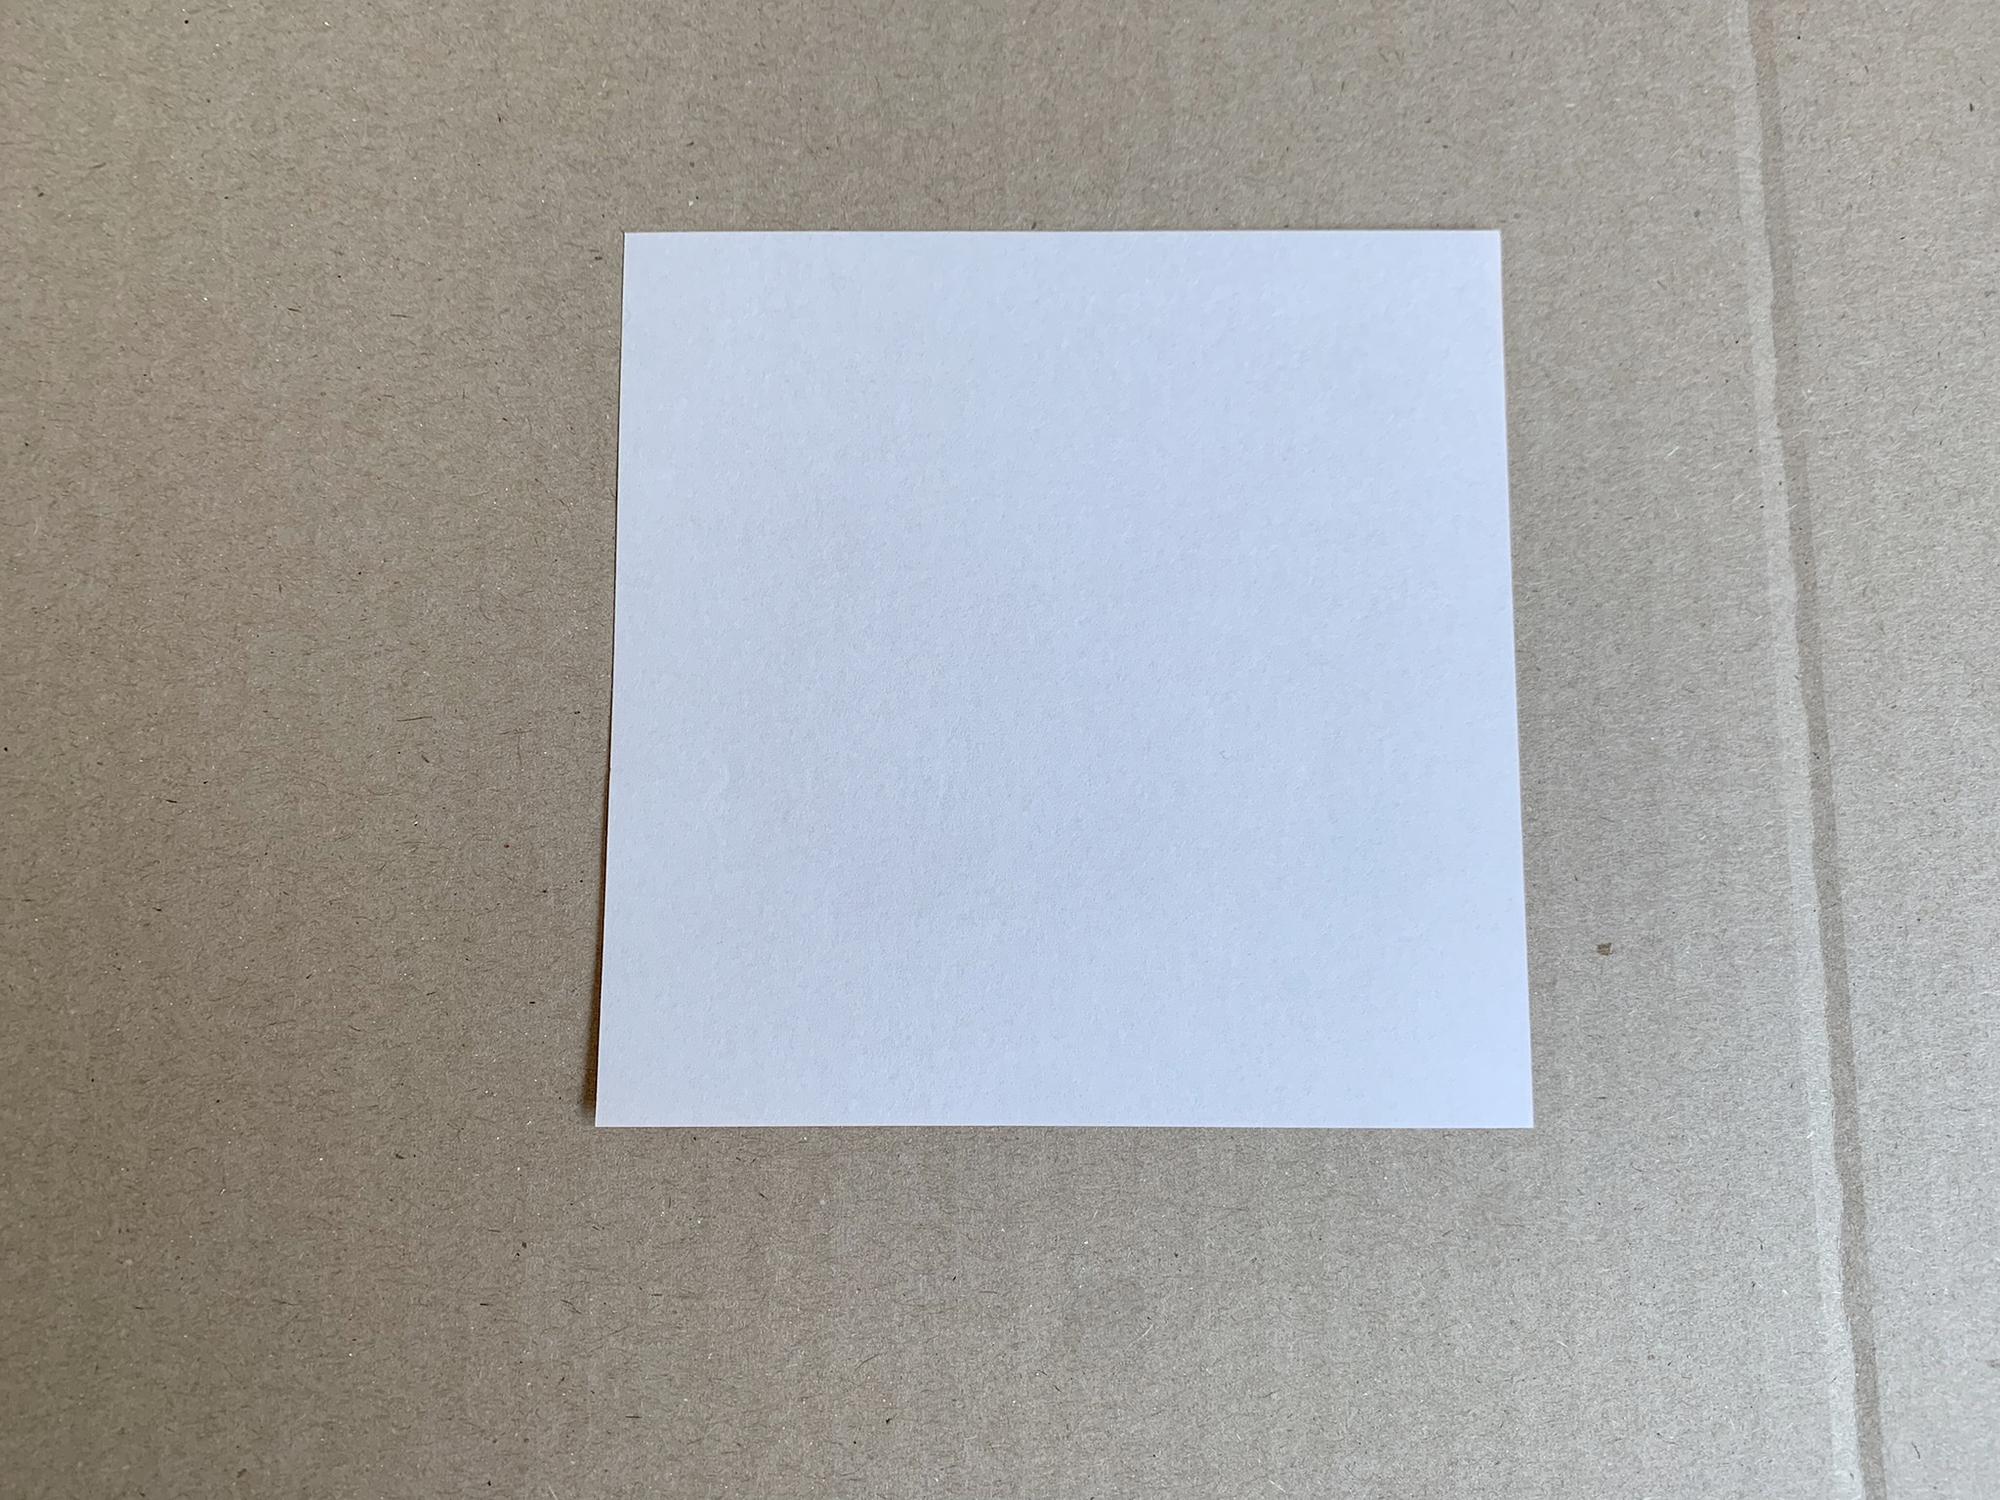
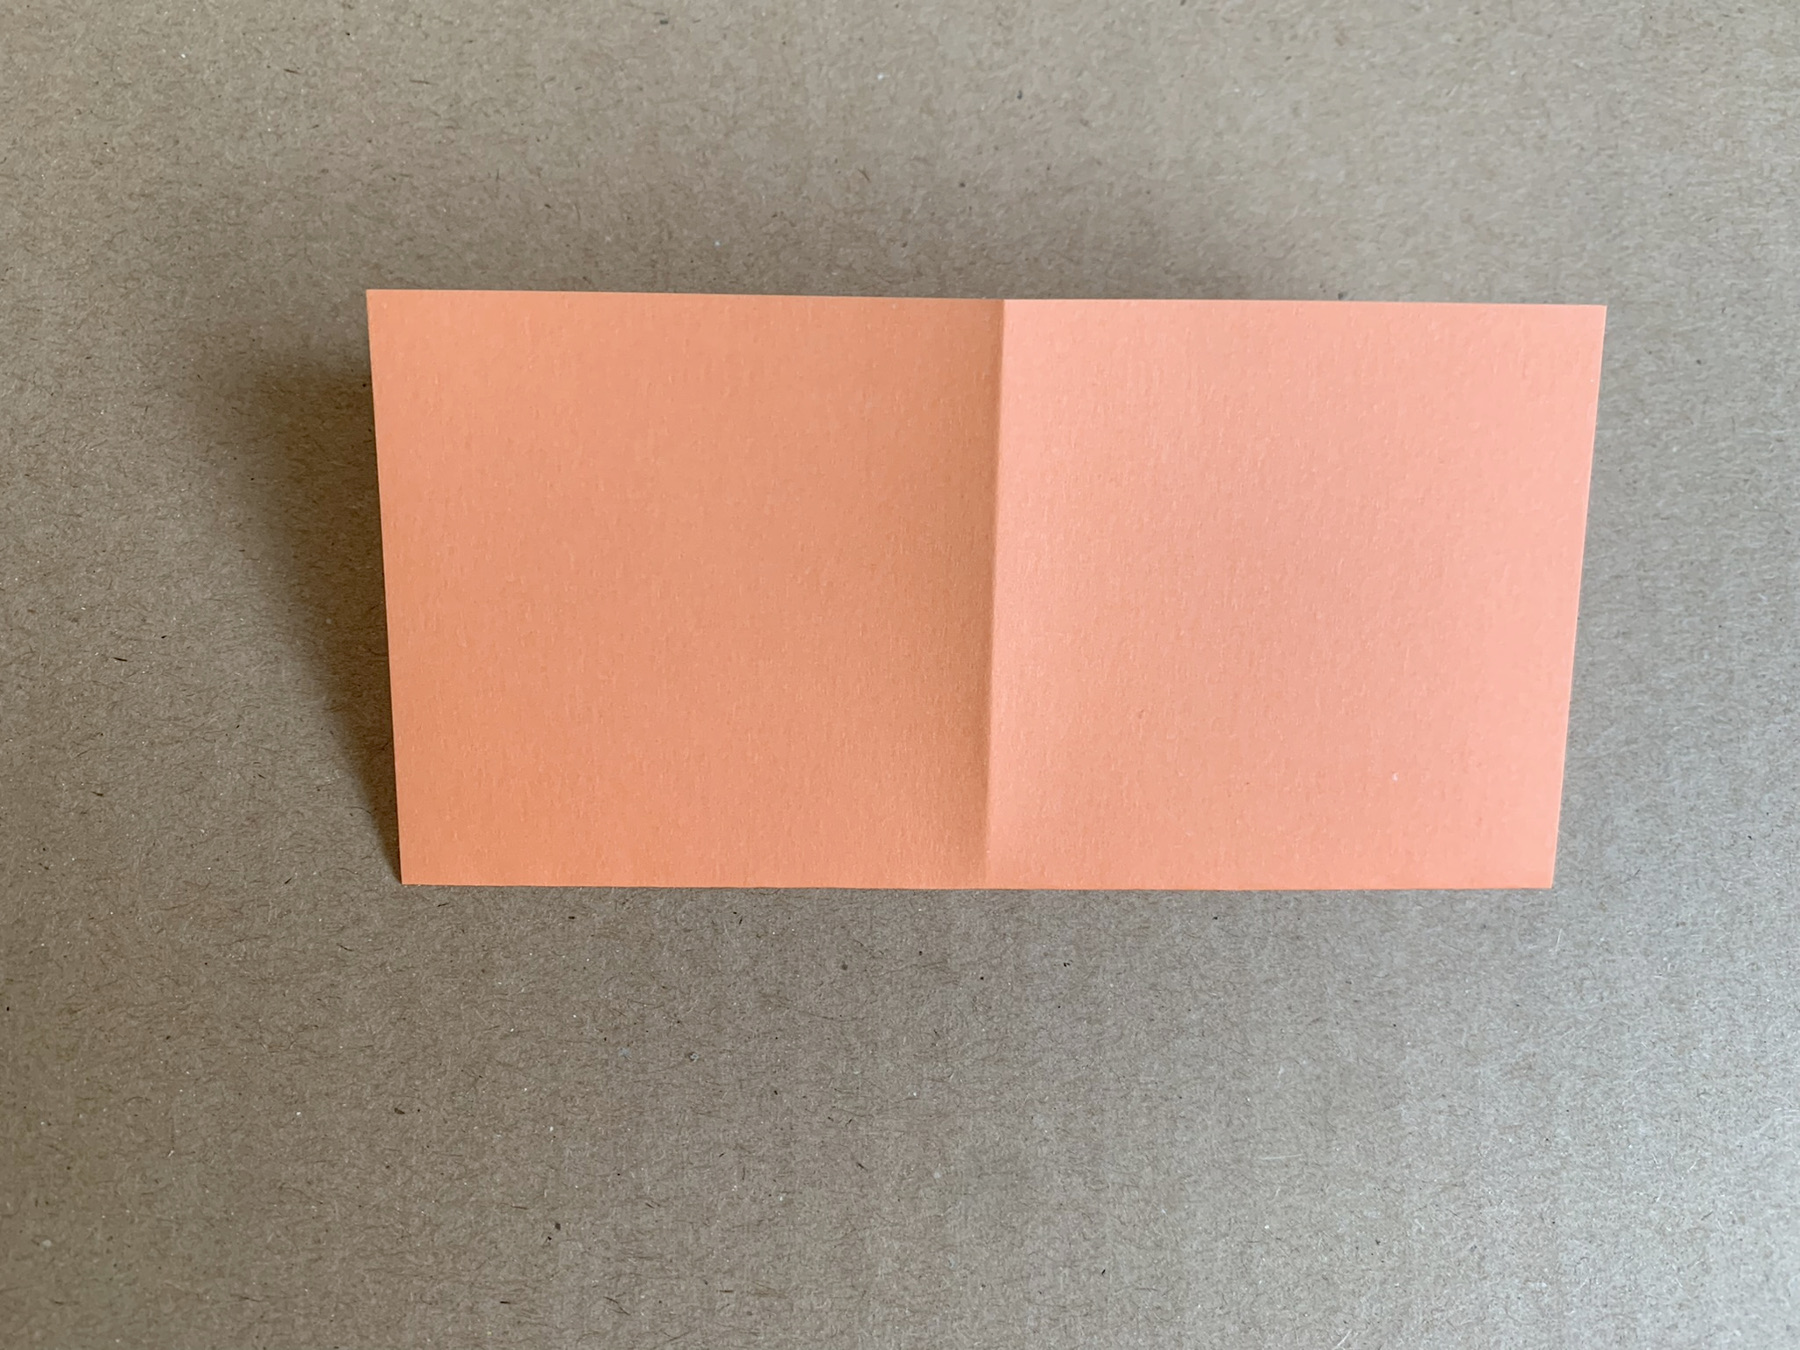
Using on 1 side coloured paper white is on top.
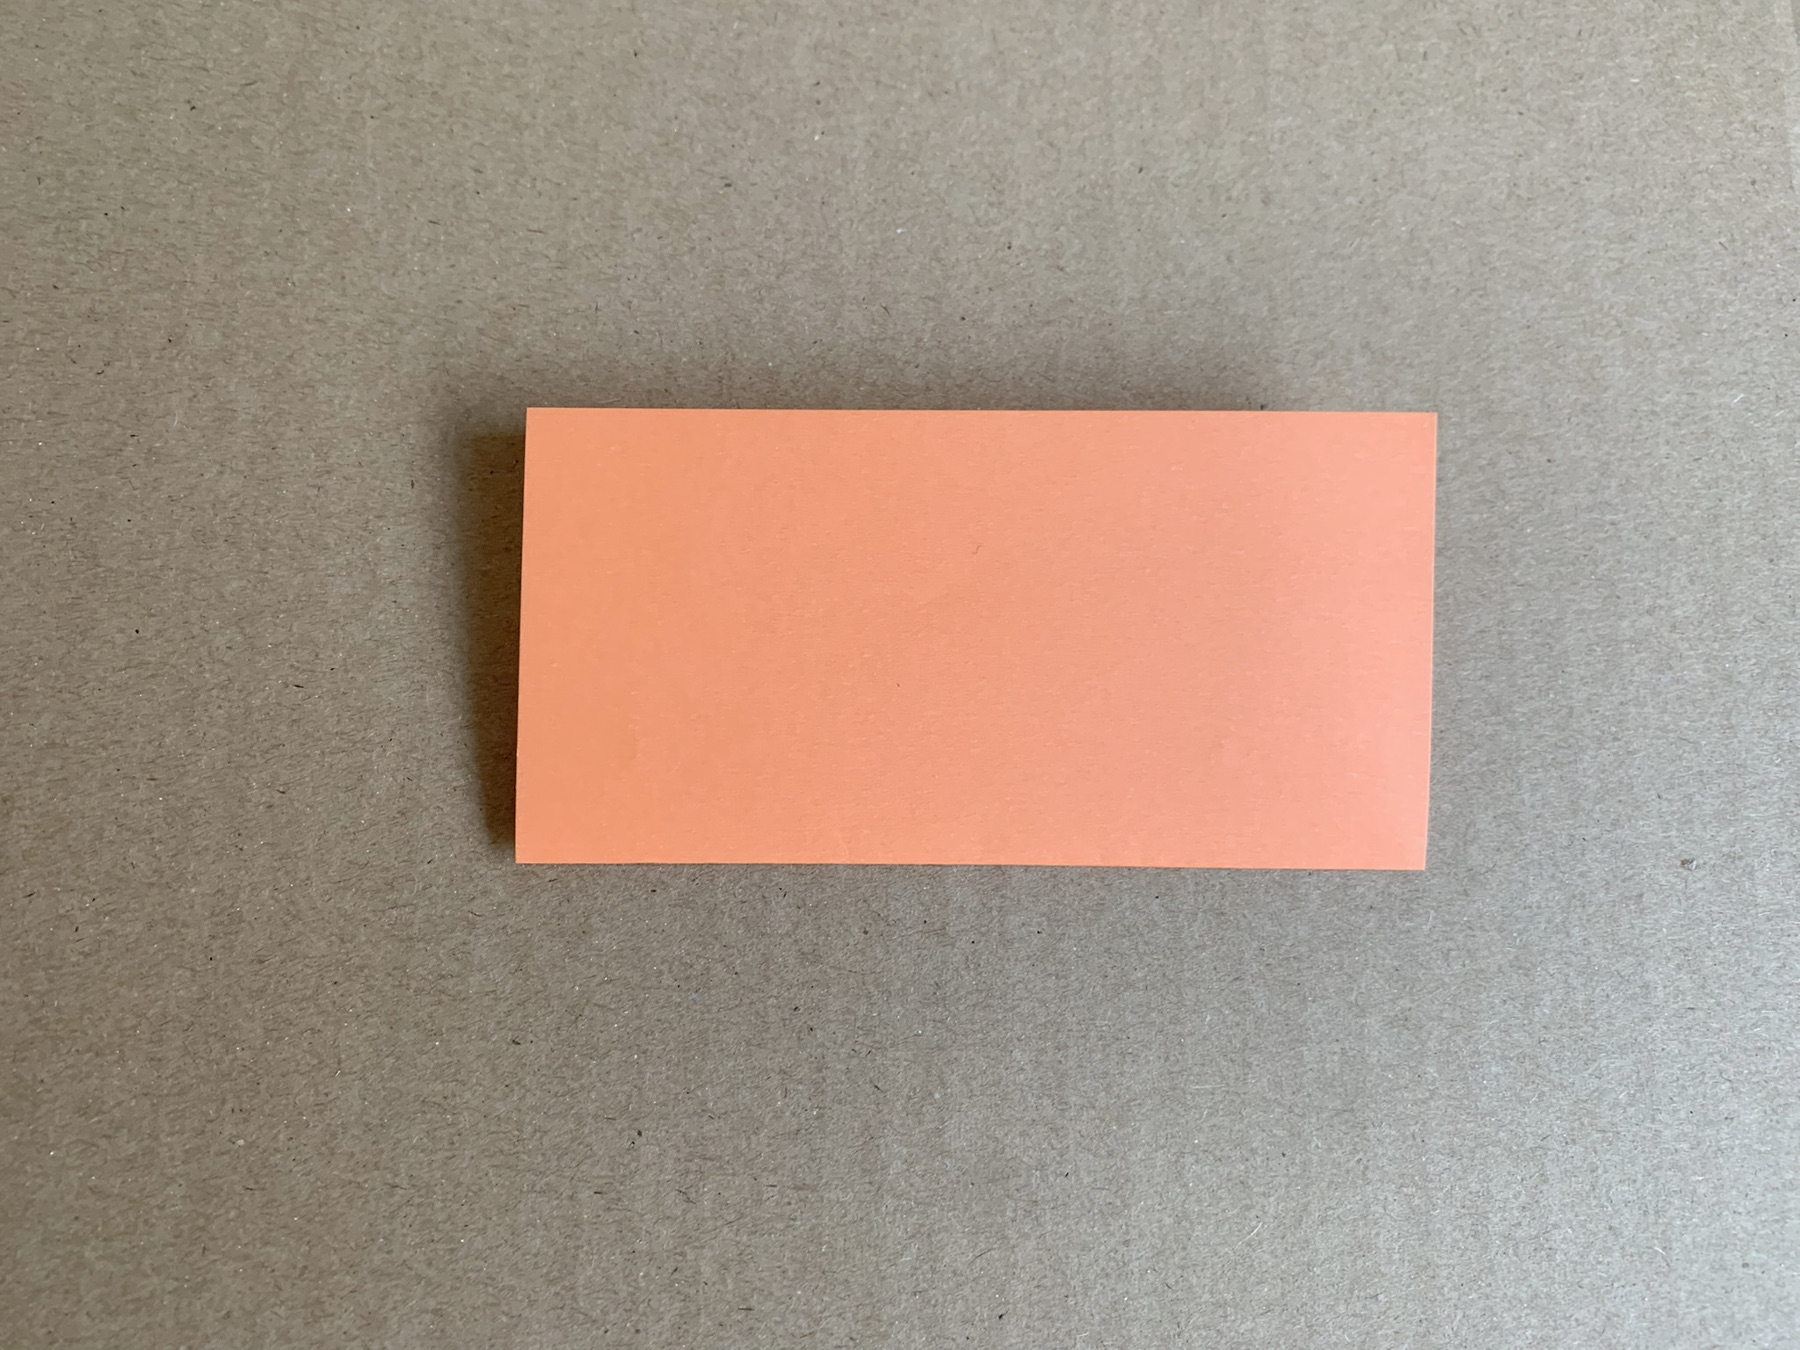
Fold from underside to top in half.
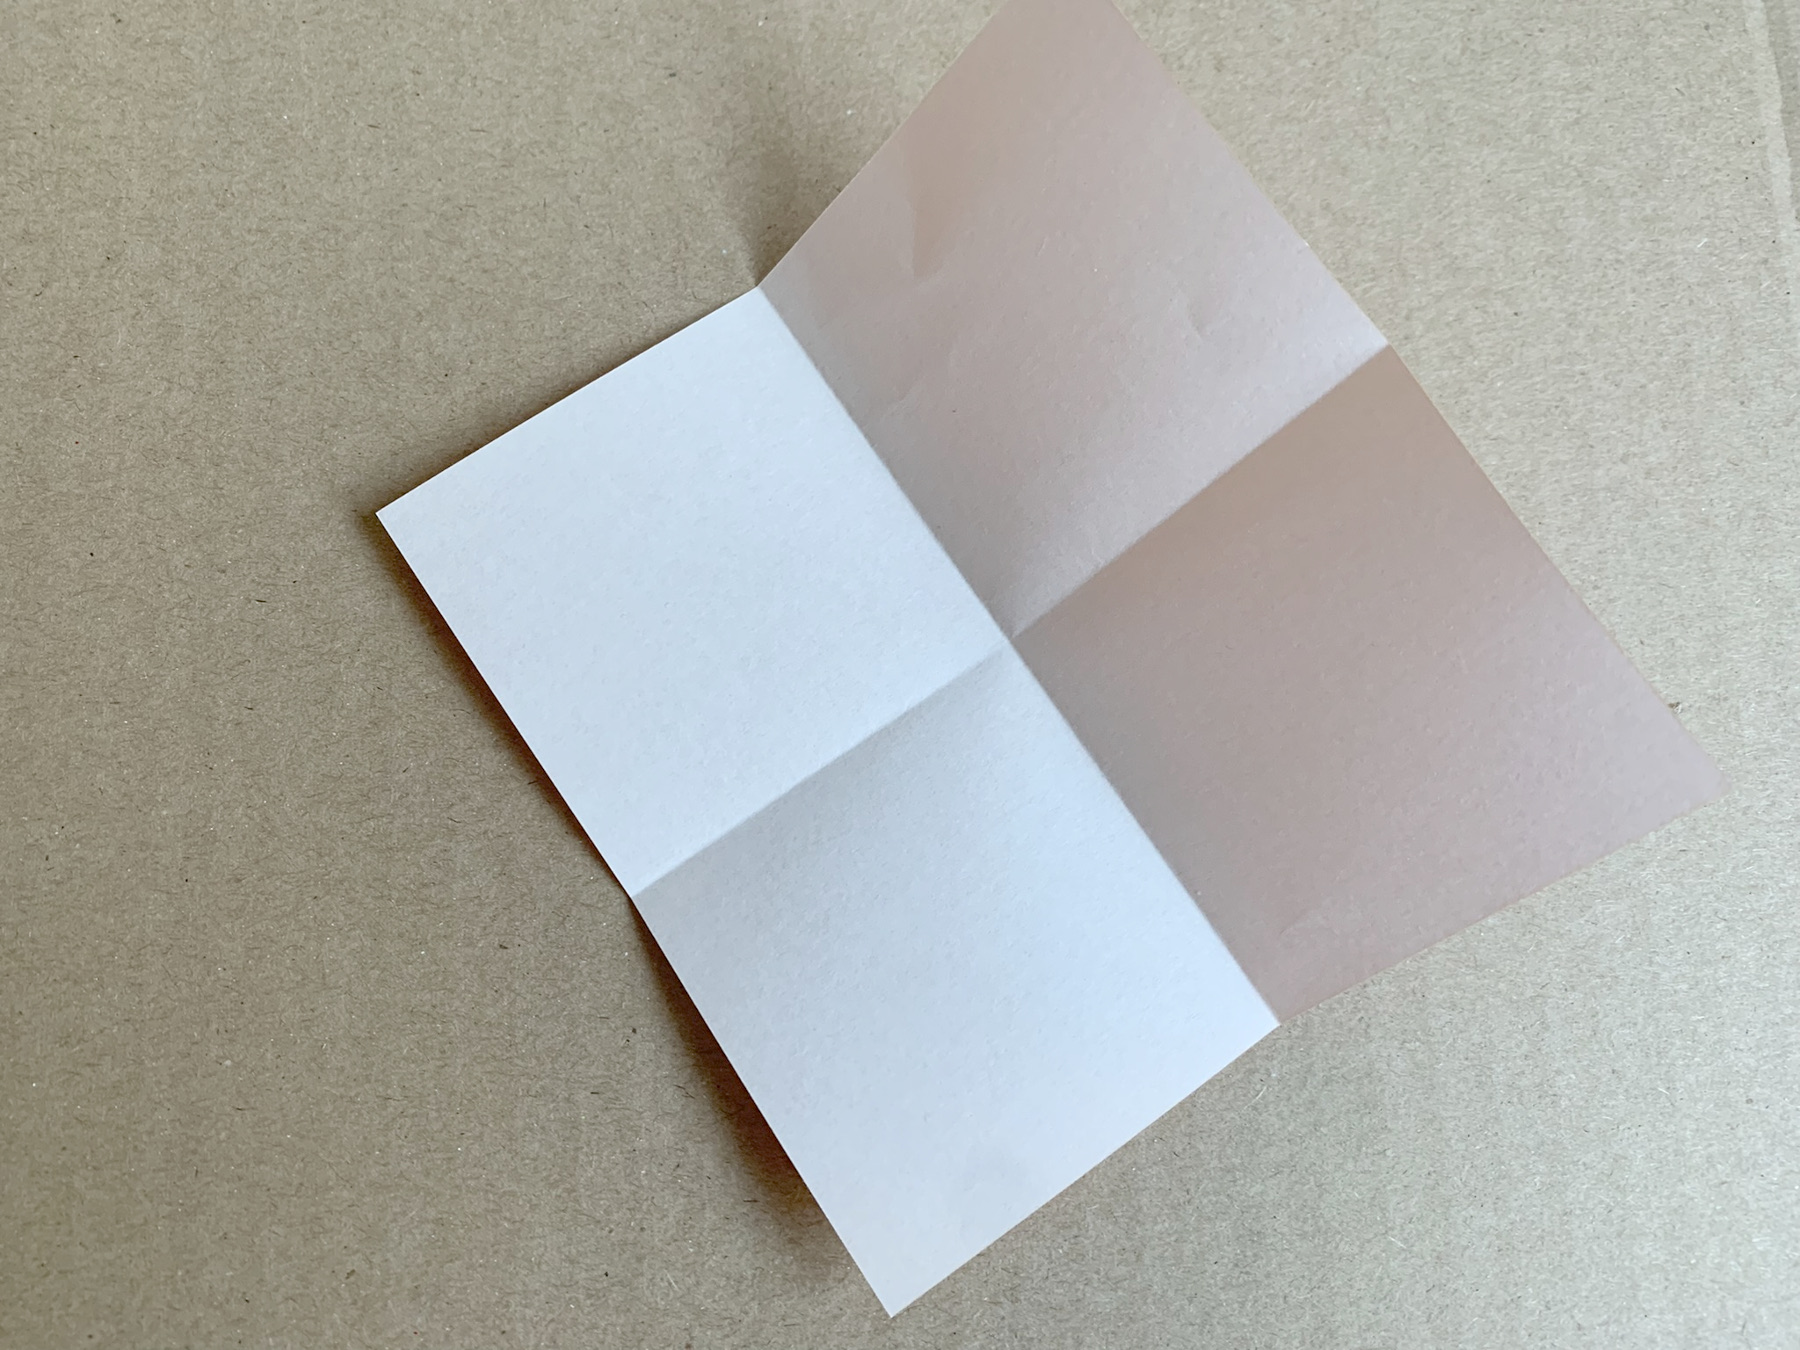
Open up, turn back and repeat the folding.
Unfold the paper and turn it diagonal.
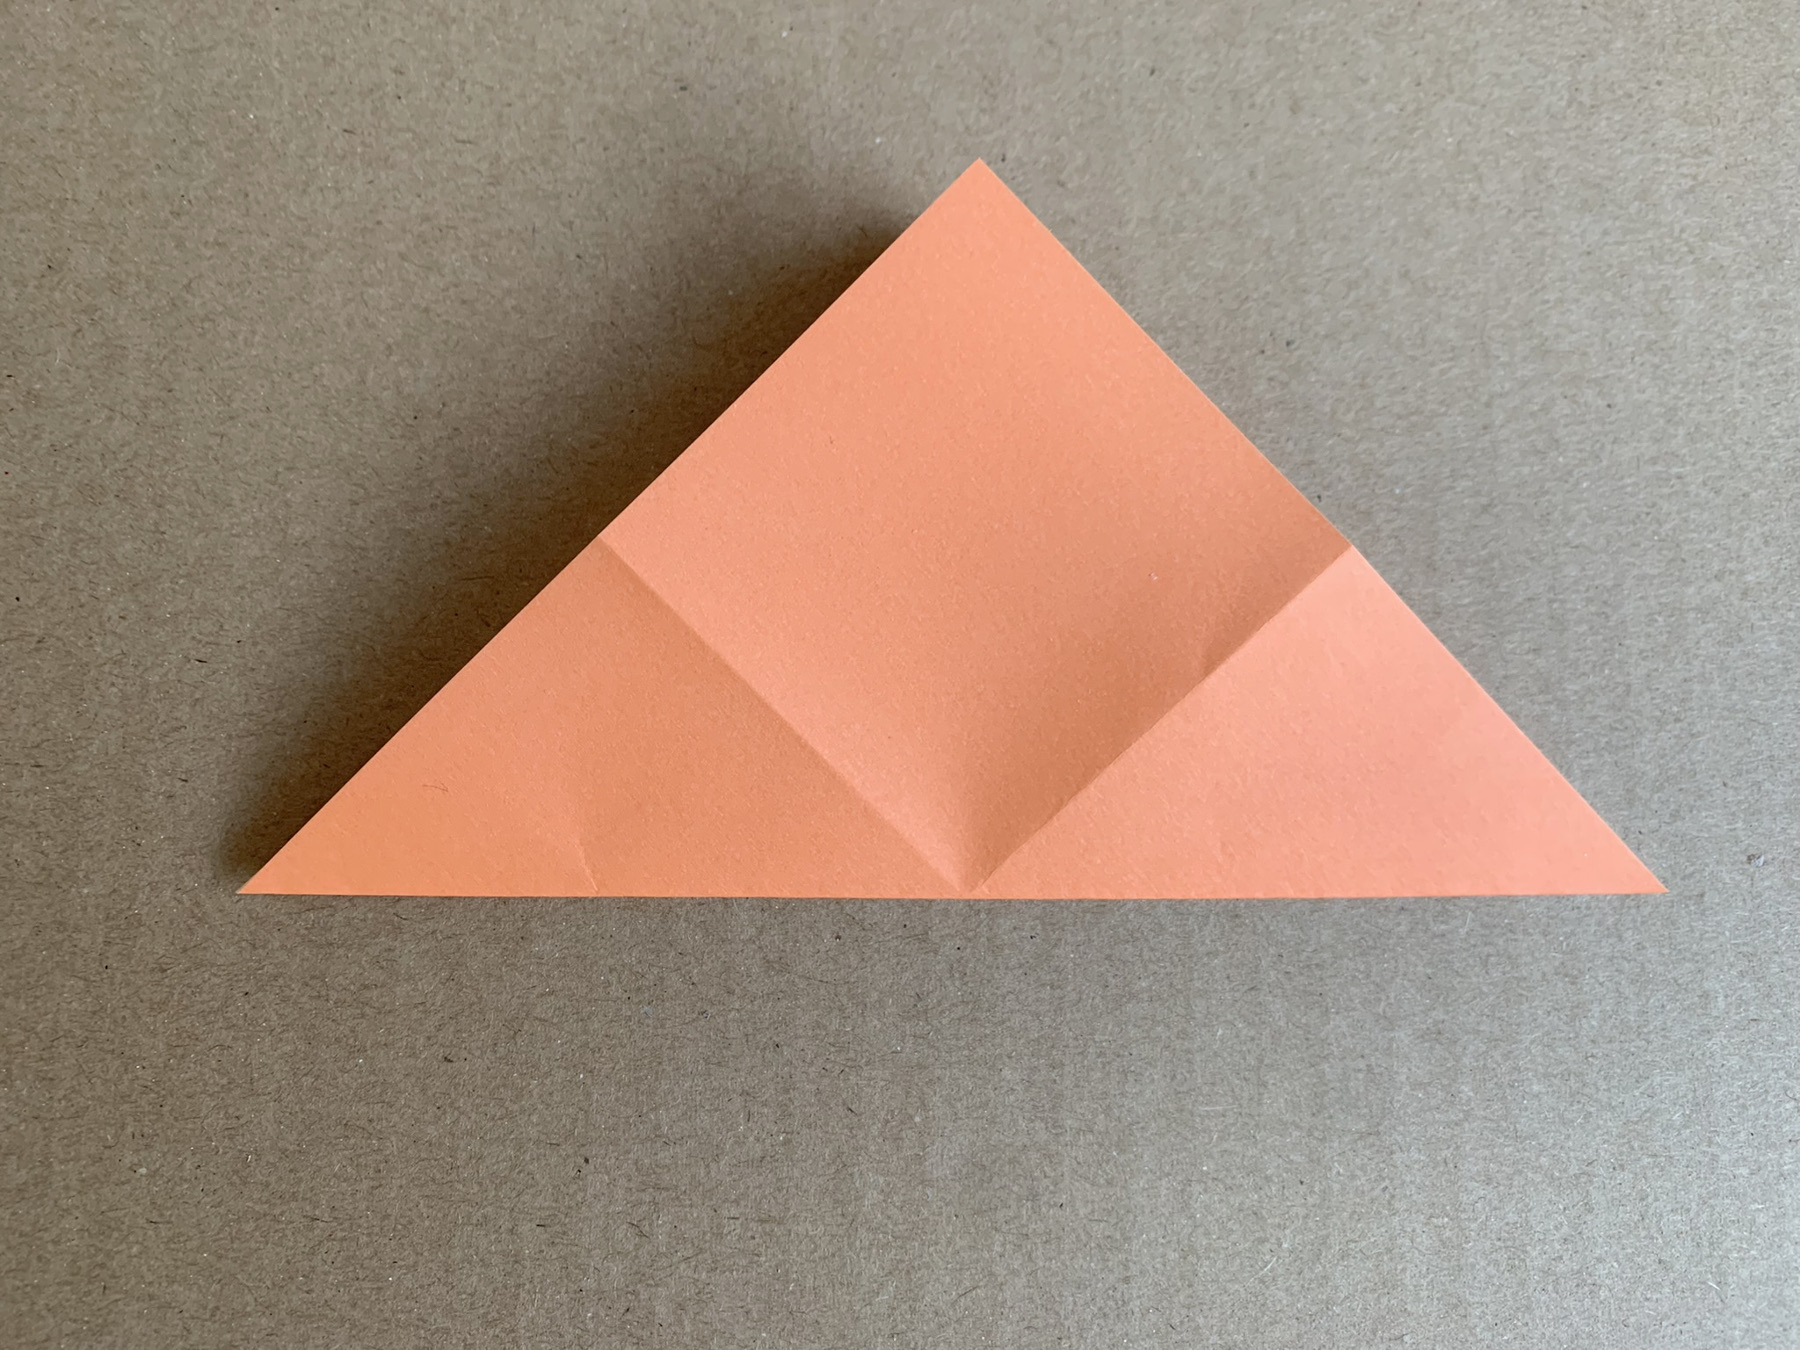
Fold from the bottom to the top.
Fold it open and turn the paper upside down.
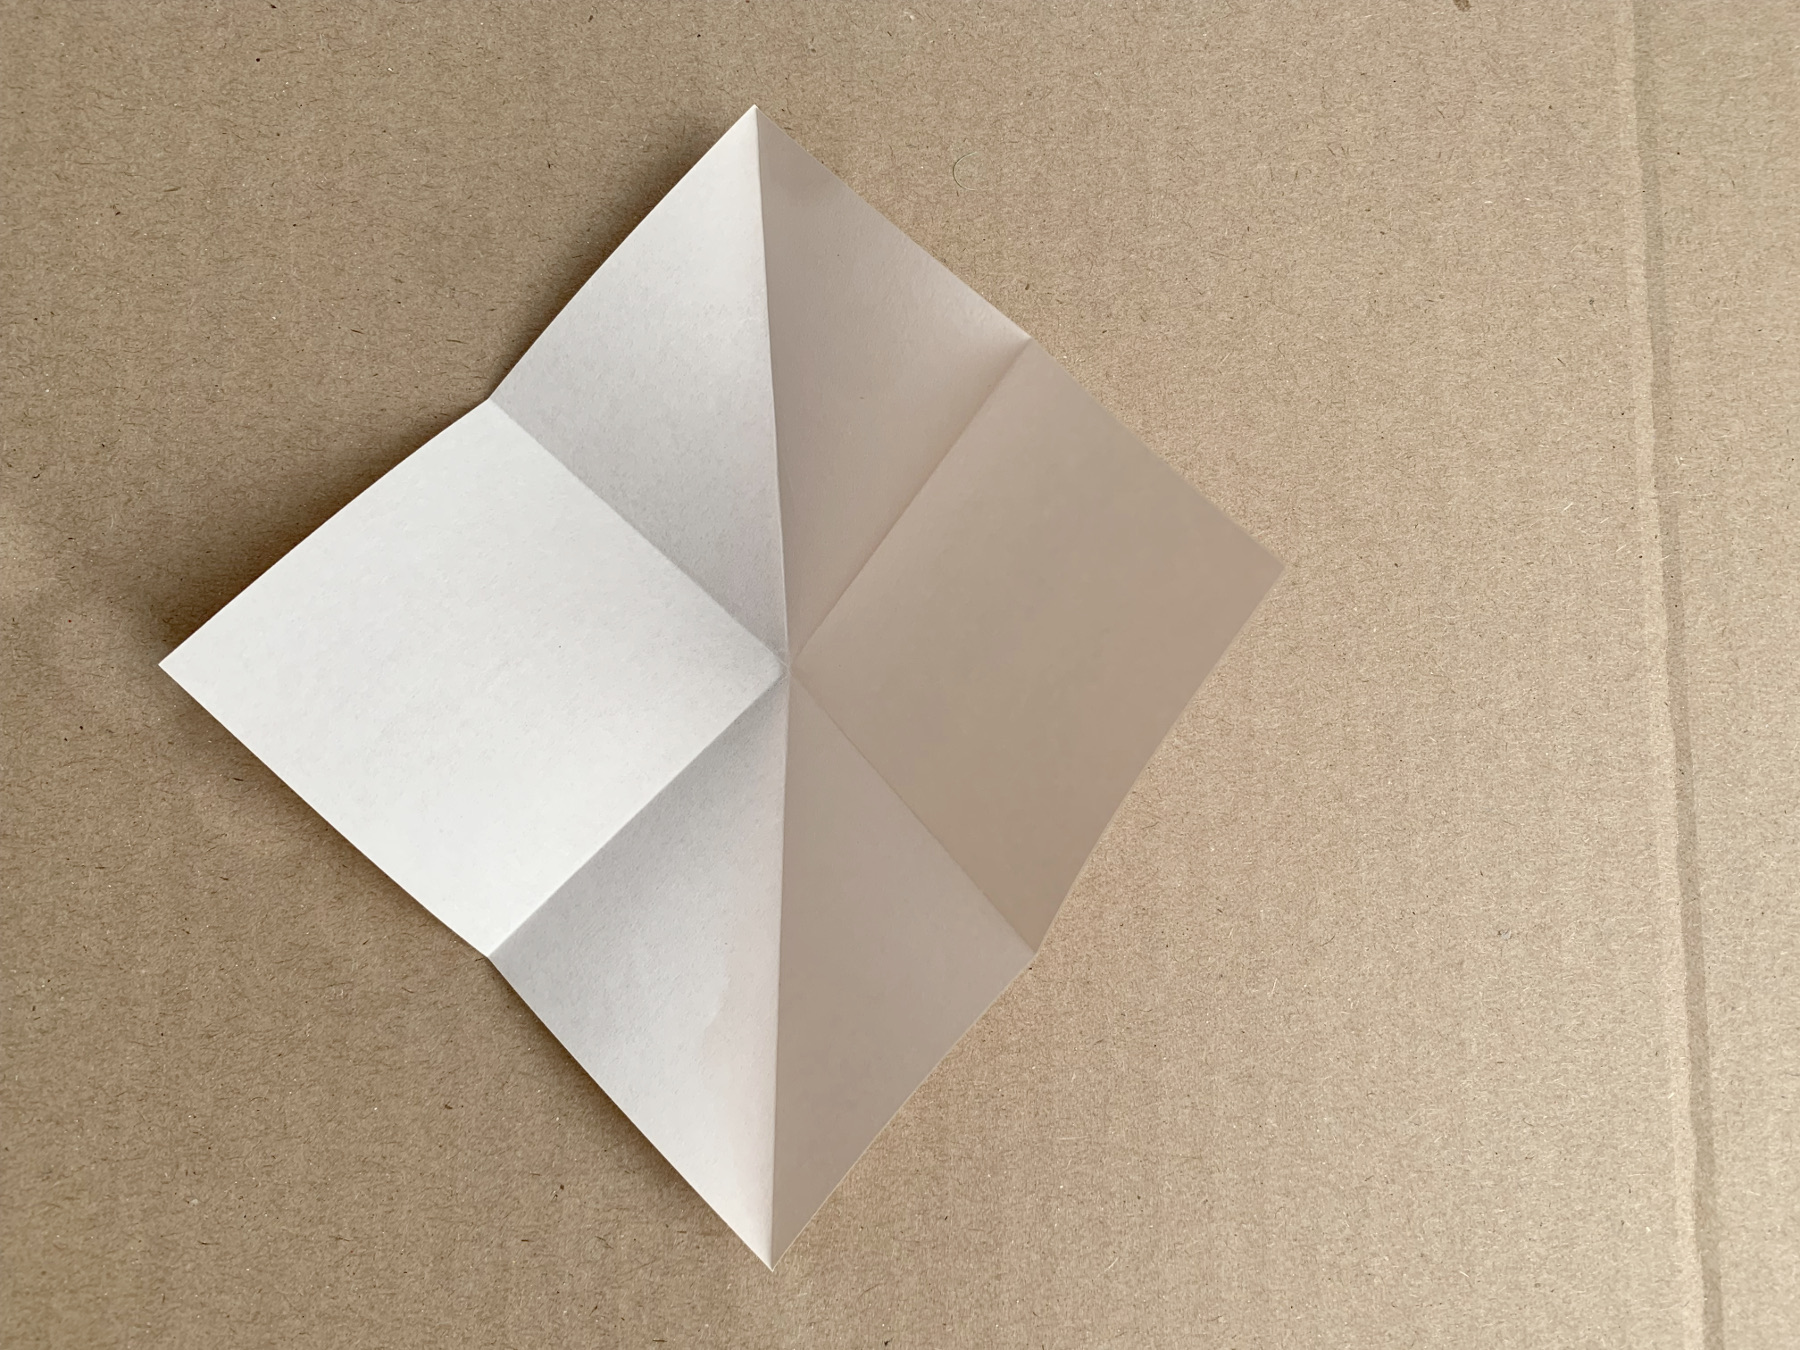
Fold the coloured side from bottom to top.
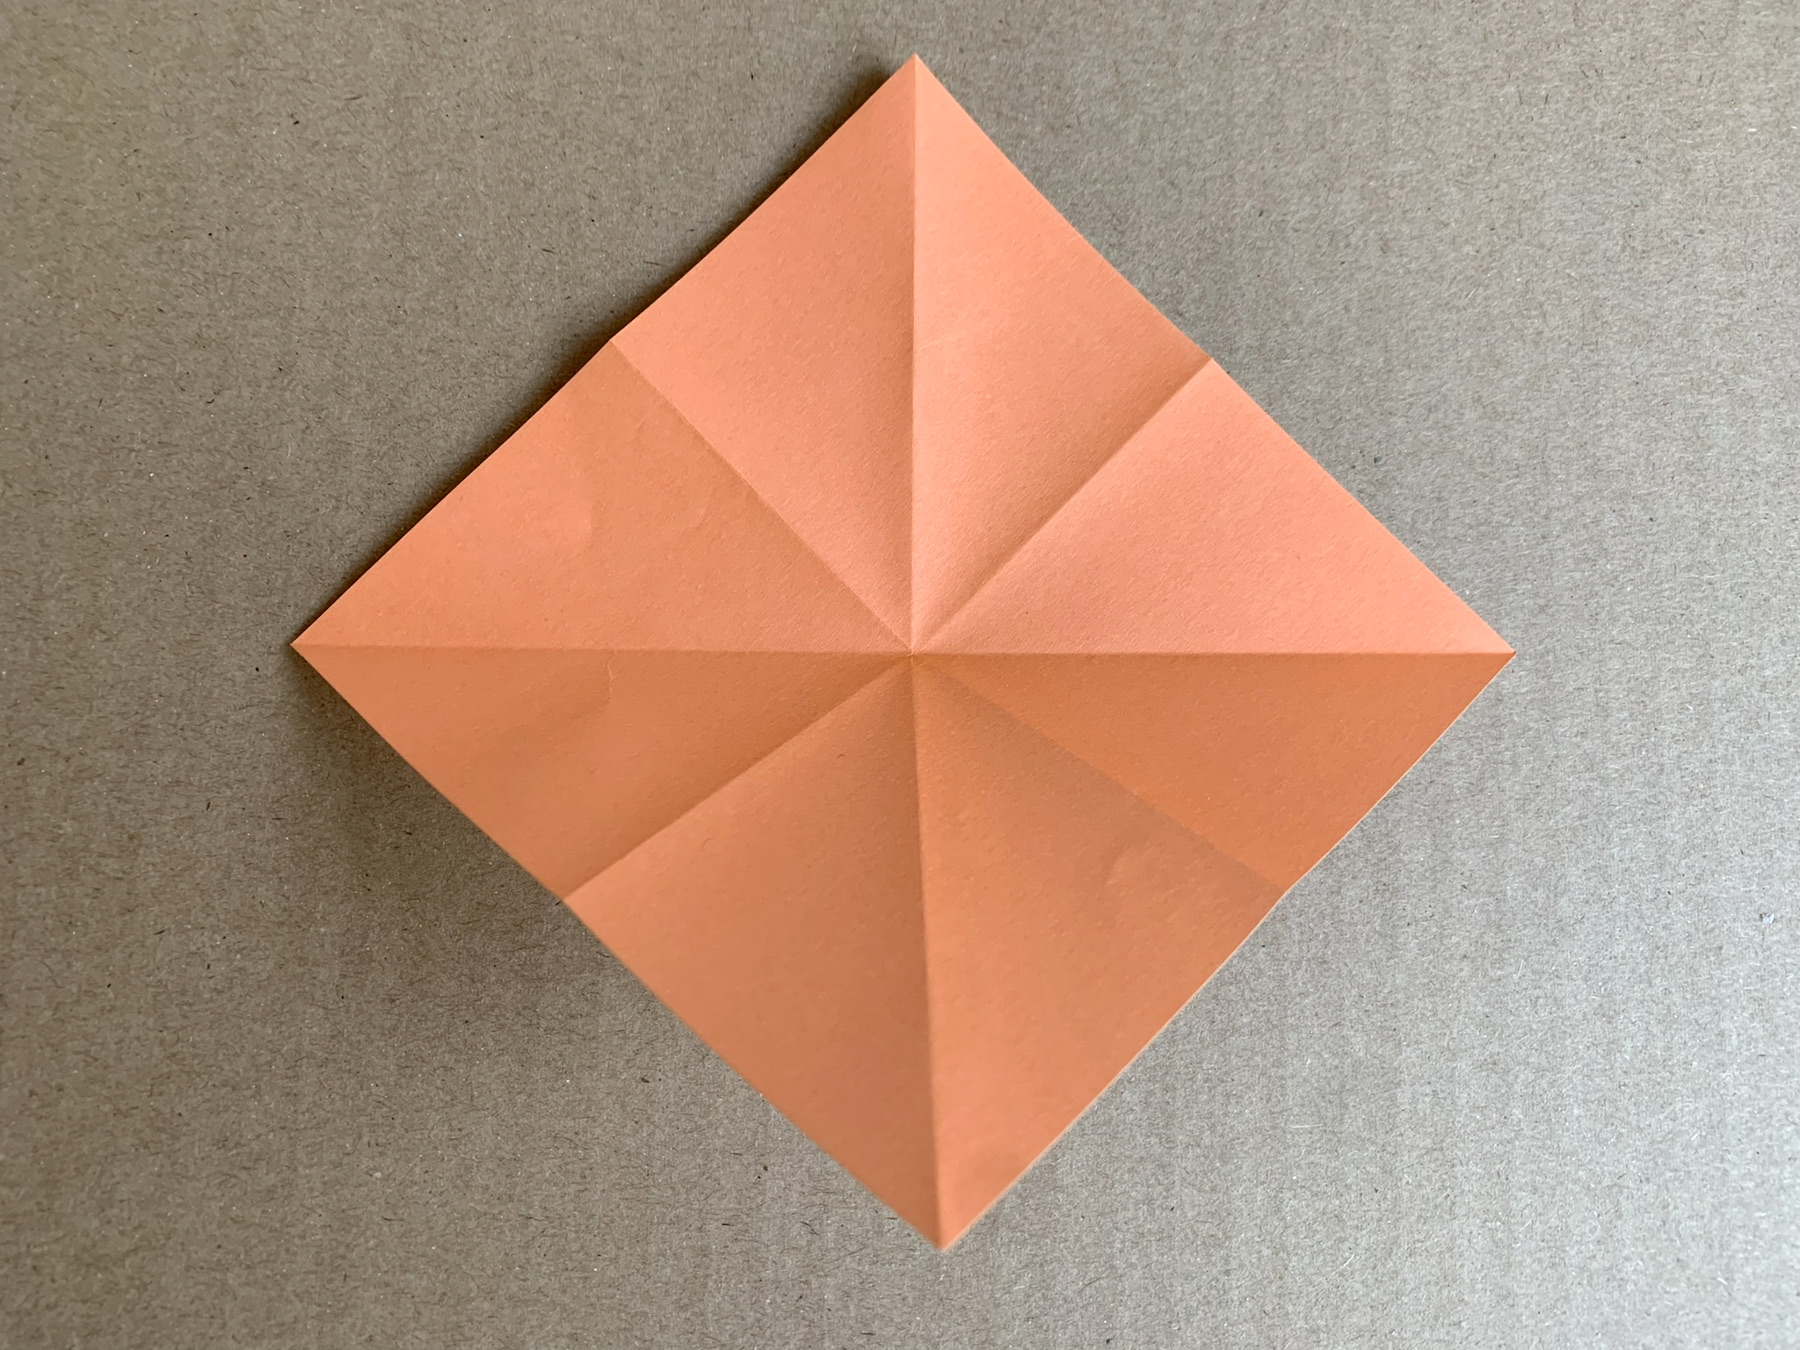
If the coloured side is up you see folds in a star shape
Now we do a trick:
- turn the paper over, white side up
- pinch the left and right tips together, between your thumb and forefinger
- bend down without force to the bottom points (see the next picture)
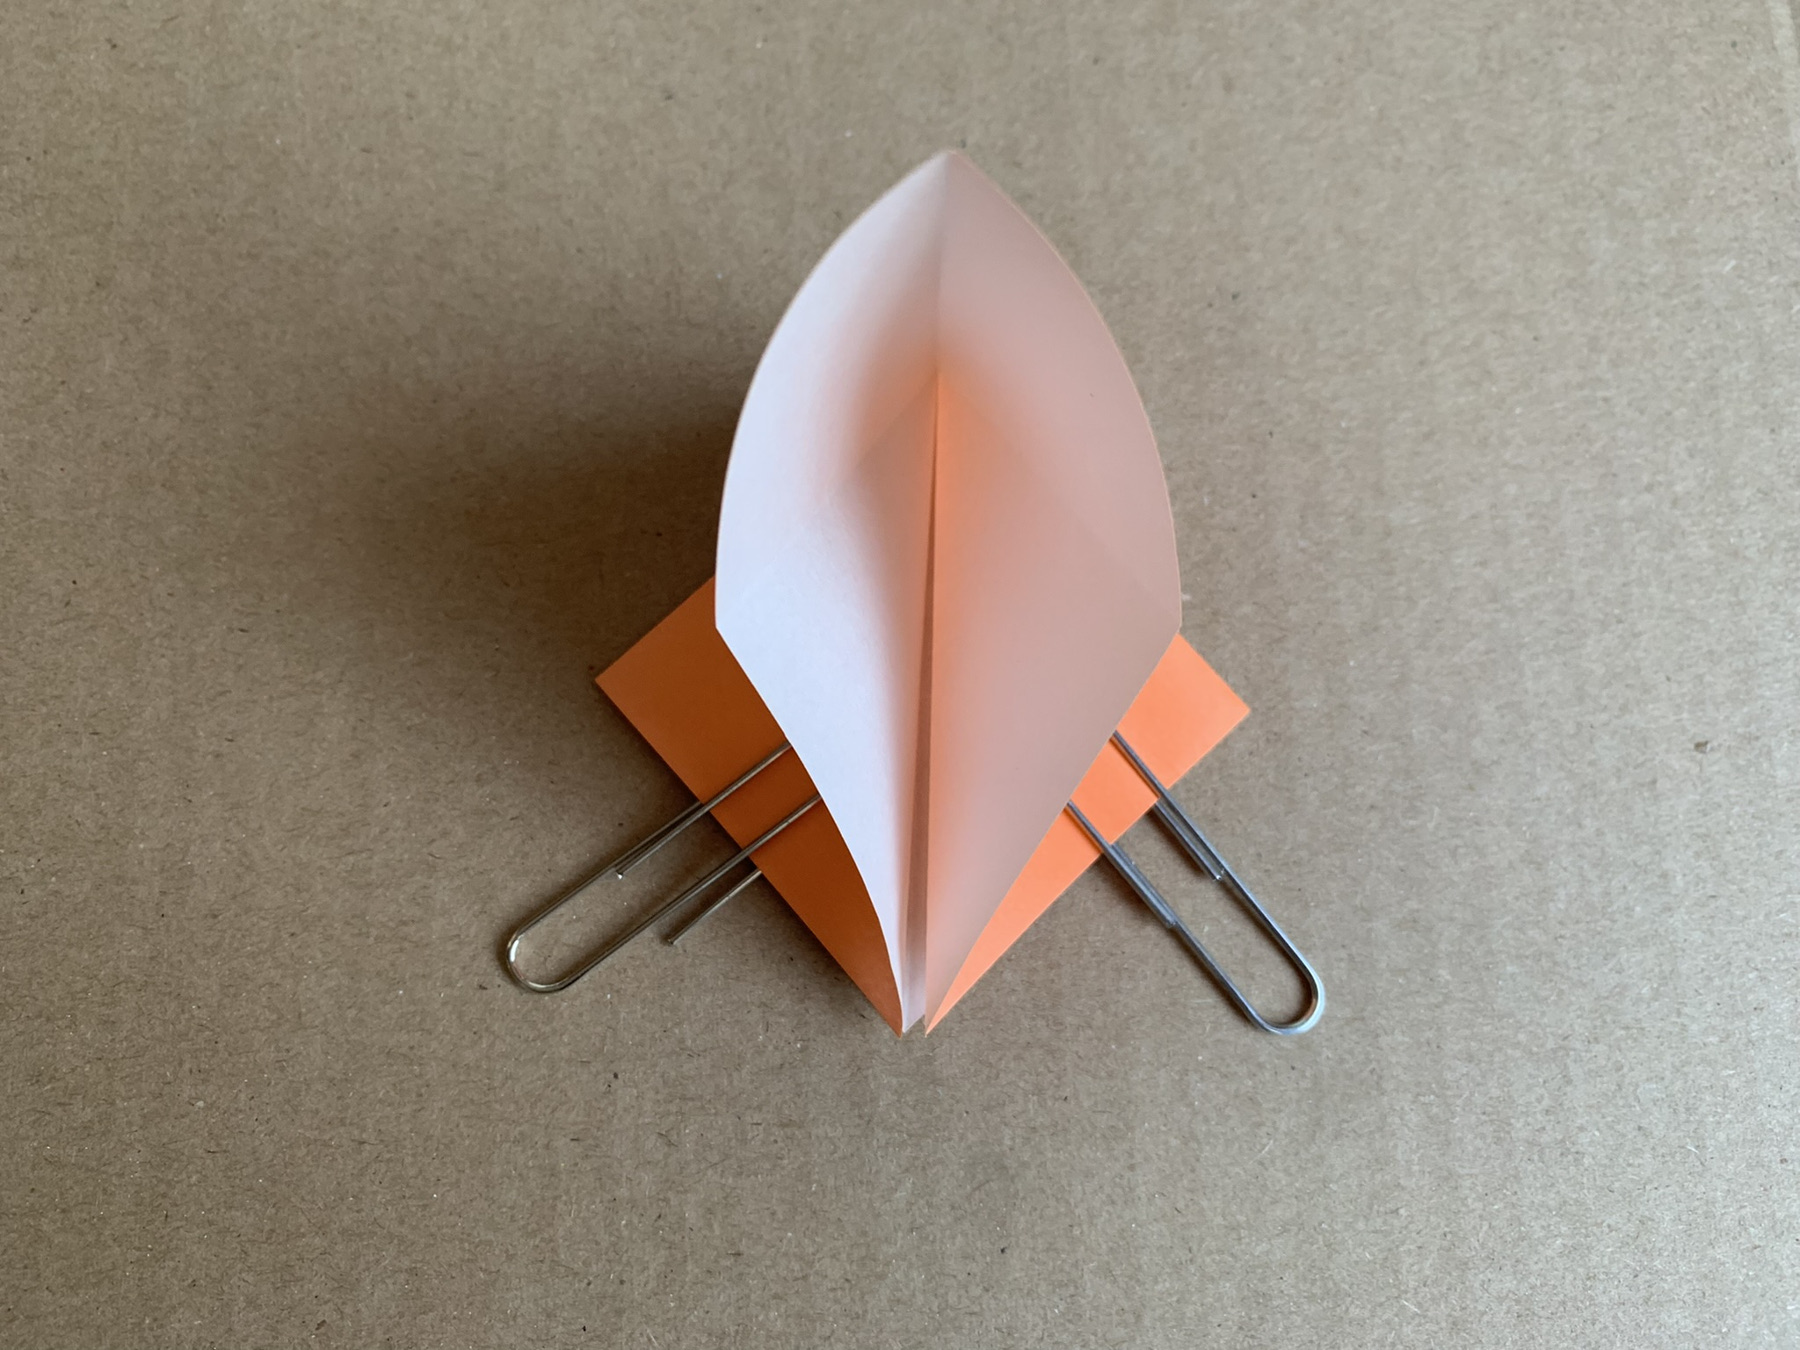
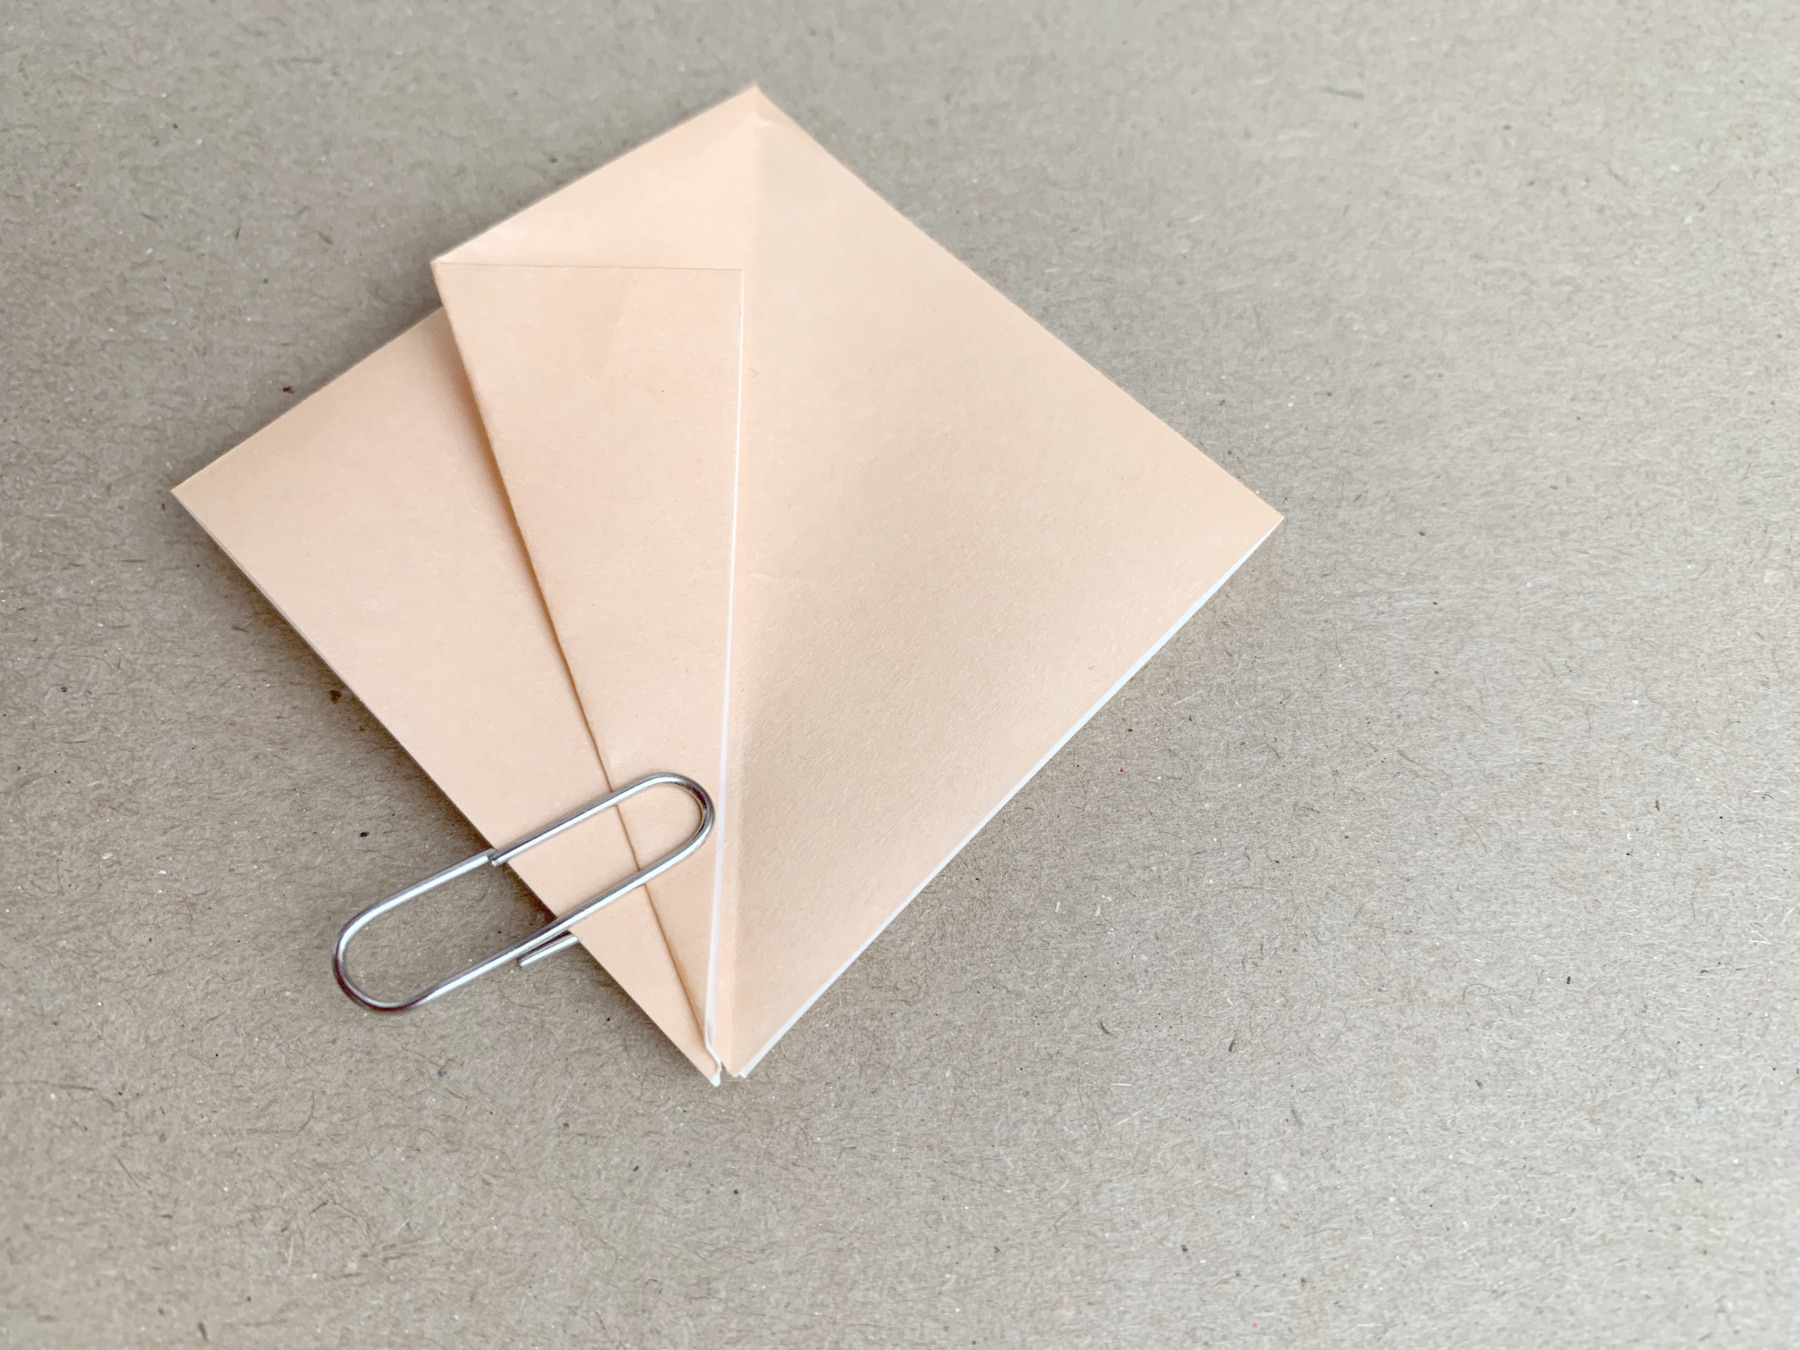
The paperclips are to show you clearly.
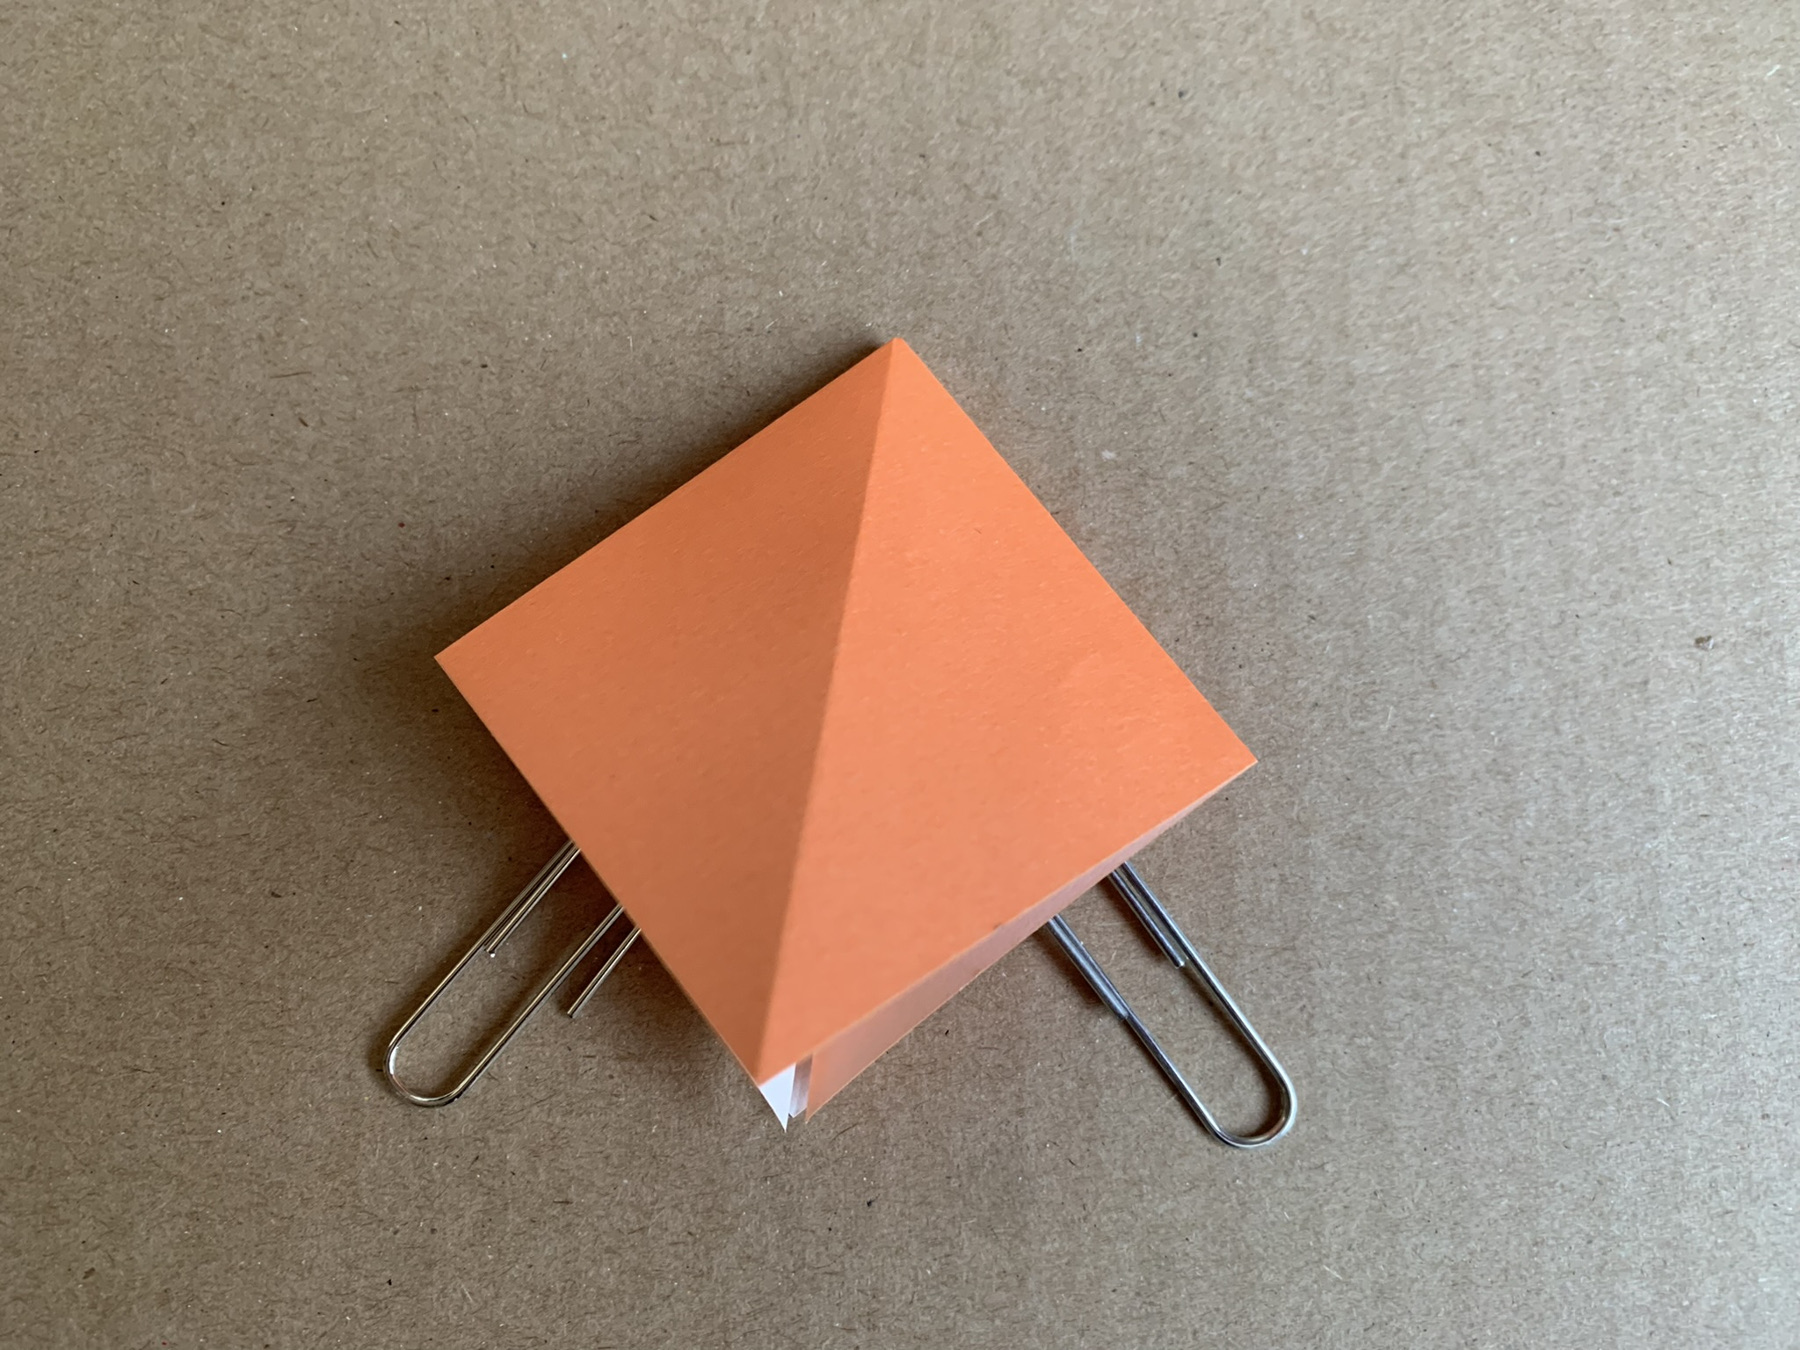
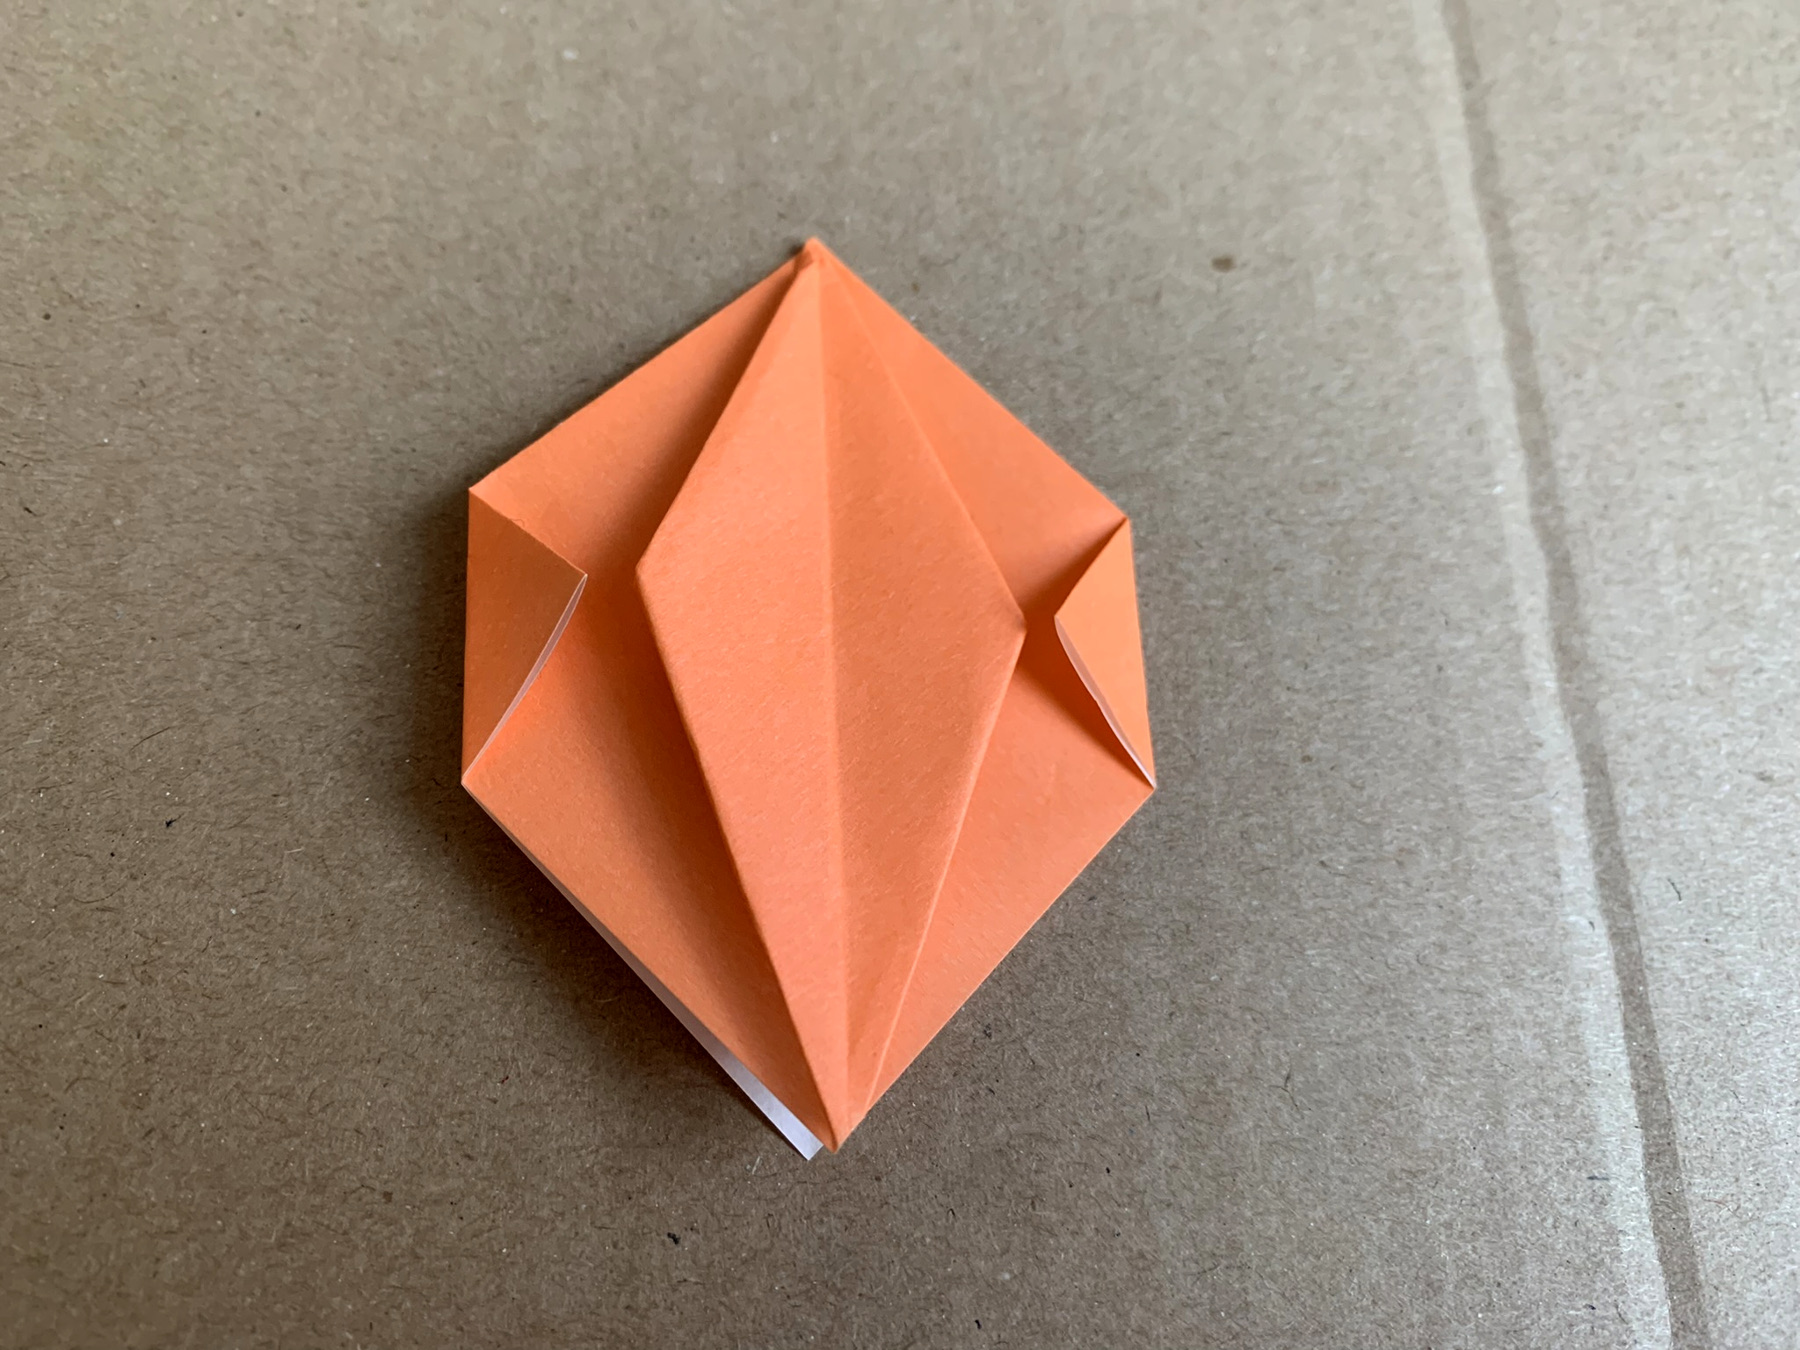
Fold the top point down, in the middle.
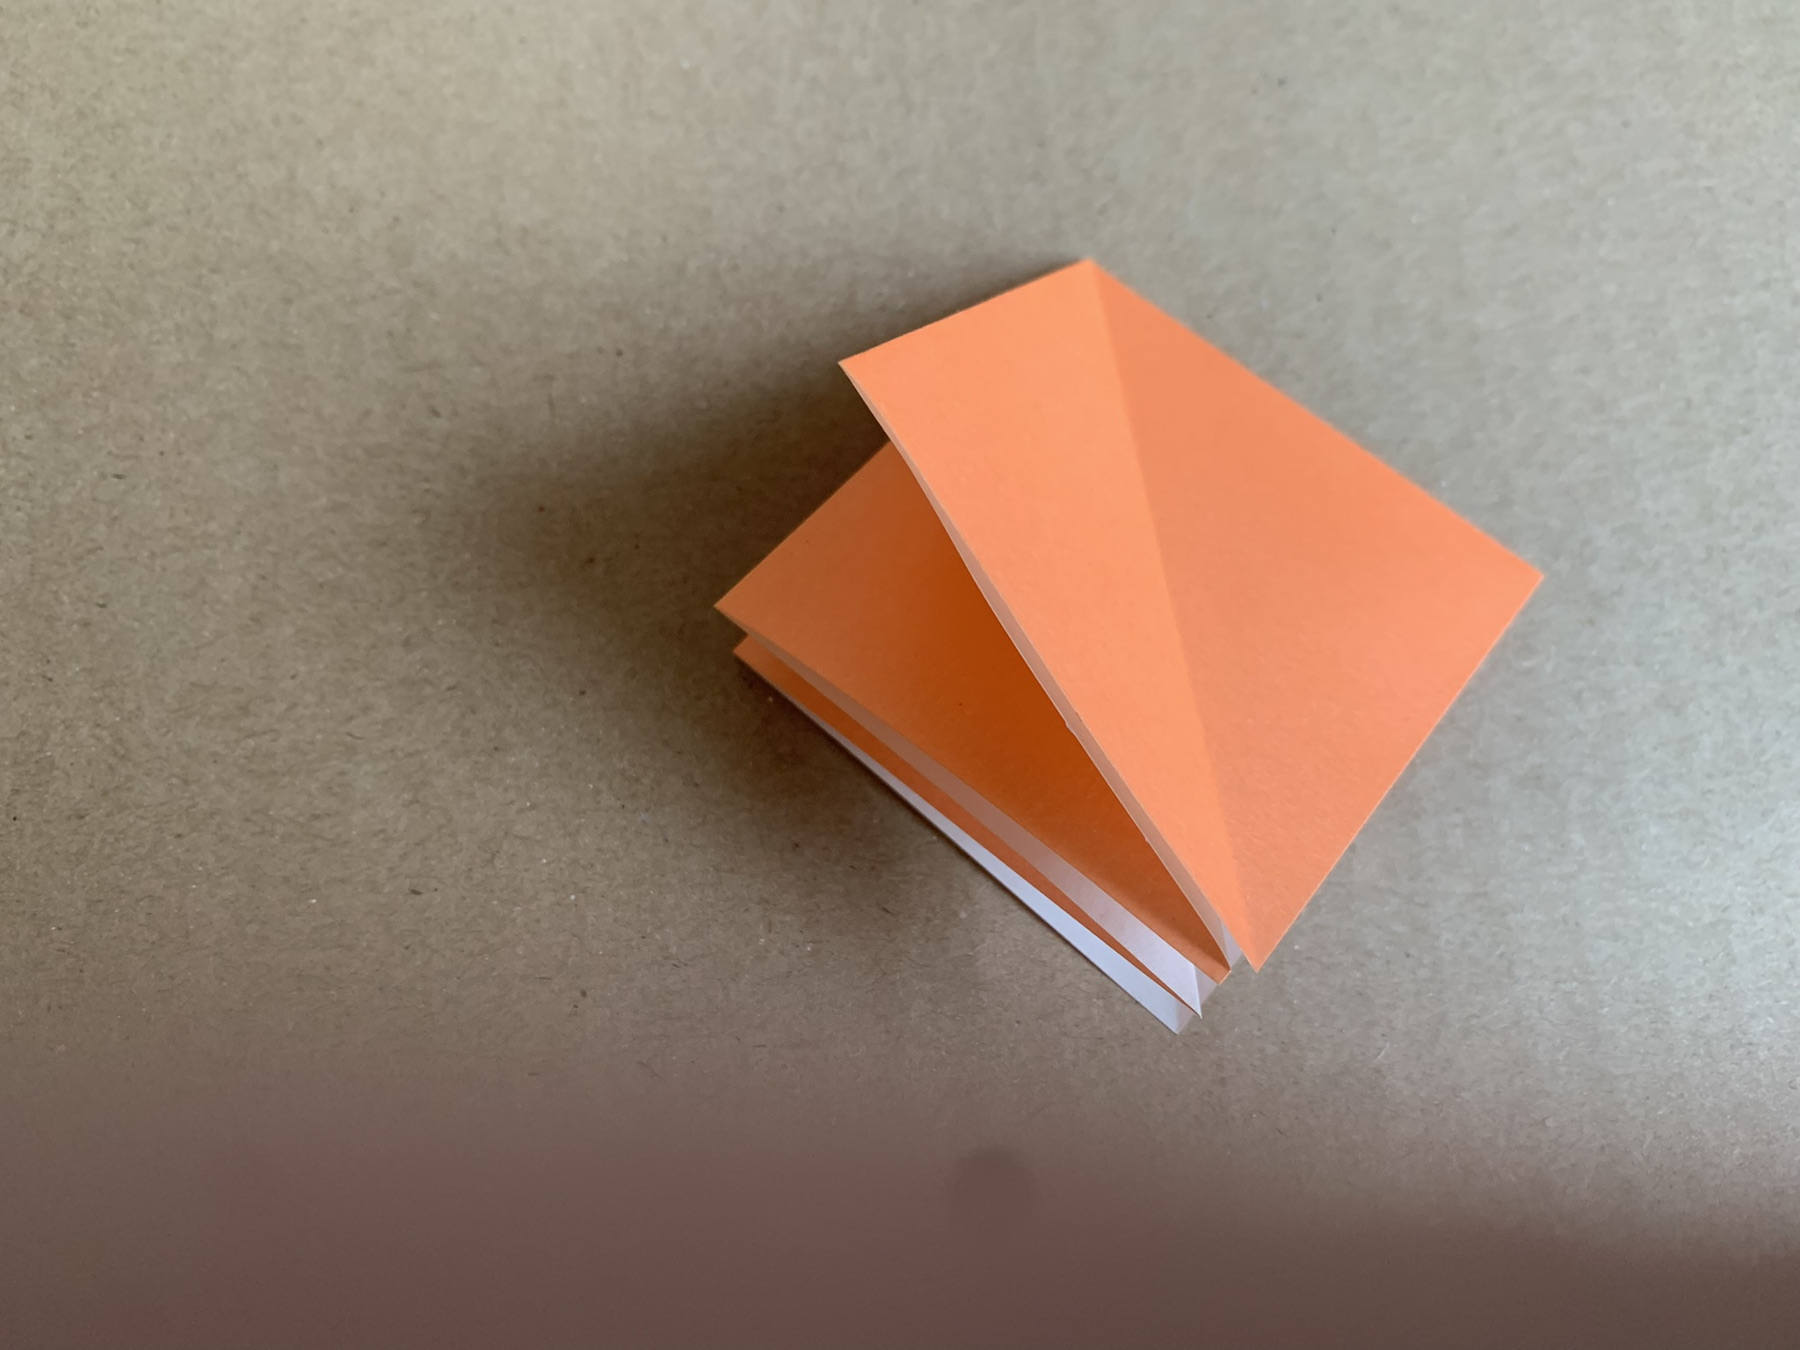
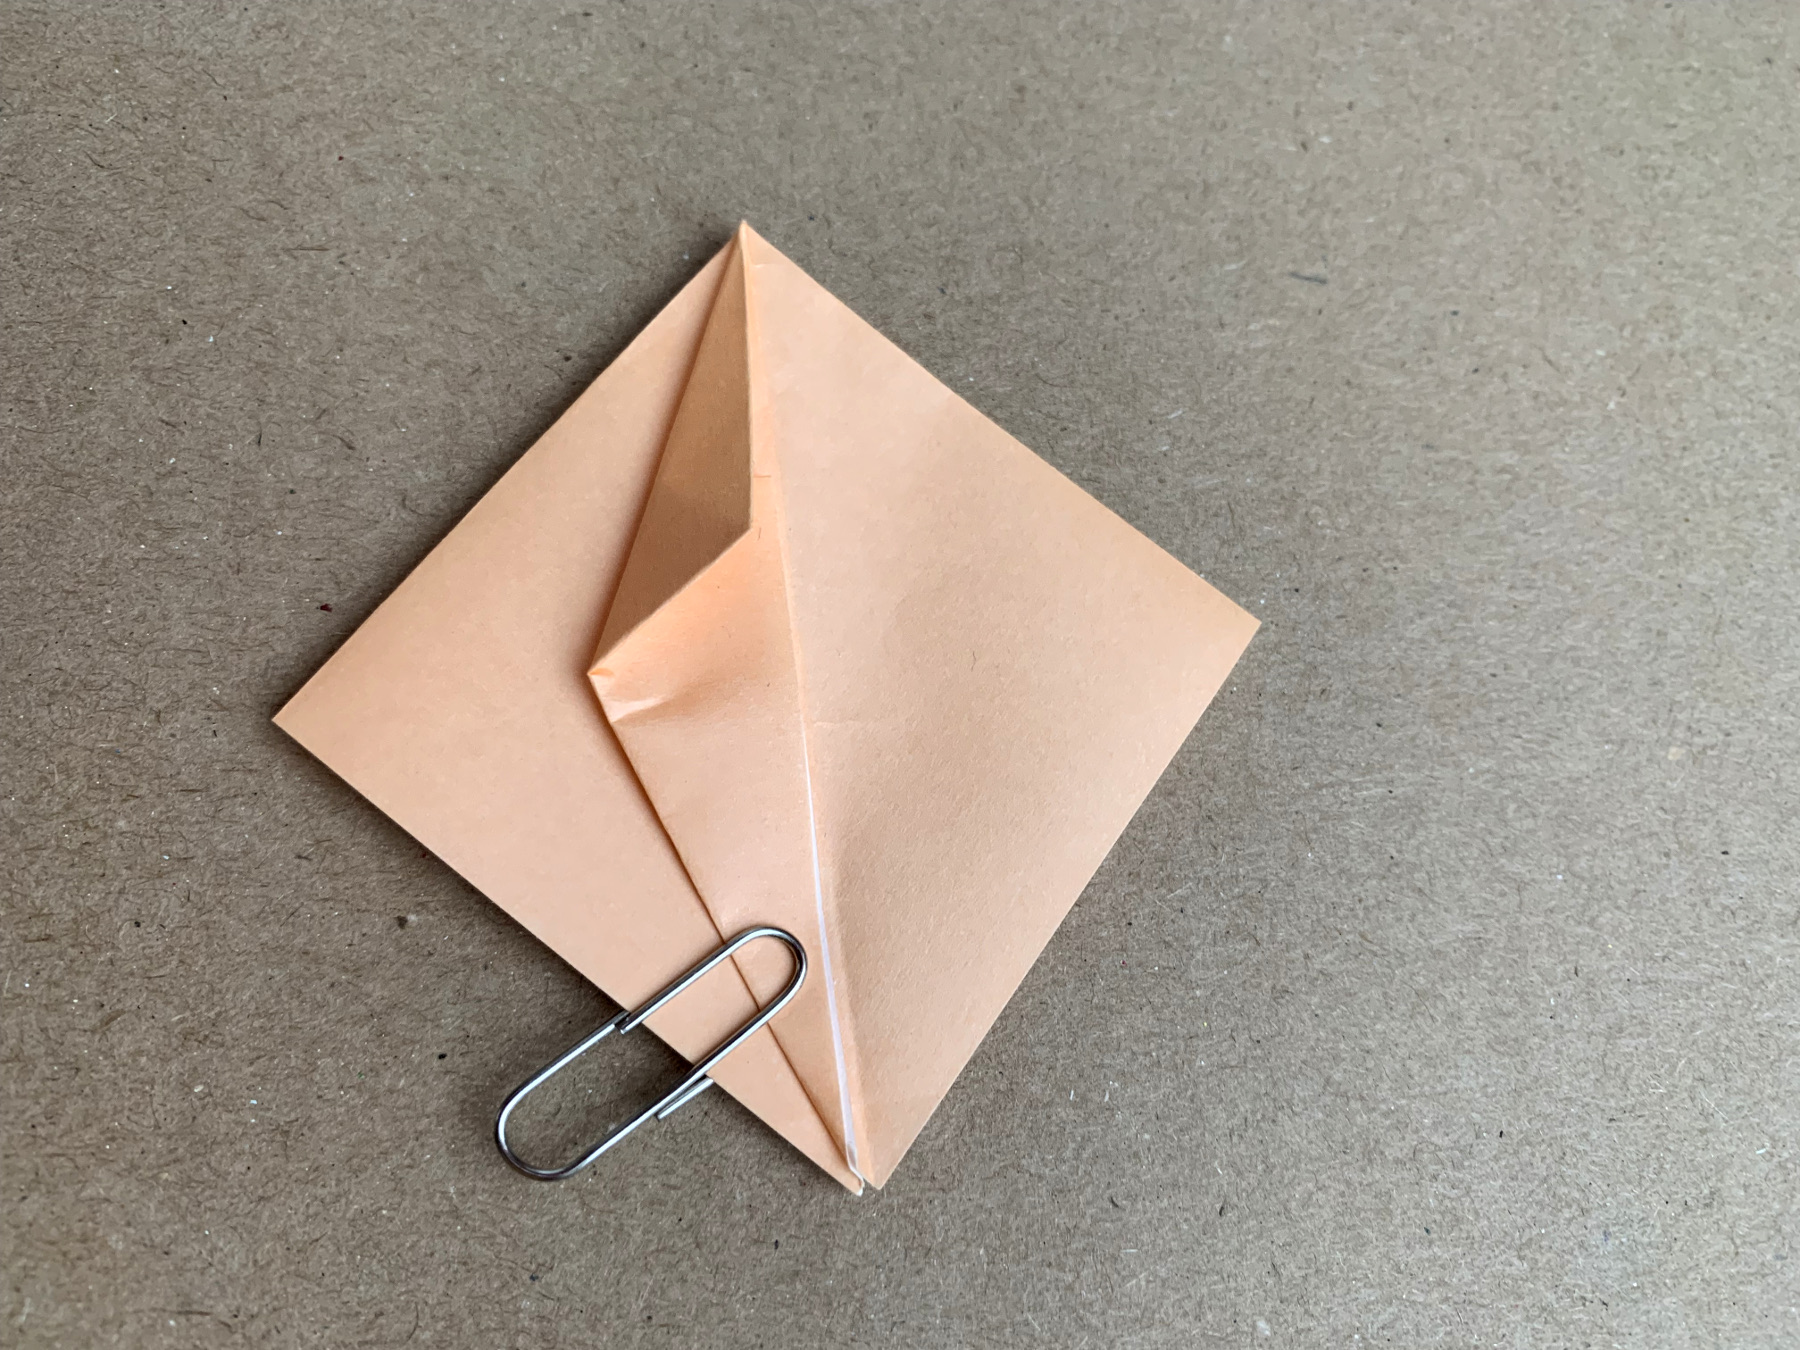
Leave diagonal and open the right side.
Fold slanted inward, along the center line.
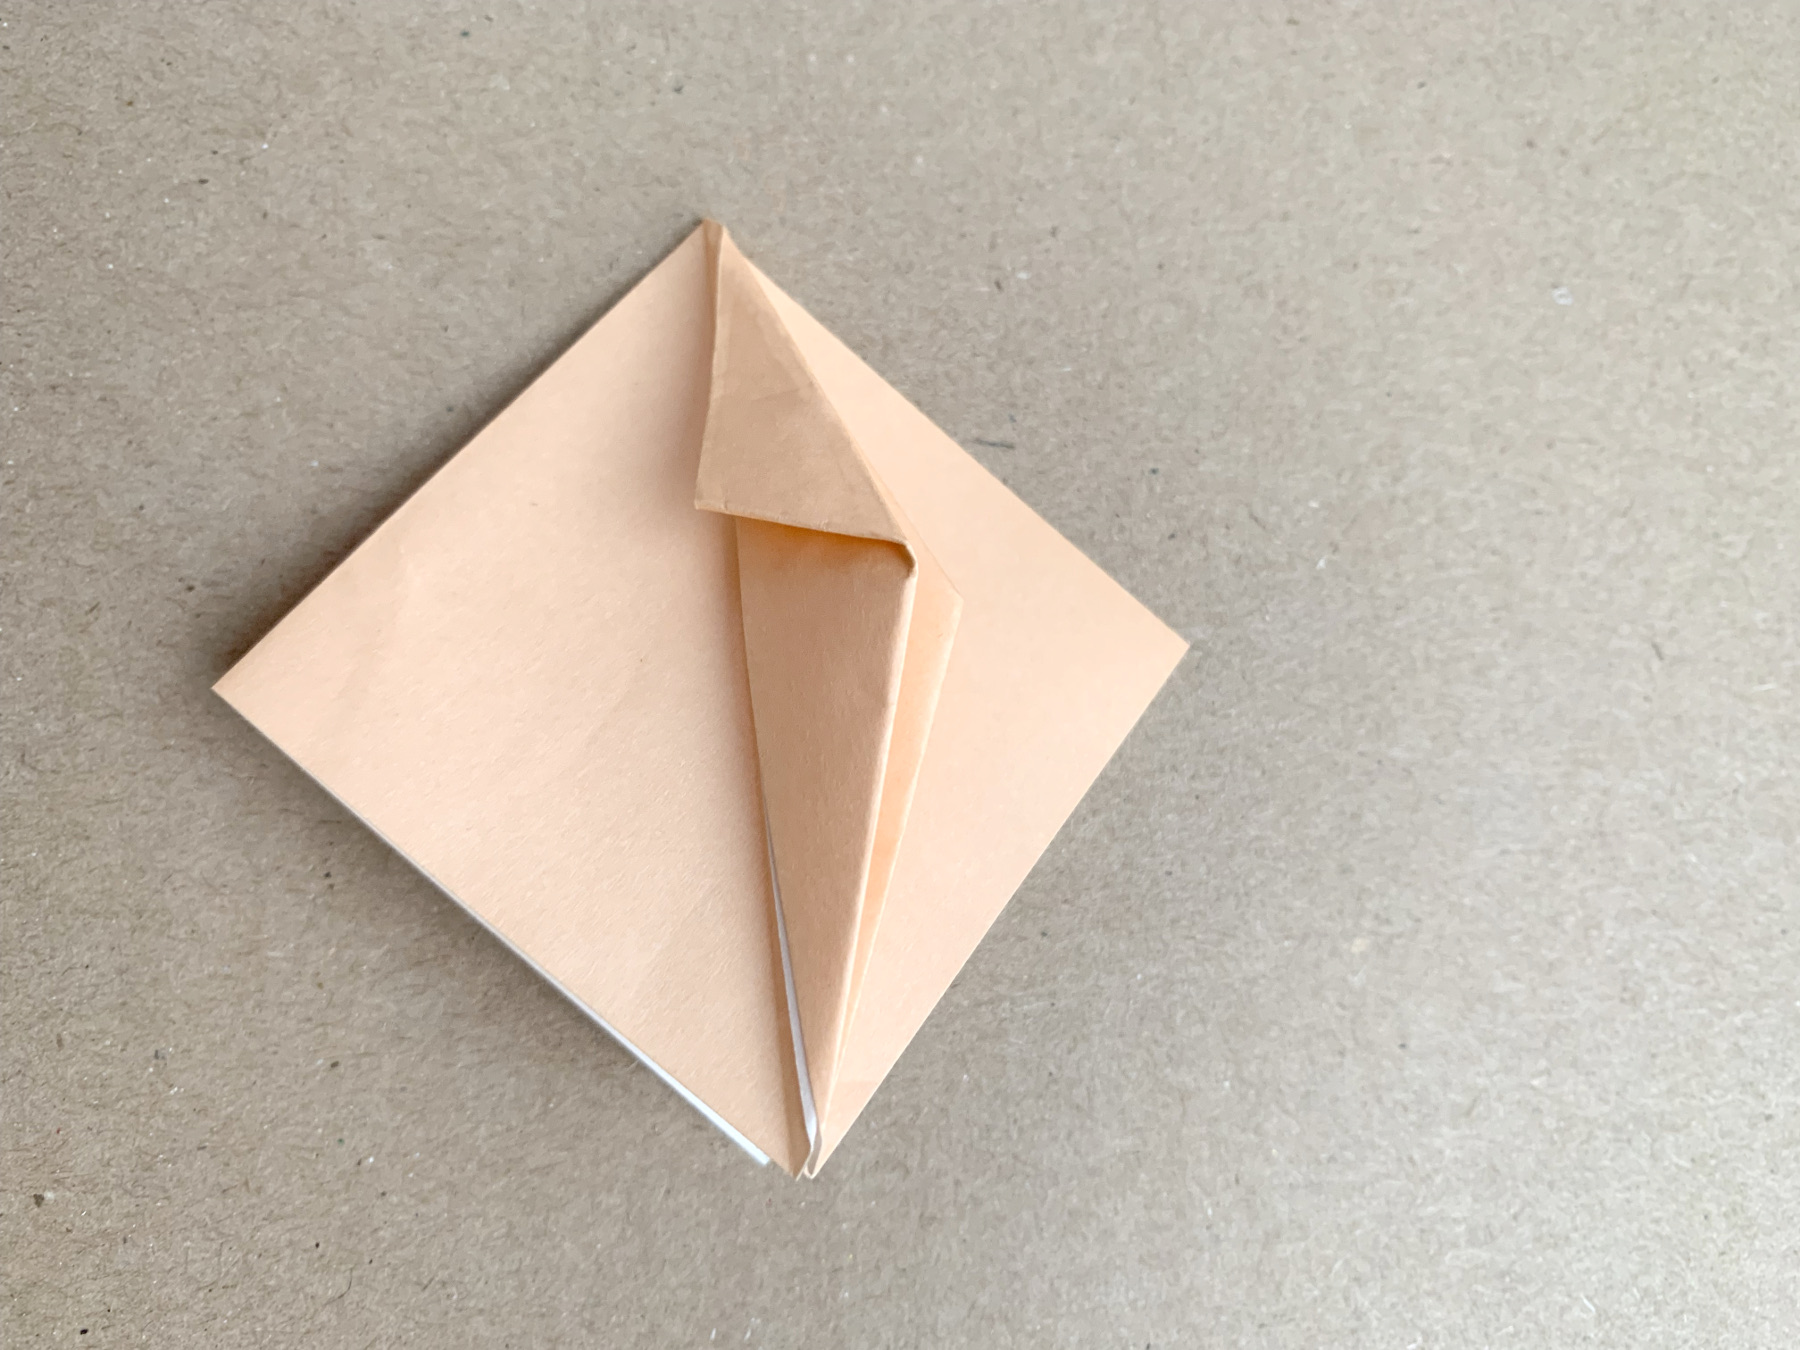
Fold the topside also slanted, along the center line.
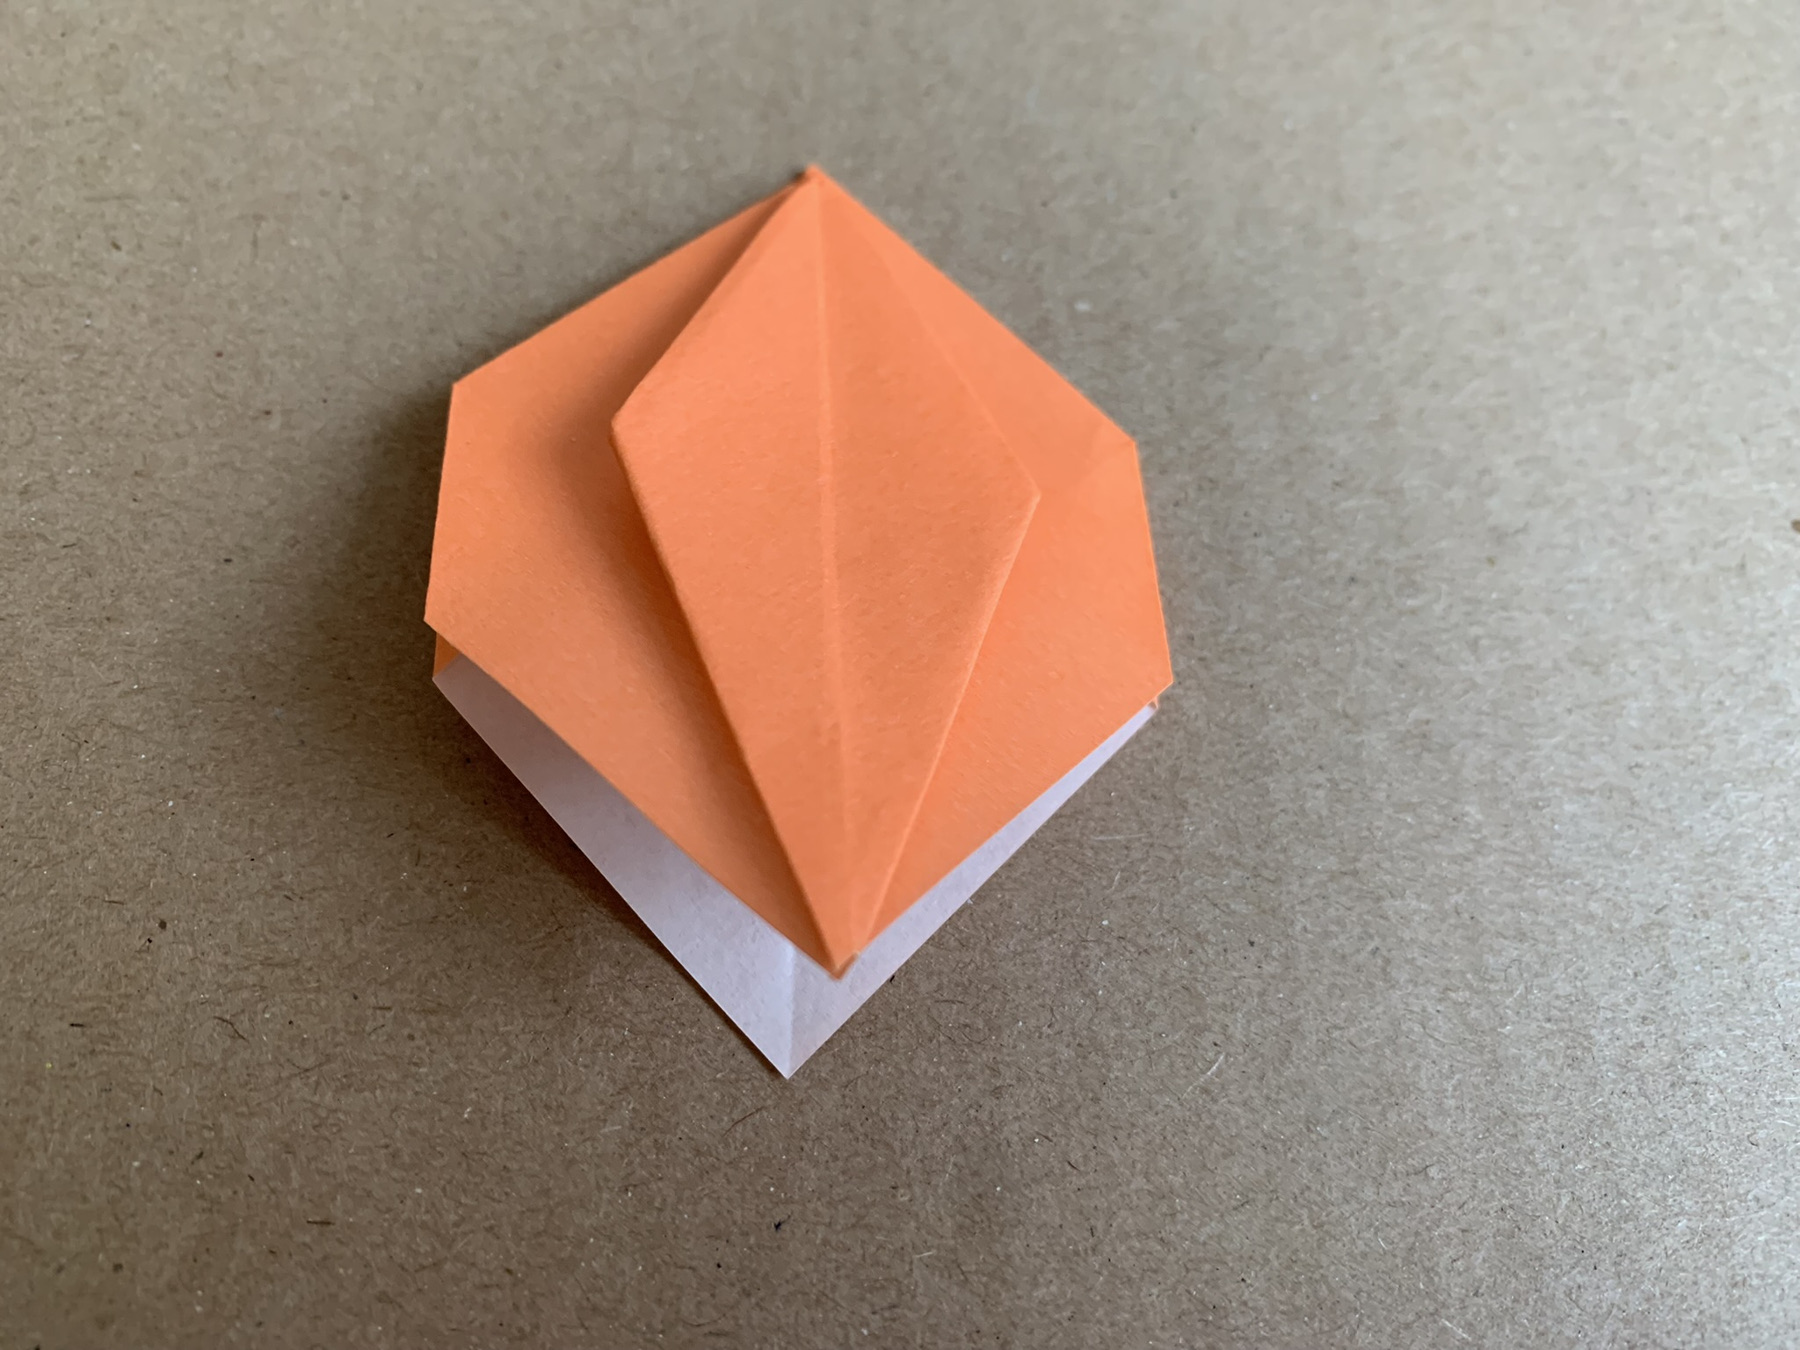
Repeat on the opposite (left) side, then it looks like this.
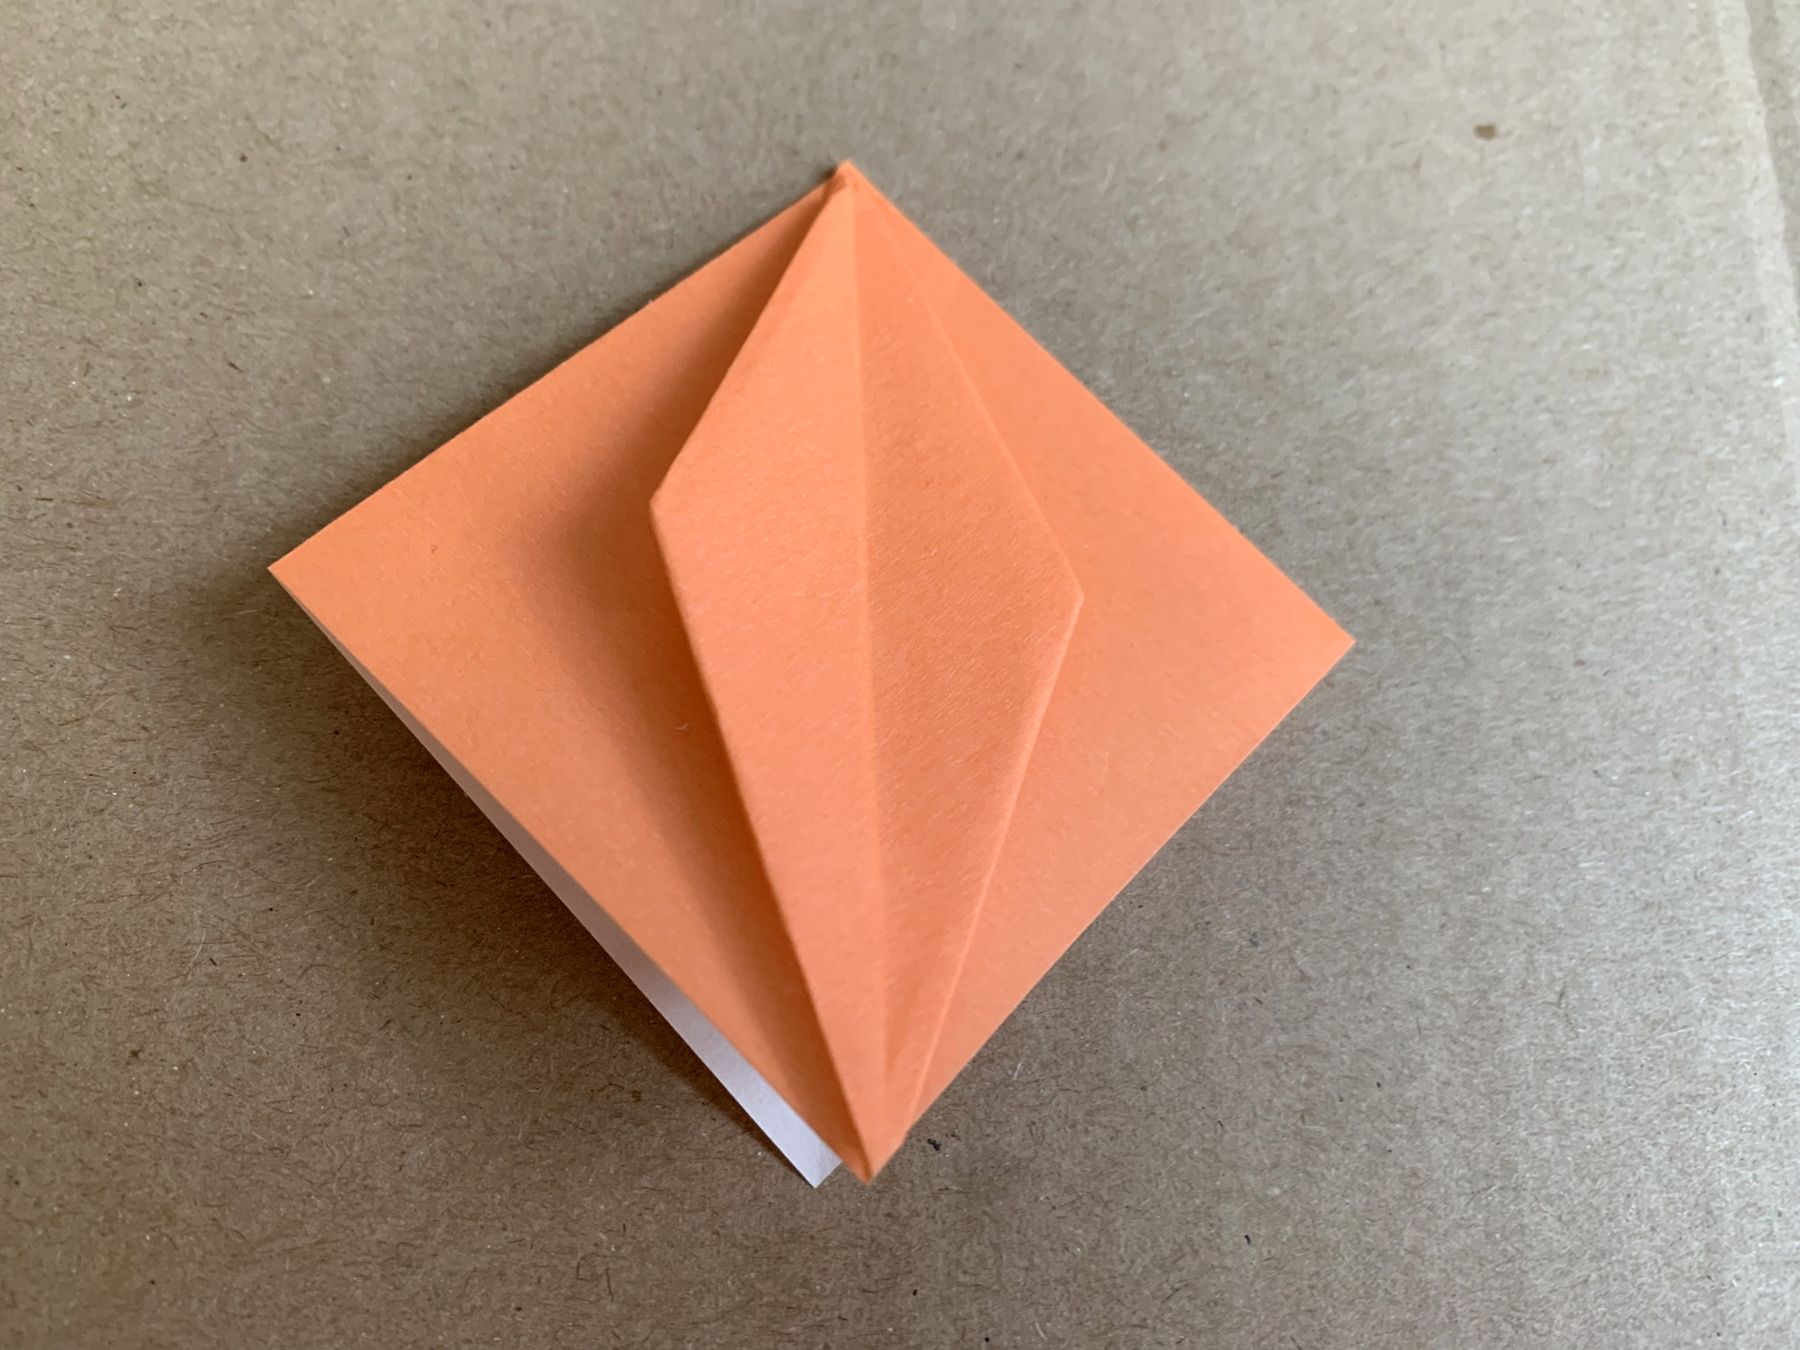
When you flatten the folding well it looks like this.
Now for the second and also last trick
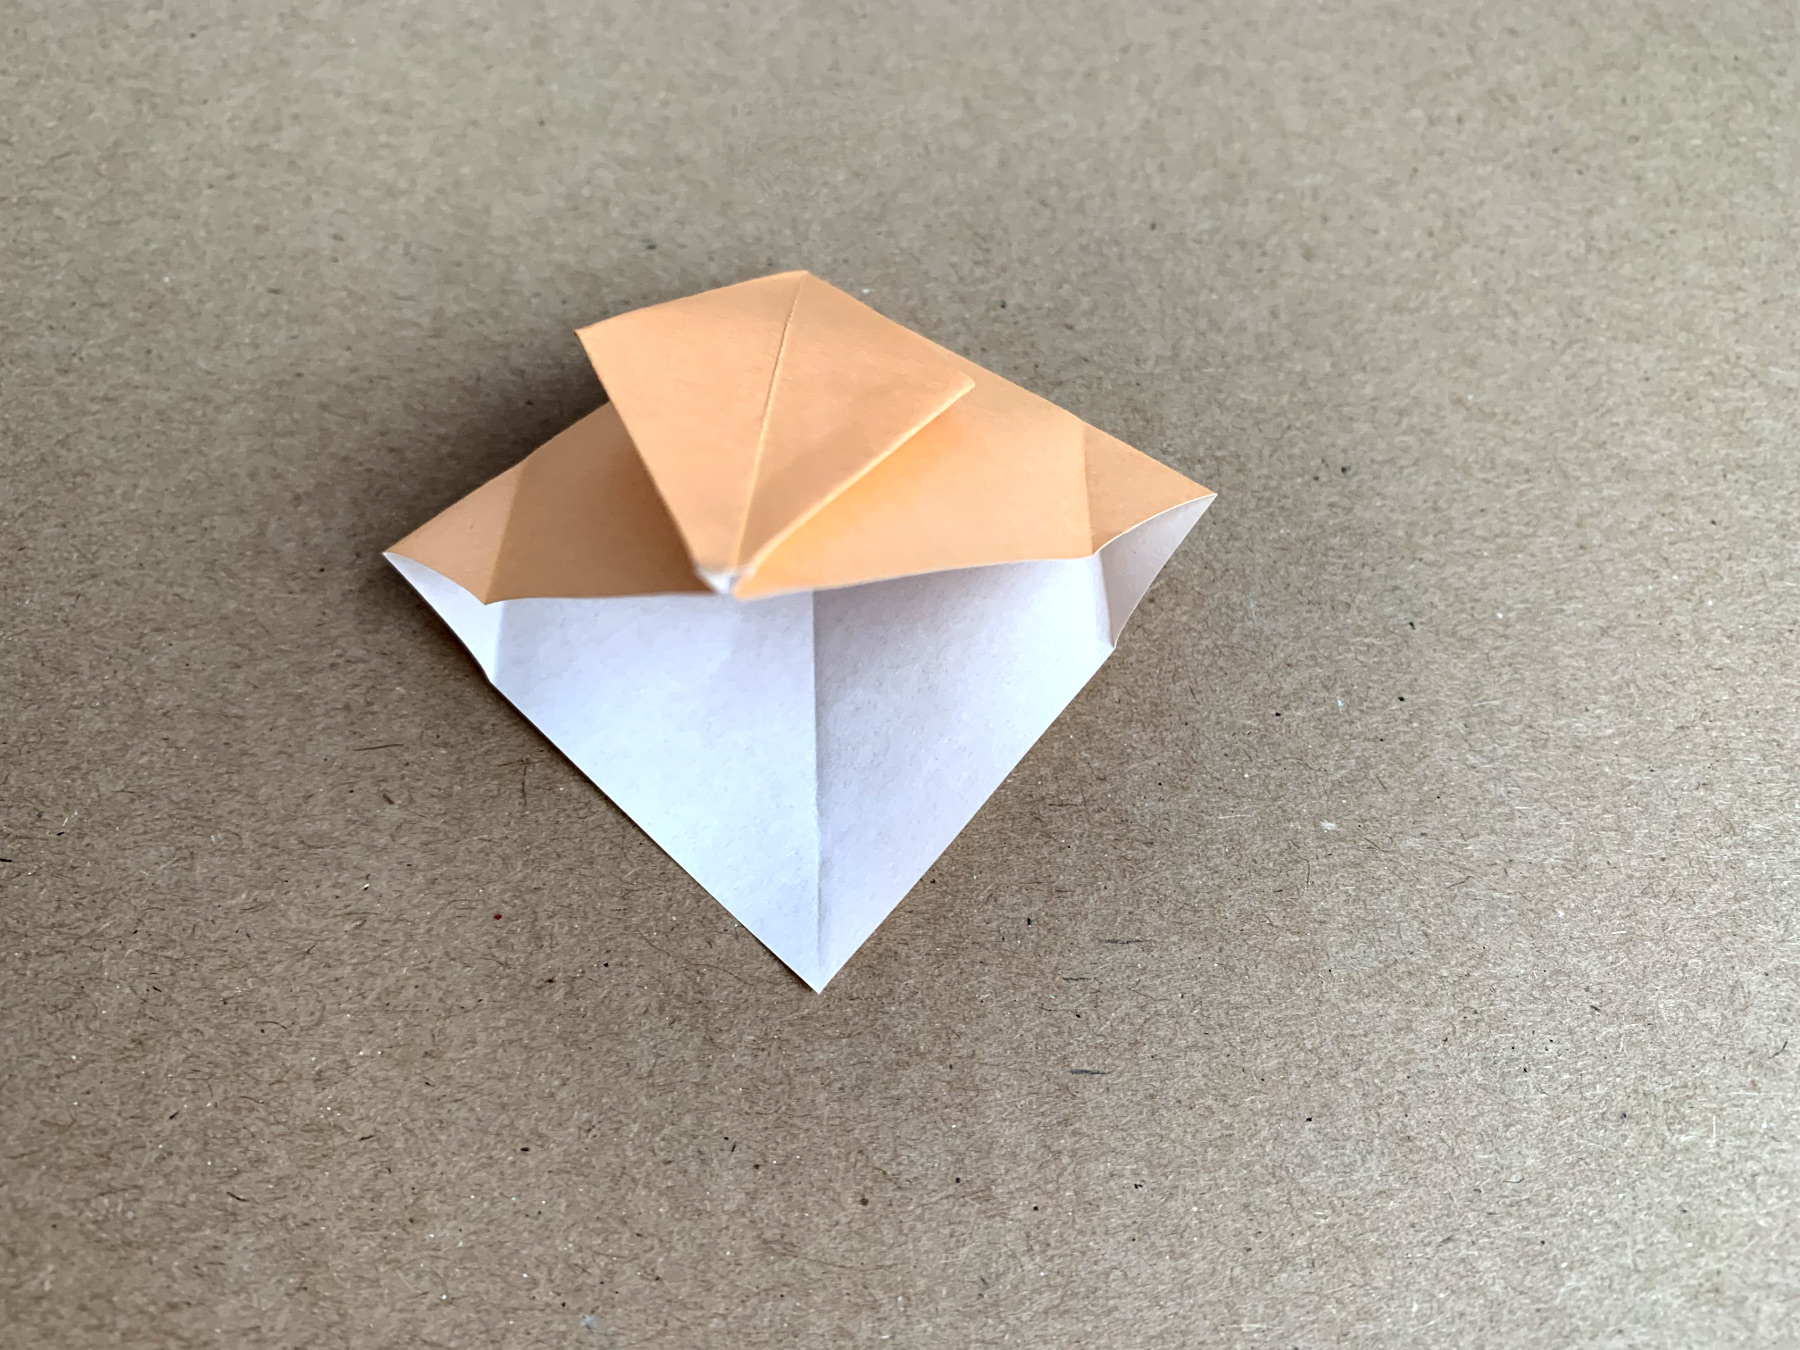
Fold both sides sharply to the points.
Fold back and fold your work open a little.
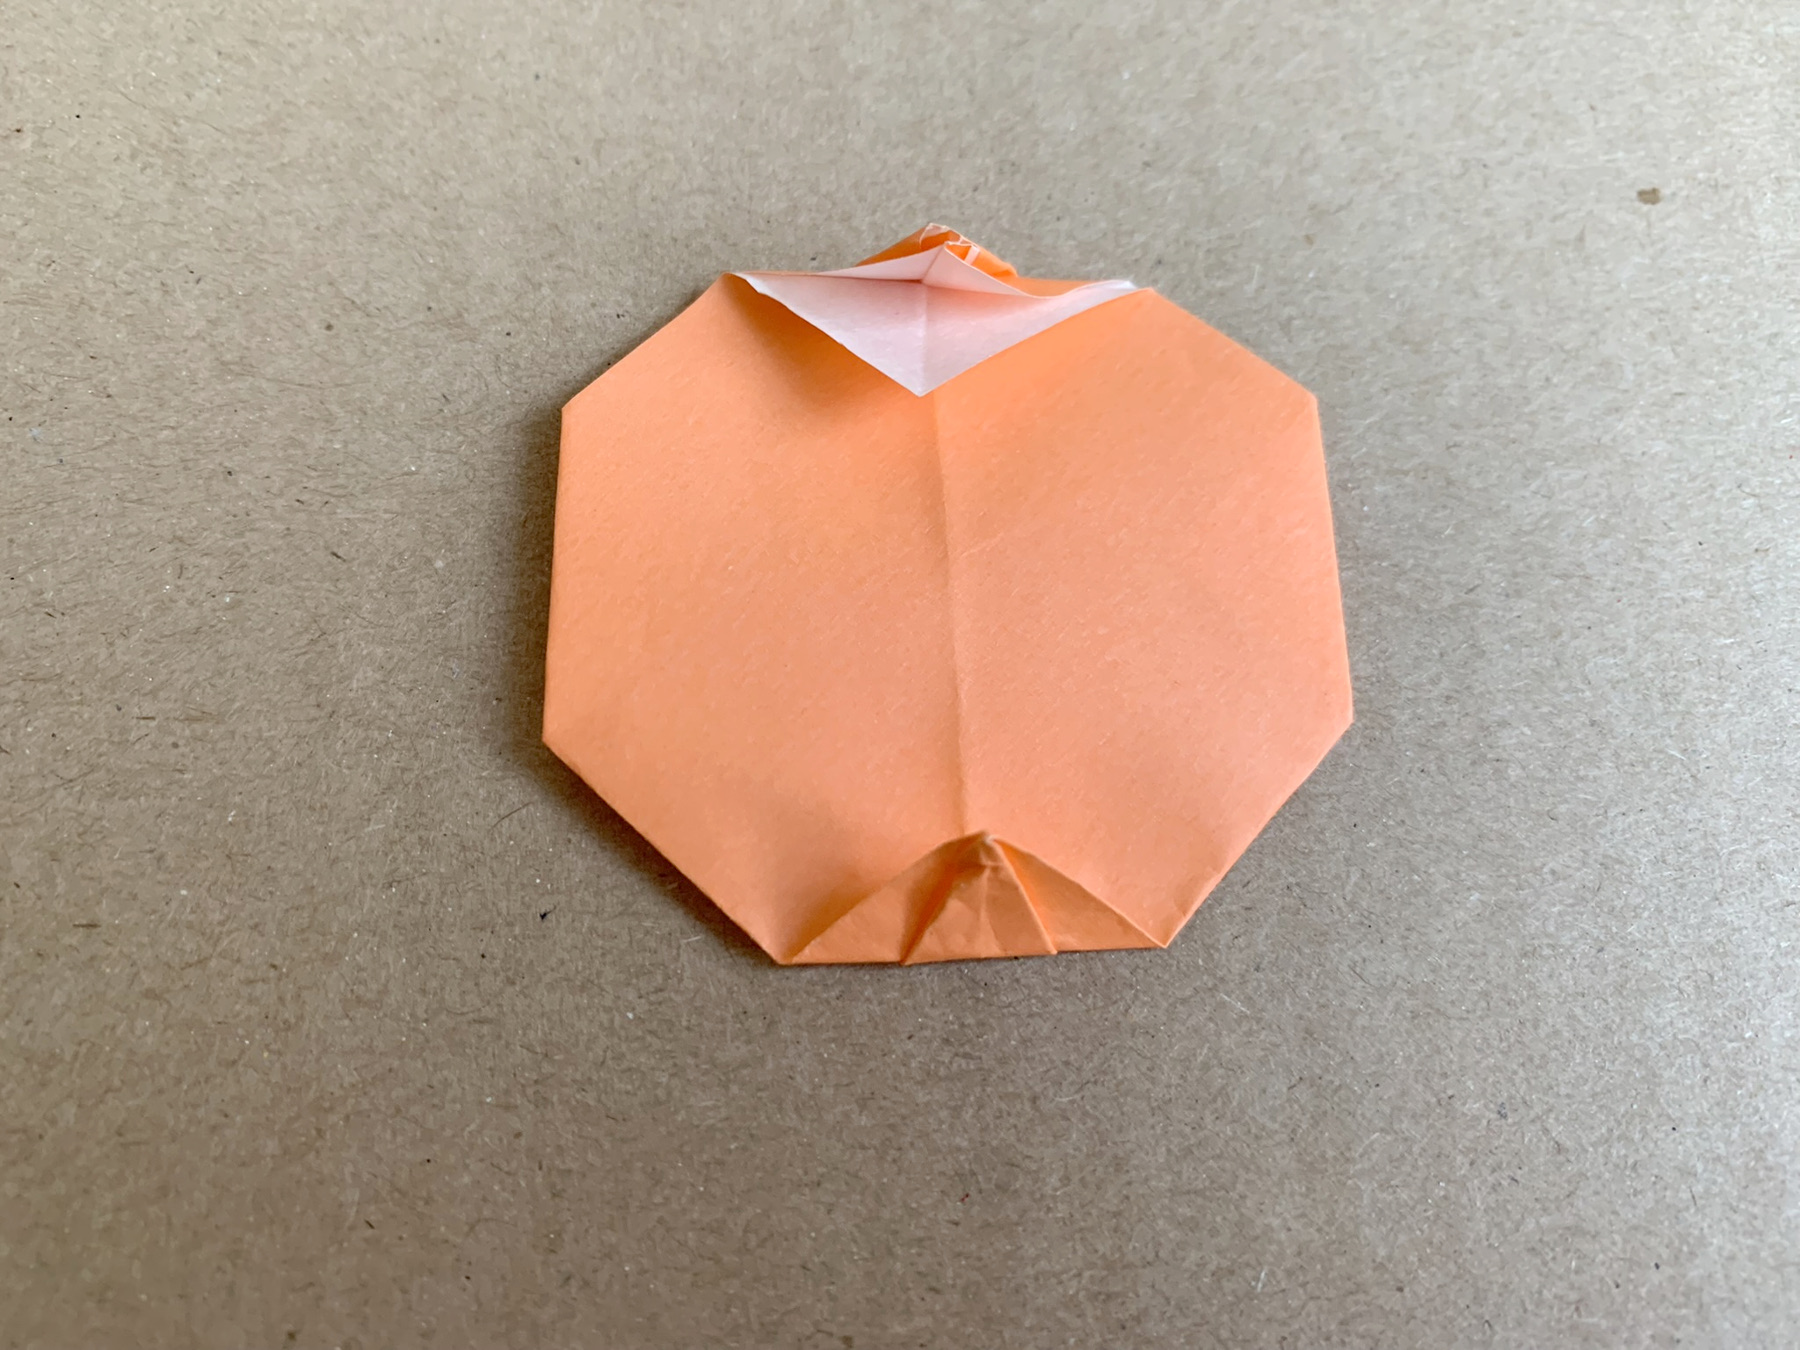
Fold the small points on the middle line inward.
Fold top and bottom backward.
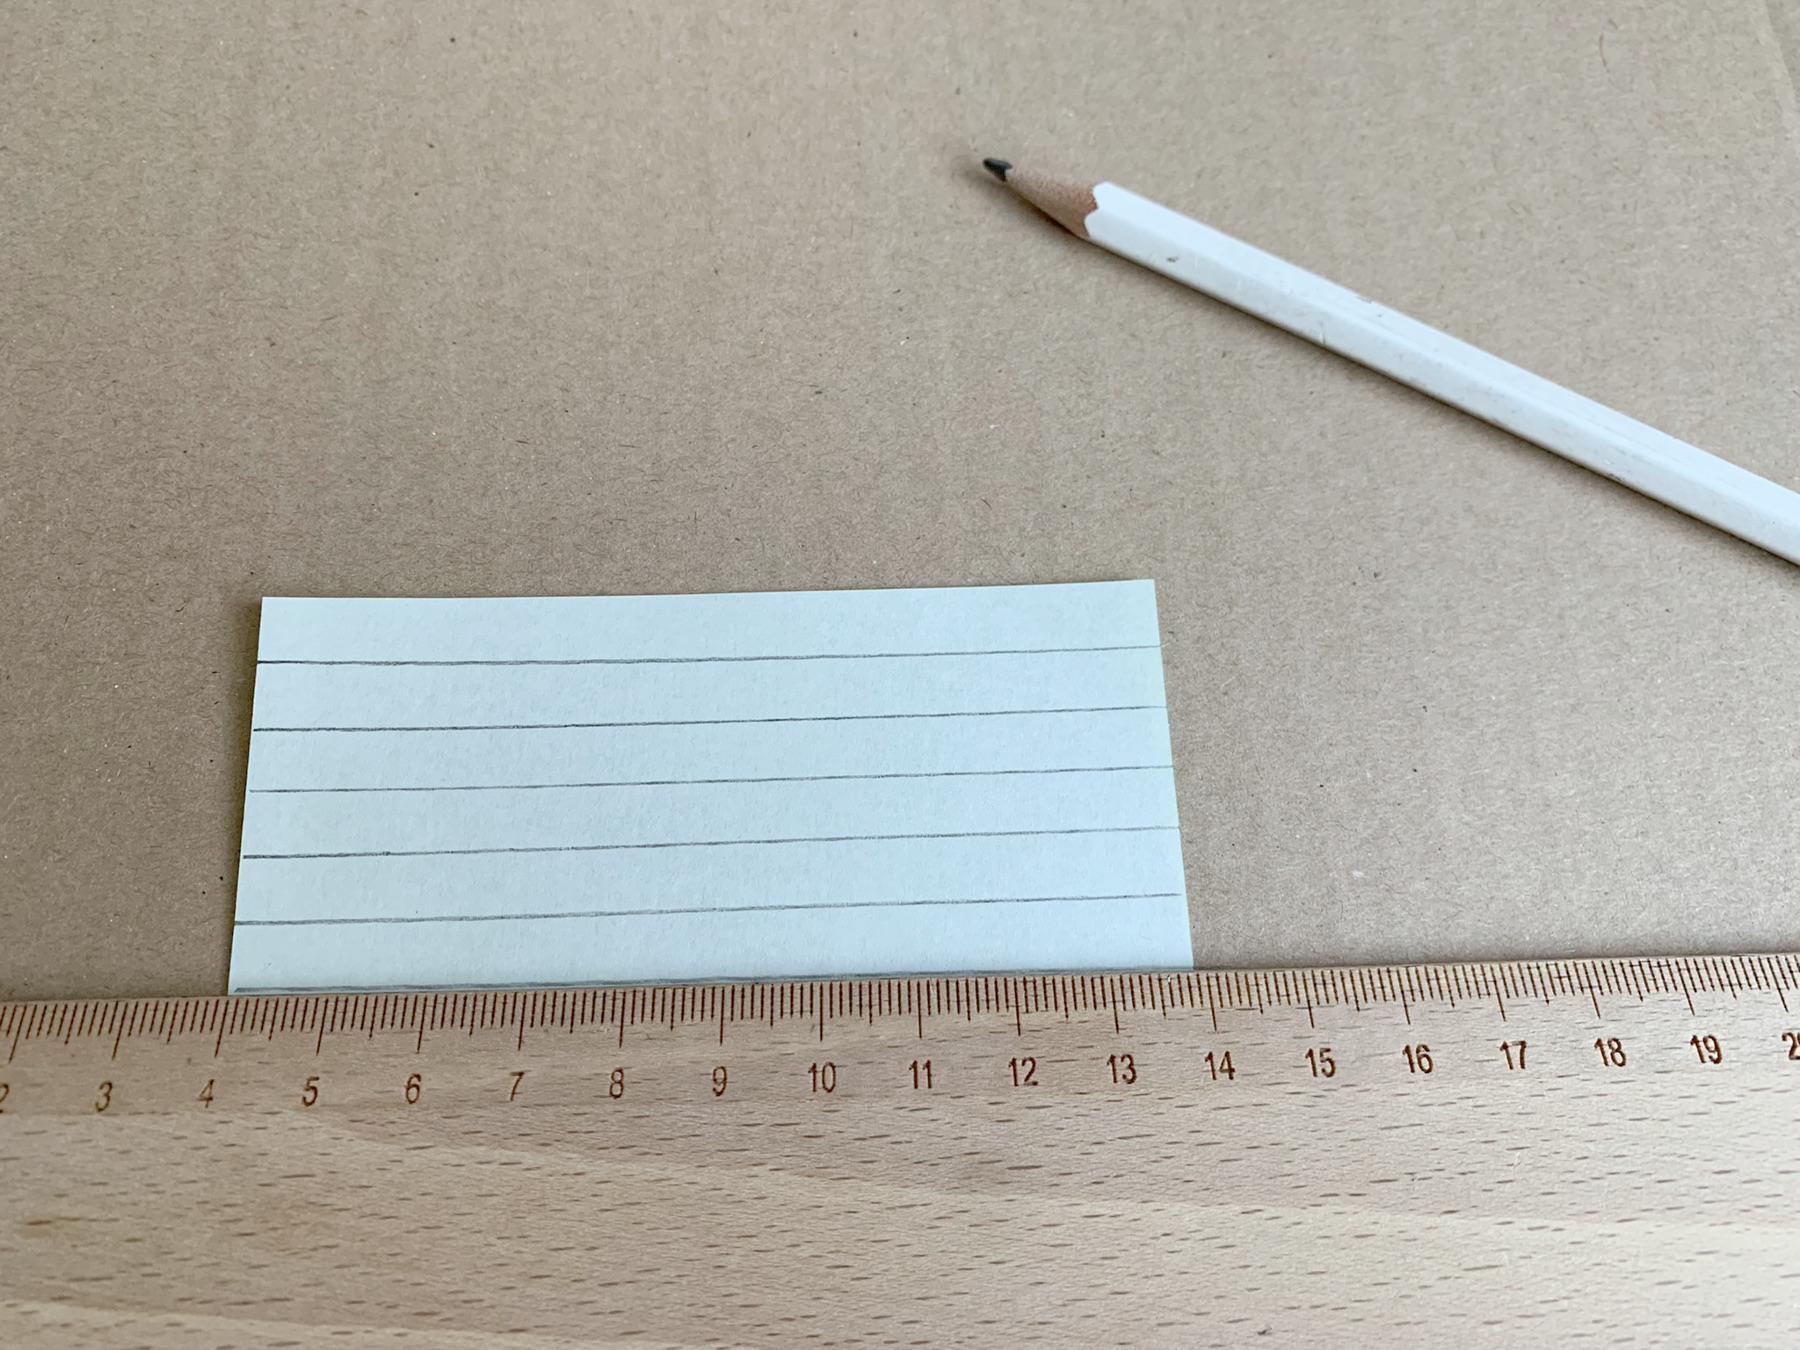
Draw stripes on the green paper.
Cut off and fold in halves.
Stick the points on the back.

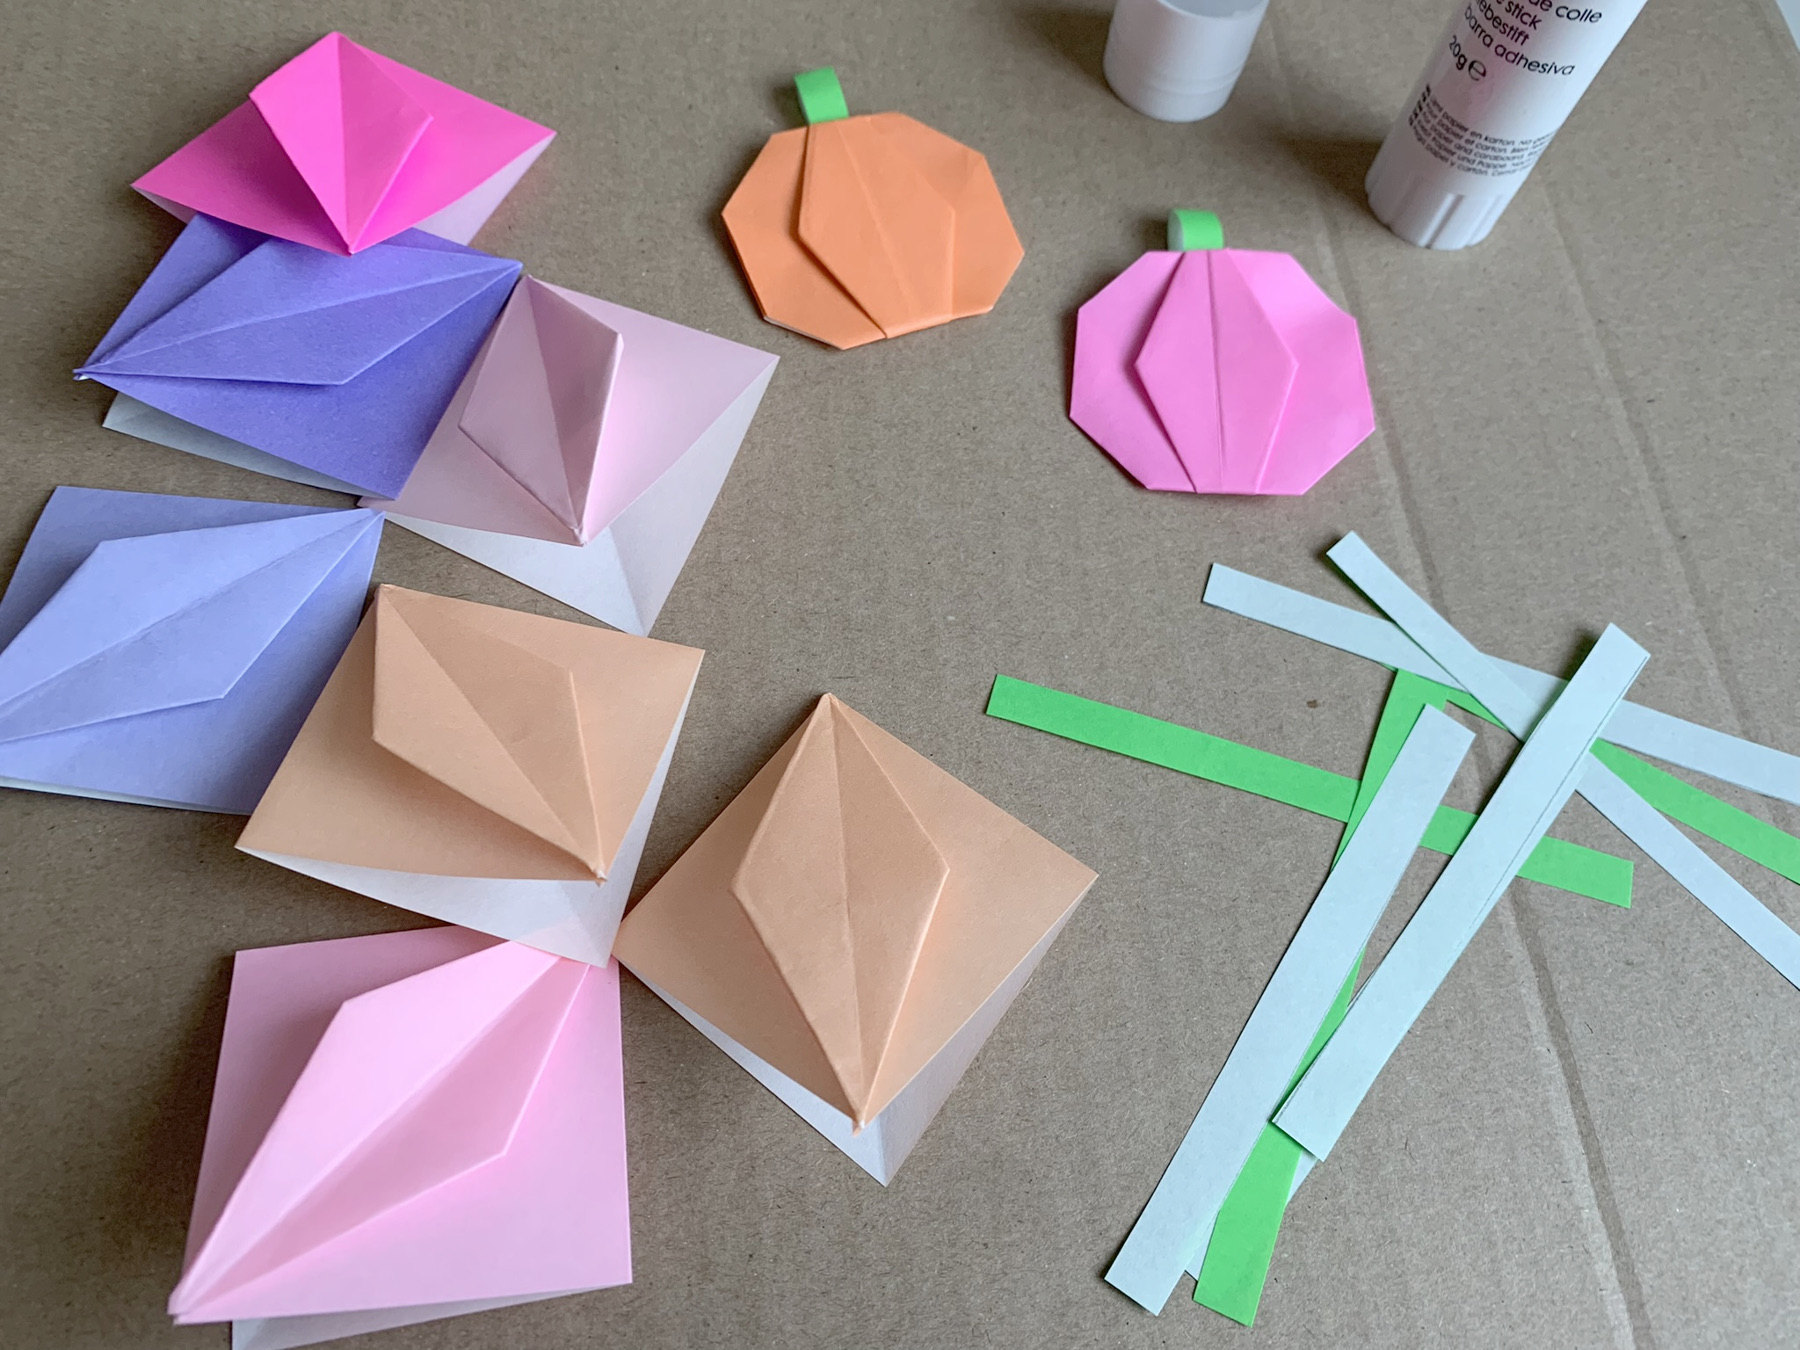
Stick a folded strip on the points.
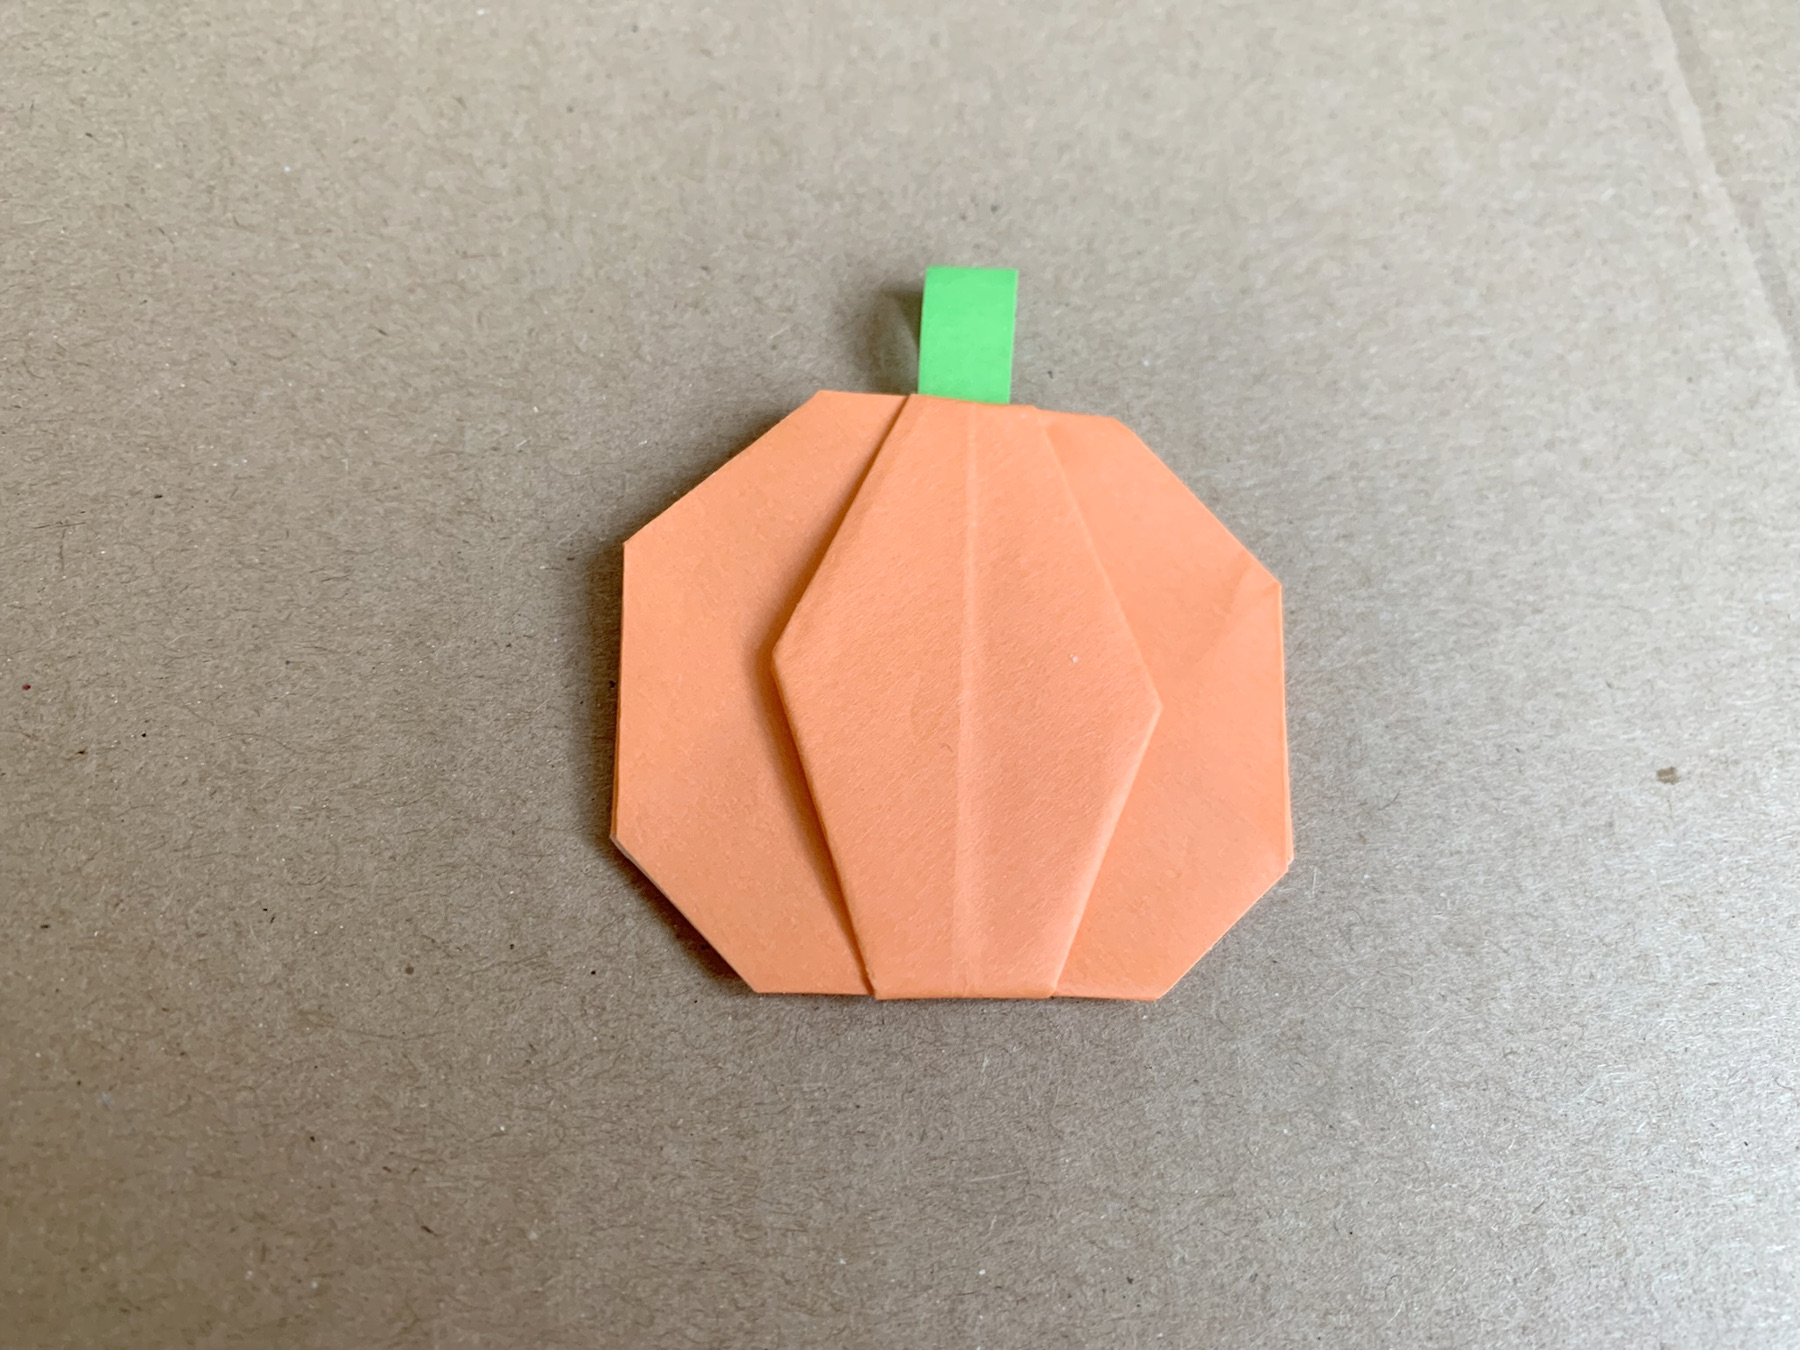
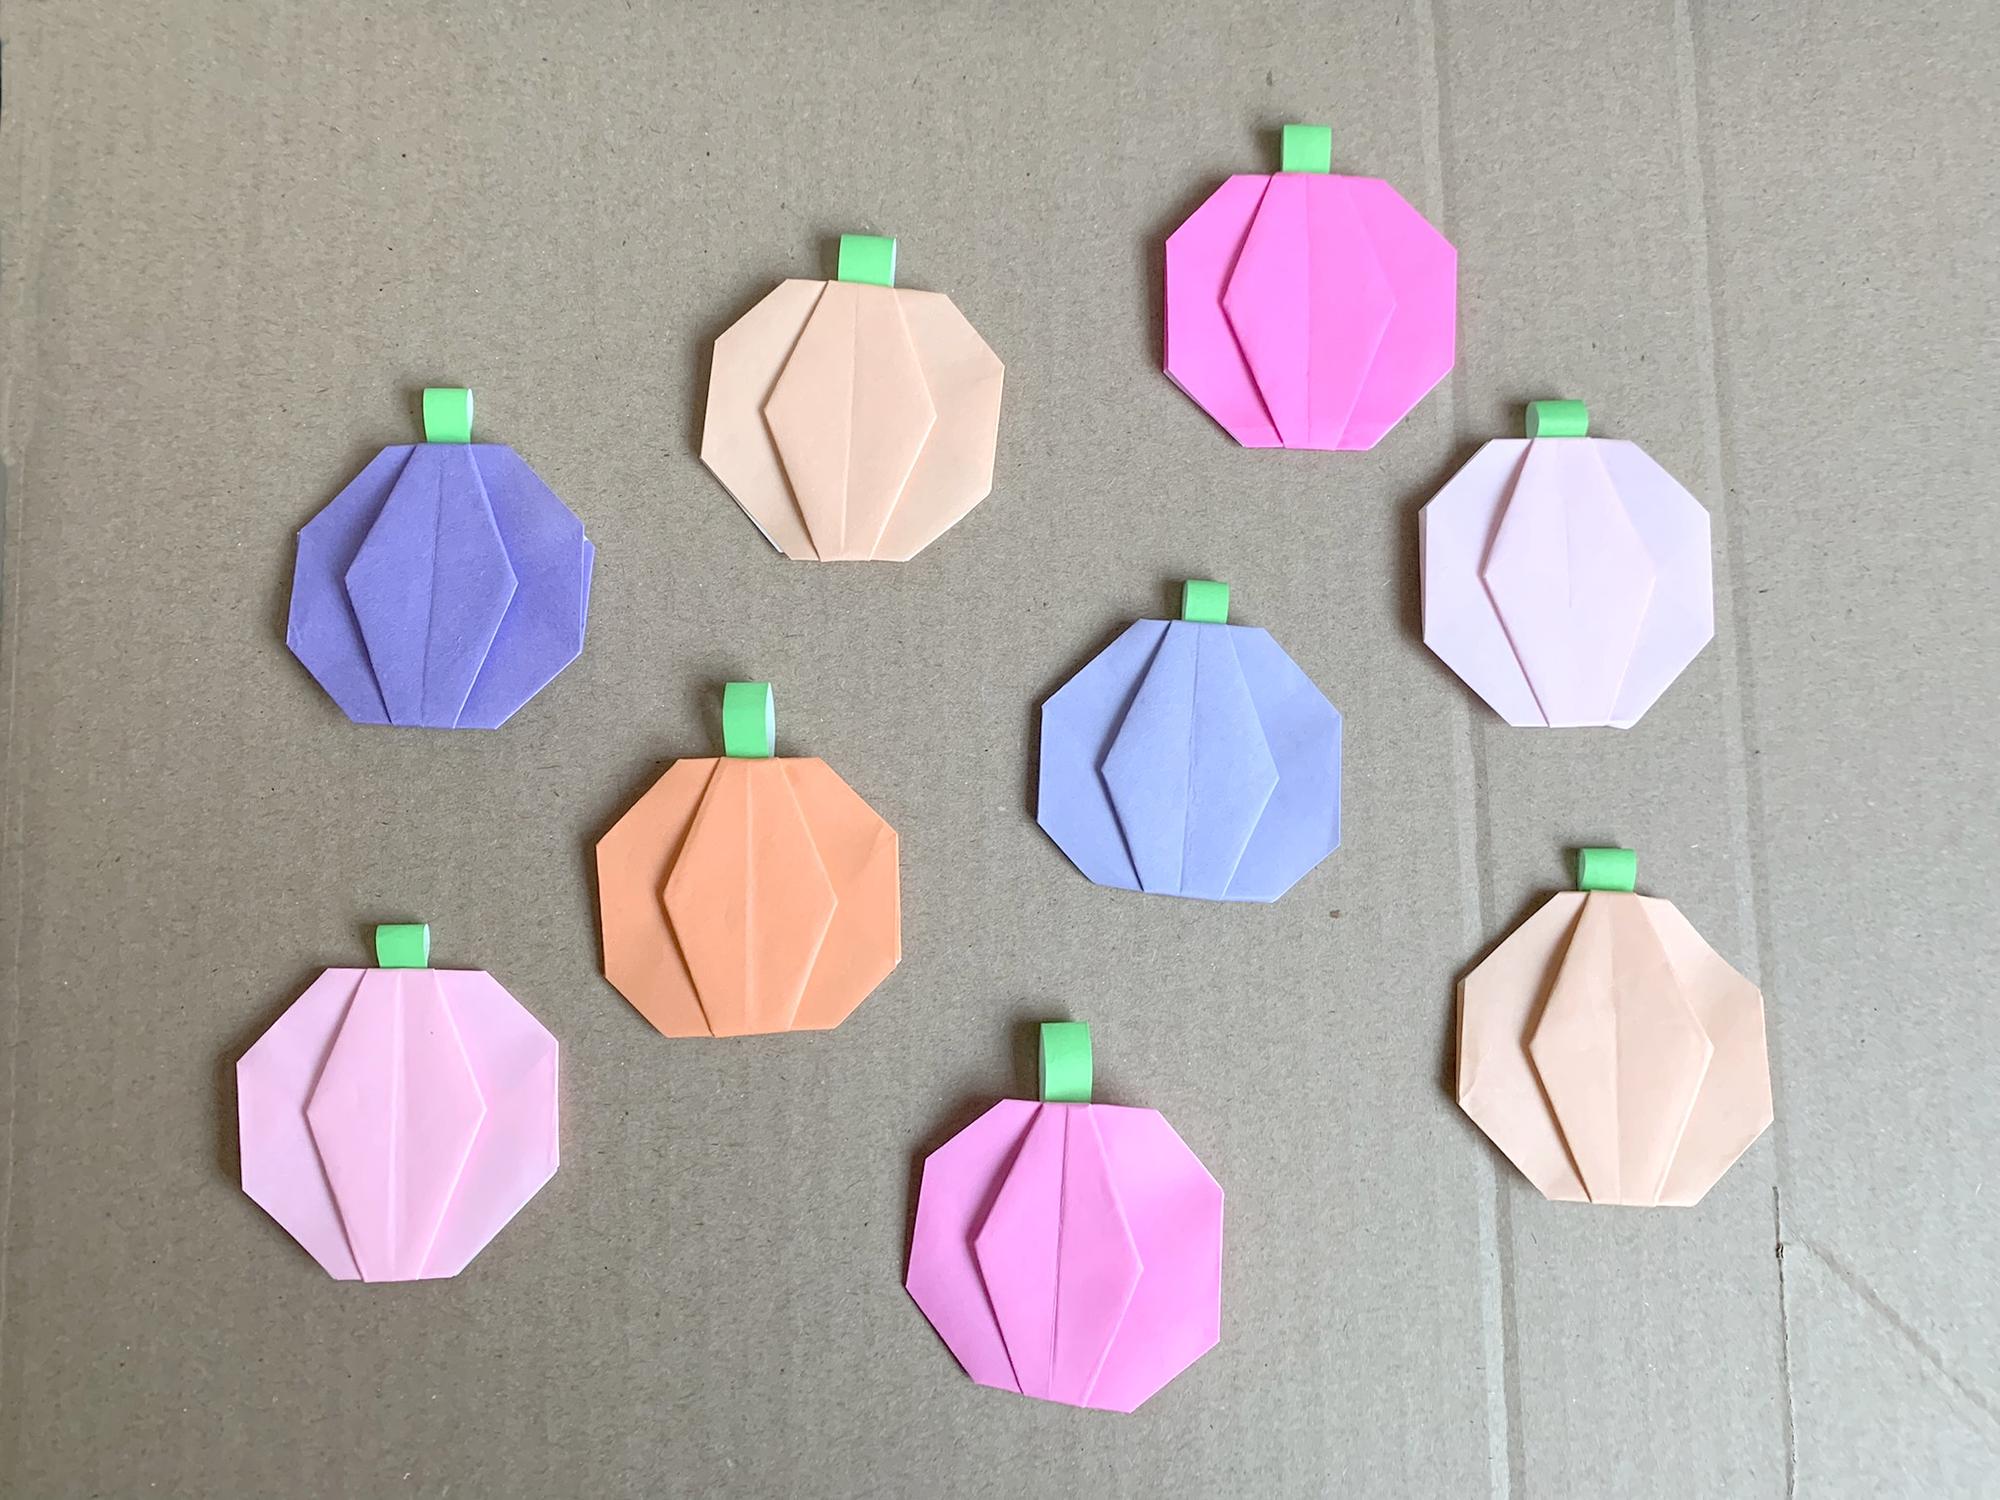
Hurray! The first origami pumpkin is ready!
The second one goes faster, we fold a lot more!
We also fold pumpkins in other colours.
What can you do with al those little pumpkins? You can stick them in or on your agenda, you can hang them on an autumn present or you can make nice Autumn cards with them, for example.
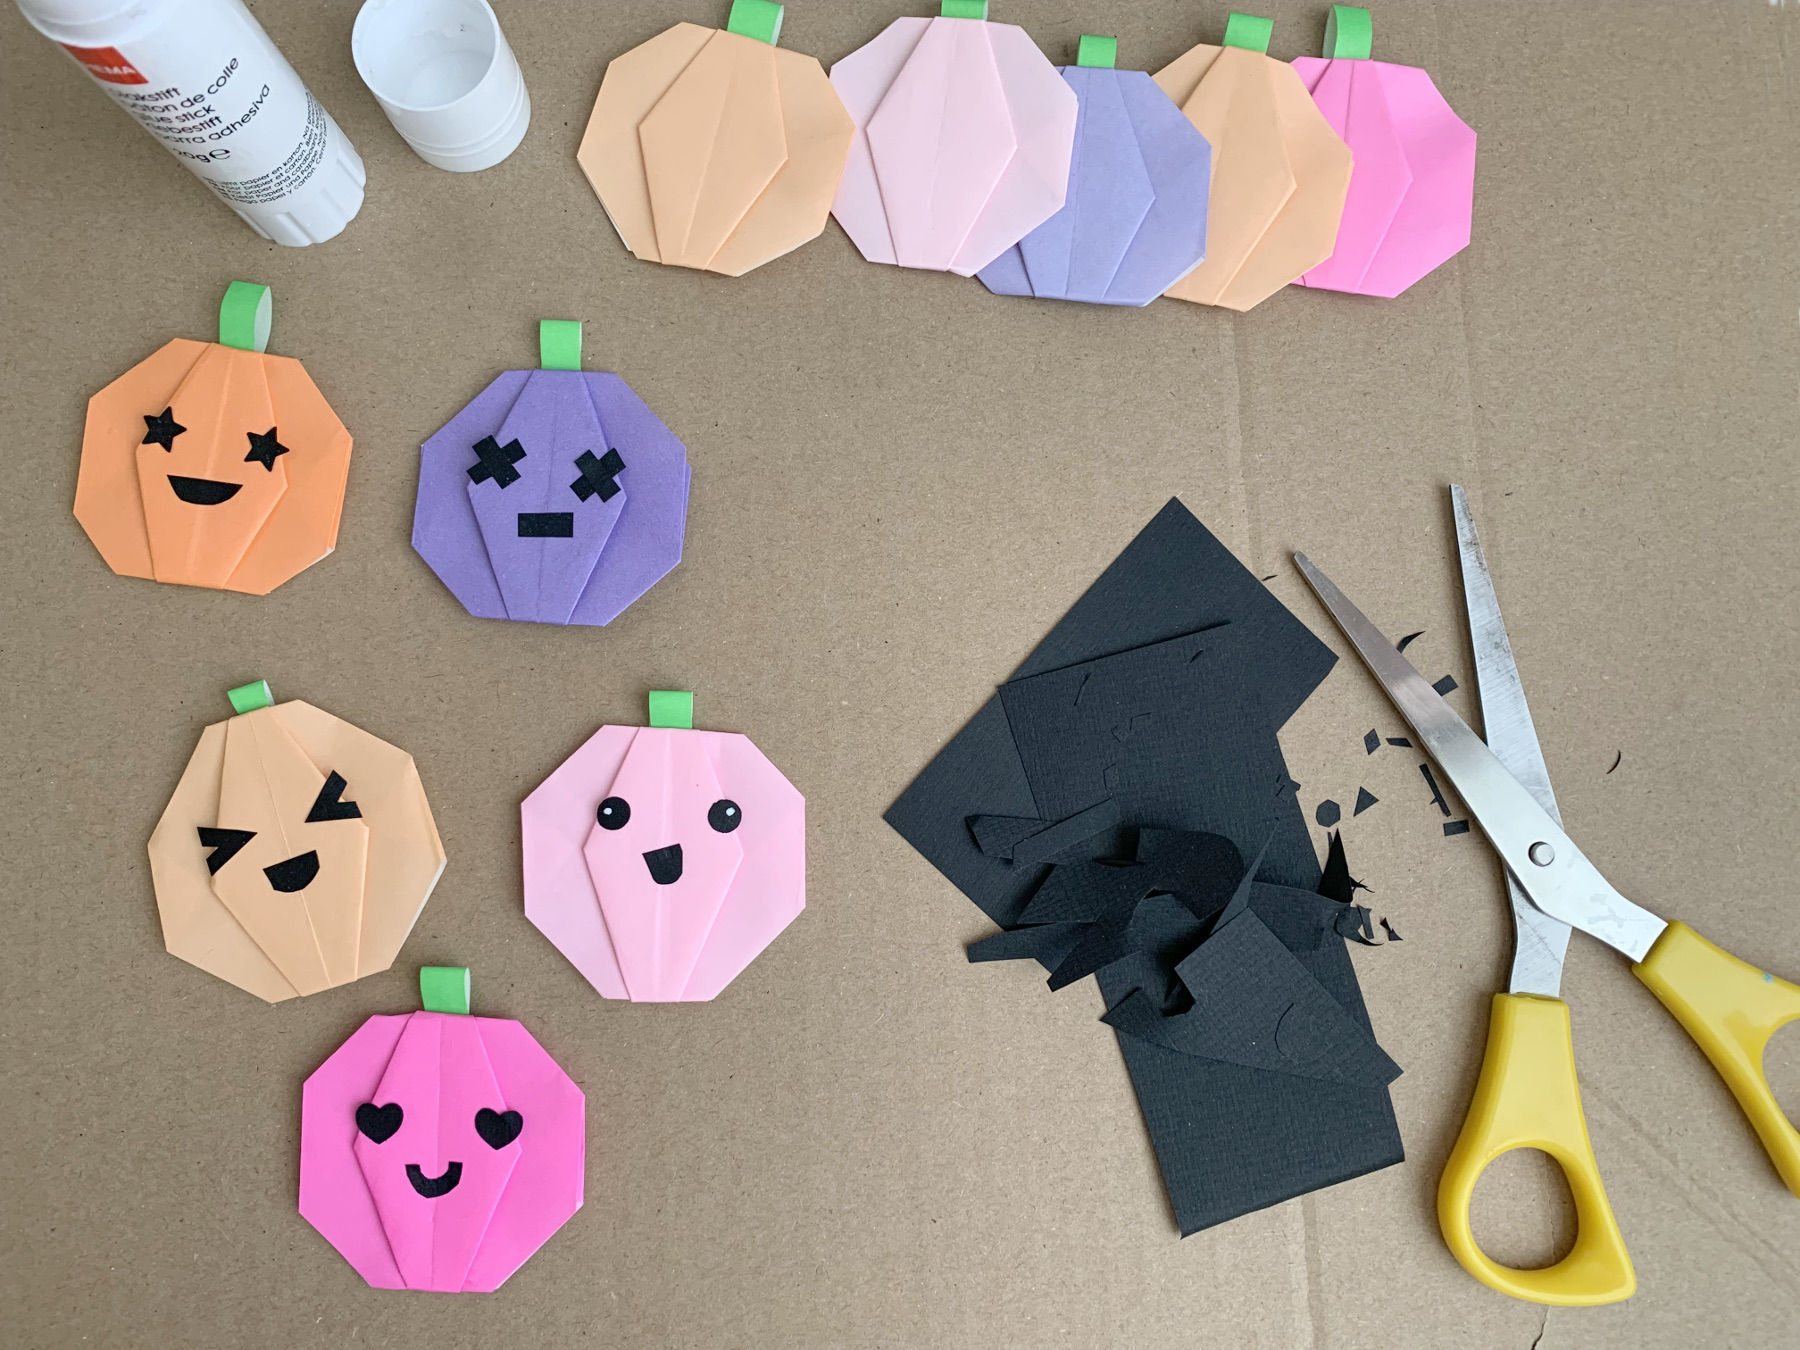
But first, make cute faces on the pumpkins.
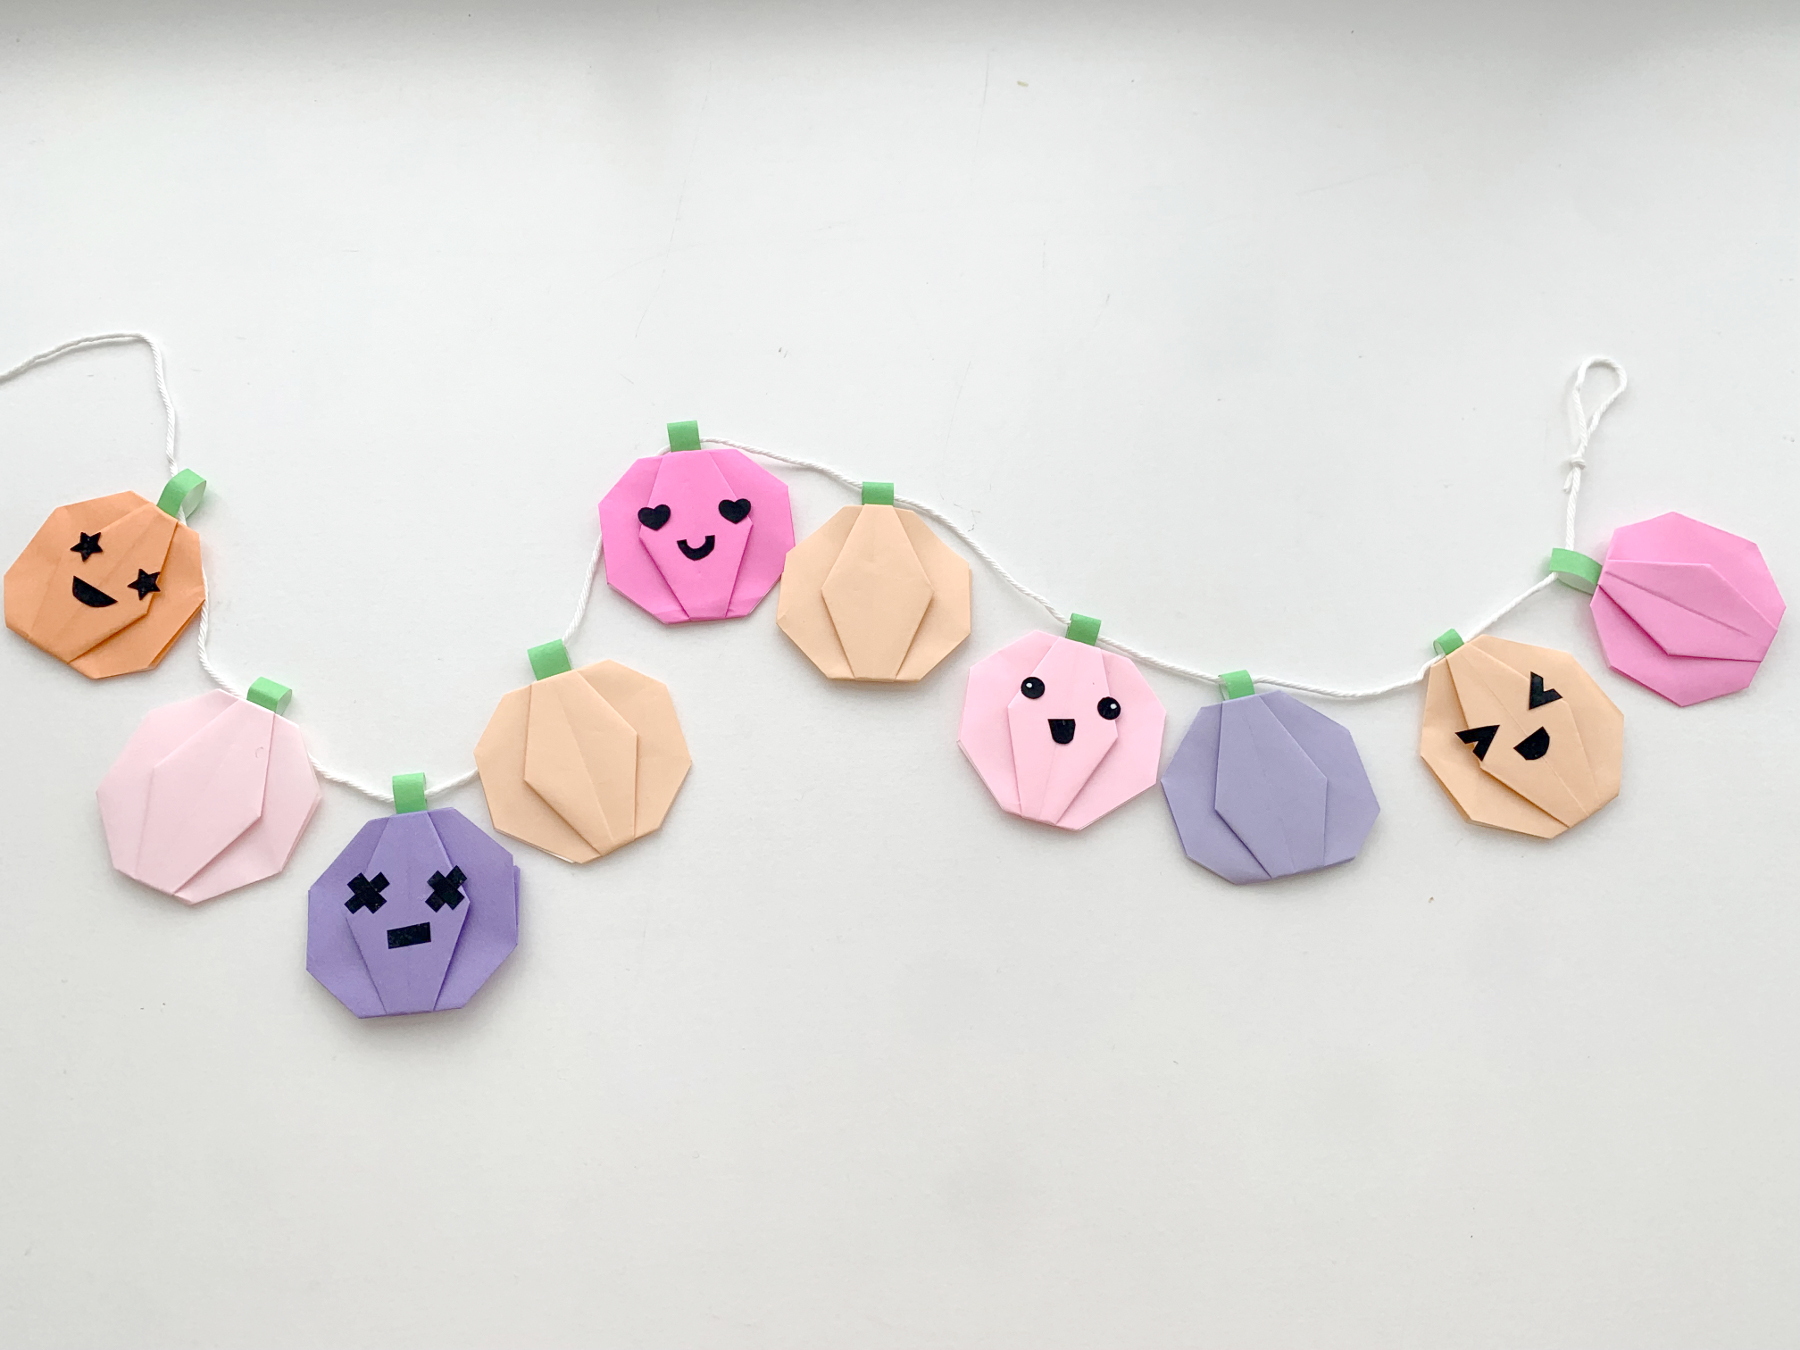
We string them on a long thread, because we make a garland.
Happy Fall!