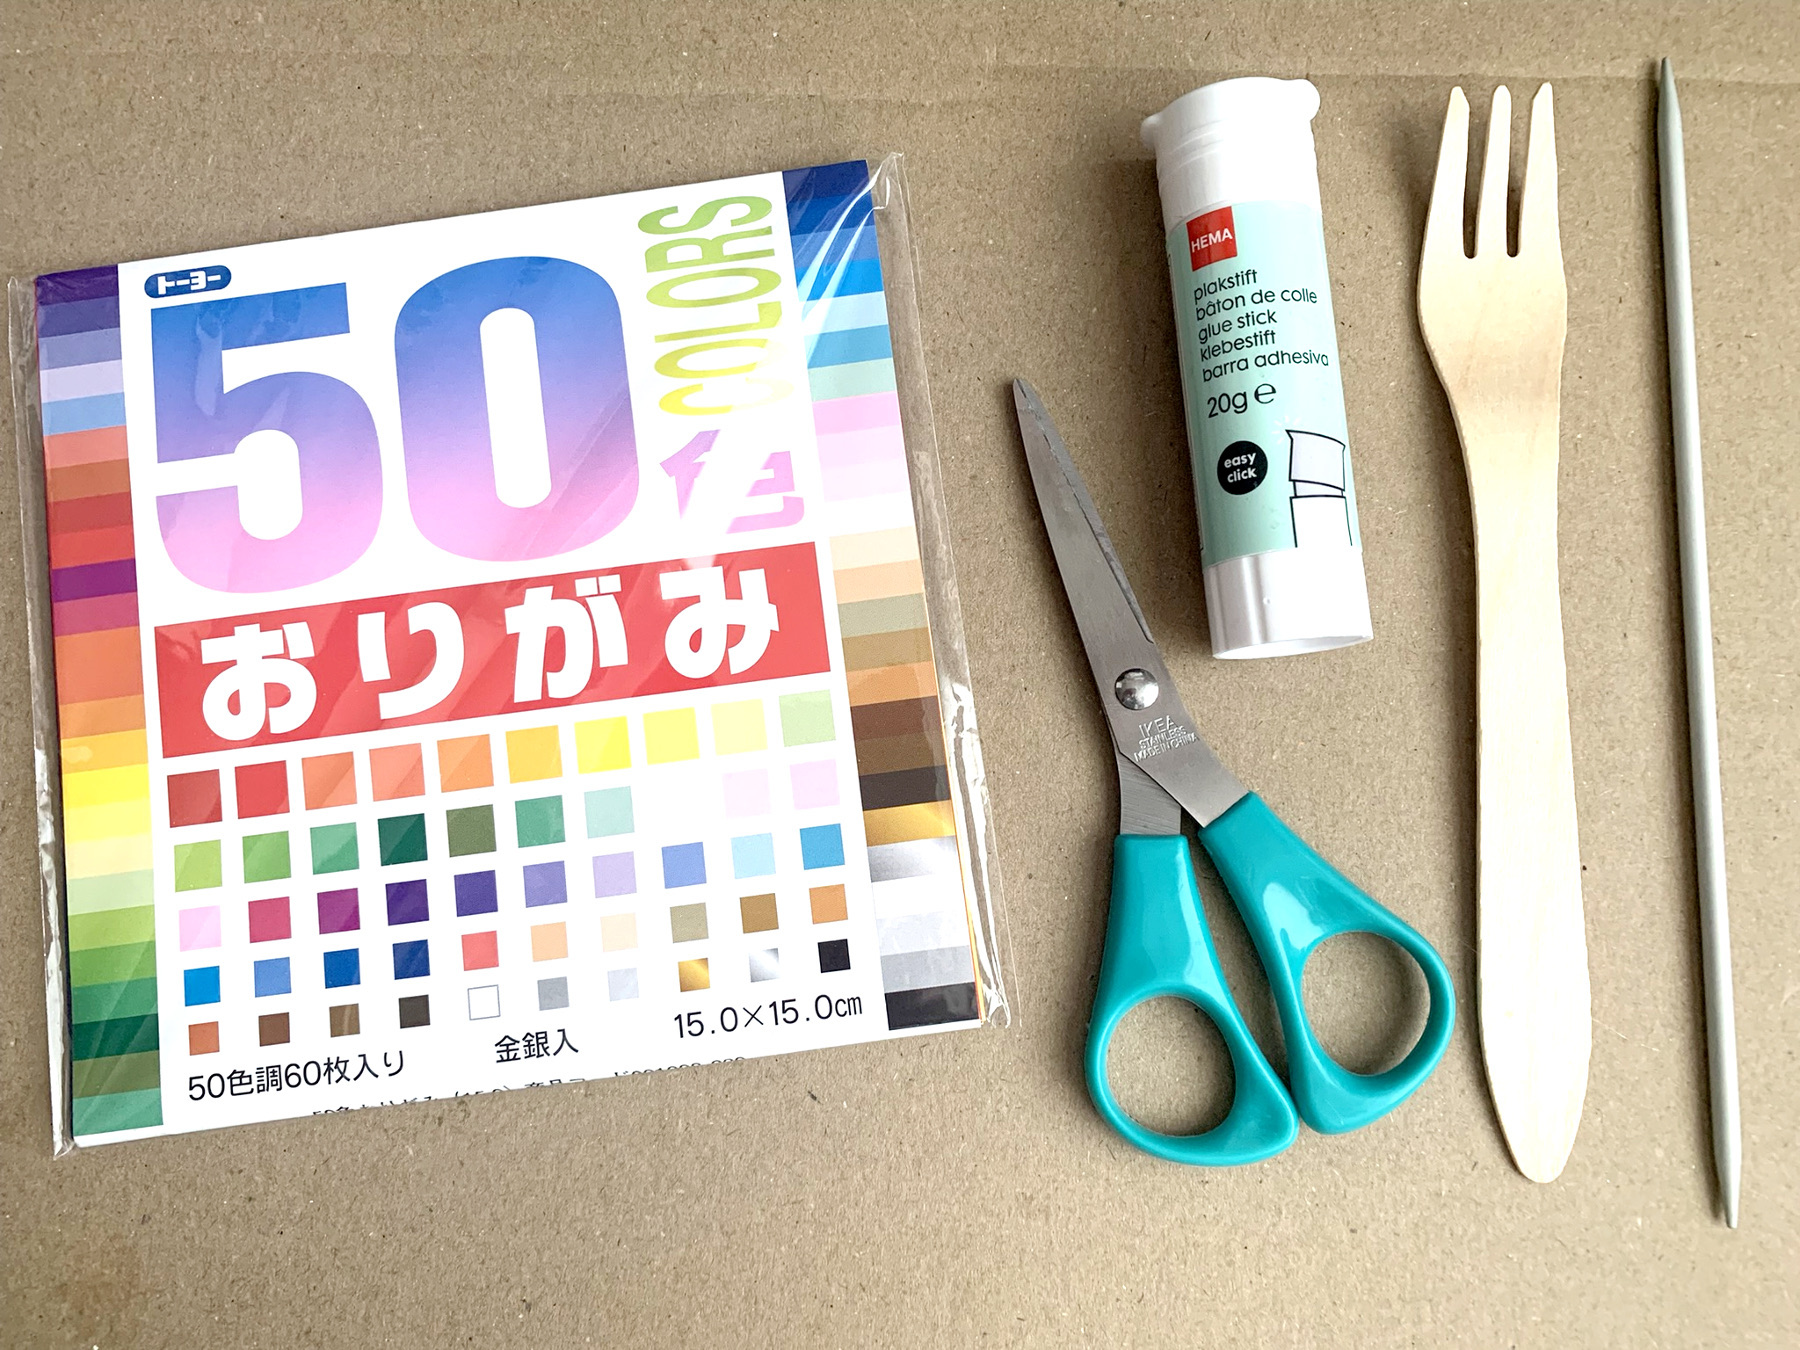
What do you need?
green origami or folding leaves
a pair of scissors
a stick
wooden fork or spoon
a glue stick
optional: small plant pot or glass jar
ribbon
We will continue straight away with the stem and leaf of the tulip. The flower itself was the hardest to make, stem and leaf are really easy peasy.
Now we are done in less than 10 minutes!
How to make the tulip's stem and the leaf
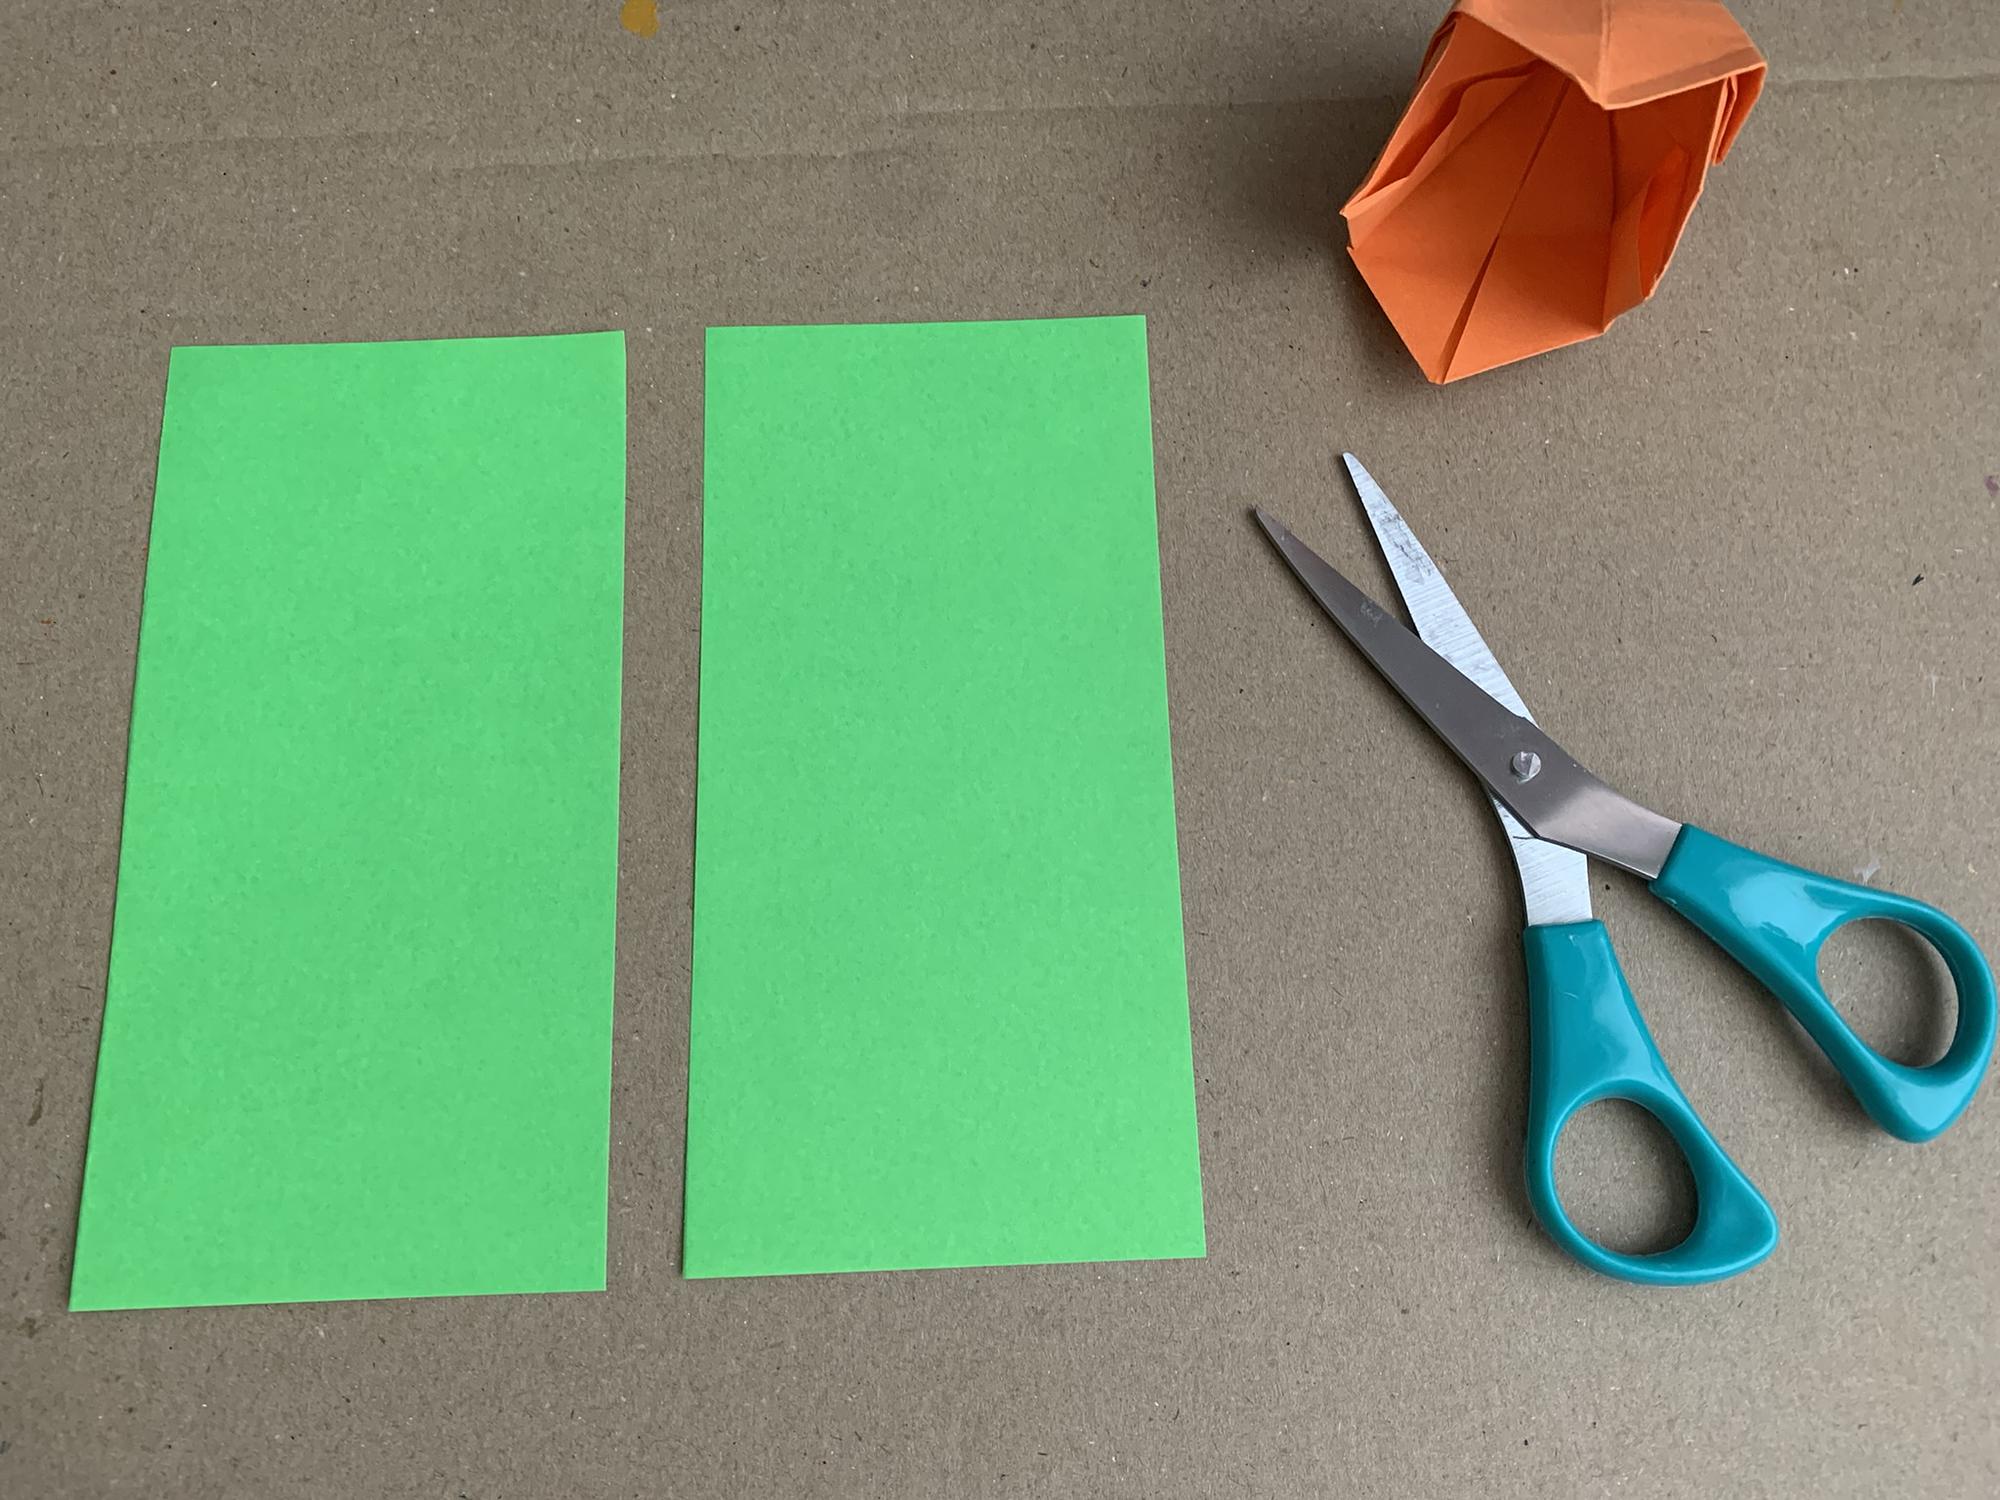
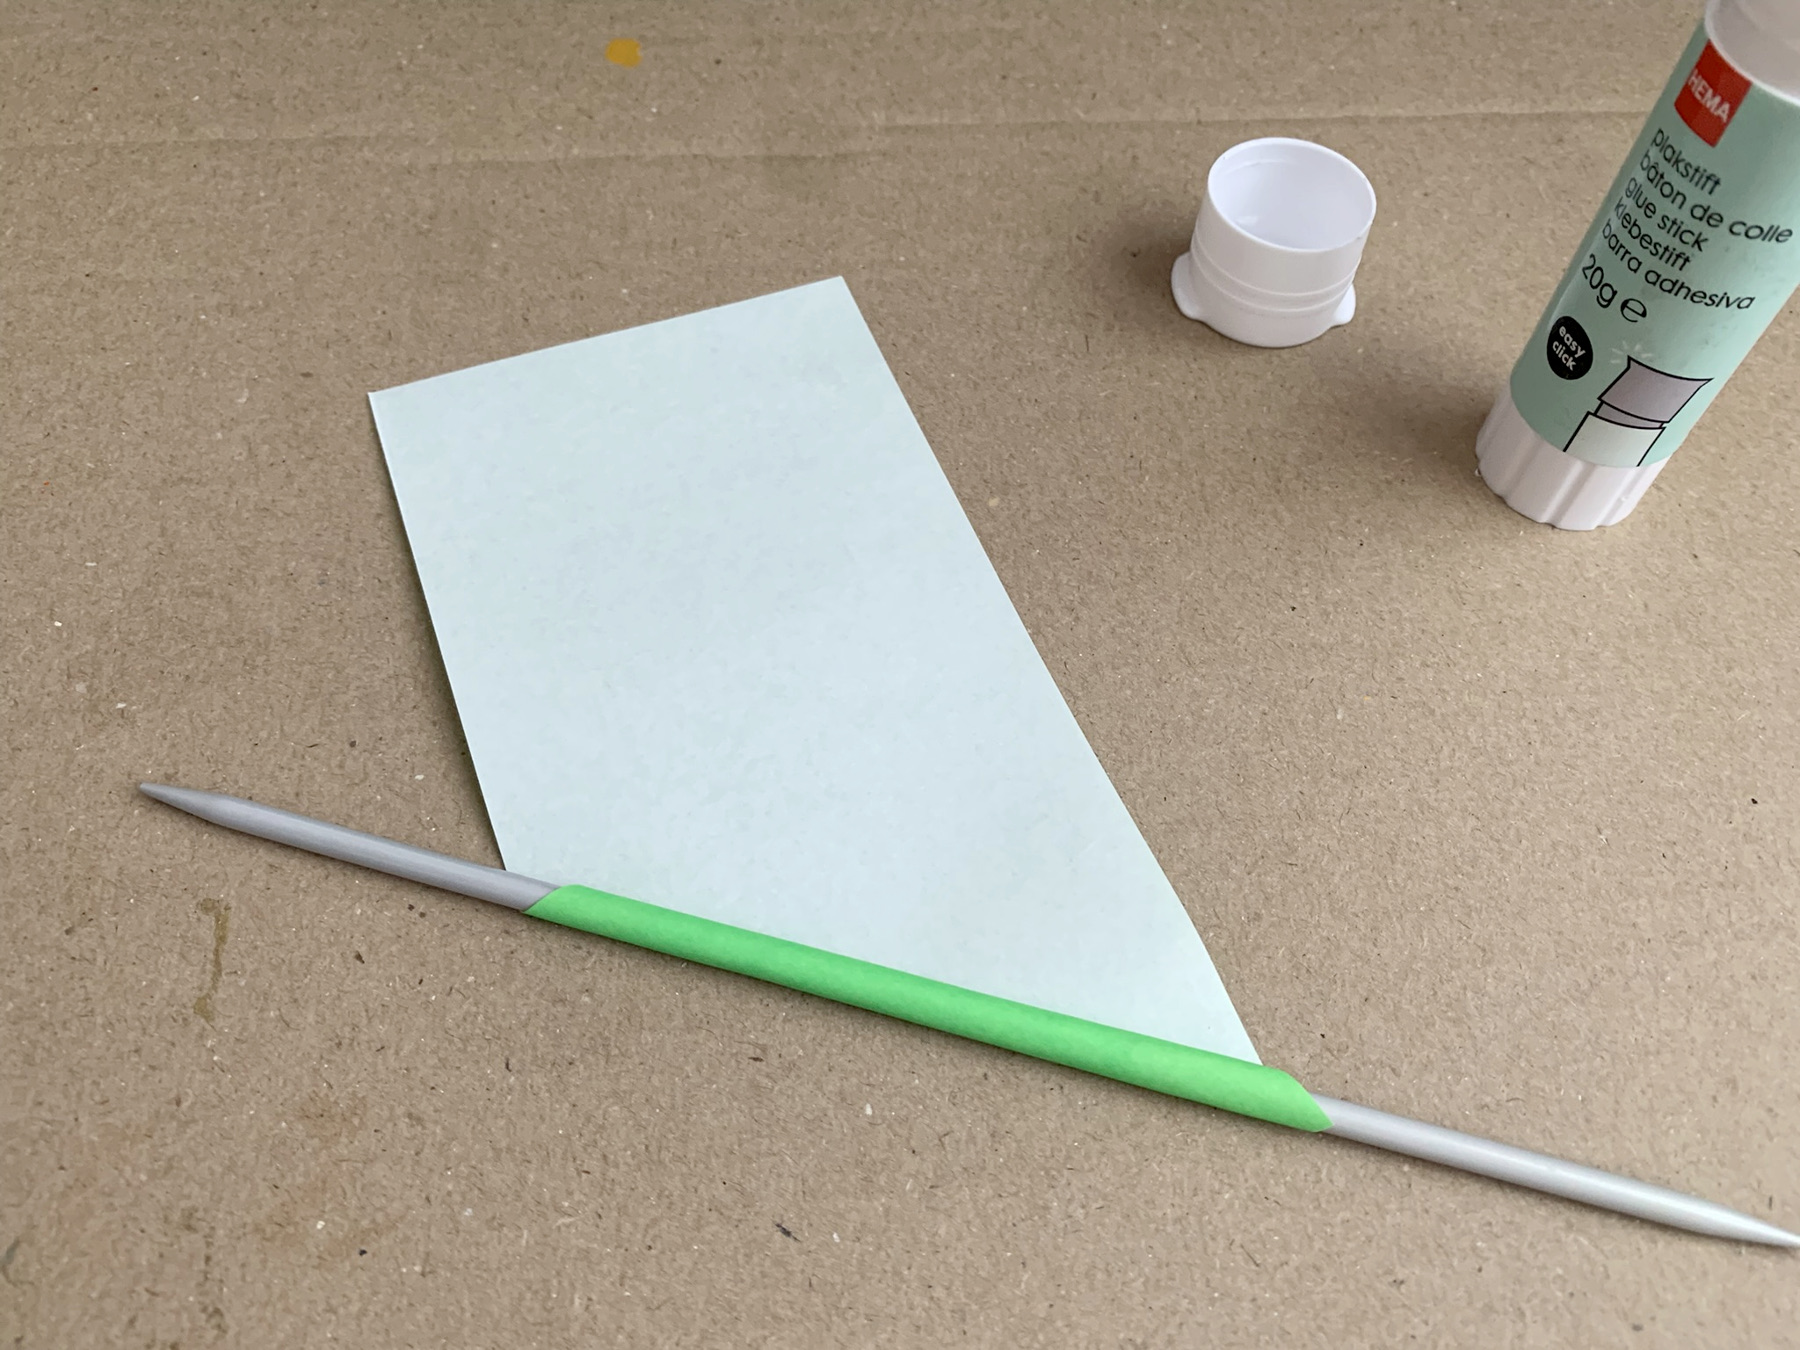
Cut your sheet in two halves.
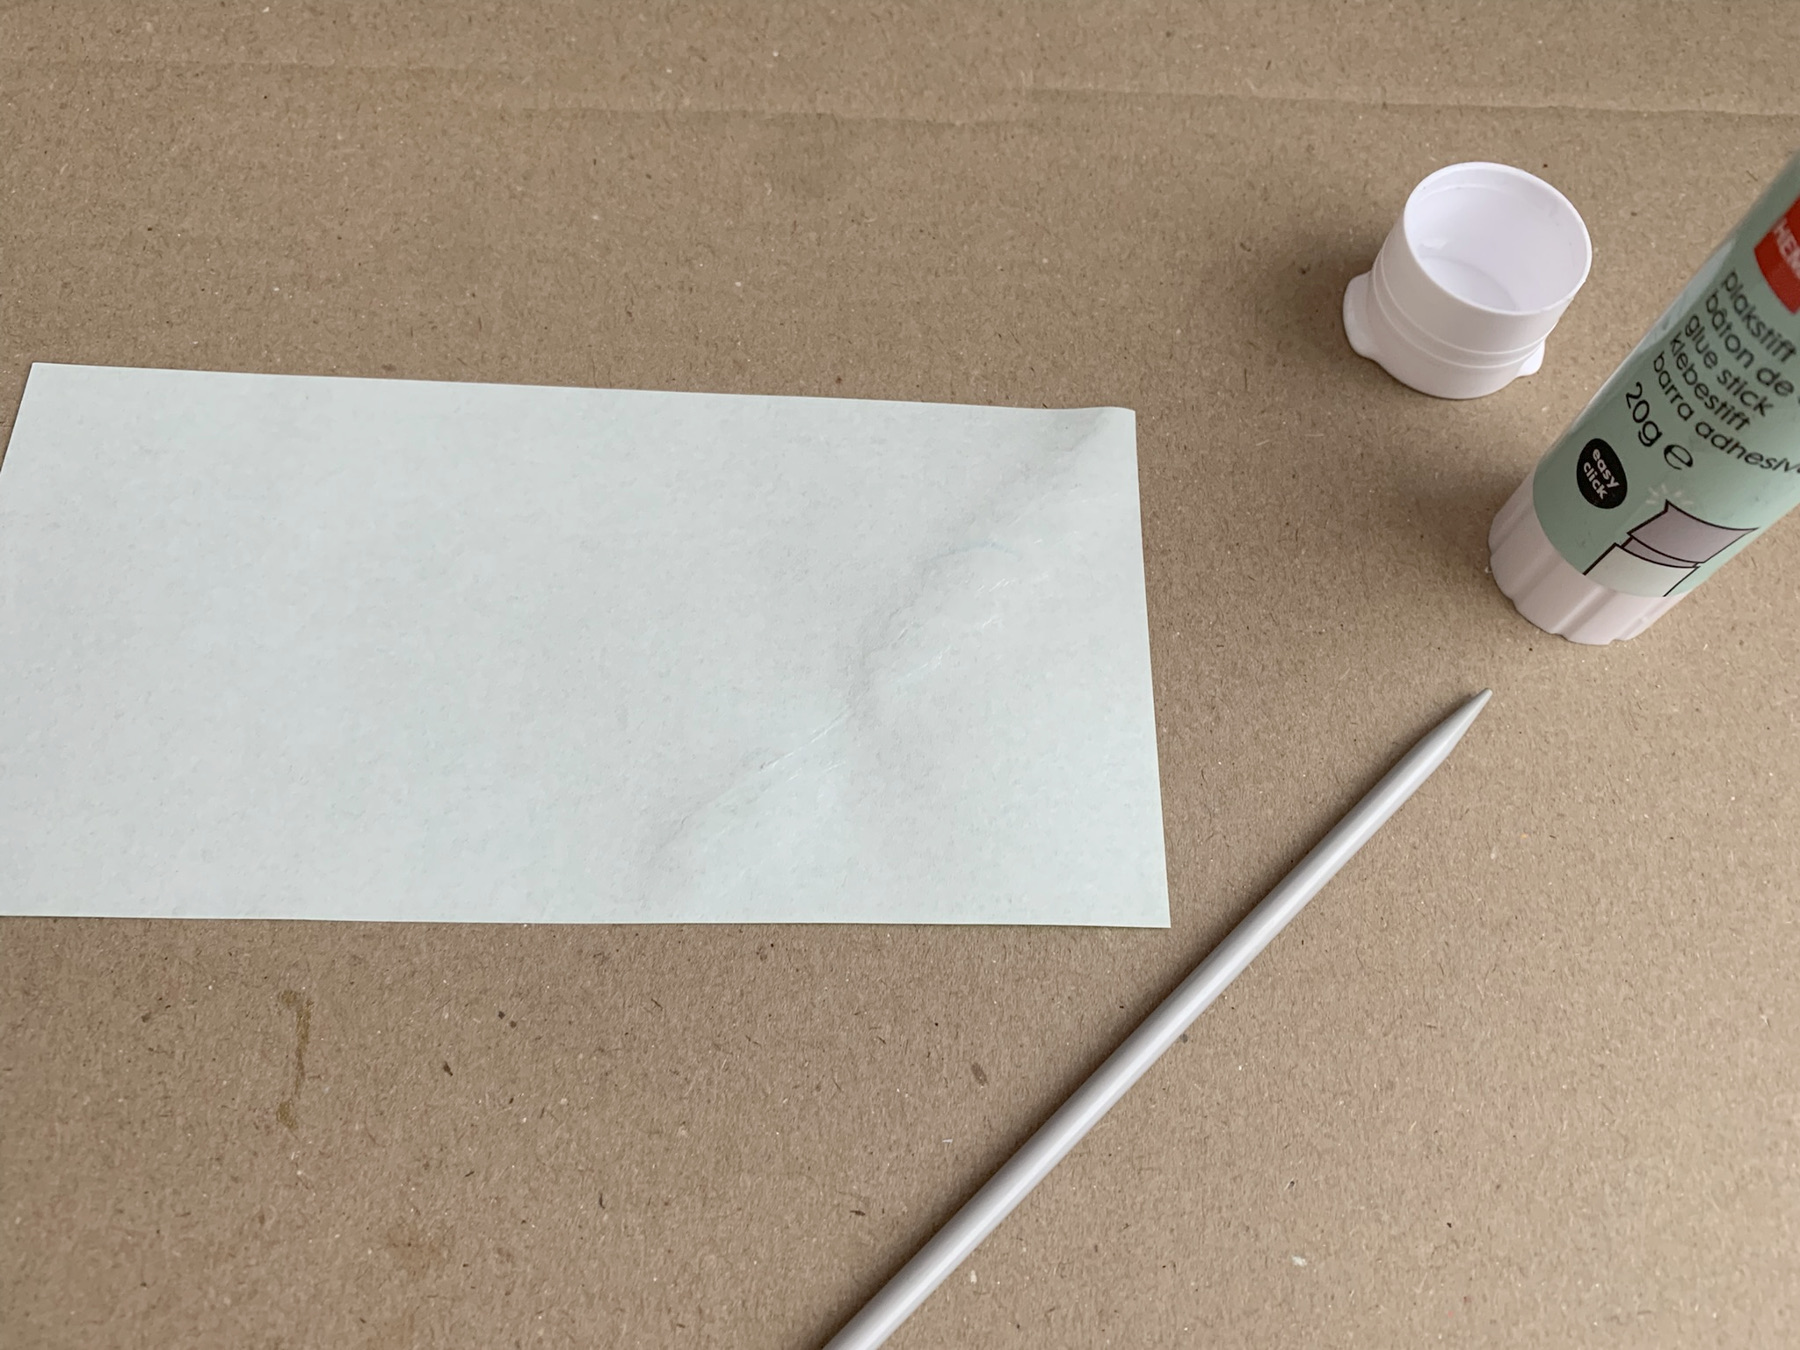
Flip it and put on a strip of glue.
Roll the stick tightly into the paper.
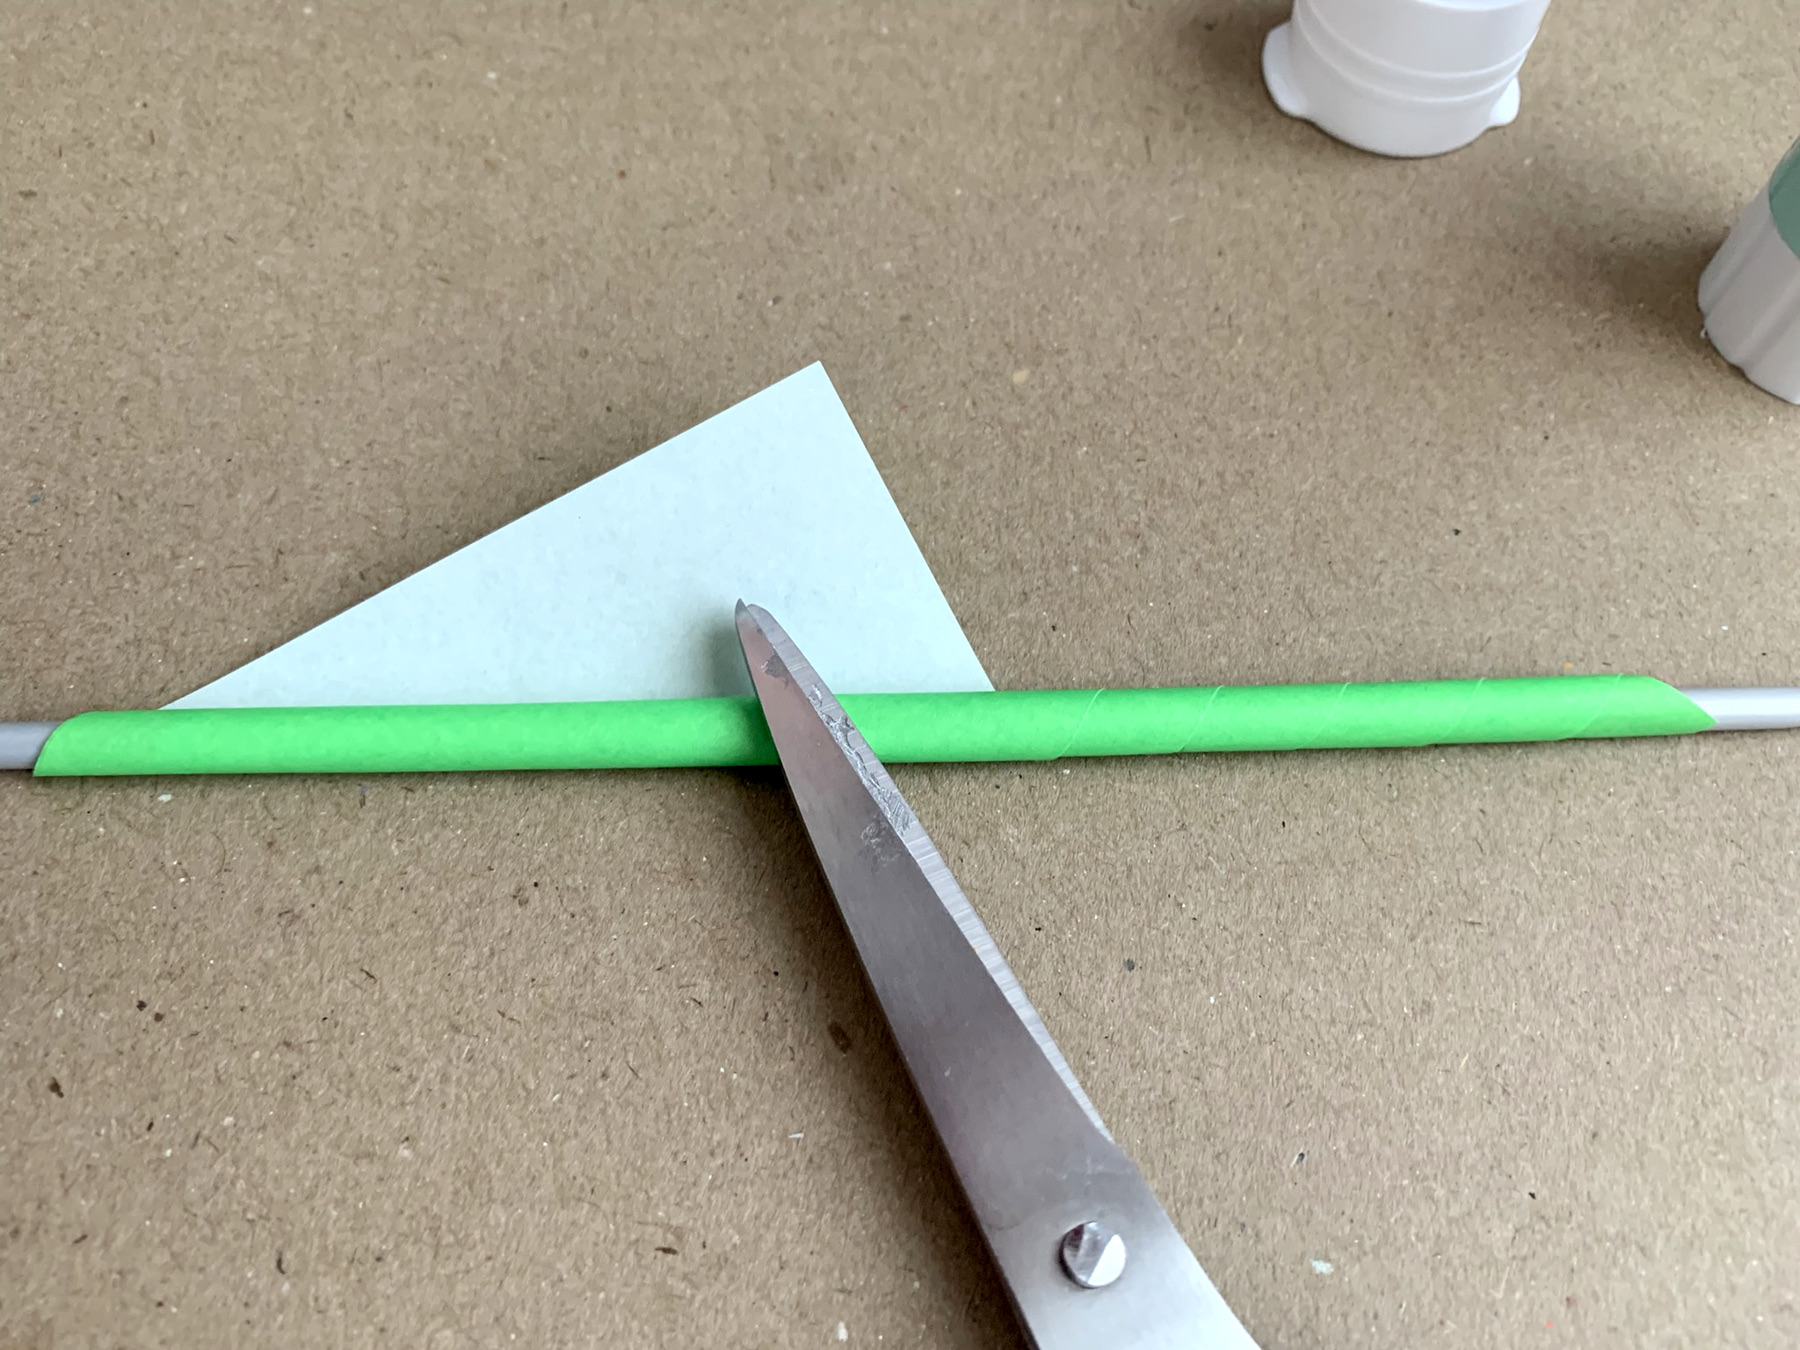
Glue the point and stick on.
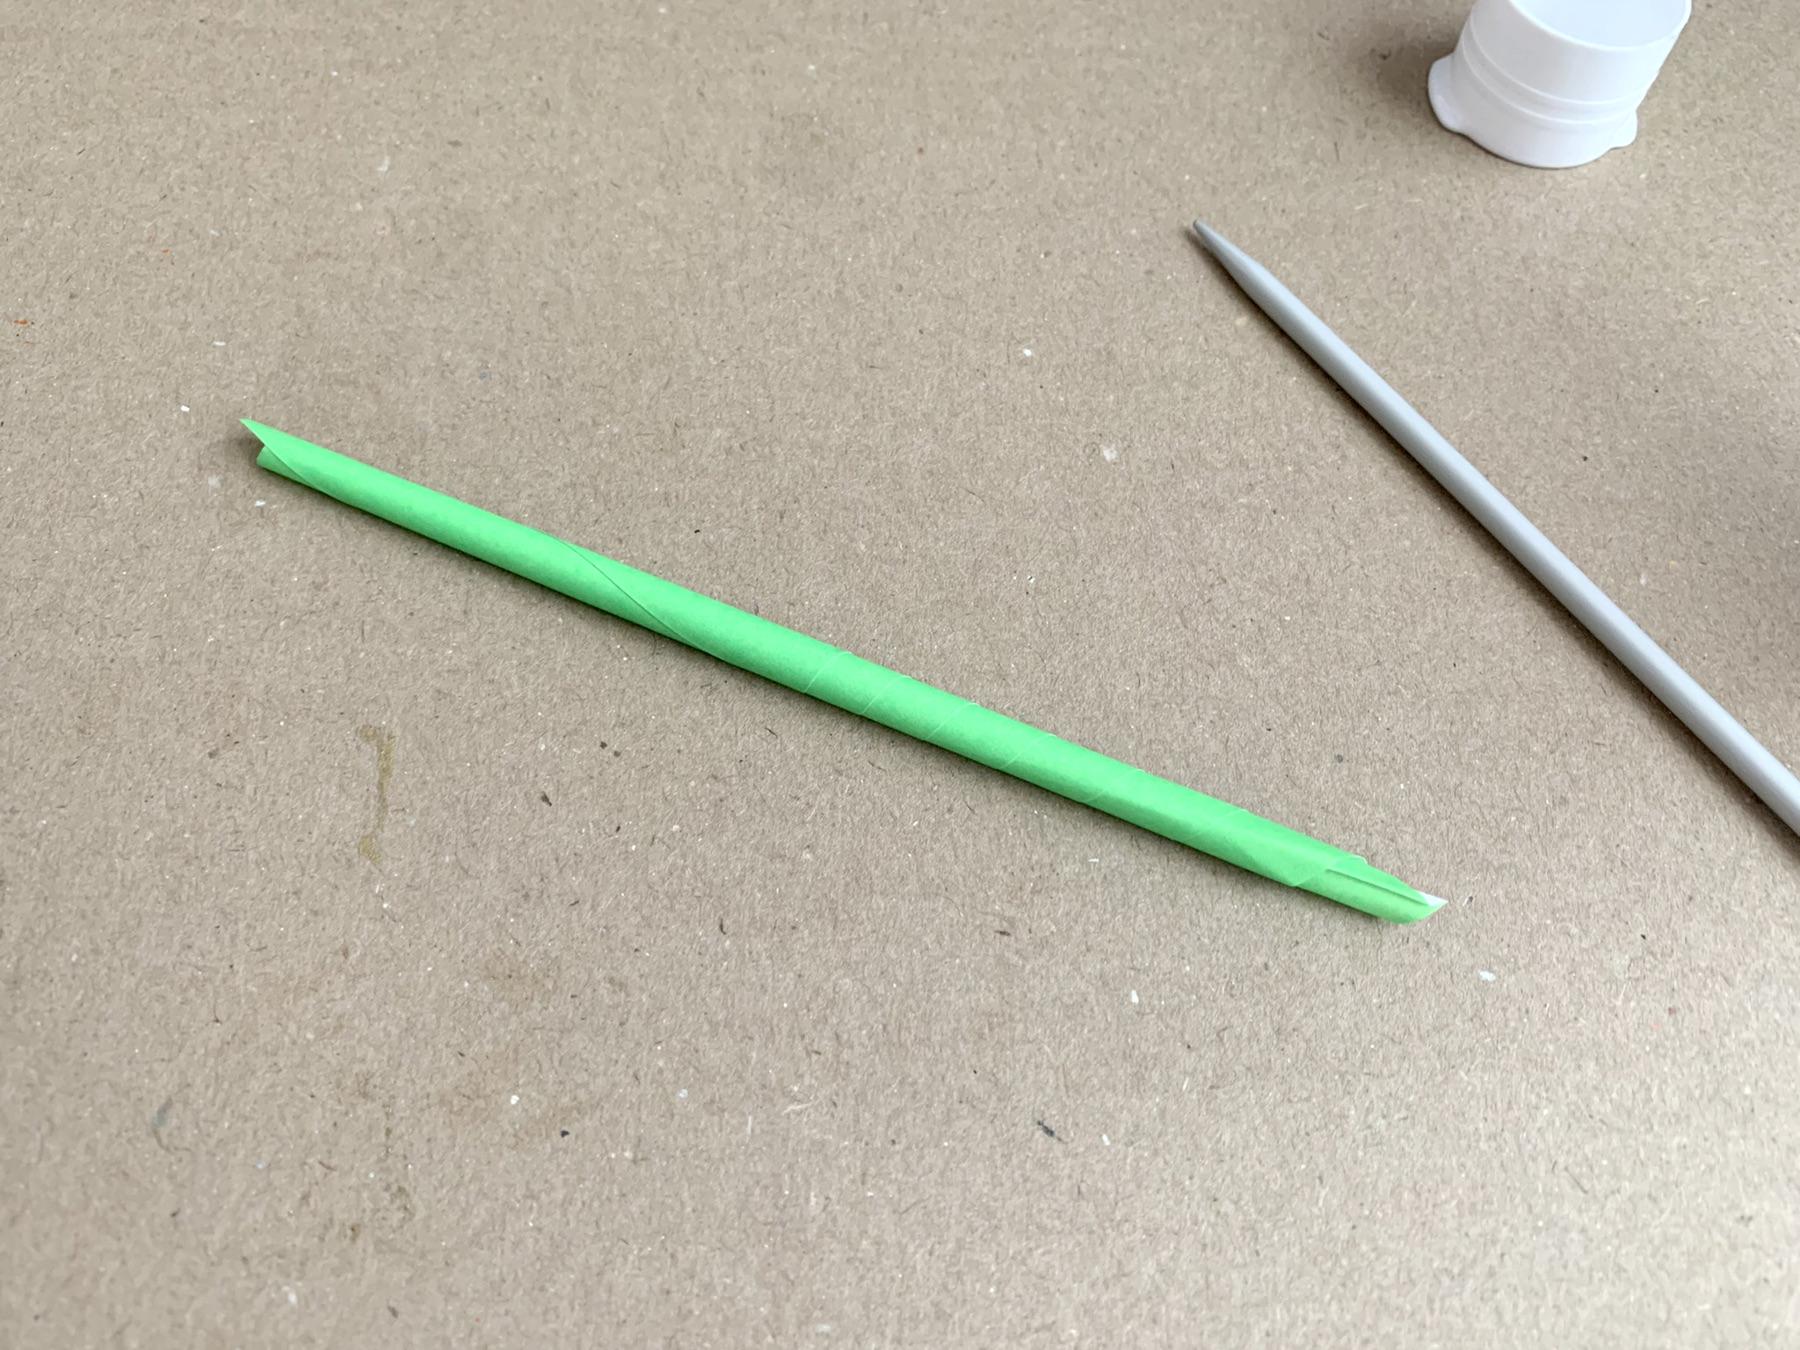
Pull the stick out of the stem and put aside.*
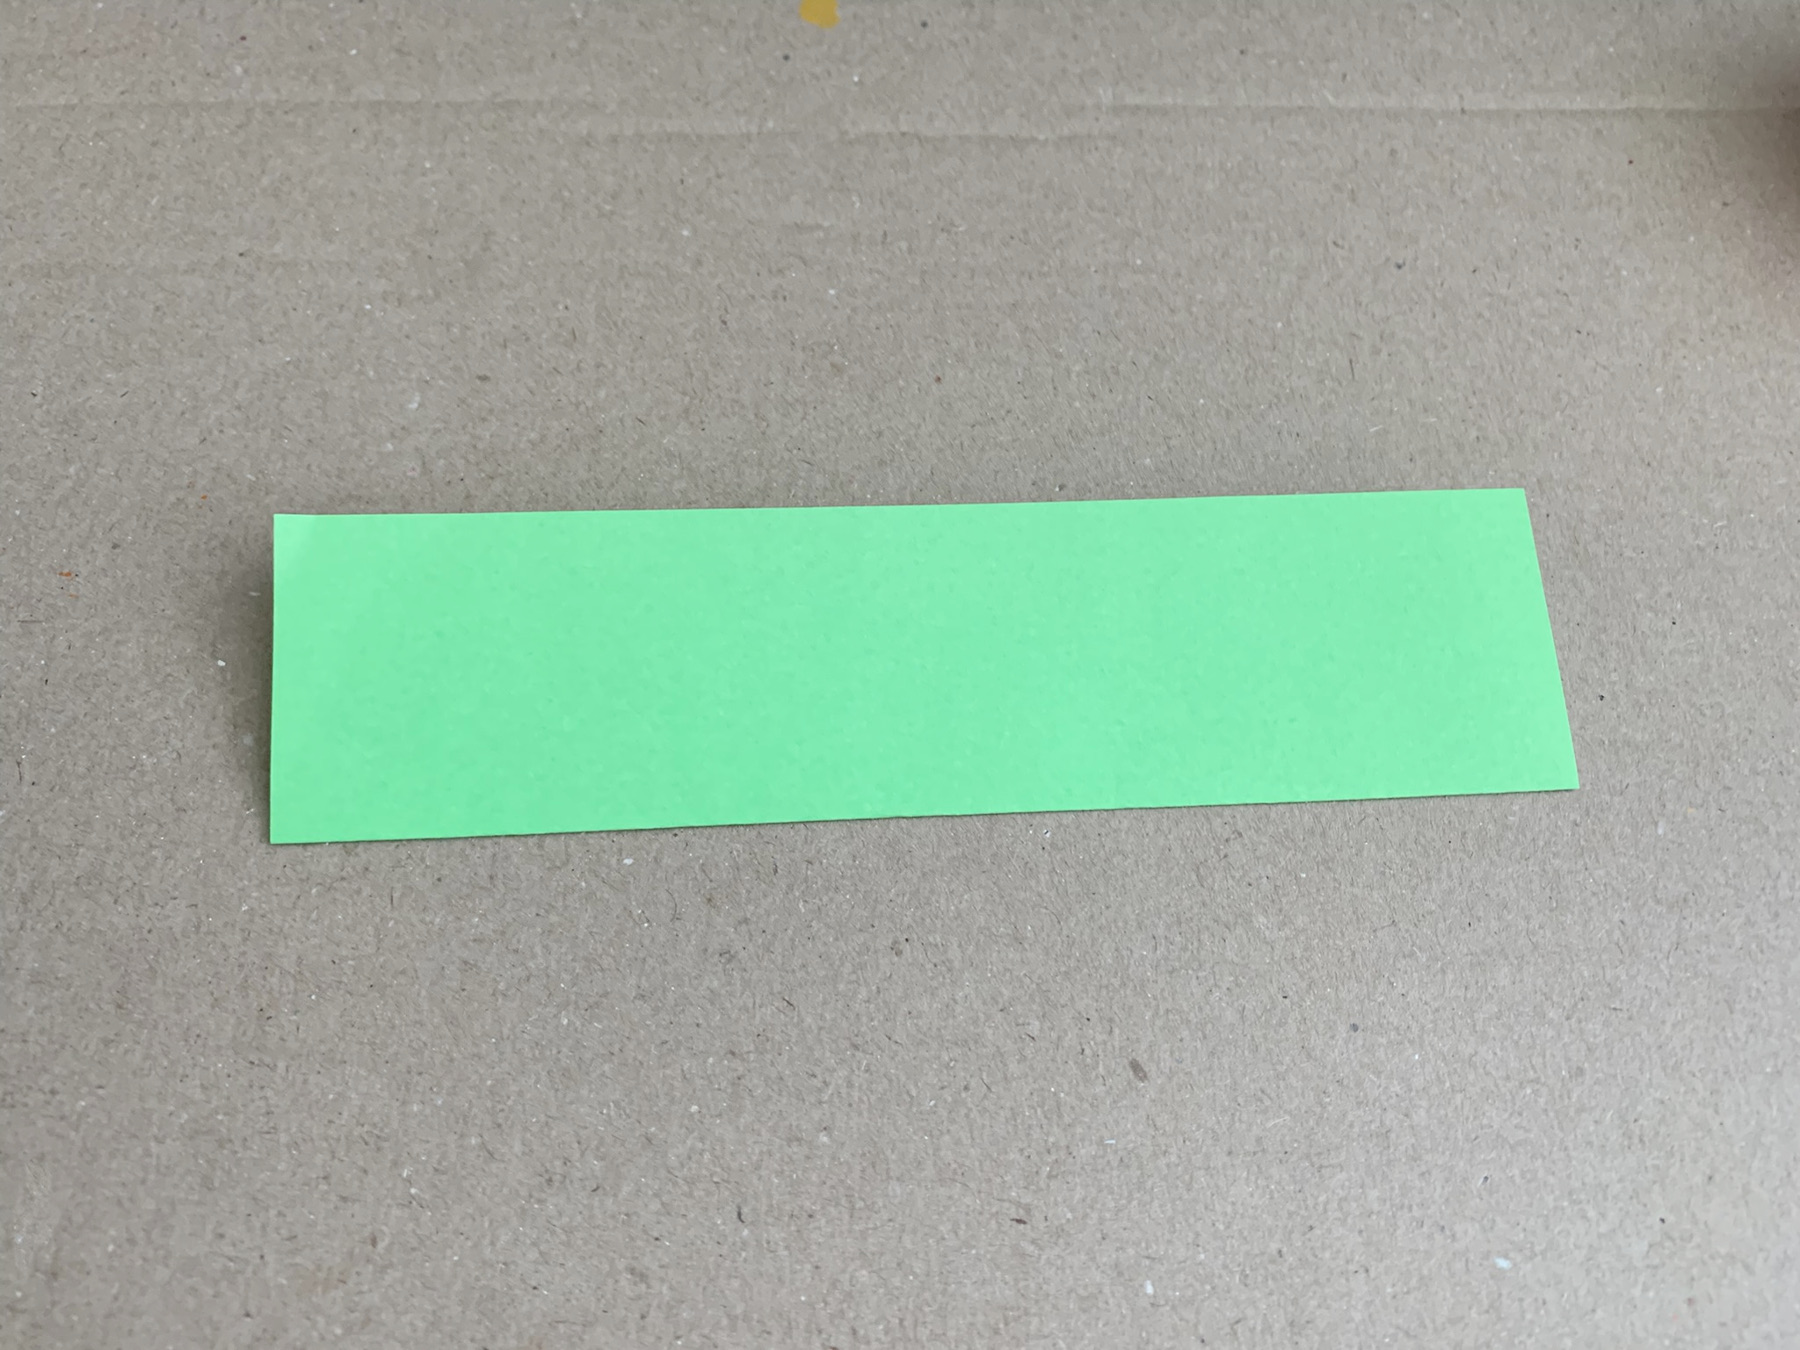
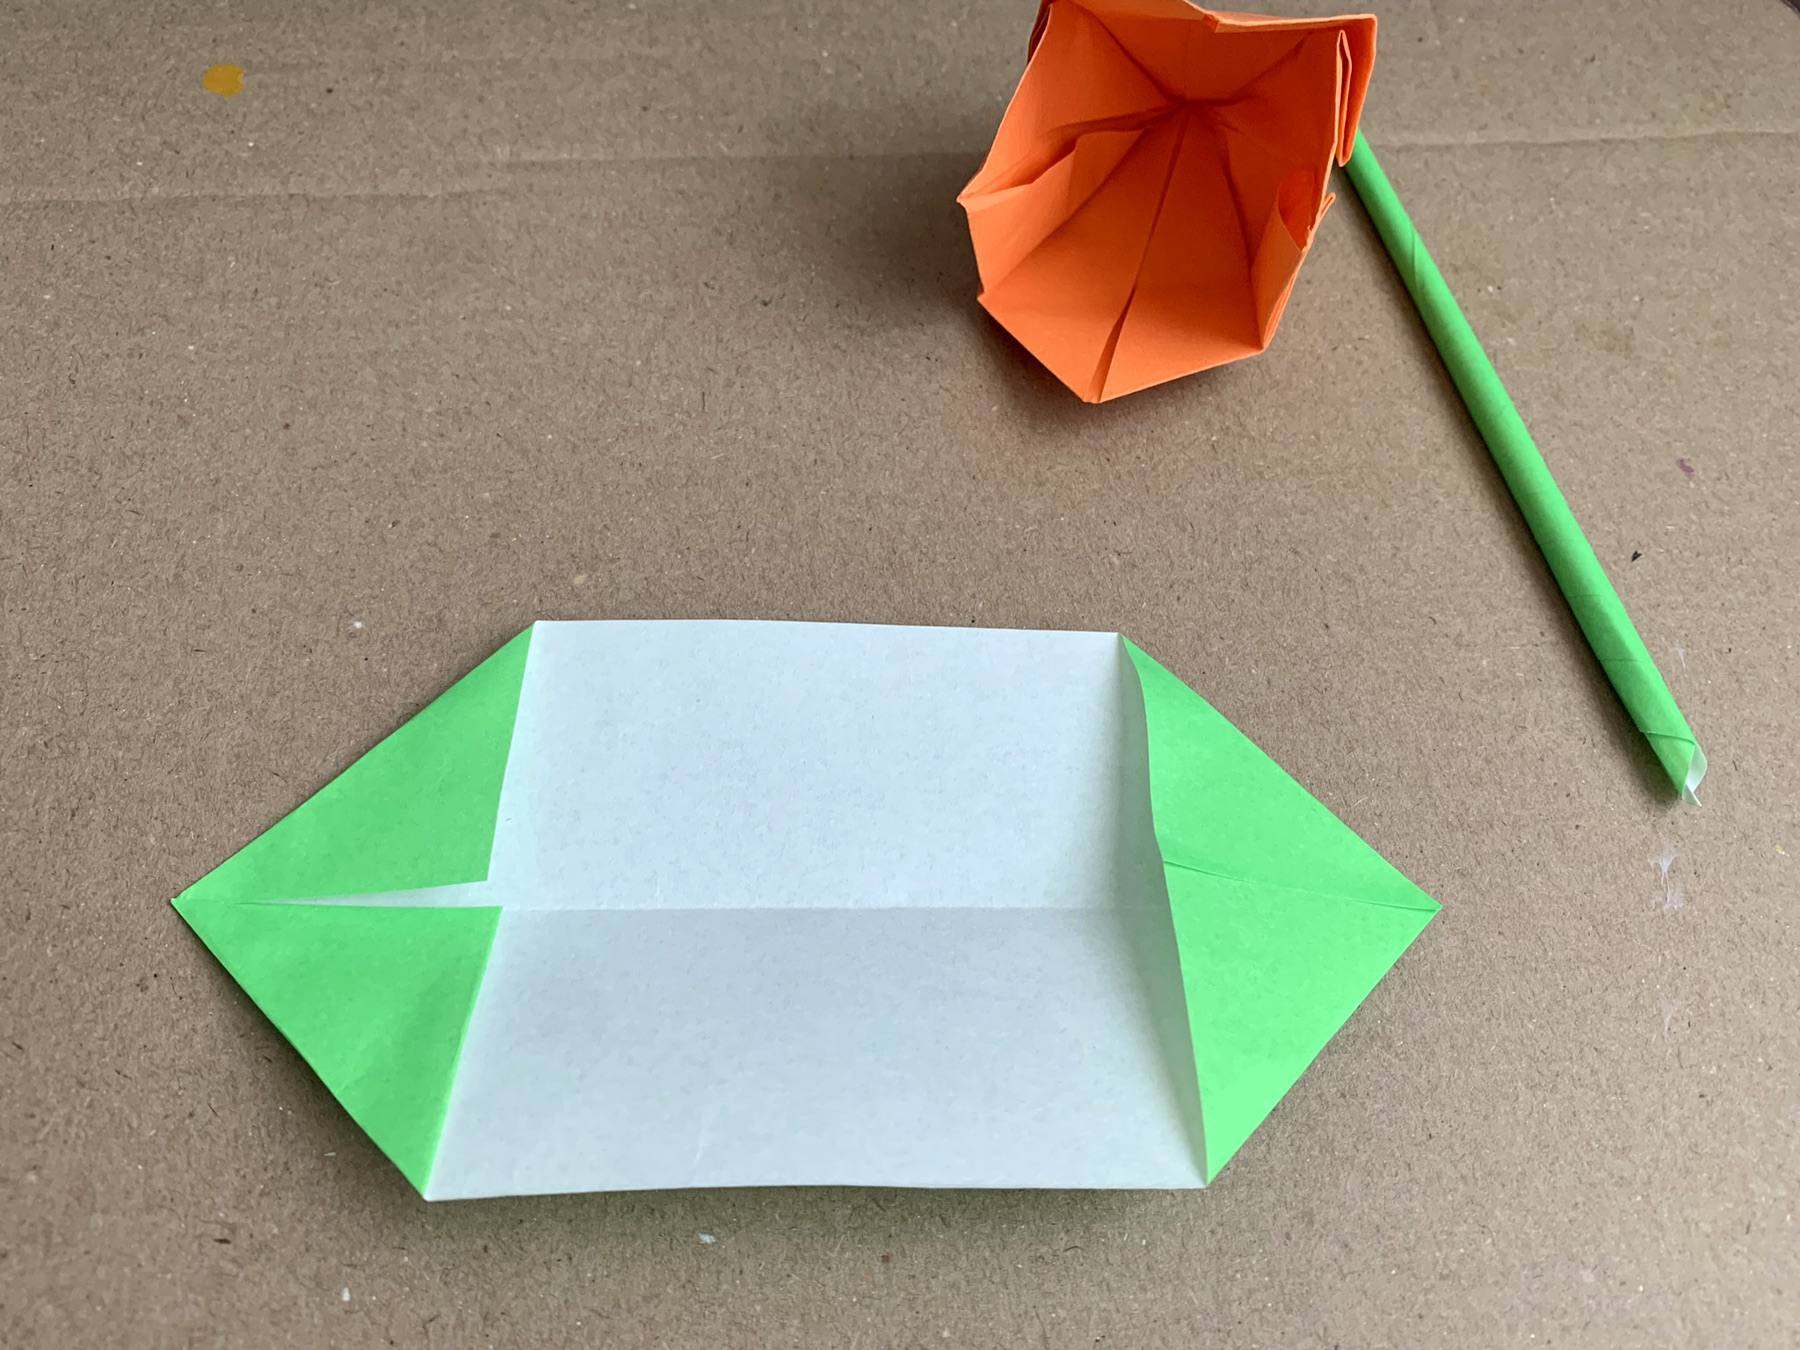
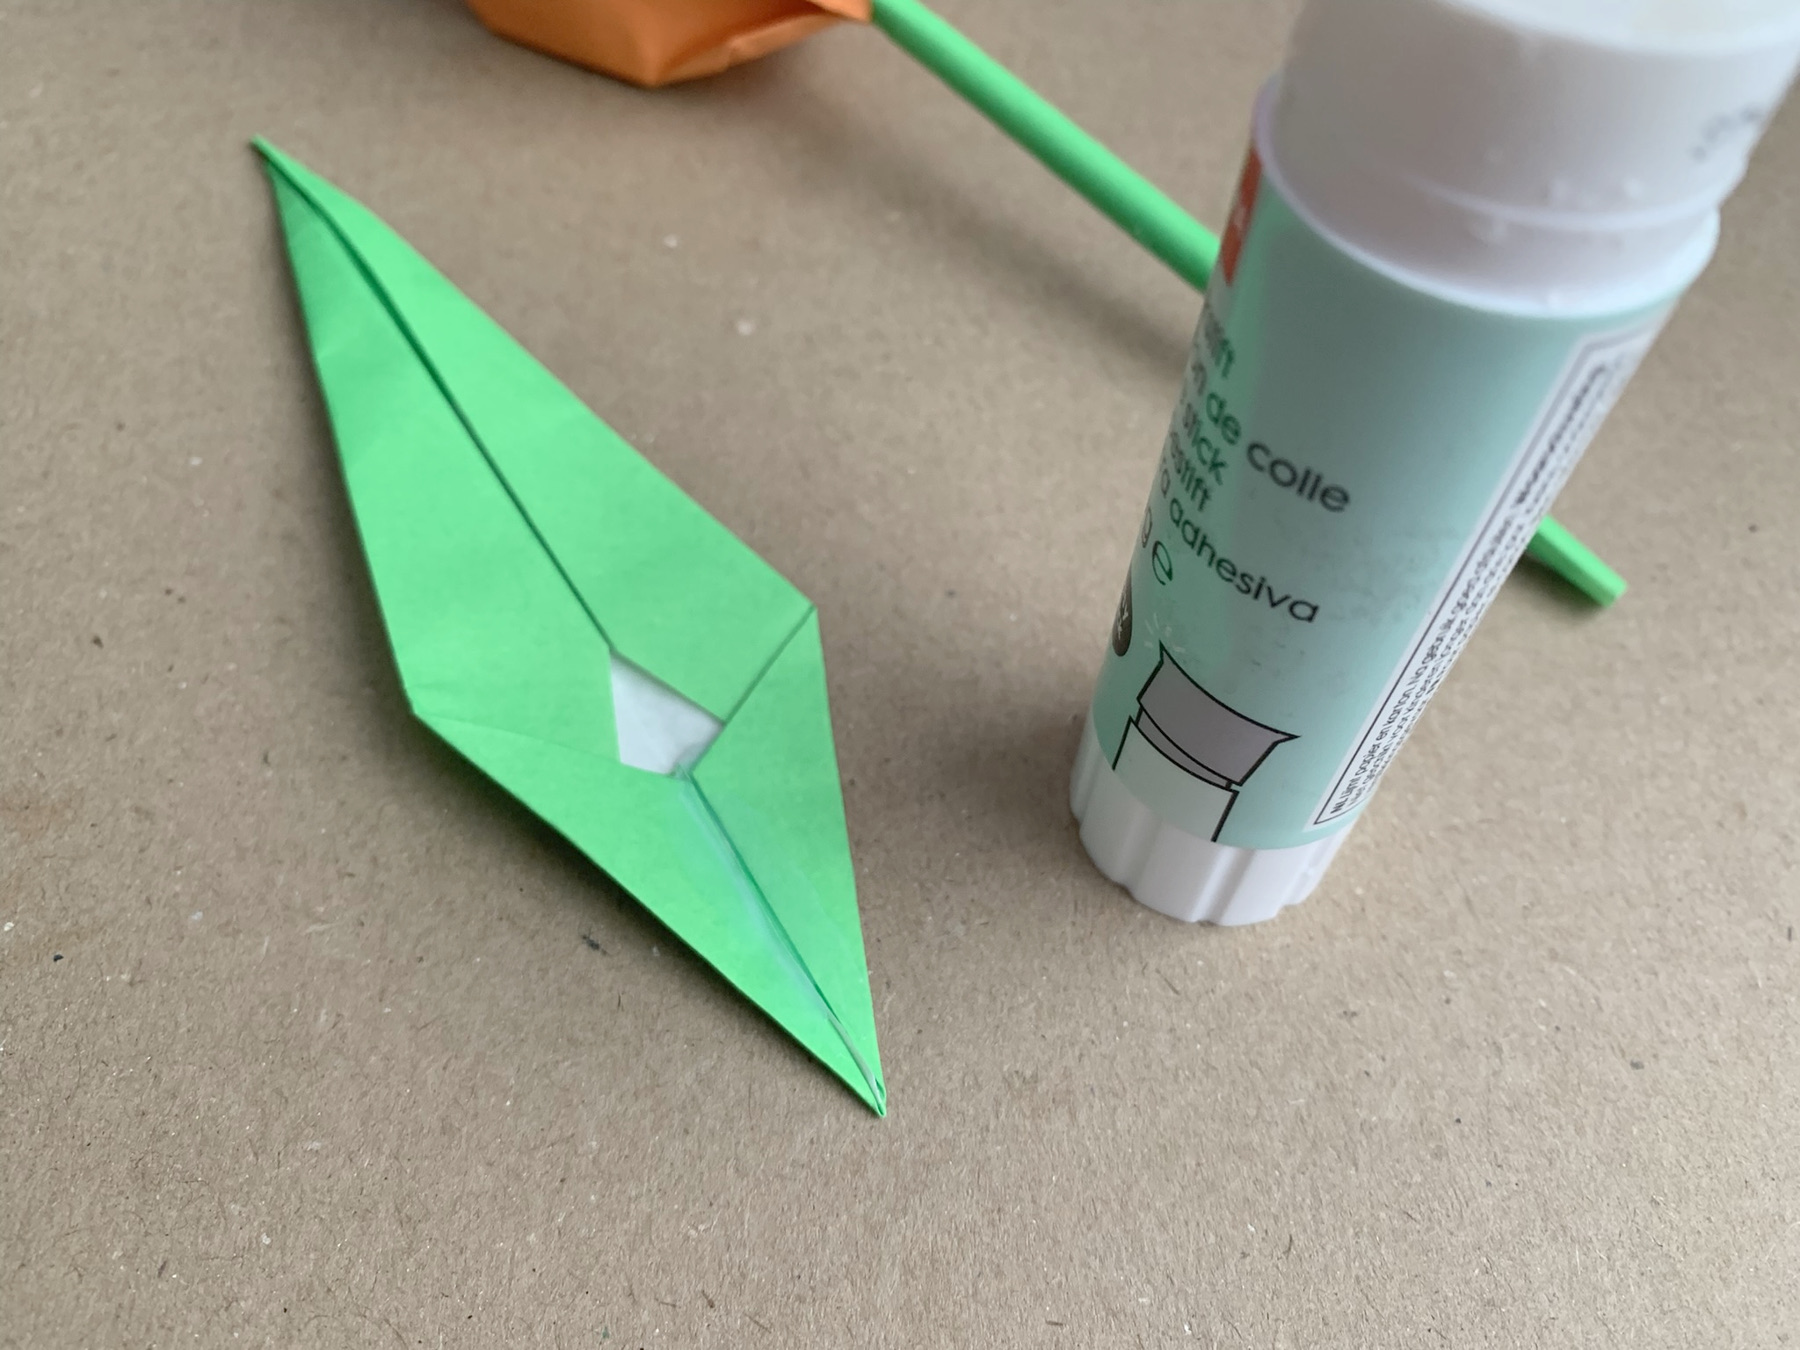
Fold the second piece of the leaf in half.
Fold the 4 points inward.
*Allow the glue on the stem dry completely
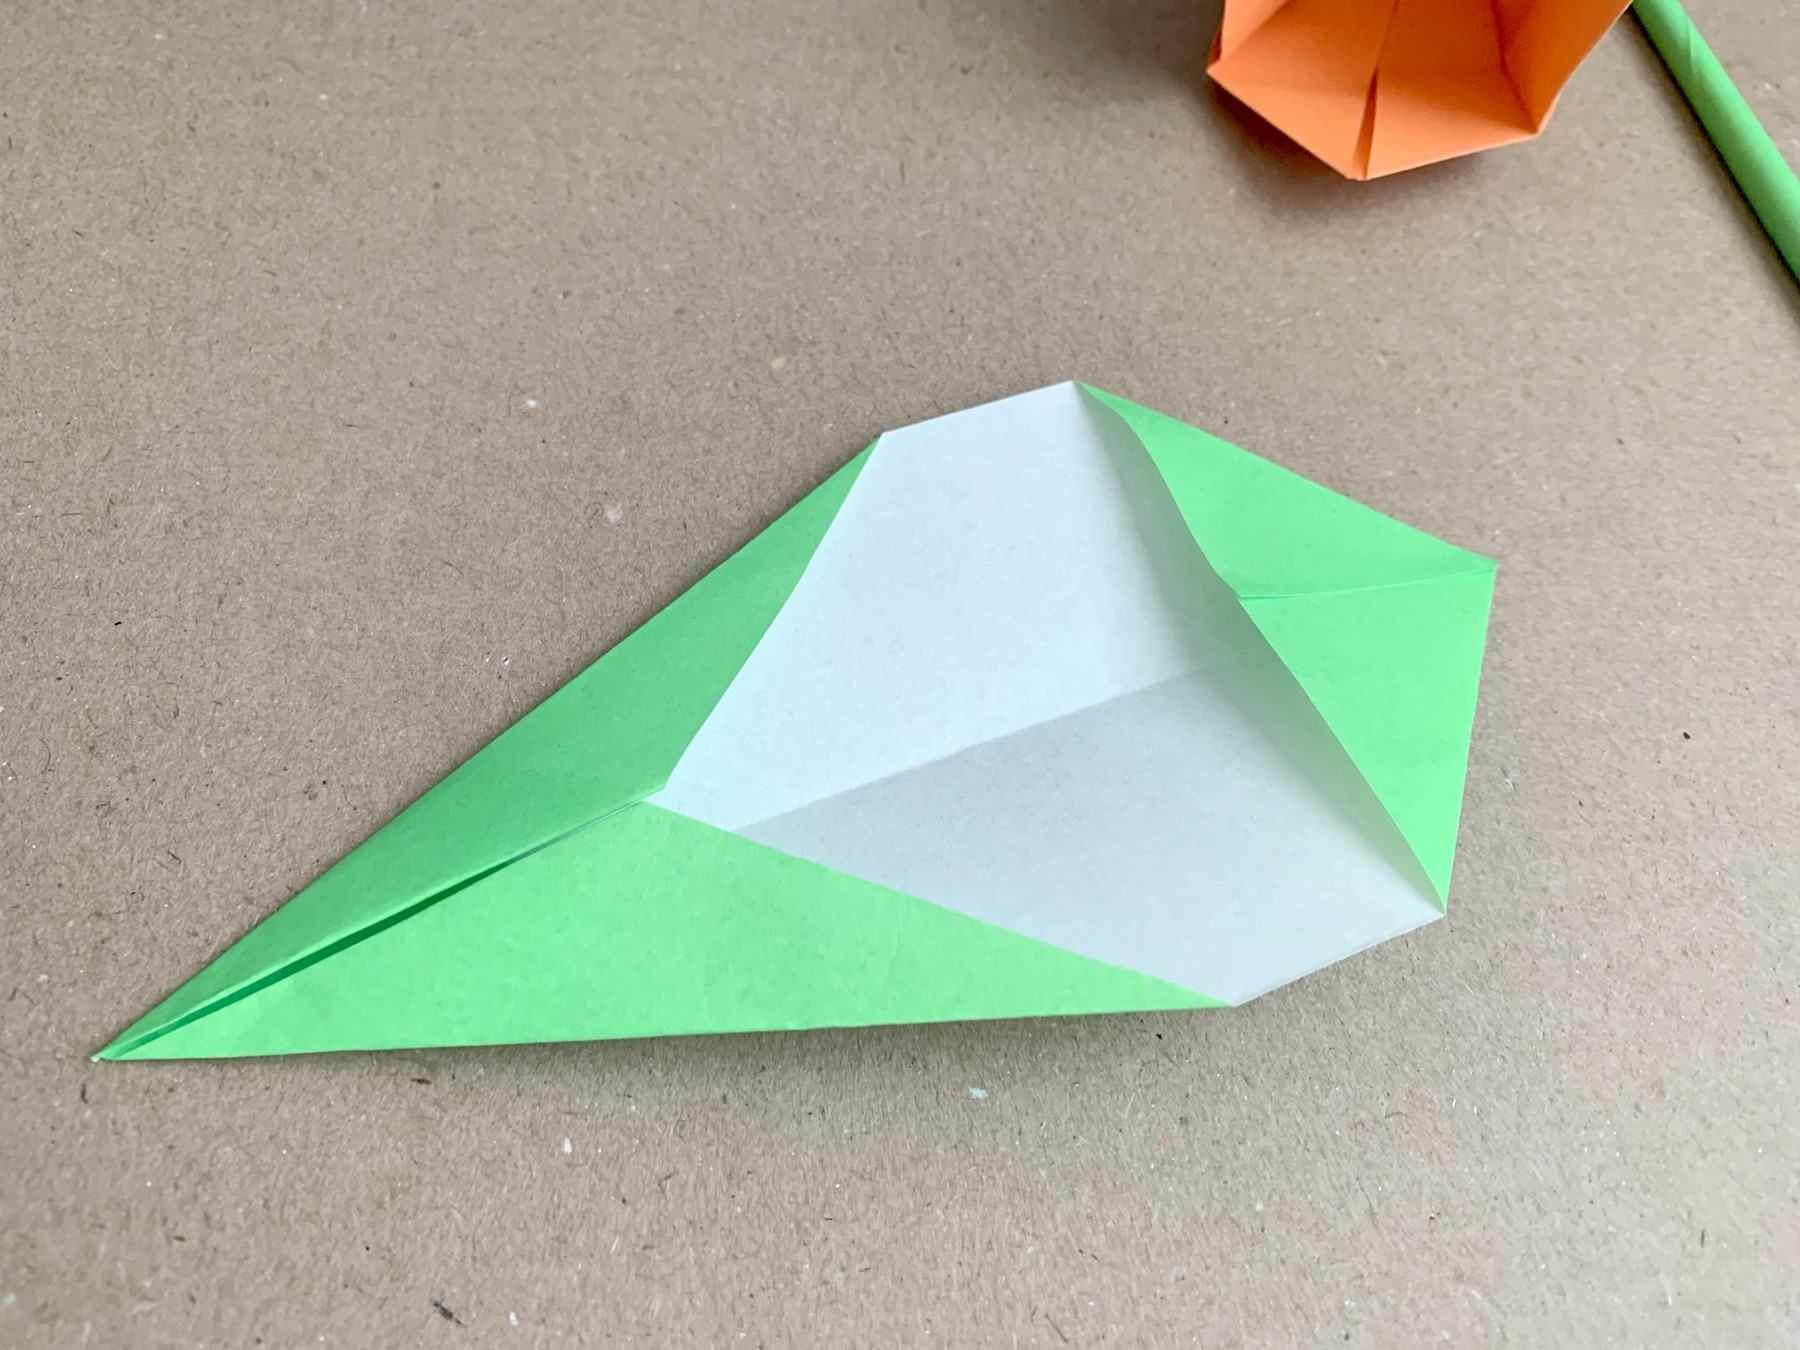
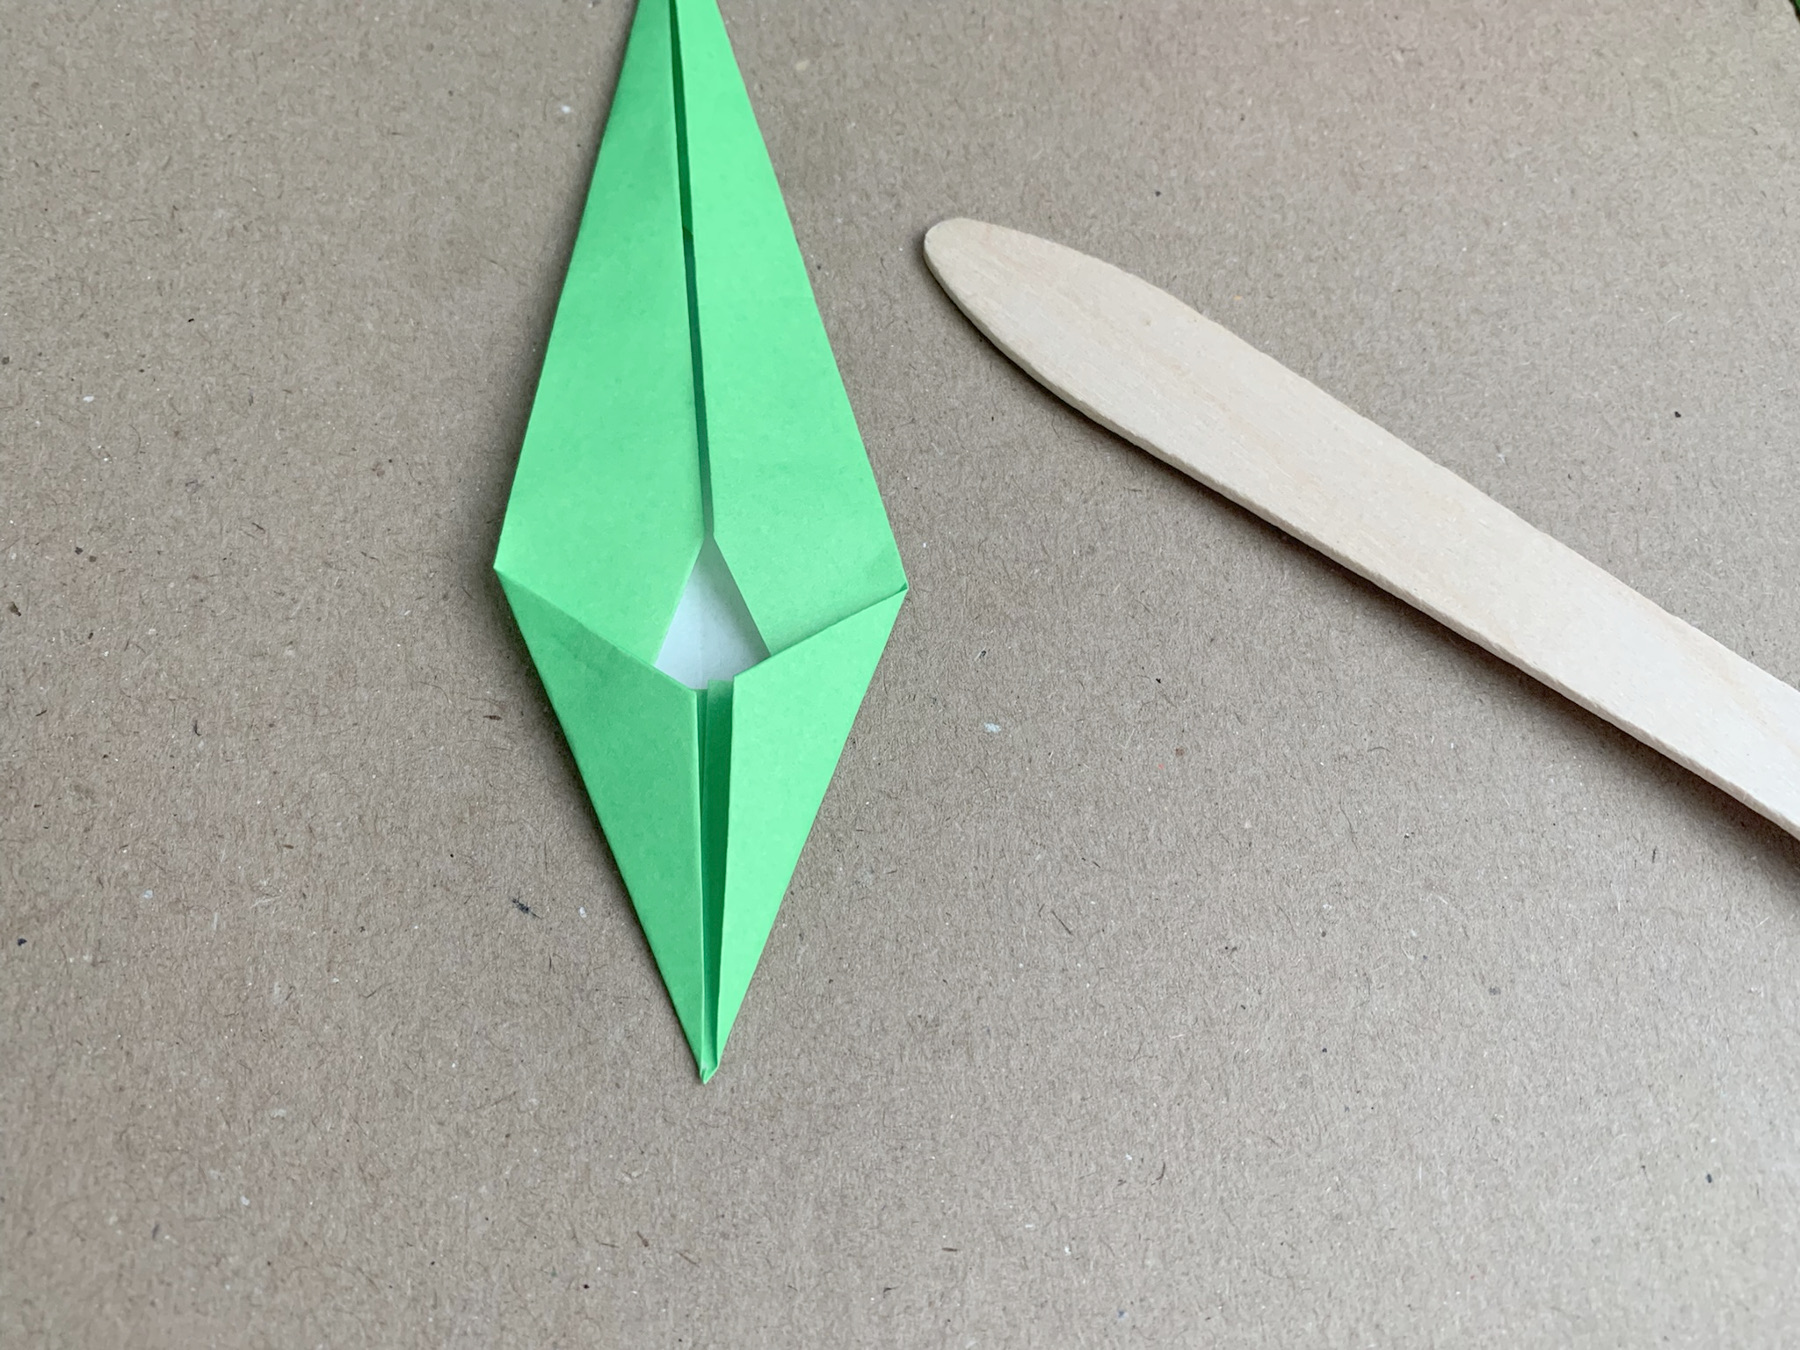
Fold 2 points to the middle line.
Make the folds sharp.
Repeat the last 2 folds again.
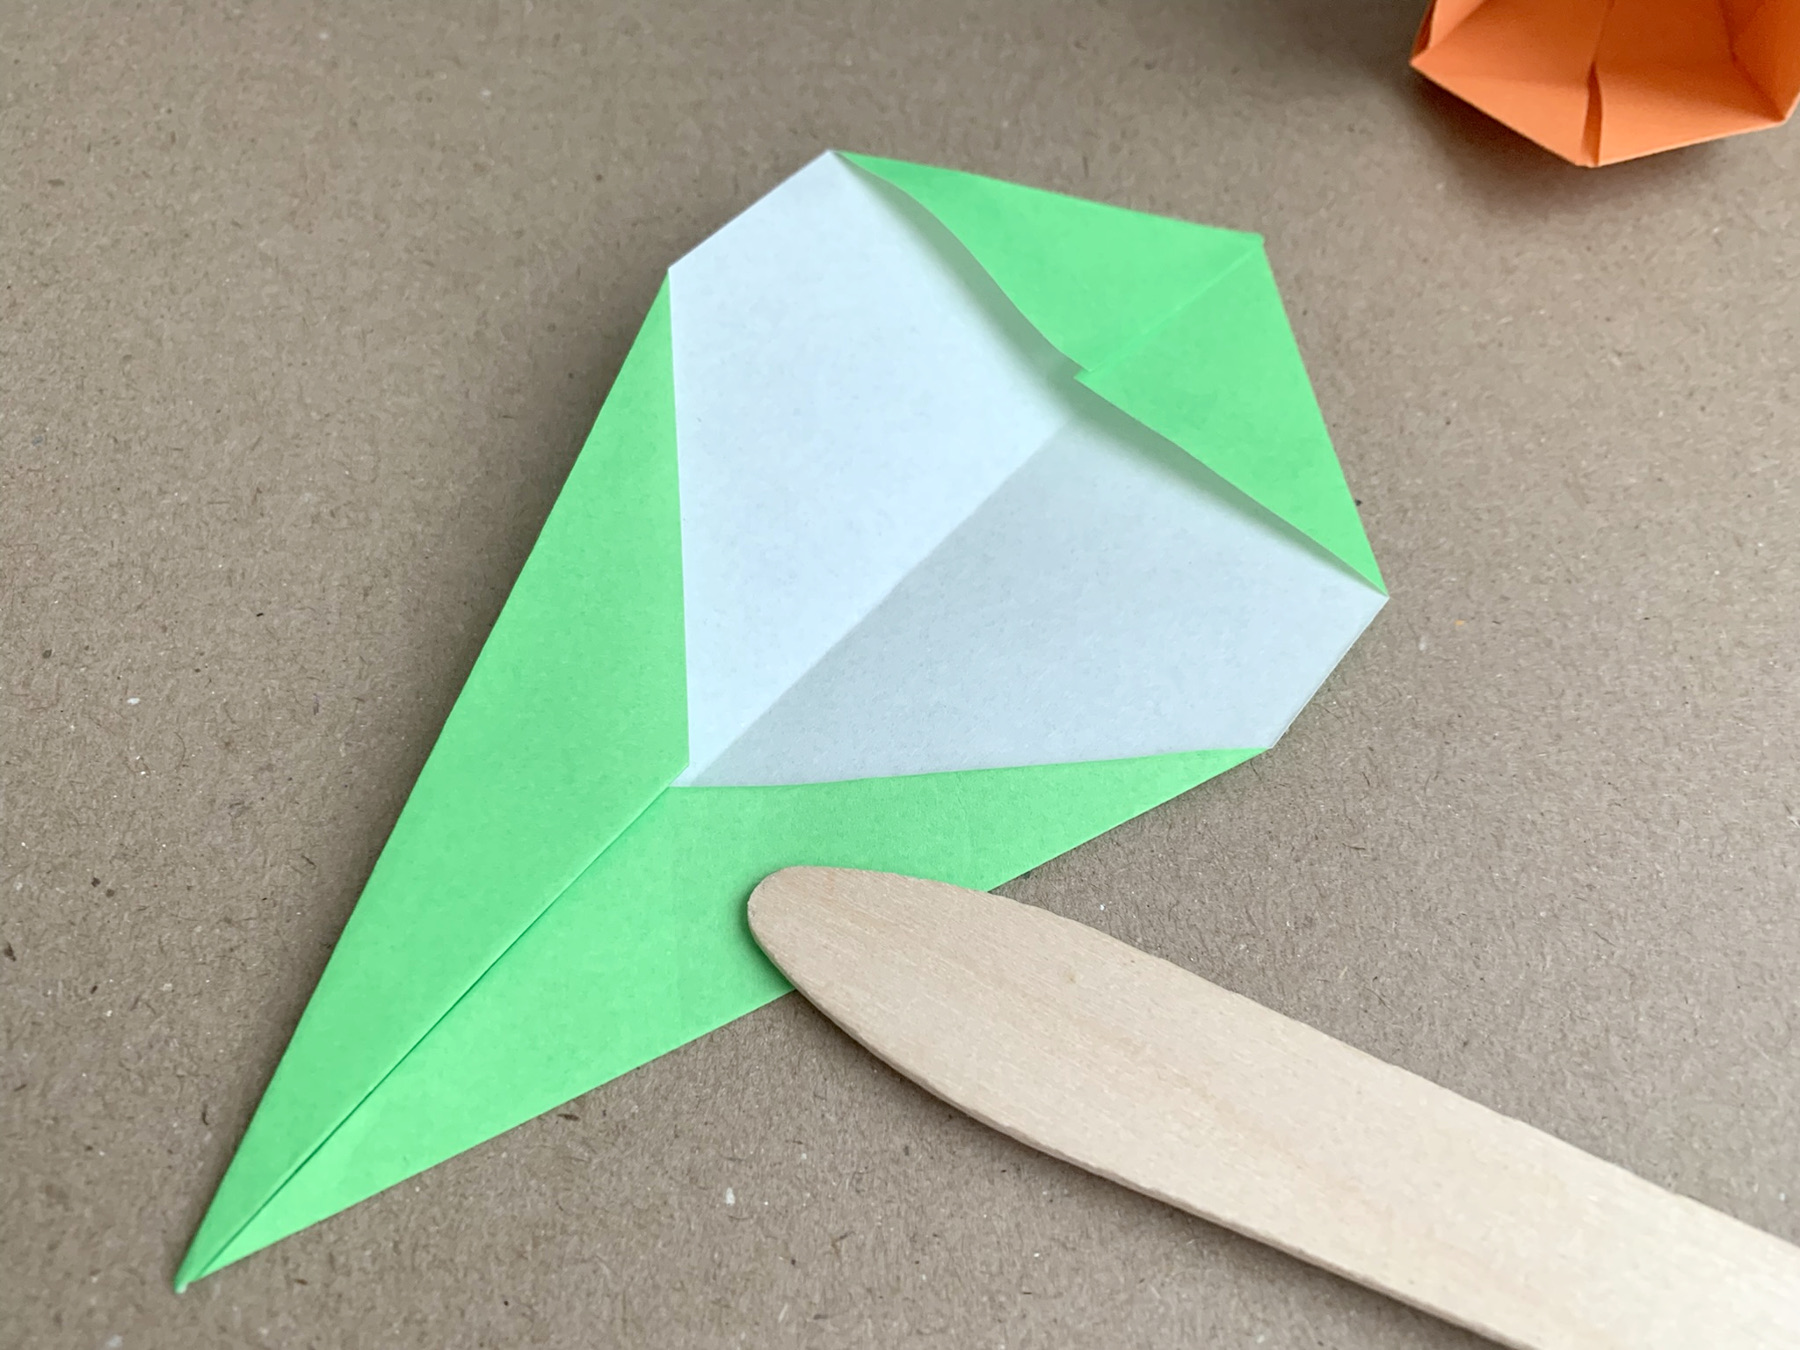
Now fold the 2 top points.
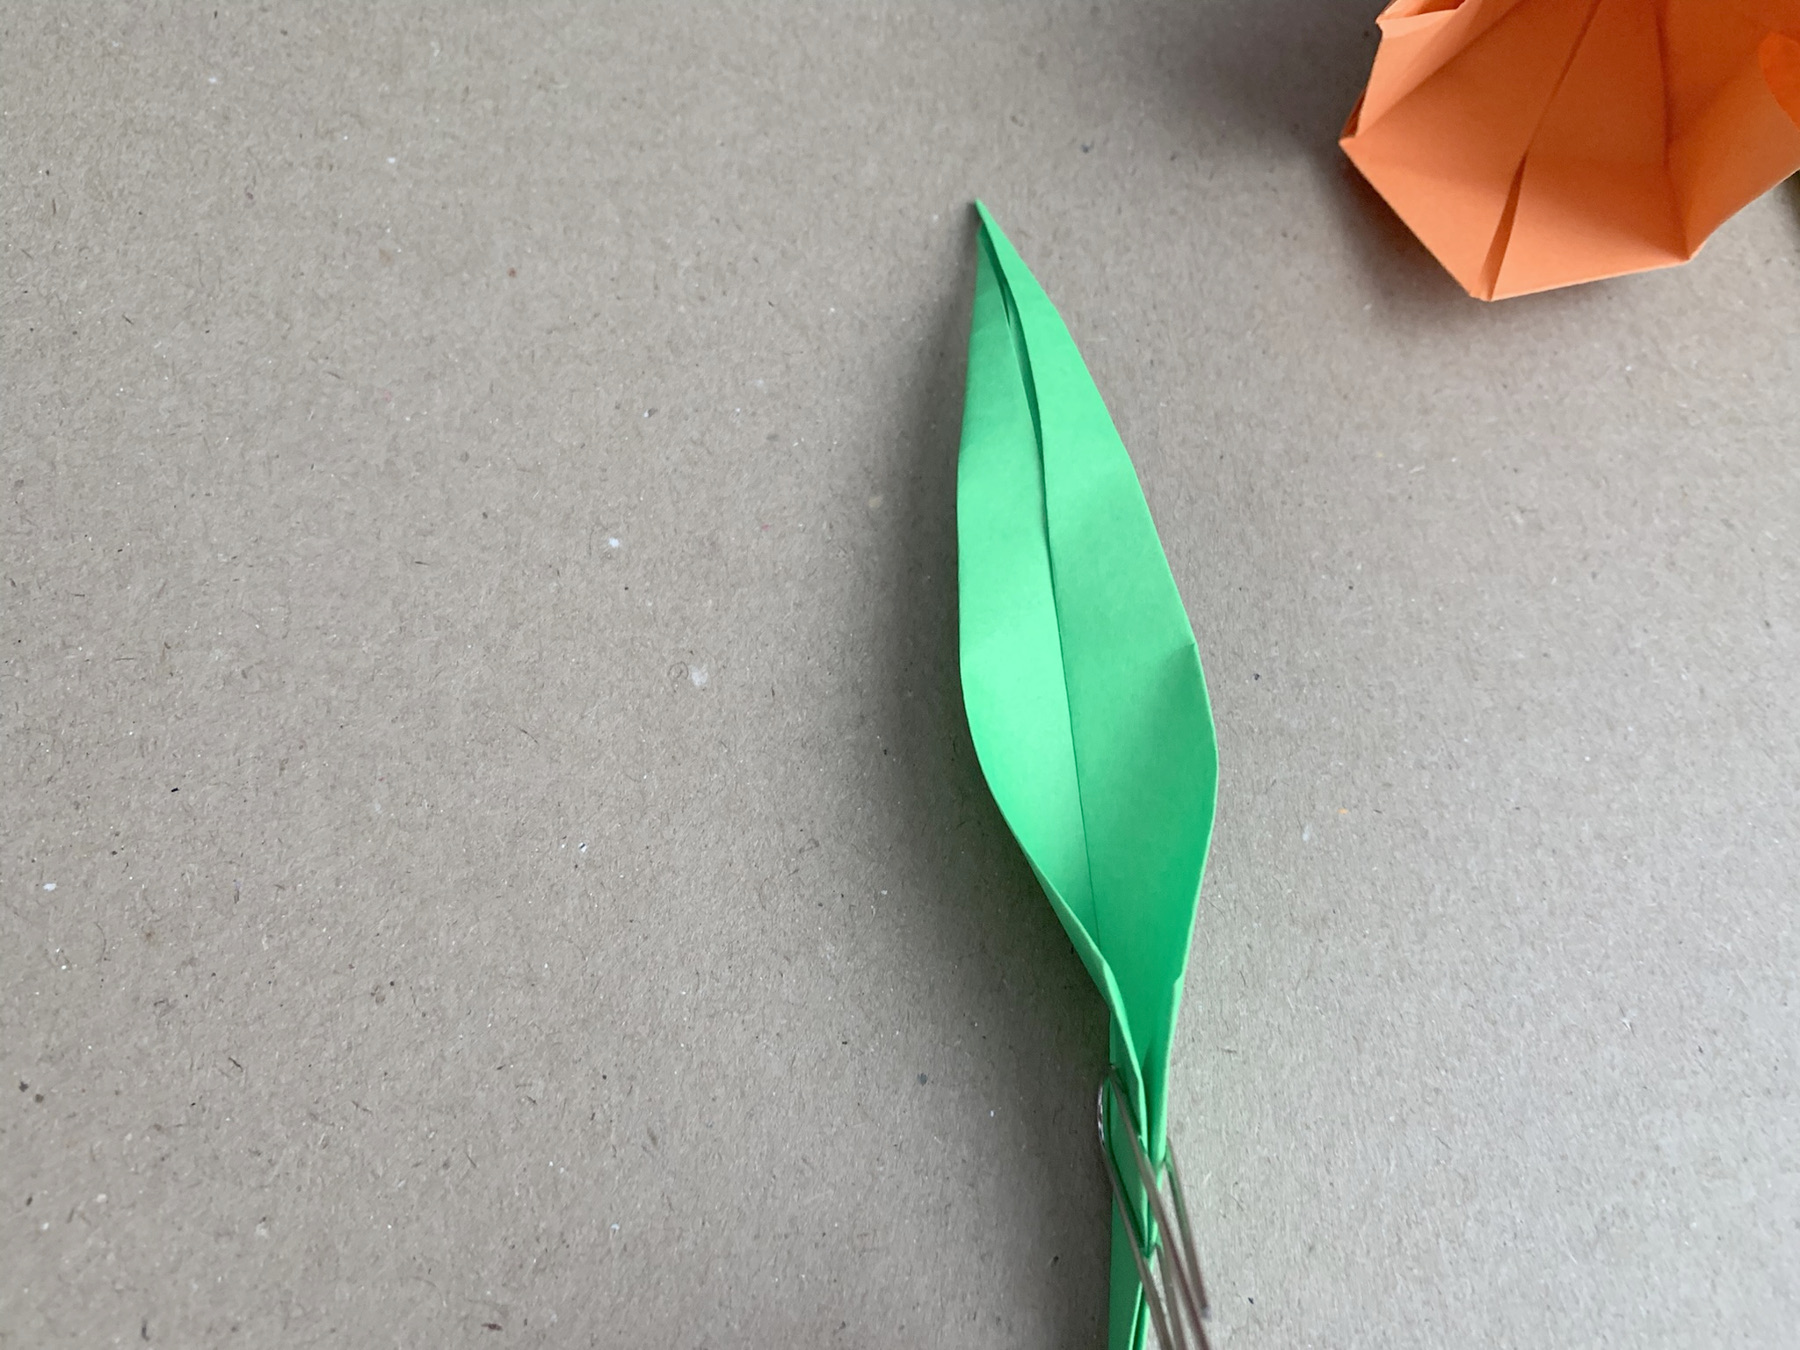
Shape the top of the leaf a little round.
Put the leaf aside for now.
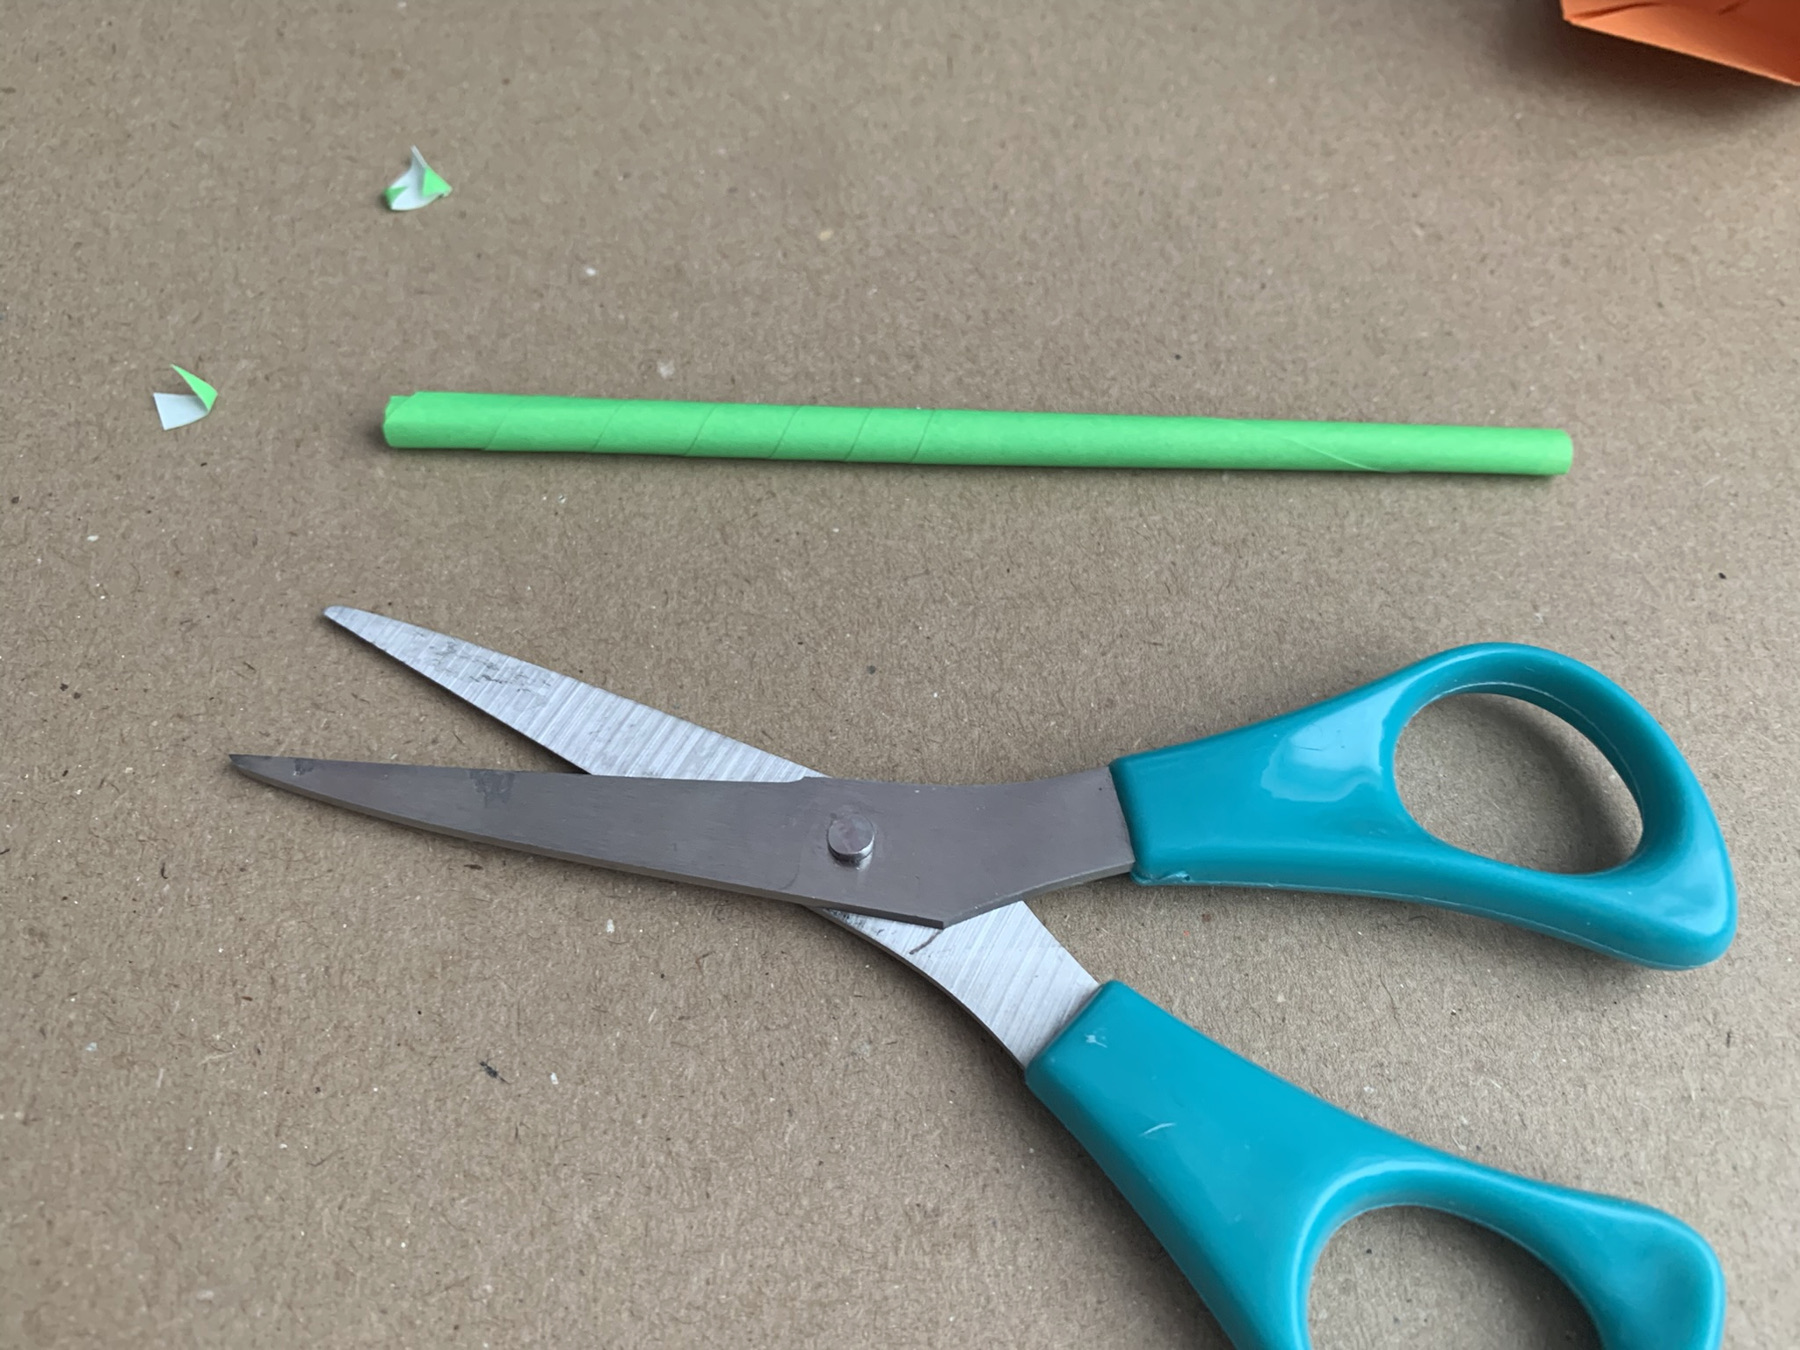
Cut the ends of the stem neatly level.
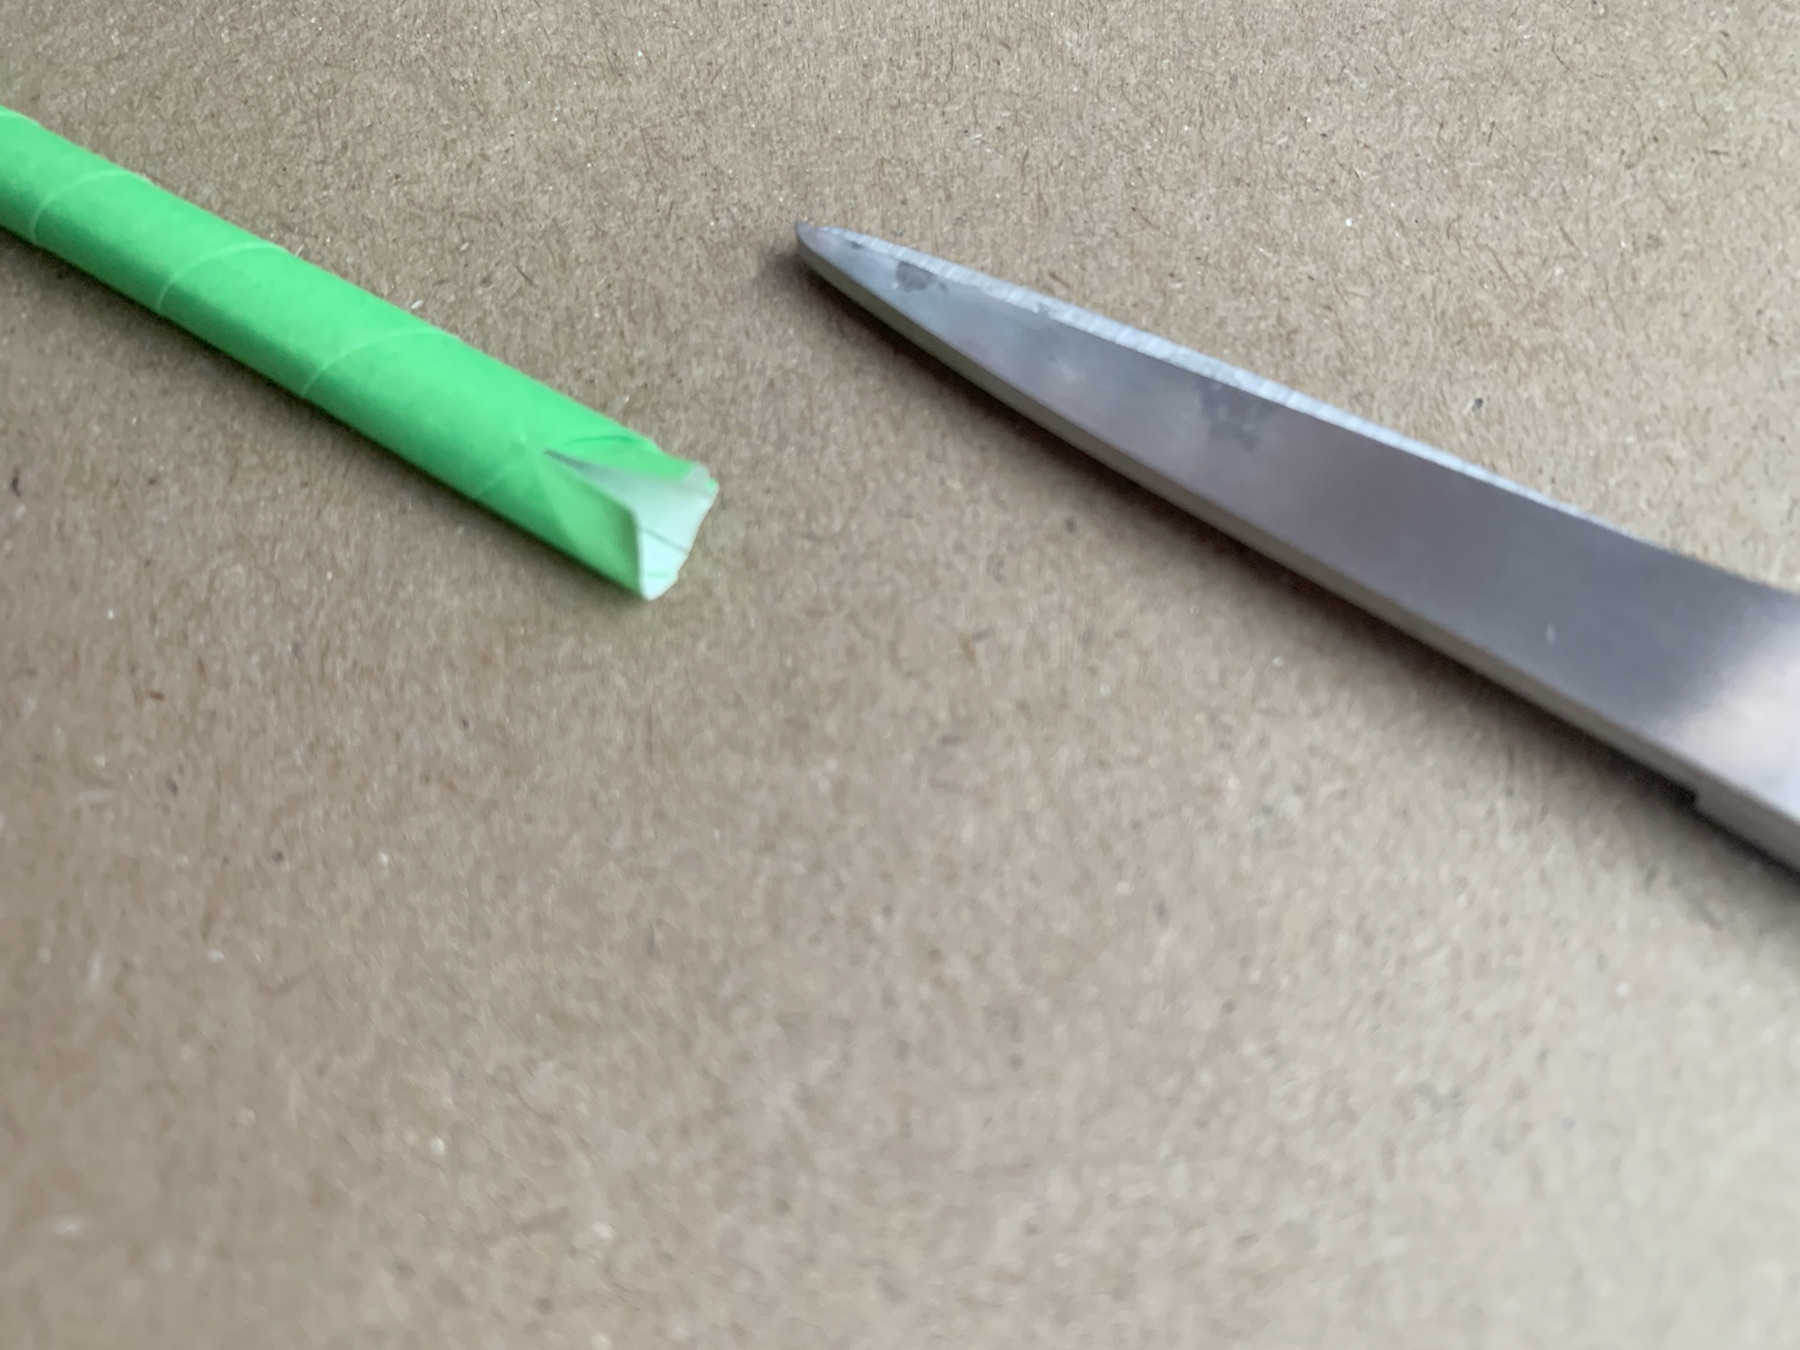
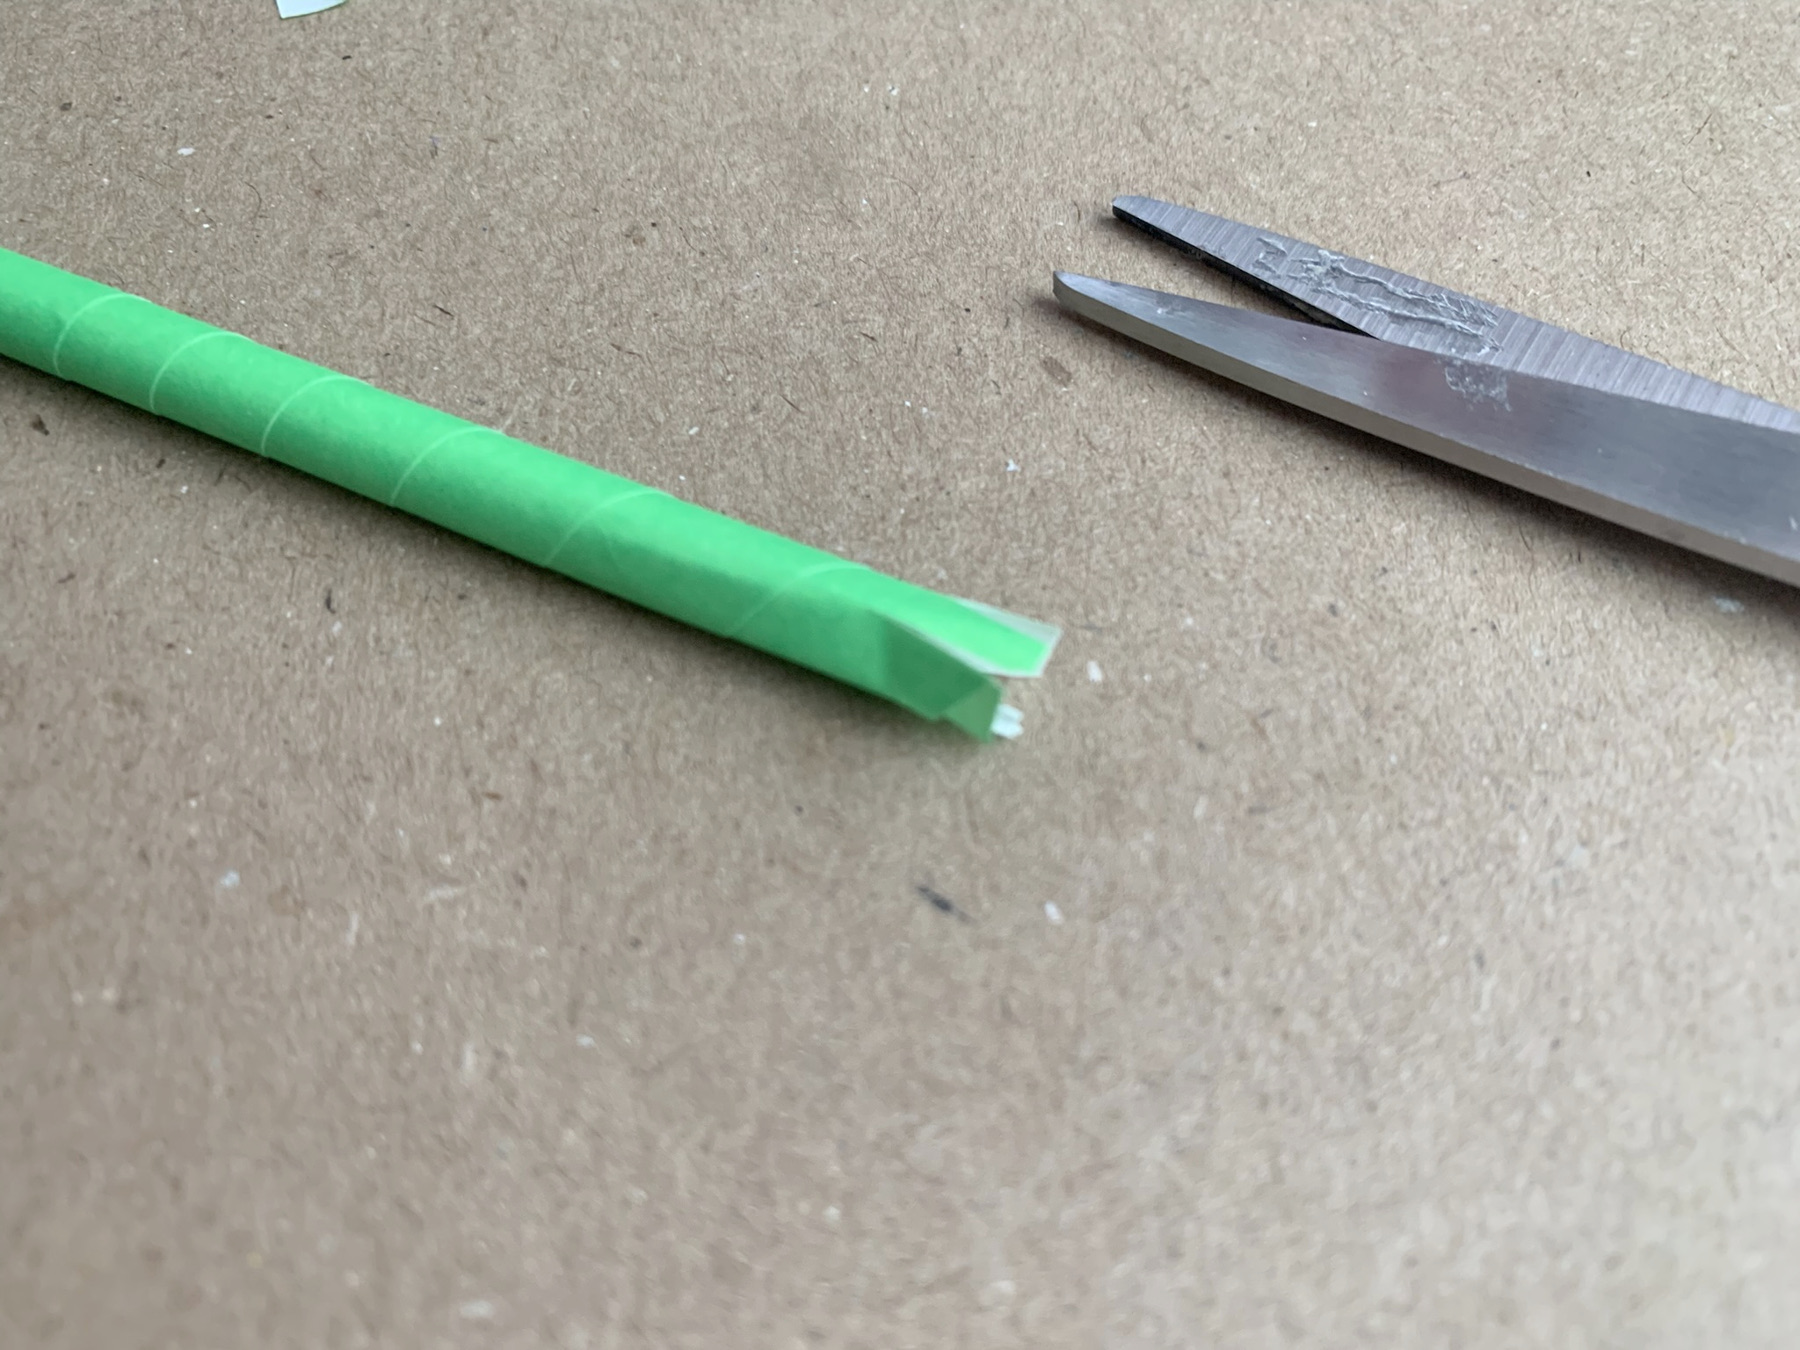
Flatten one end of the stem.
Make a cut and repeat.
The stem now looks like this.
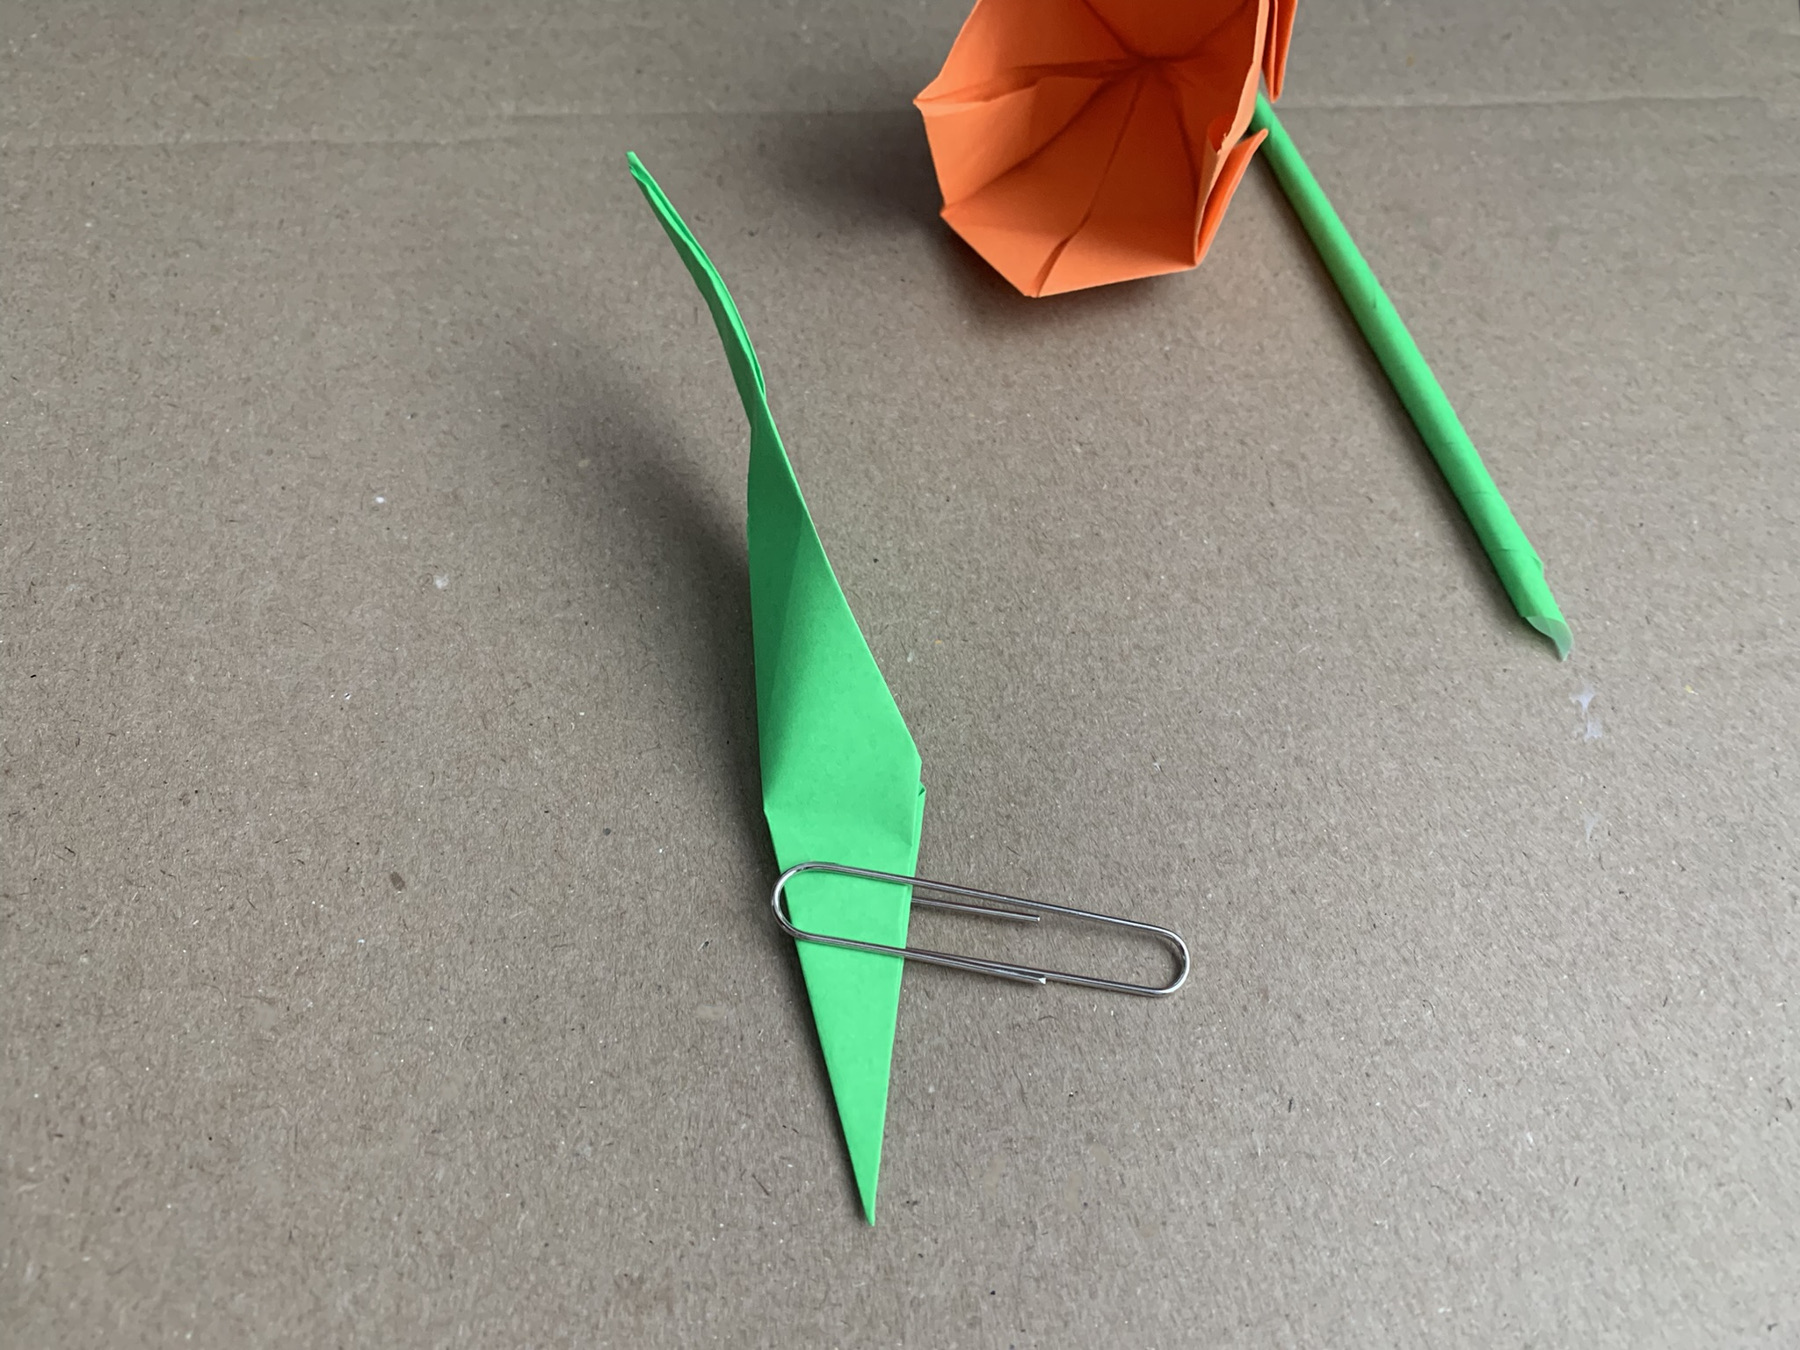
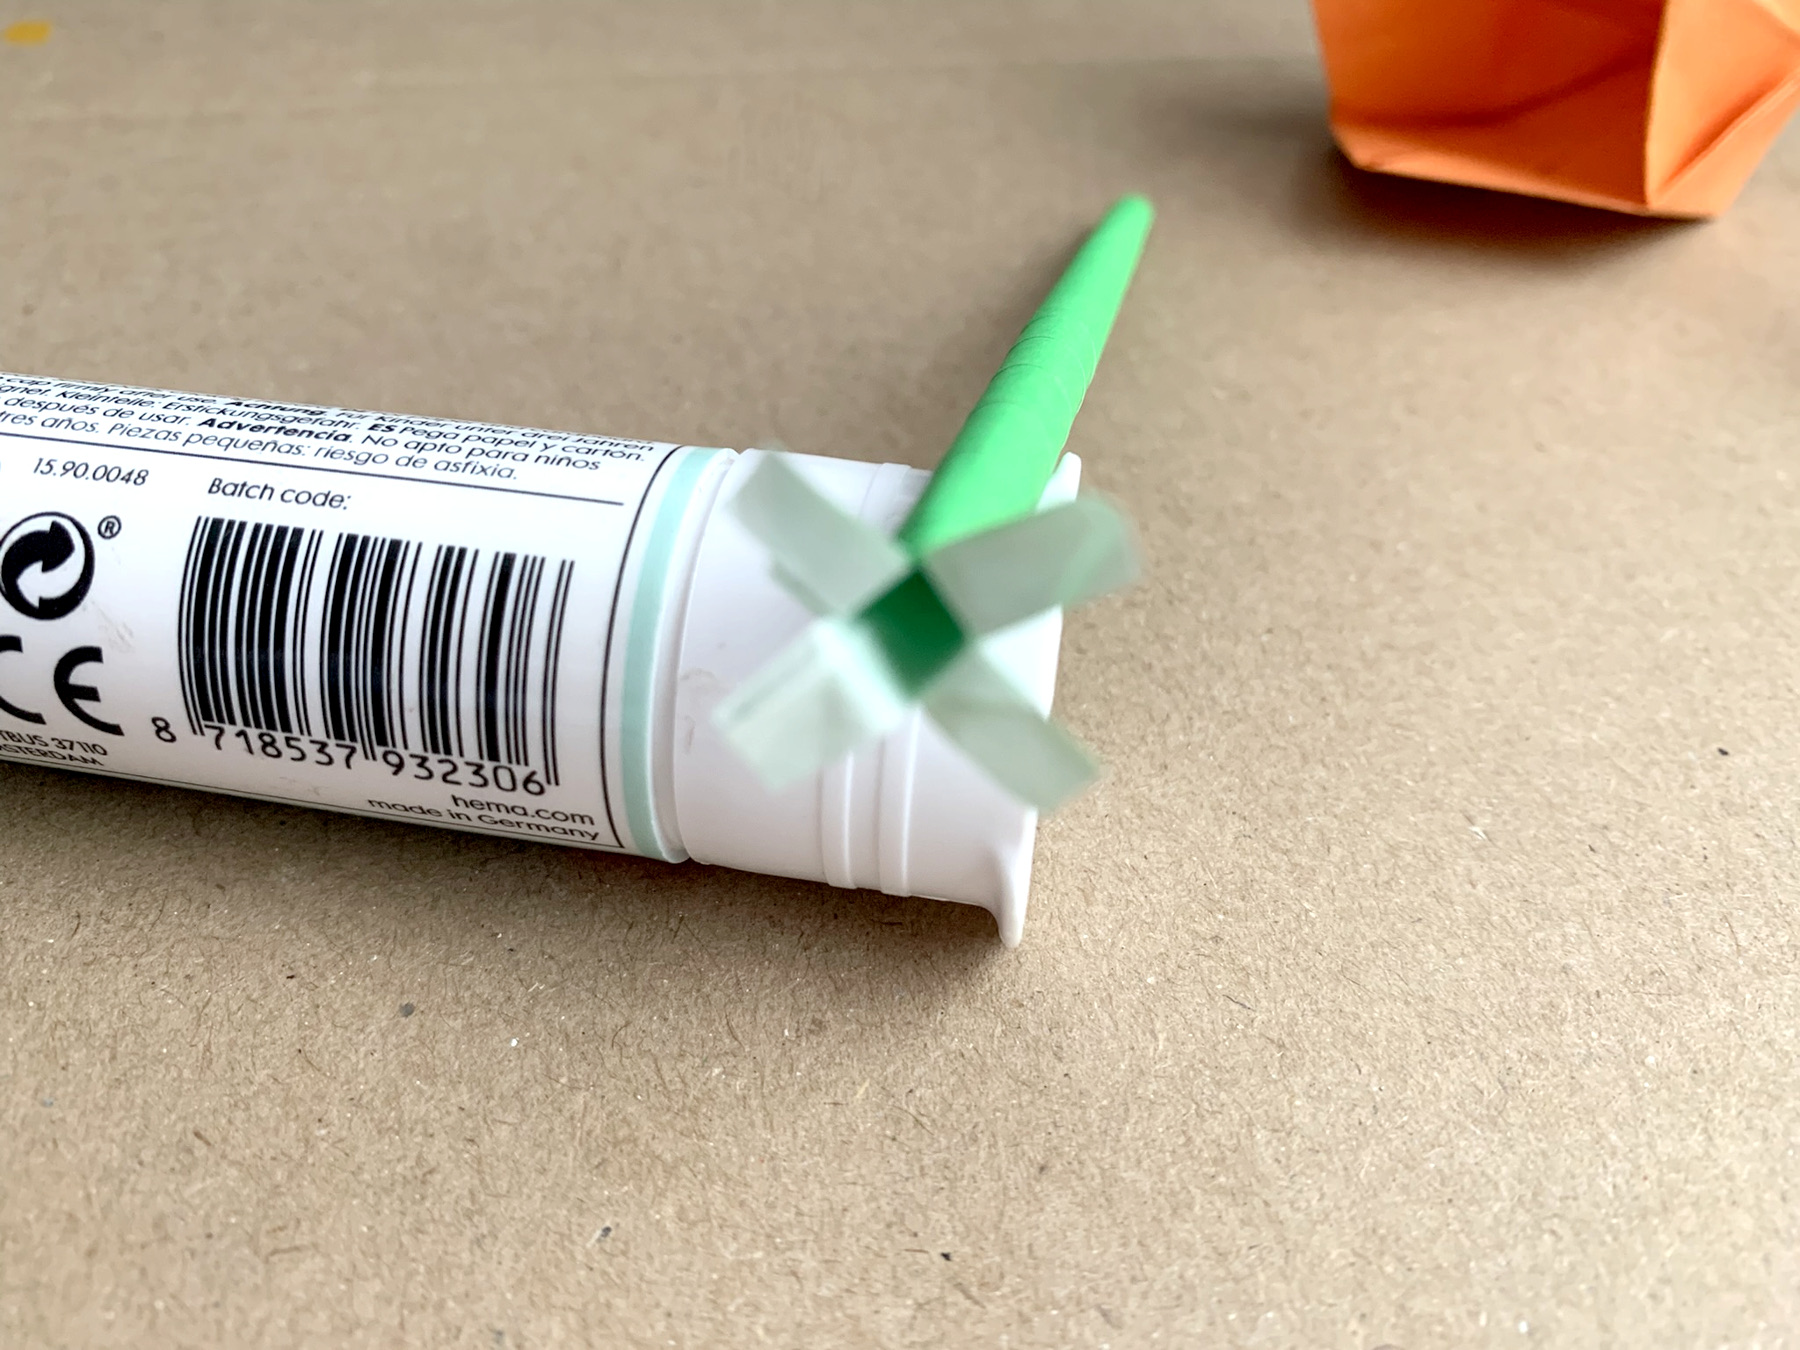
Spread glue on the green sides.
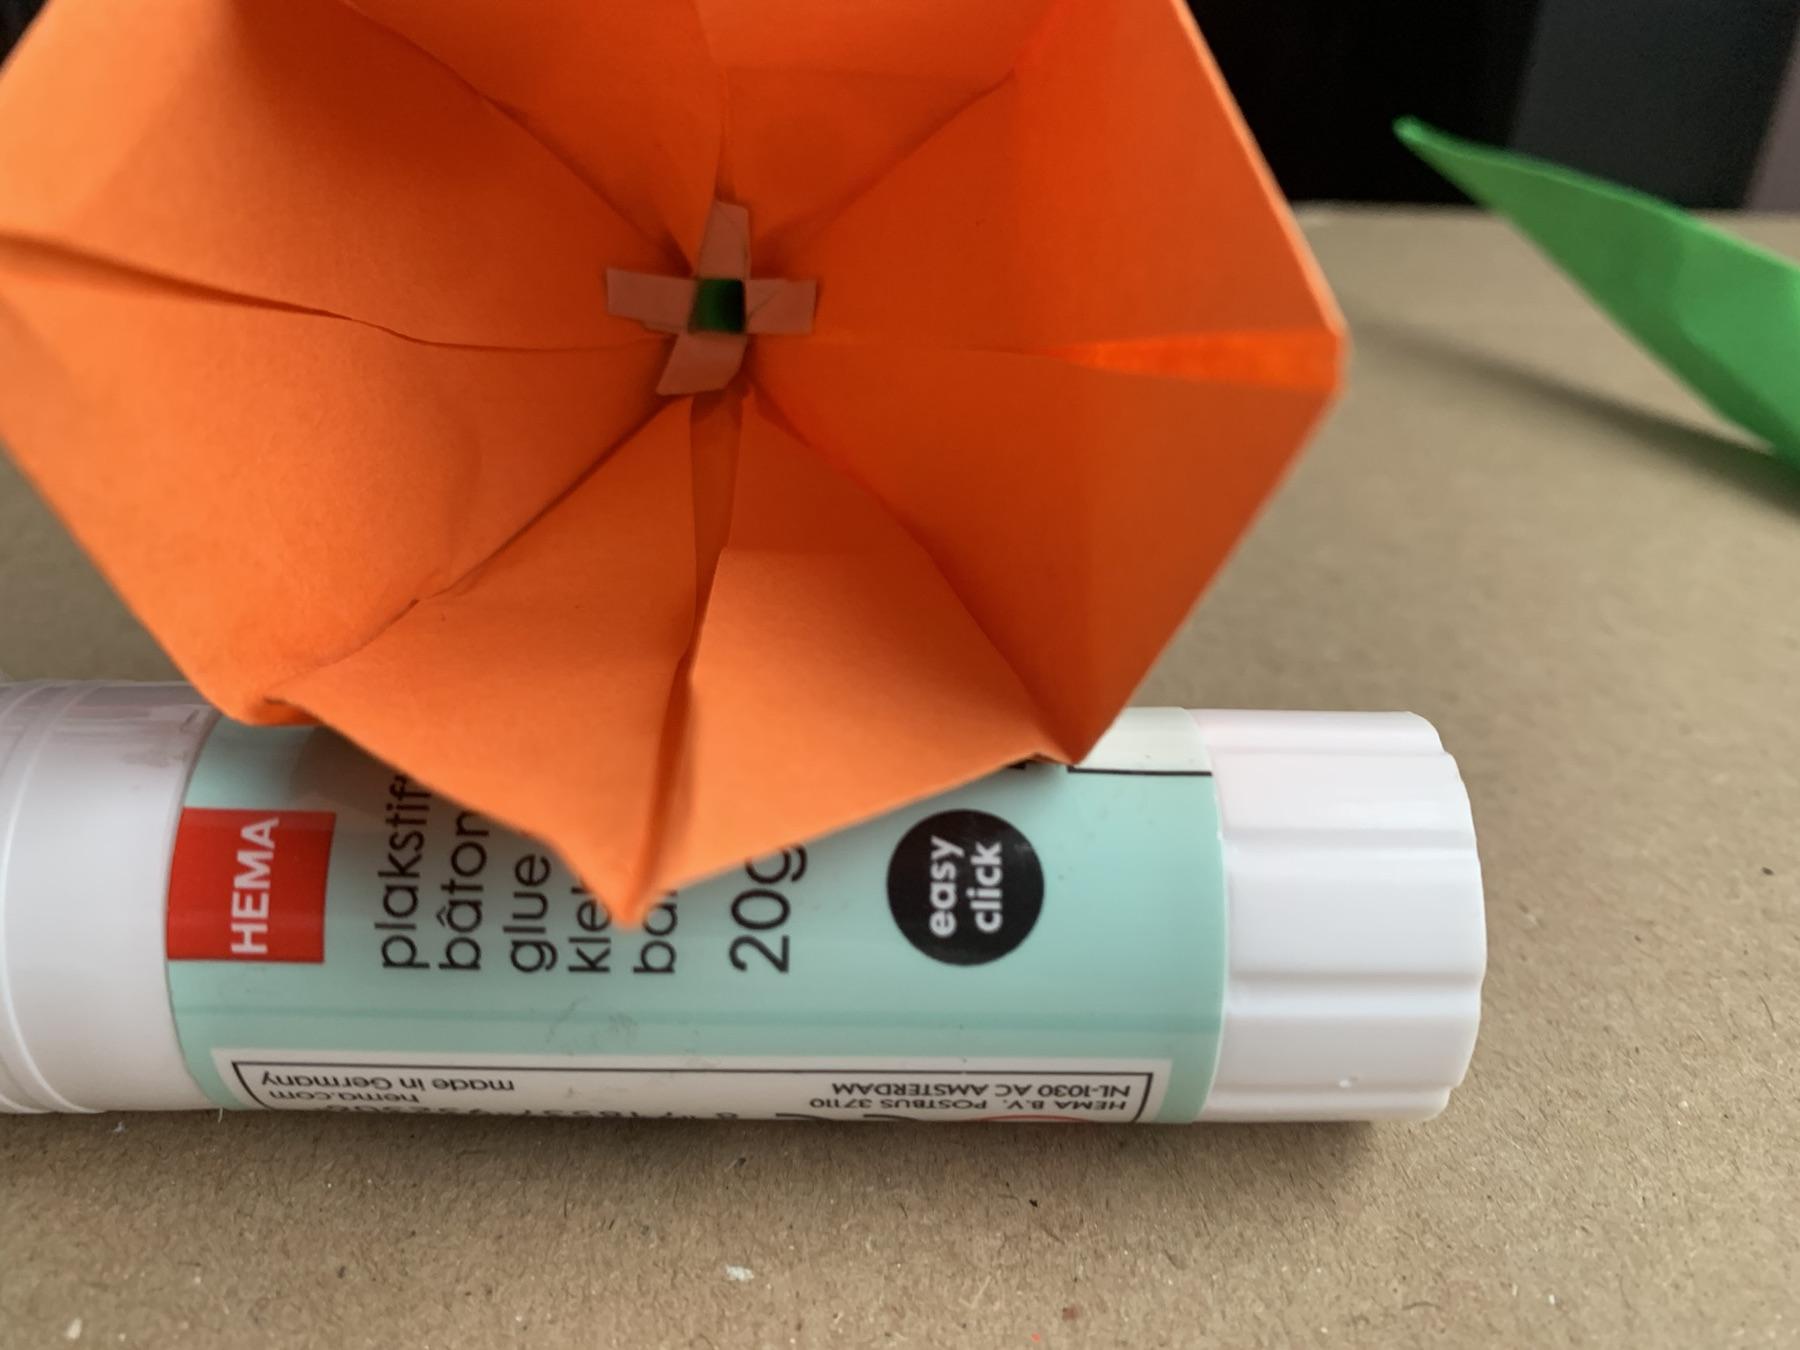
Stick the stem through the tulip and press on..
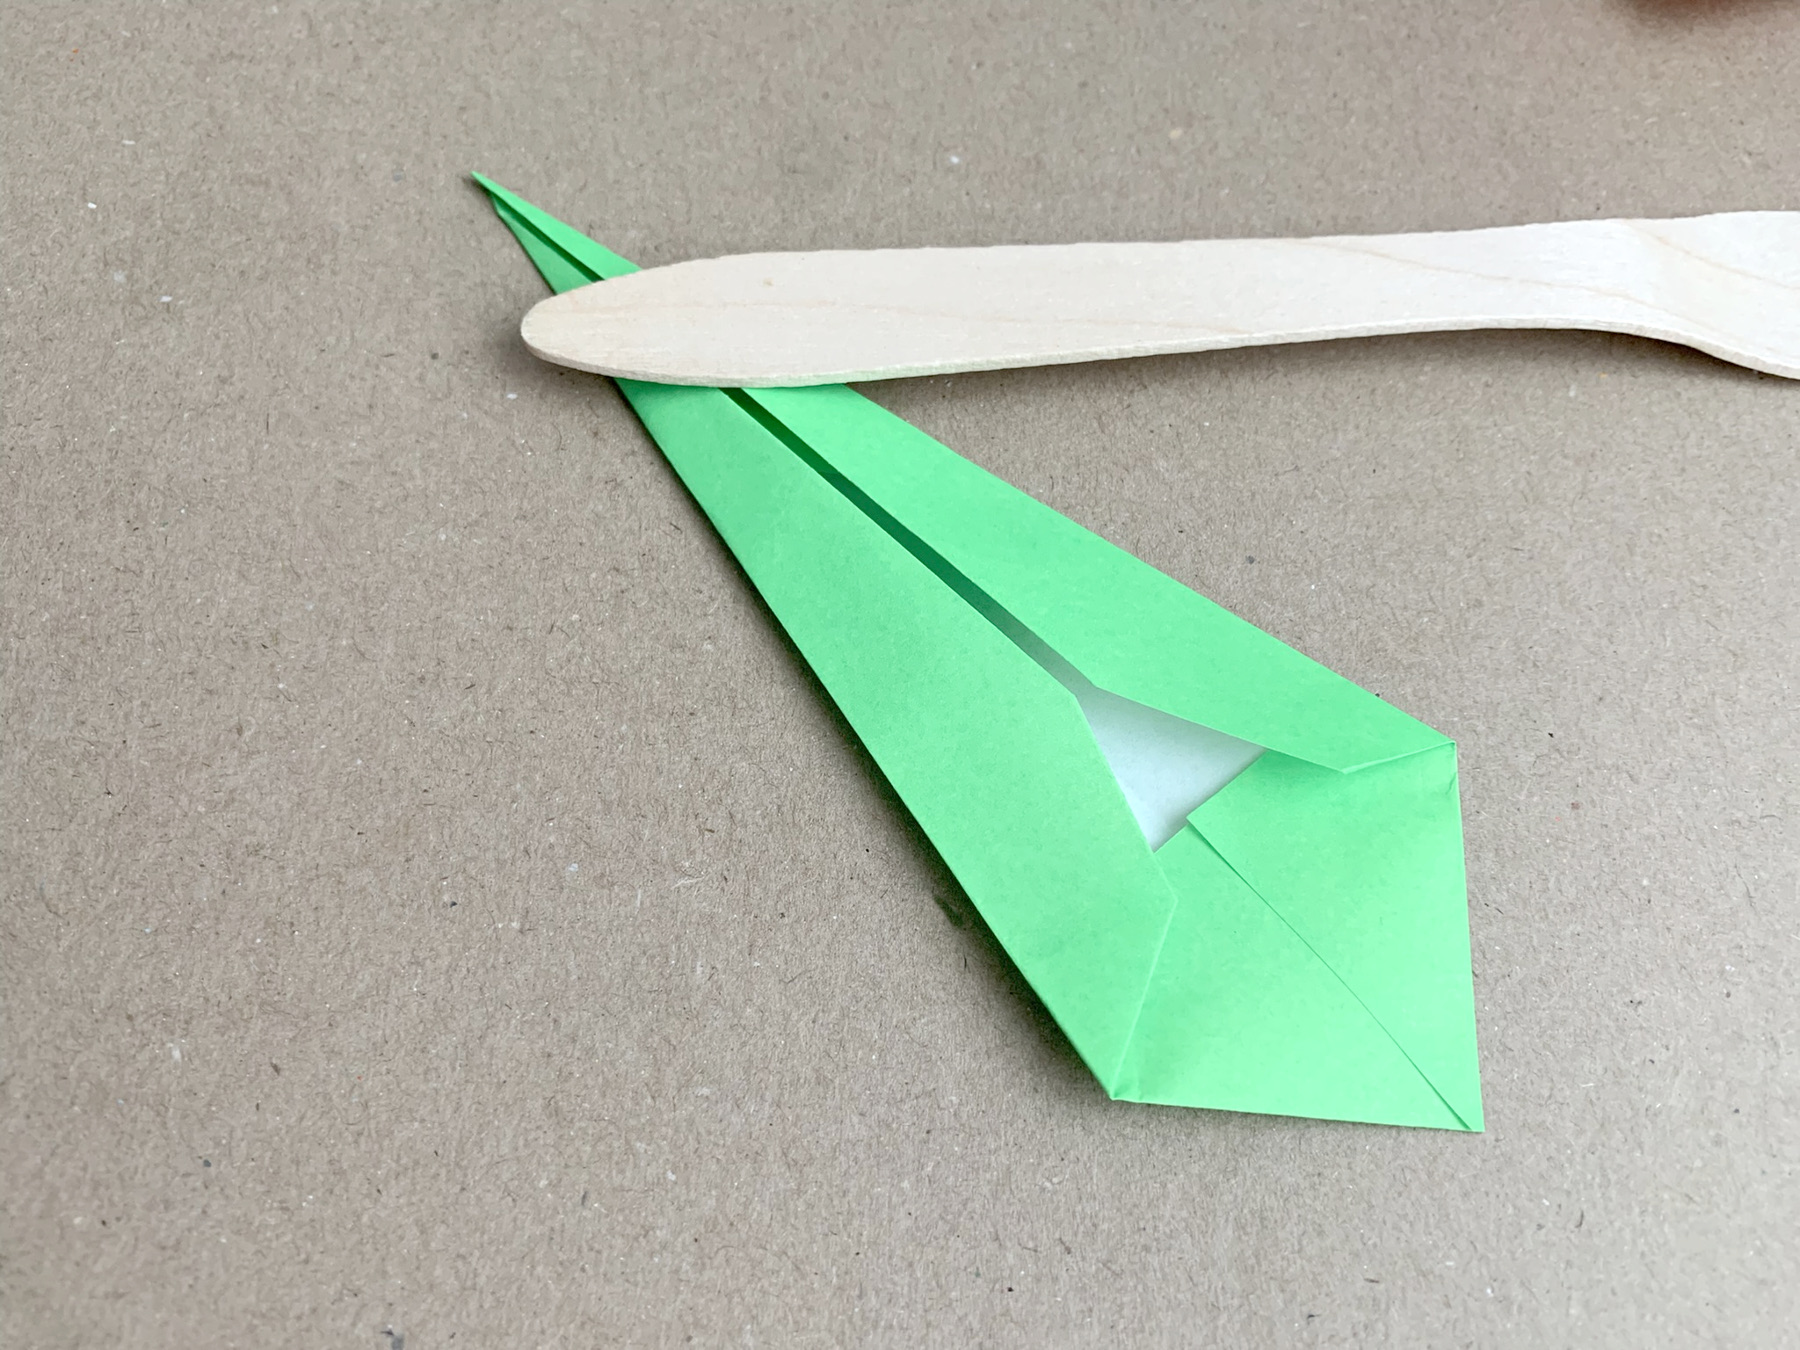
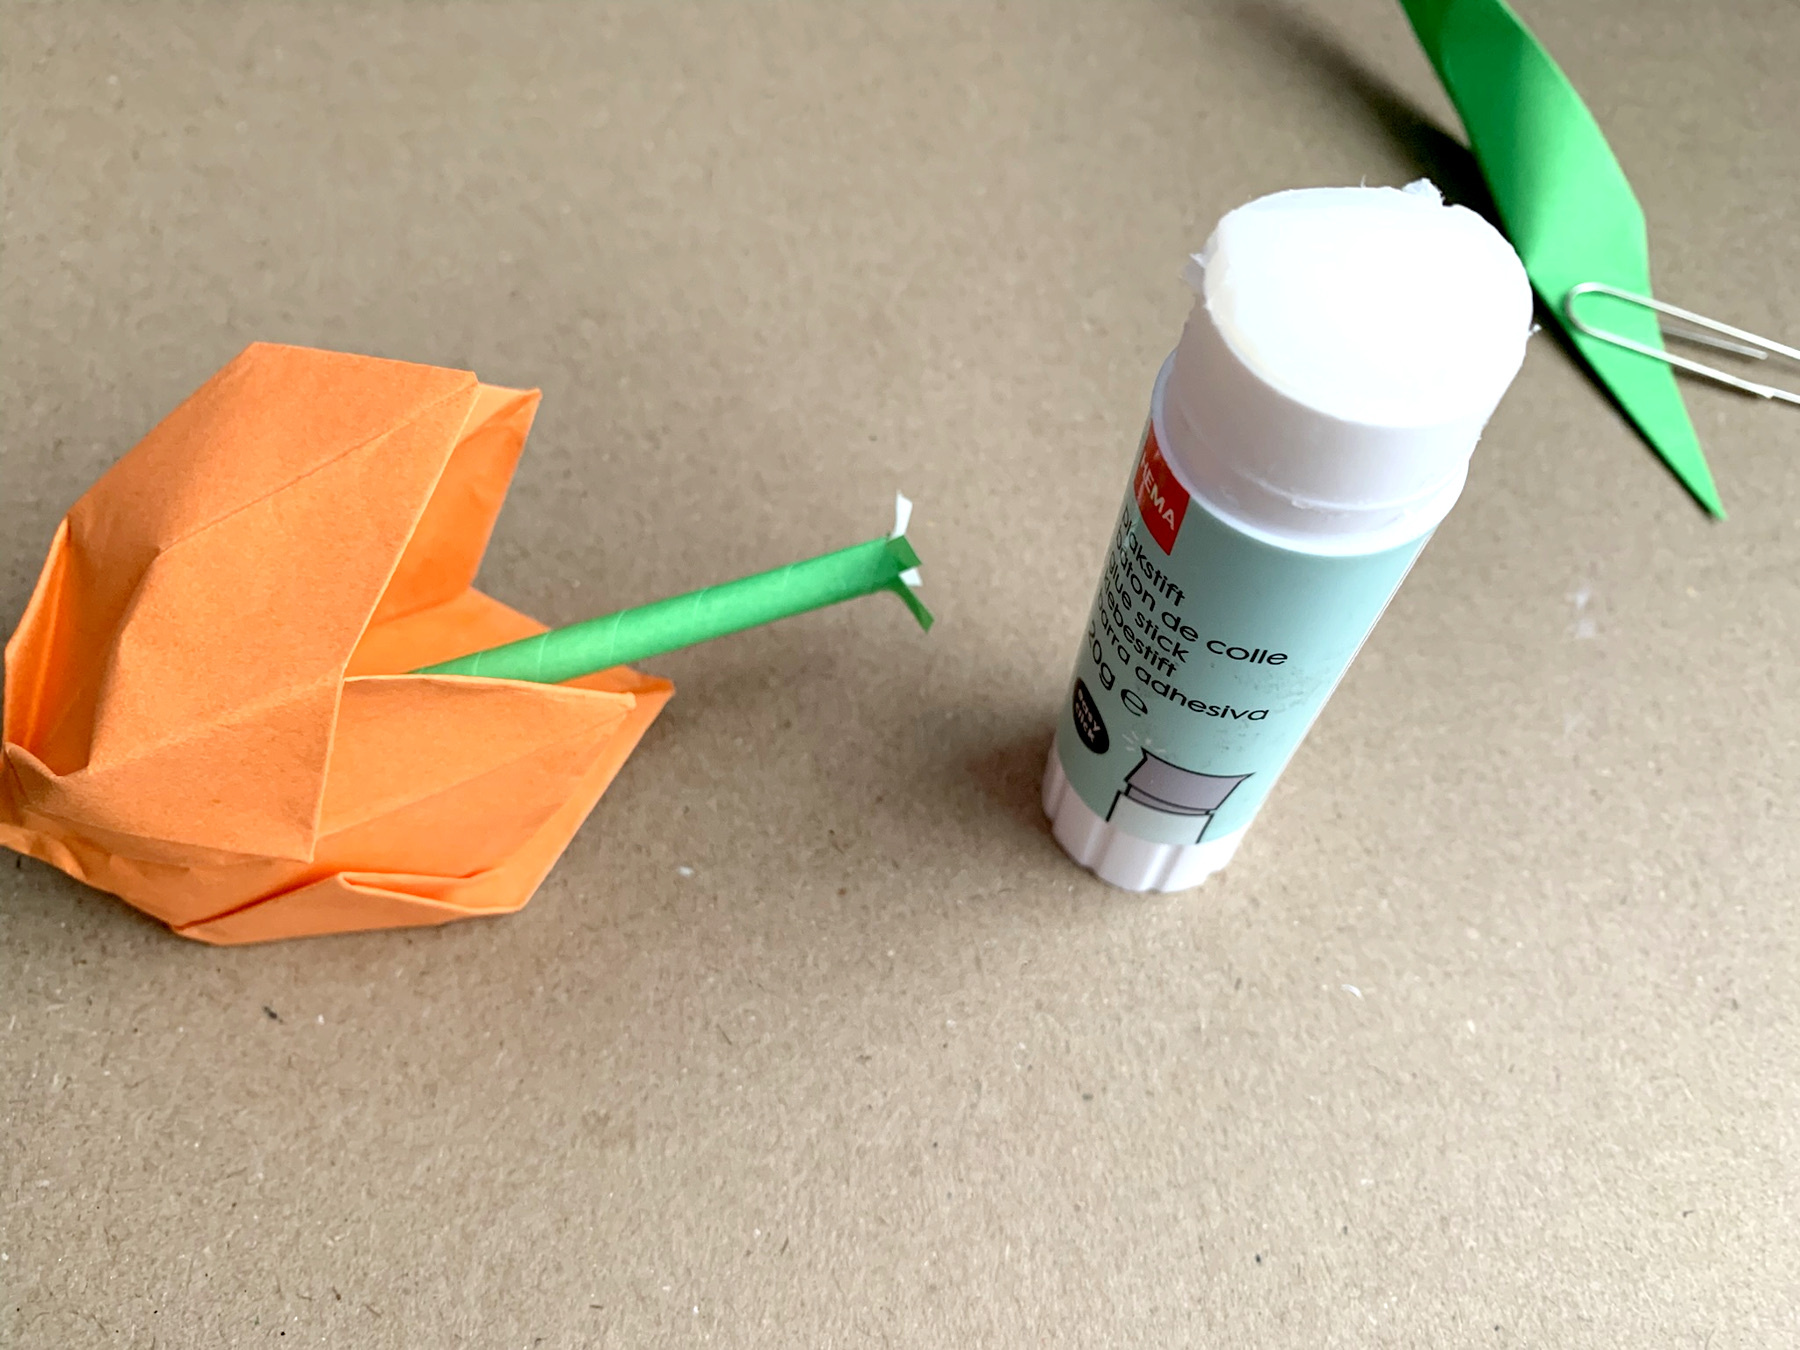
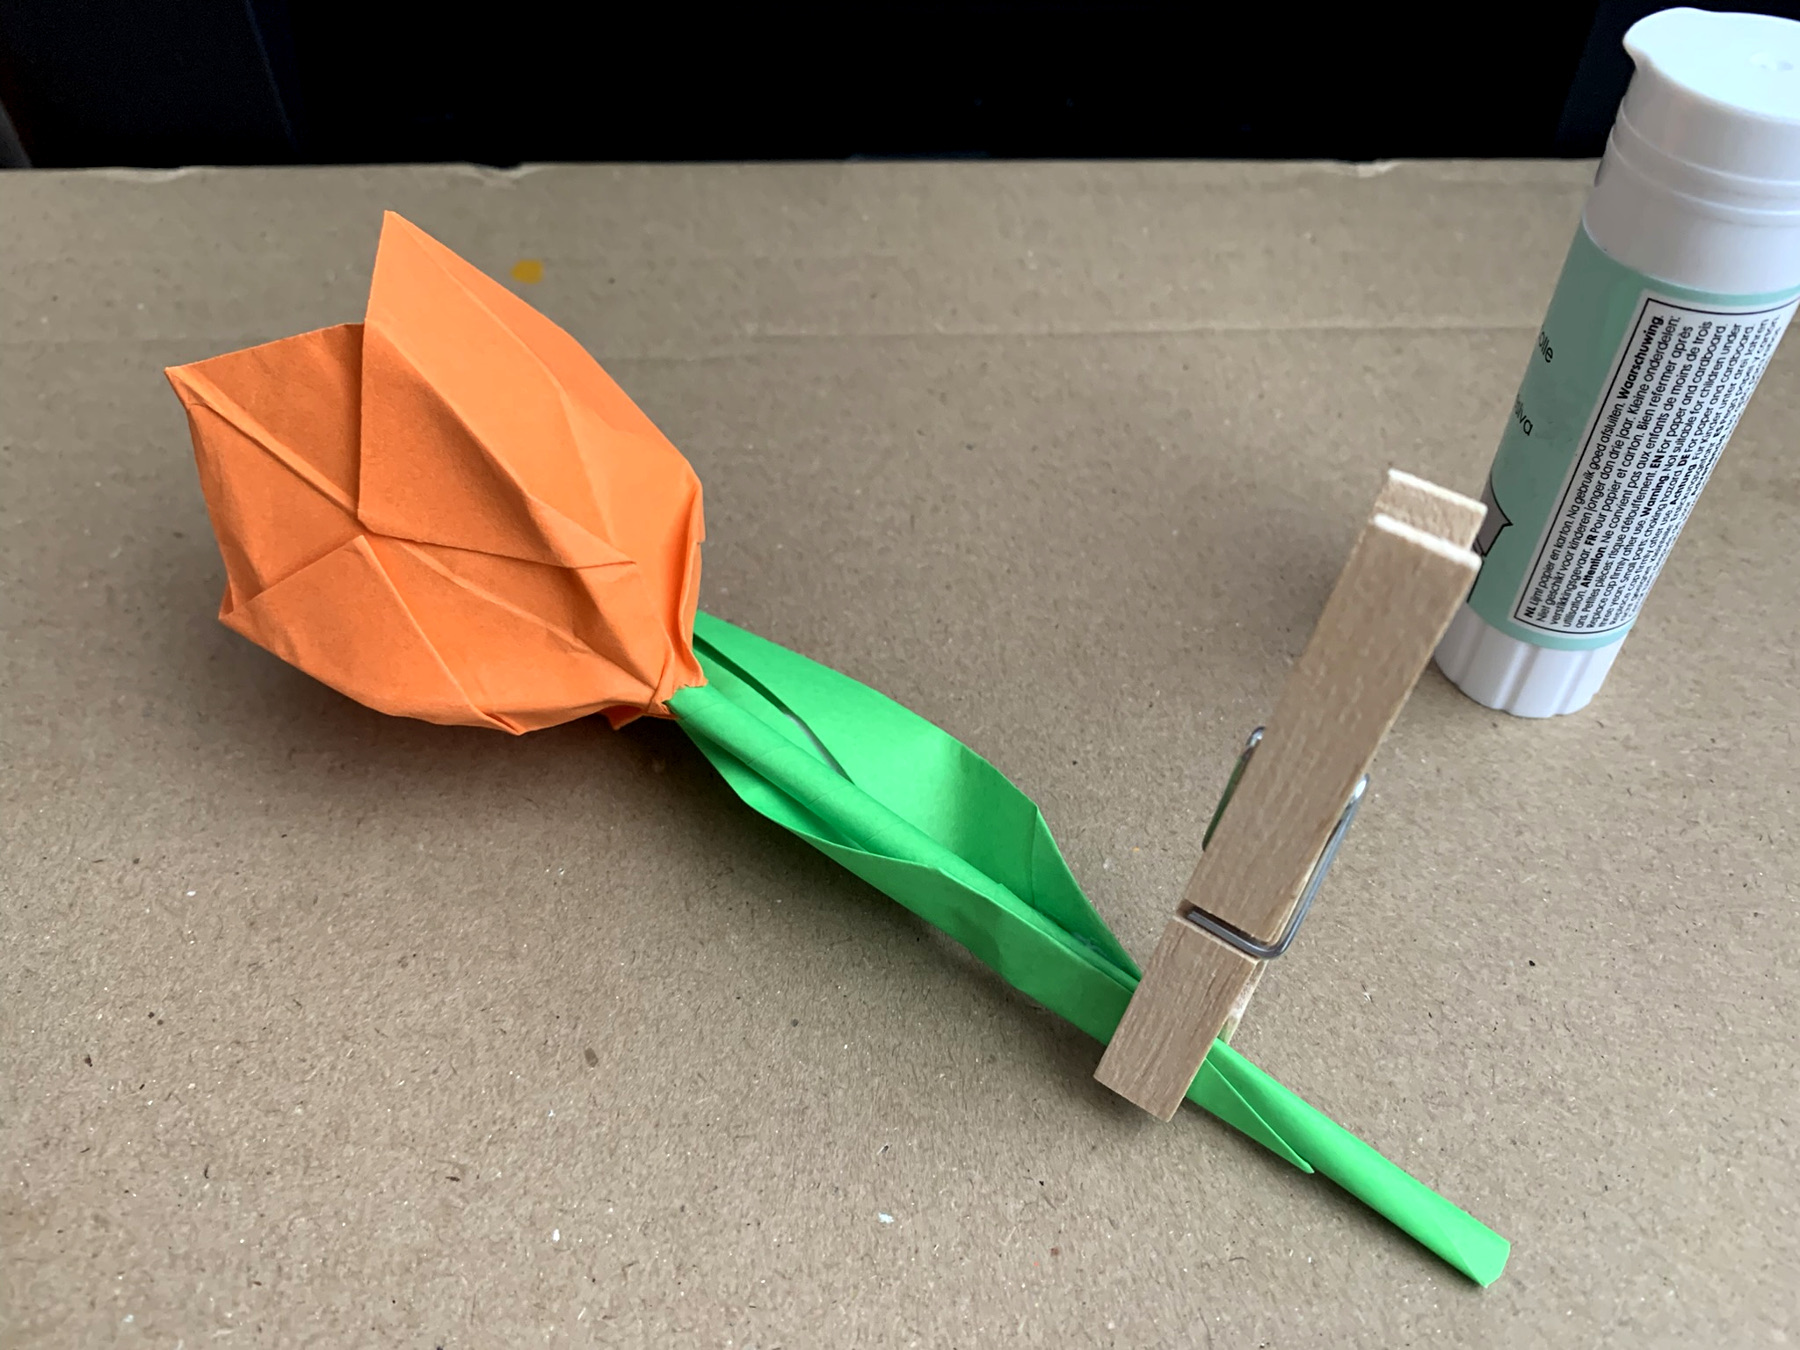
Spread some glue on the bottom of the leaf.
Press it onto the stem and put a clothespin on.
Allow the glue to dry well!
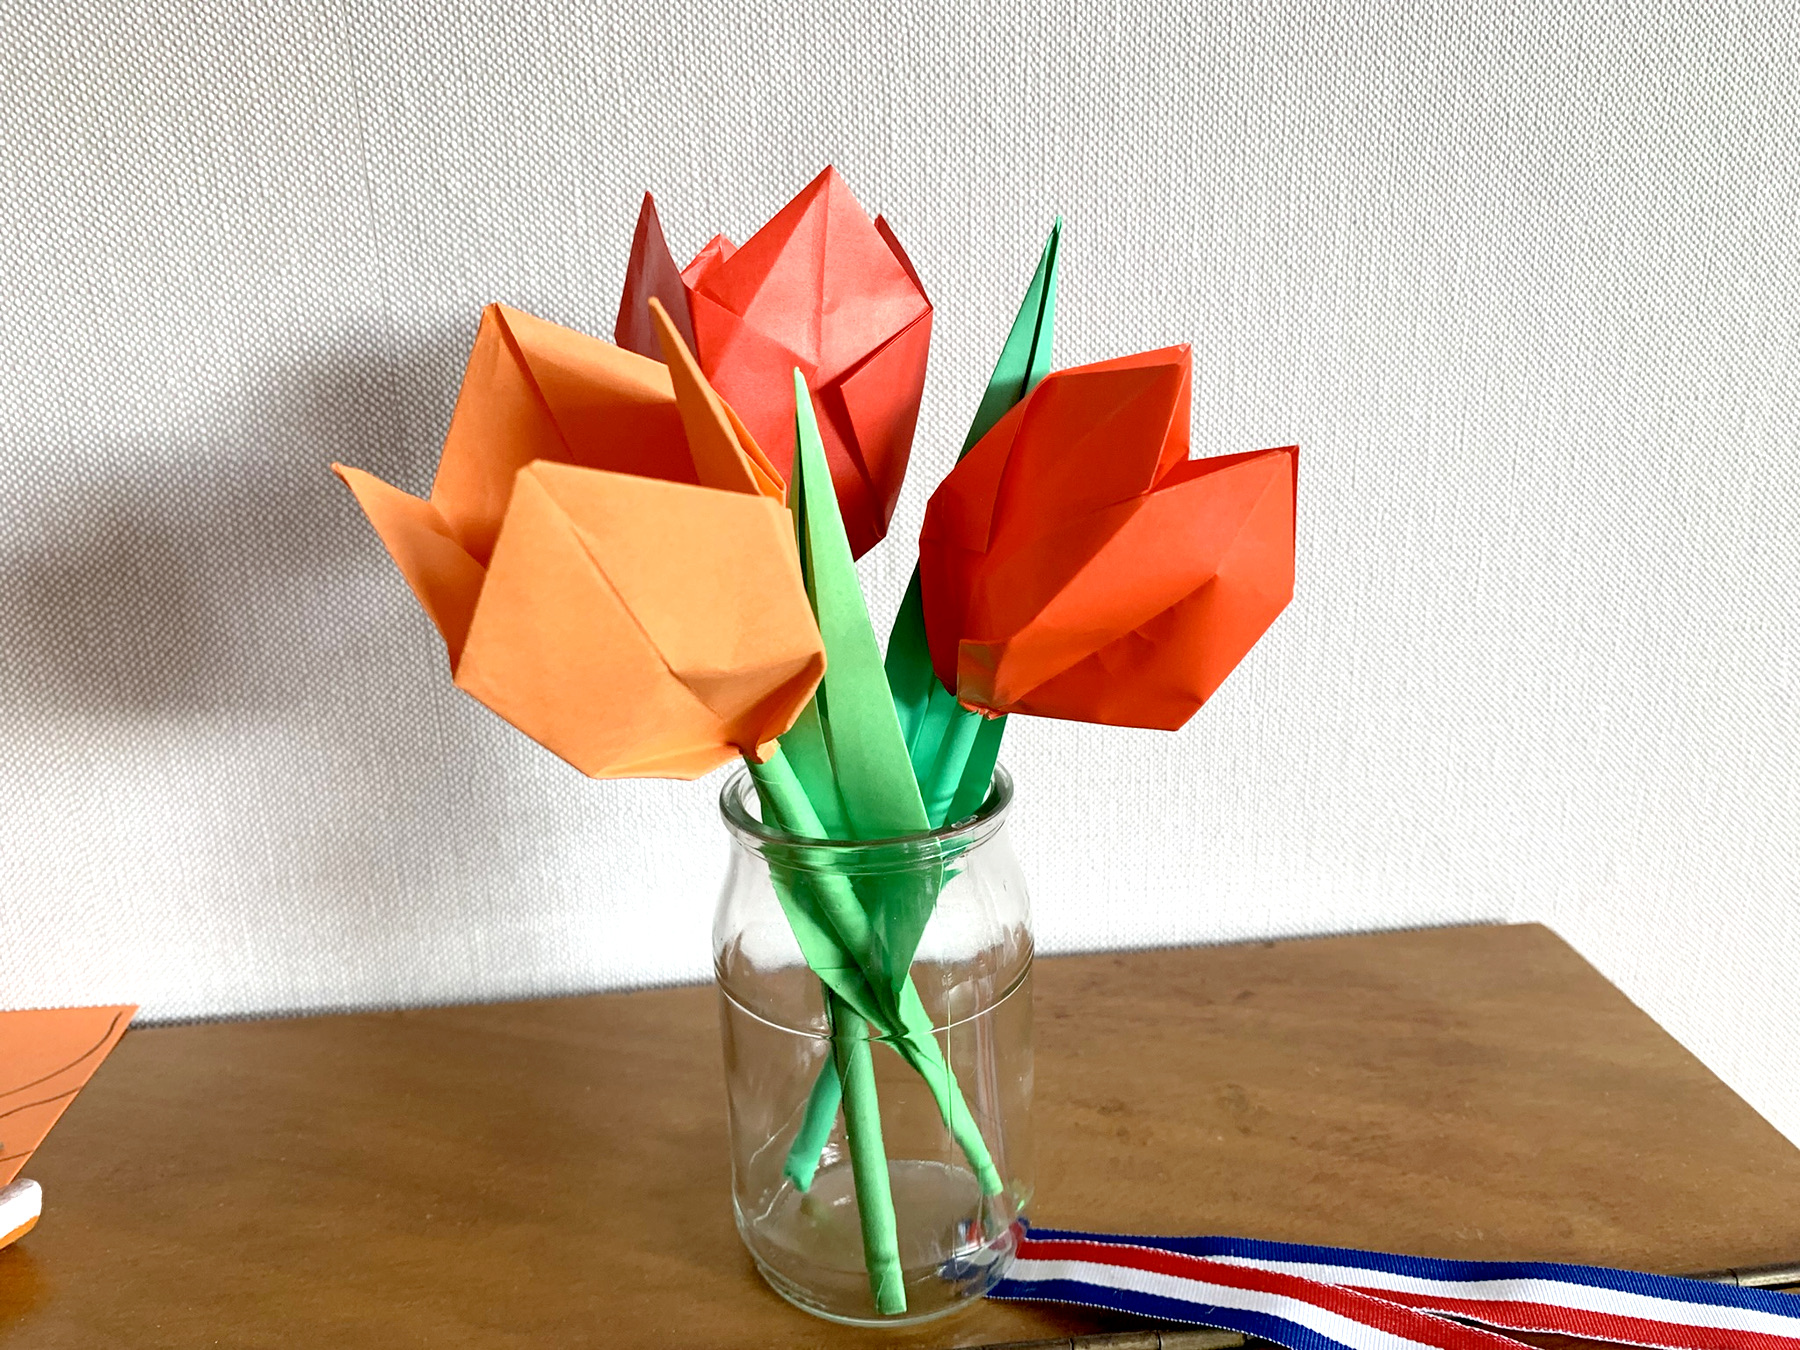
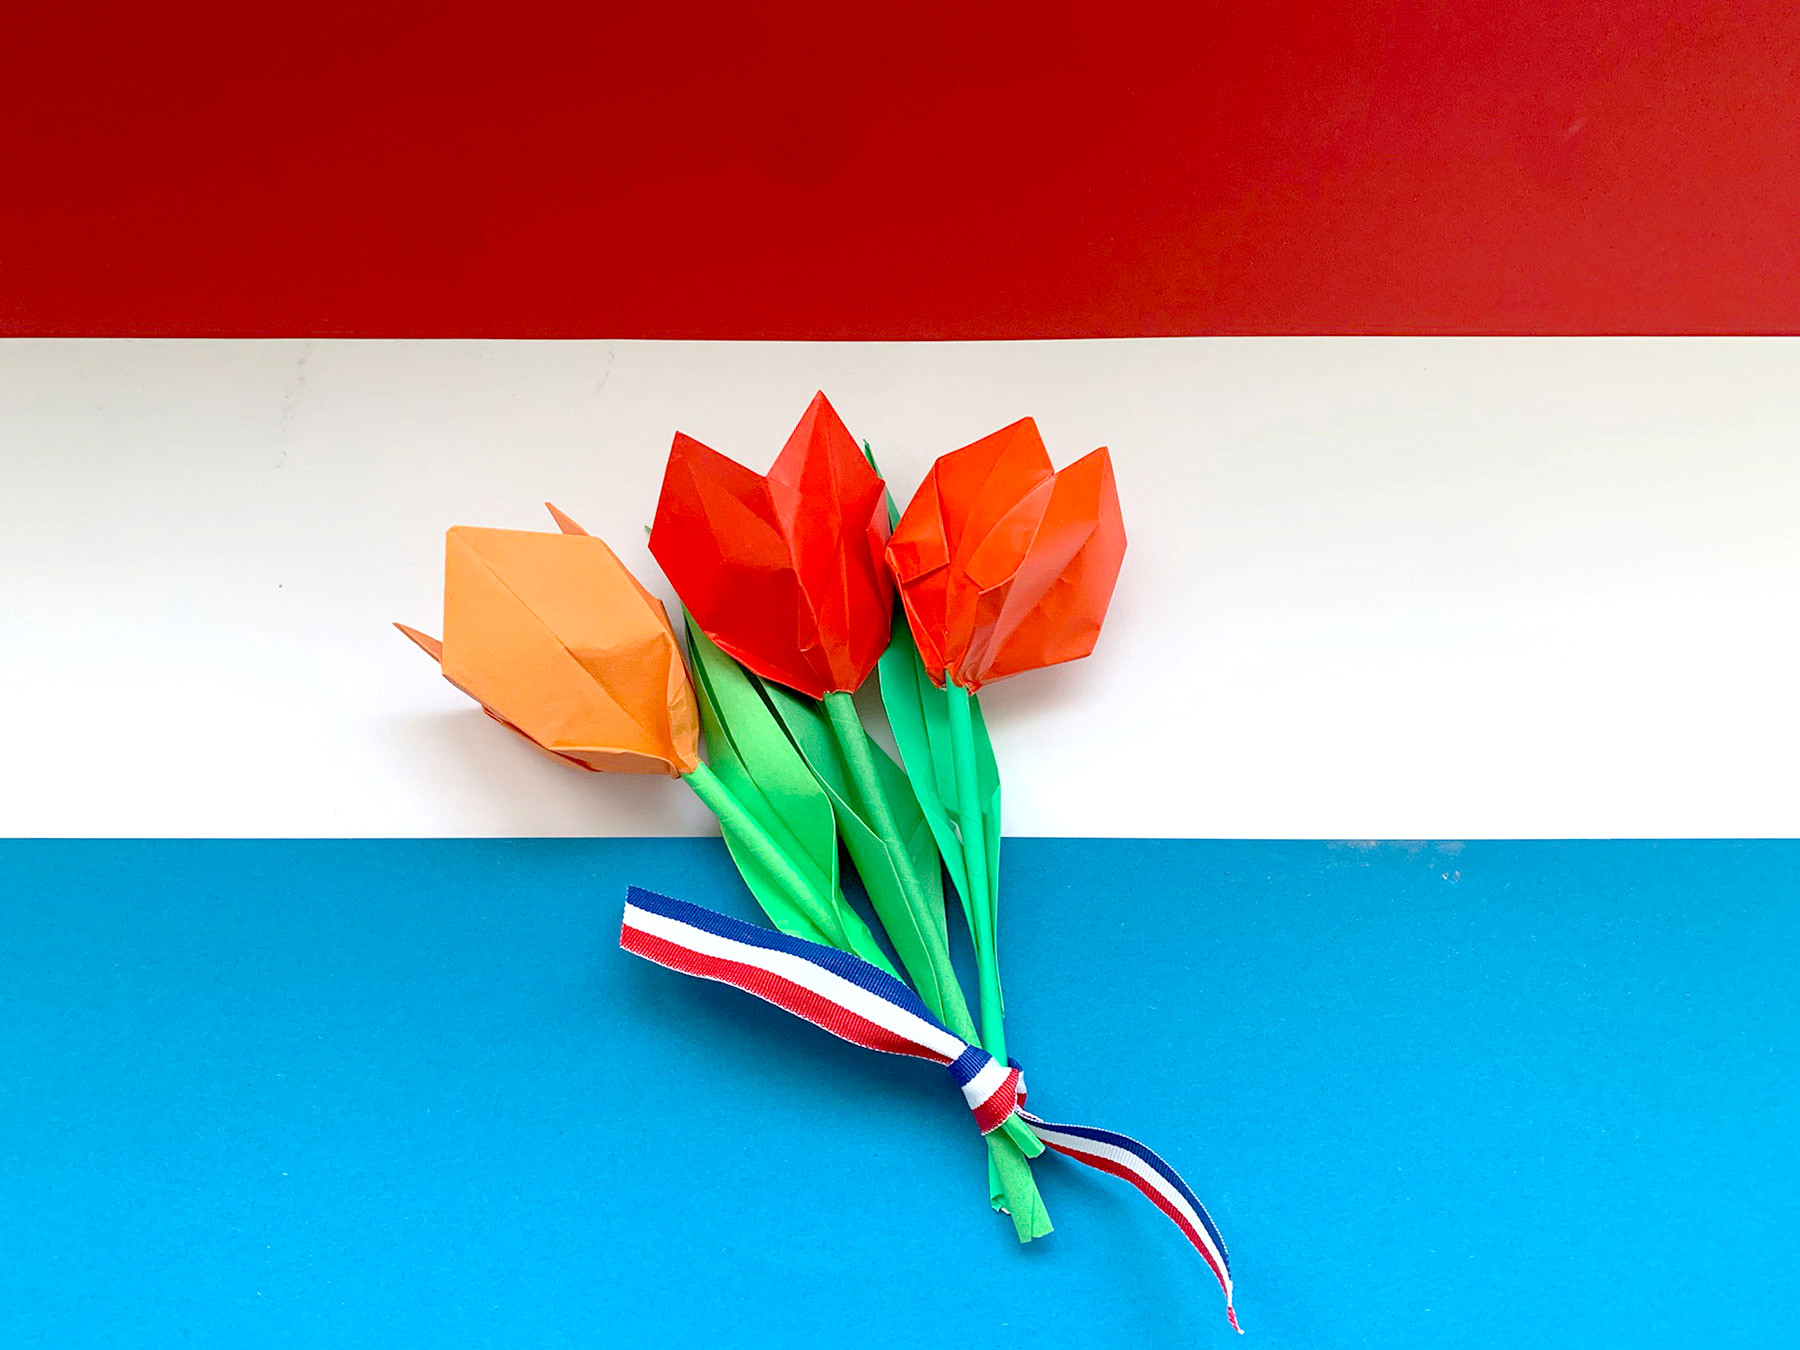
Meanwhile we make another two tulips, it's quickly done
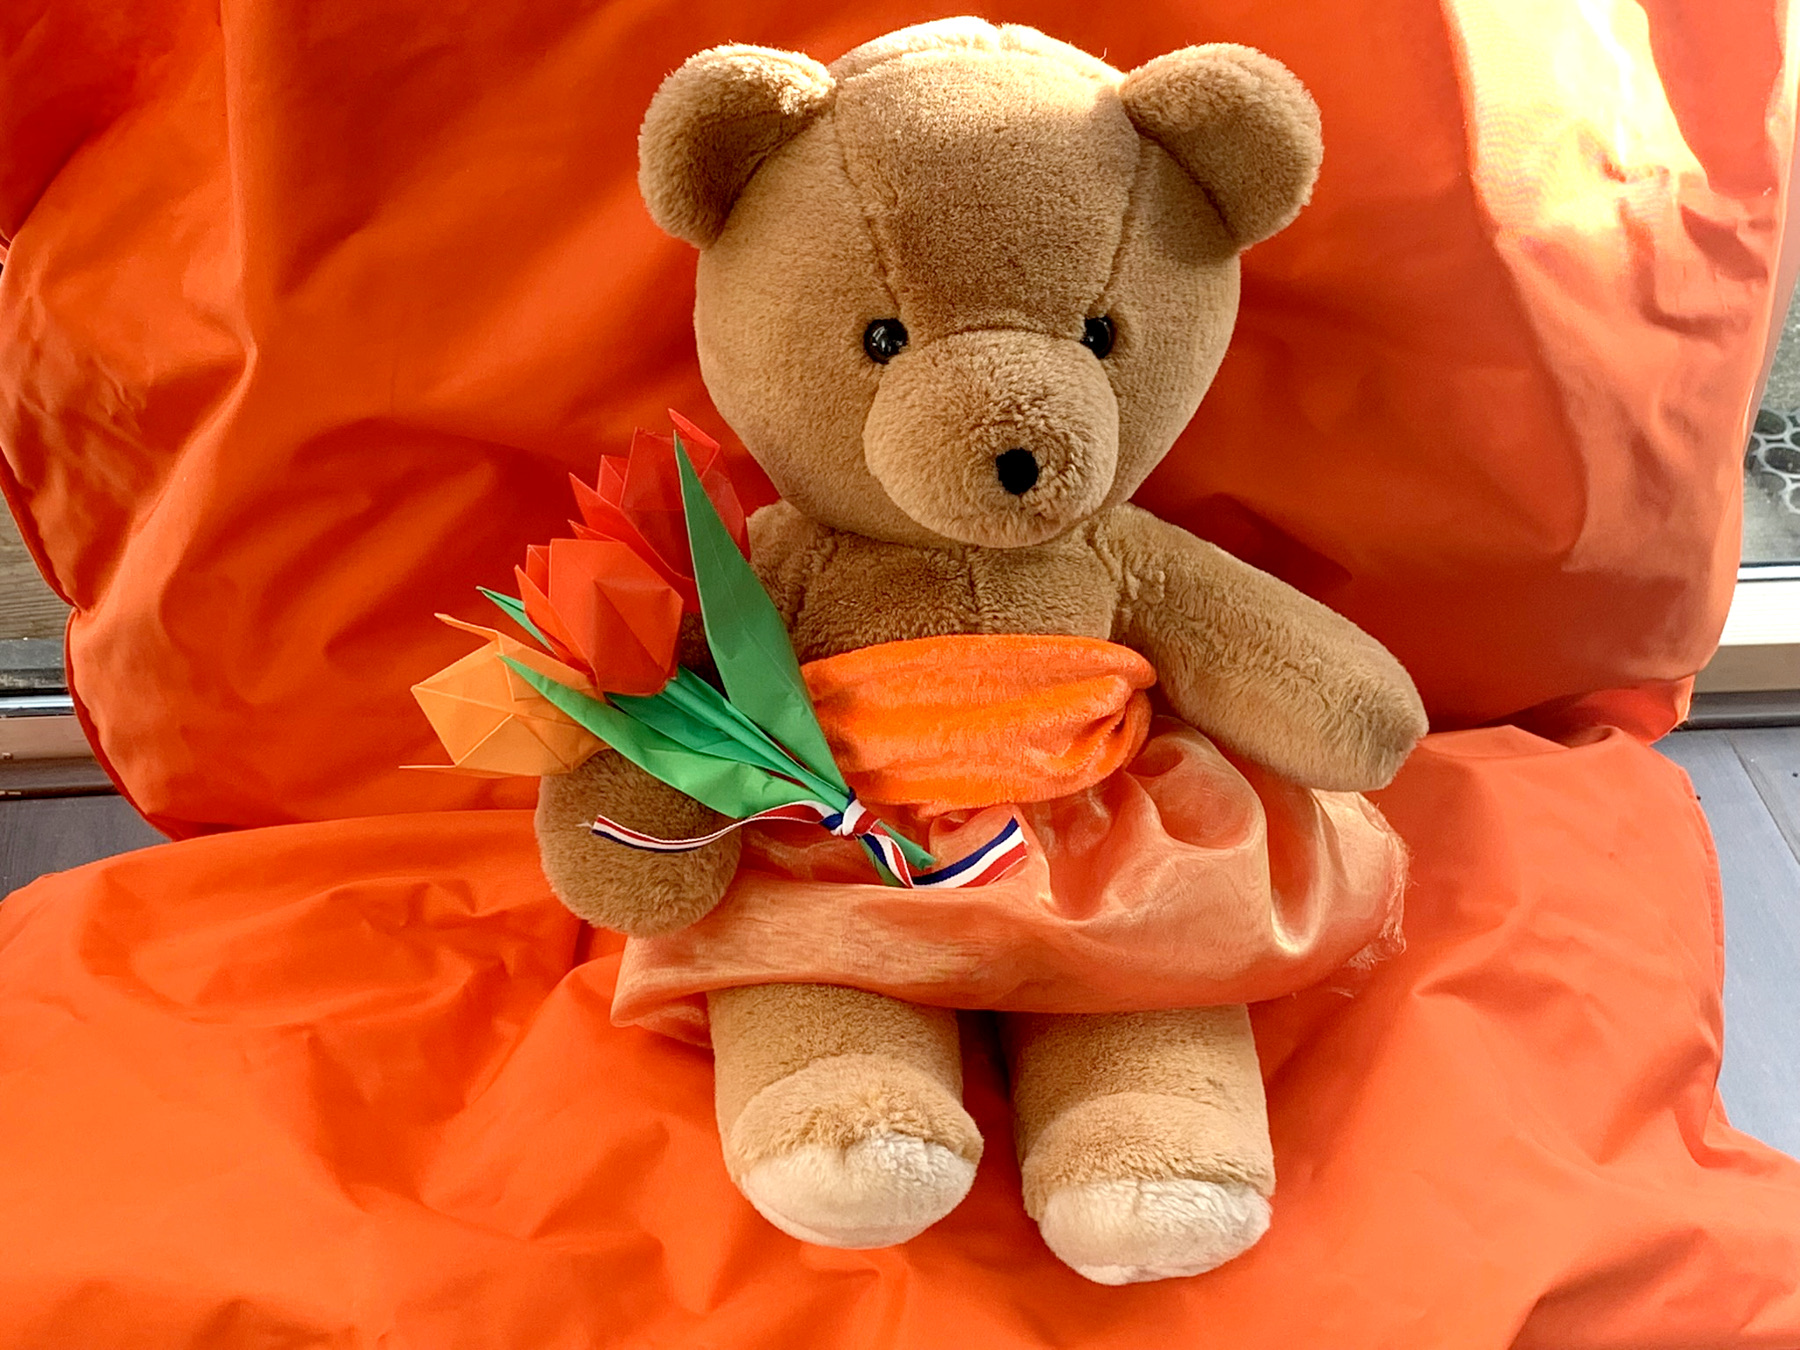
Sabine is waiting, ready to go outside!
Happy King's Day!