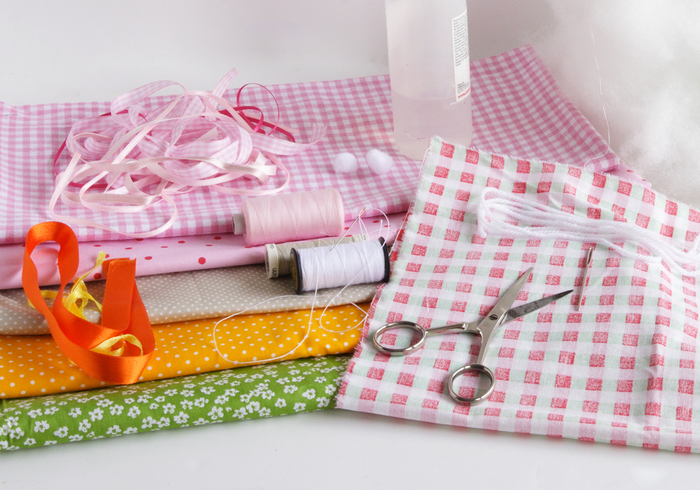
What do you need?
drawing paper en felt pen
scissors
cotton fabric
pins
needle and yarn
fiberfill
woolen thread + big darning needle
ribbons
little woolen pompom
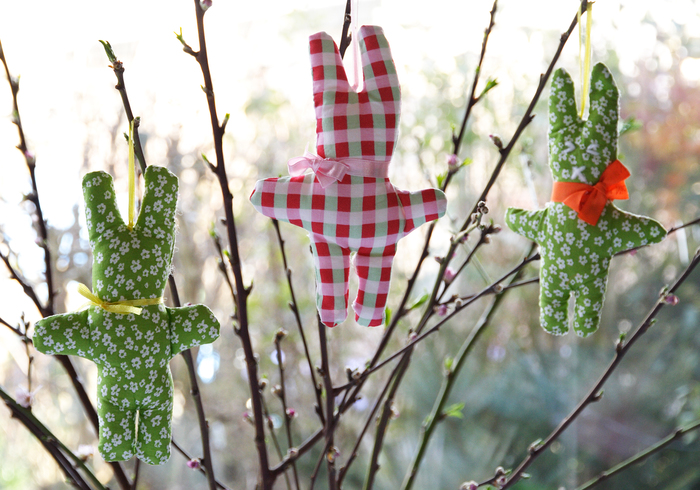
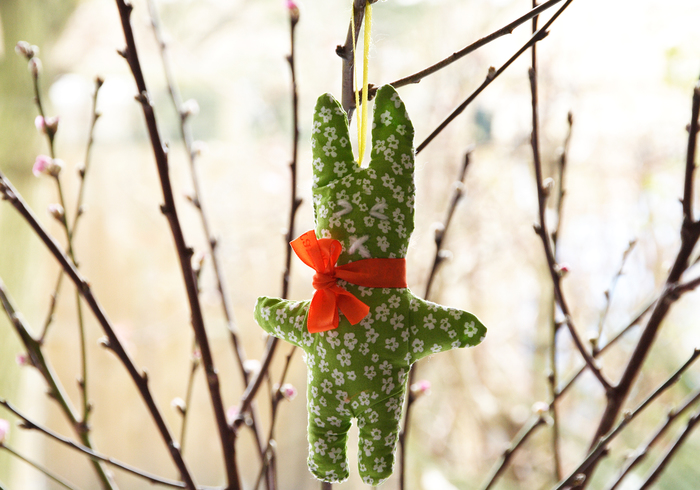
Today we sew simple Easter bunnies with cute fabric. We sew them by hand but if you are a star on the sewing machine you can use it of course.
How to make Easter Bunnies
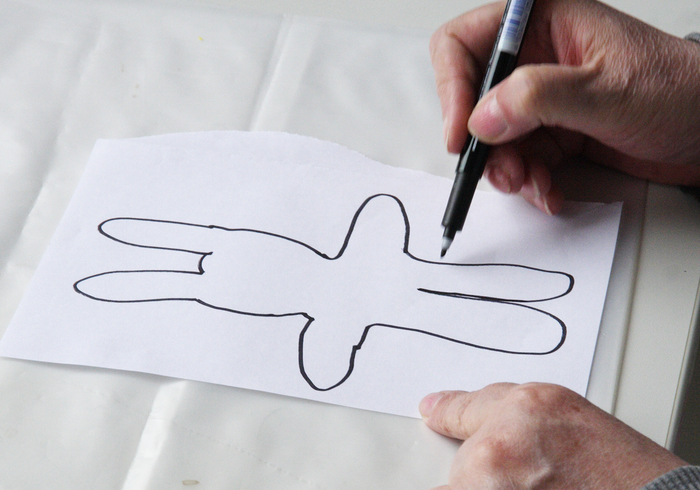
Draw or download an Easter bunny, cut it out.
Fold a piece of fabric in half, good side in.
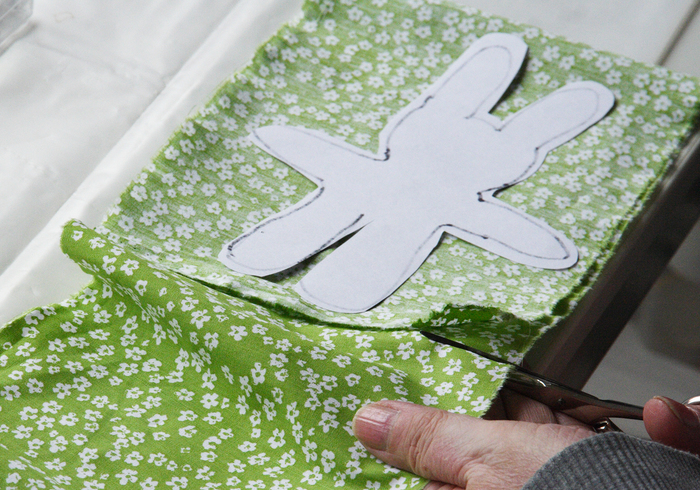
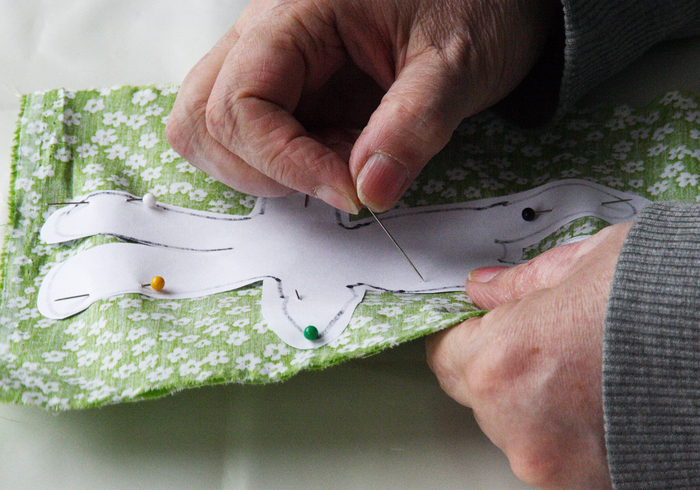
Pin the pattern onto the fabric.
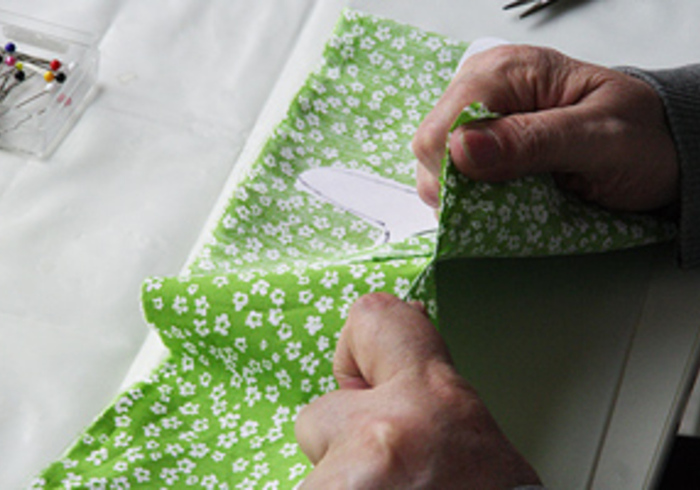
Snip the fabric then tear it, using both hands.
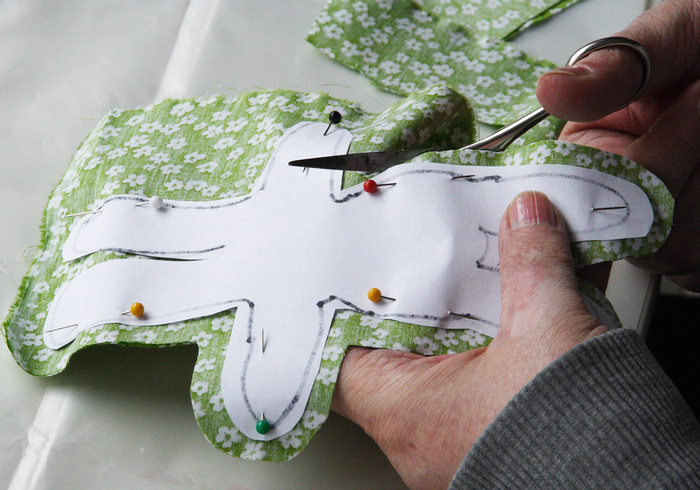
Cut out the pinned bunny with an all around margin of 2cm.
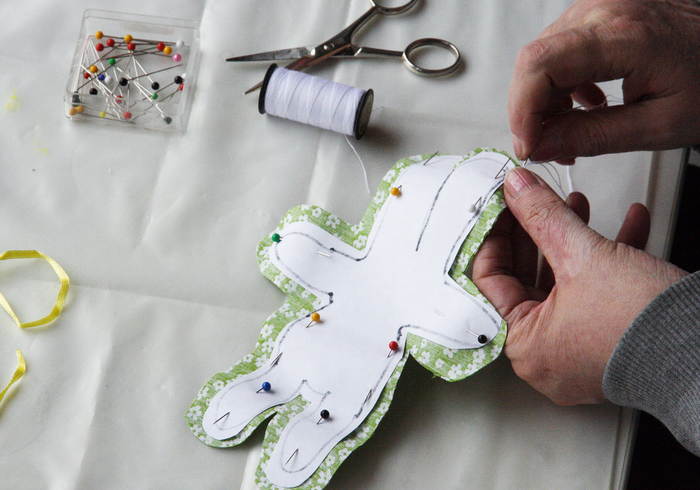
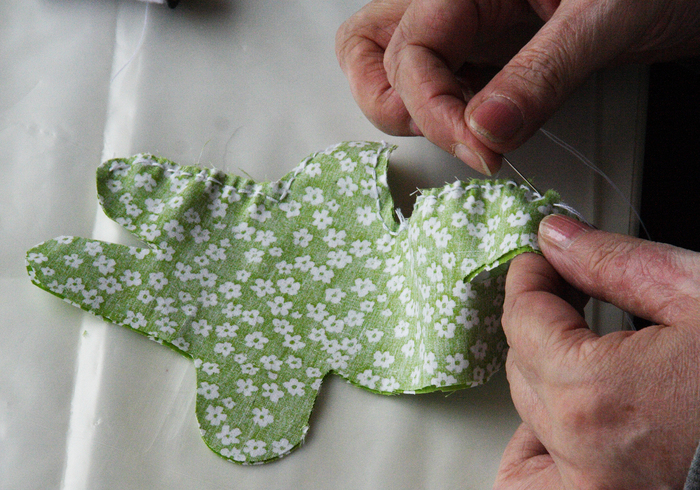
Stitch along the pattern then it's easy to stay on a straigt line.
Stitch tight or the filling will stick out. Leave an opening to fill.
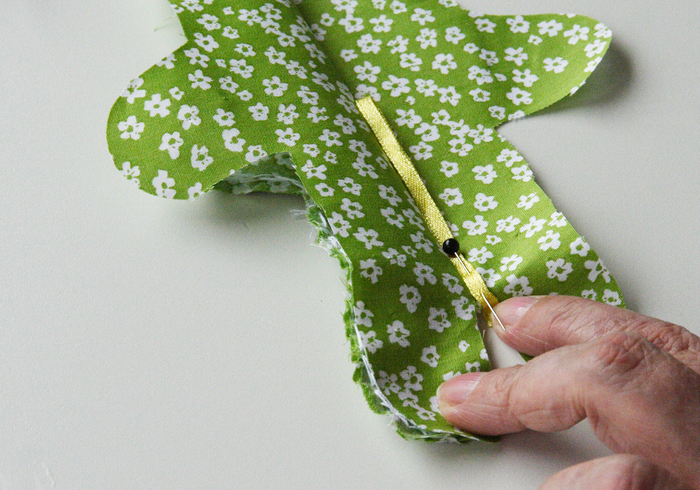
When the first ear is stitched put in a ribbon, sew over it.
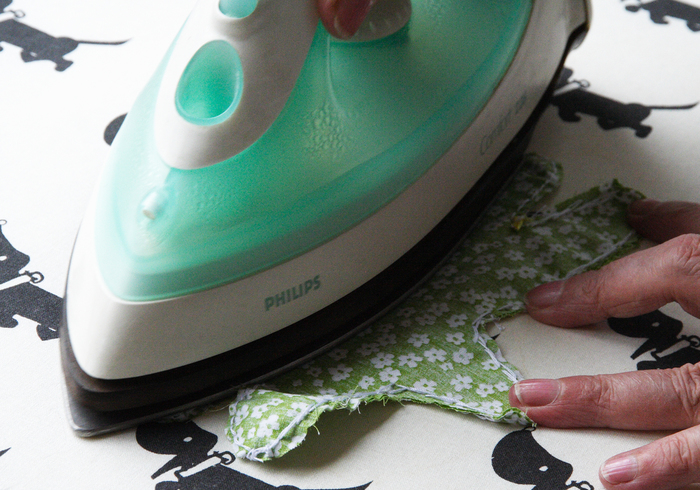
When the bunny is stitched iron the seam to flatten it.
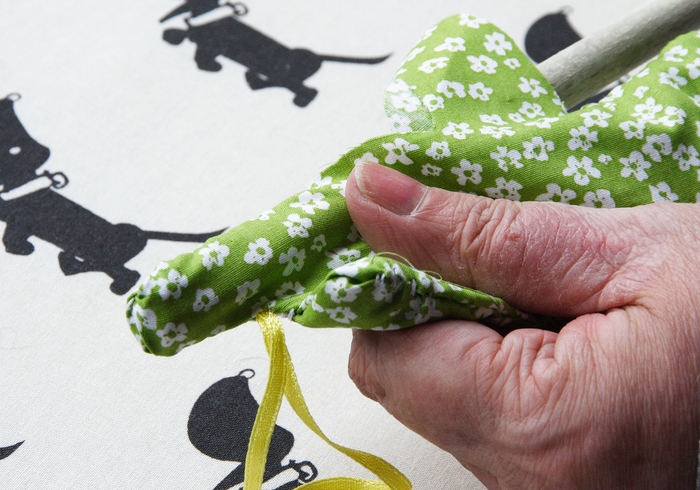
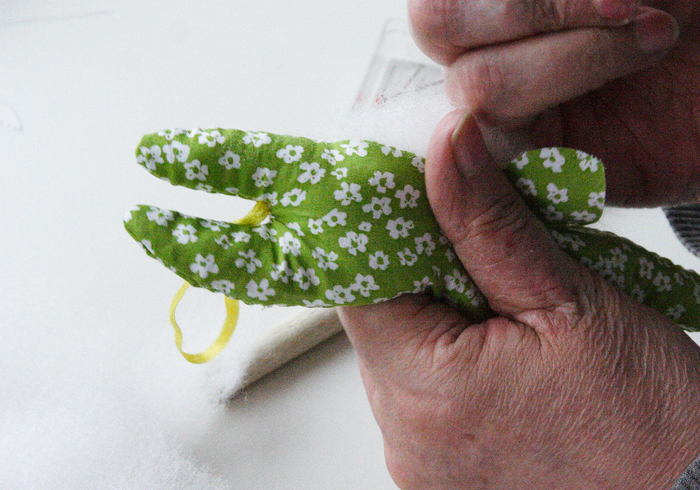
Turn the bunny inside out and fill it up with fiber fill.
Close the fill opening neatly with tiny stiches.
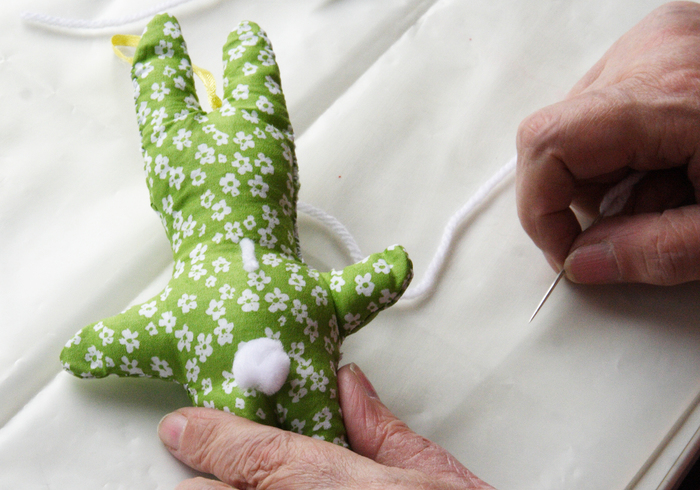
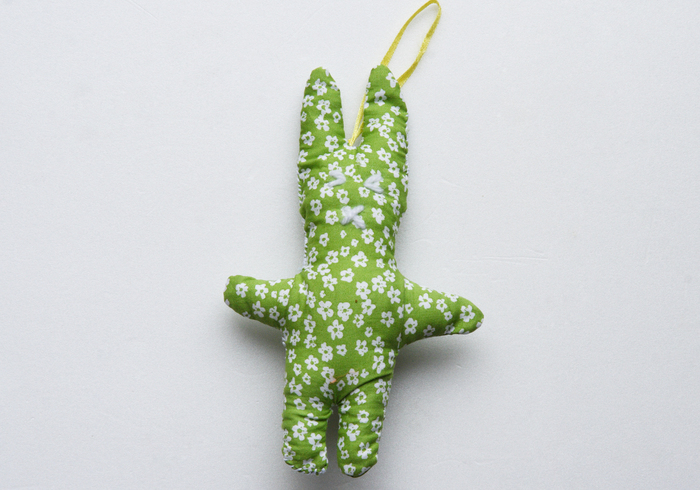
The face will be simply embroidered using woolen thread and a big darning needle. Sew three little stitches on top of each other as the eyes and a little cross as the nose, using one thread of wool.
Tie on a wollen thread on the bunny's backside of the neck.
Stab the needle diagonal through the head to the eye. Sew on the face using 1 thread.
When the face is ready stab back the needle and tie off.
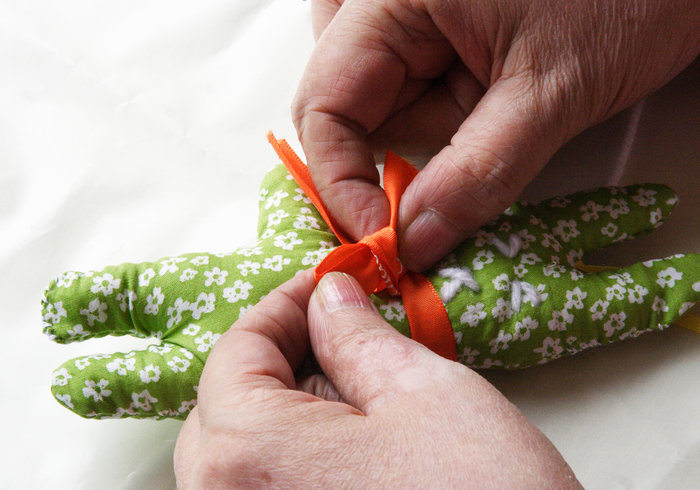
Tie a bow around the bunny's neck, covering the woolen stitches.
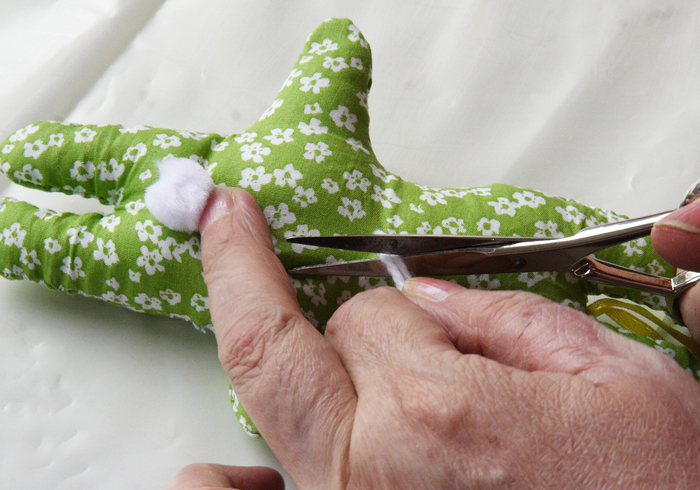
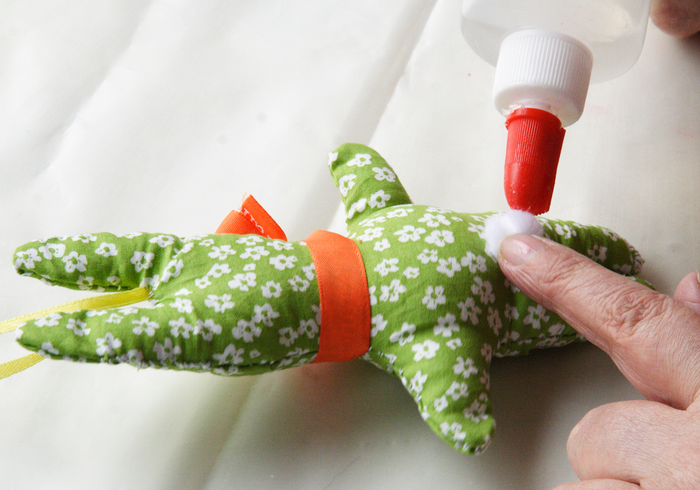
Glue or sew a little white pompom on the back, as a tail.
Hang the Bunnies in the Easter branches, place it in a good spot.
Happy Easter!

