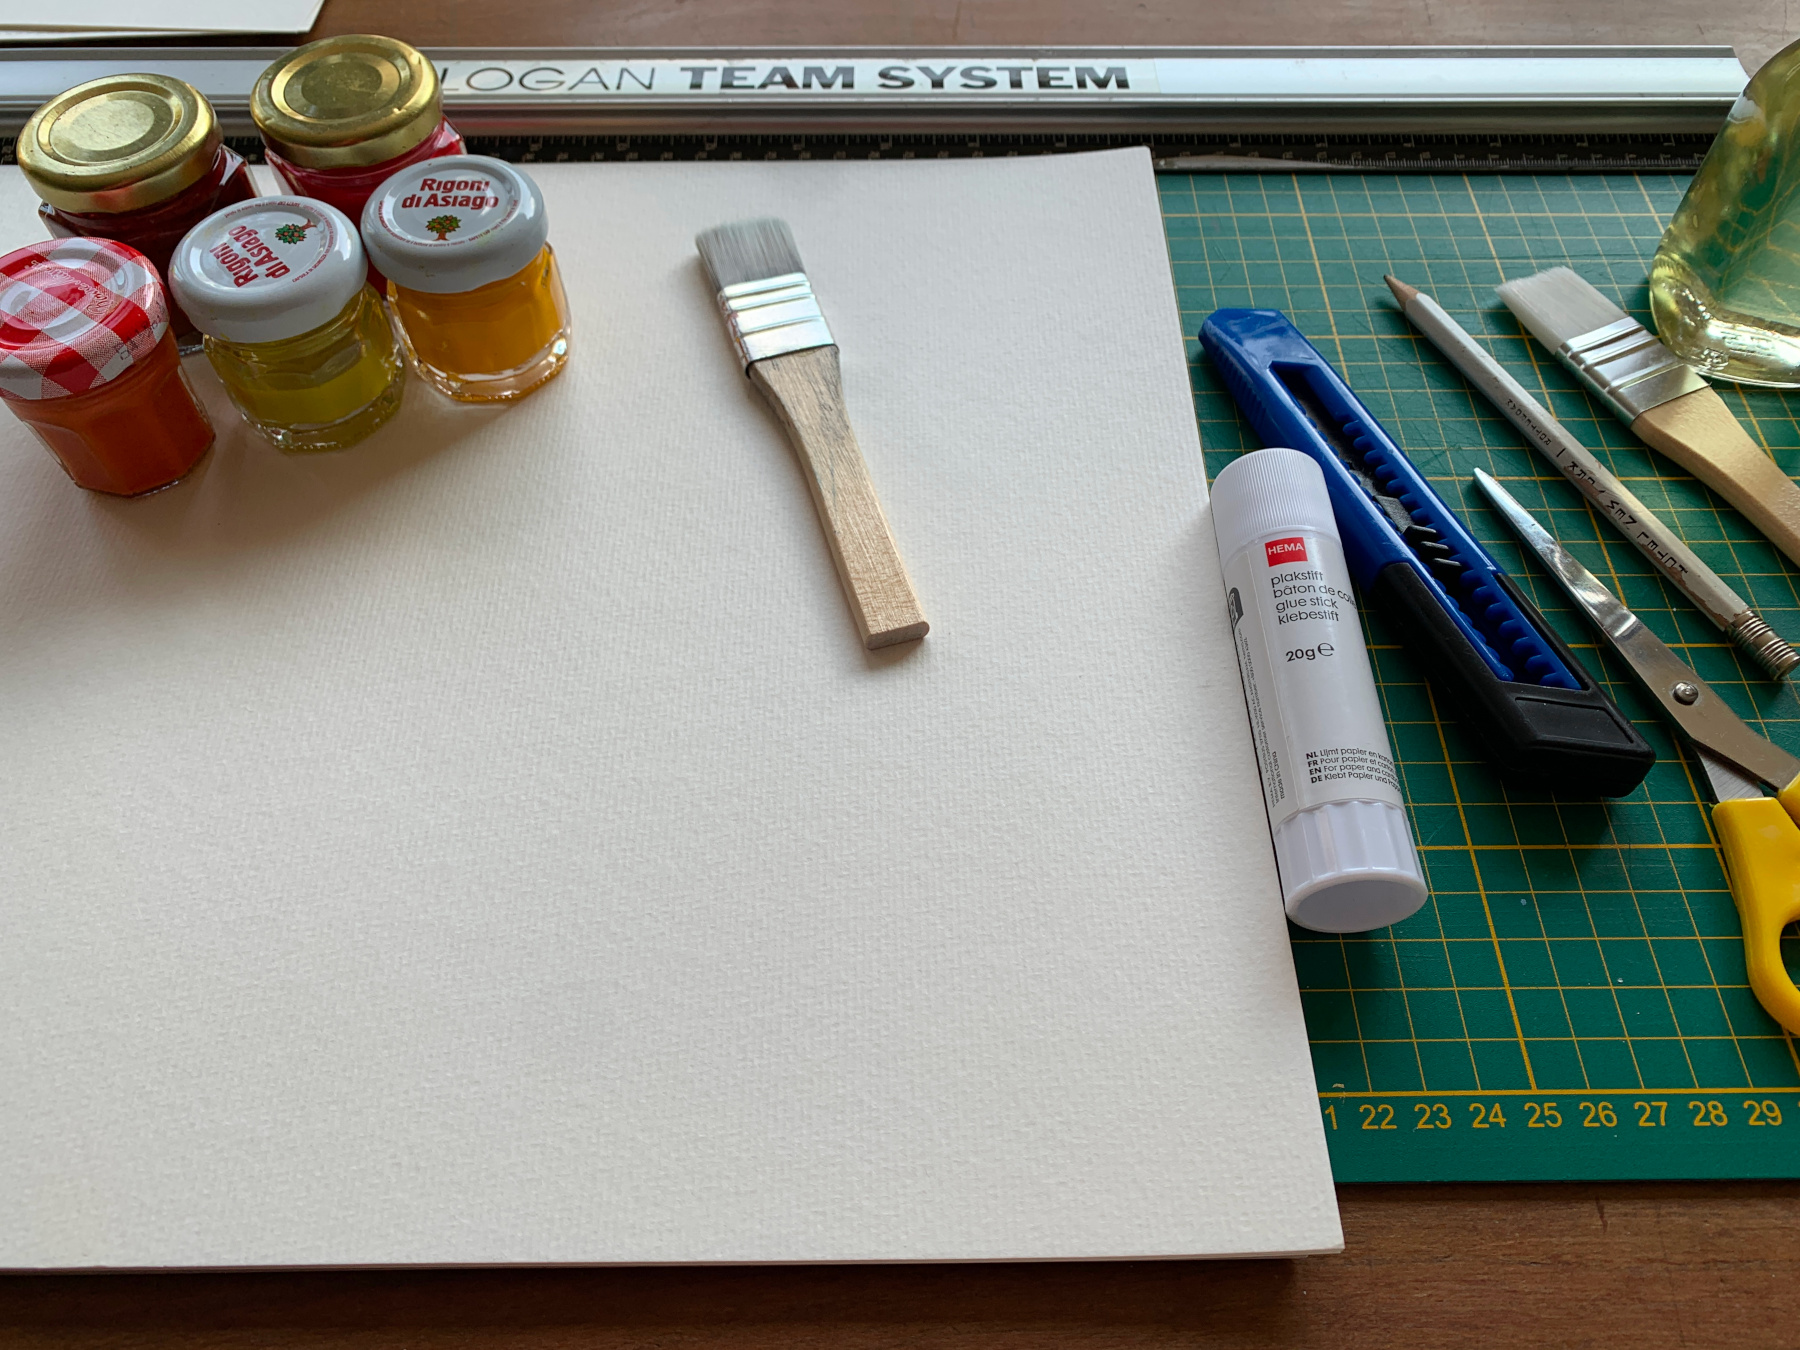
What do you need?
aquarelle paper
Stockmar watercolours
a wide paintbrush
scissors
a Stanley knife
a cutting mat
glue
sunflower oil
a brush
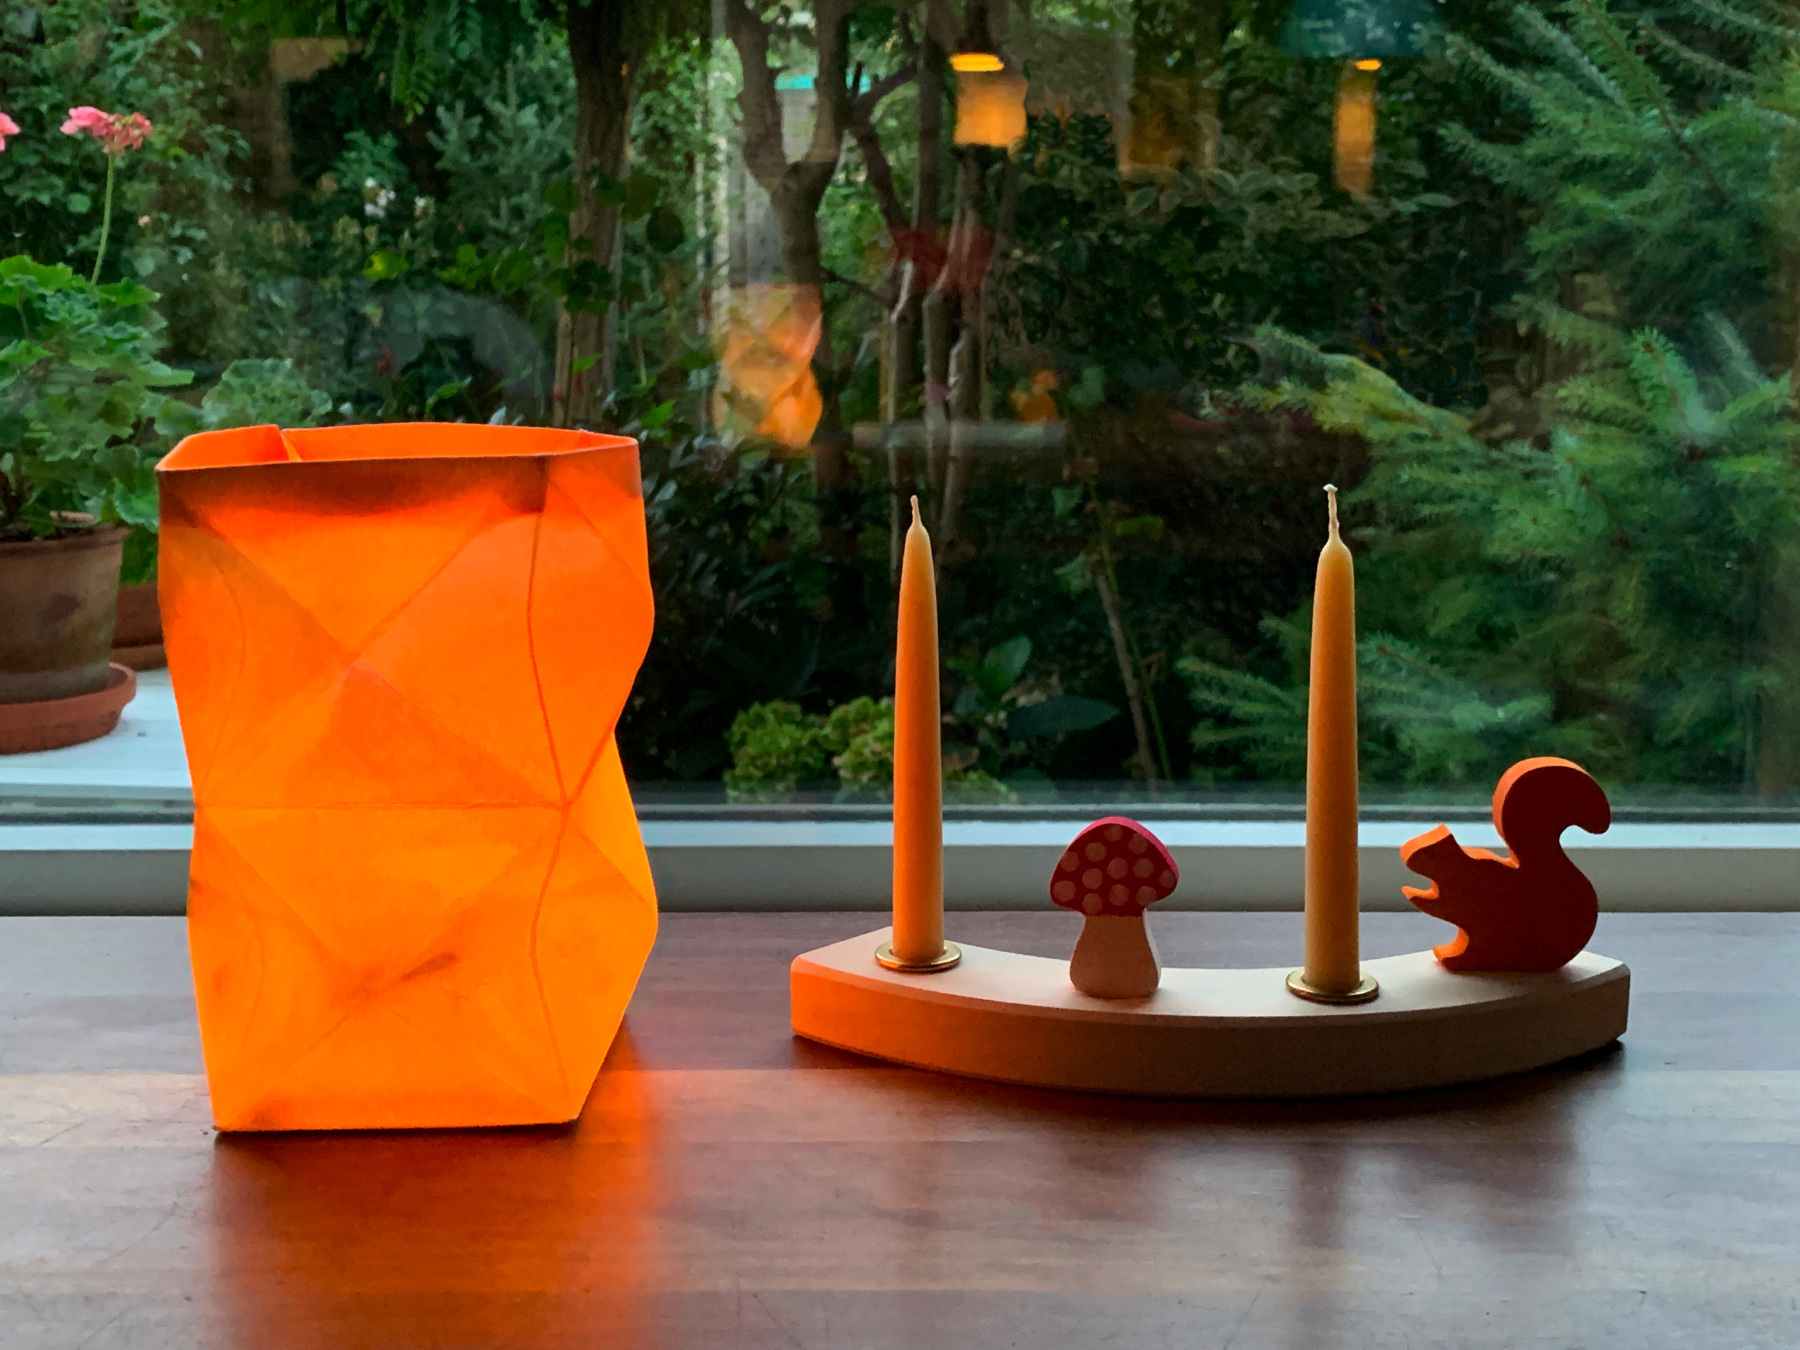
Today we are making an amazing craft, a cozy autumn lantern. You can hang the lantern on a stick and take it to the Martinmas Lantern Parade or you may give the lantern a nice spot in your home already, It looks very cozy with the beautiful orange light. We found this craft on the myriad blog, an online toystore in the UK.
This craft is not suitable for young children but older children can make it themselves with some guidance. It seems complicated but once you get started and the penny drops, it is not nearly as difficult as you thought. :))
How to make the Autumn Lantern
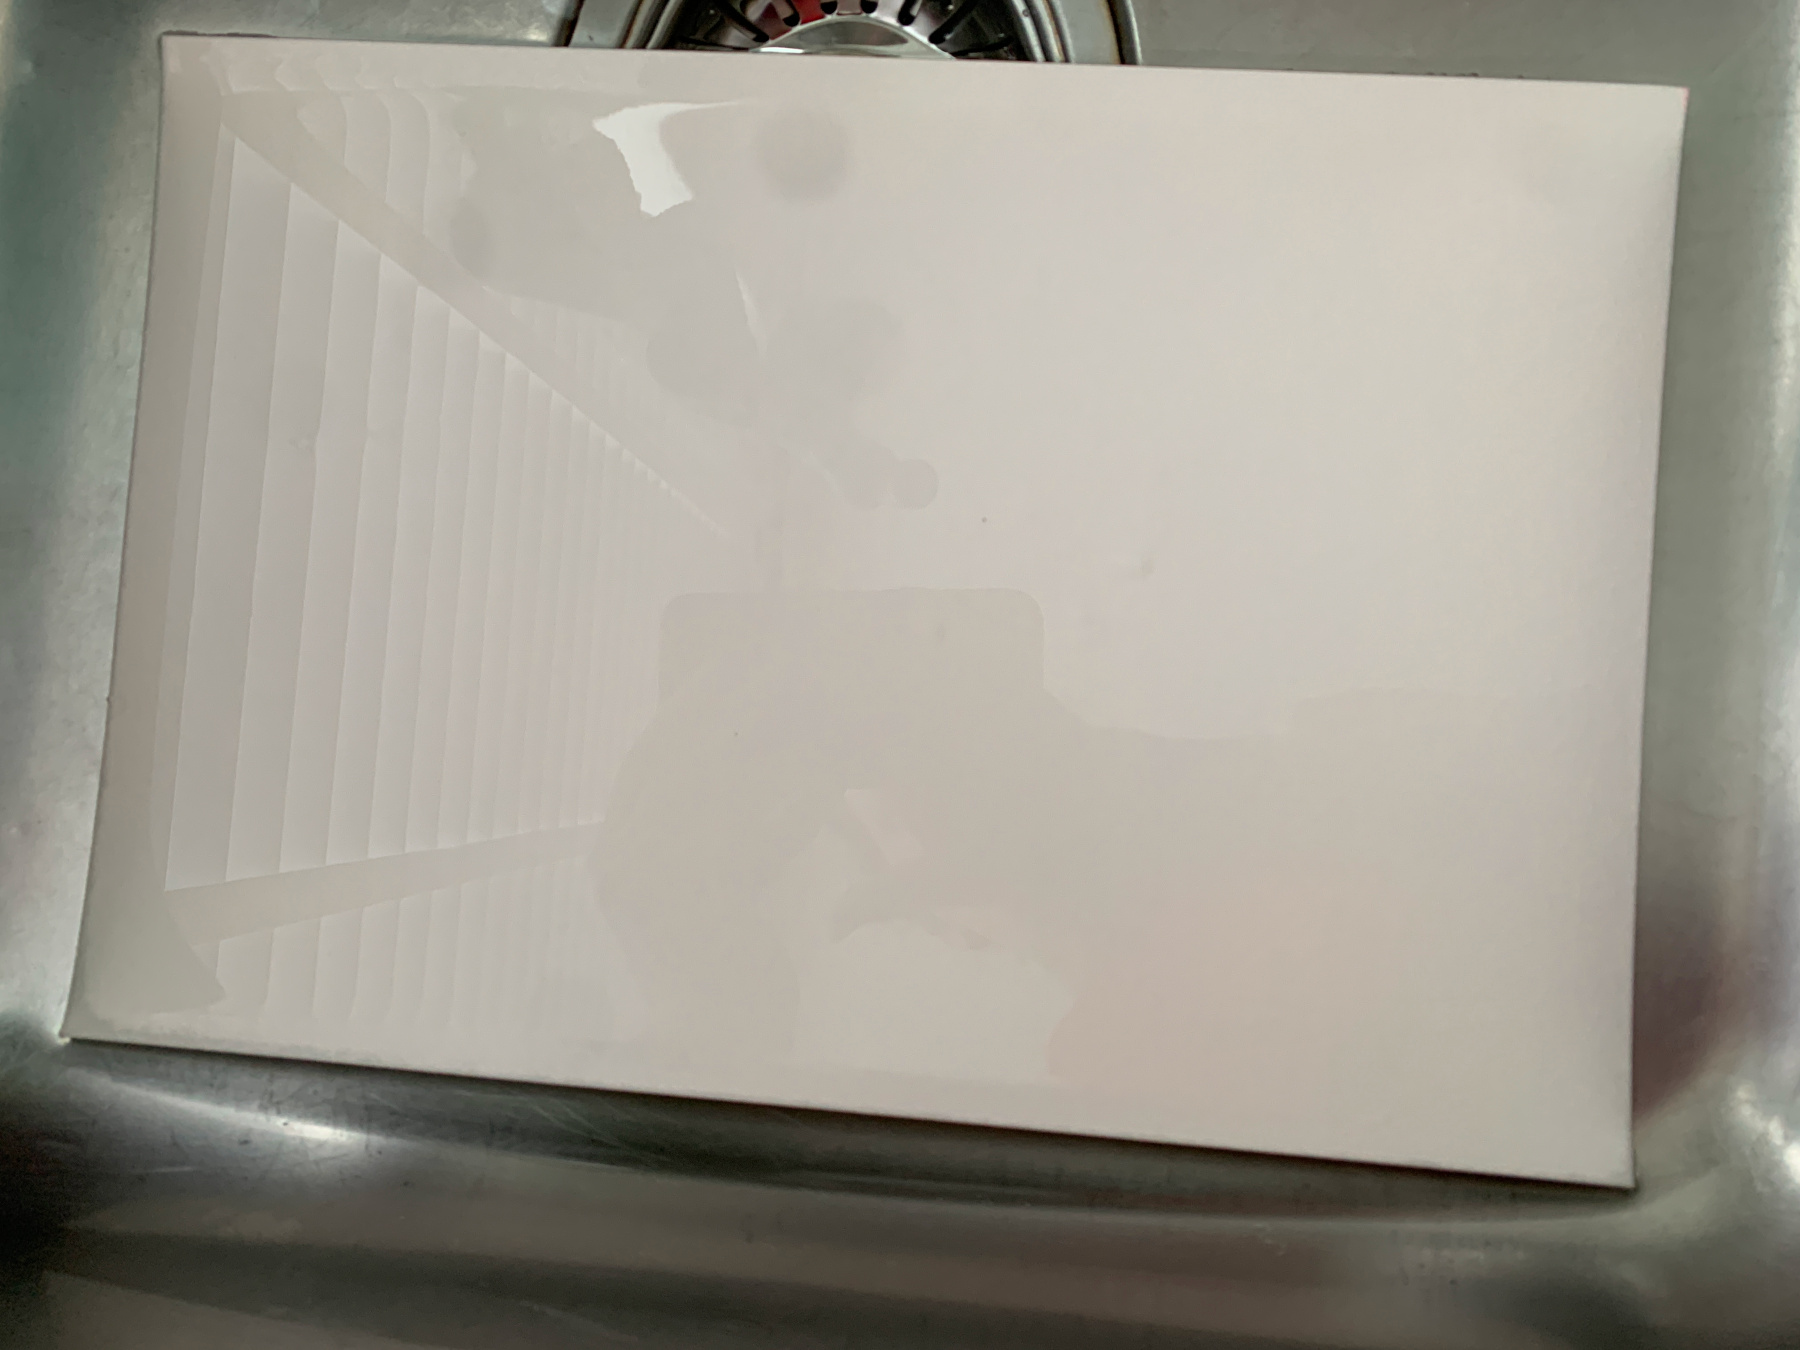
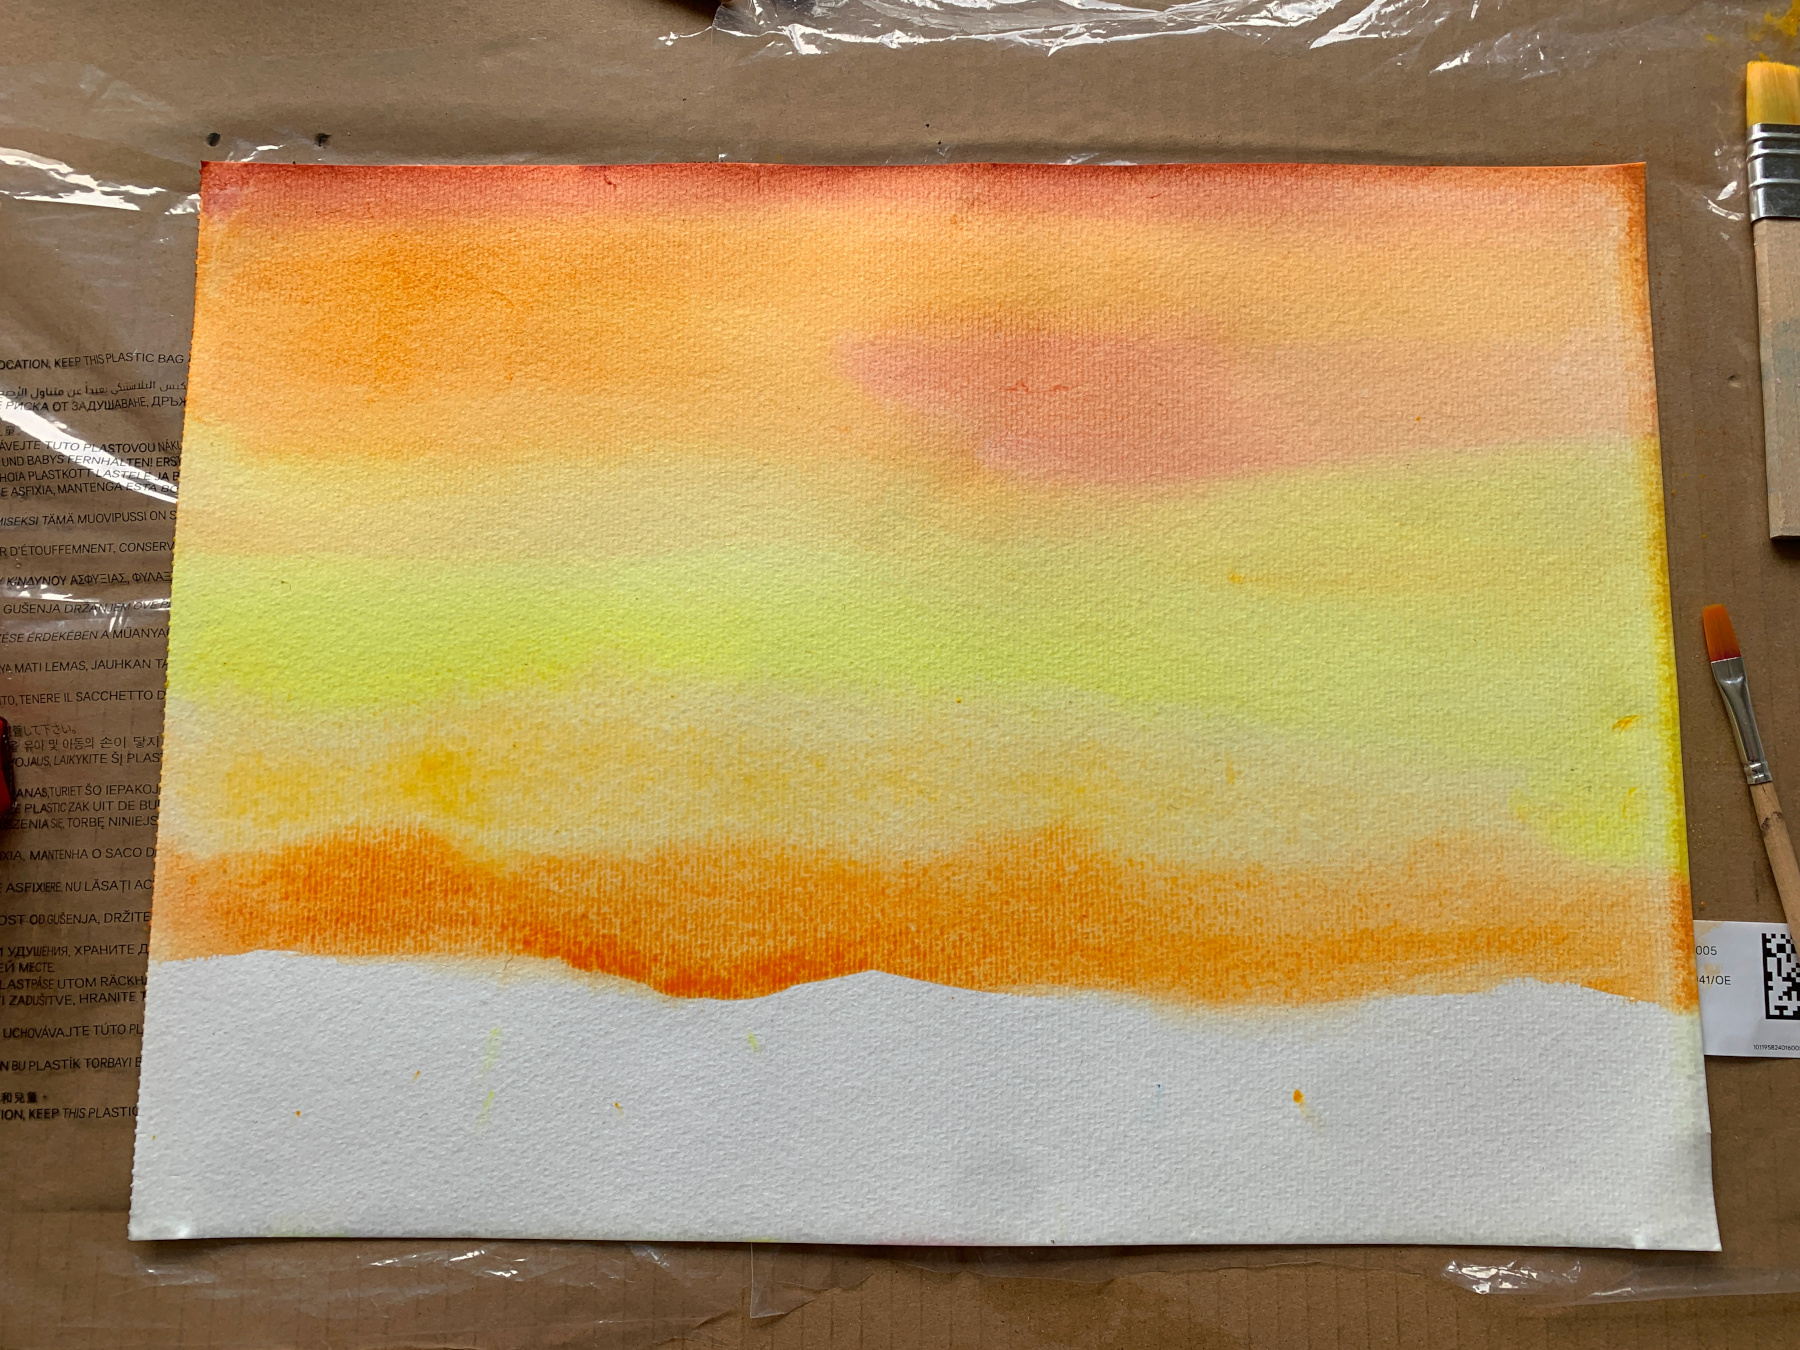
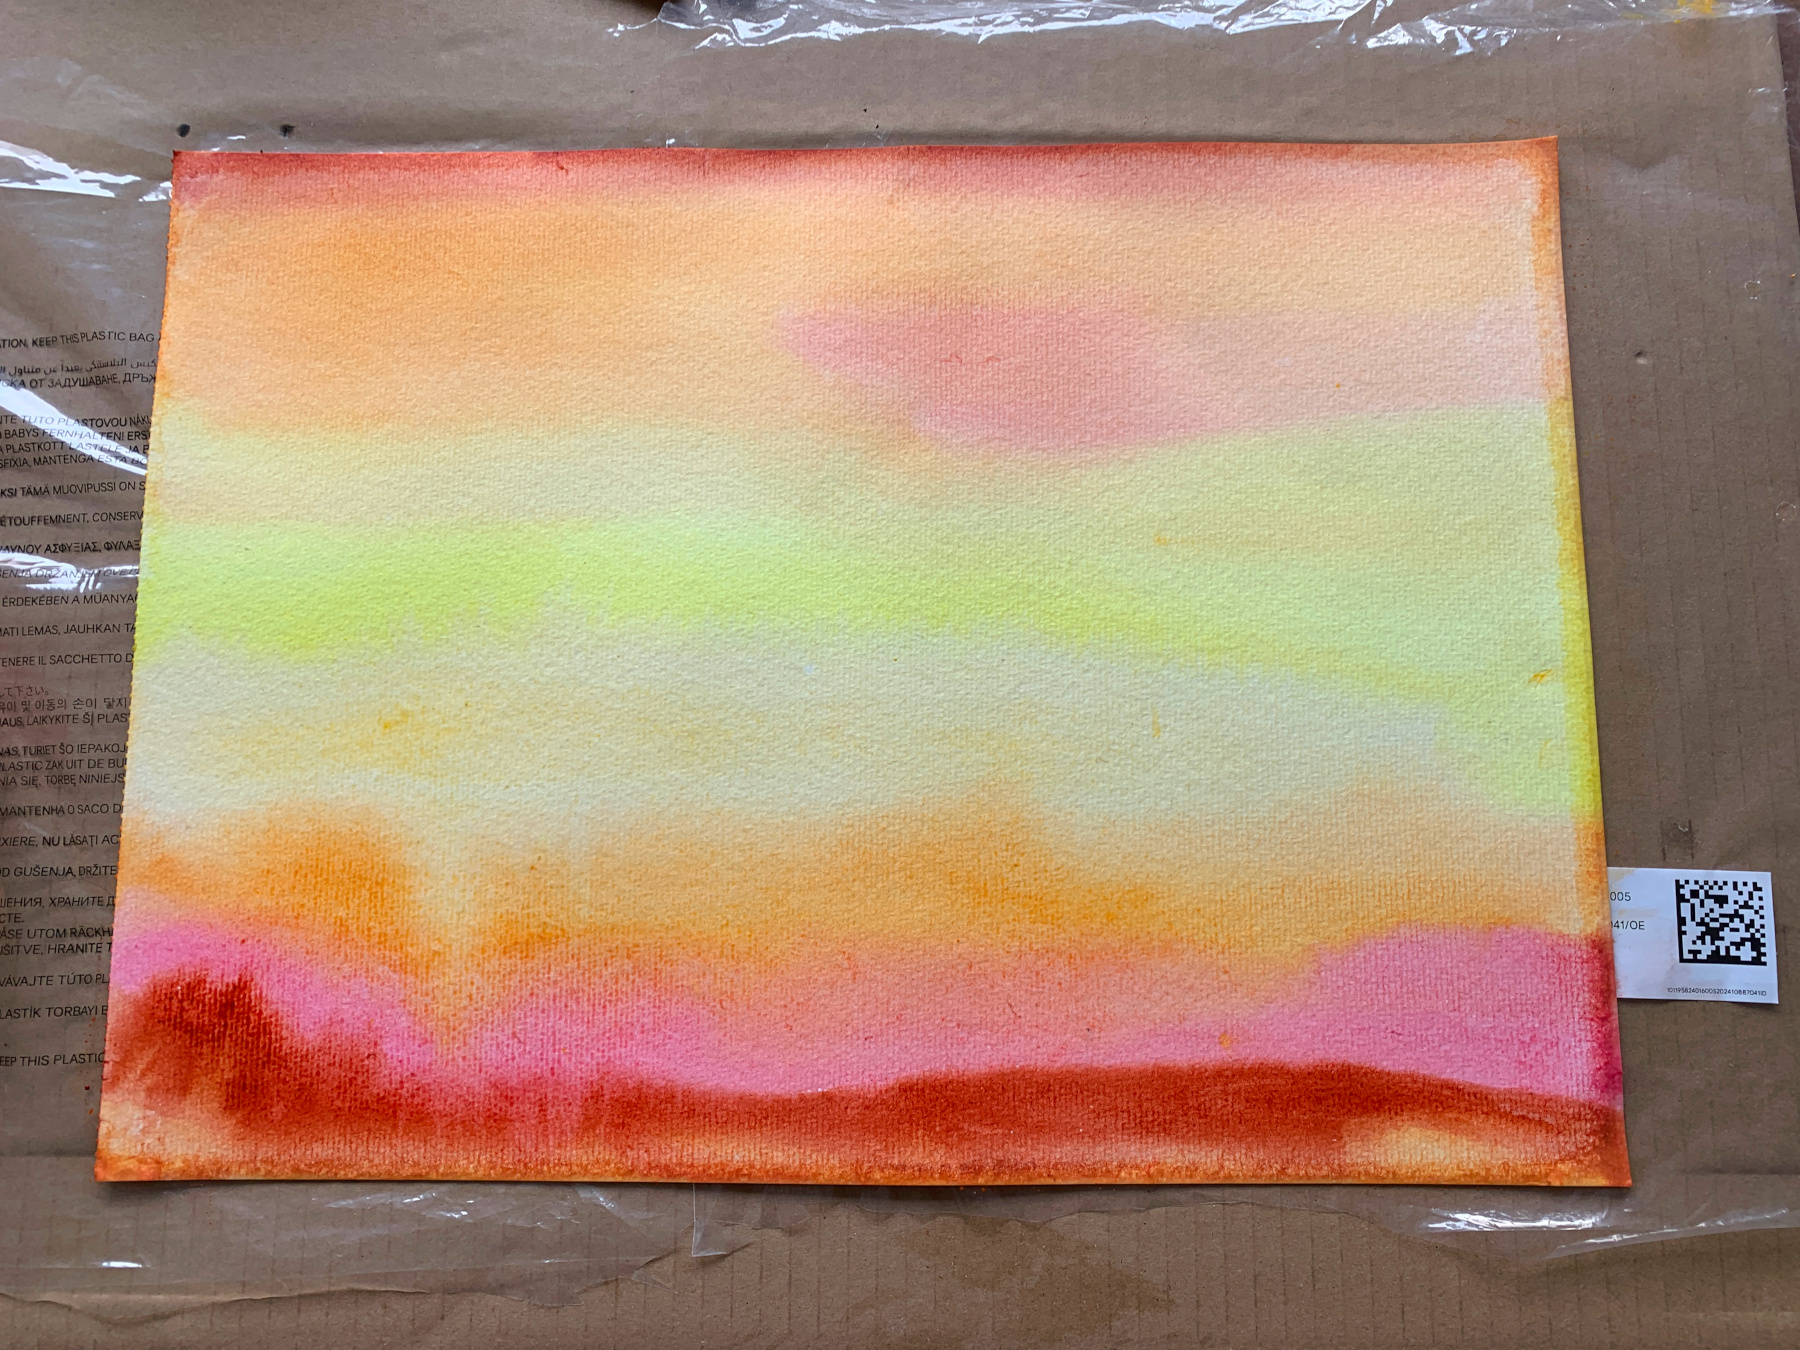
Soak the watercolour paper a moment in some water.
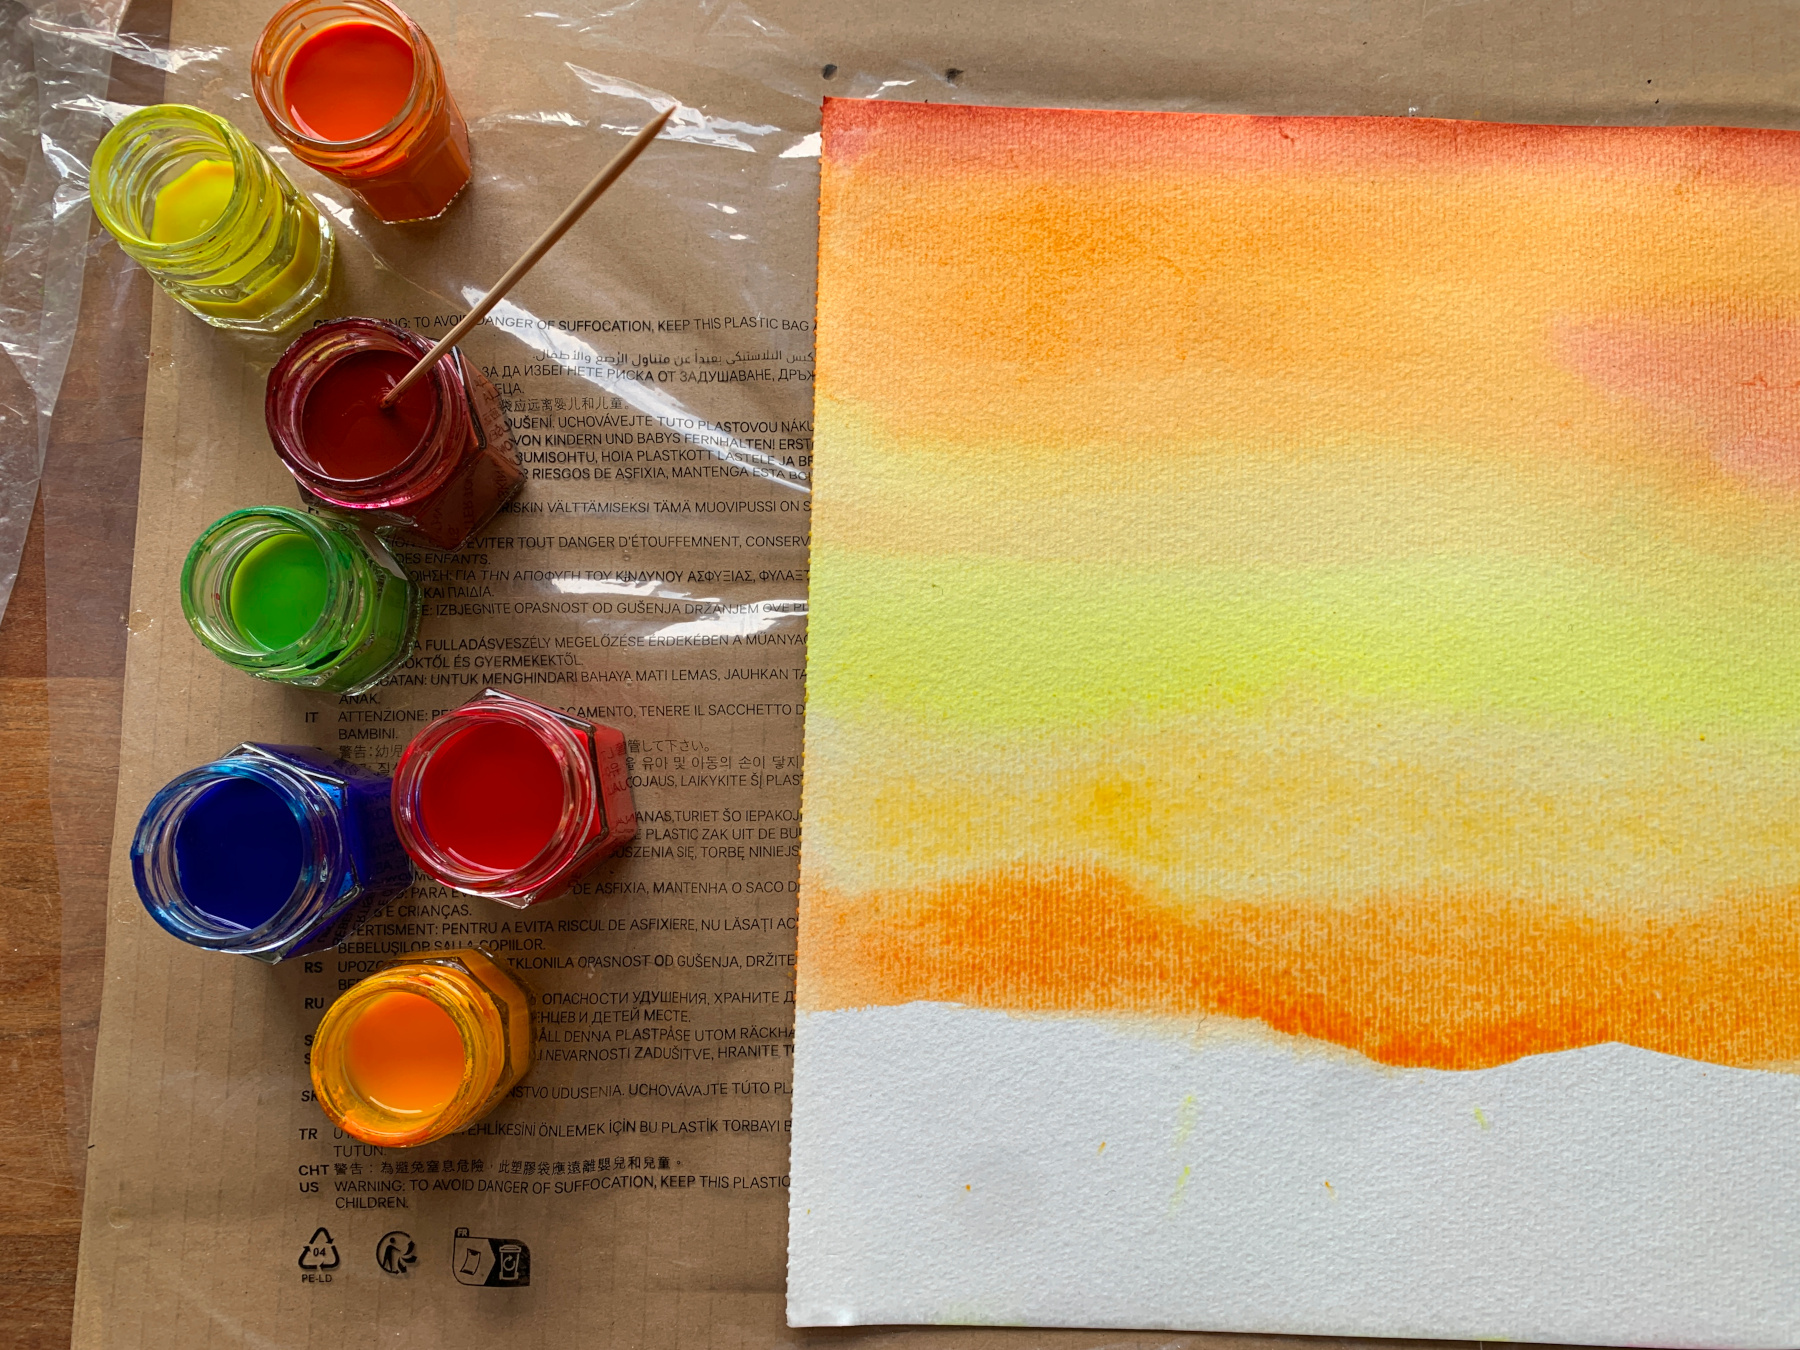
Paint wet-on-wet, using watercolour in pretty autumn shades.
Using this technique the colours blend beautifully.
Allow the paint and the paper to dry completely
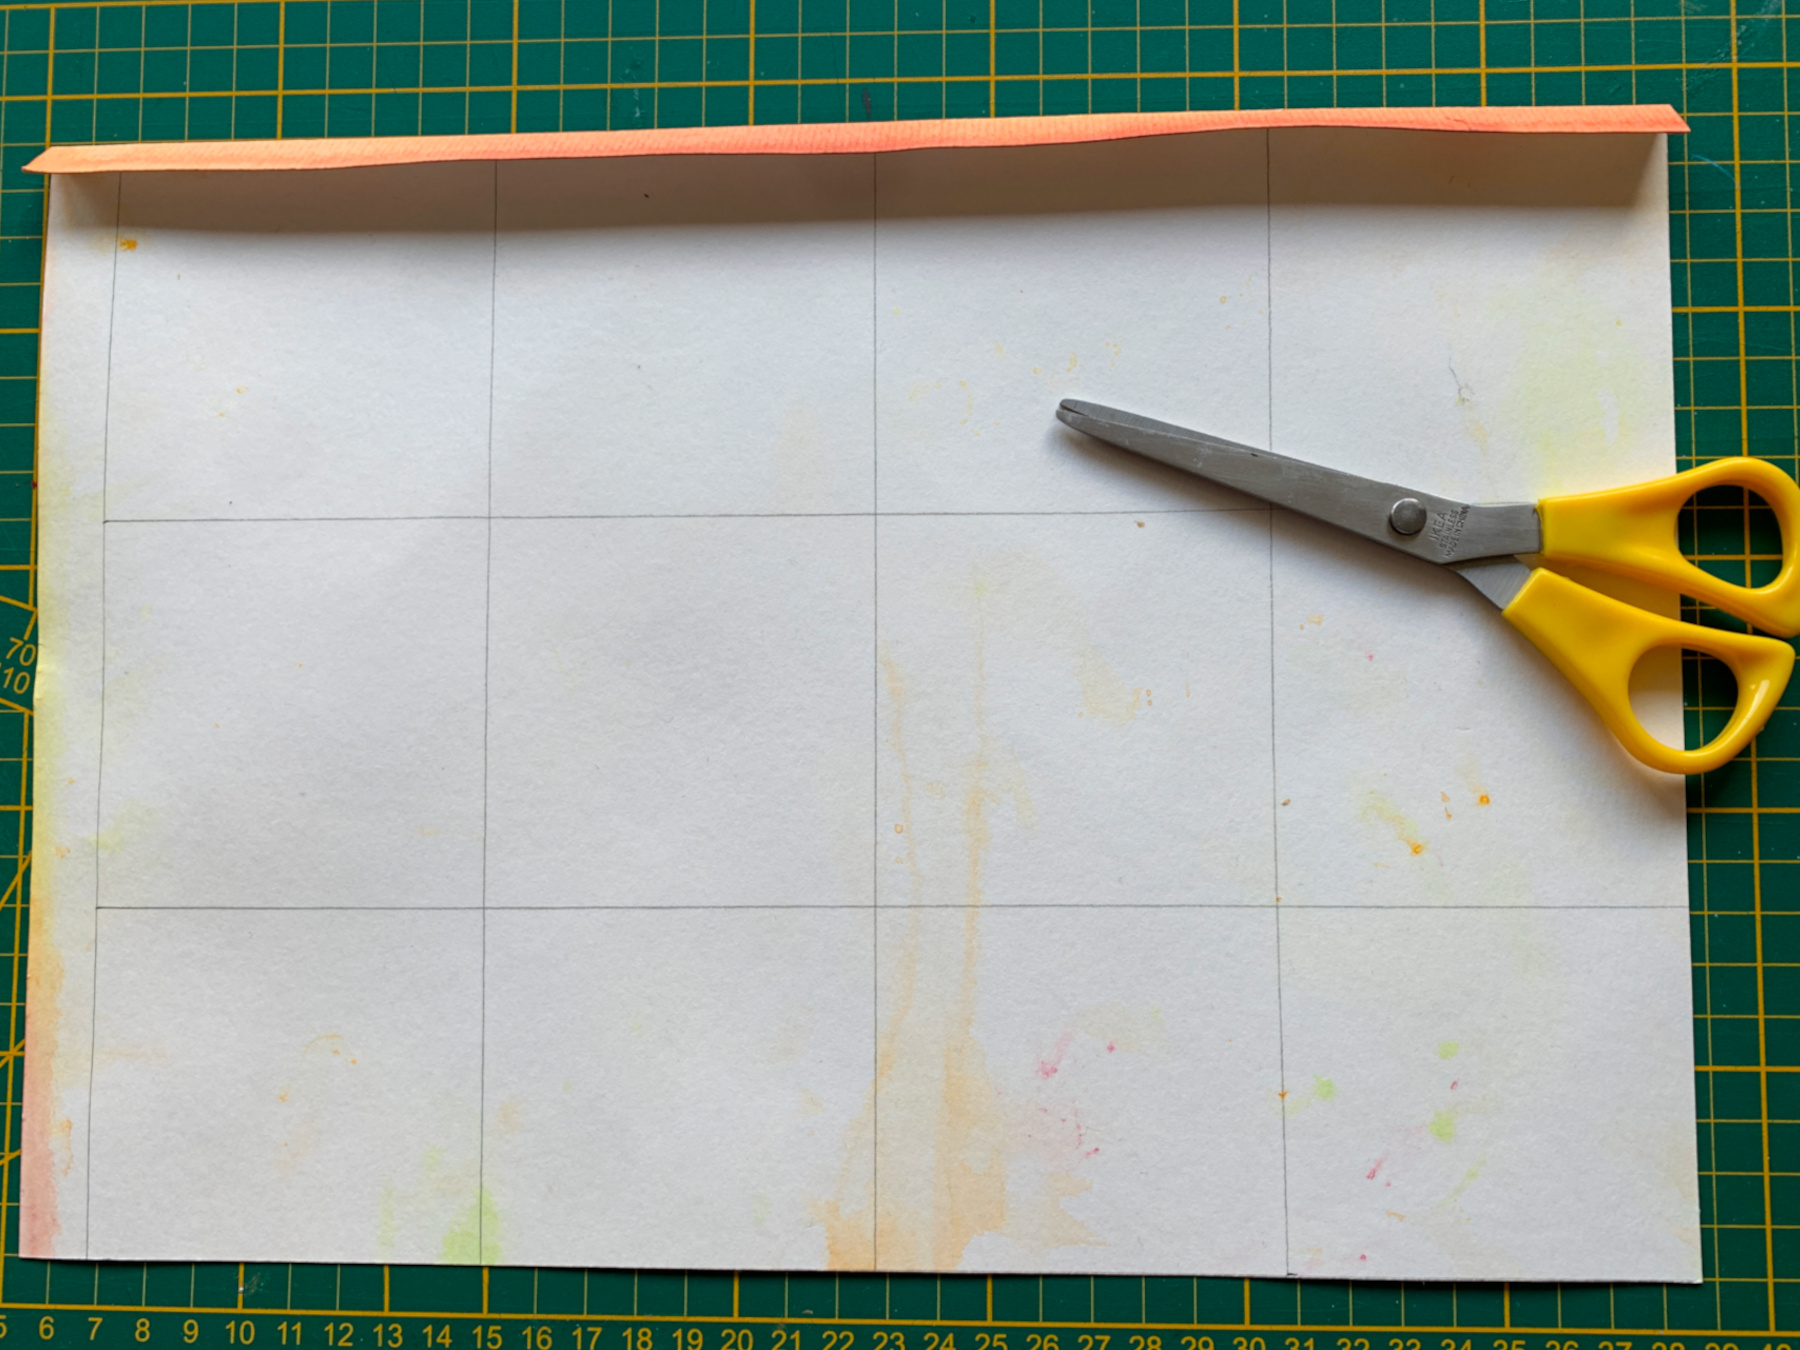
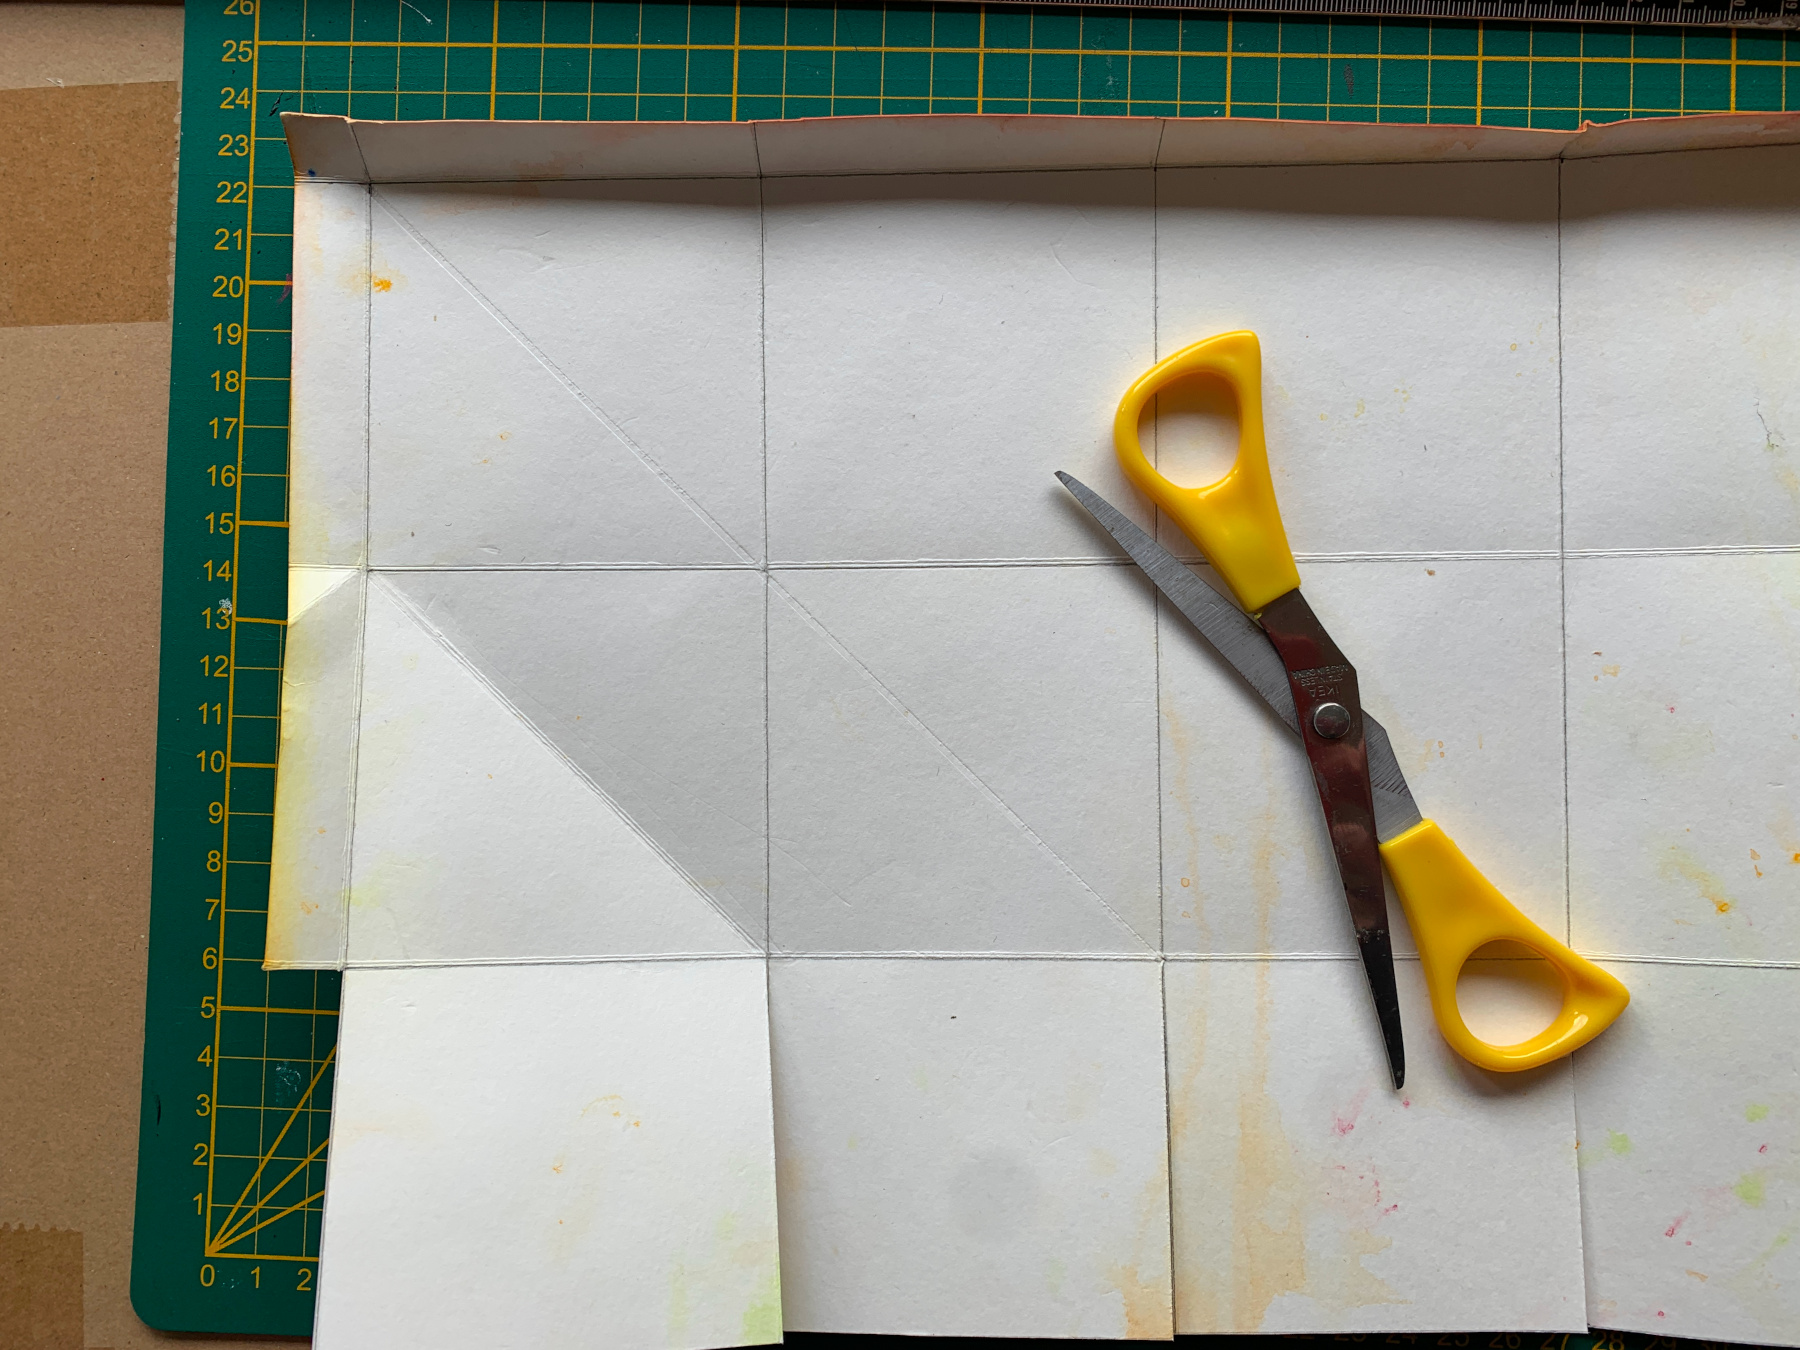
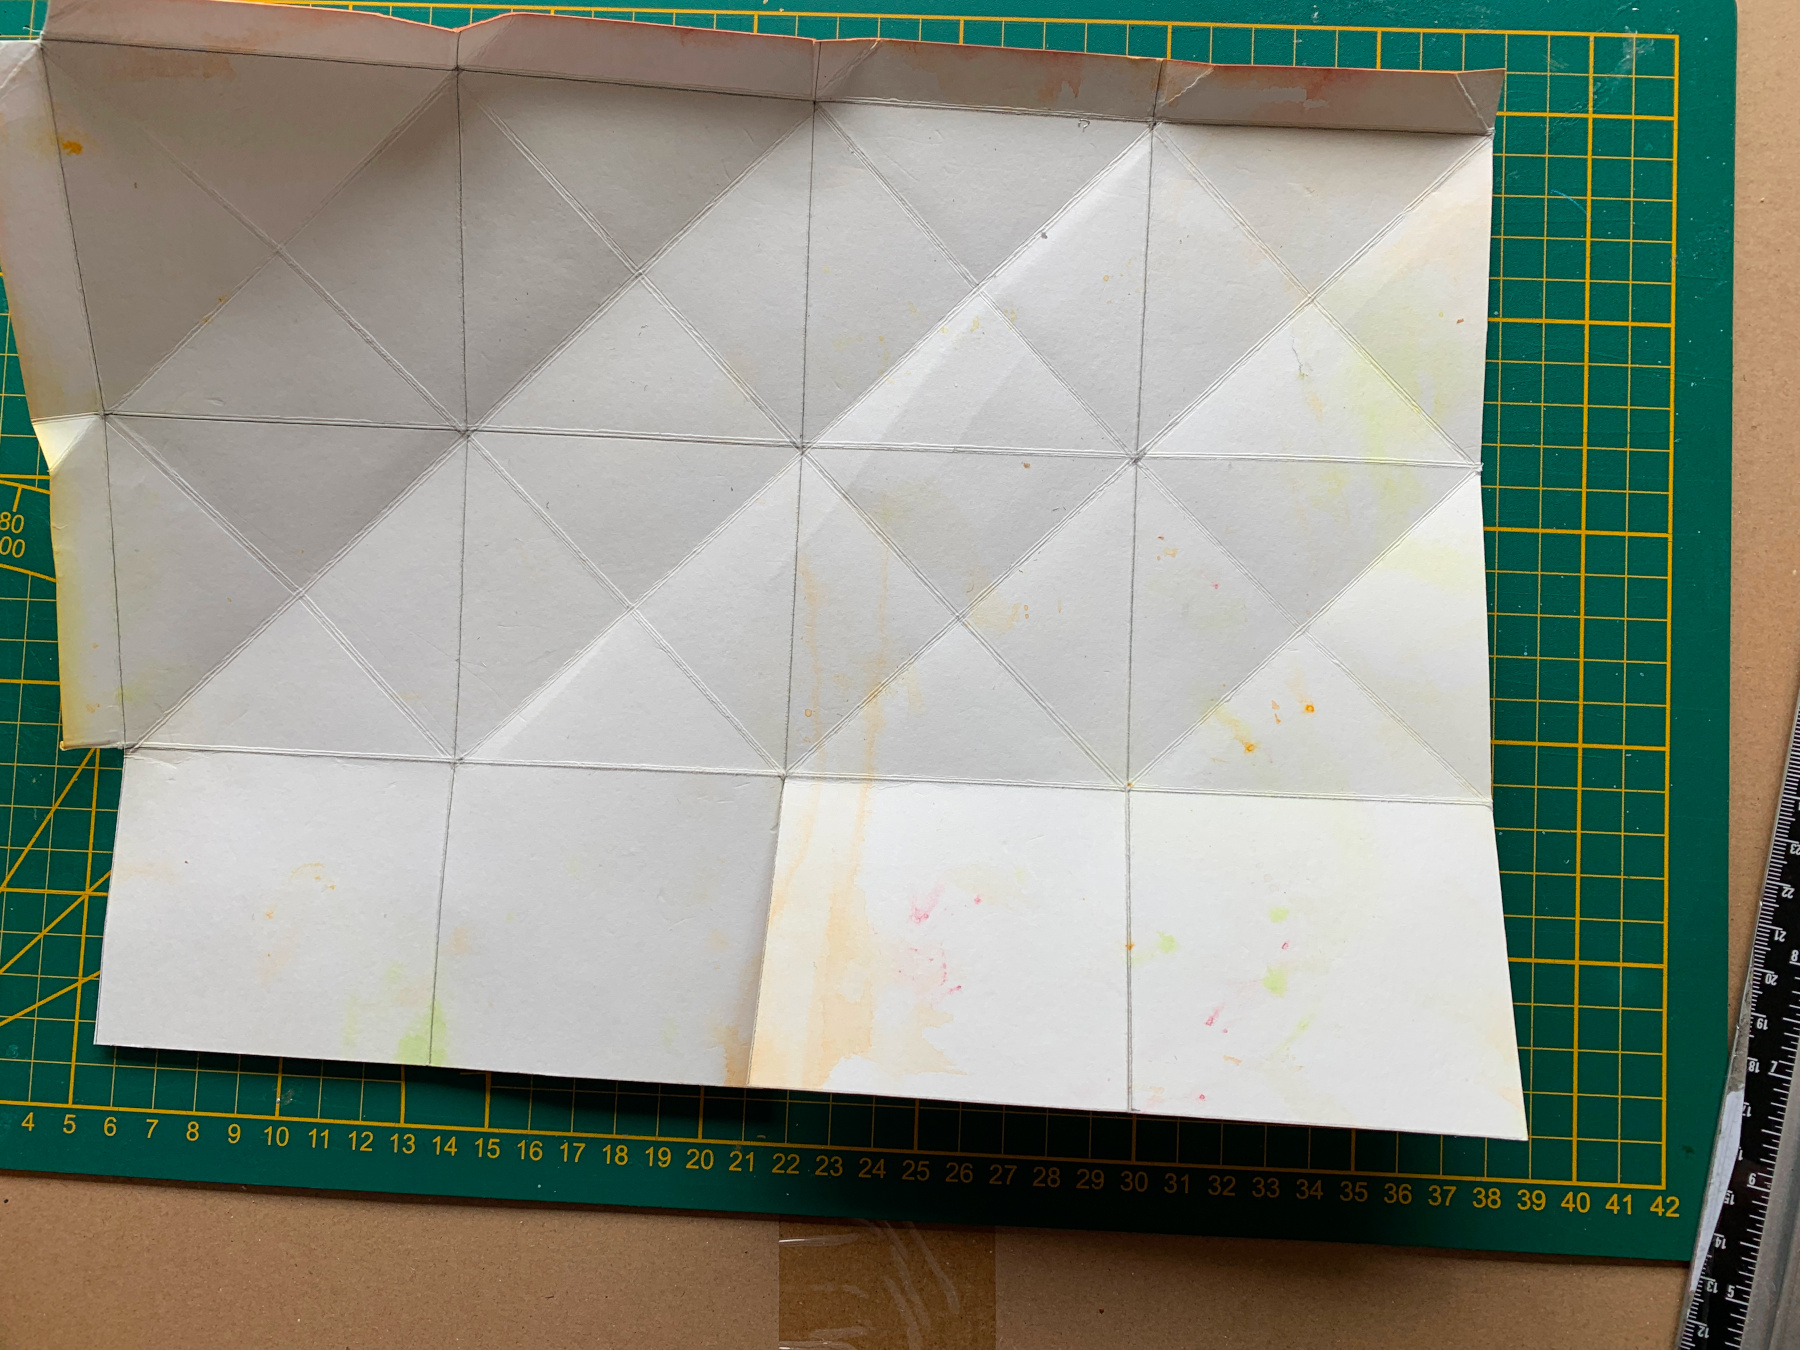
Once the paper has completely dried, we will divide it into sections on the back
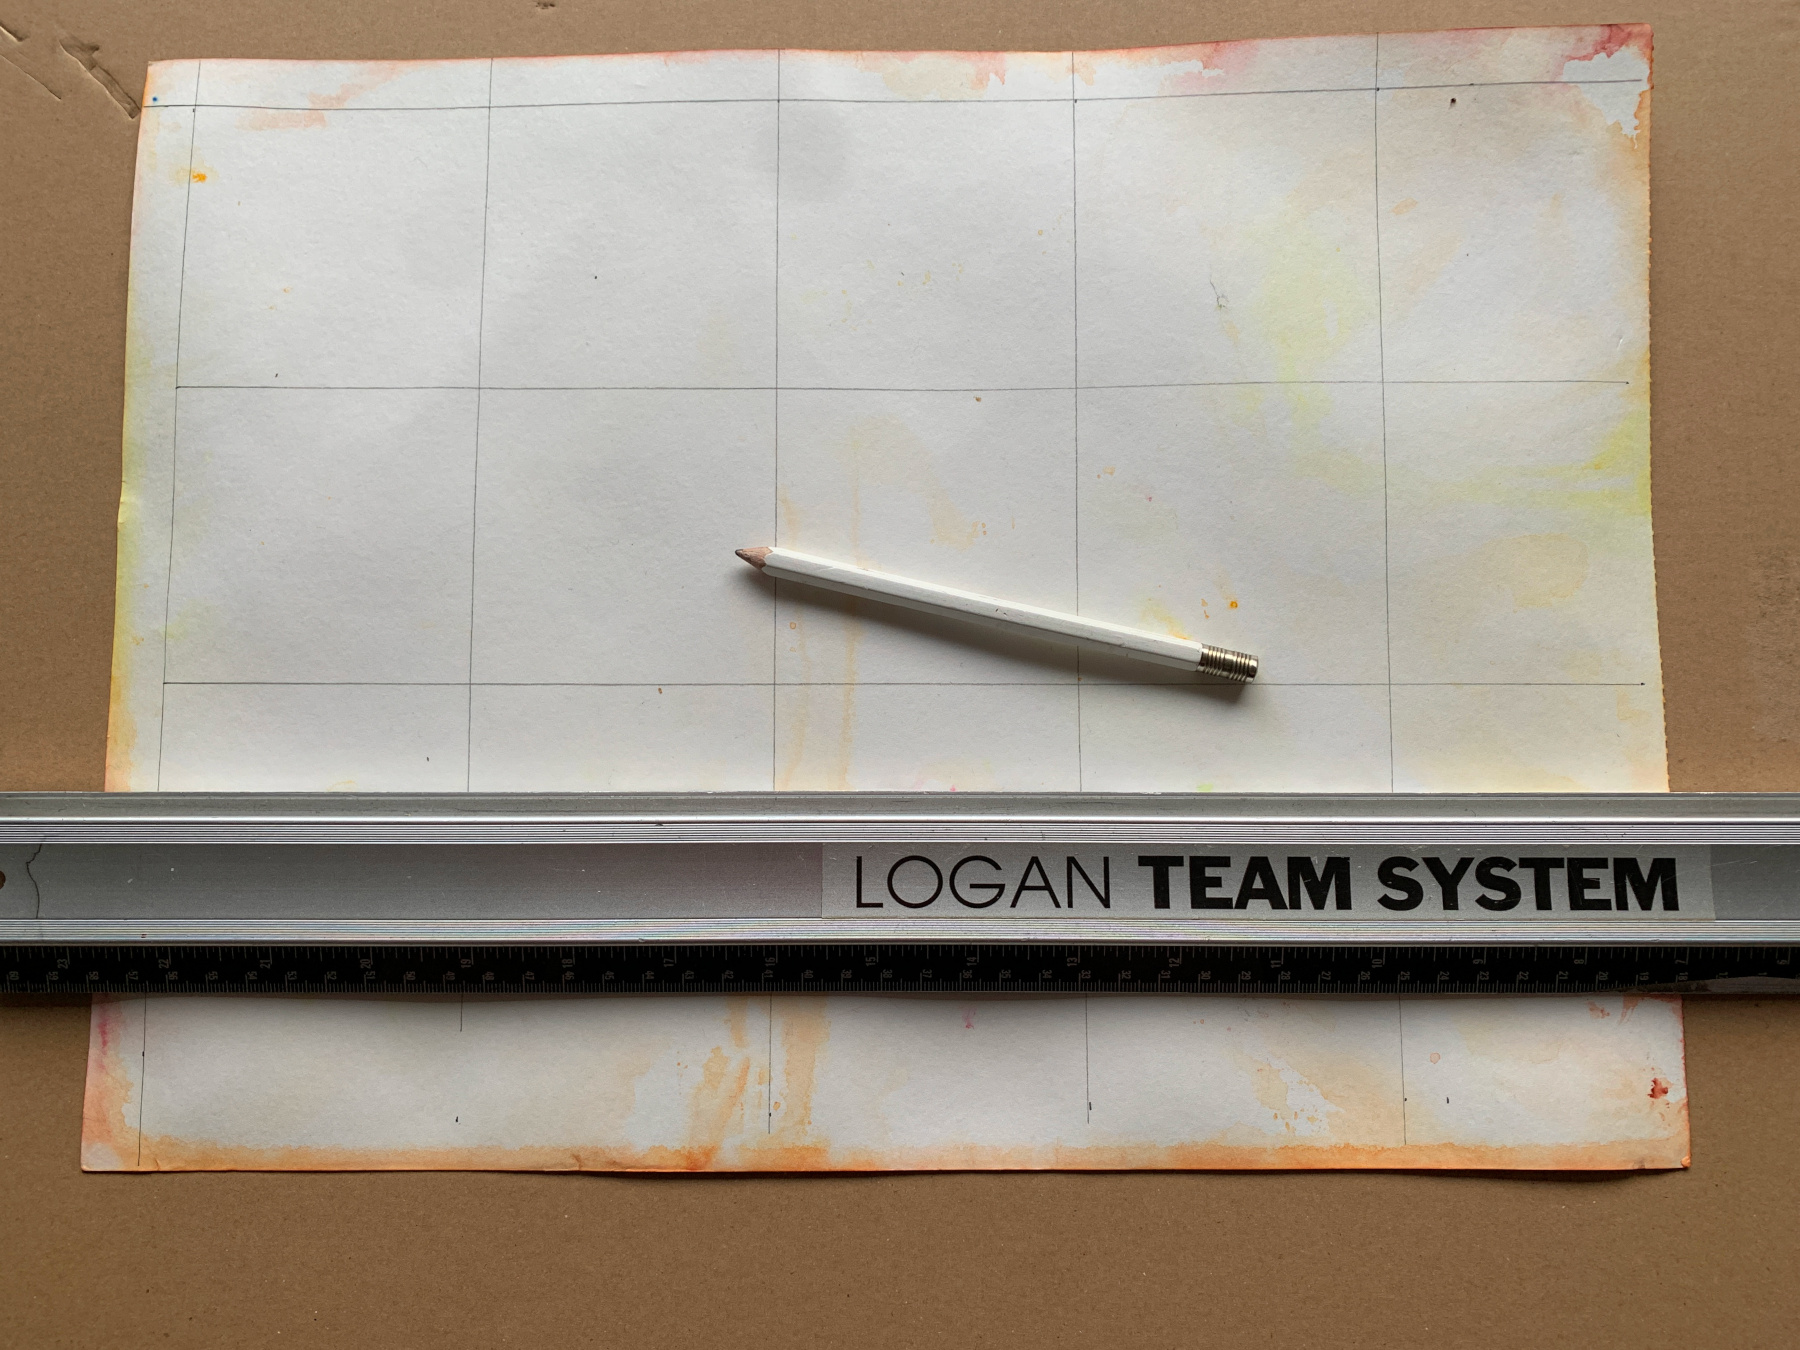
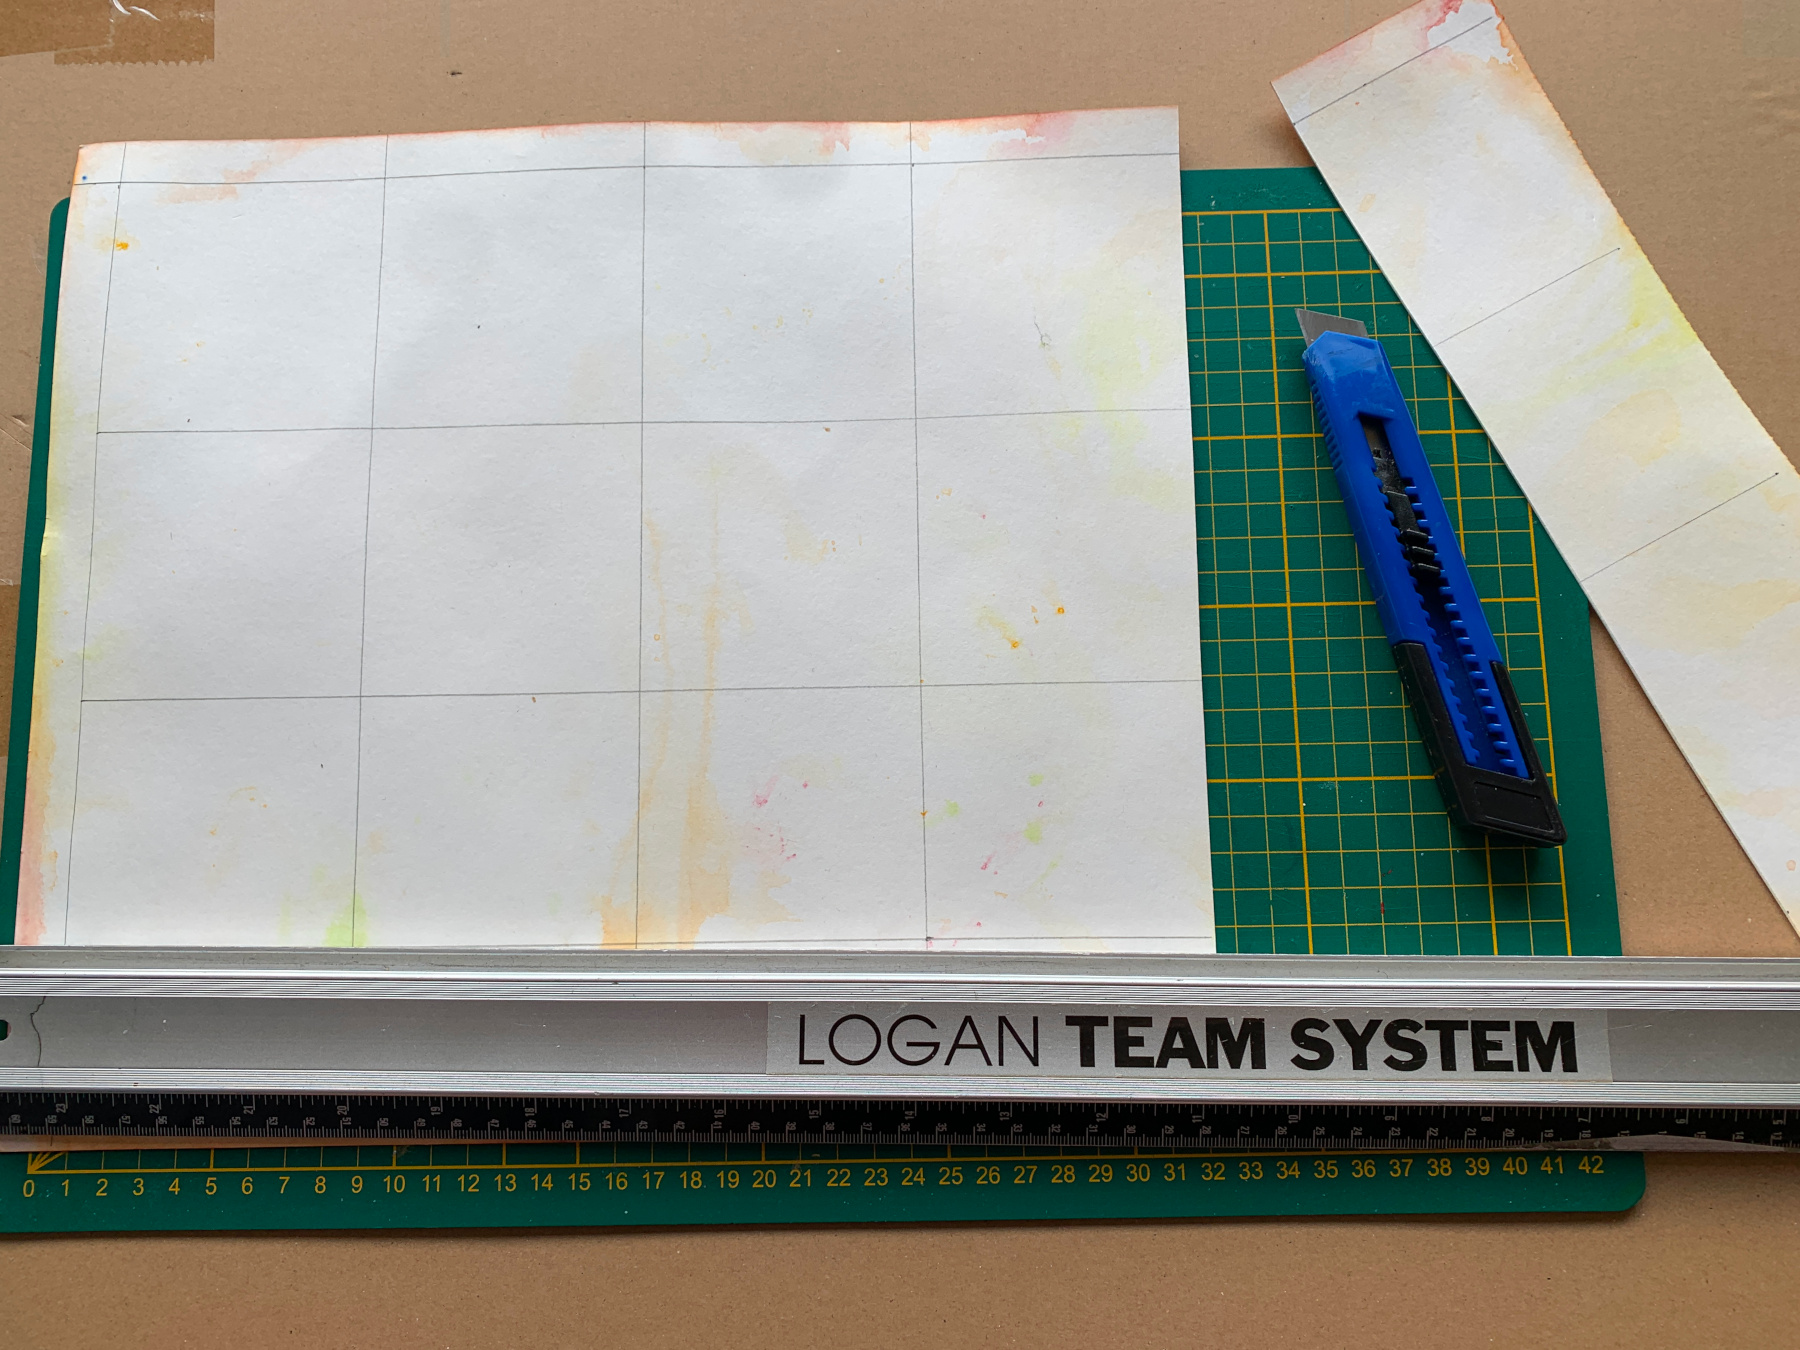
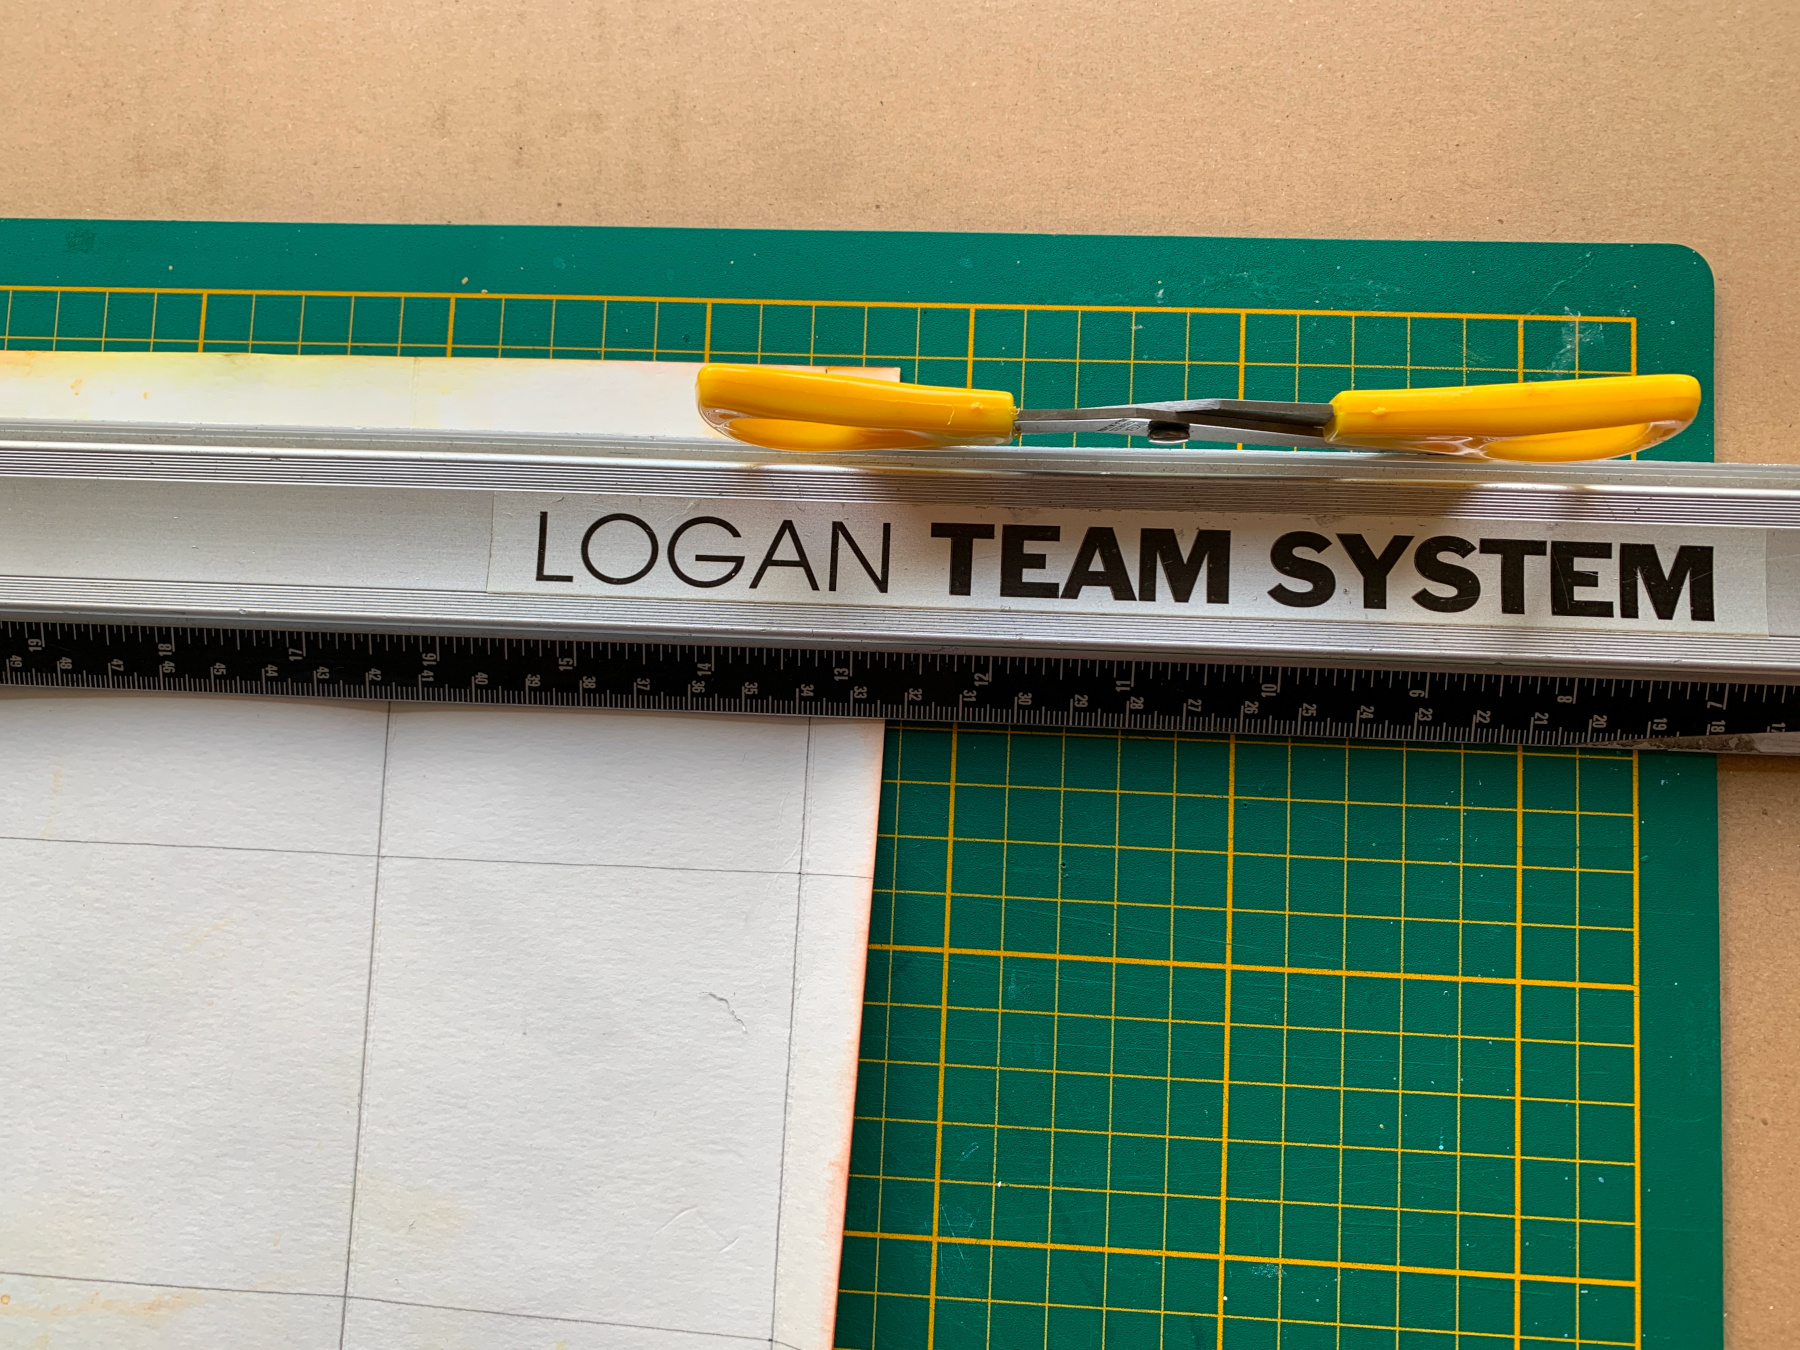
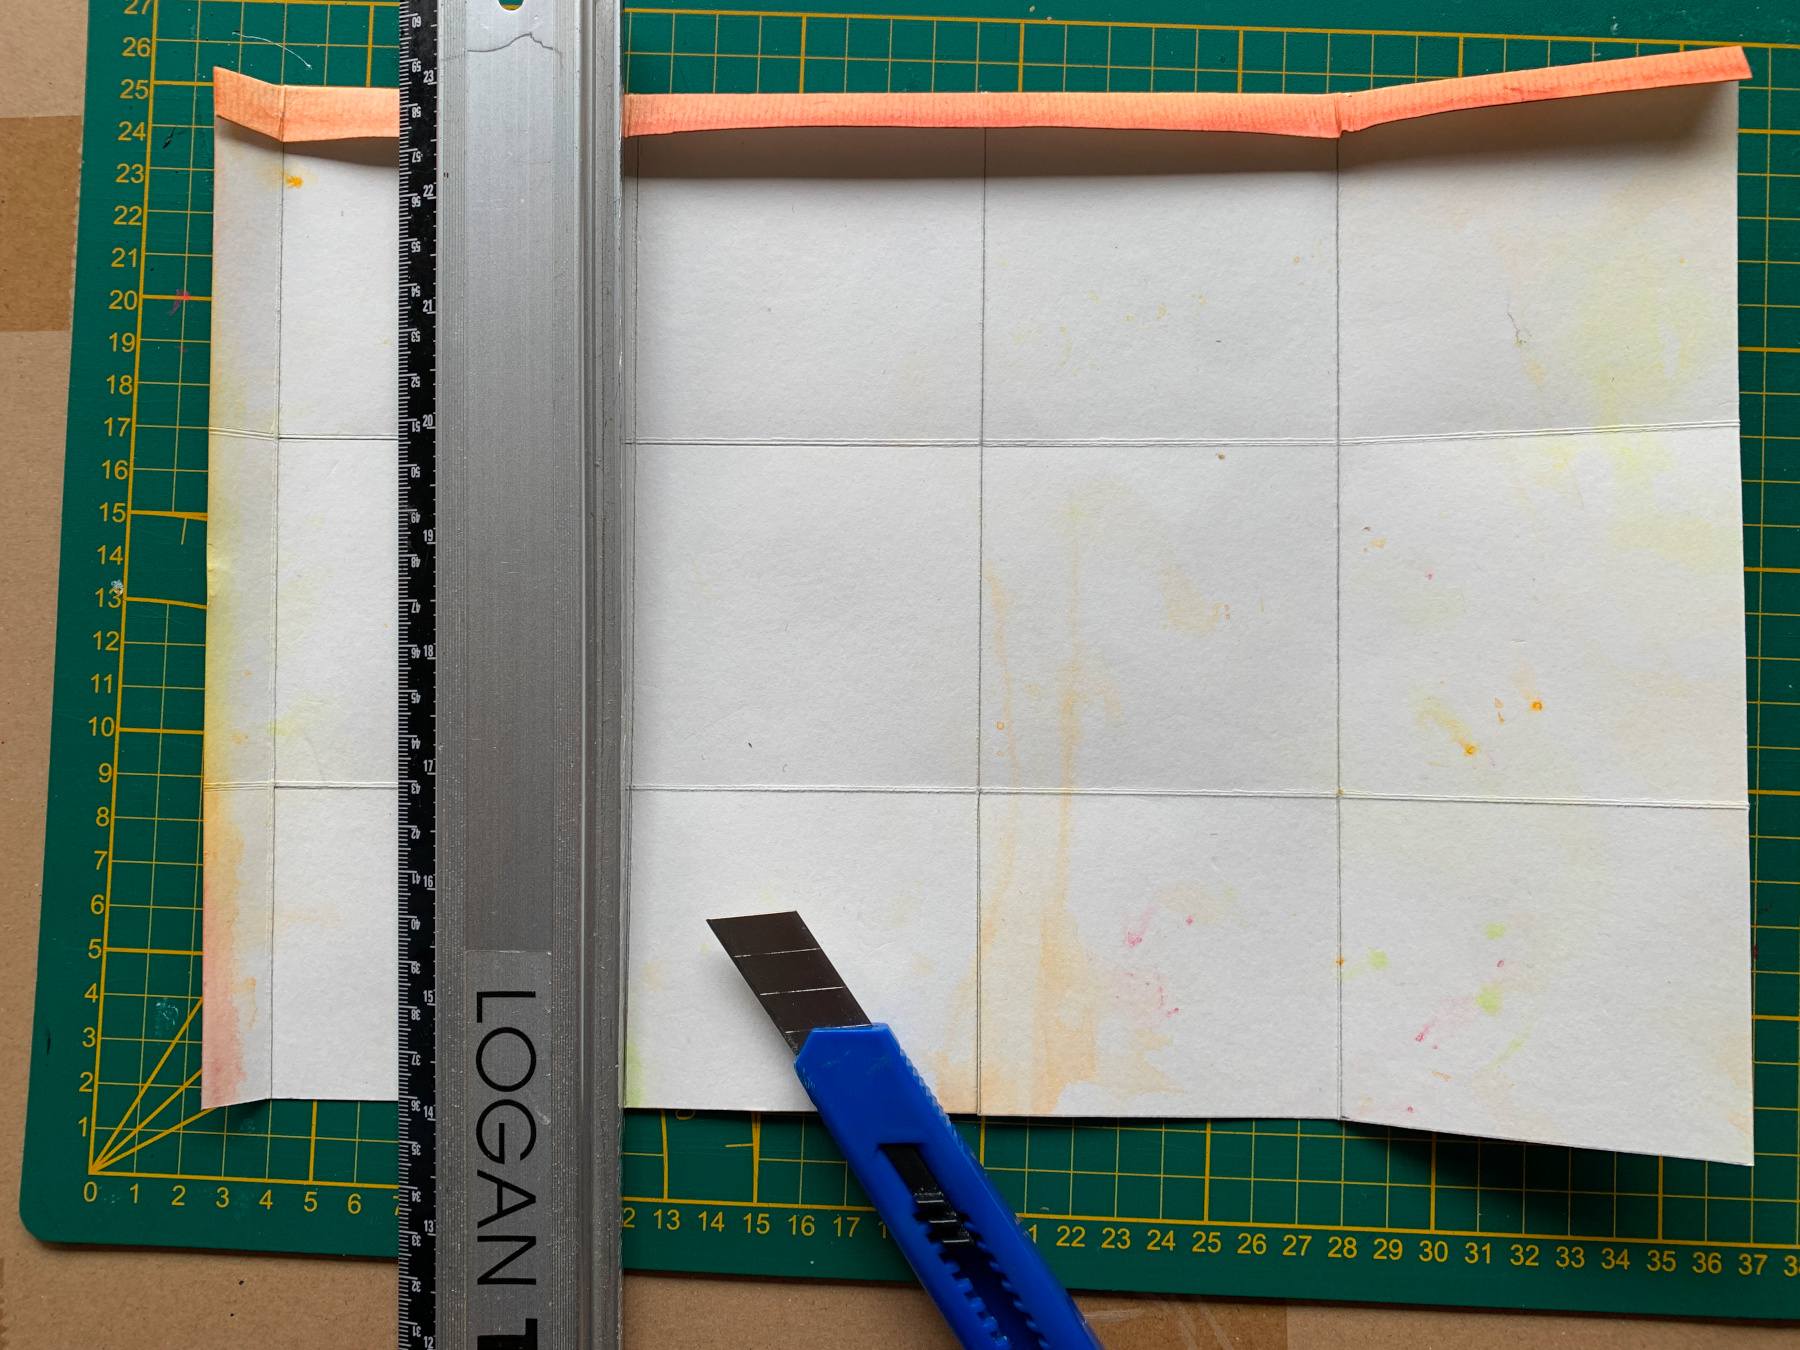
First cut the paper to size: 24.5x33.5 cm.
Draw a margin of 1.5cm on the left and on top.
Divide the paper in cubes of 8x8 cm.
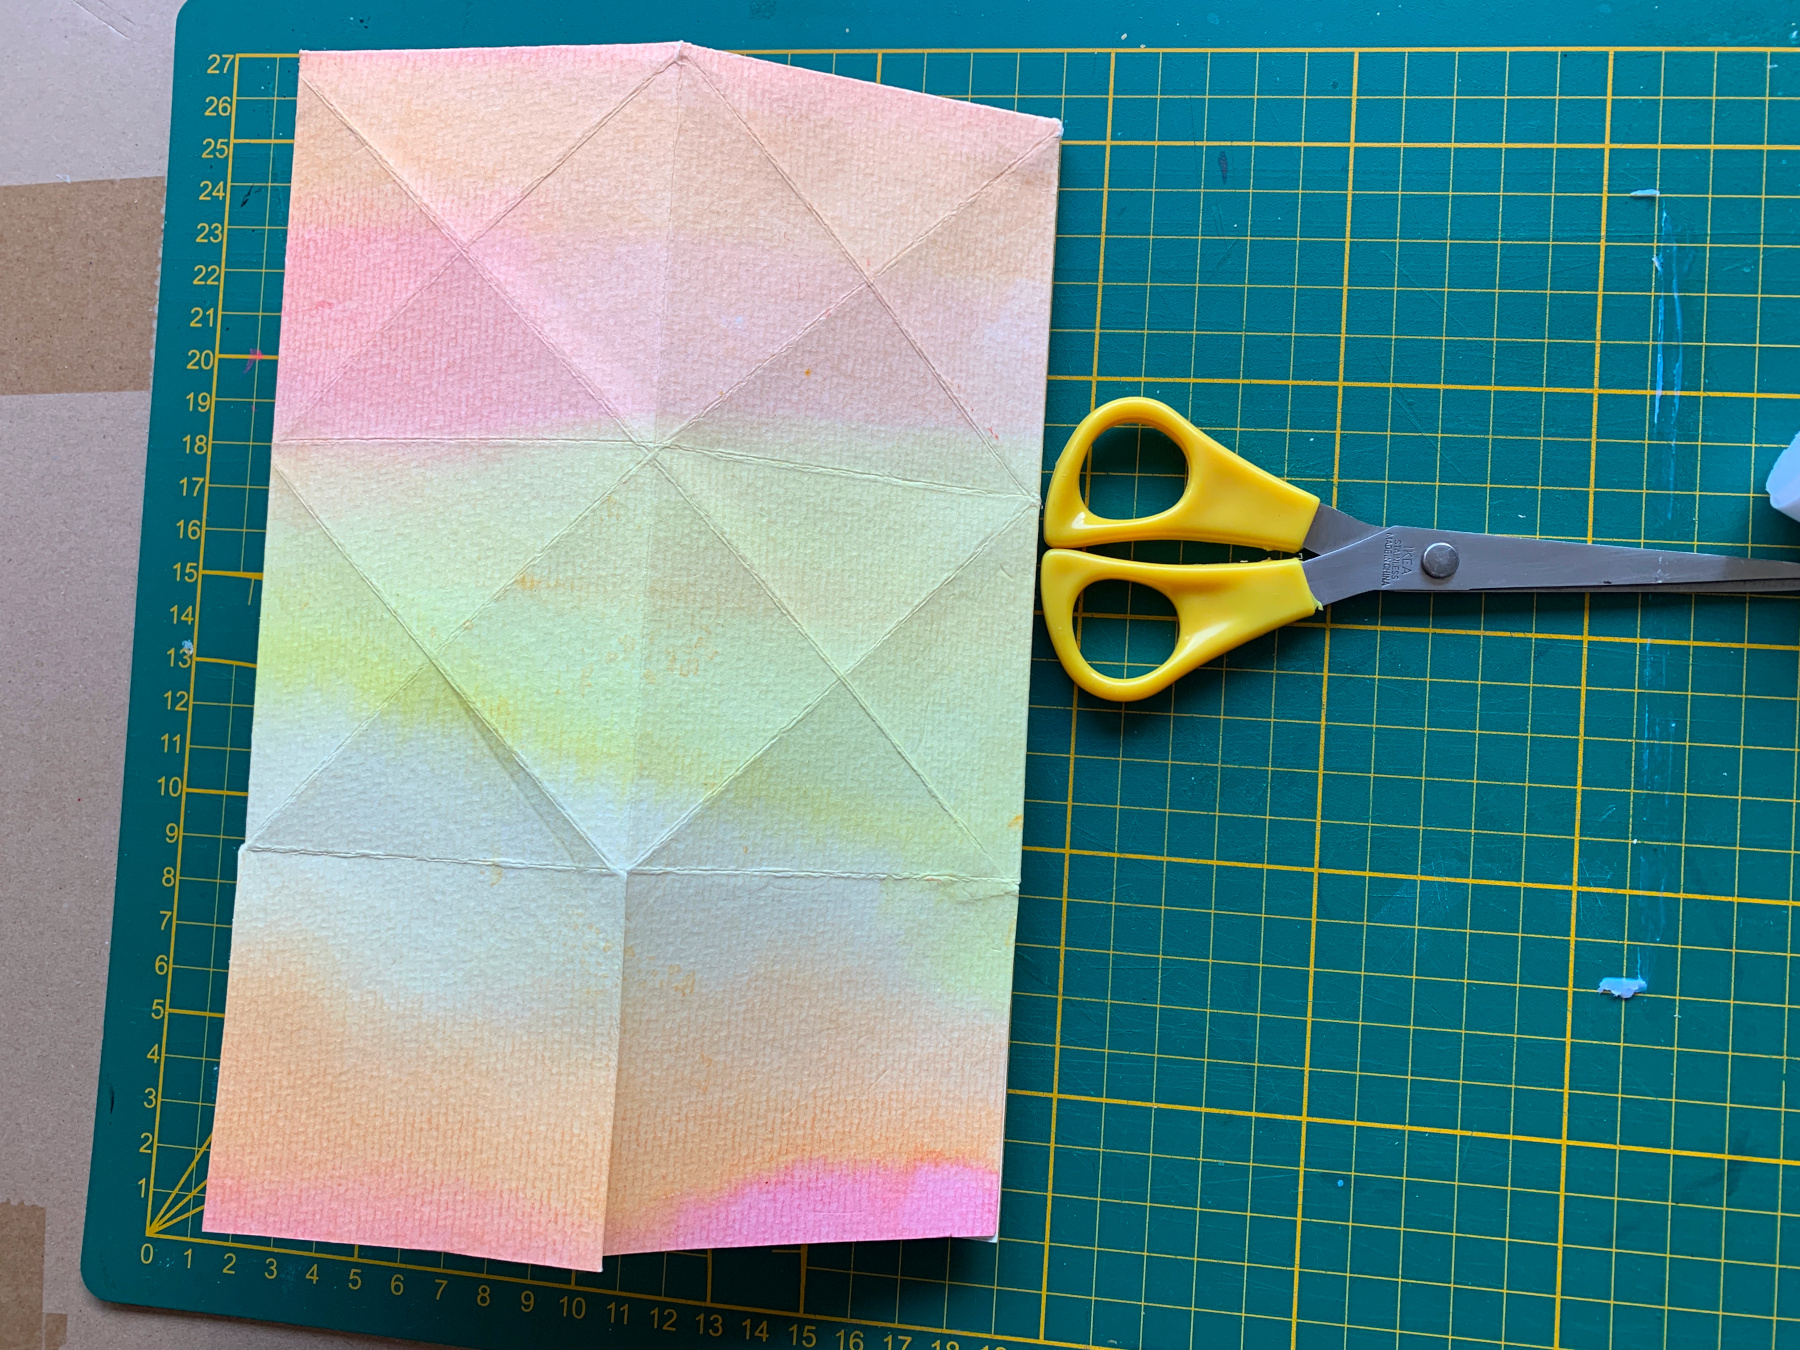
This is how you fold the lantern
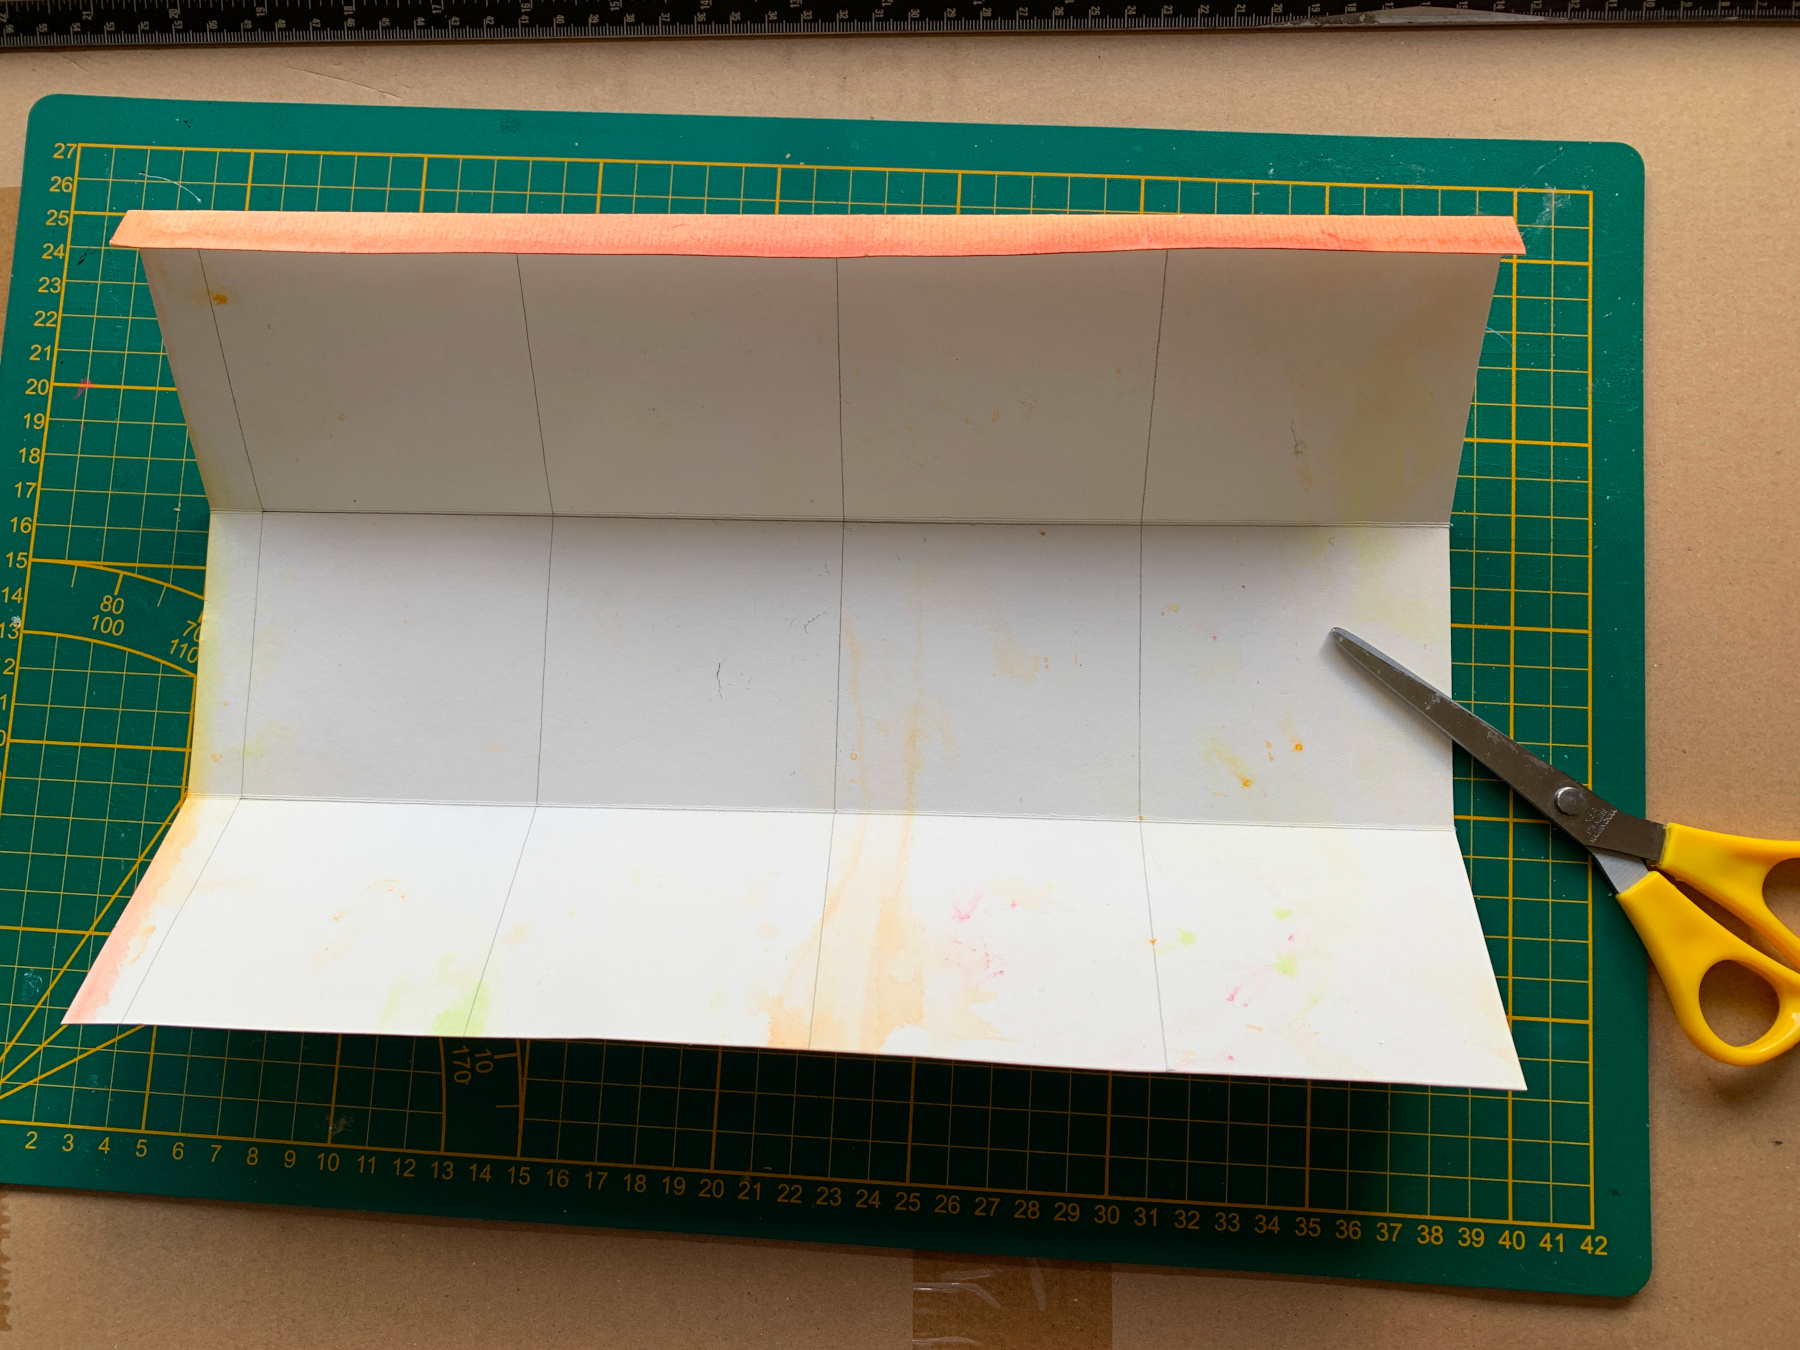
Score and fold the top margin of the paper.
Score and fold the 2 horizontal lines.
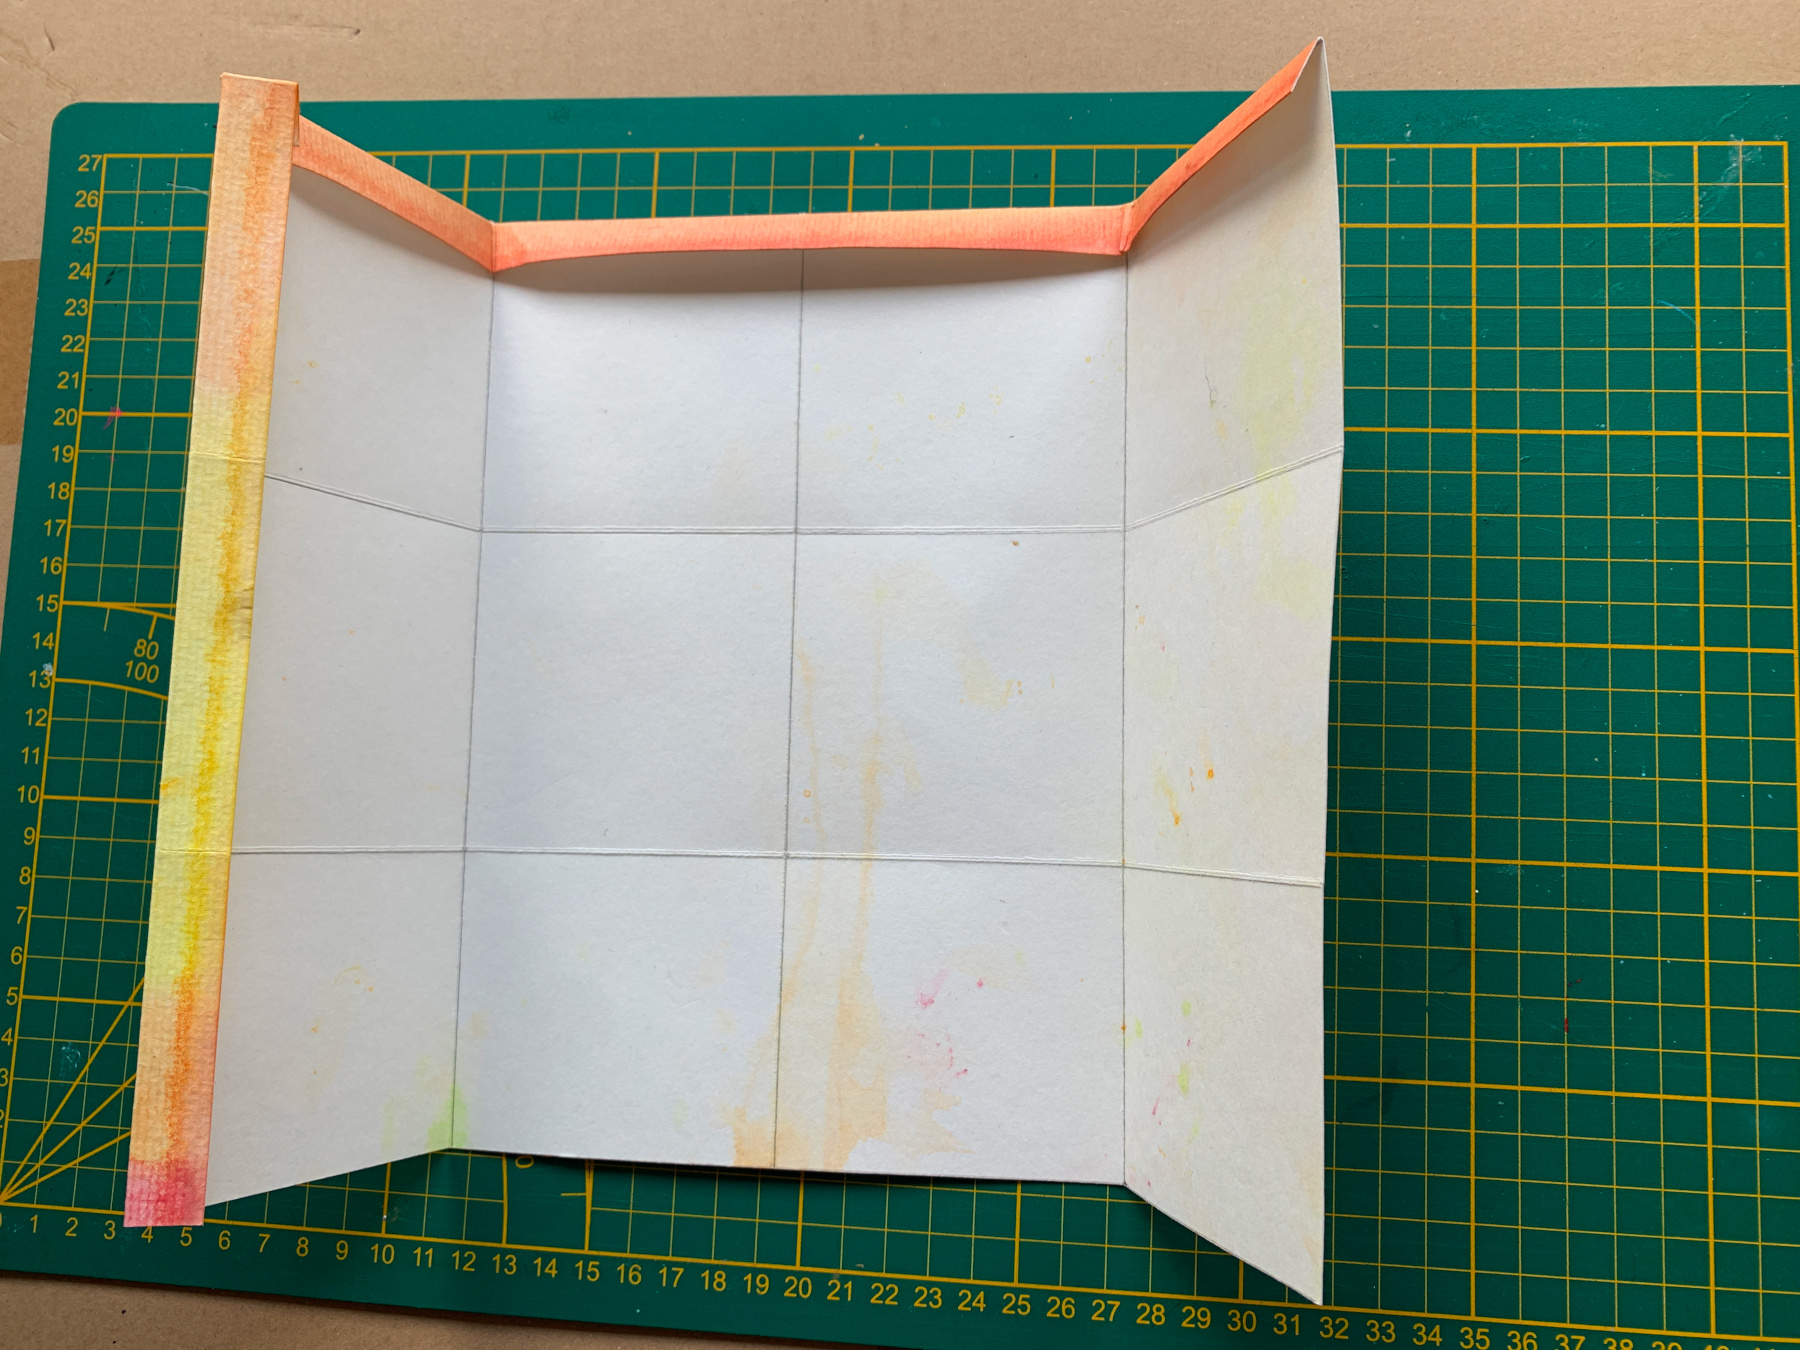
Score and fold the vertical margin in the left side.
Score and fold the vertical lines of the boxes.
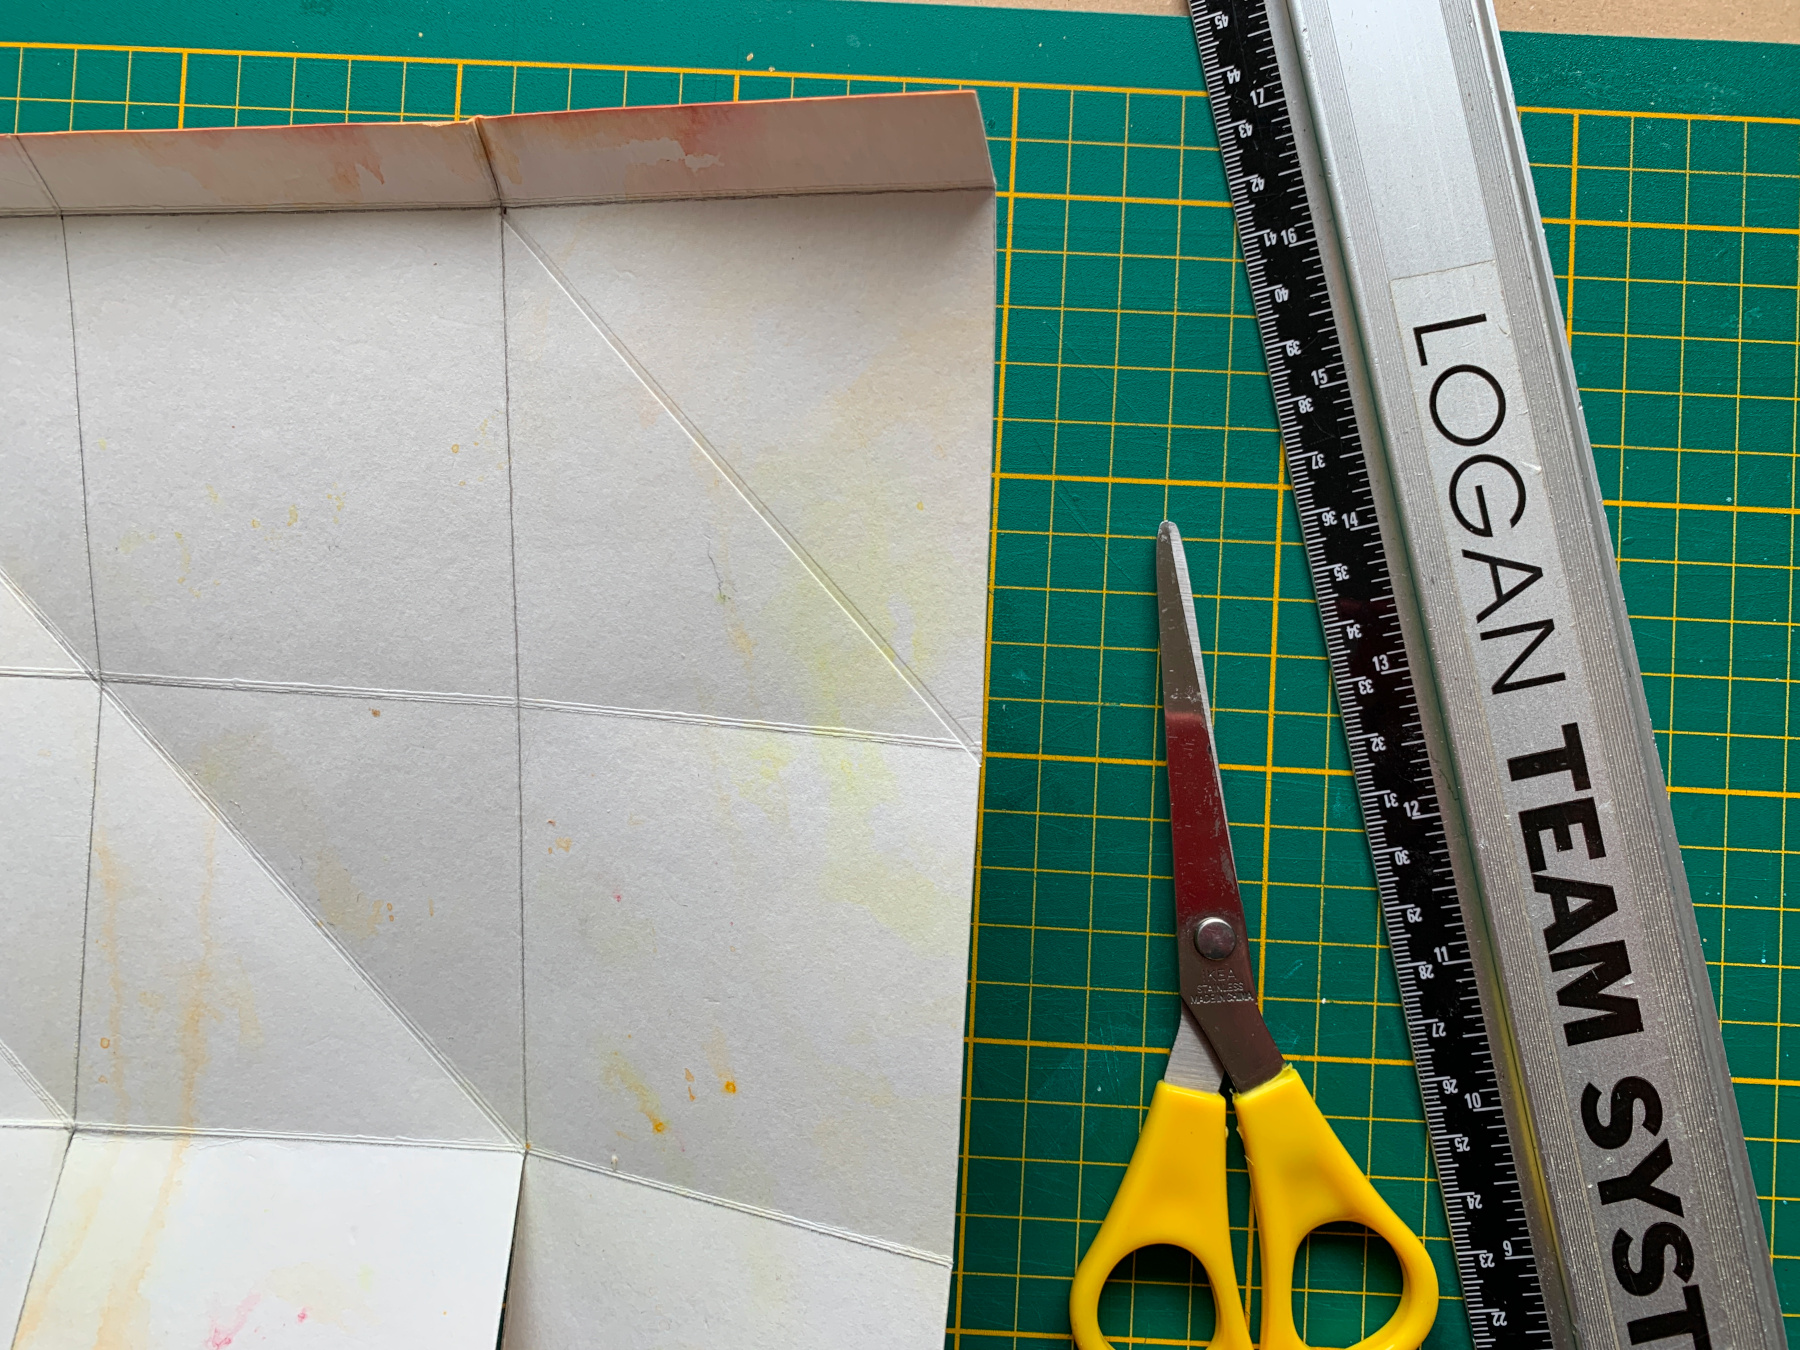
Cut the vertical lines of the bottom row of boxes, up to the first horizontal line
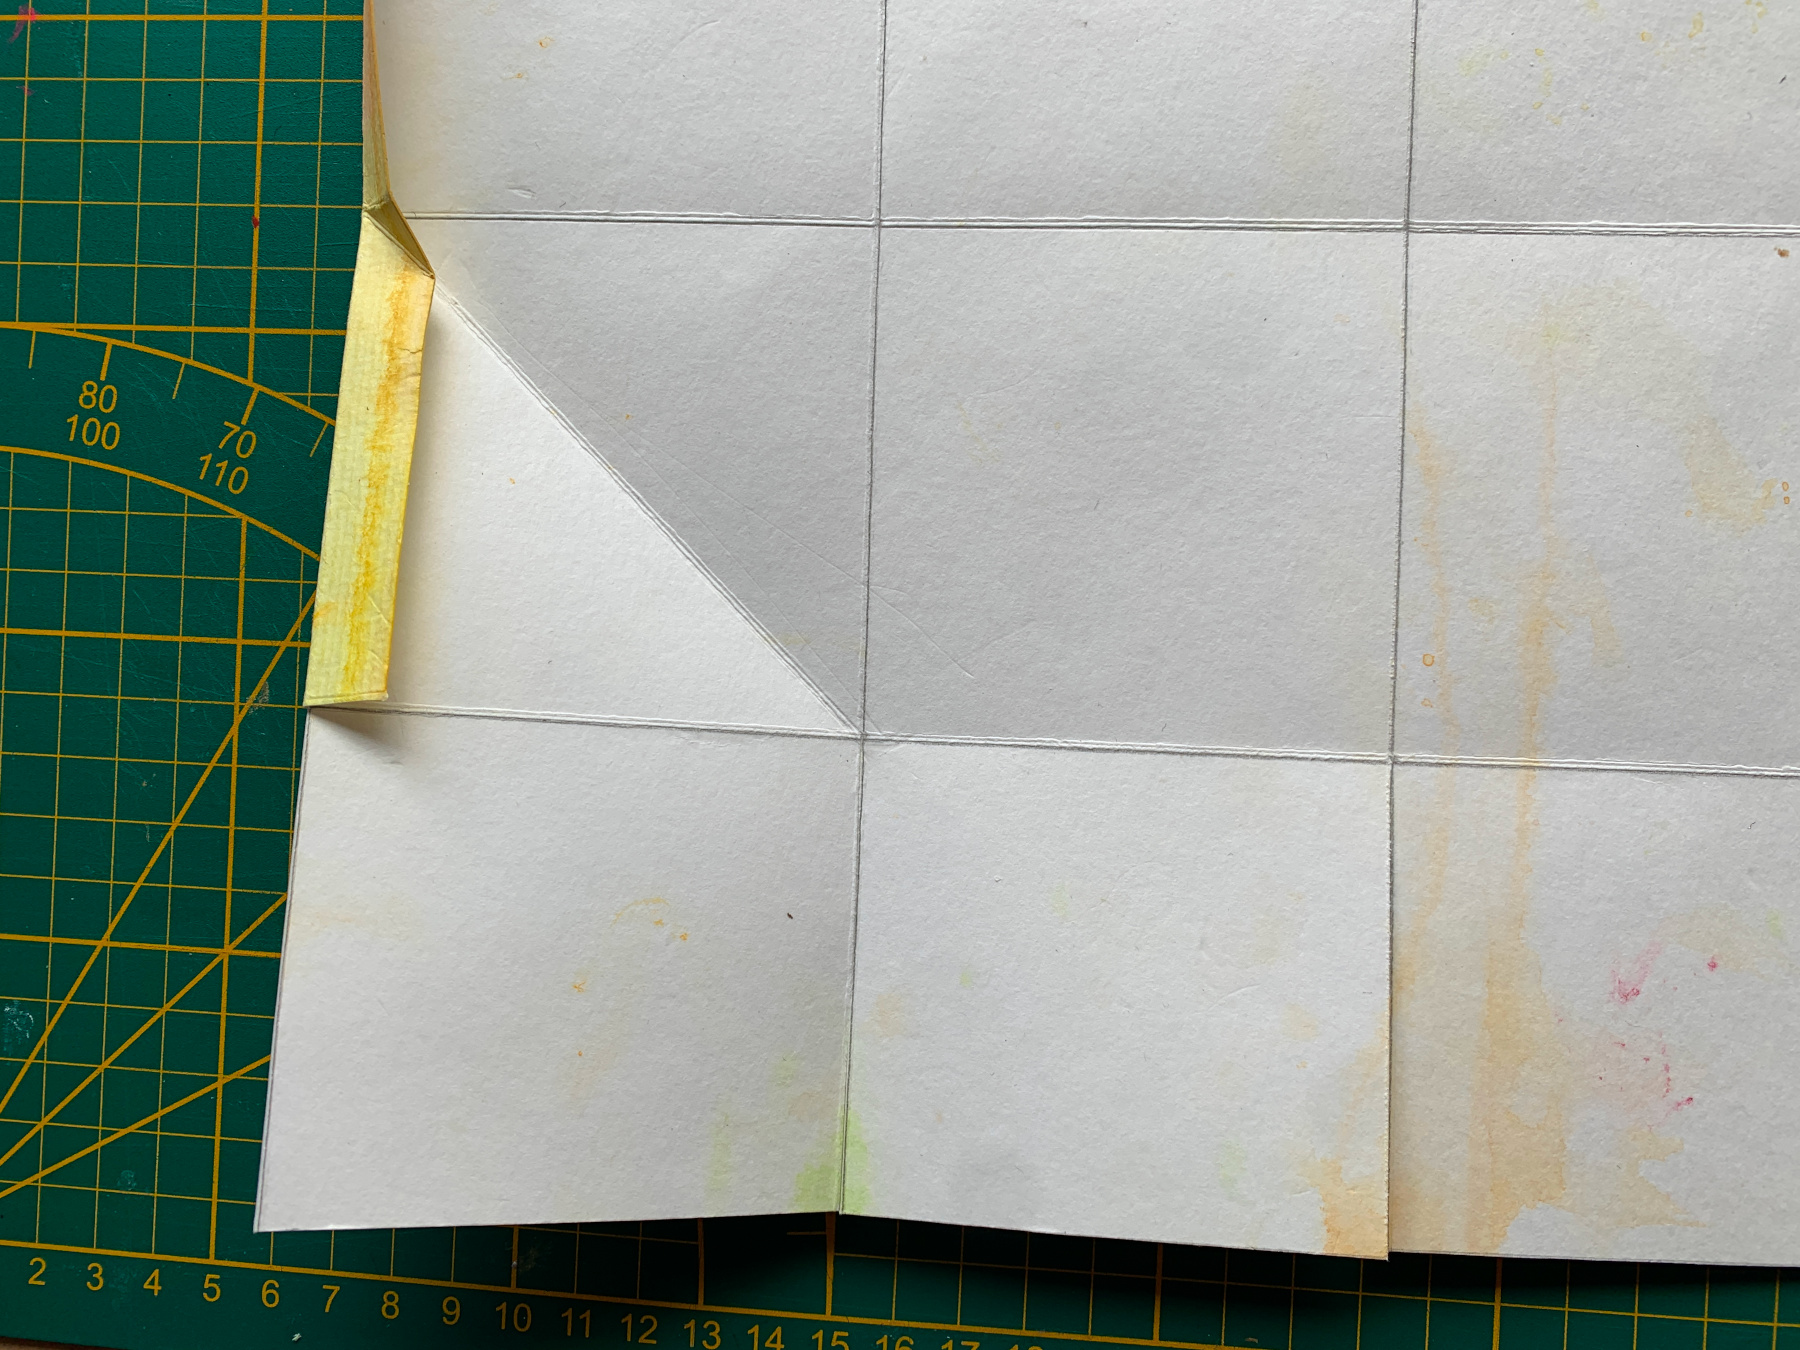
Cut away a piece of the vertical margin at the bottom.
Score and fold the middle box diagonally.
The bottom box follows by itself.
- make your folds nice and sharp by going over them with an arc of your scissors
- the sharper your creases are the easier the folding will be in the end
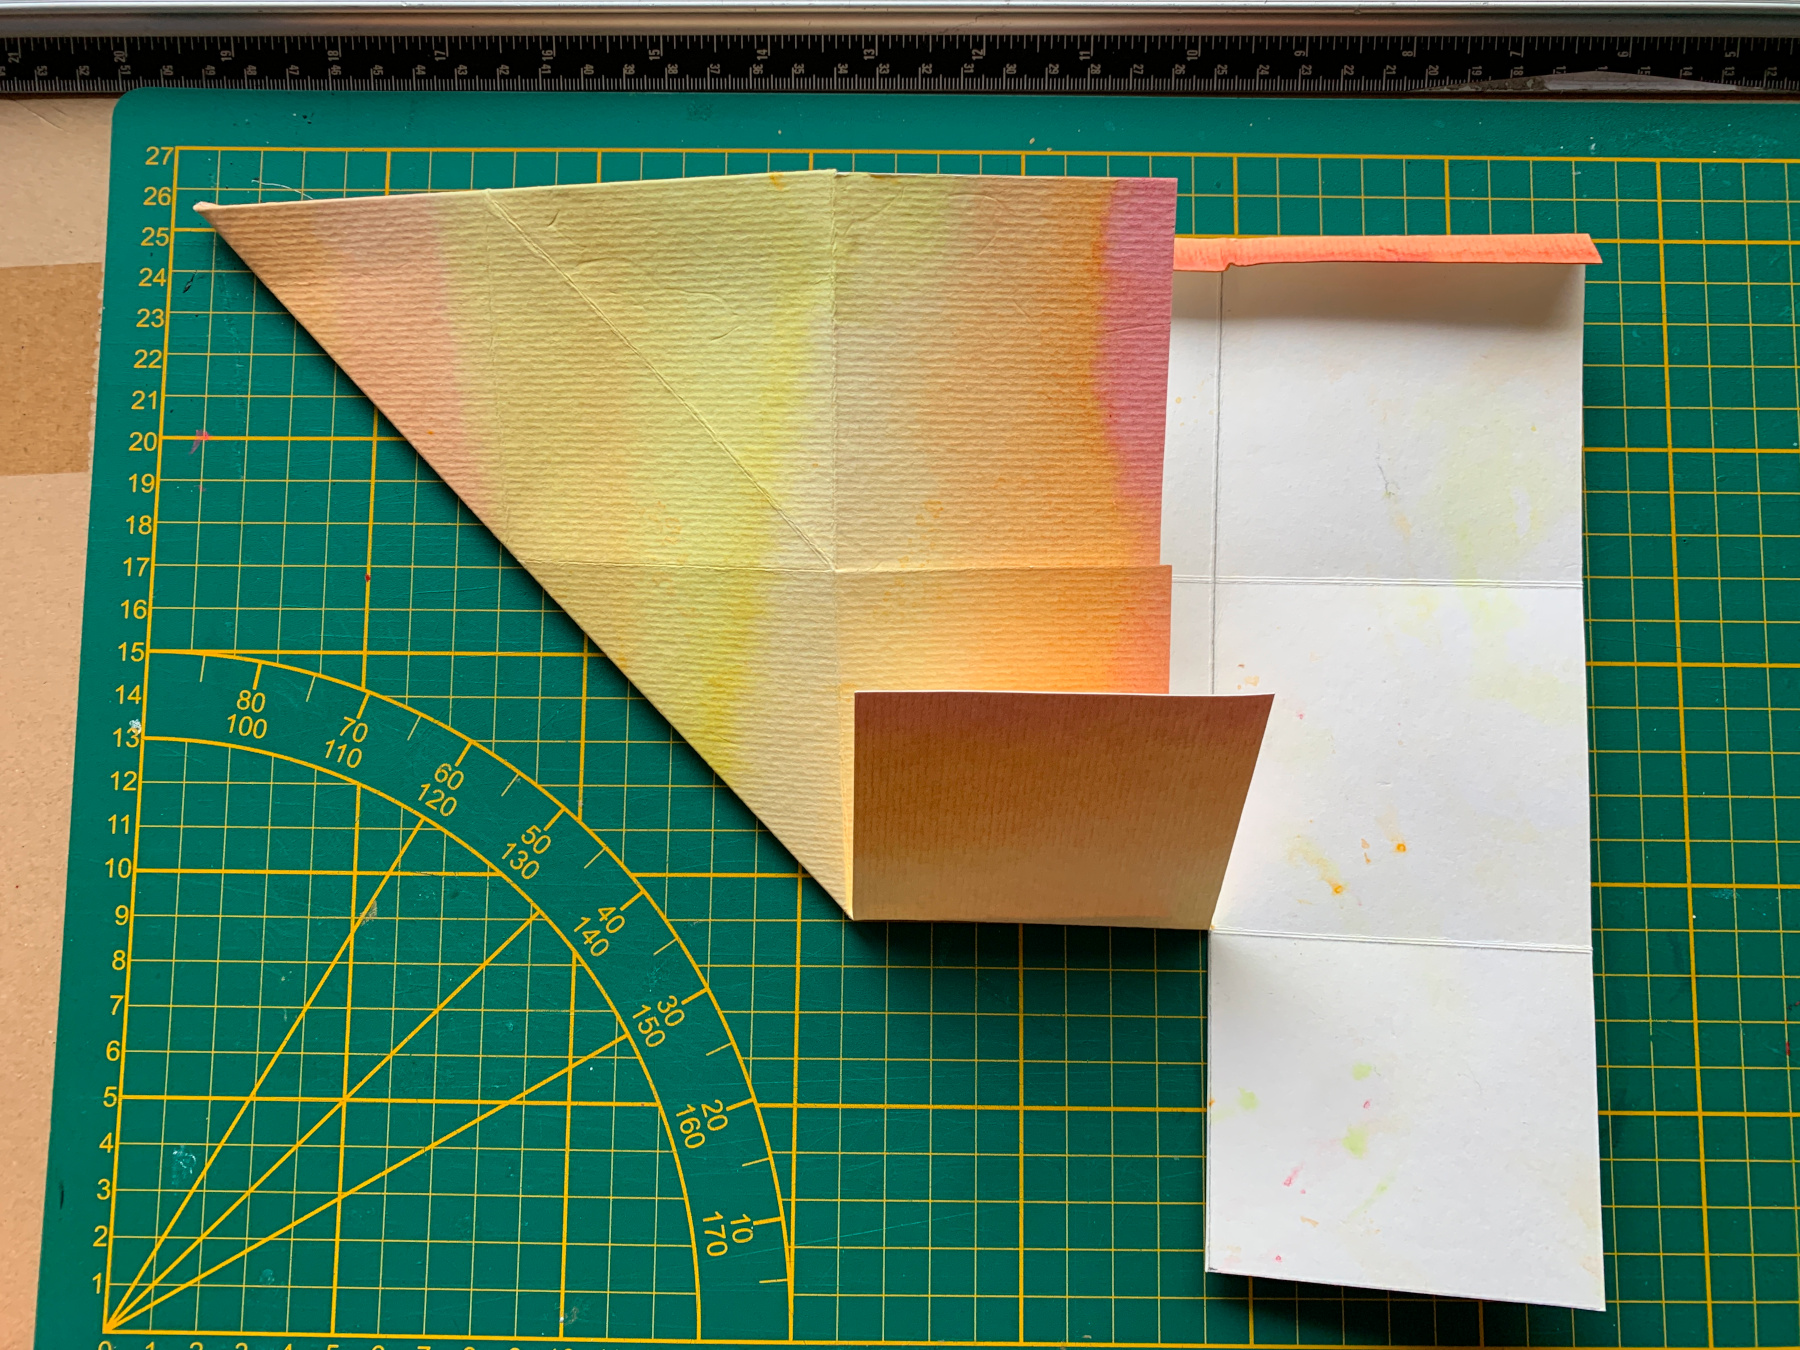
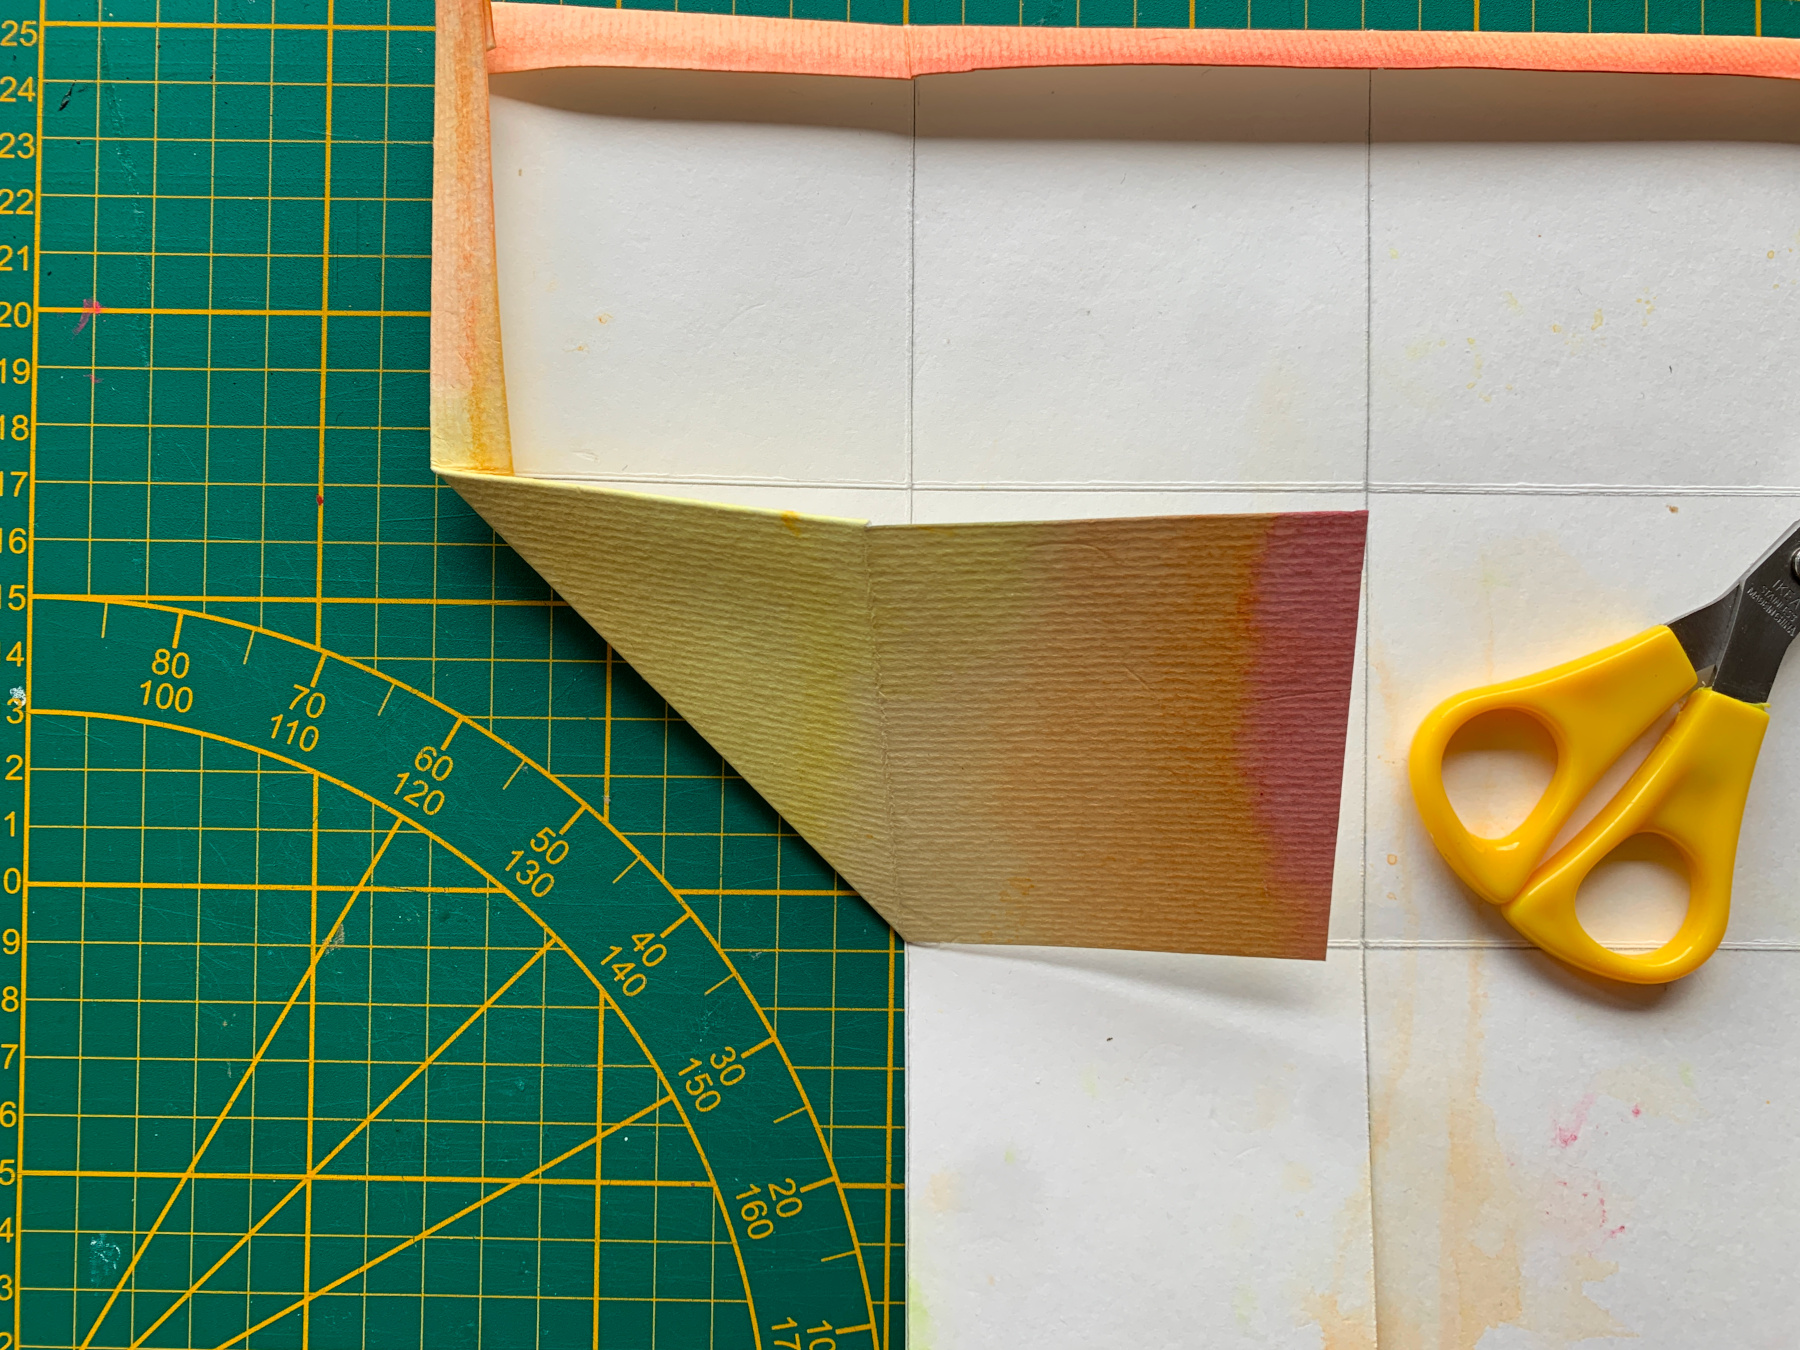
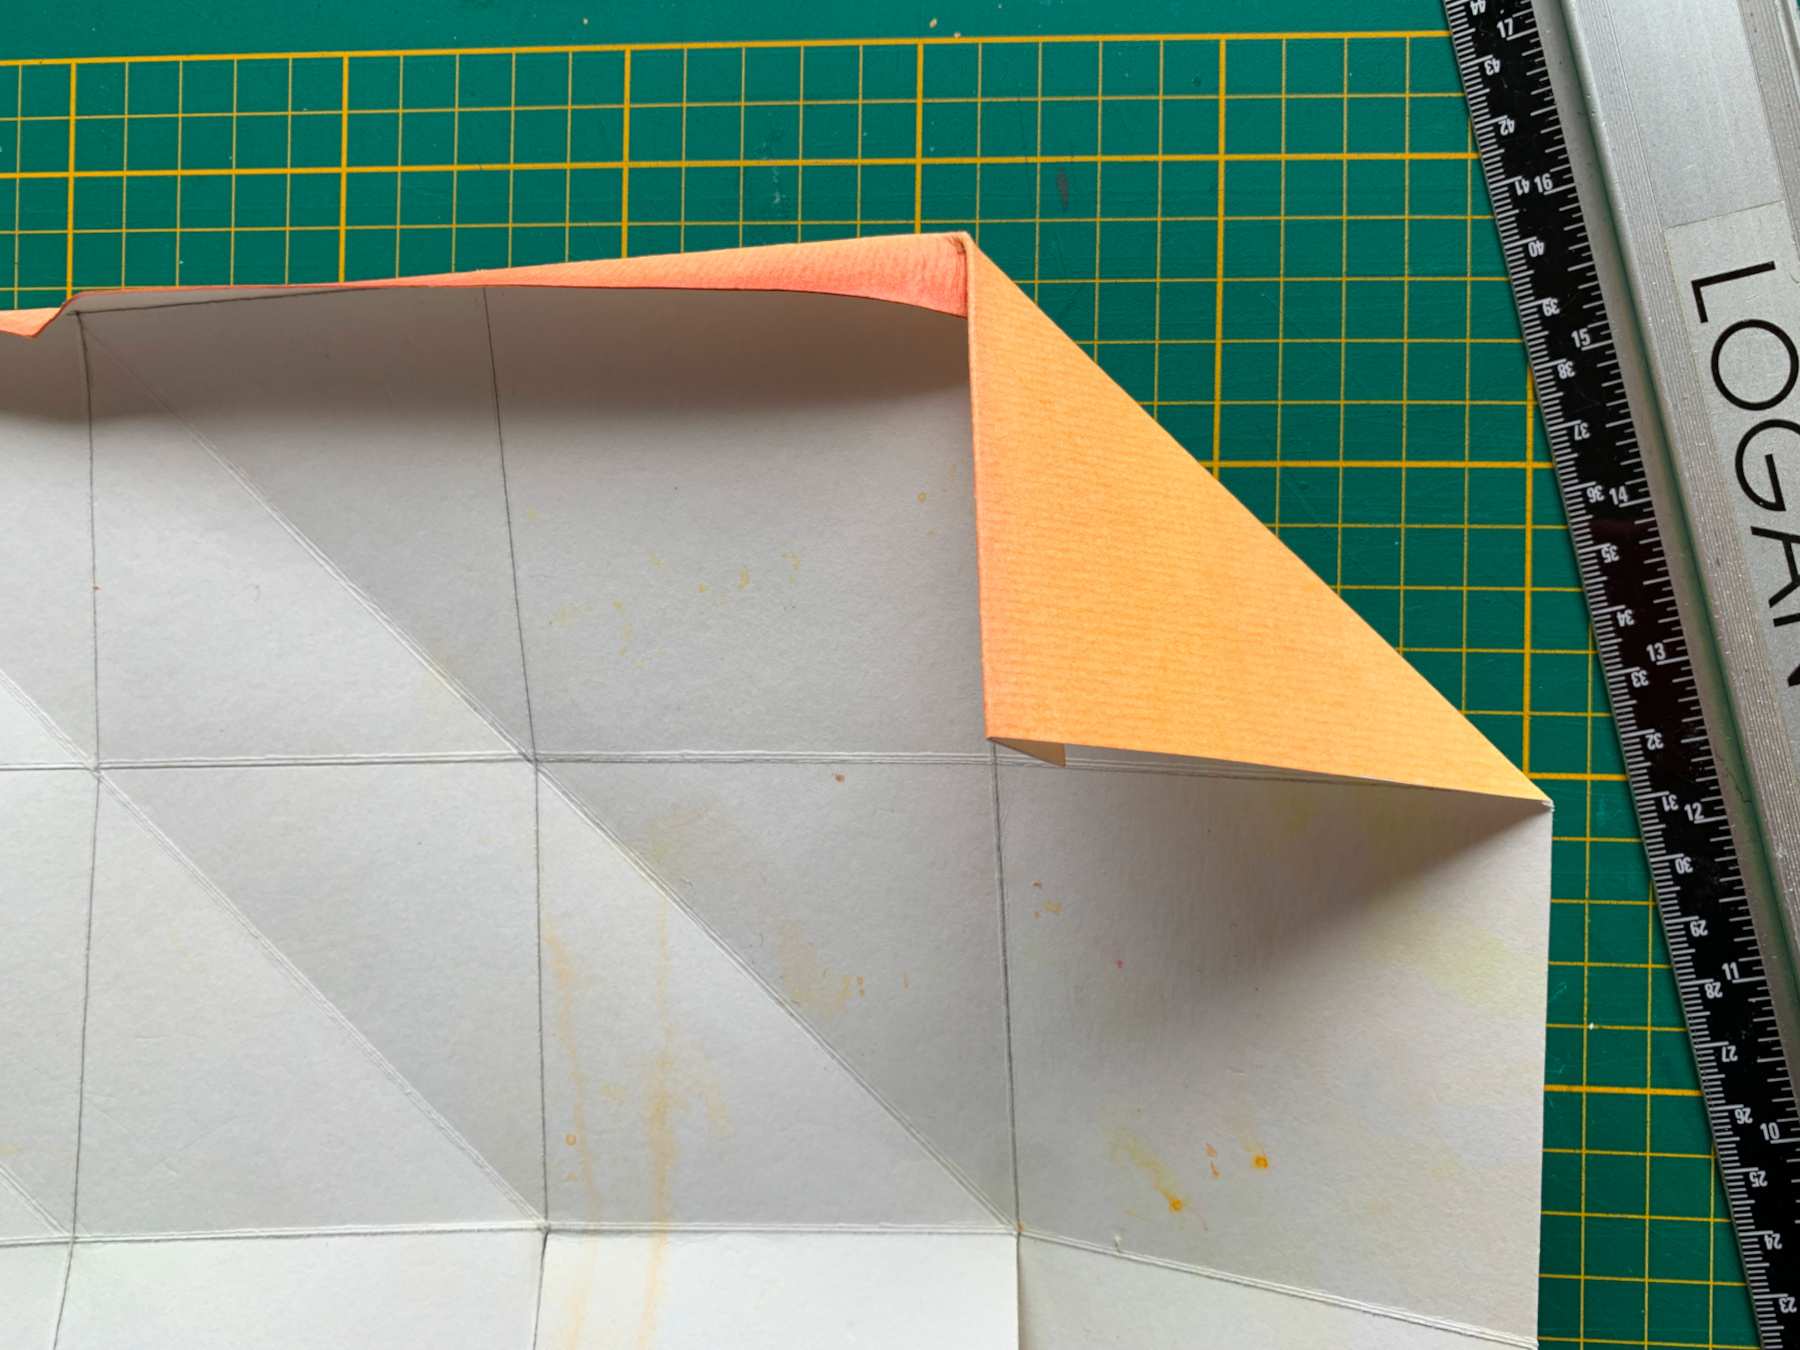
Score from the top left box diagonally down.
Fold the paper on the score line.
Score and fold the last line too, you fold to over the top.
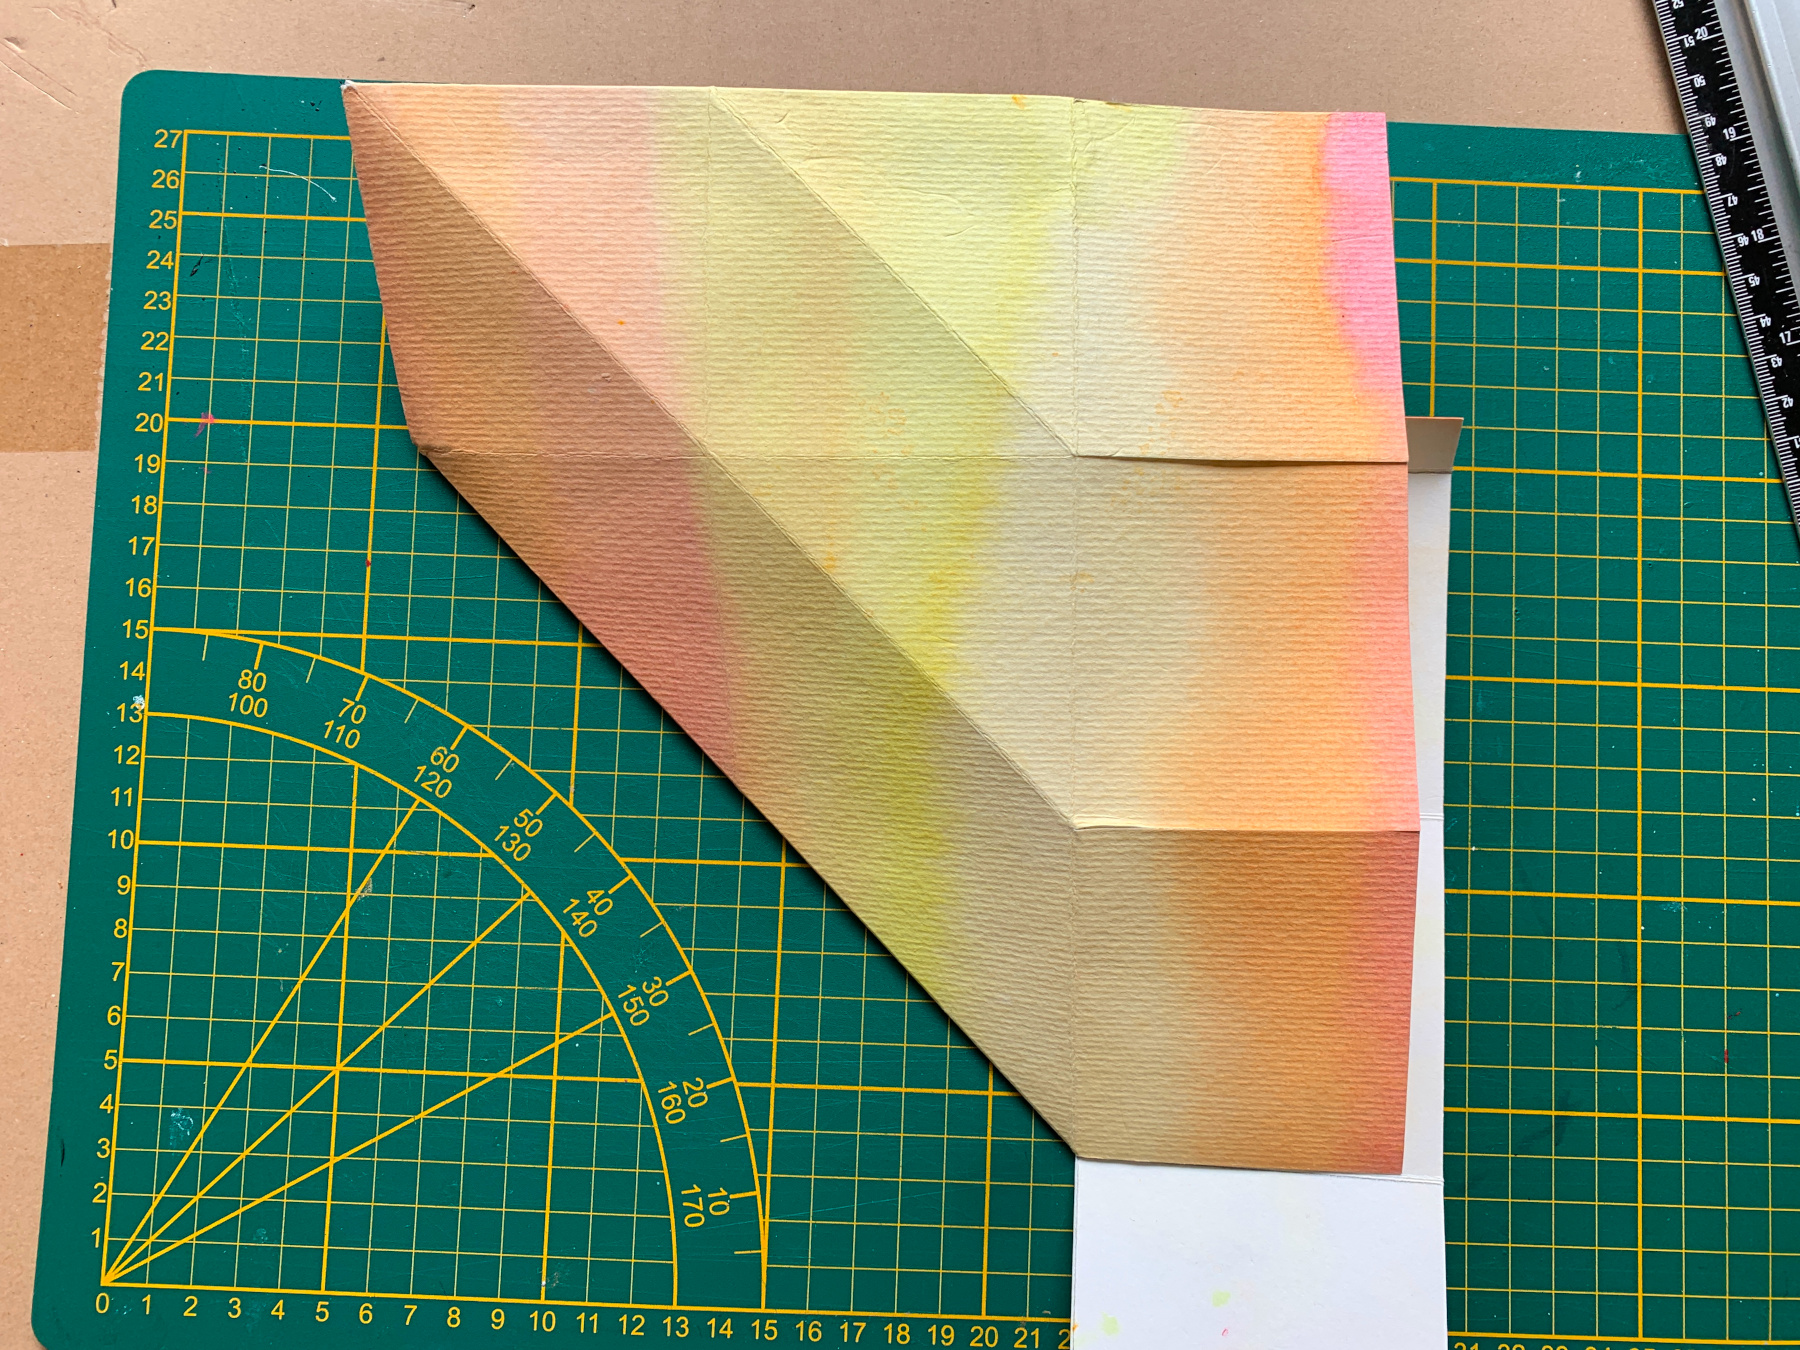
Make the same folds on the right side but now start at the top.
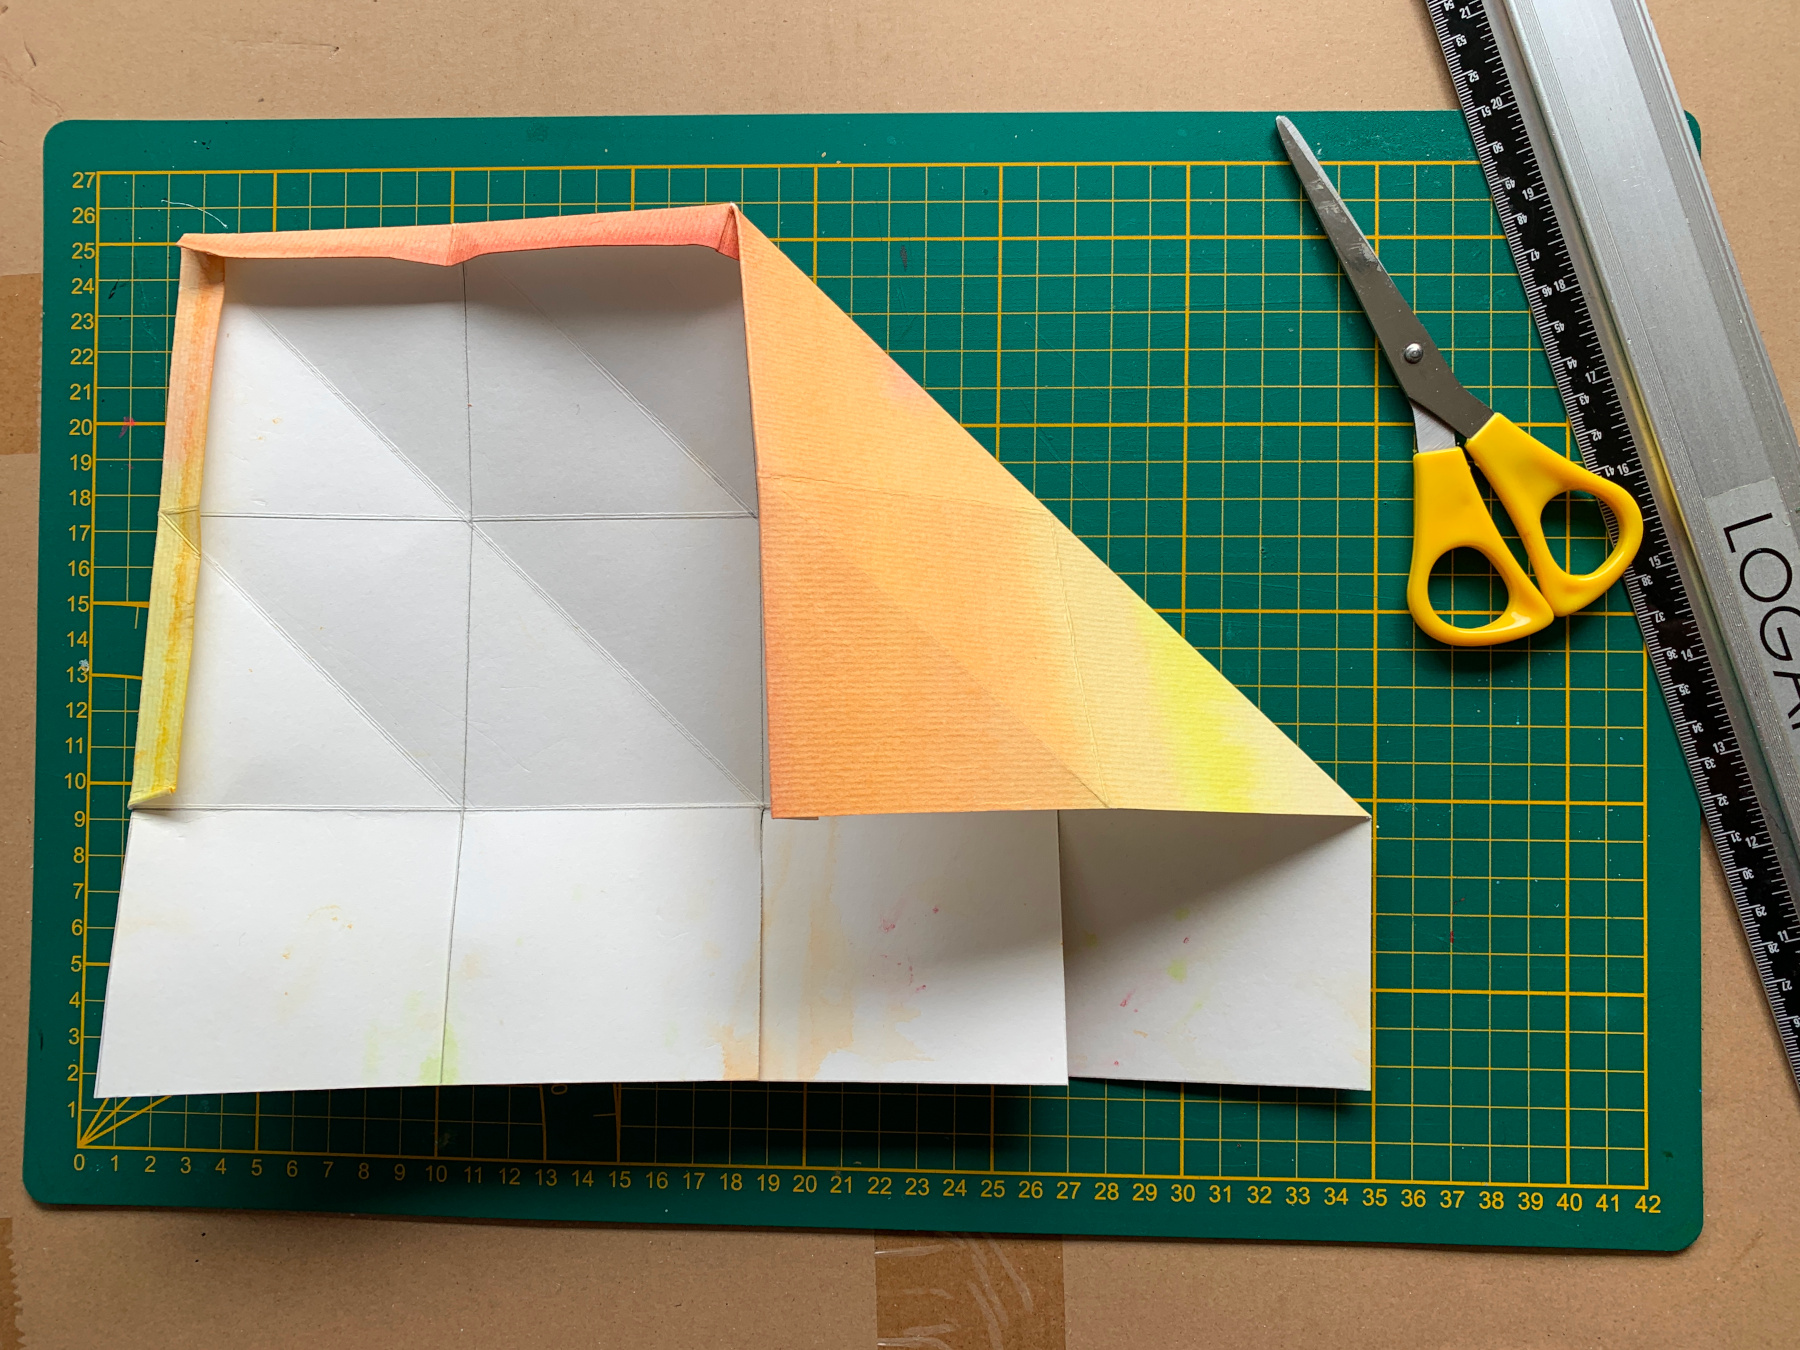
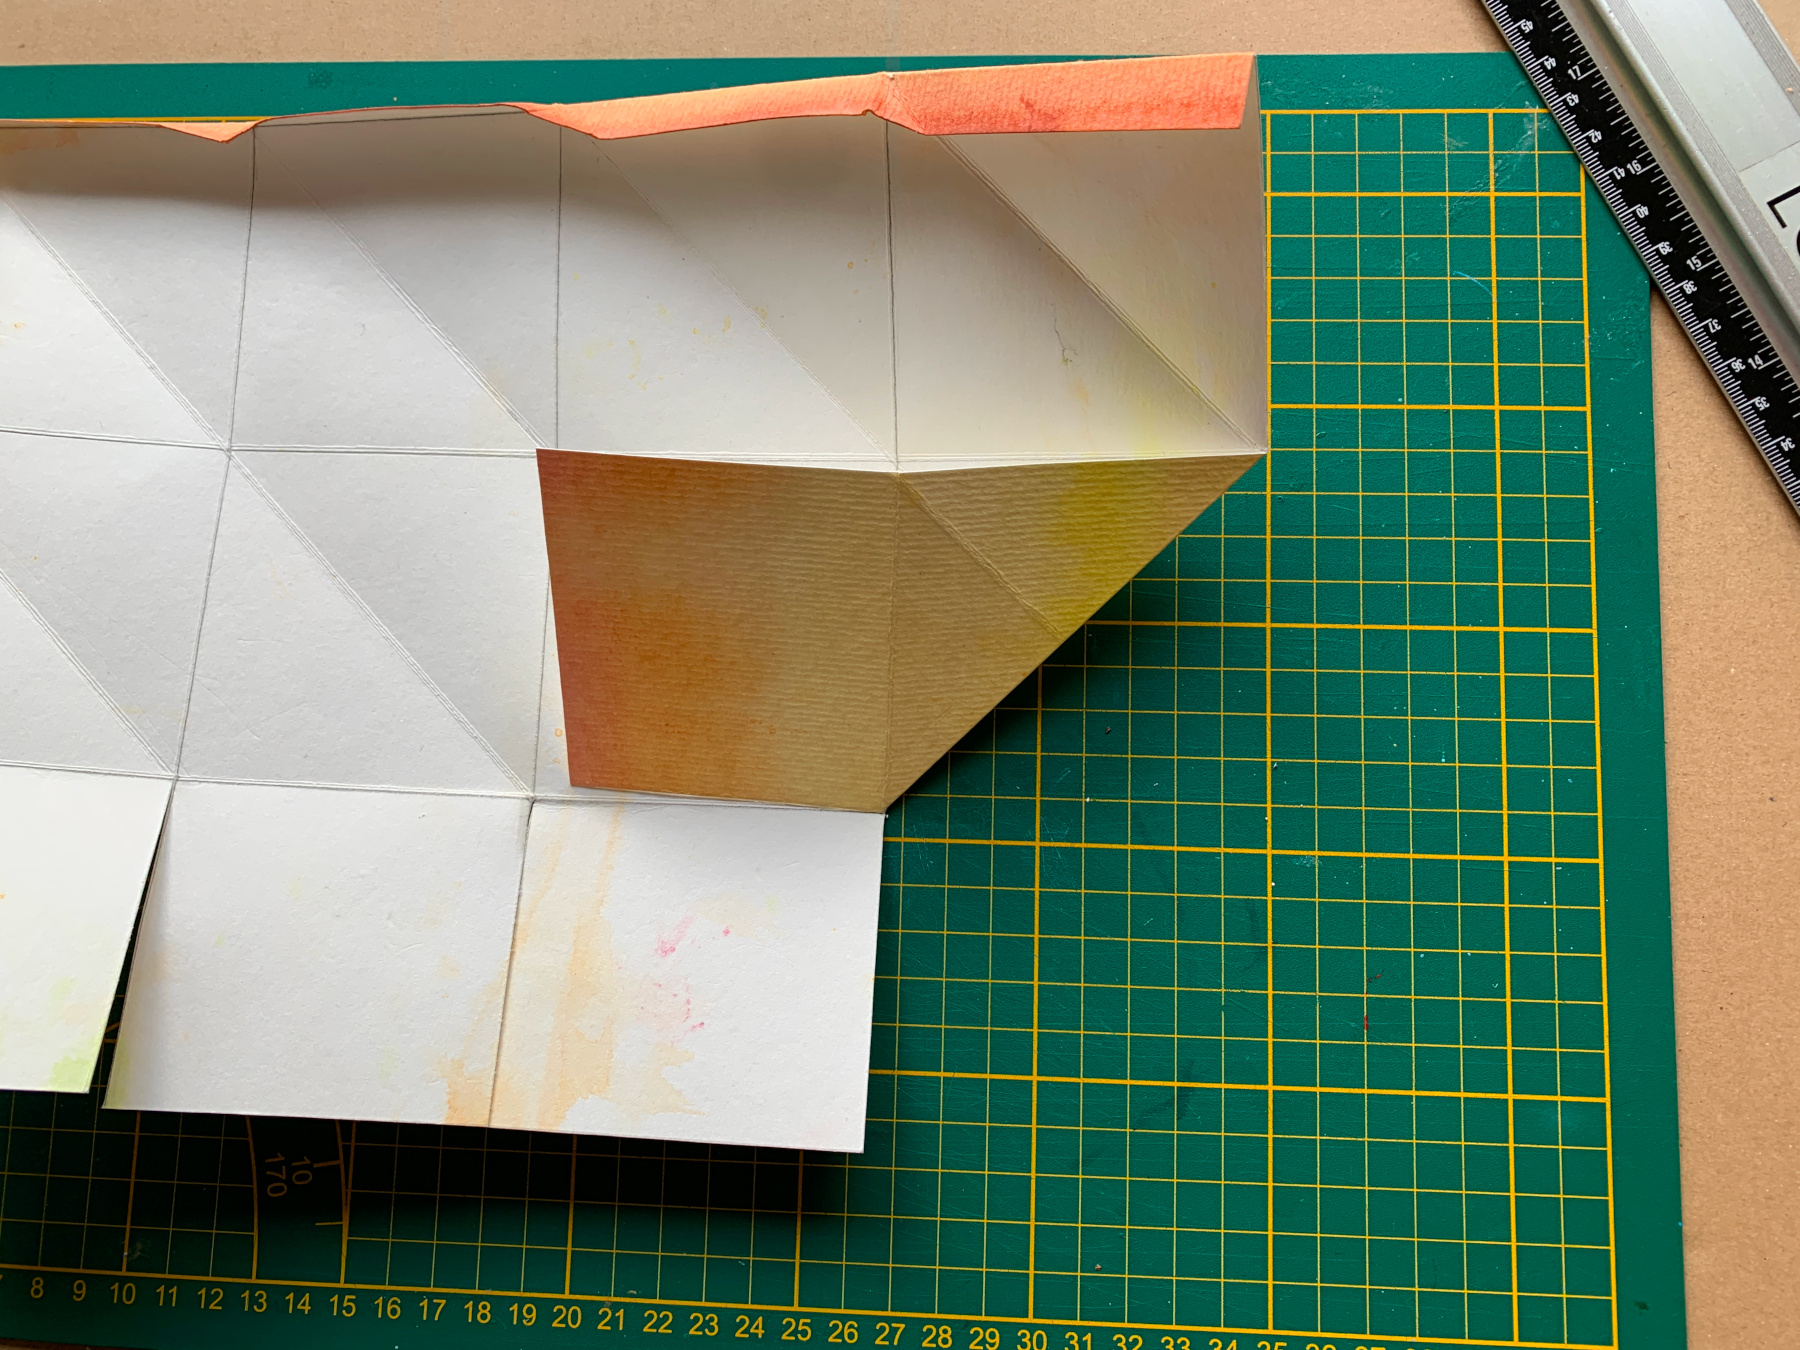
Score diagonally and fold the point inward.
Repeat until the 2 top rows are folded diamond.
All folded this is what your lantern should look like now.
In a moment we fold the lowest cut boxes in, the bottom.
But first we glue the lantern together
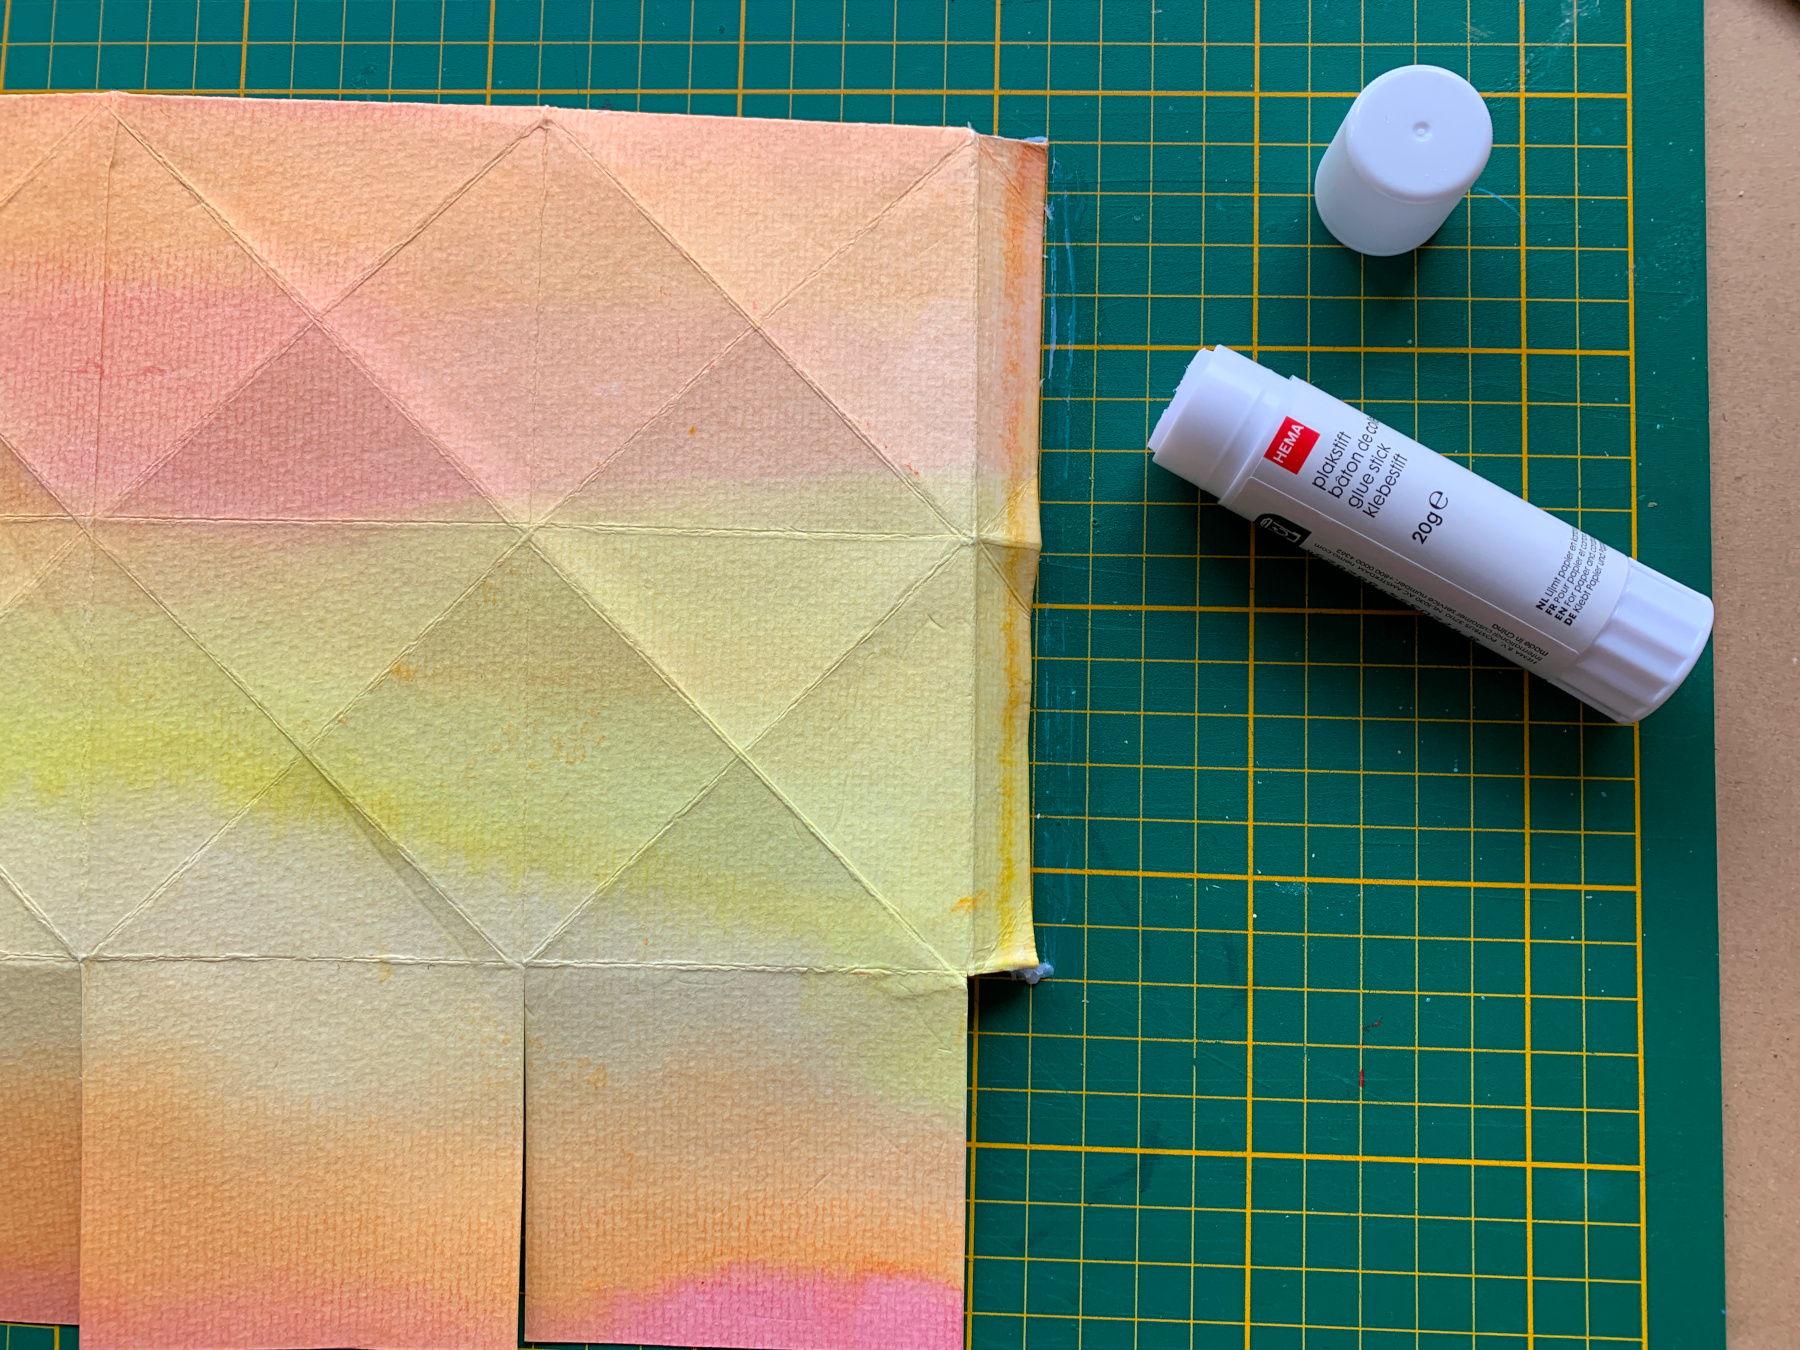
Spread glue on the vertical margin.
Press the glued part firmly together.
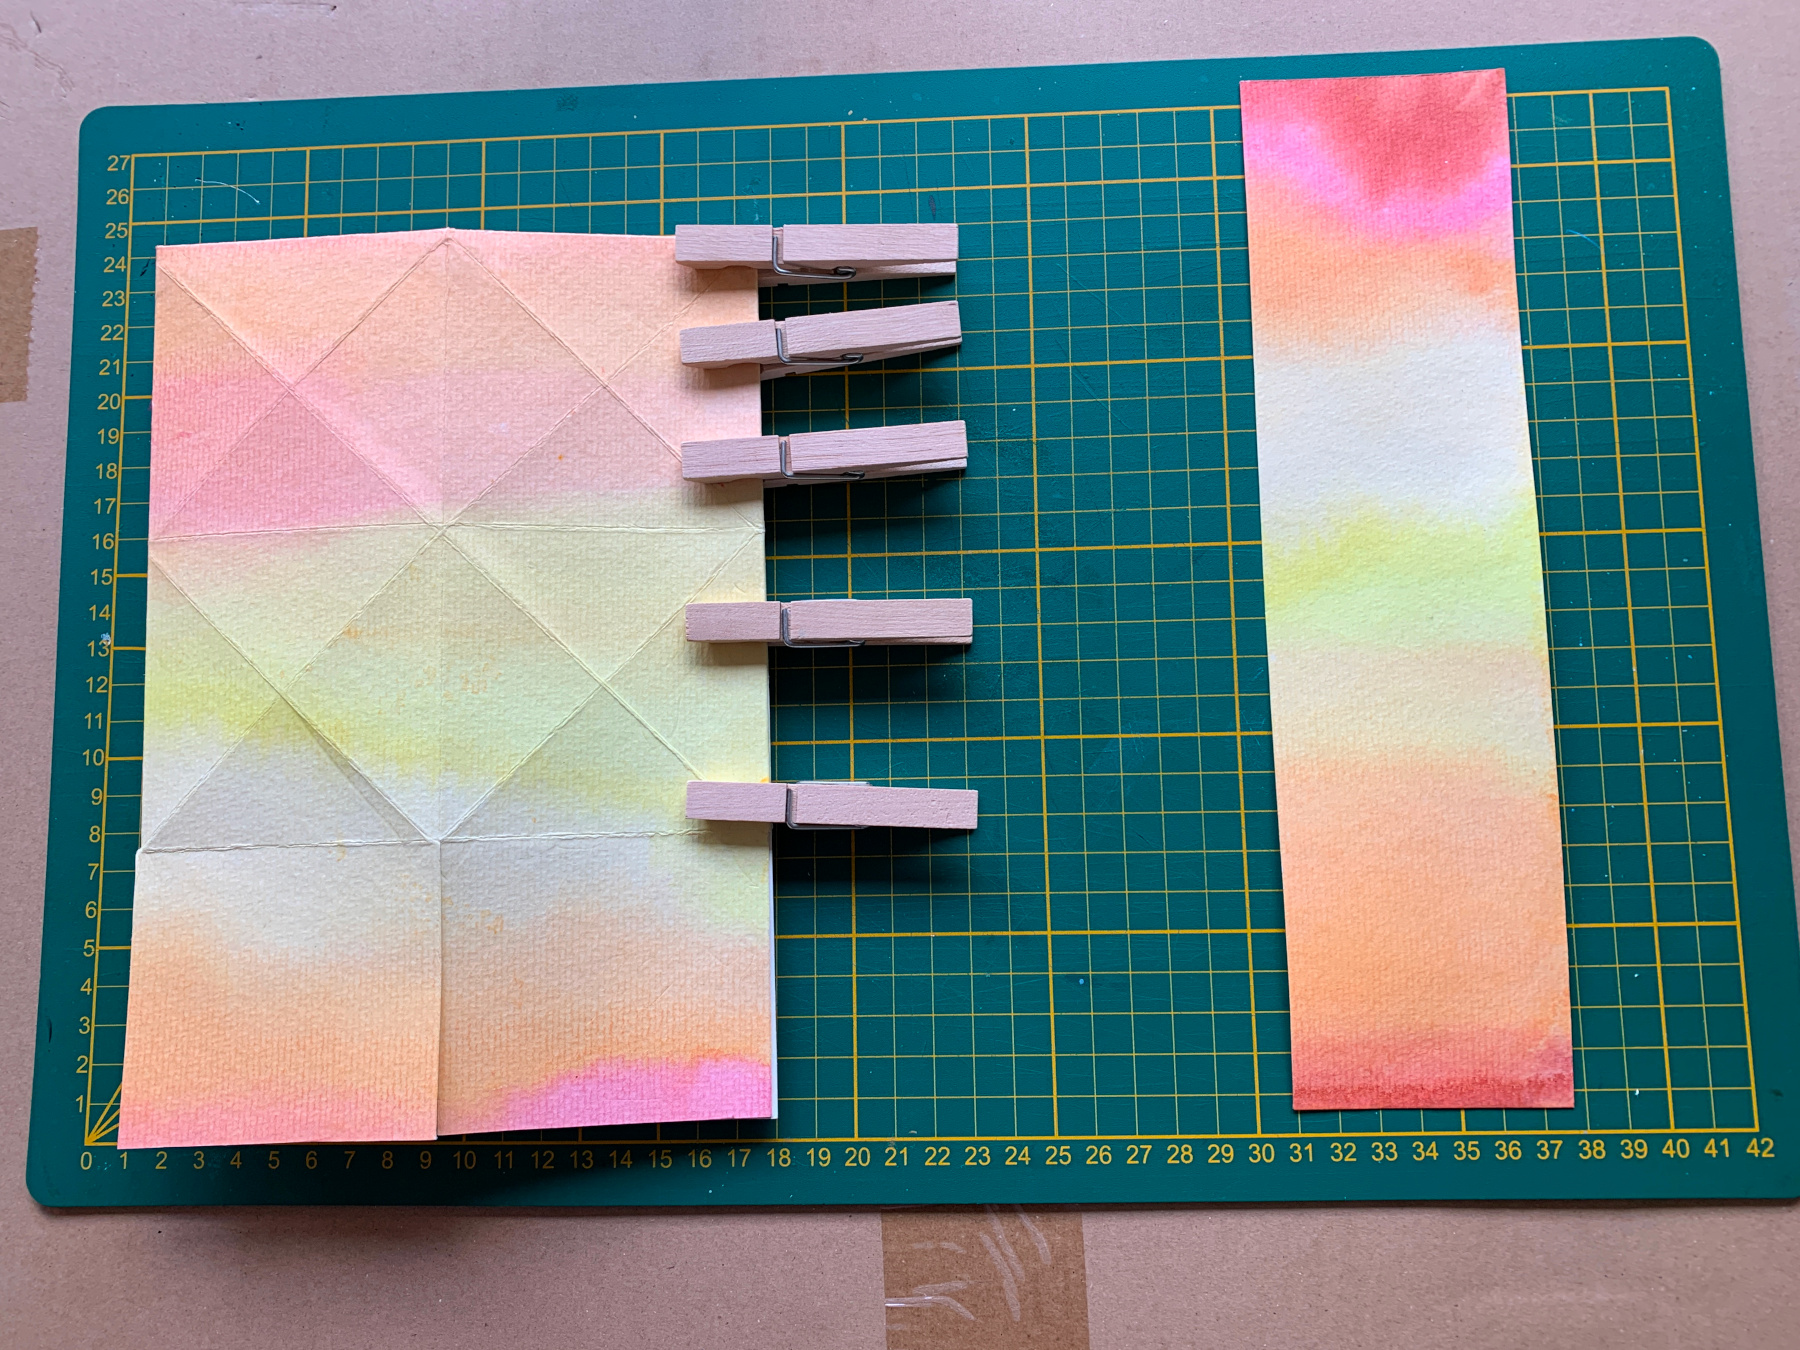
Put clothes pins on the glued margin.
Remove the clothes pins when the glue has dried completely and fold open the lantern in a square
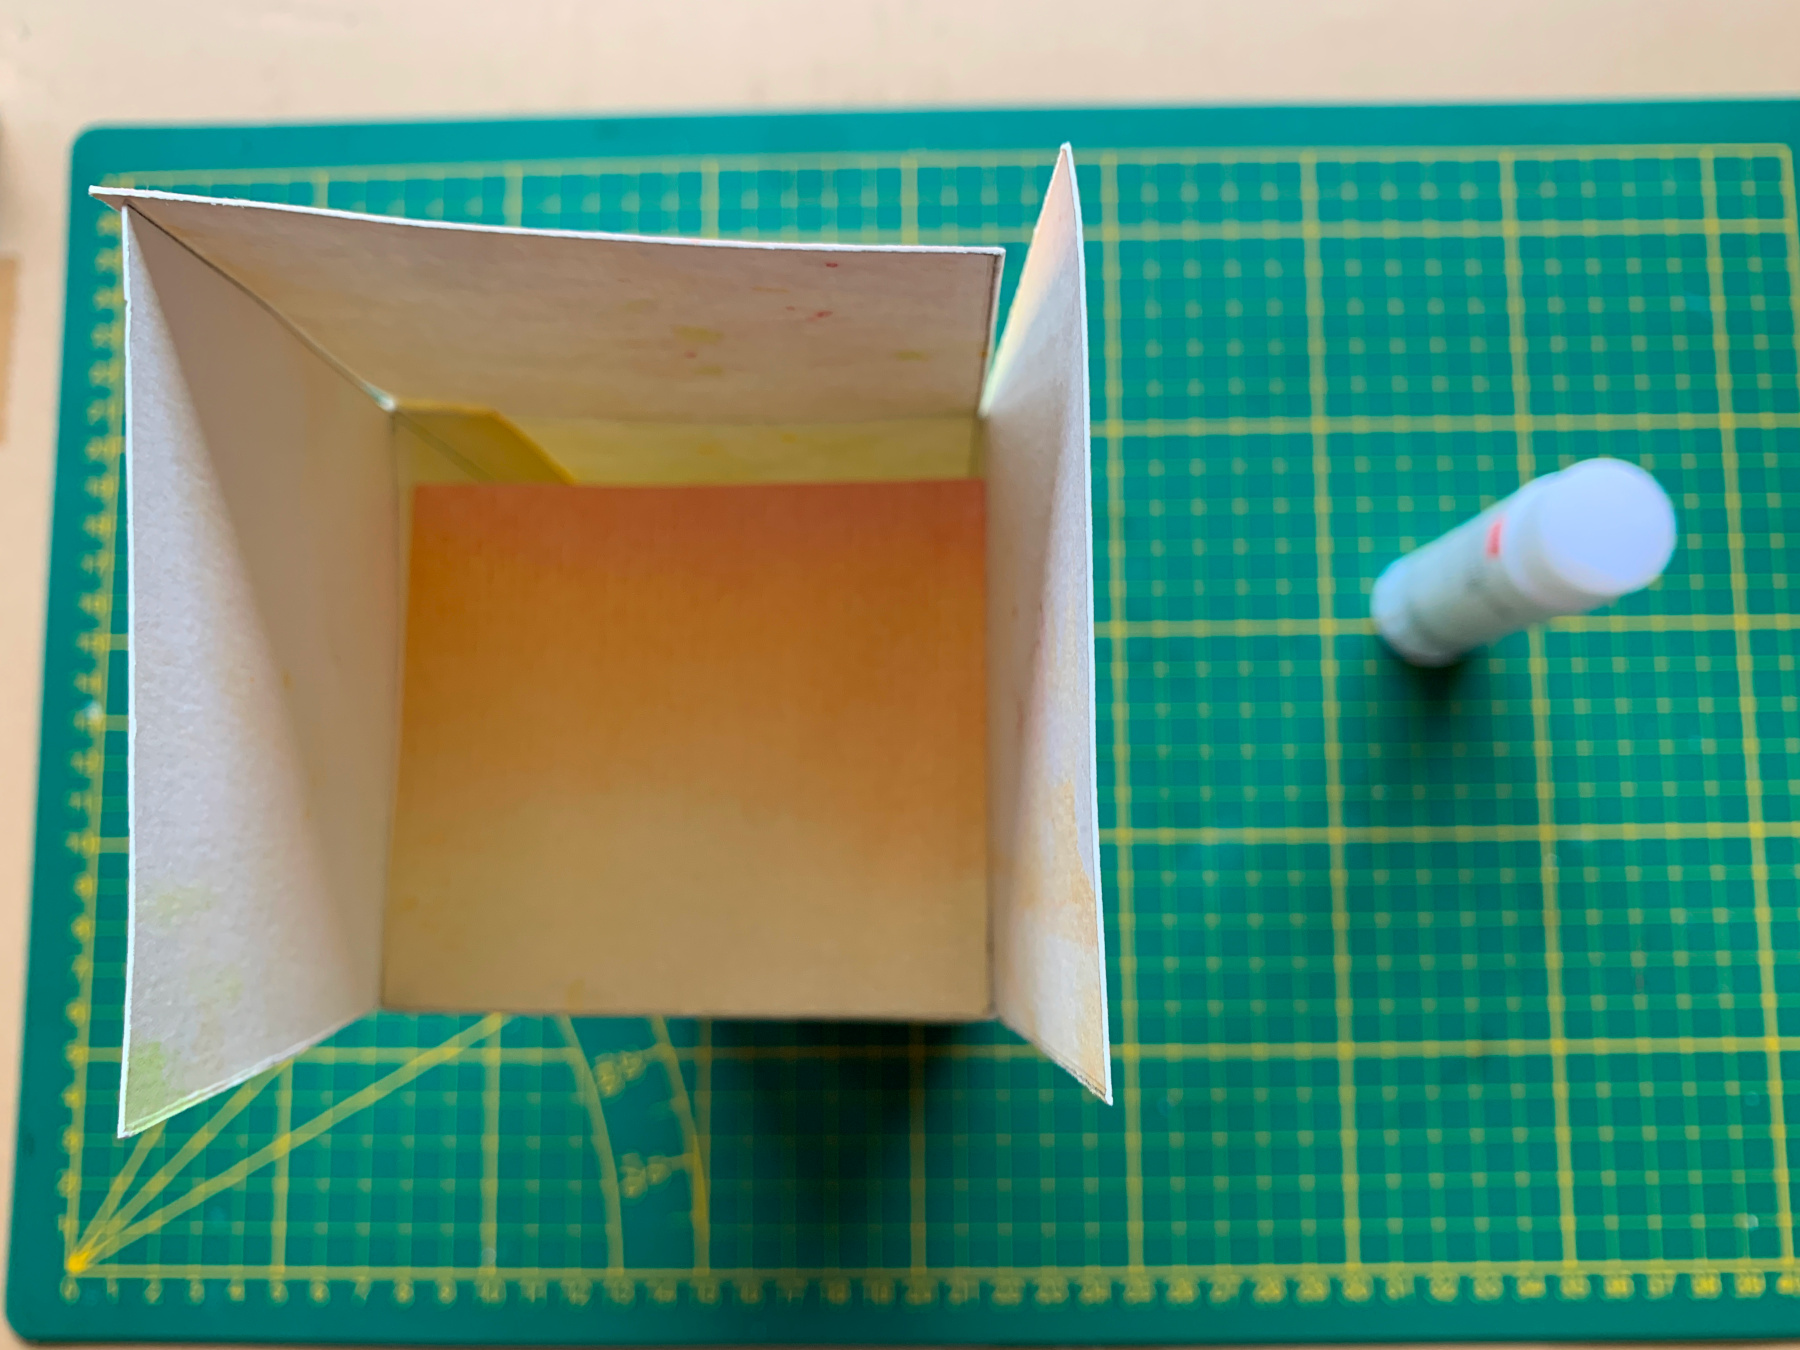
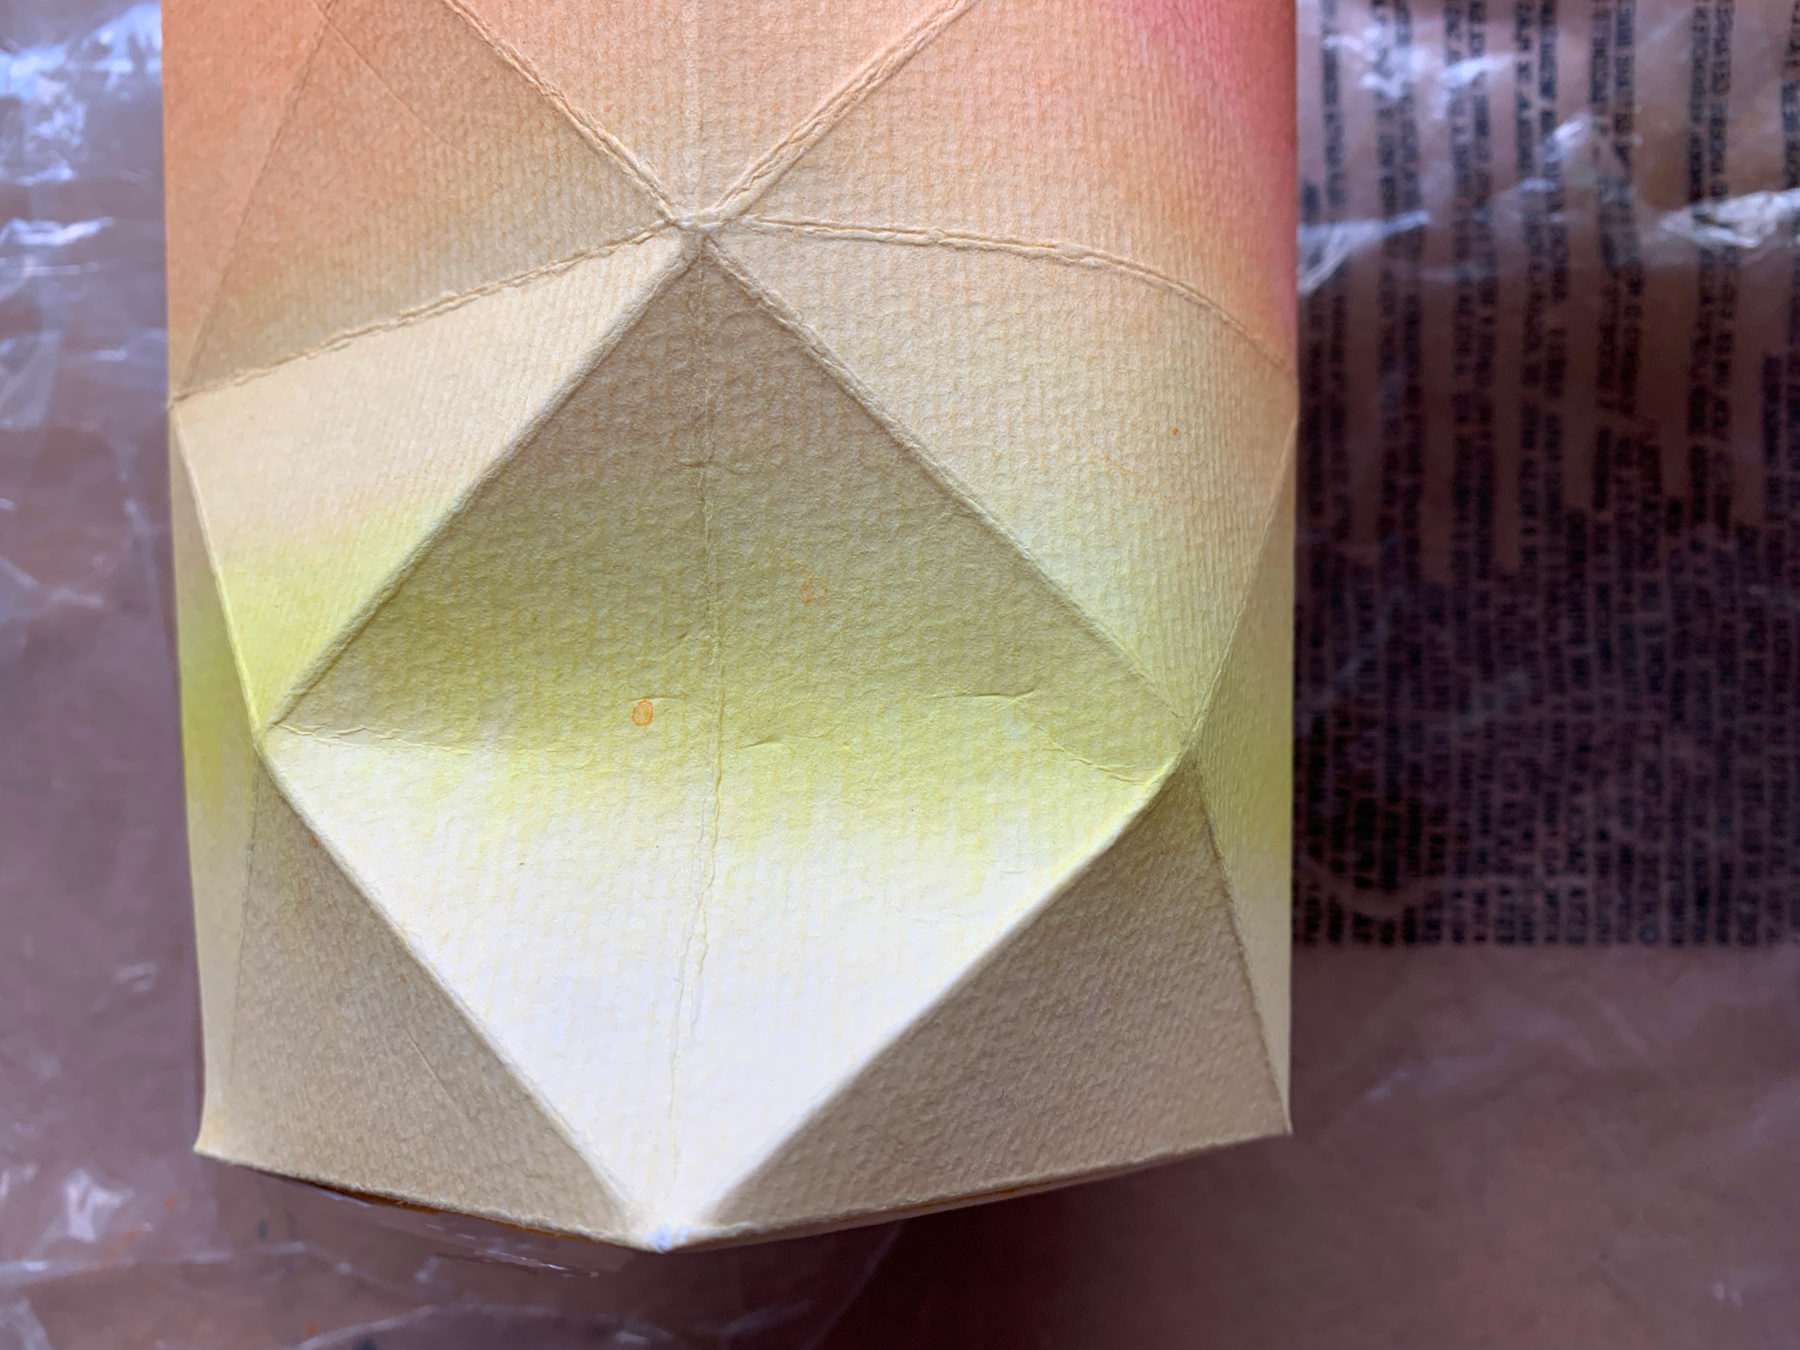
Fold the 4 flaps inwards and glue them on top of each other.
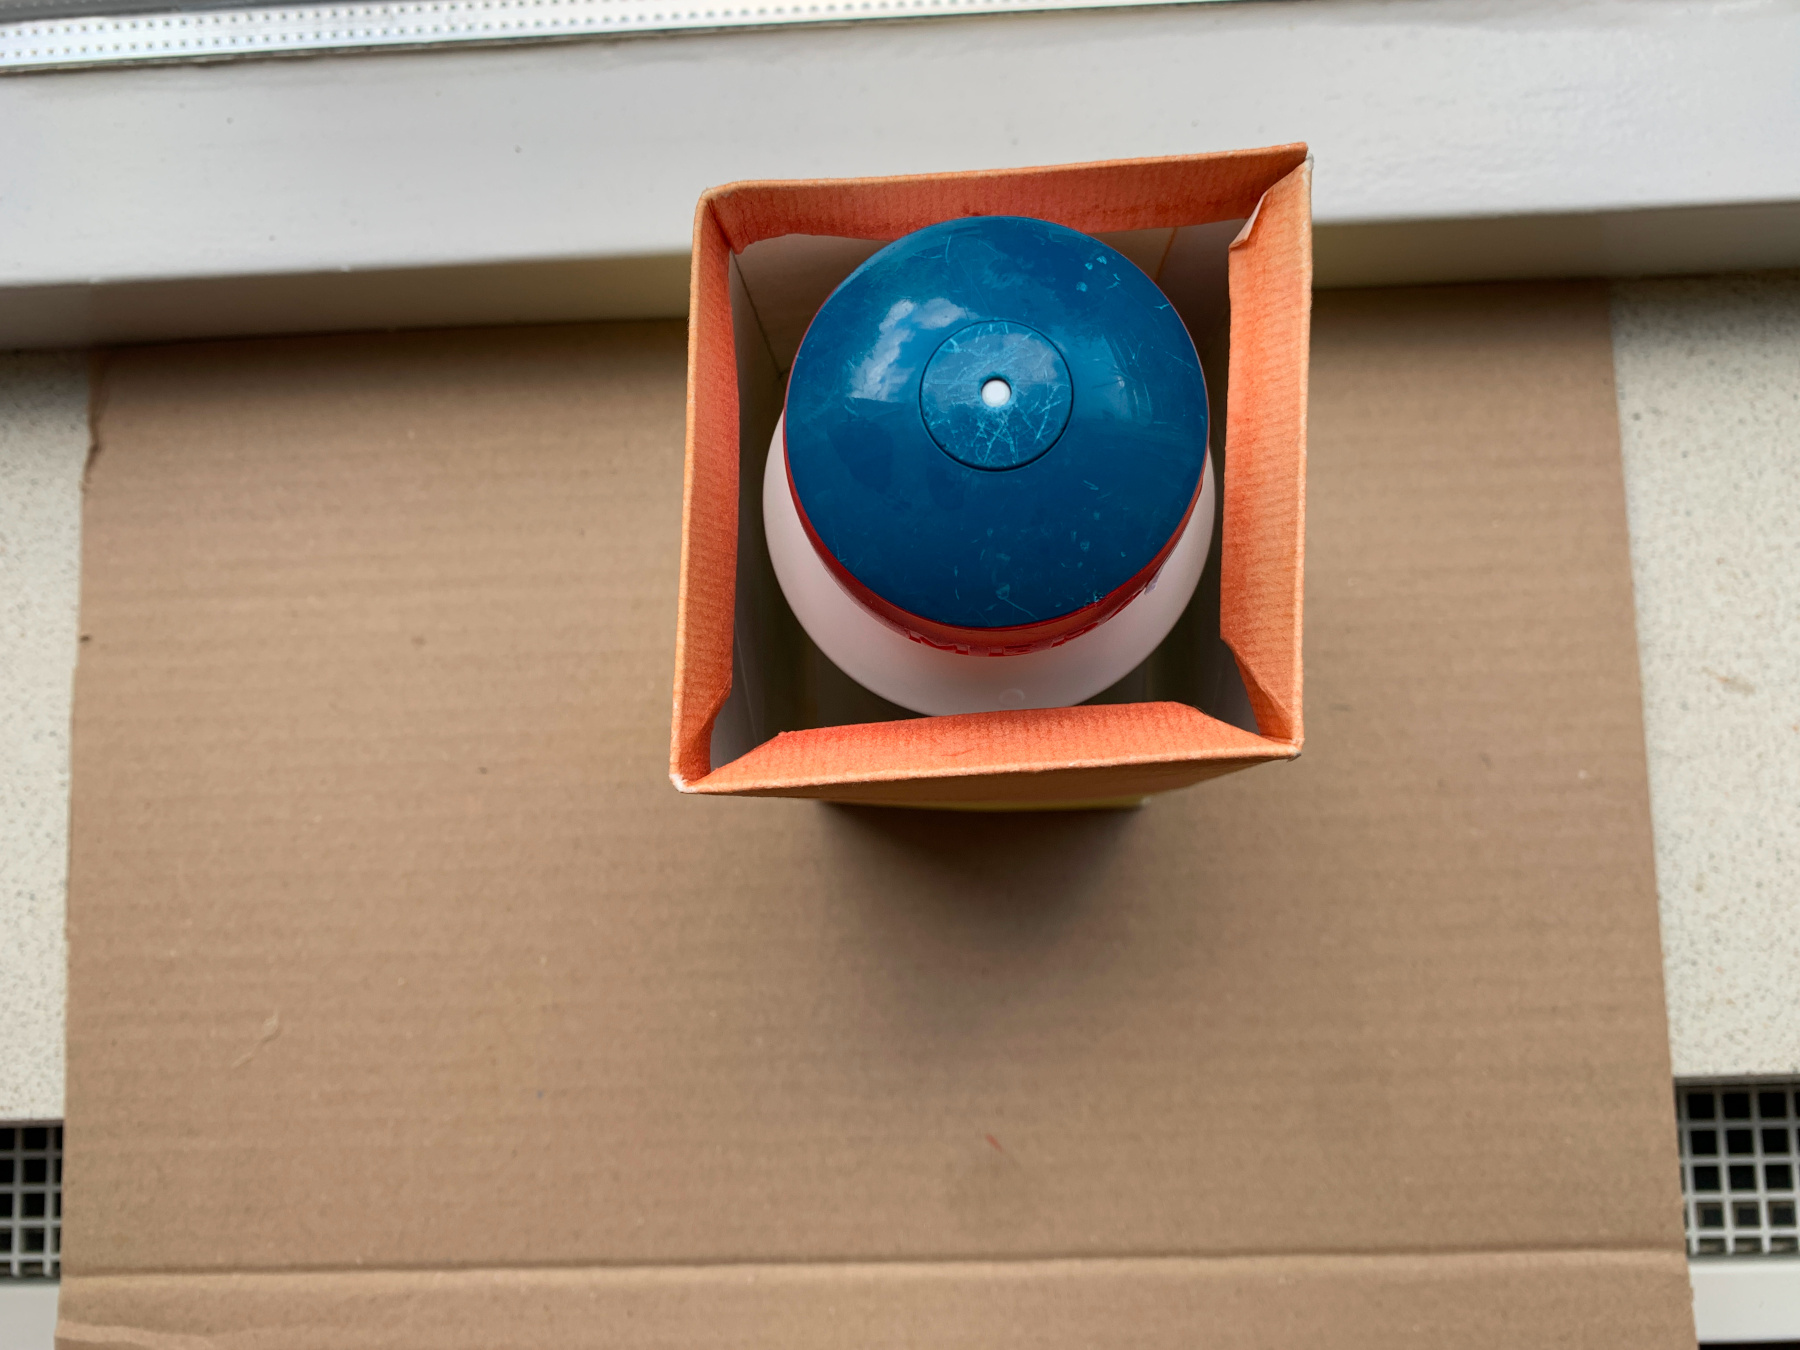
Turn the lantern over and put in a heavy object.
Allow the glued bottom to dry completely.
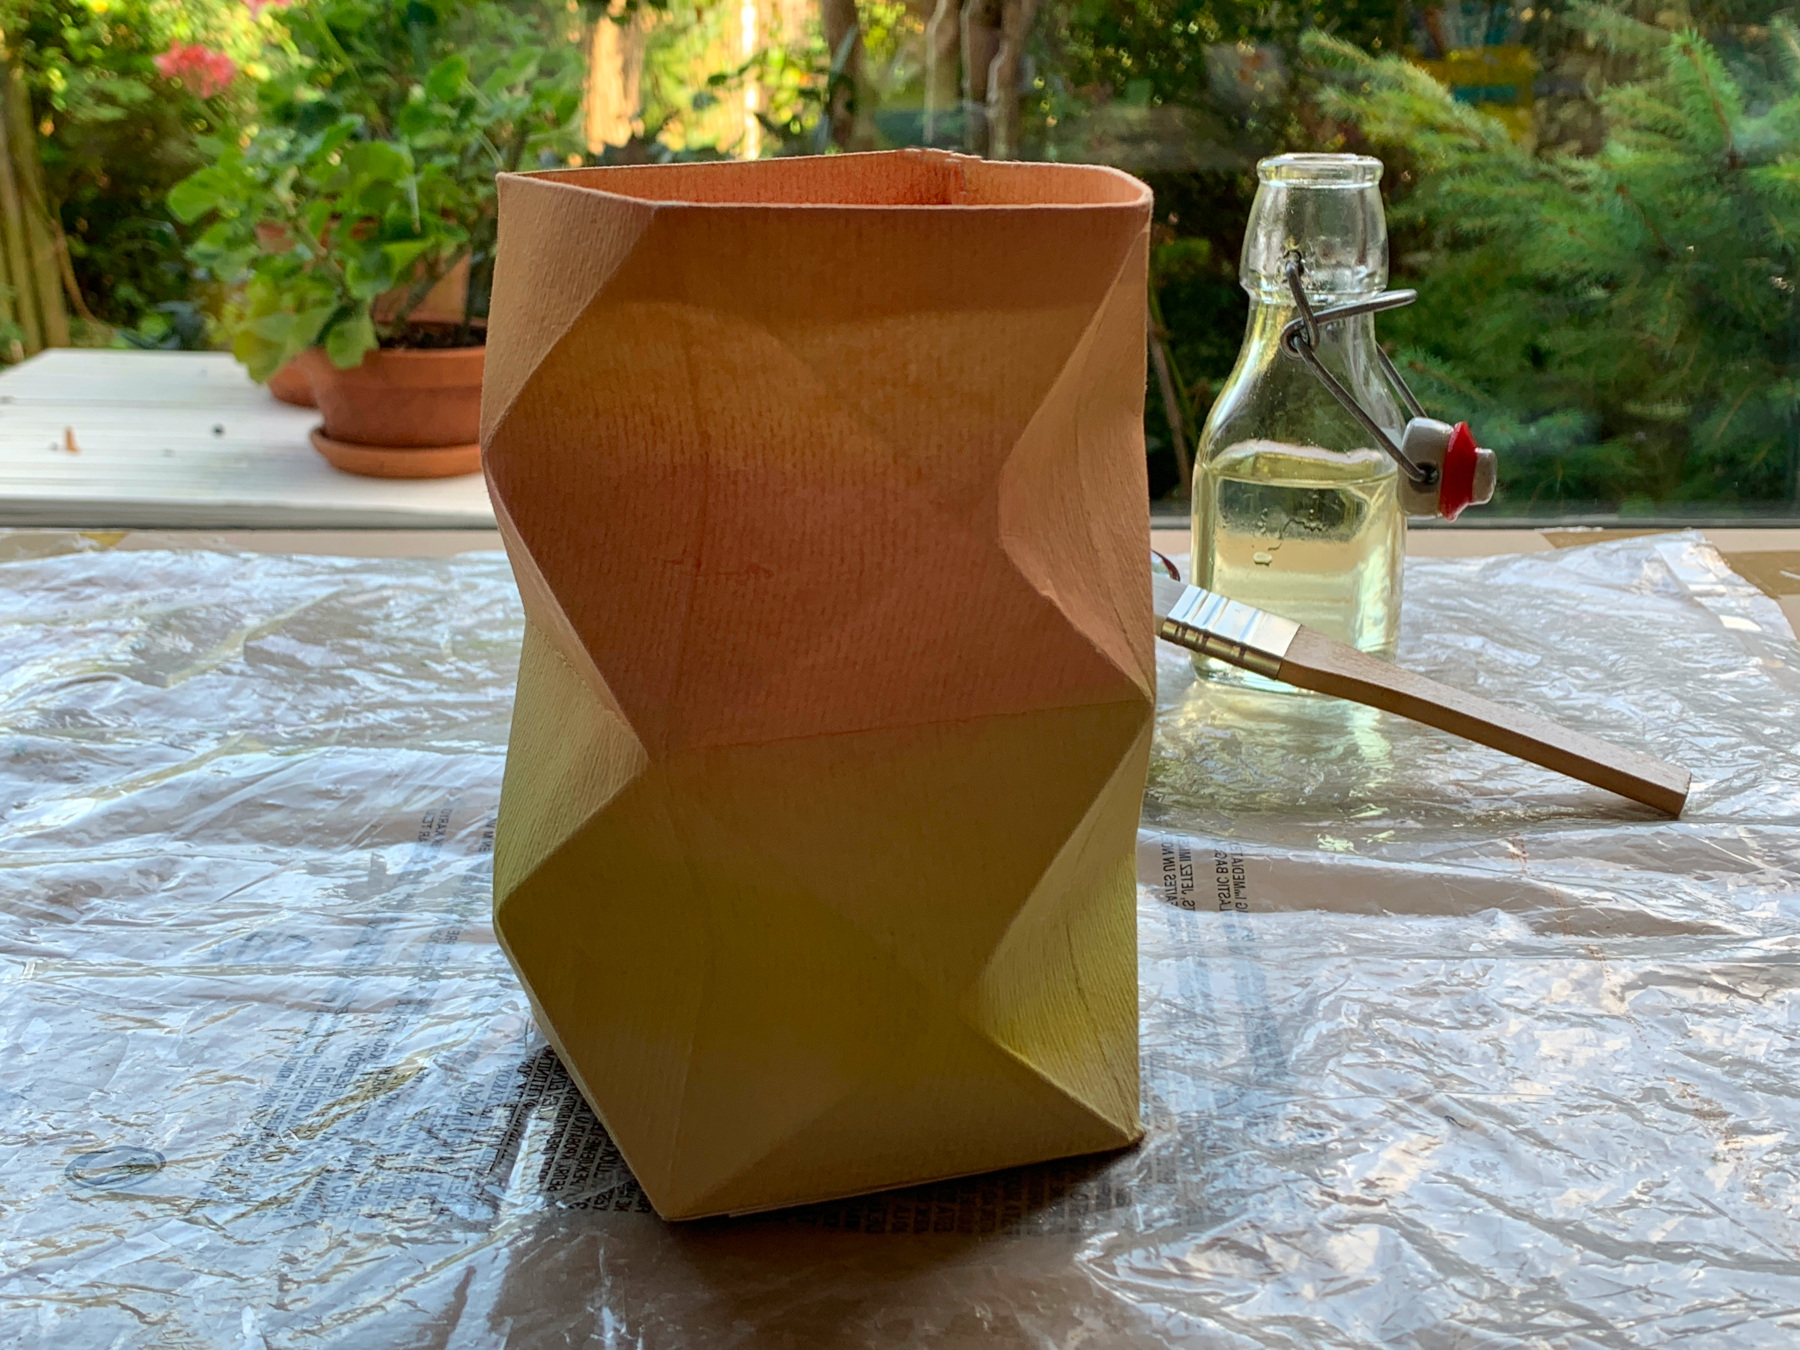
Now fetch the sunflower oil and the brush.

Brush a thin layer of oil on the lantern and let it dry.
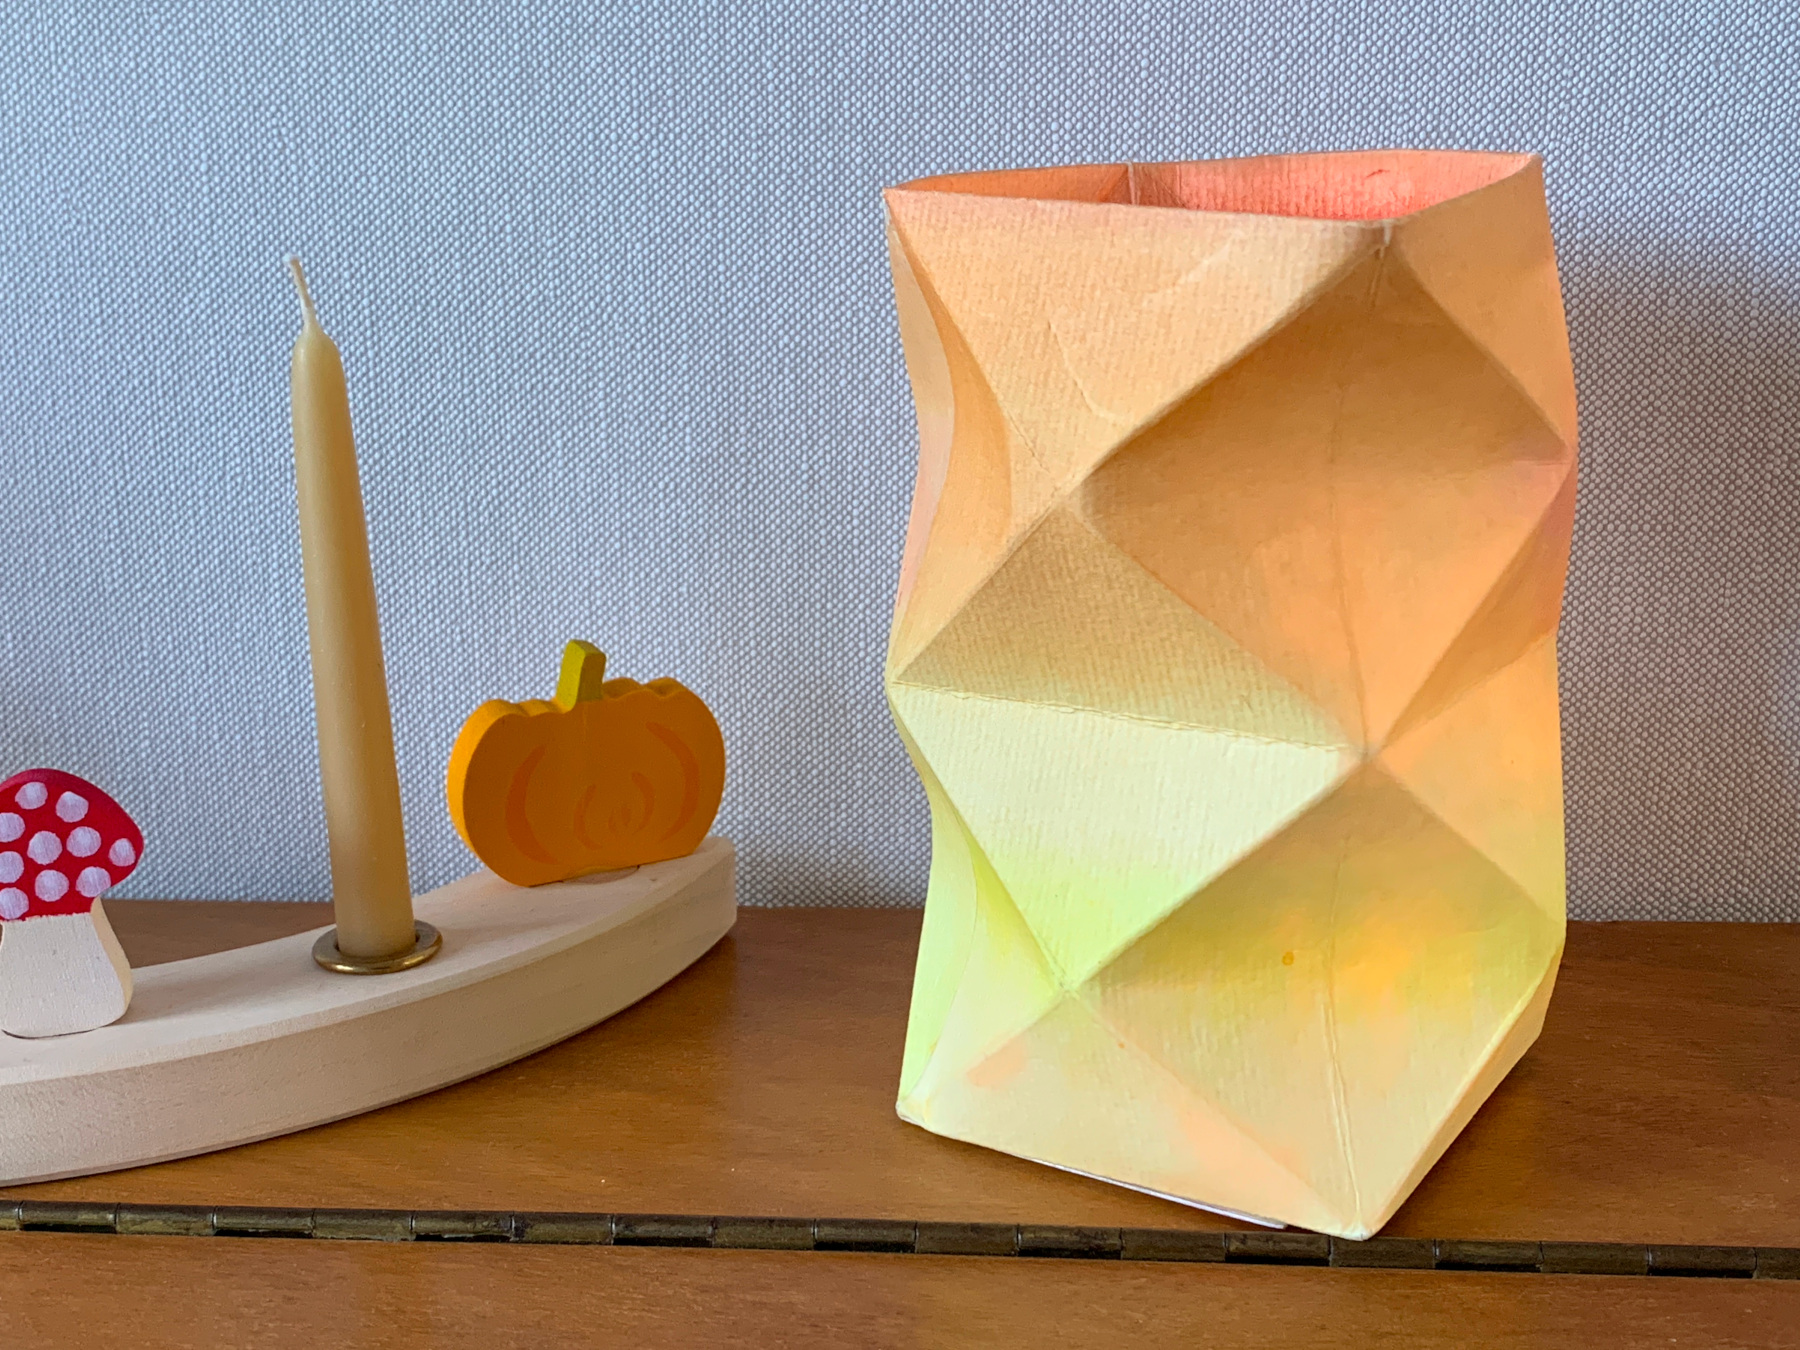
When you lit the lantern later you'll see the paper has become translucent.
Happy Autumn!