
We start by brewing some tea, not because we want to relax with it but to give the bandages of the mummy we're making an 'old' look...;)
How to make a mummie
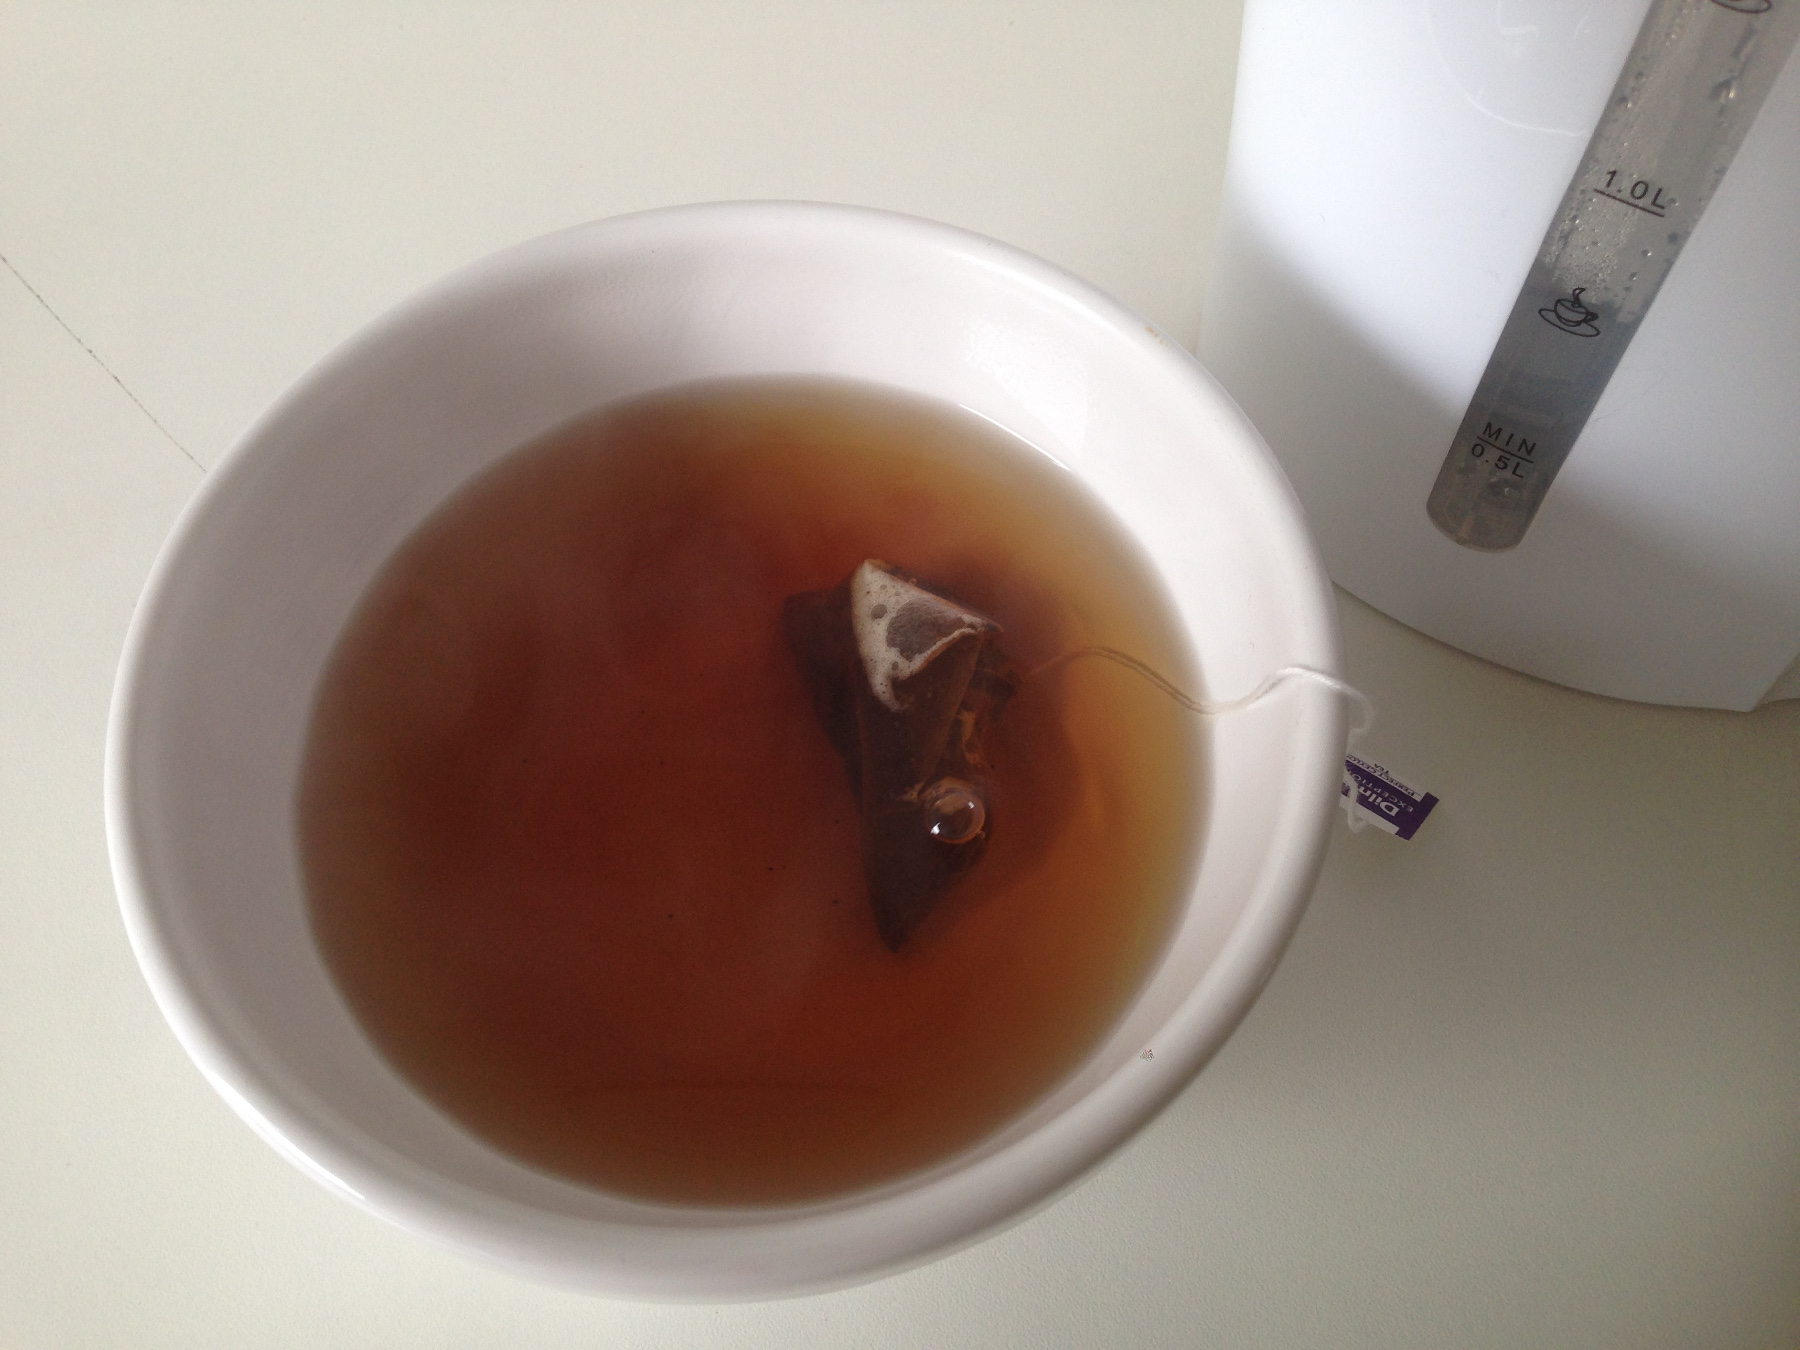
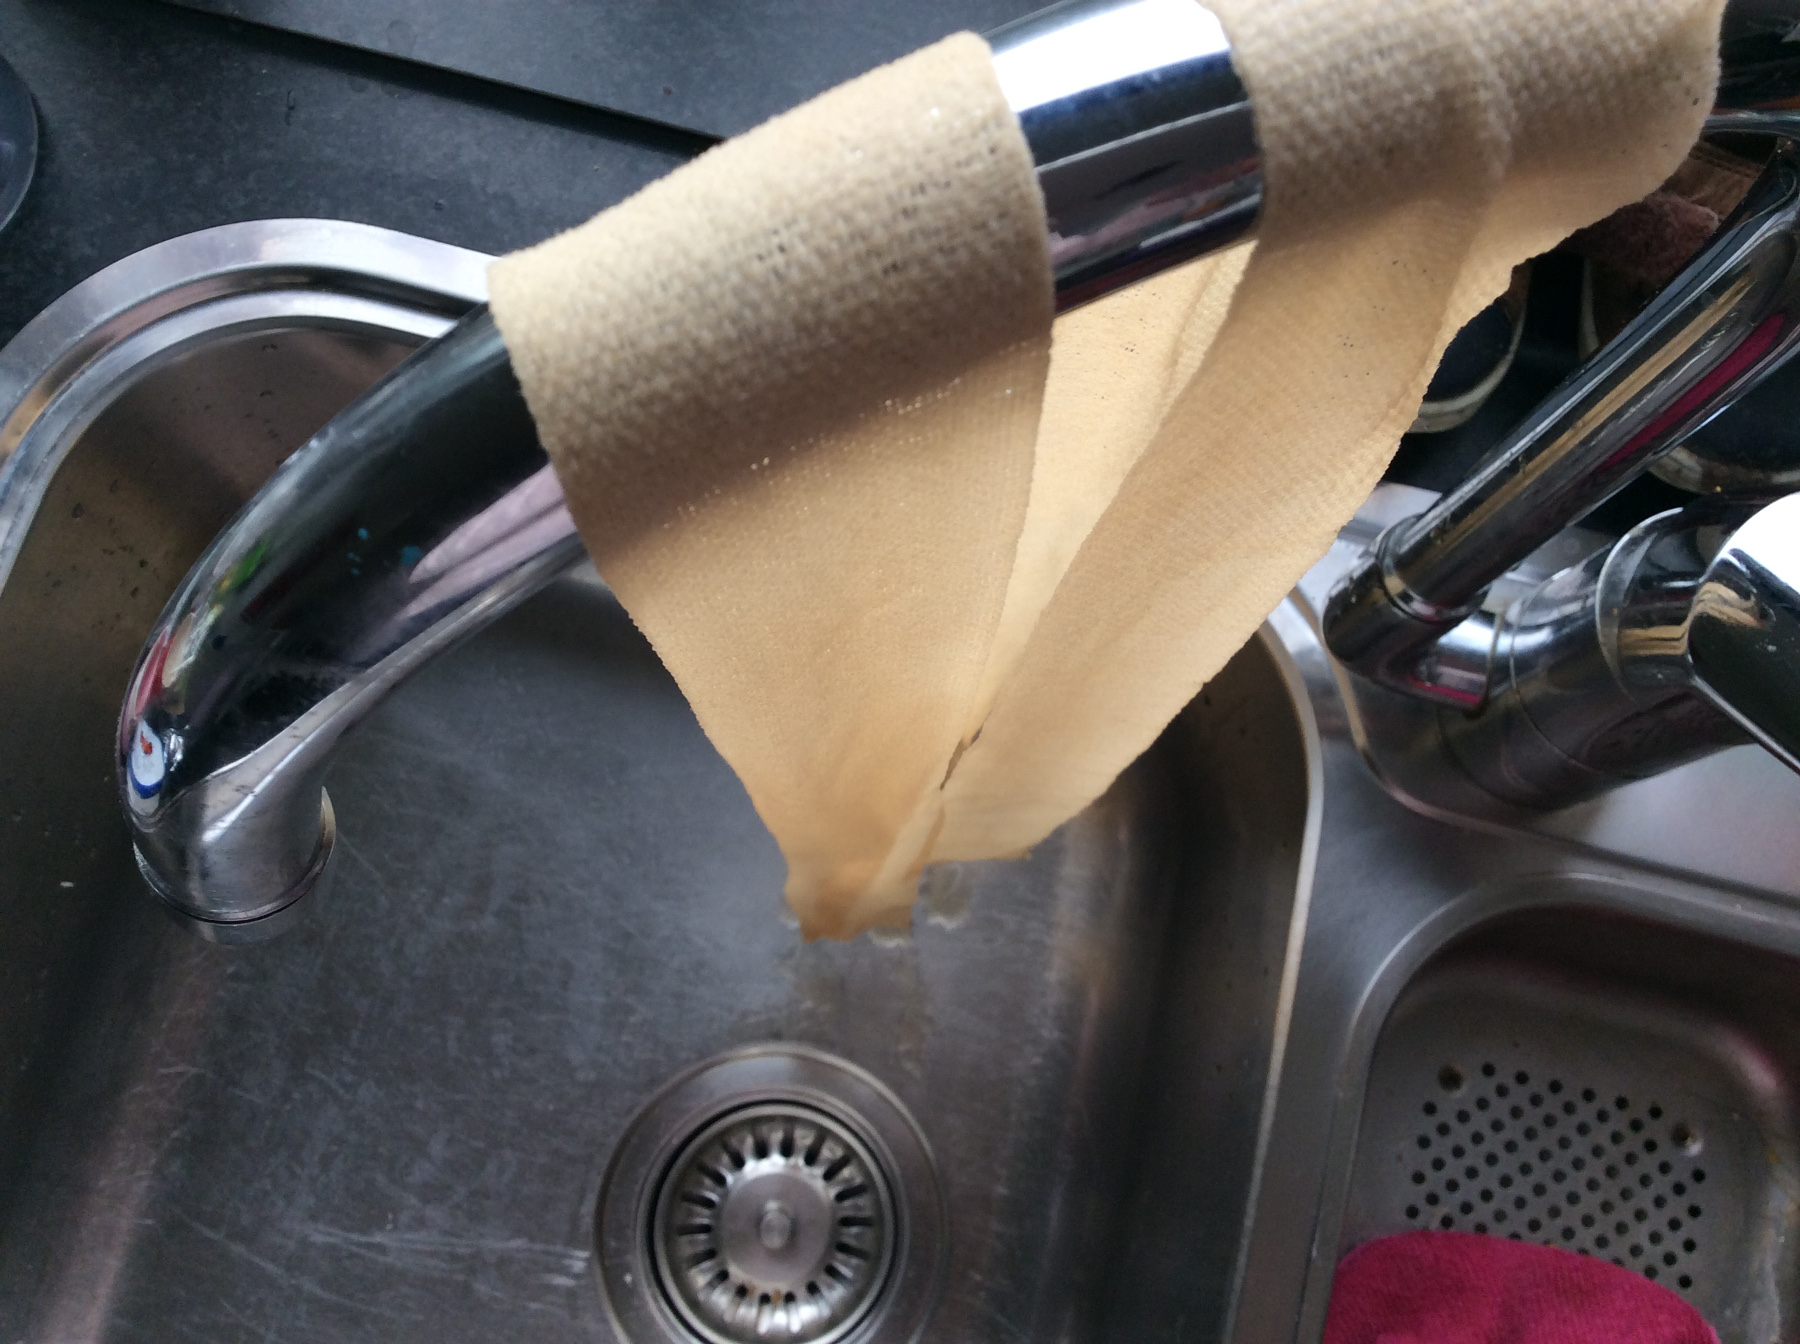
Make a strong brew.
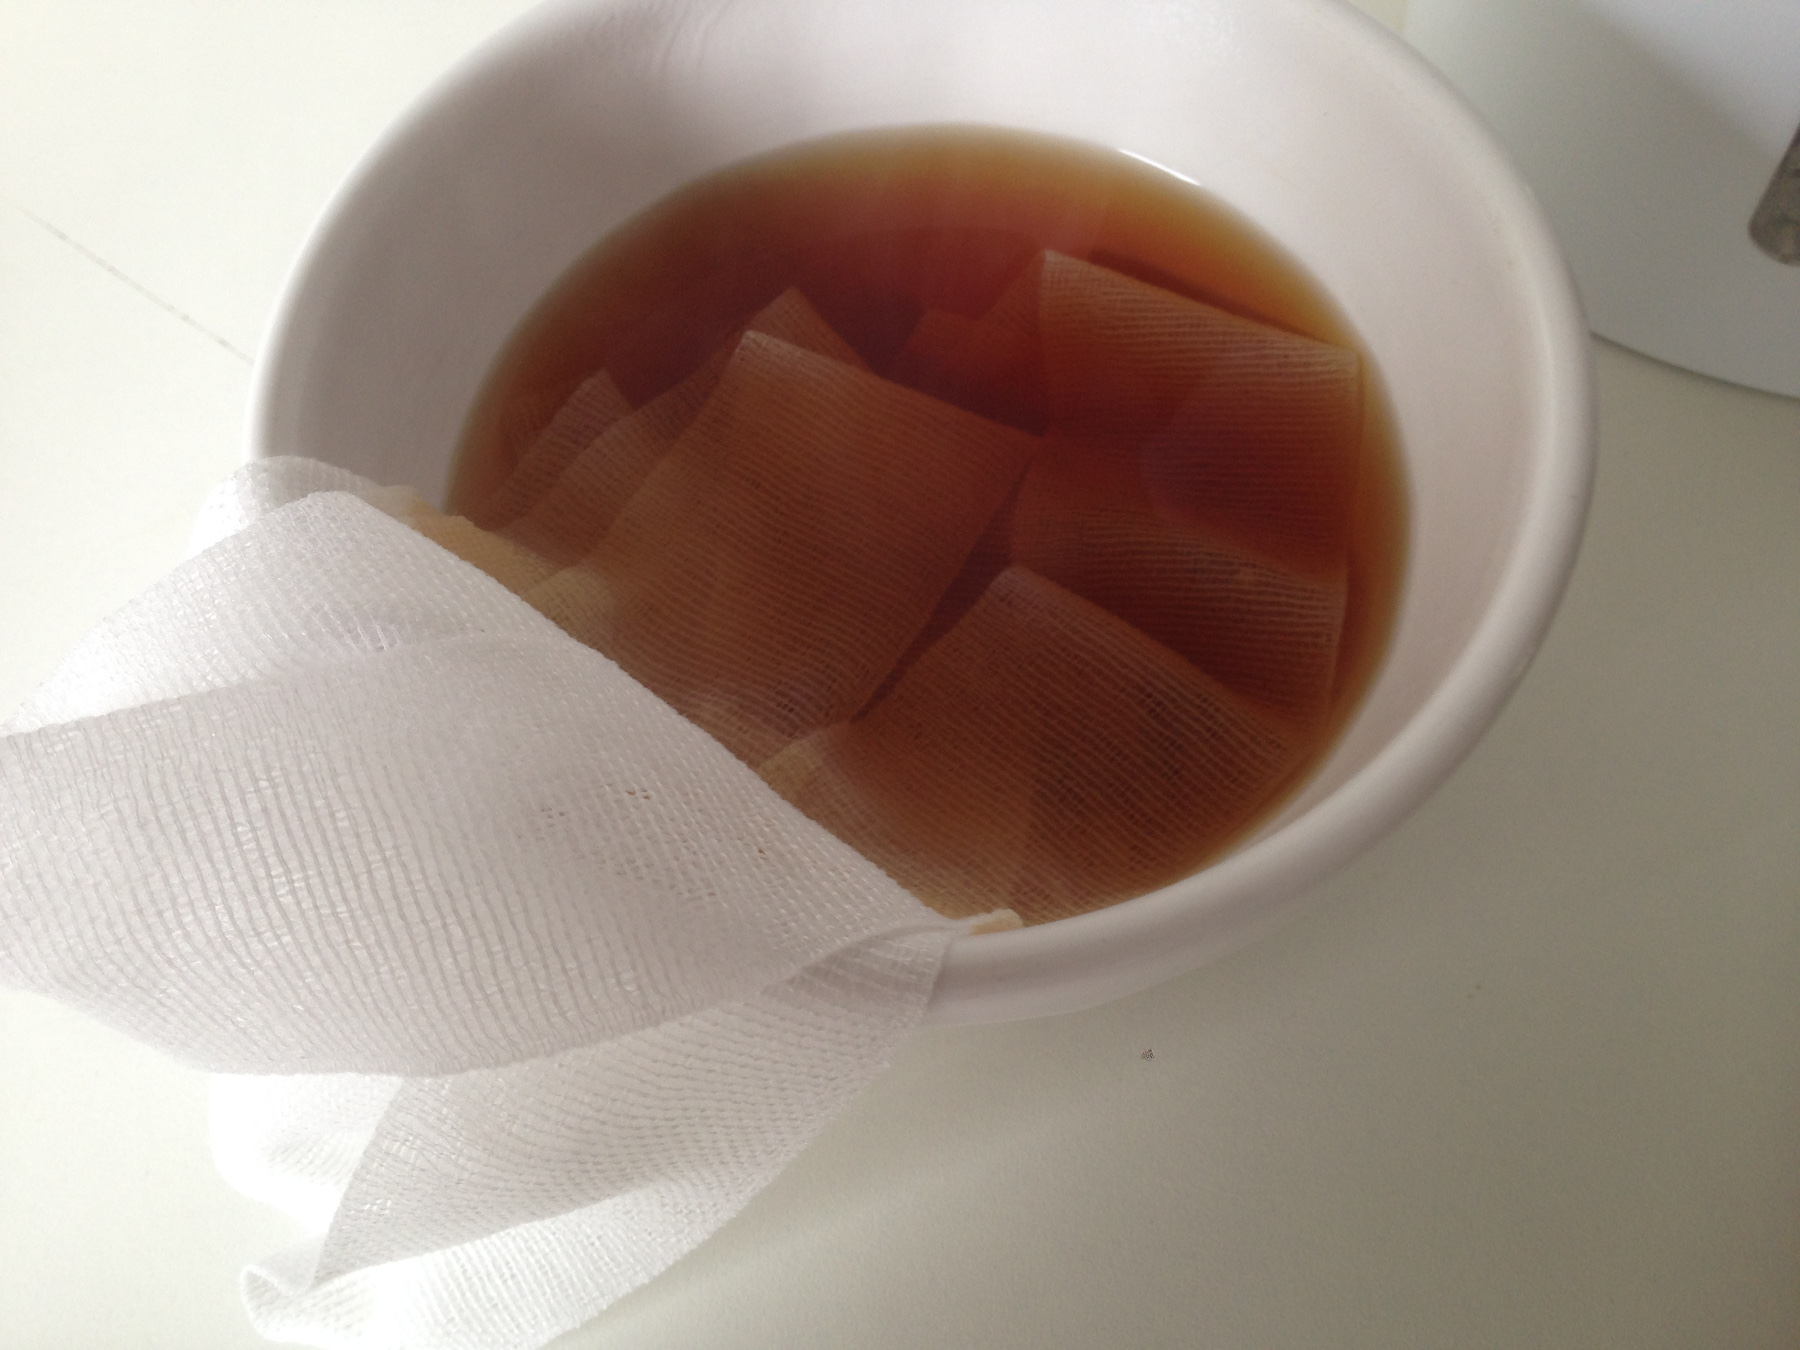
Tip in the bandage.
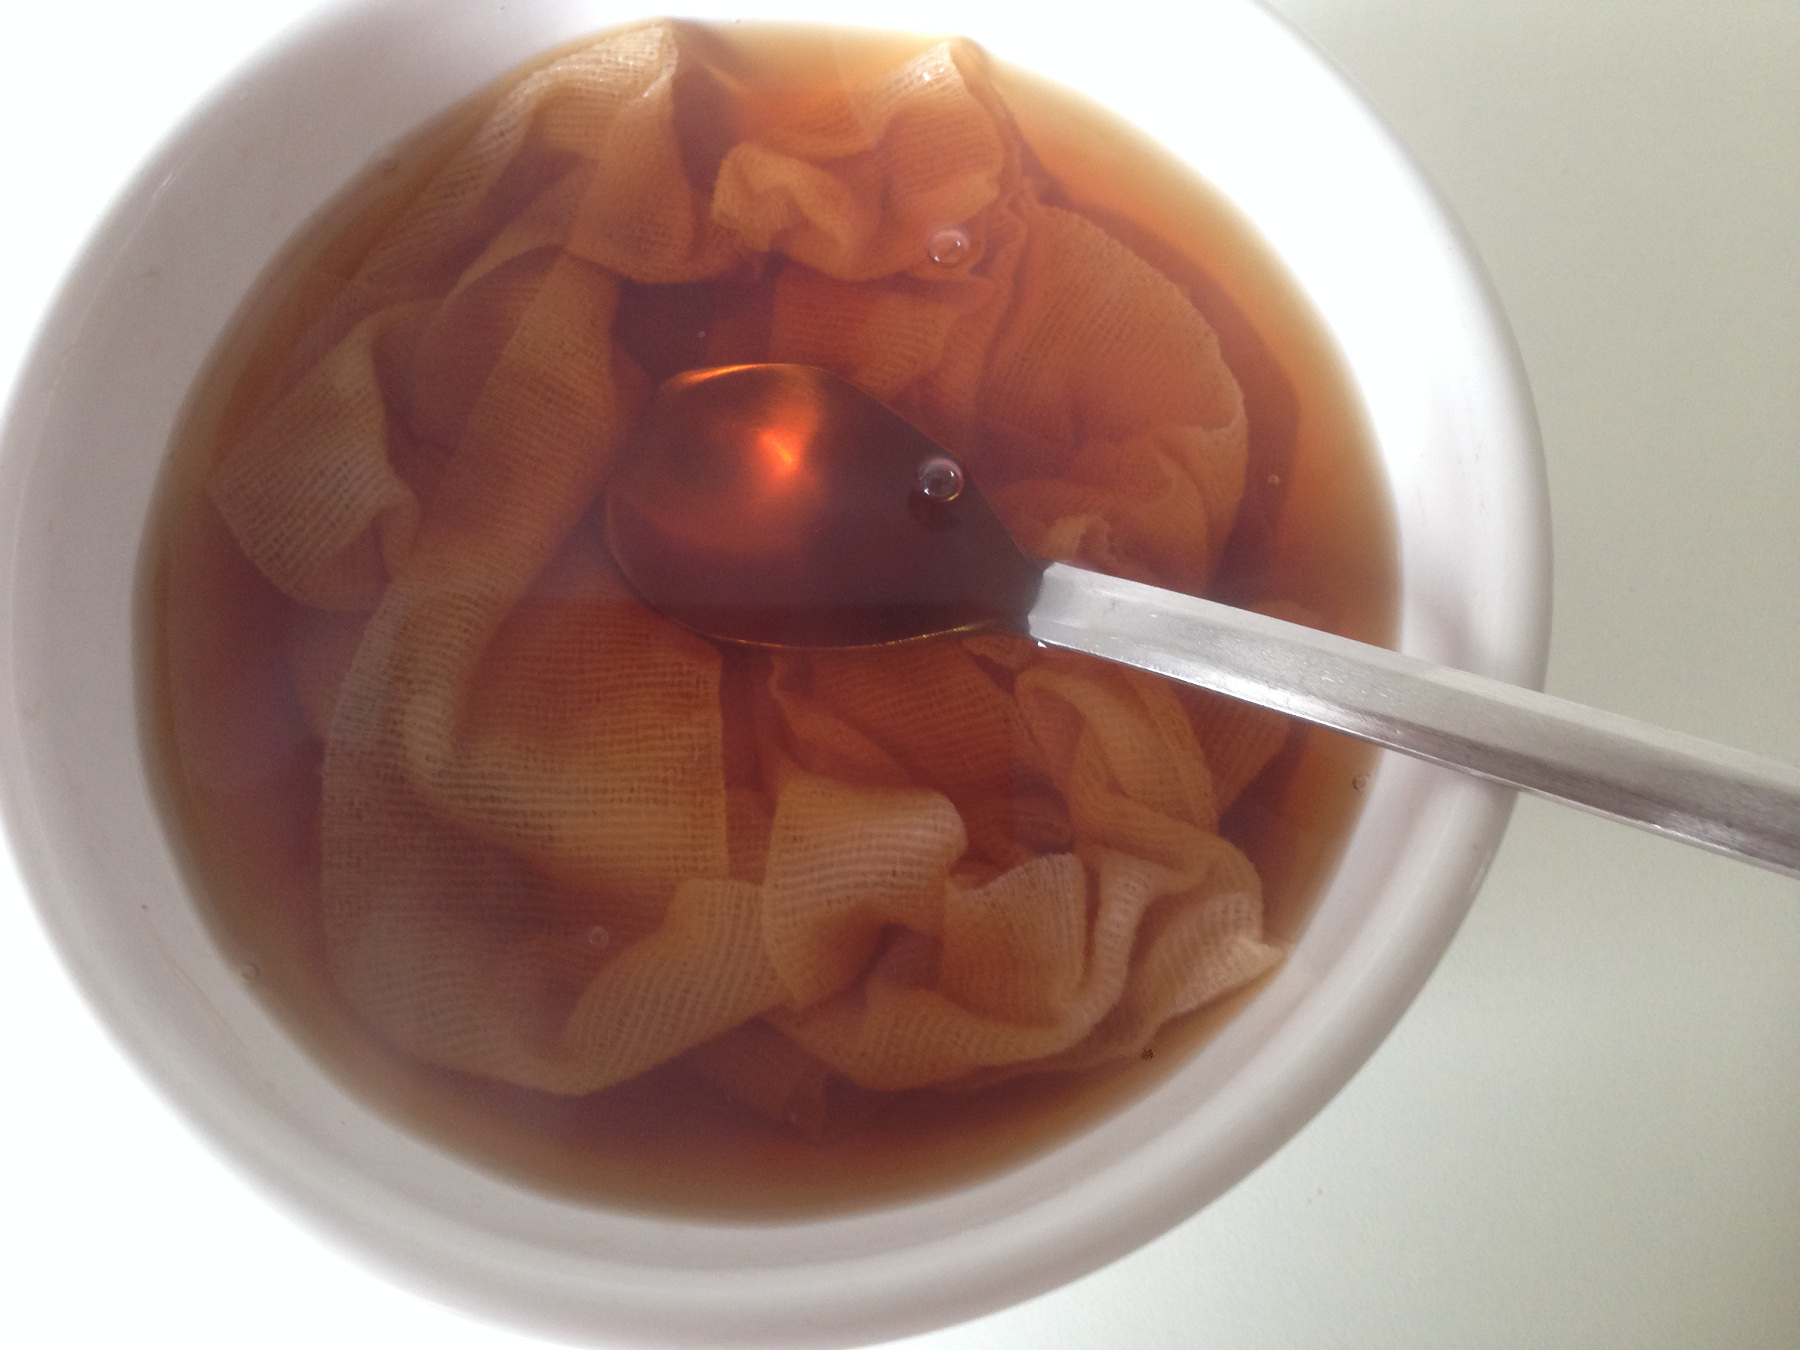
Keep it down with a spoon.
Let drain above the sink.
Leave the bandages one, two nights to soak in the tea, so the colour will turn out well, then let them dry thoroughly. The mummy we clay today must dry thoroughly as well before we can wrap him. So now we make everything ready and then two nights of patience!
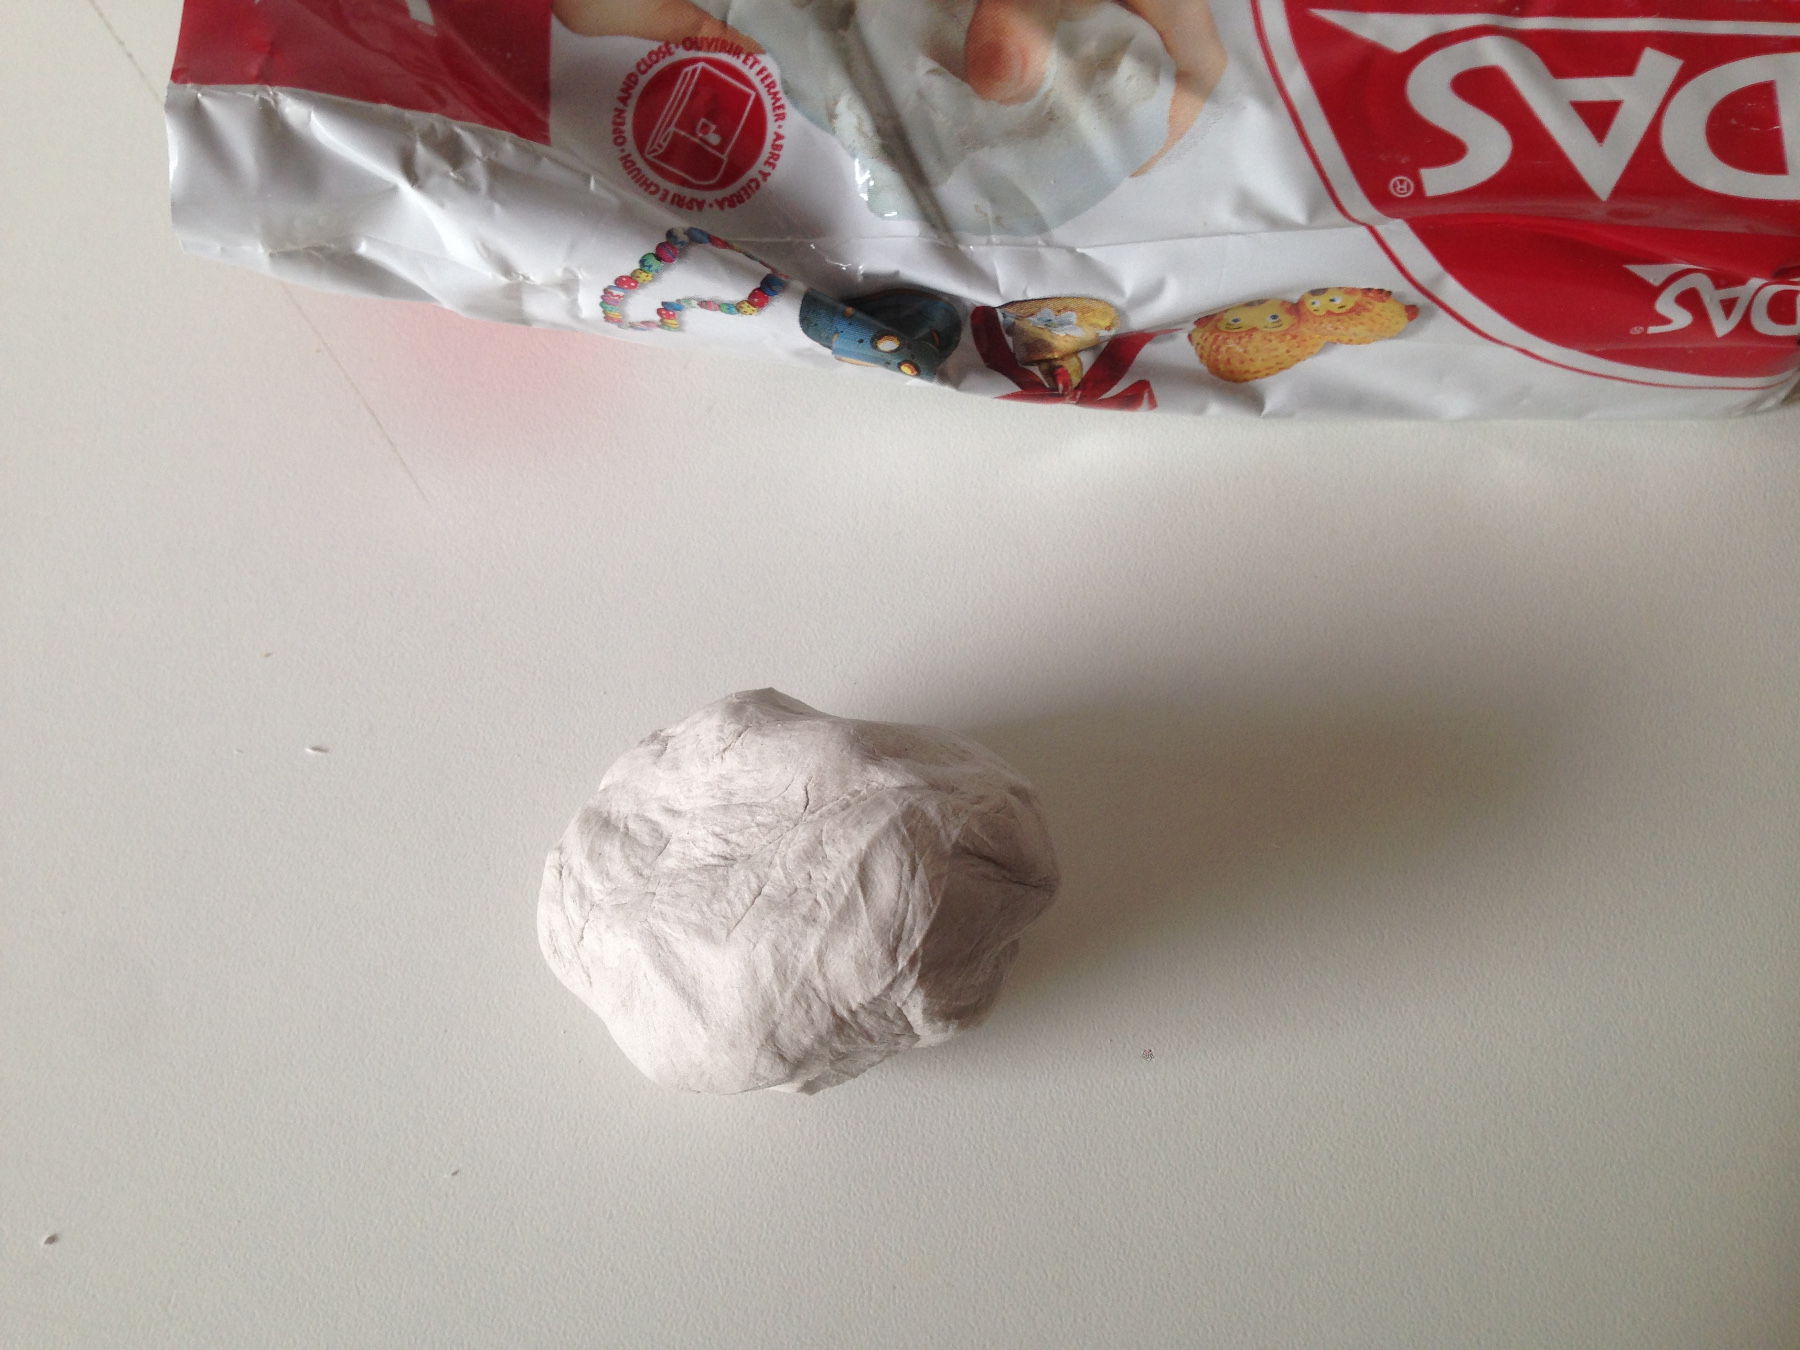
Knead a piece of clay.
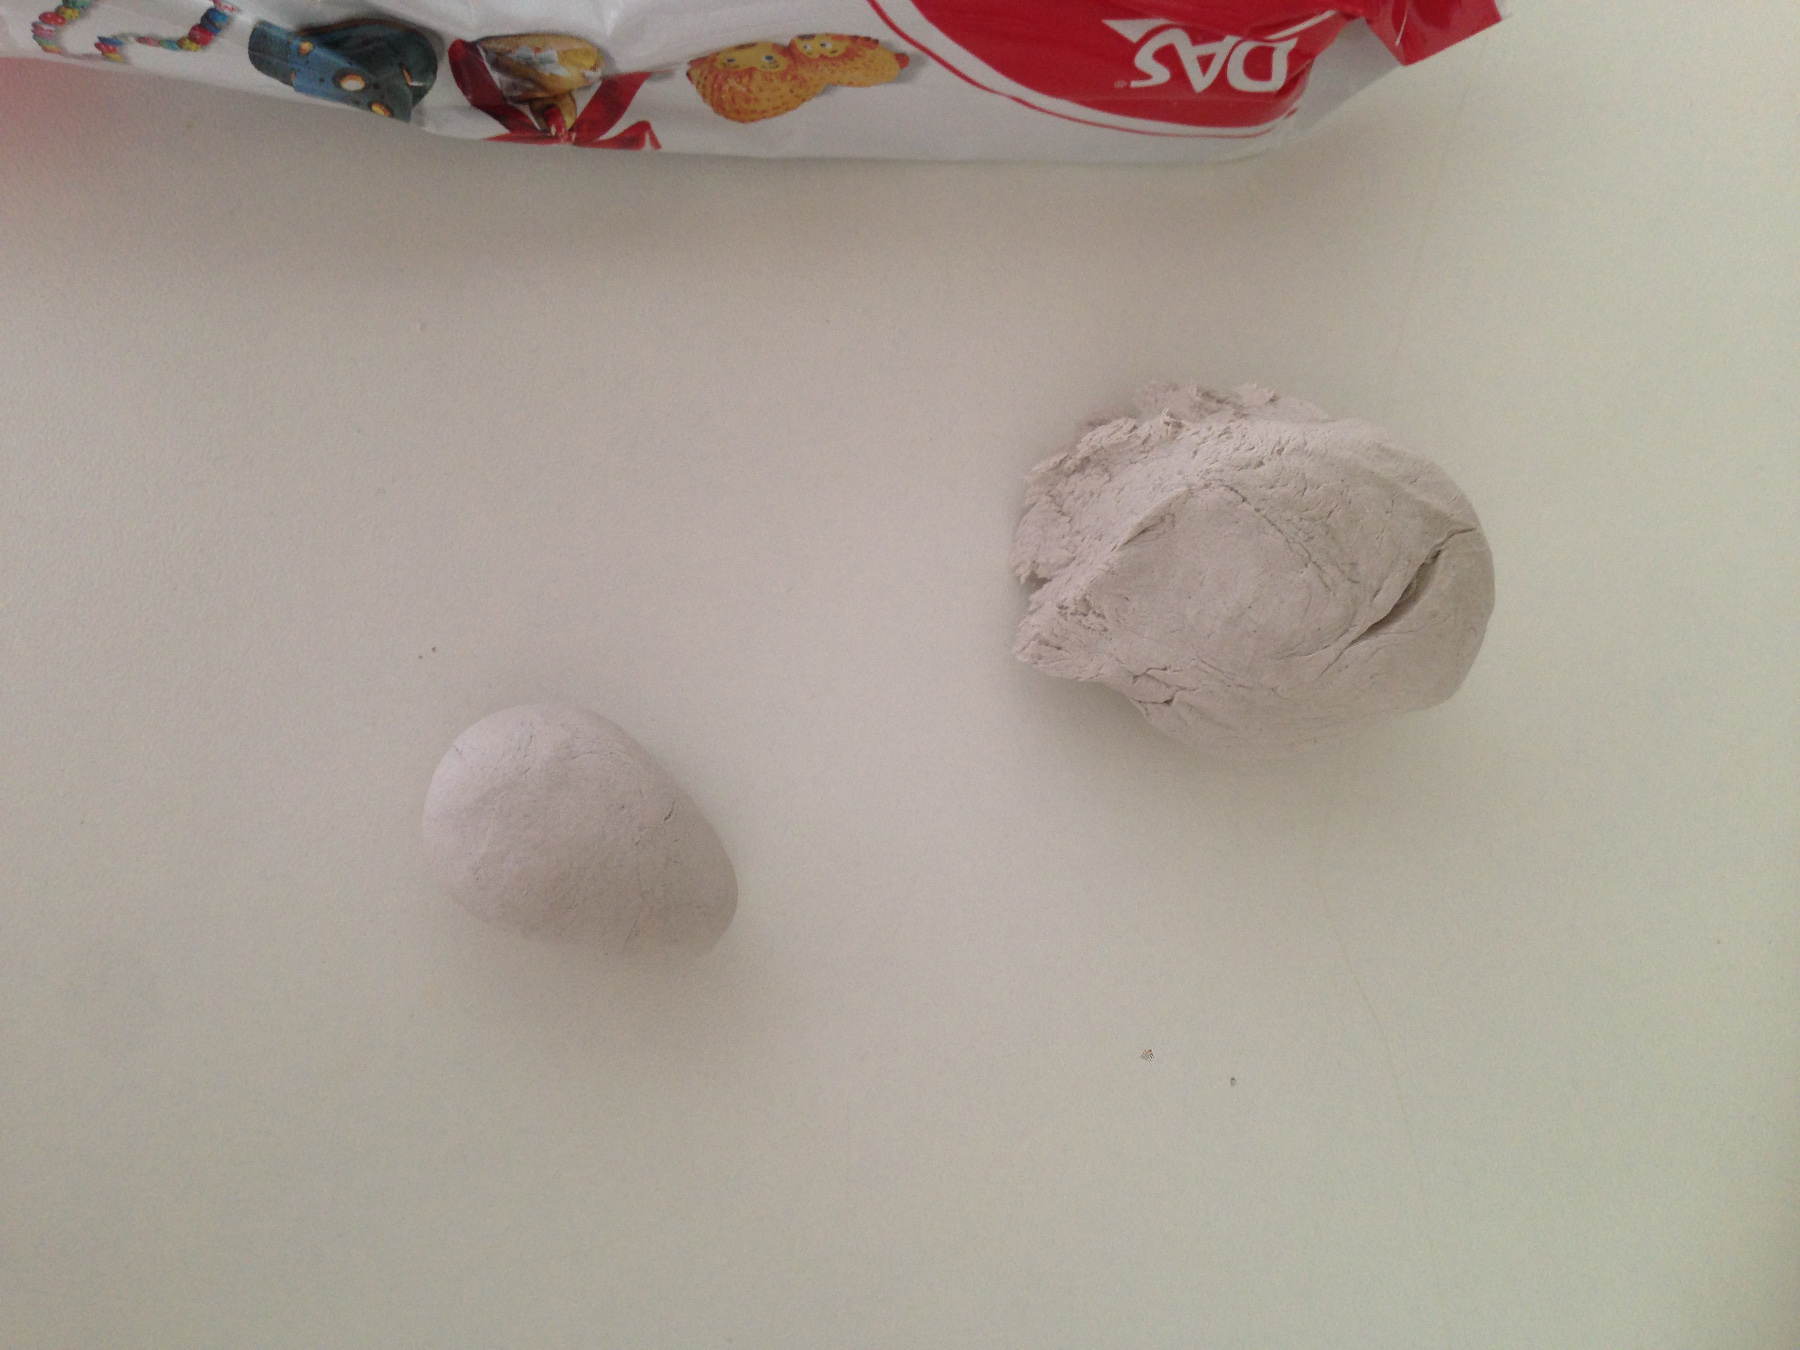
Roll it into a skull shape.
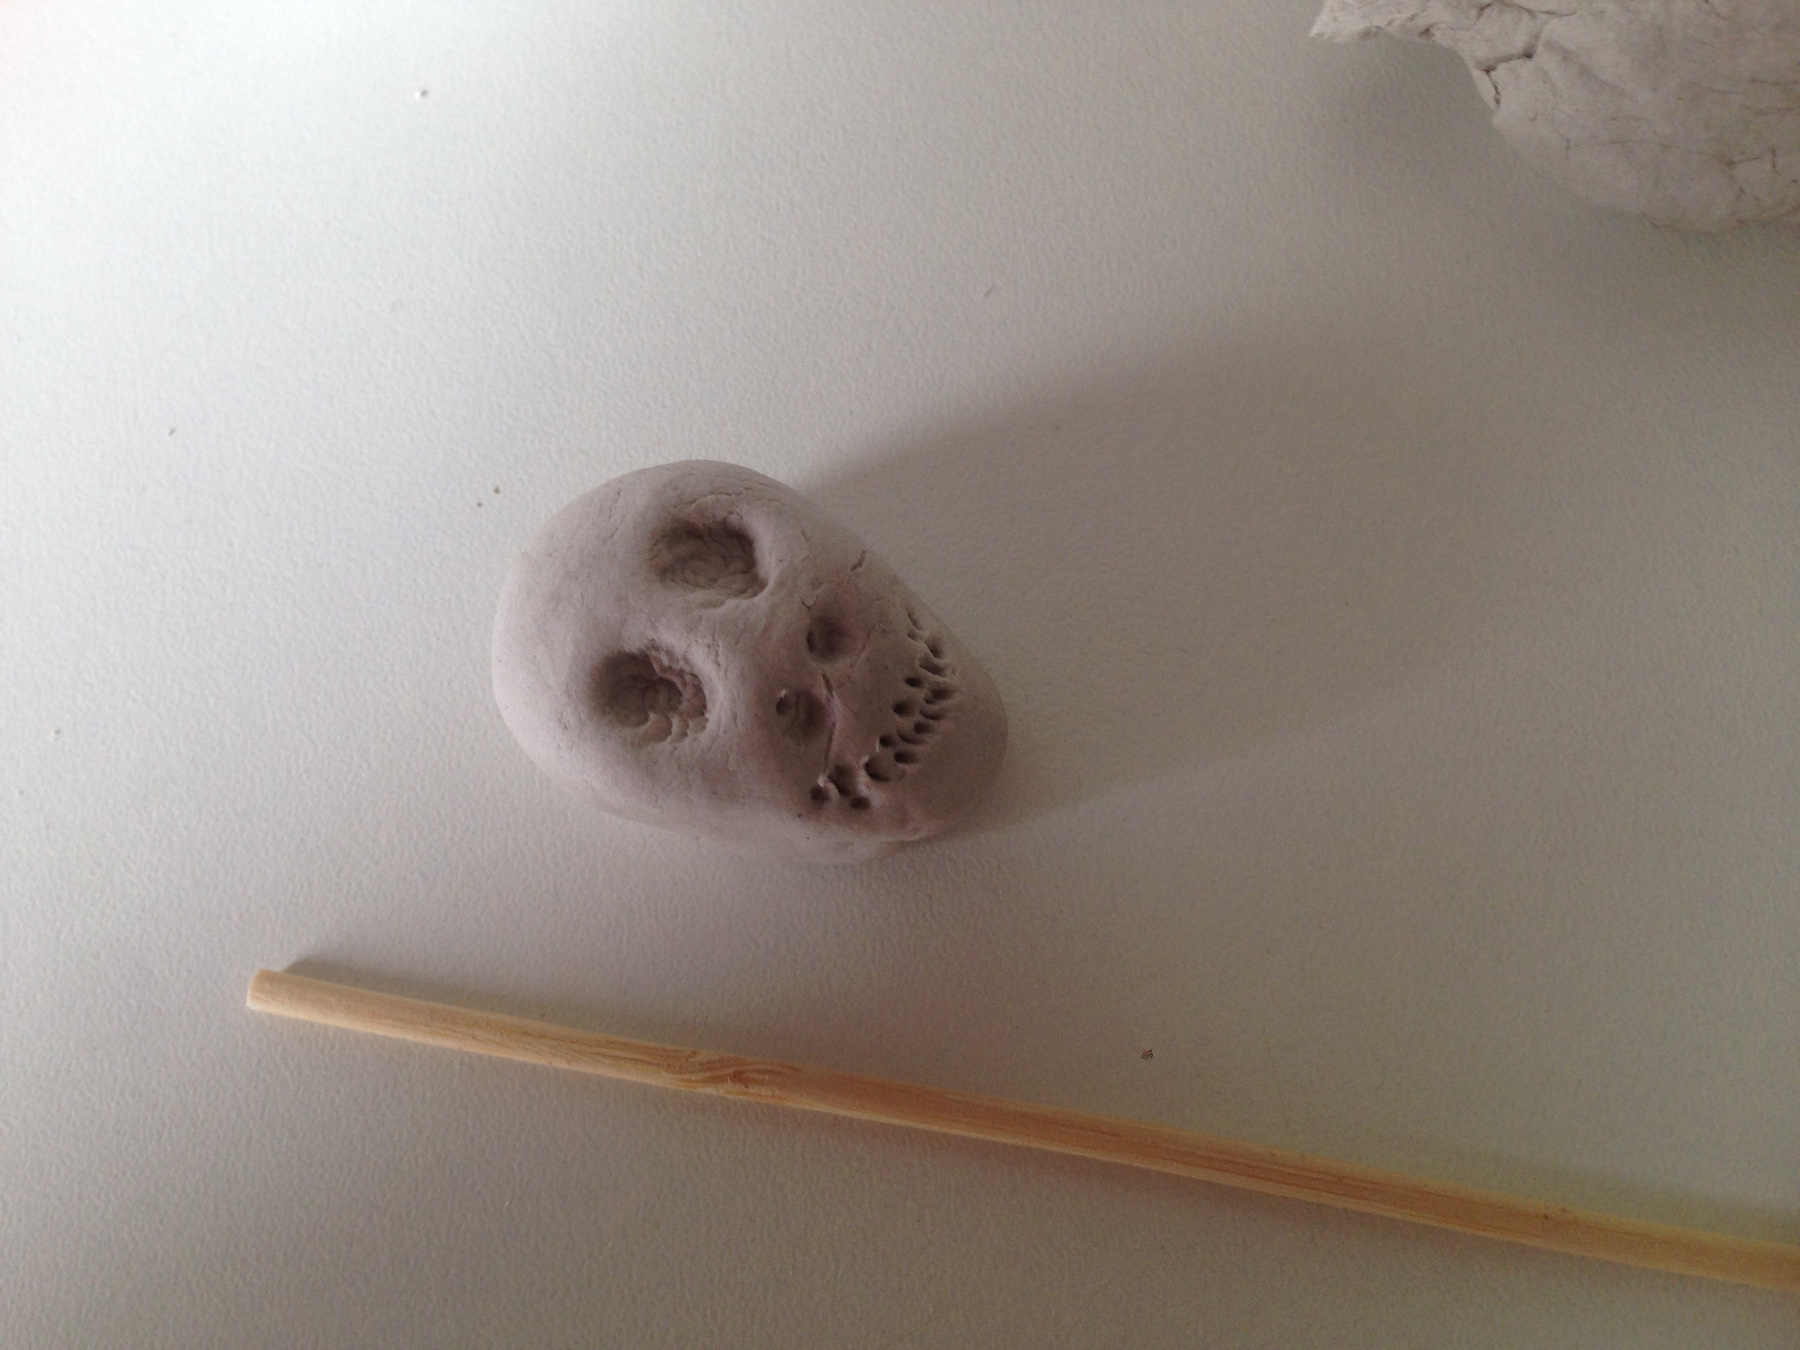
Make a skull using a stick.
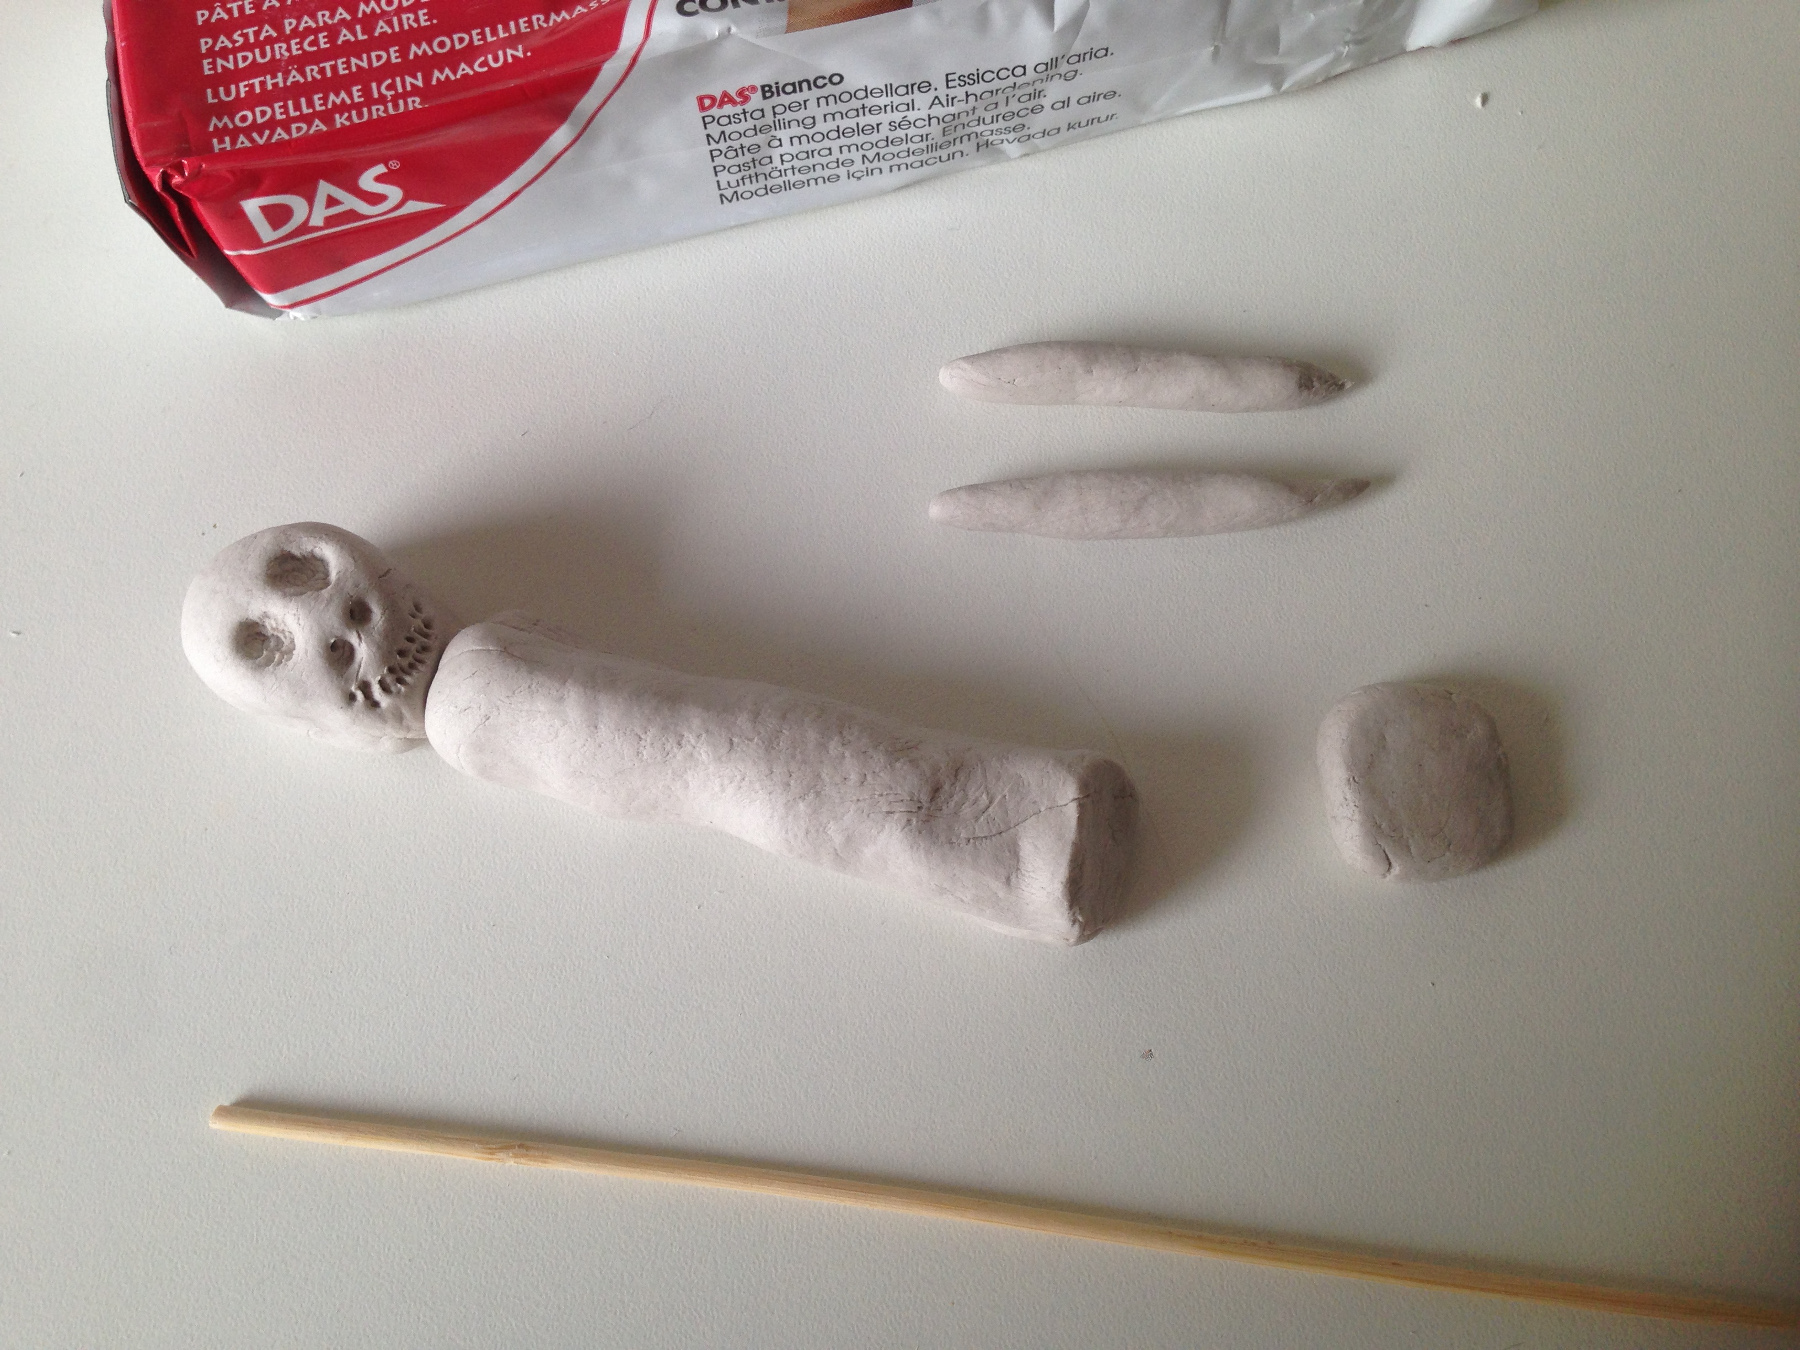
Roll a body, arms and feet.
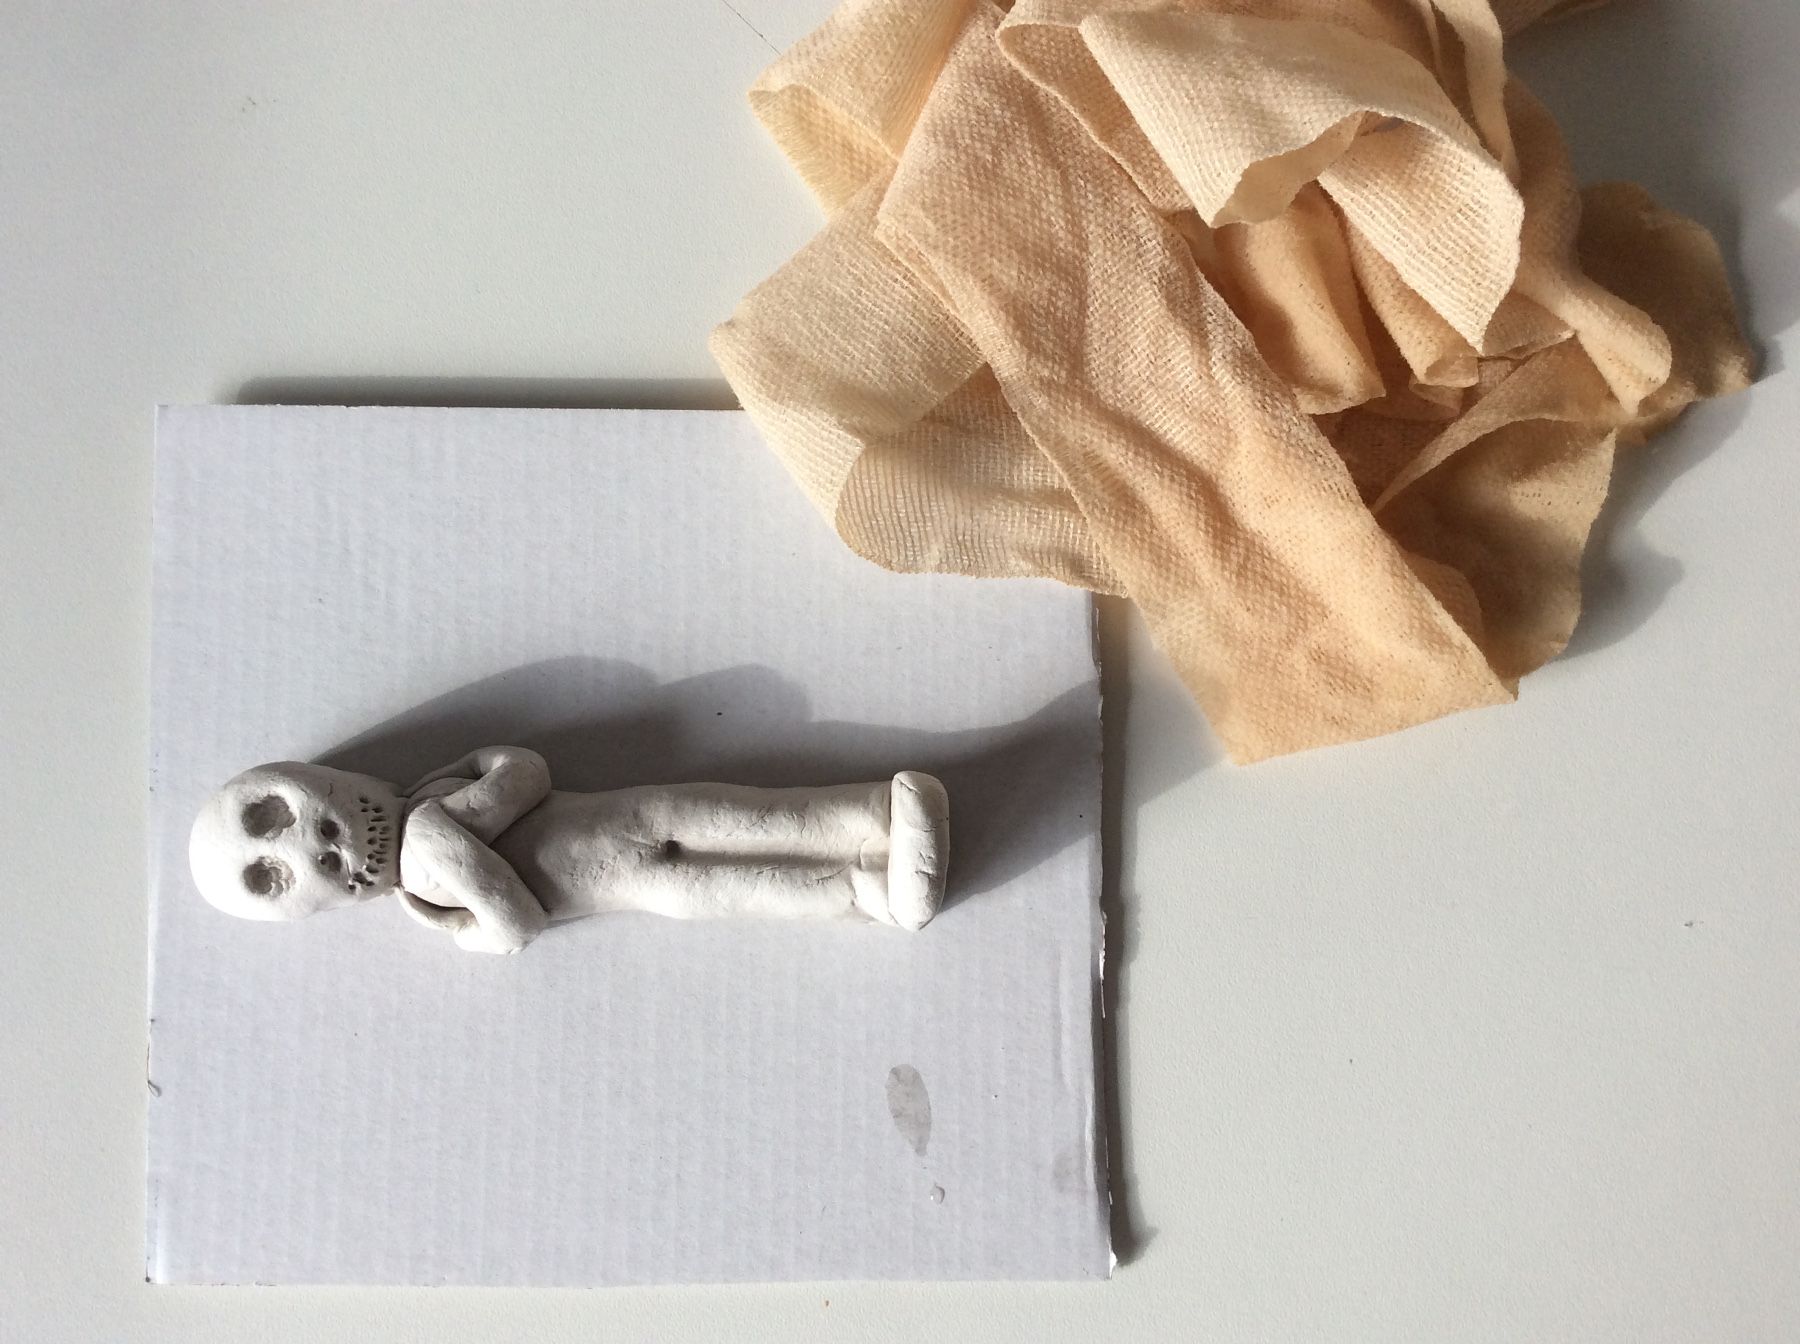
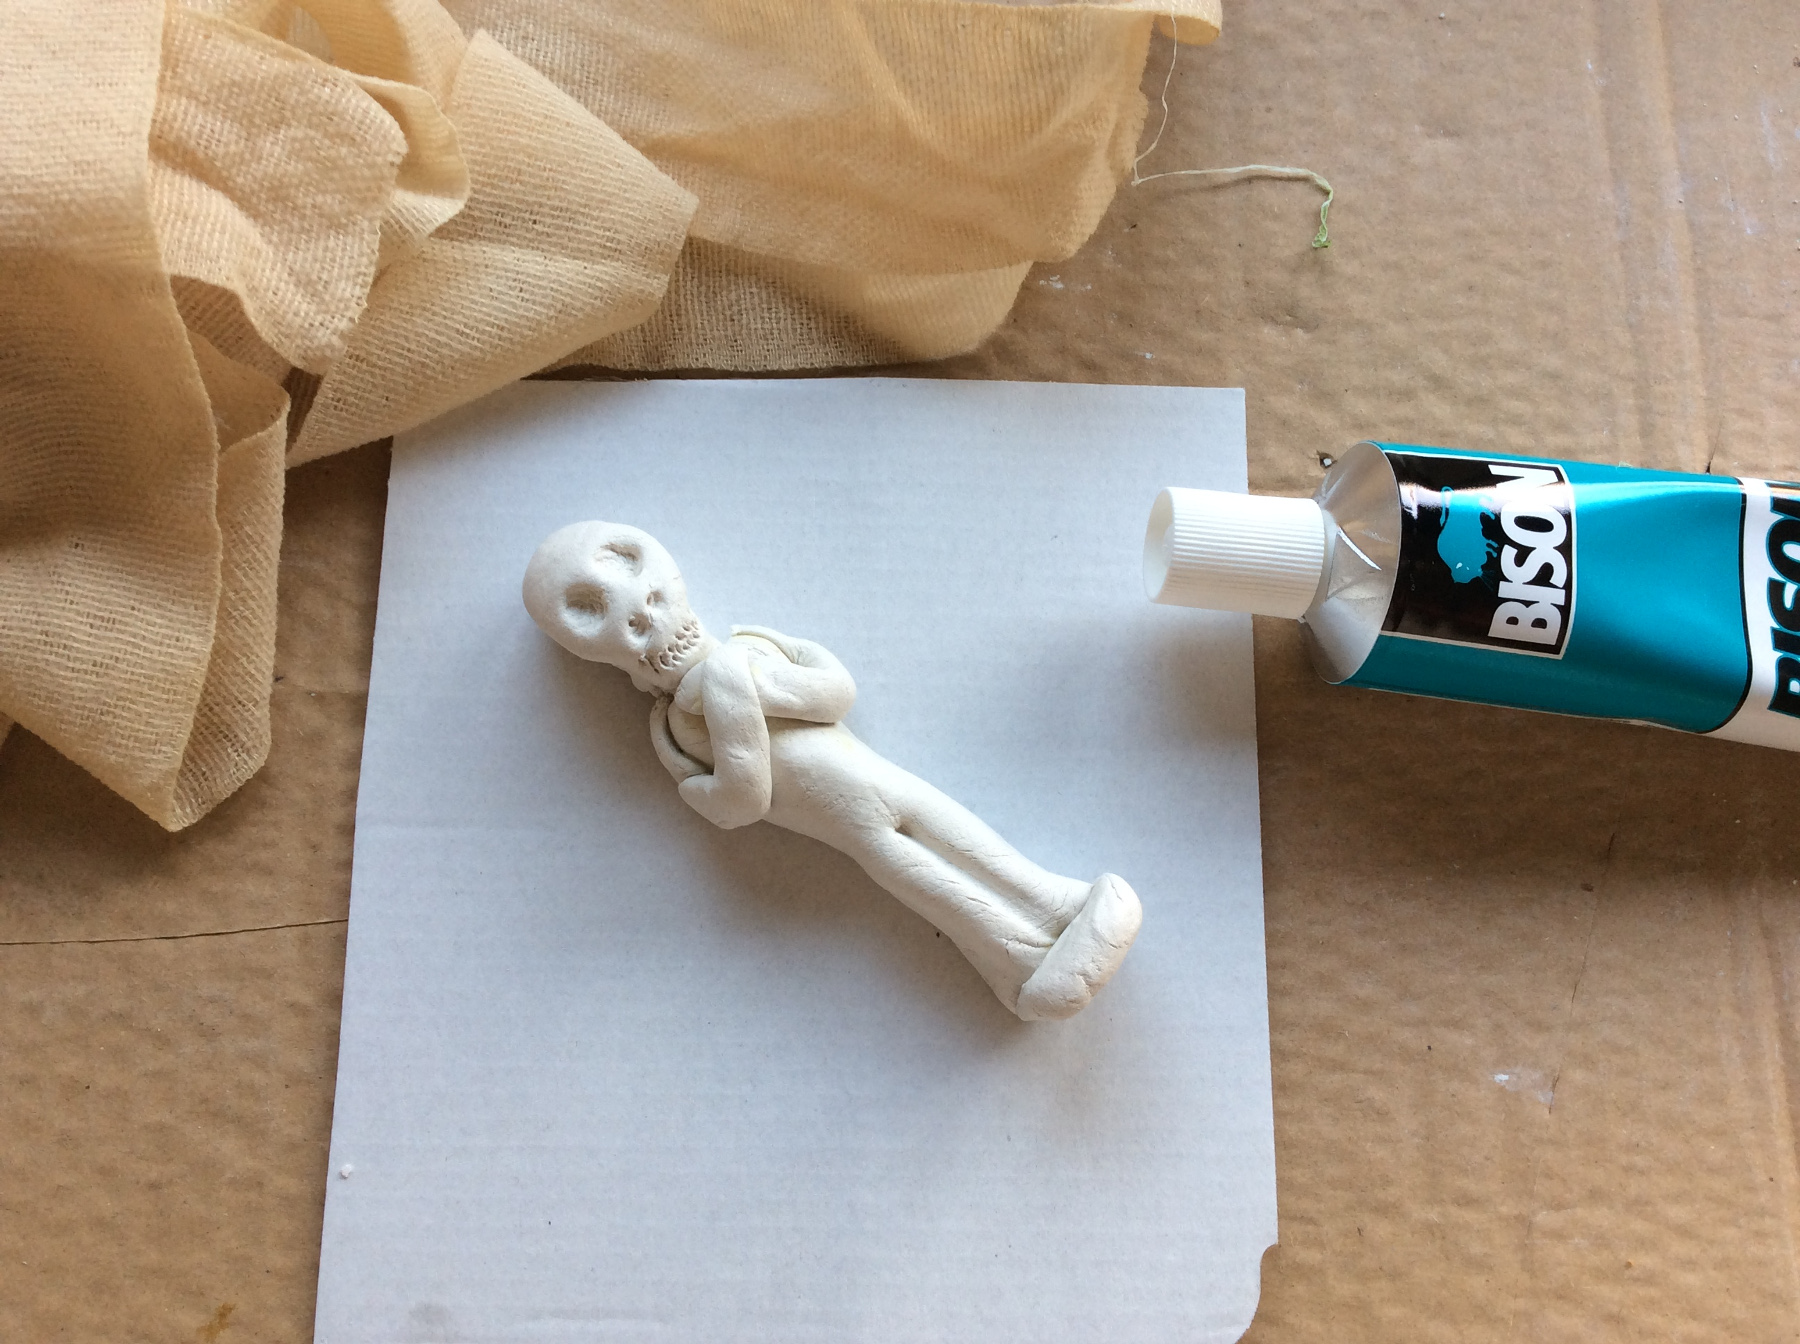
Bend the arms over the chest.
Glue the parts together.
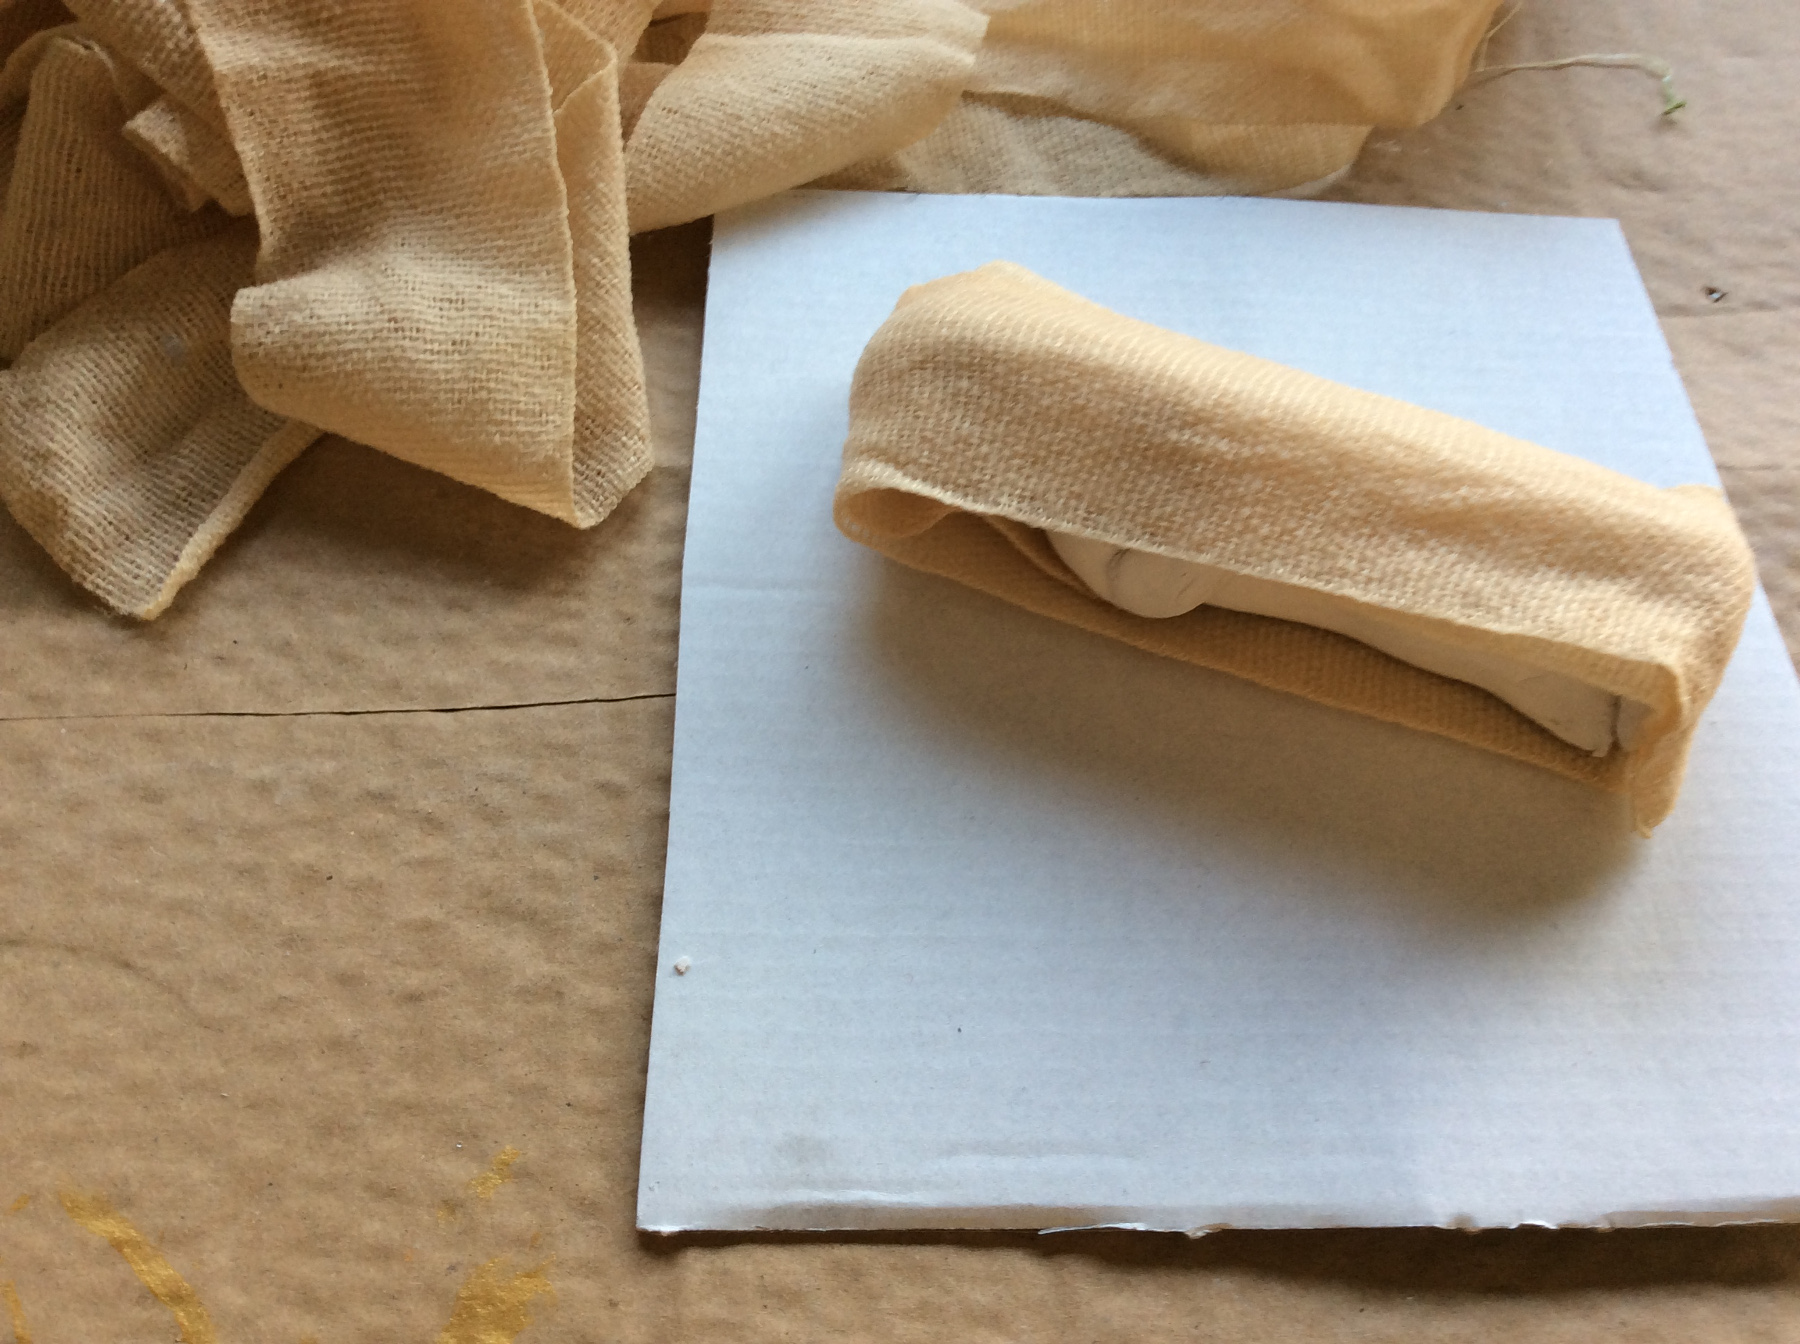
Roll the mummy in bandages.
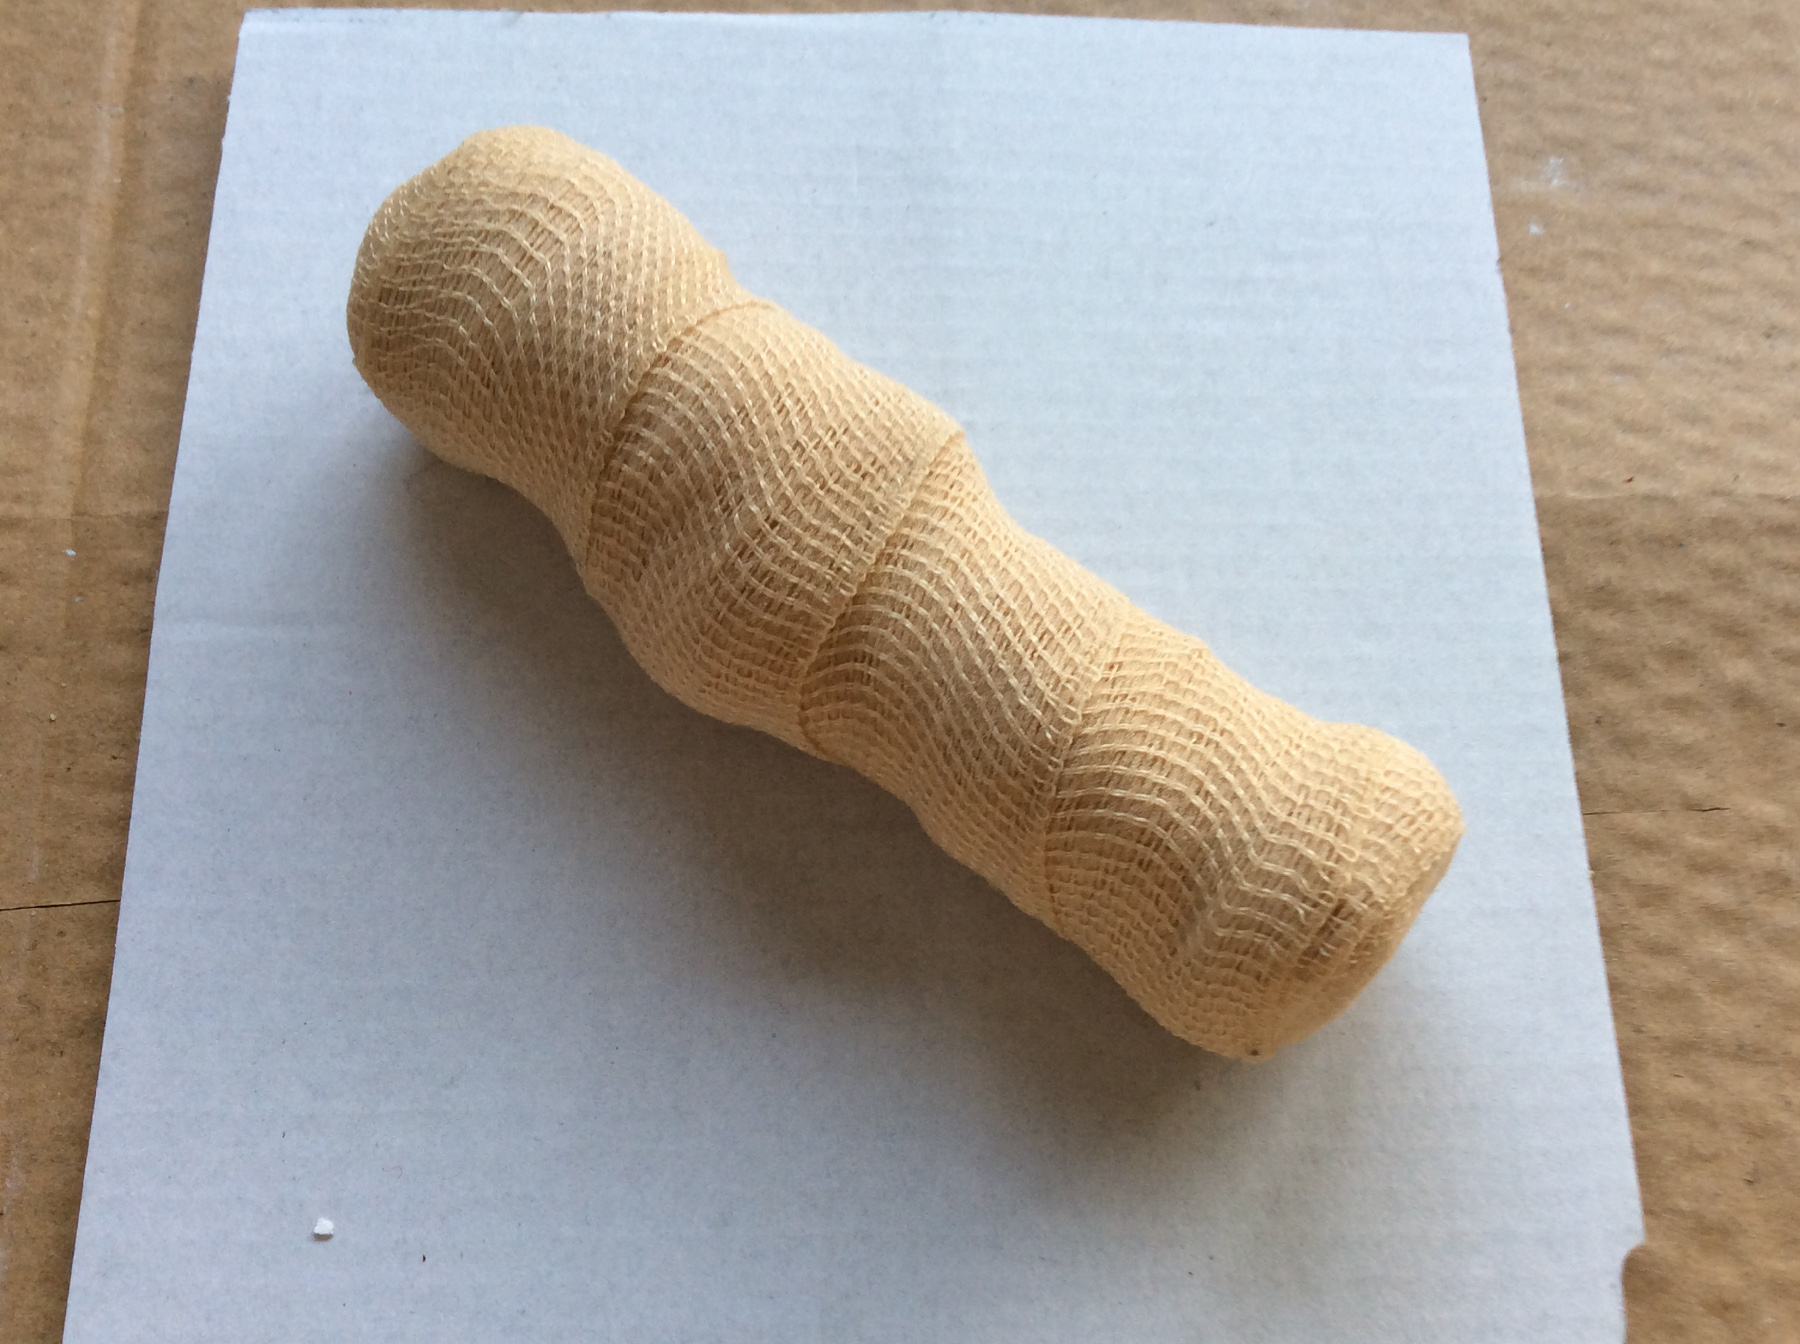
Try and roll in the mummy neatly and smooth.
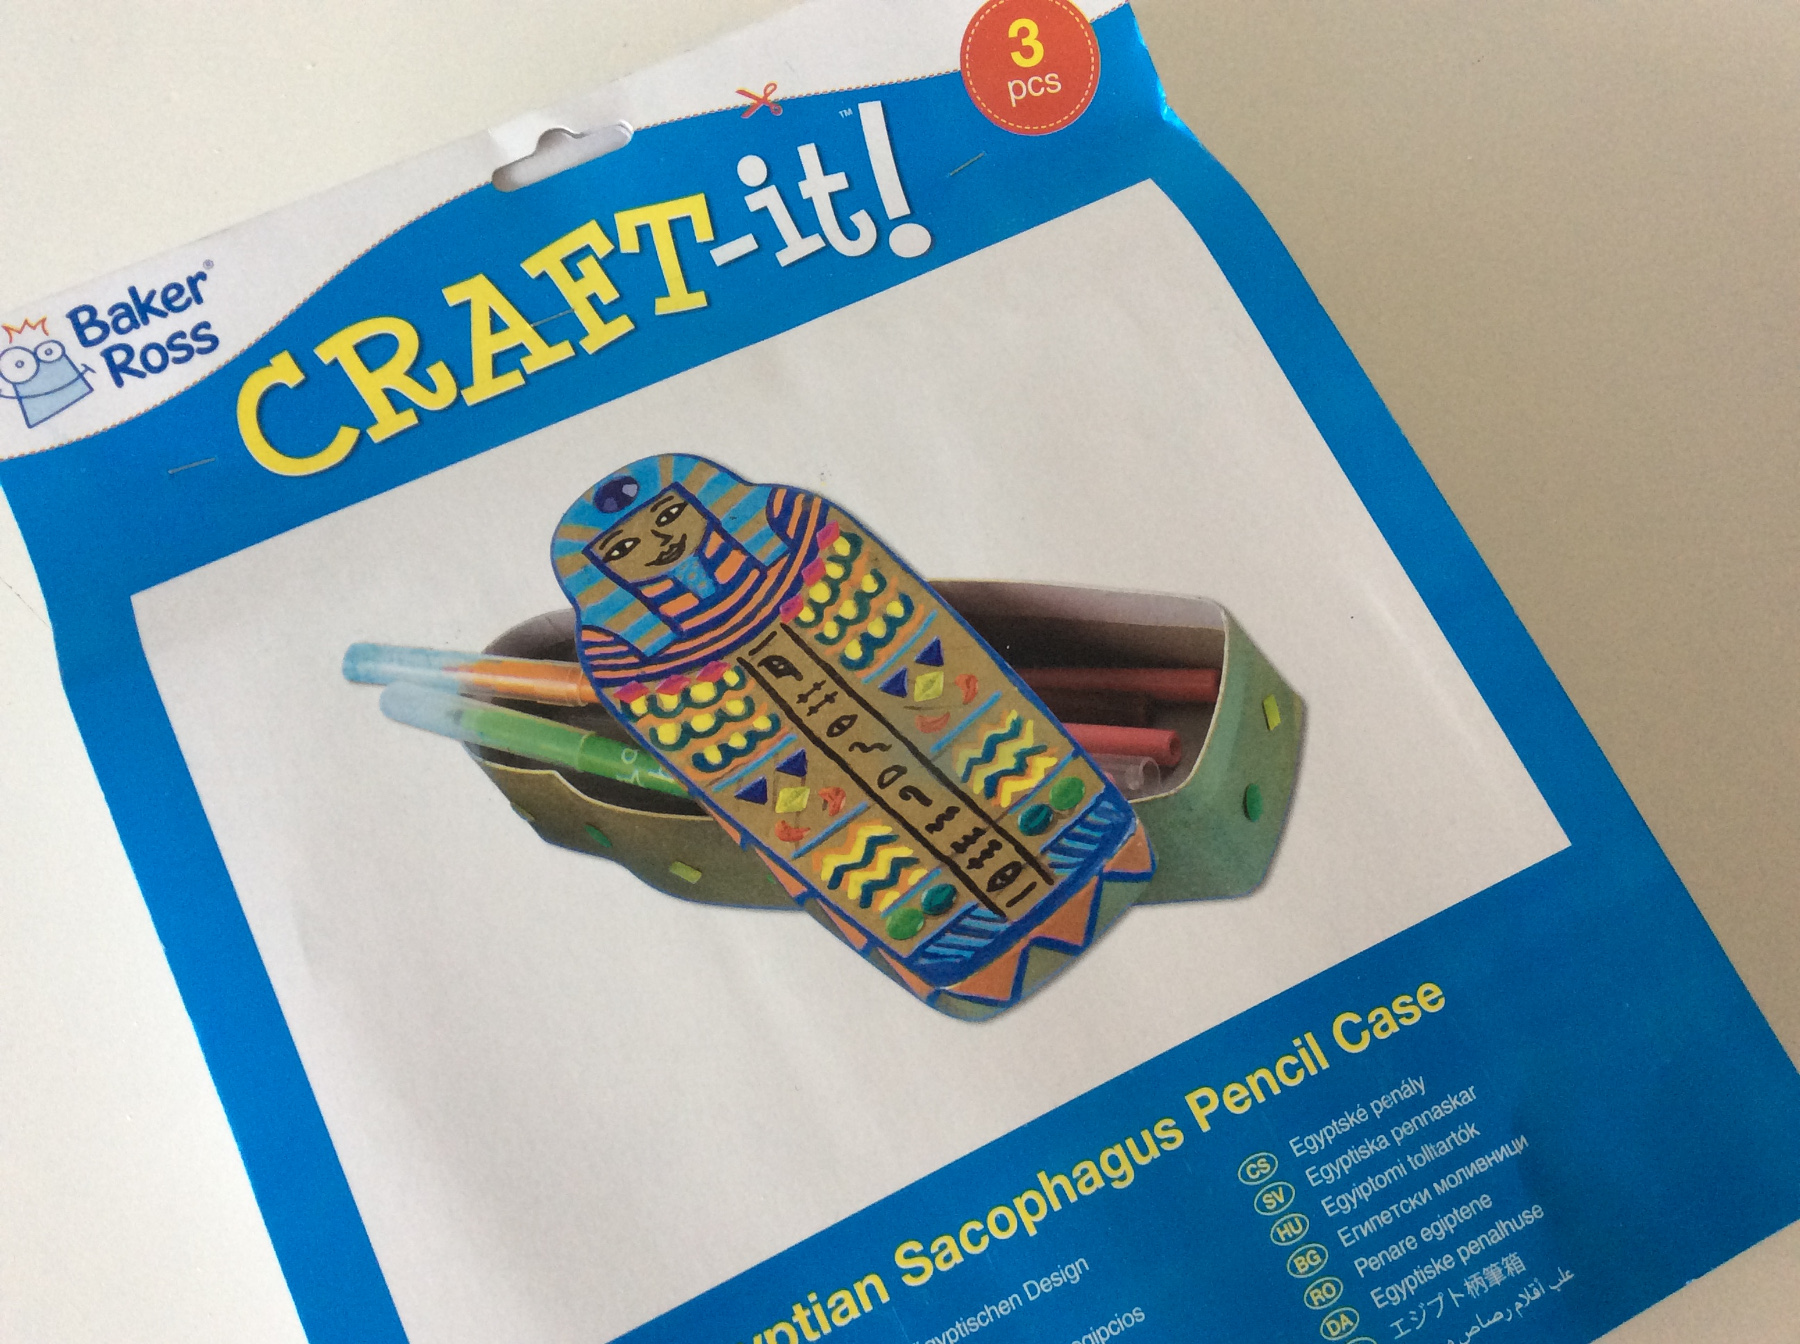
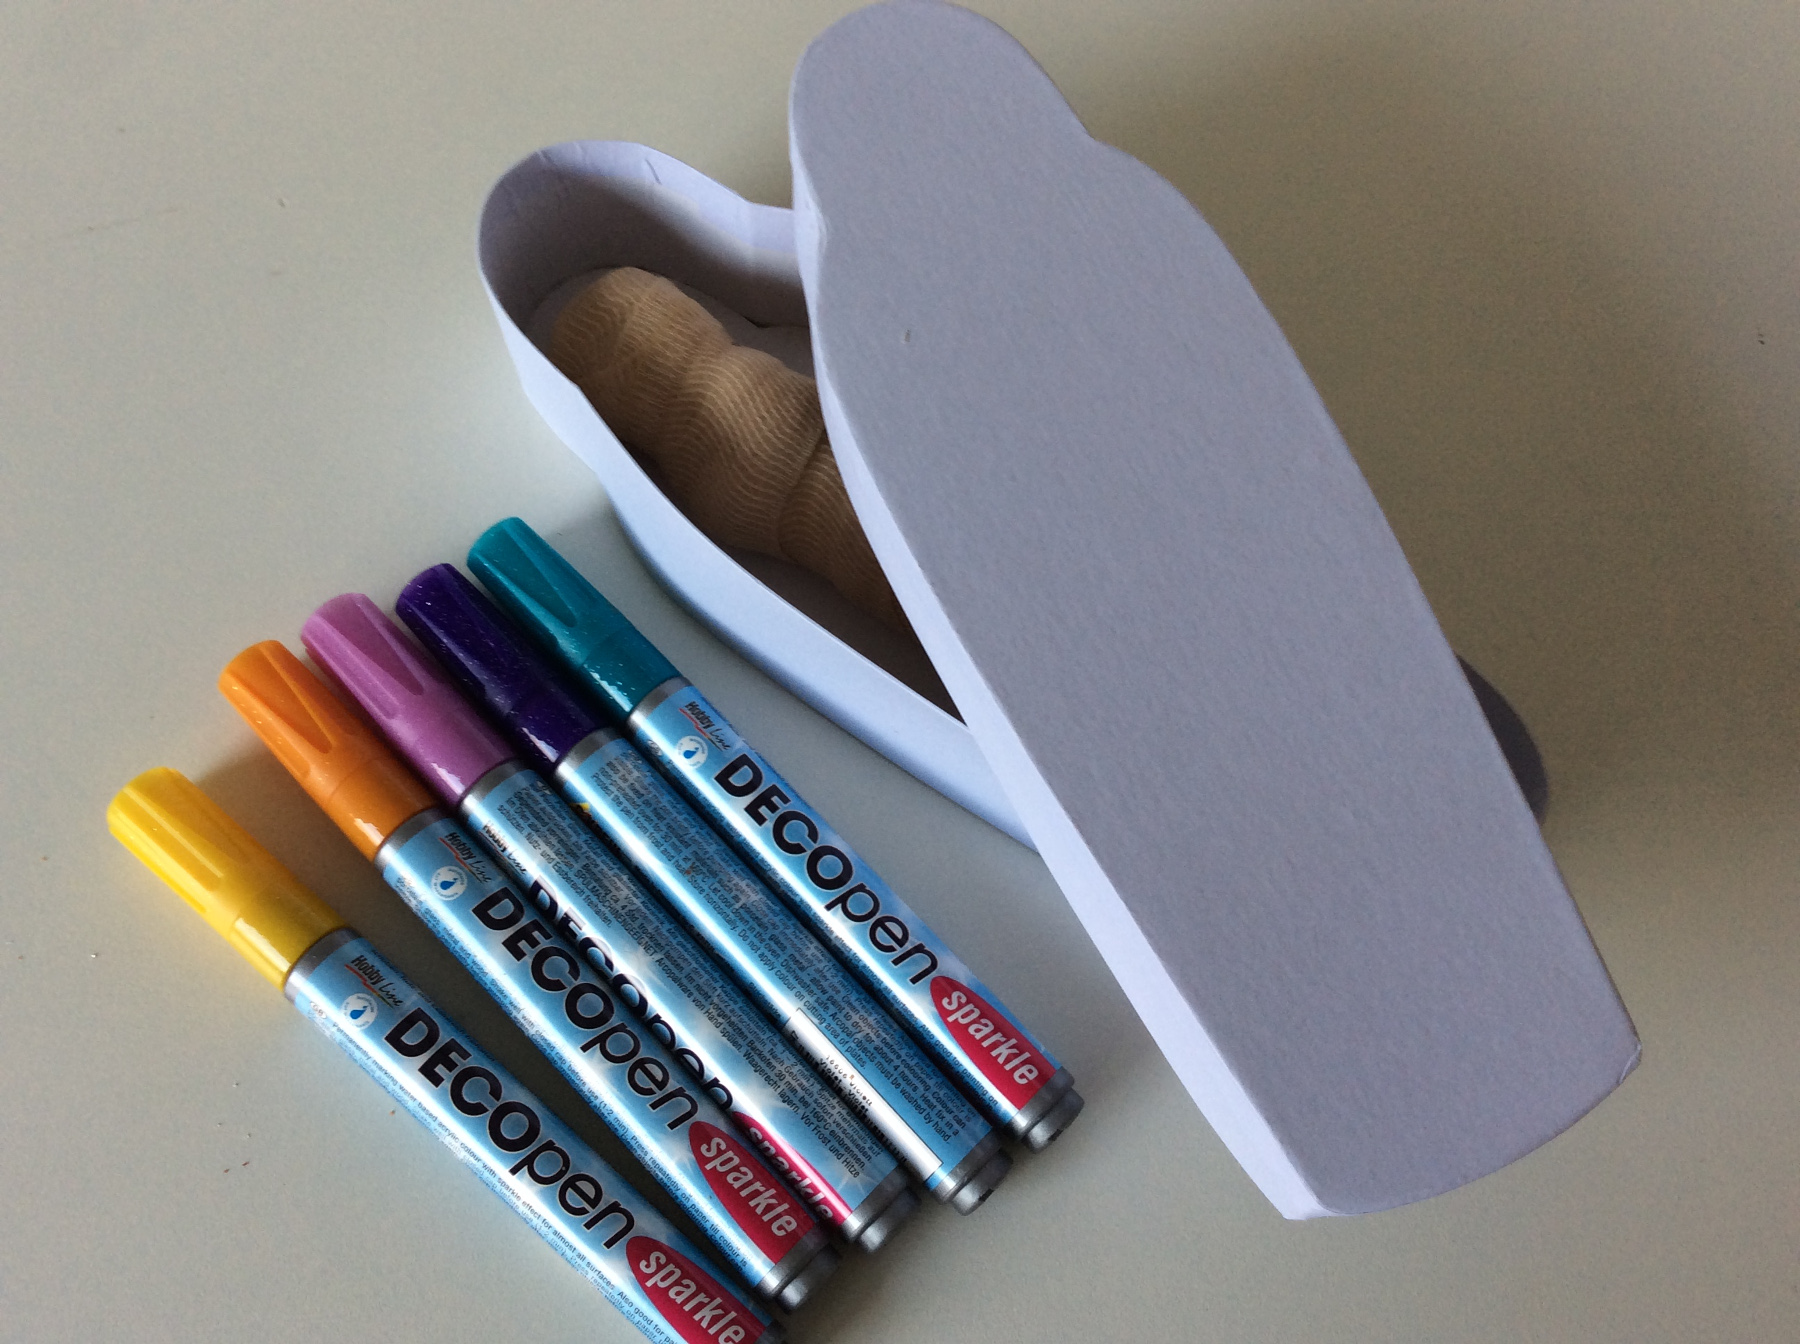
Soon we will paint a cardboard sarcophagus for our mummie.
Later this month we will paint a cardboard readymade sarcophagus to place the mummie in with the little ones. You can order them by three units pieces online at Baker Ross. Or download for older kids a paper model on the website of Rijksmuseum van Oudheden in Leiden to make your own sarcophagus.
Super cool!