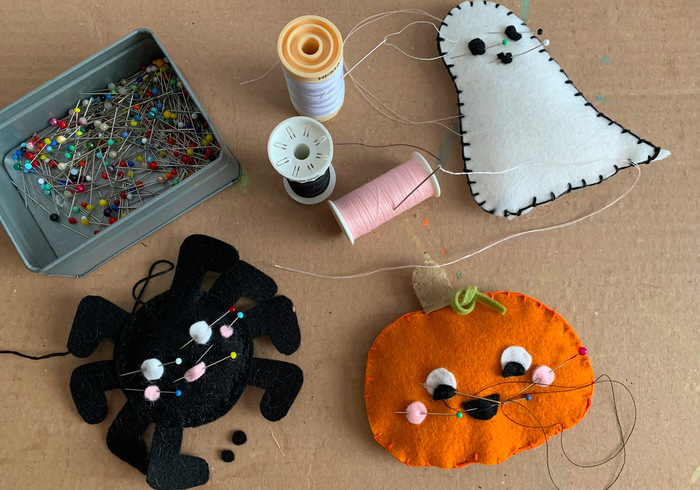
What do you need?
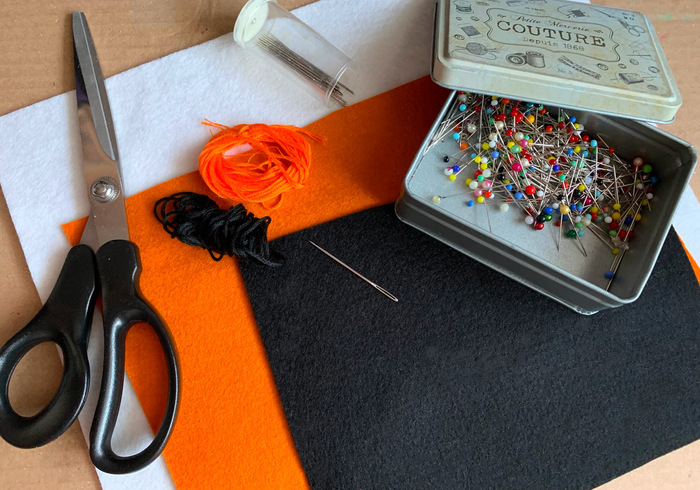
felt, in halloween colours
pins
a pair of scissors
embroidery needle
matching embroidery yarn
sheeps wool filling
felt scraps, white, black, pink
needle and yarn, black, white, pink
black cotton thread
large darning needle
wool felt balls, 2 cm
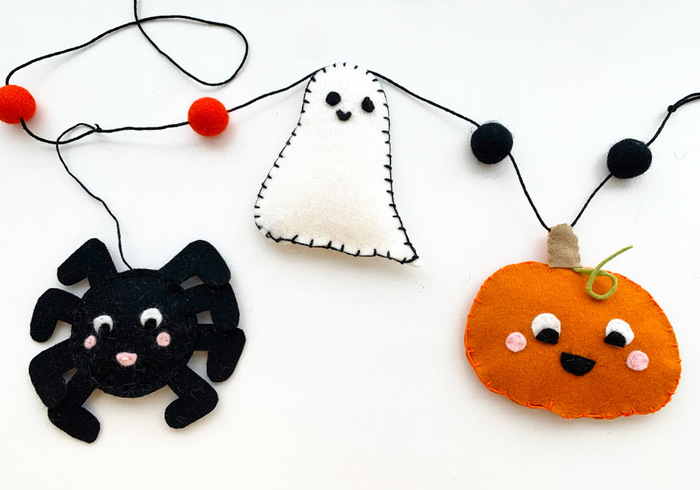
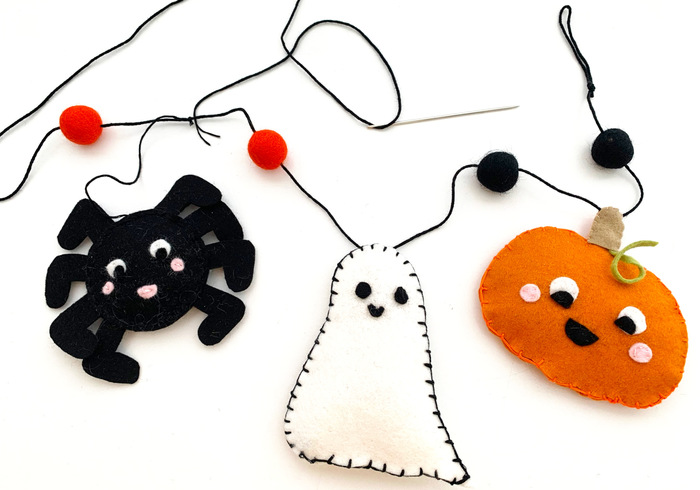
We want to make fun Halloween decorations out of felt, so we're starting early. We print and cut out the patterns and sew our little figures together with embroidery yarn. We give each figure a cute face, the mini monsters love that! Today we make three and next week we make another three, you can make as many as you like.
How to make a cute Halloween garland
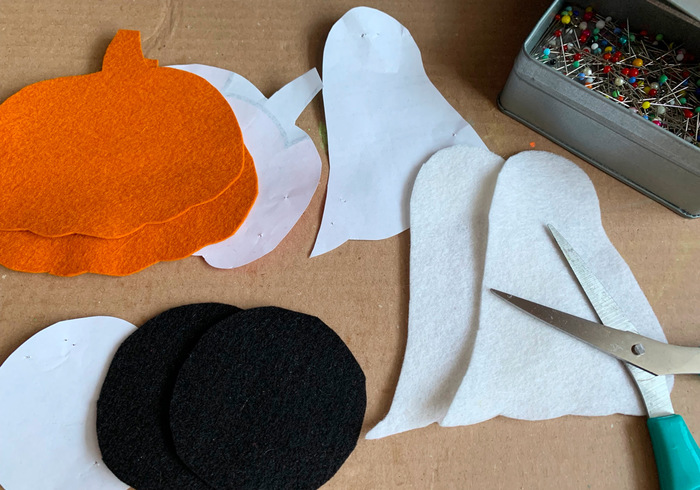
Download our patterns, print and cut them out
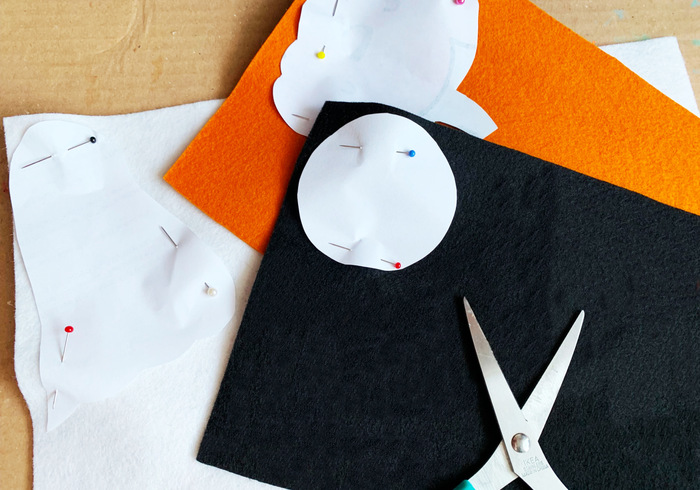
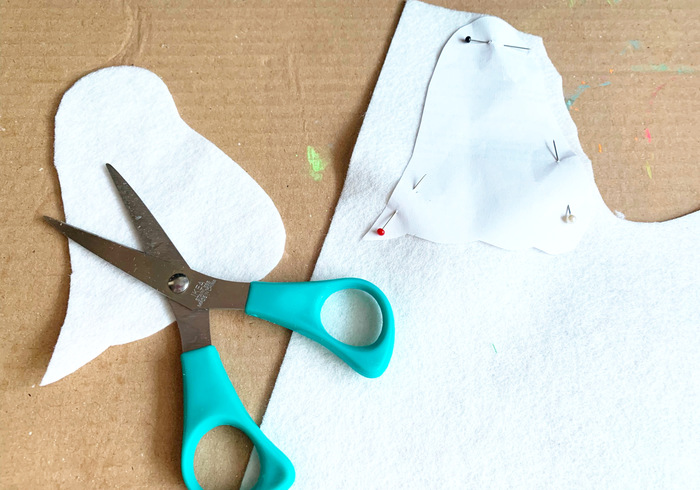
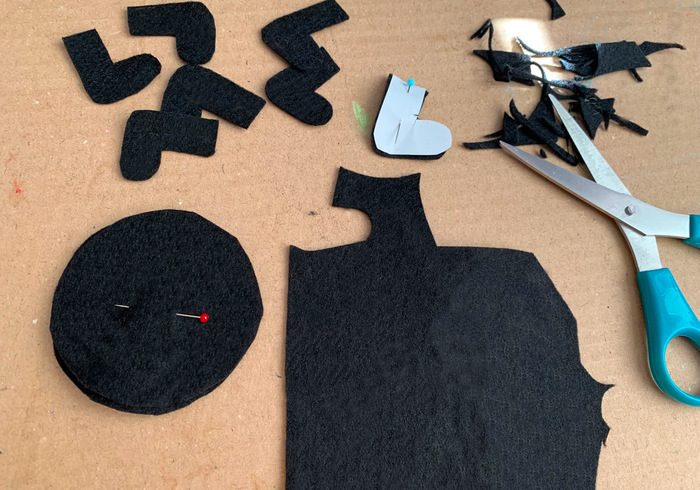
Pin the patterns onto the felt.
Cut them out and pin back on.
Cut two of each figure.
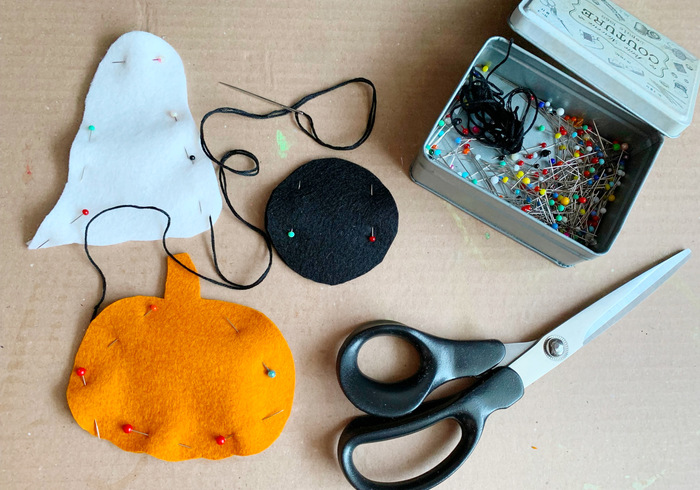
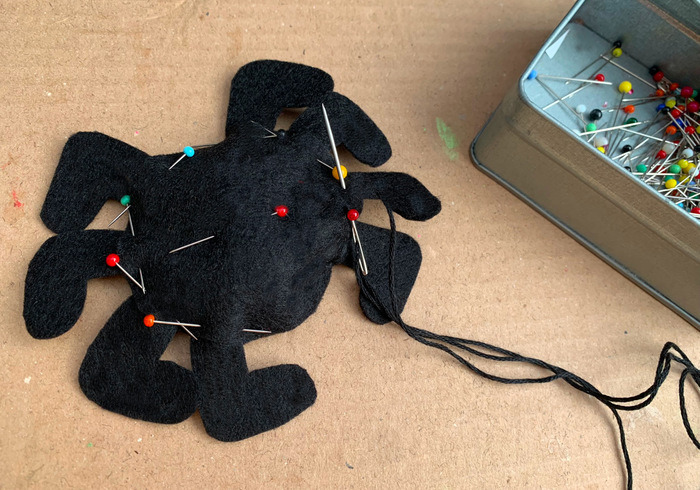
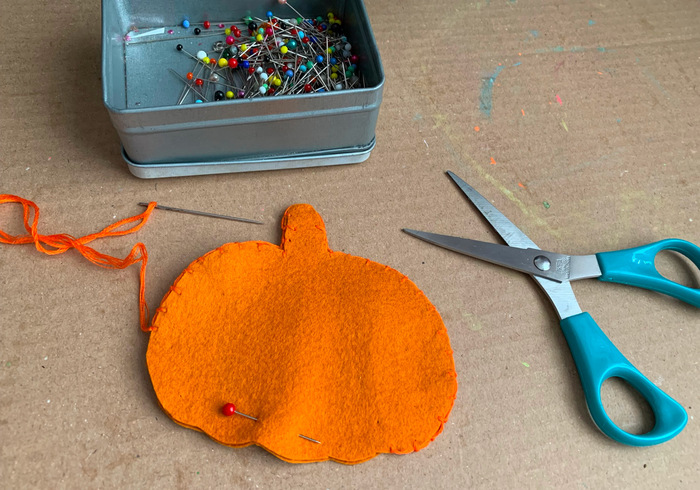
Pin two pieces of each figure together.
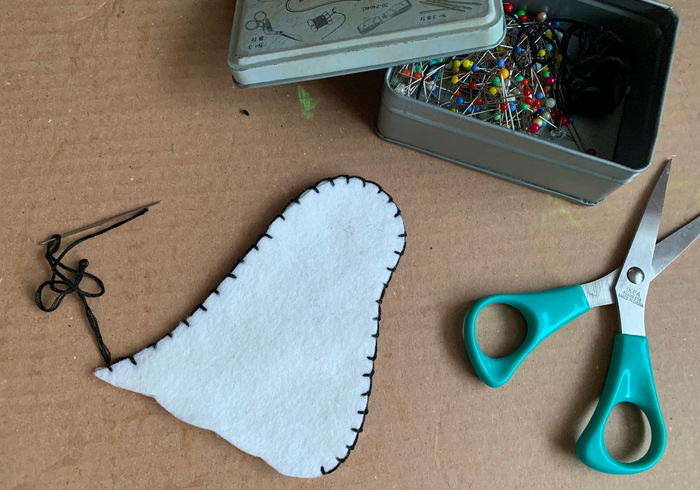
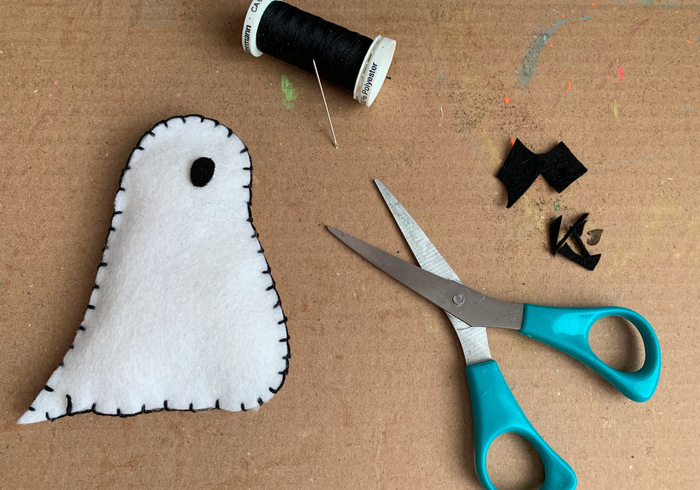
We start with the ghost and sew it with the blanket stitch
Sew the ghost all around but leave a gap open.
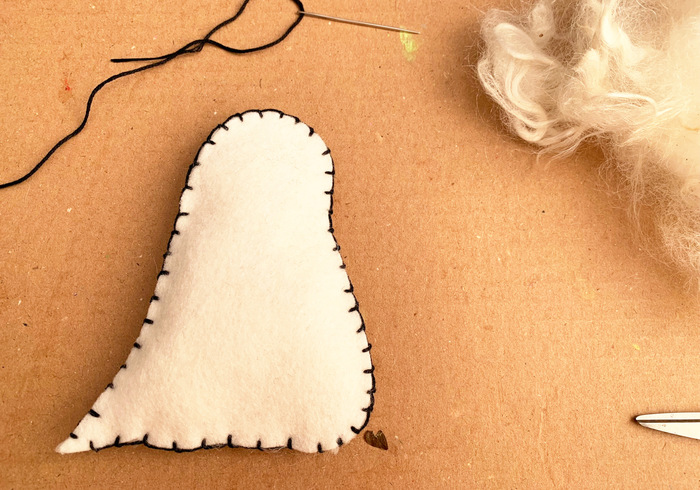
Fill up the ghost thinly, using sheep's wool as filling.
Sew the underside closed and sew an eye on the ghost.
Then we make the spider
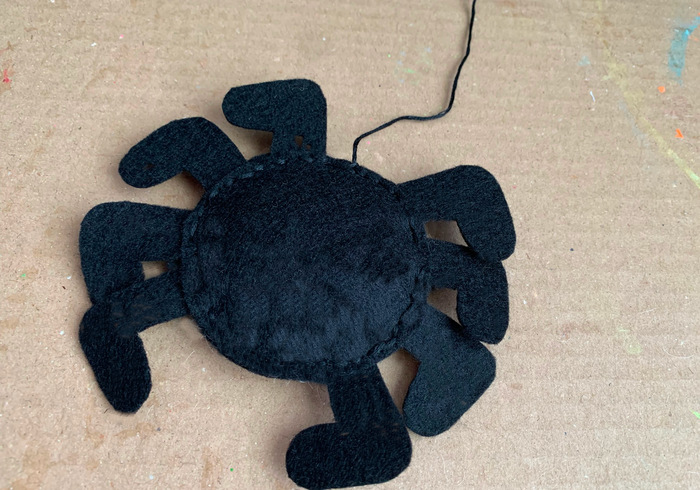
Cut out the 8 legs and pin them between the body.
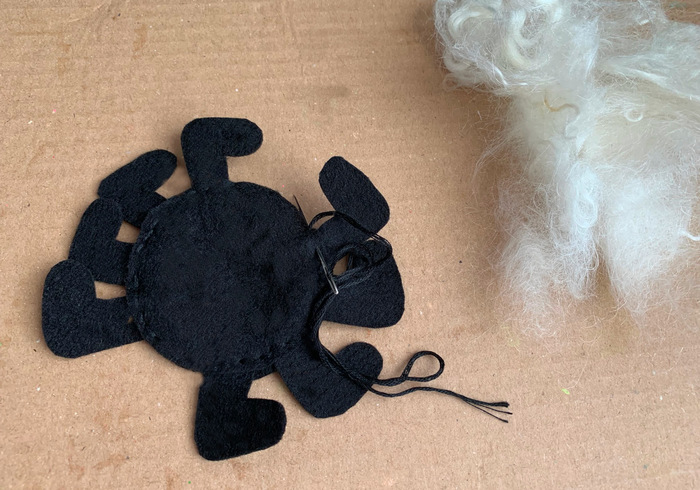
Sew the body all around with a backstitch, leave a little opening.
The legs are already fastened, fill the spider body thinly.
Fasten off well but leave the thread on the body.
Our third figure is the pumpkin, which we will now make
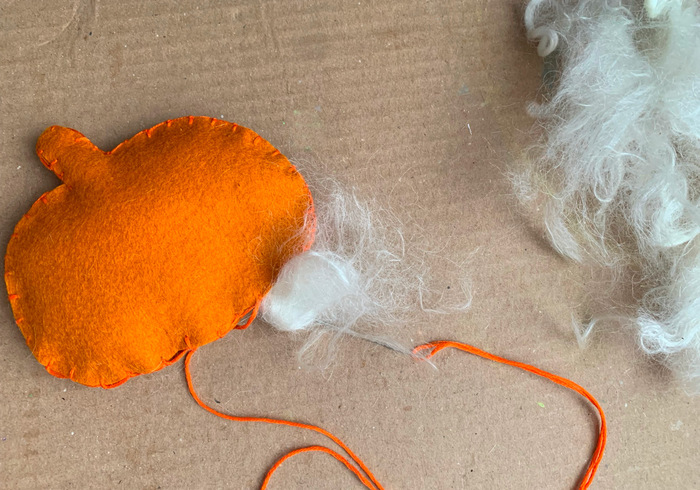
Sew the pumpkin all around with the blanket stitch.
Leave a gap open to fill and then close it.
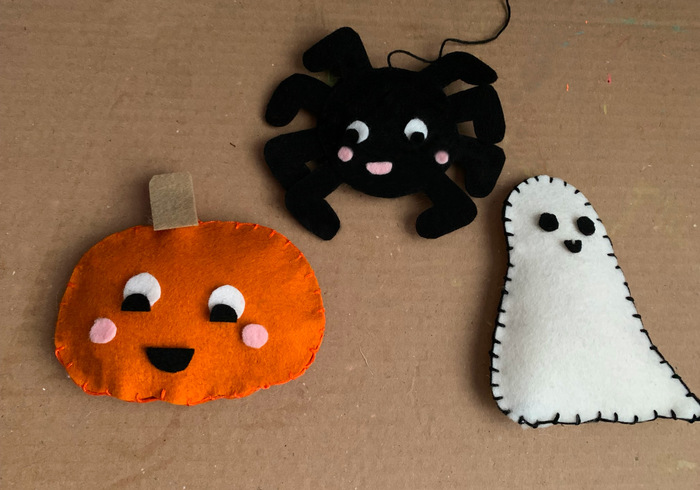
Cut cute faces from left over pieces of felt.
Sew the faces on the figures and string figures and felt balls on the thread.
Our first three Halloween figures are ready!
Next week we complete the Halloween Garland, see you then!

