What do you need?
piece of wire mesh 25 x35 cm
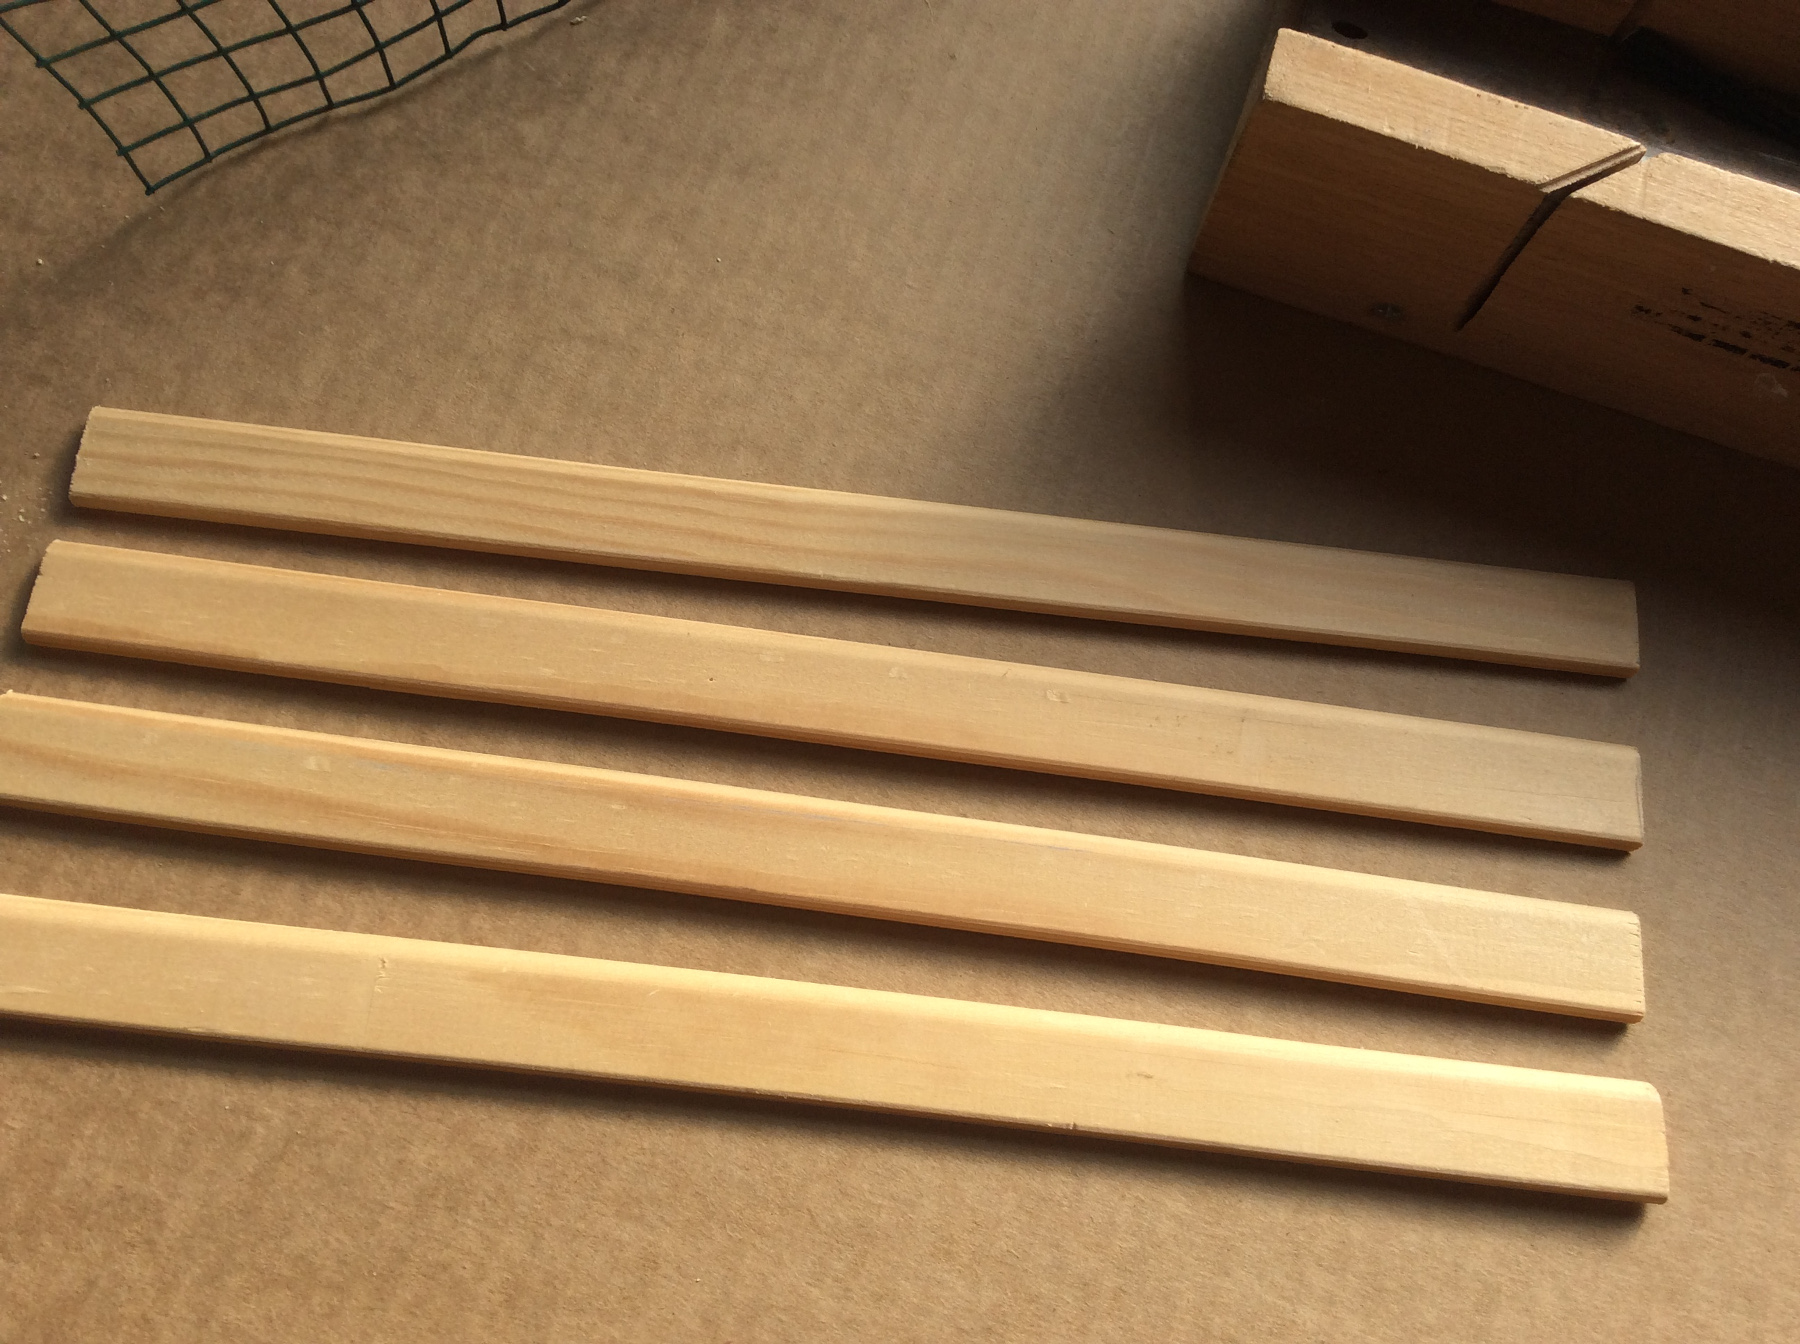
4 slats of 2 x 0.5 cm of 27 cm length
Bison contact glue
wallpapering glue
old newspapers
coloured paint and a brush
A vintage train tunnel is easily made by yourself and you do not need much materials. It takes a while, because the tunnel has dry overnight for a couple of times. But ... it is worth our while, because when the tunnel is finished it looks great!
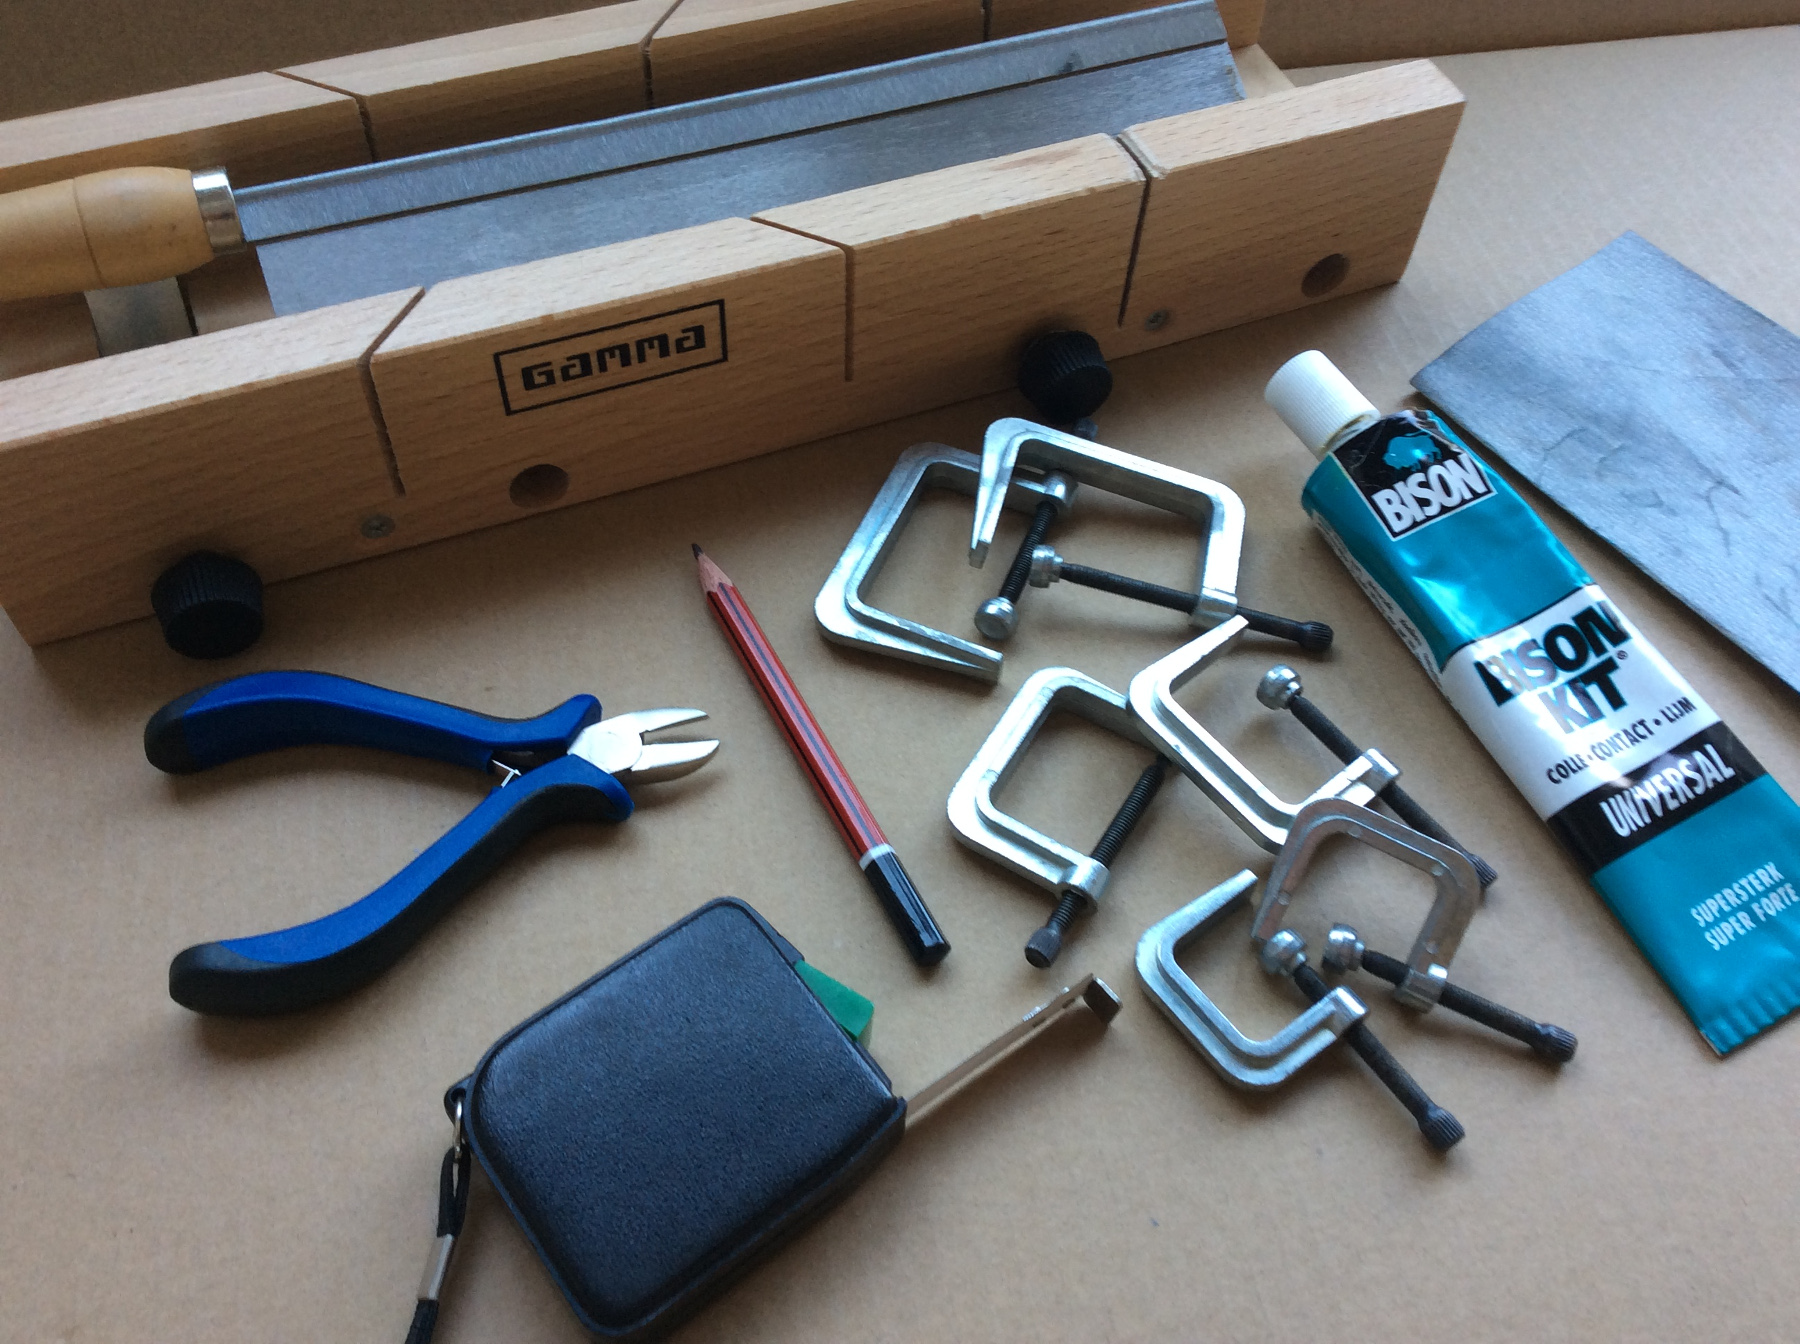
Ask Mum or Dad for help and for
- a little wire cutter;
- a ruler and a pencil;
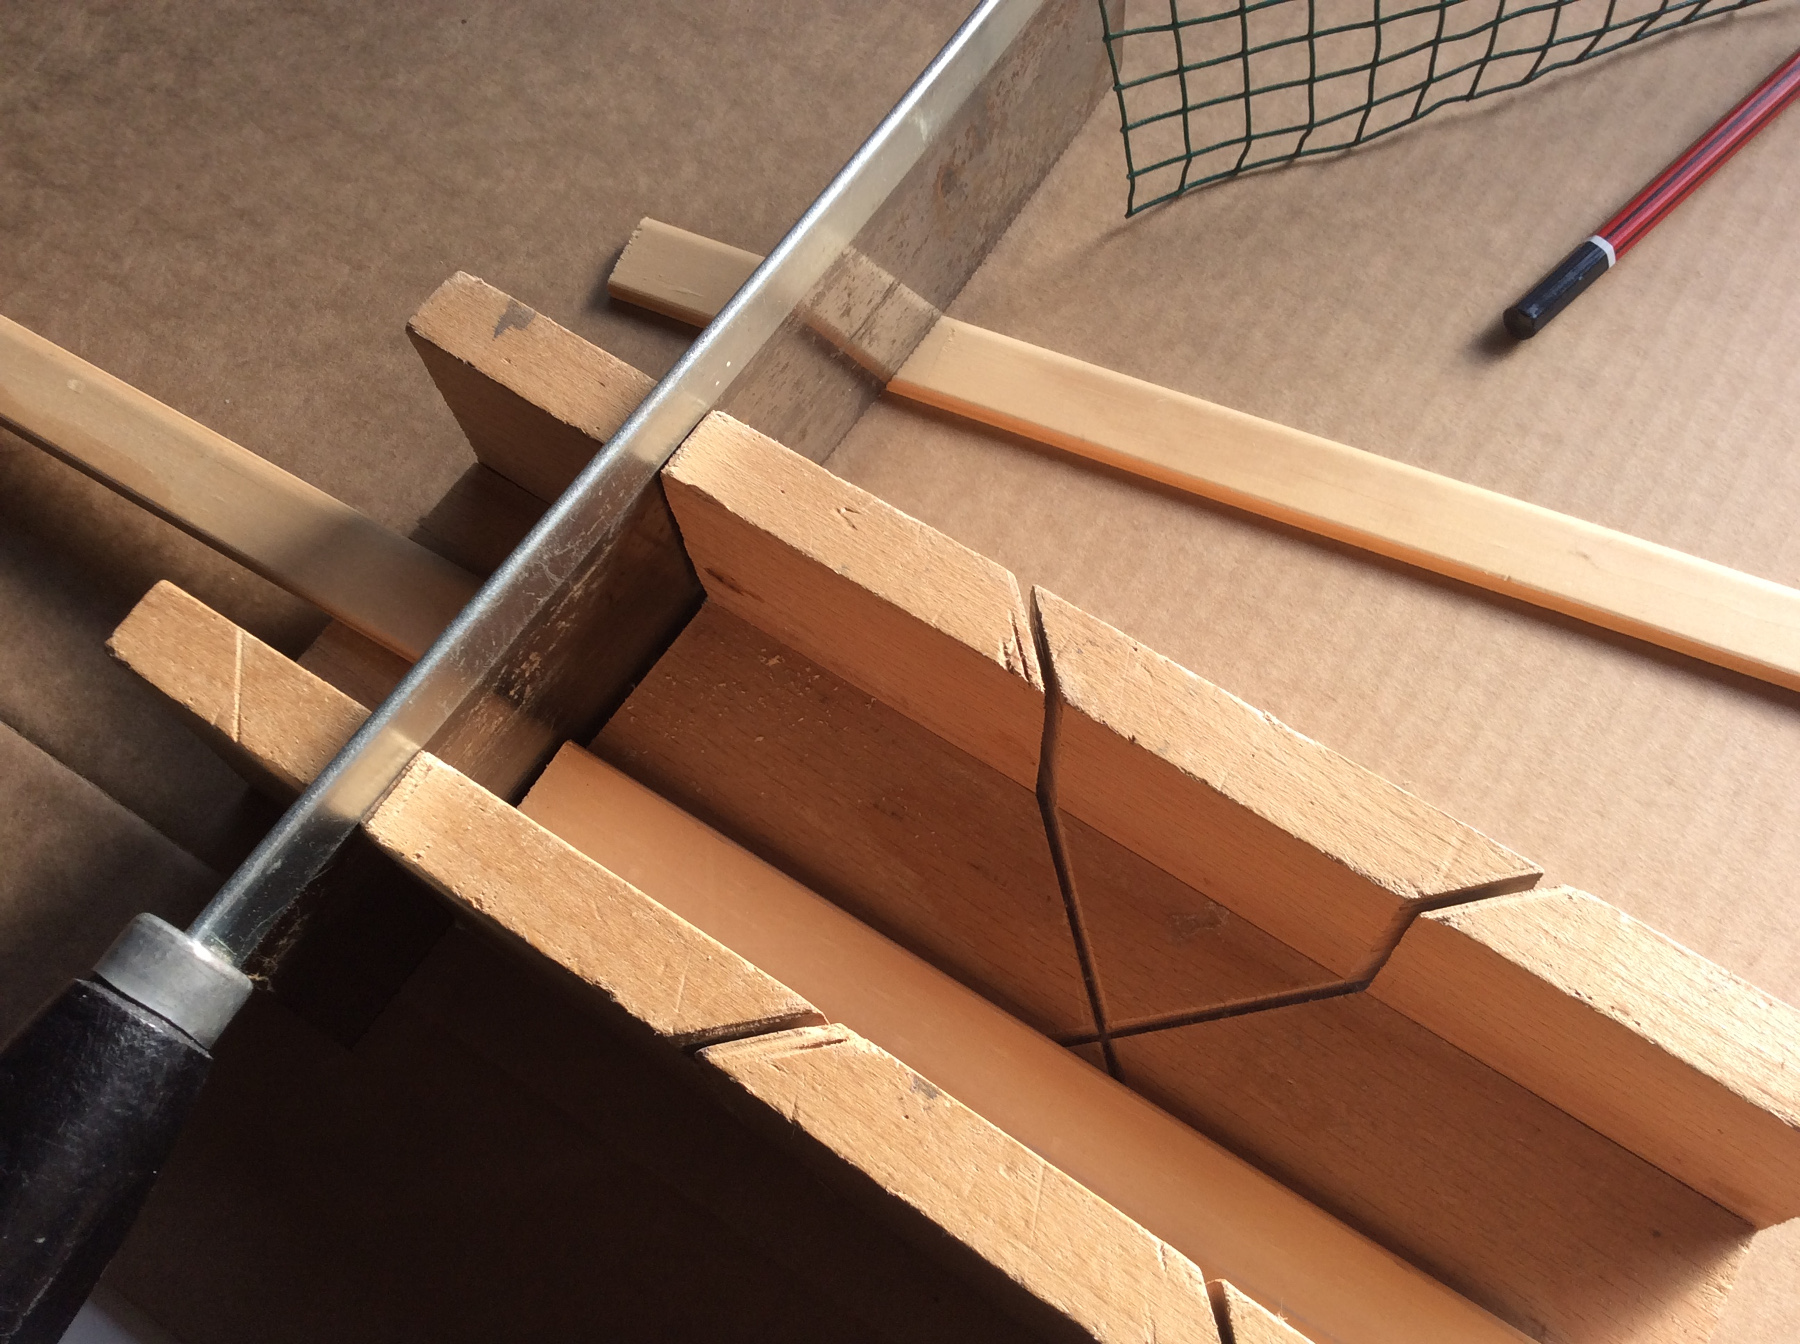
- a miter box and a saw;
- a piece of sand paper;
- glue clamps
How to make the frame
Be very carefull with the chicken wire, it is terribly sharp!
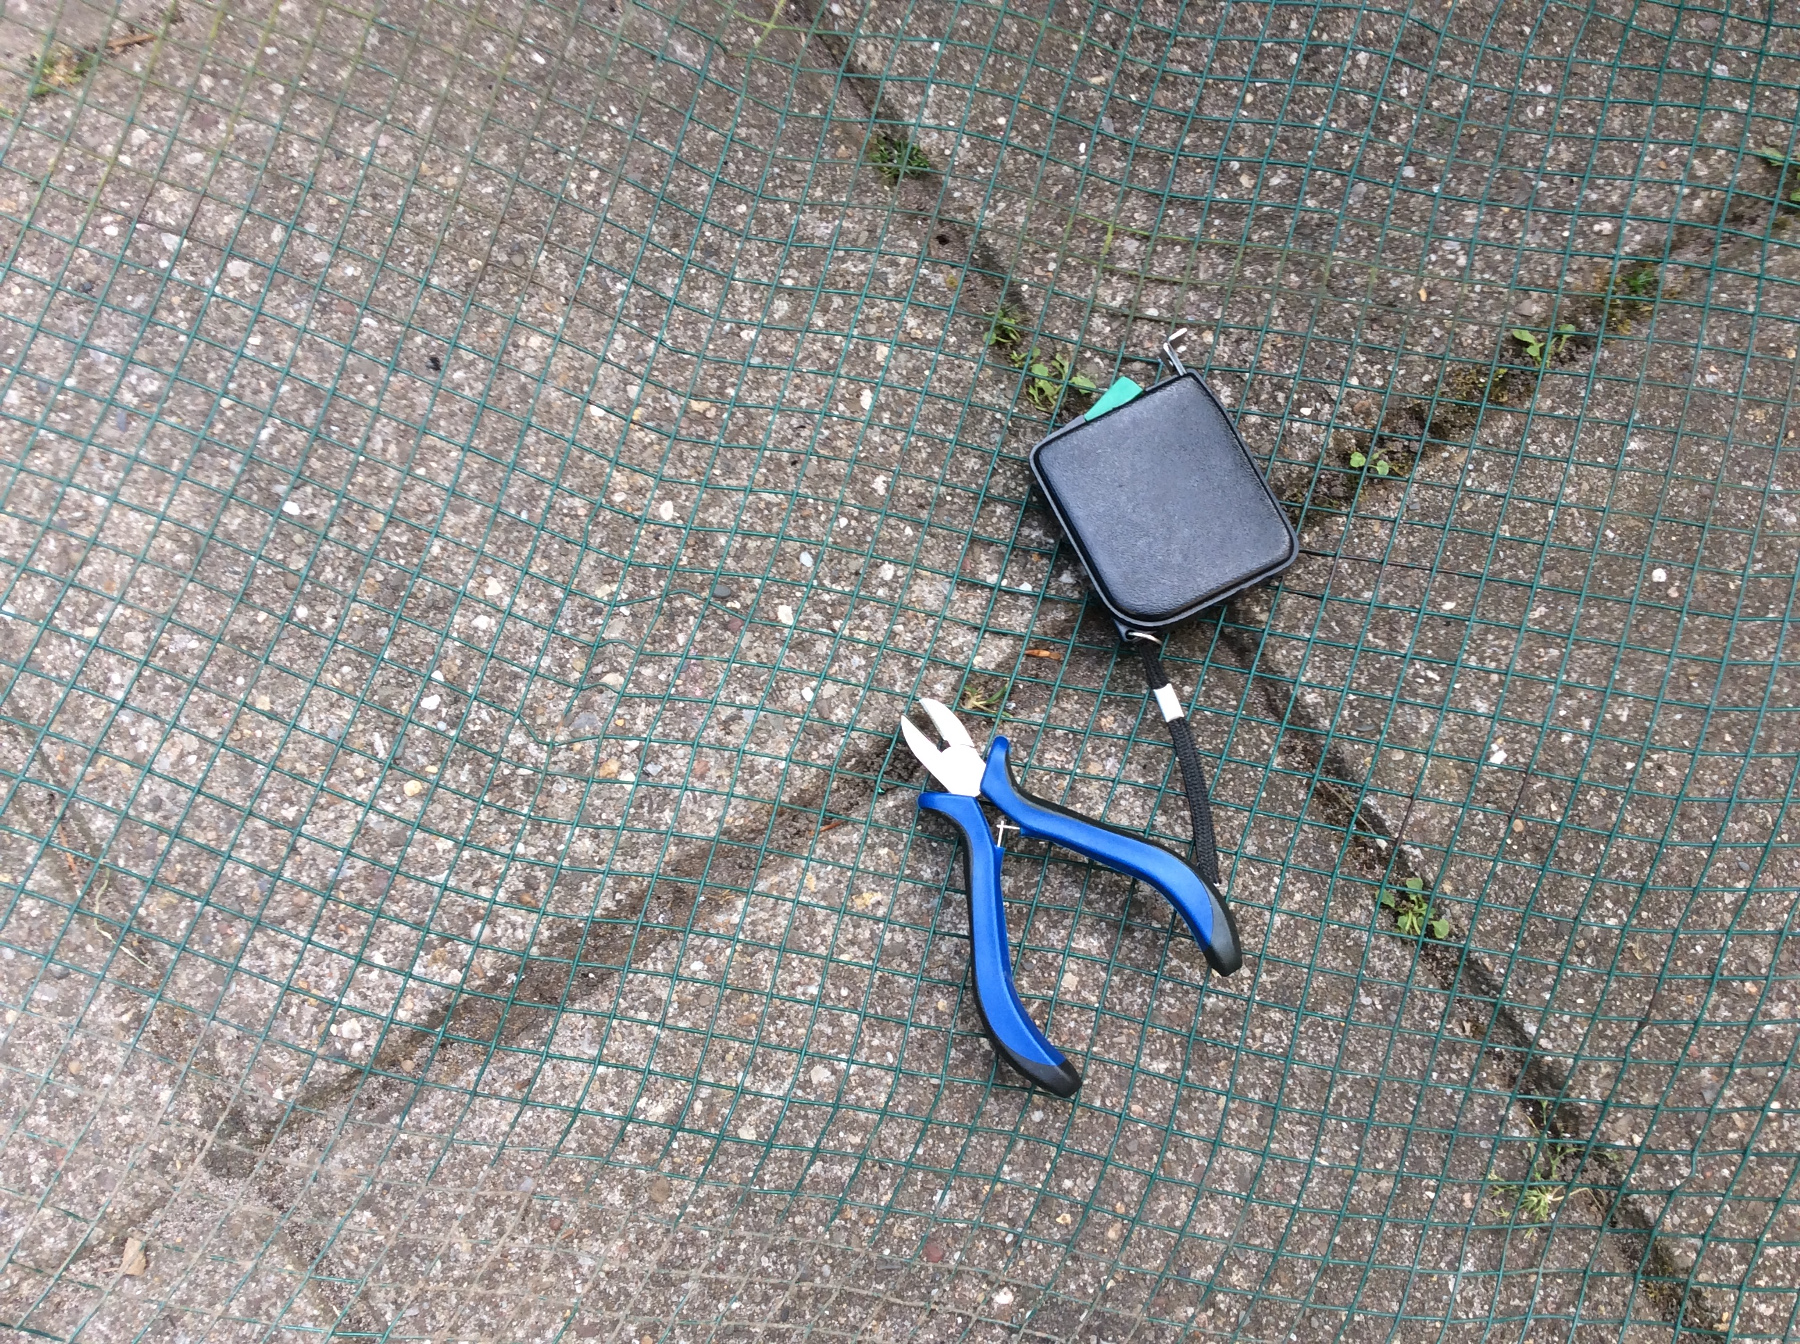
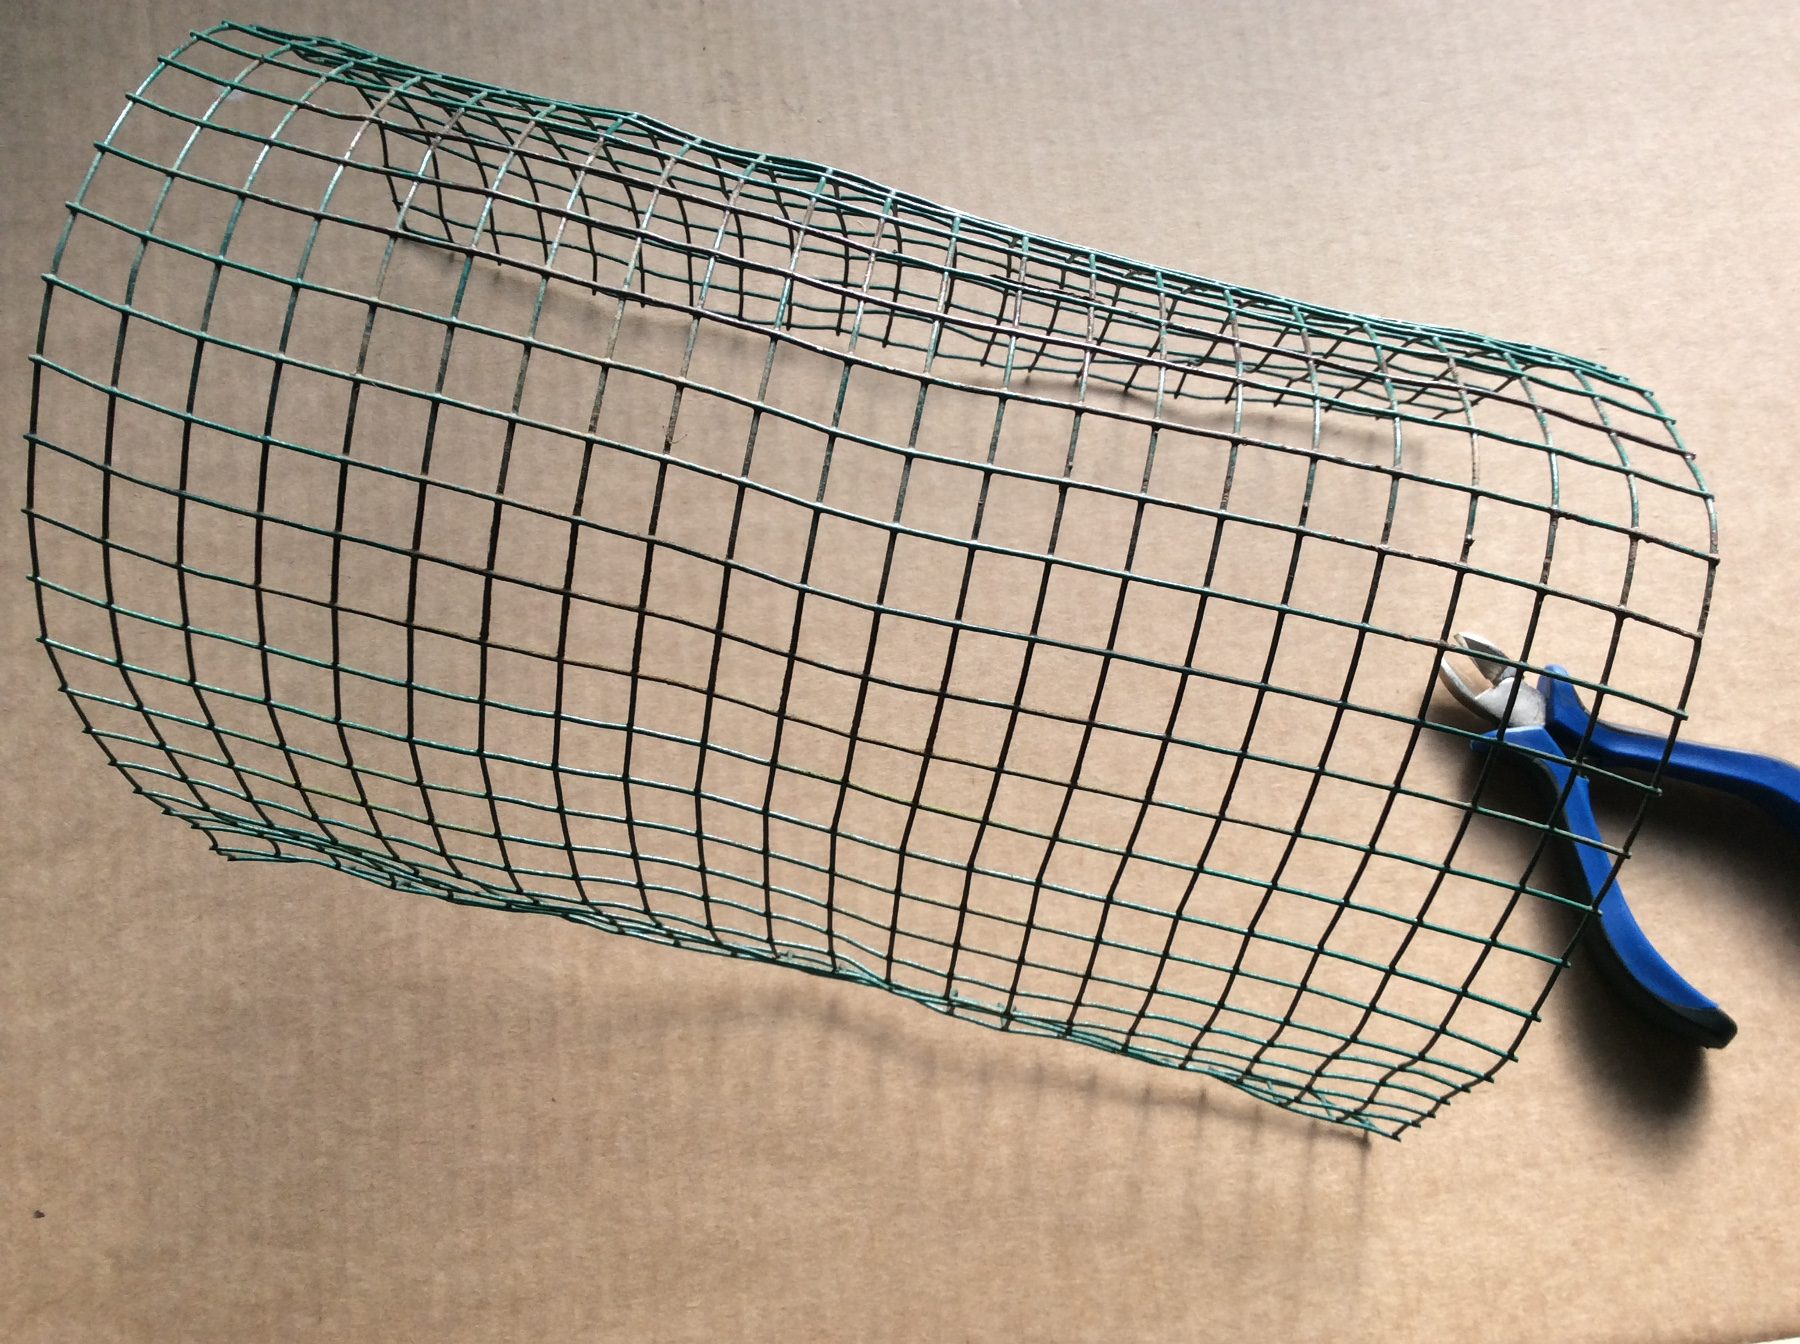
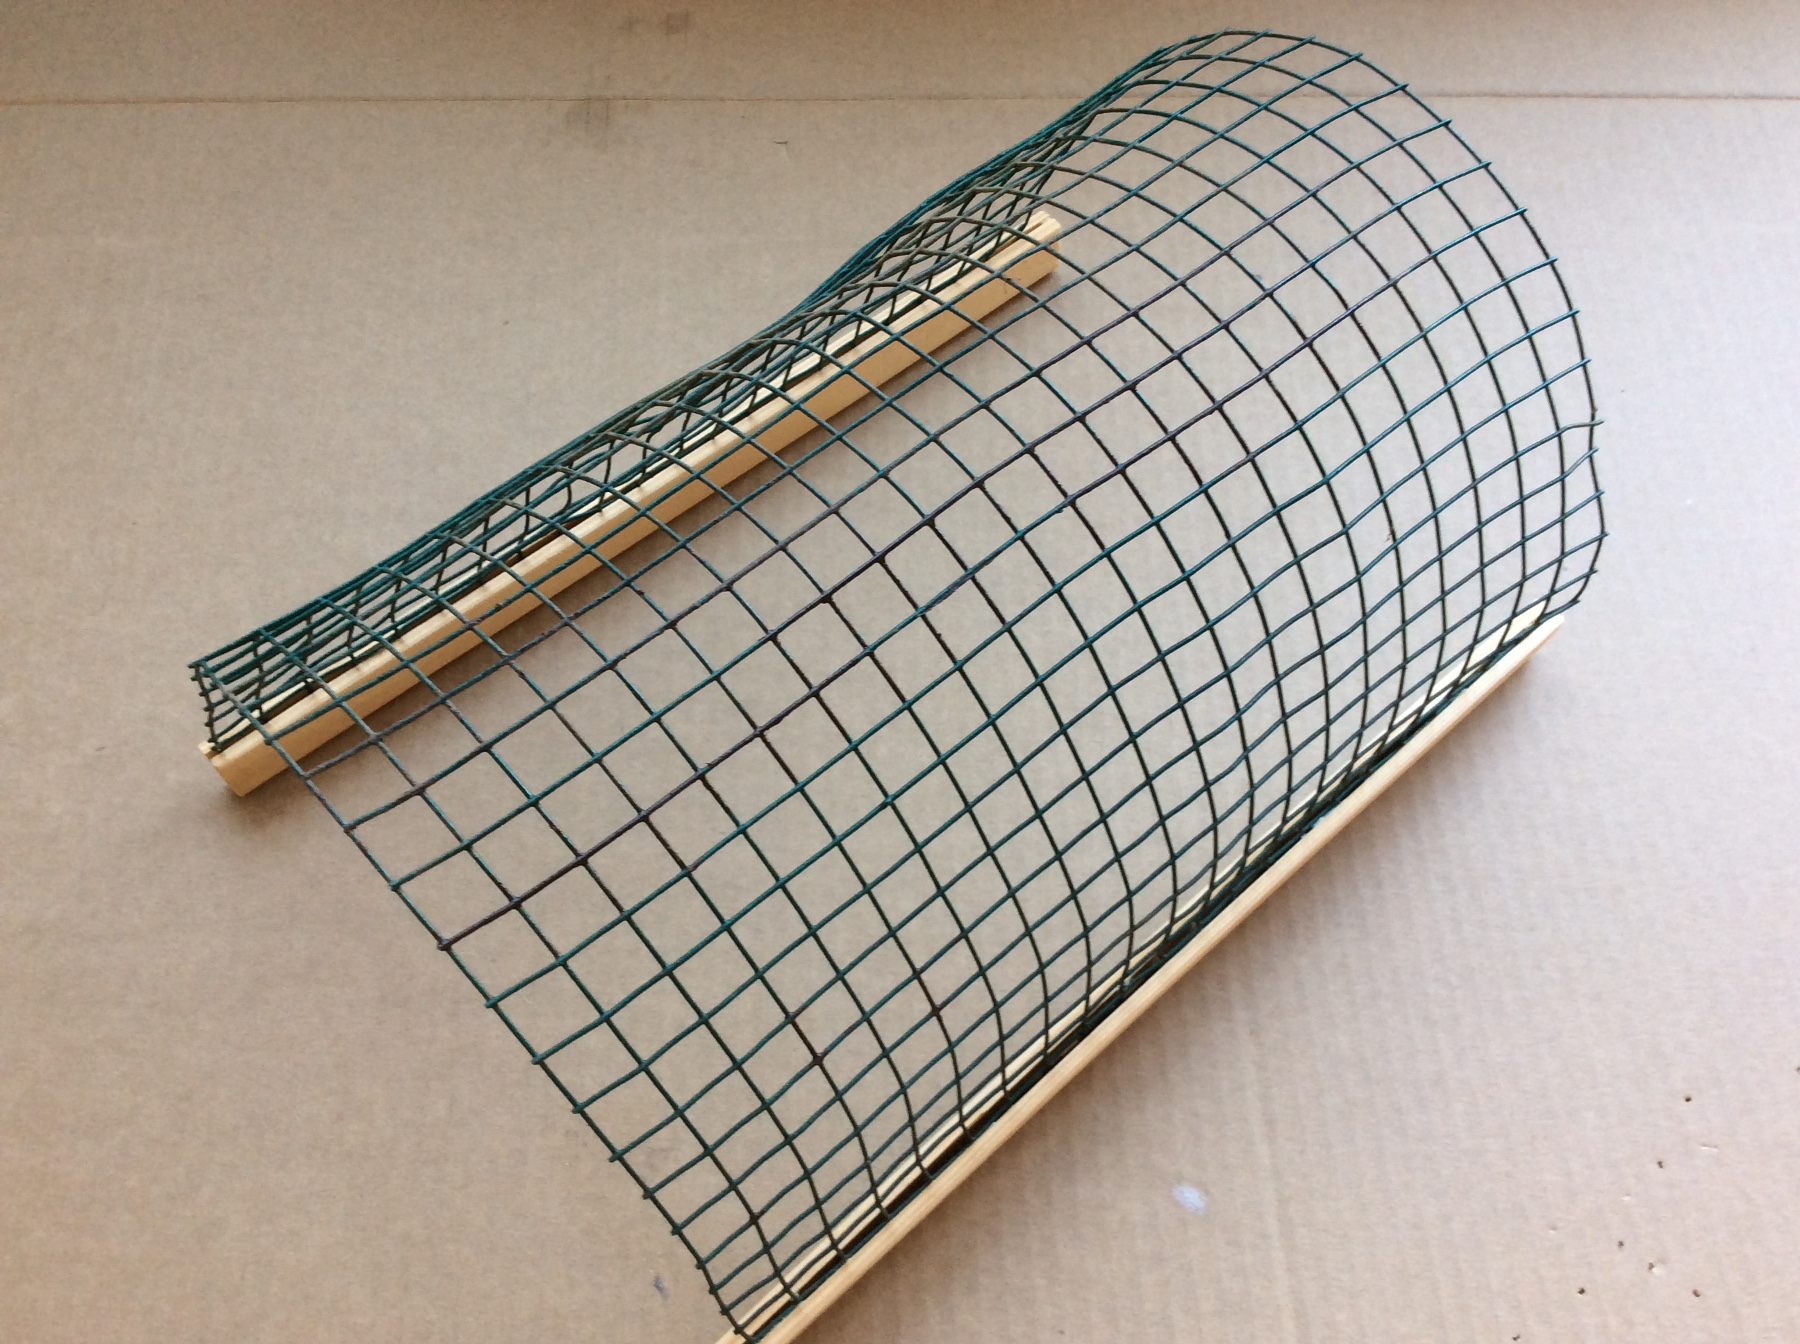
Cut with a wire cutter a piece of mash to size.
Bend the mesh in a tunnel shape.
Saw off 4 slats in the miter box to fit the long tunnel sides.
Sand the sawed off ends of the slats smooth.

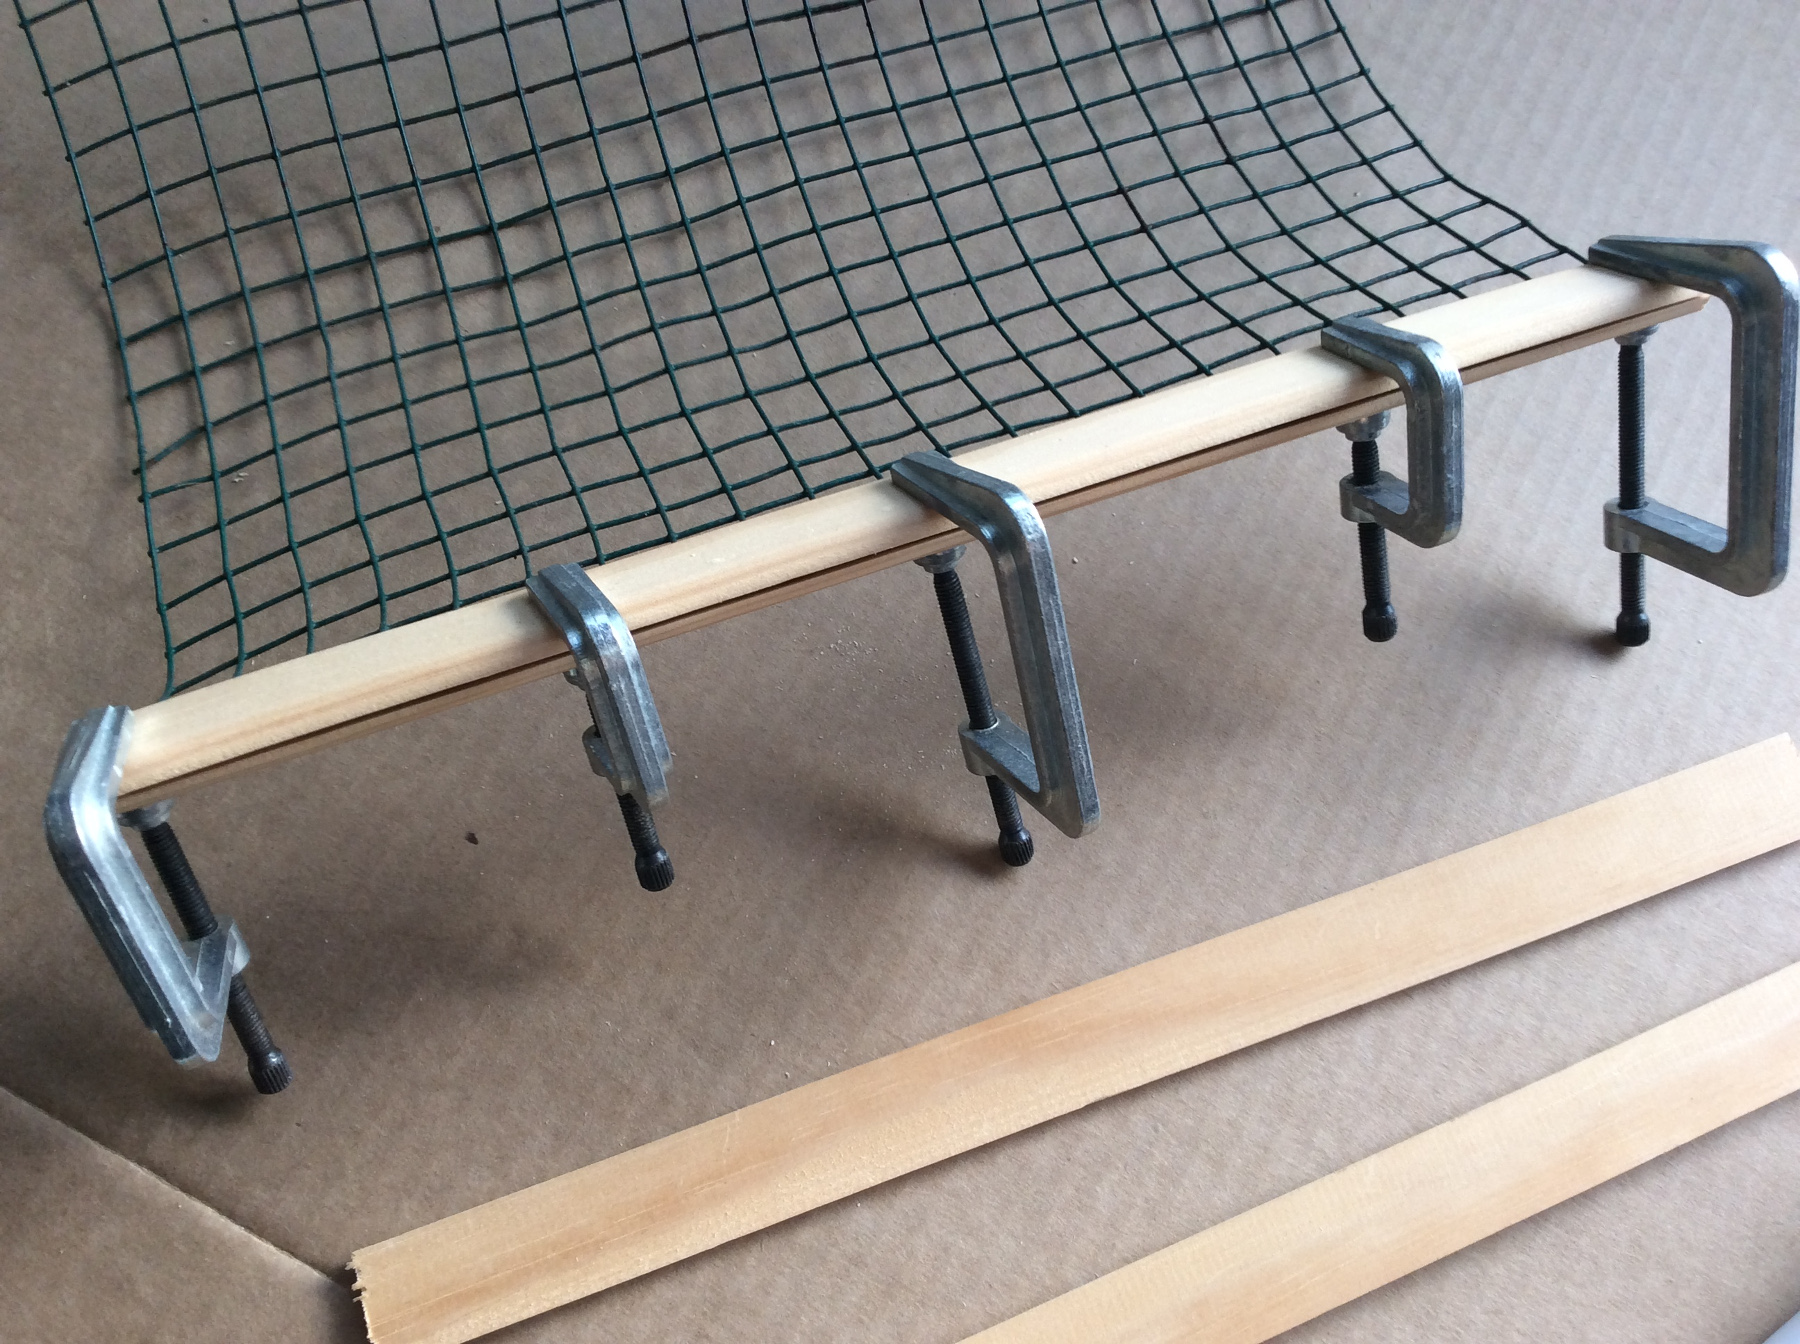
Spread Bison glue on the 4 slats, let them dry 5 minutes.
Press two slats together with the mesh in between, let the glue dry well!
Place glue clamps to press the slats together, the slats give the frame strength.
How to cover the frame into a tunnel
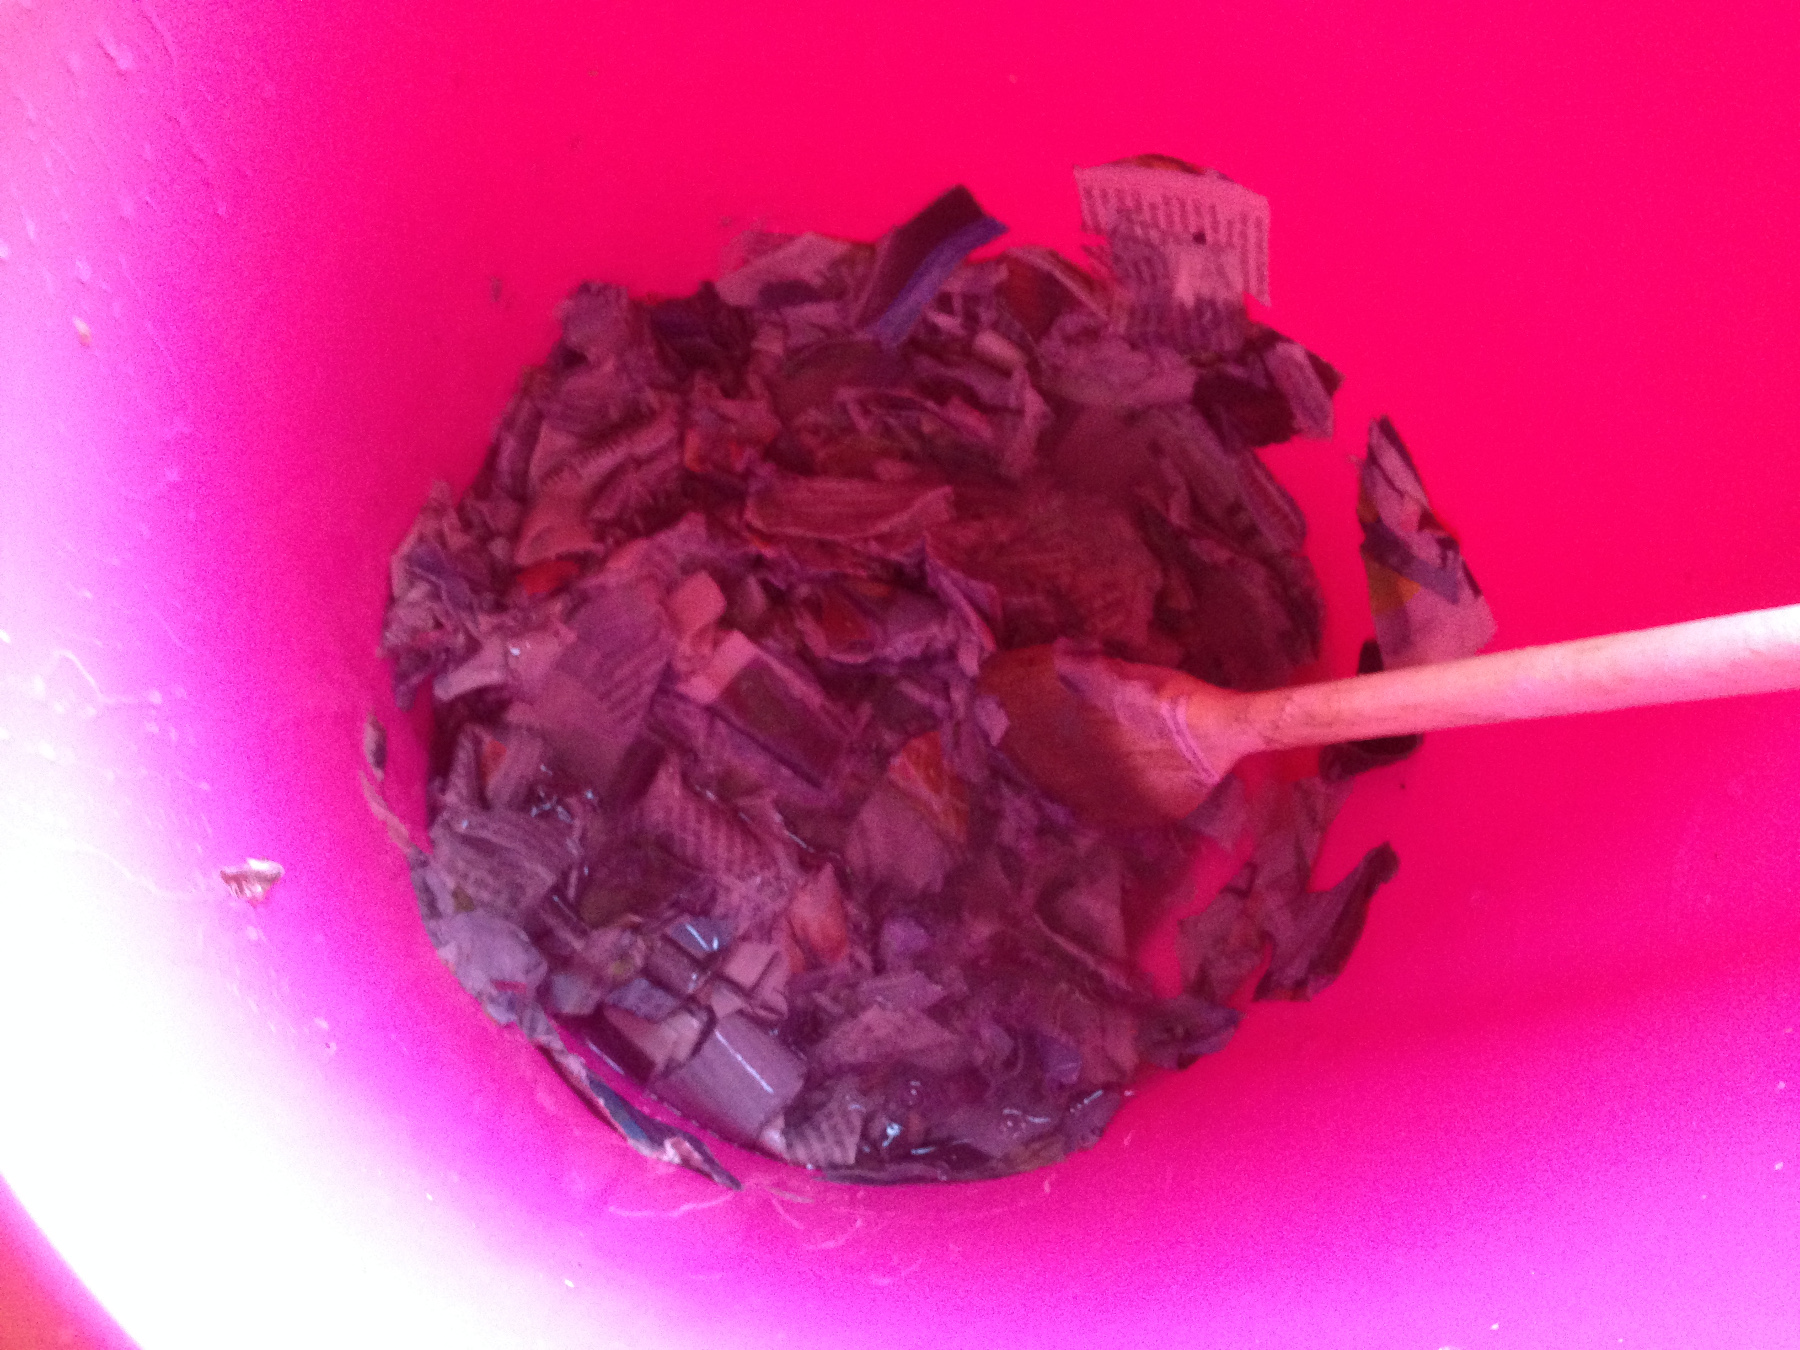
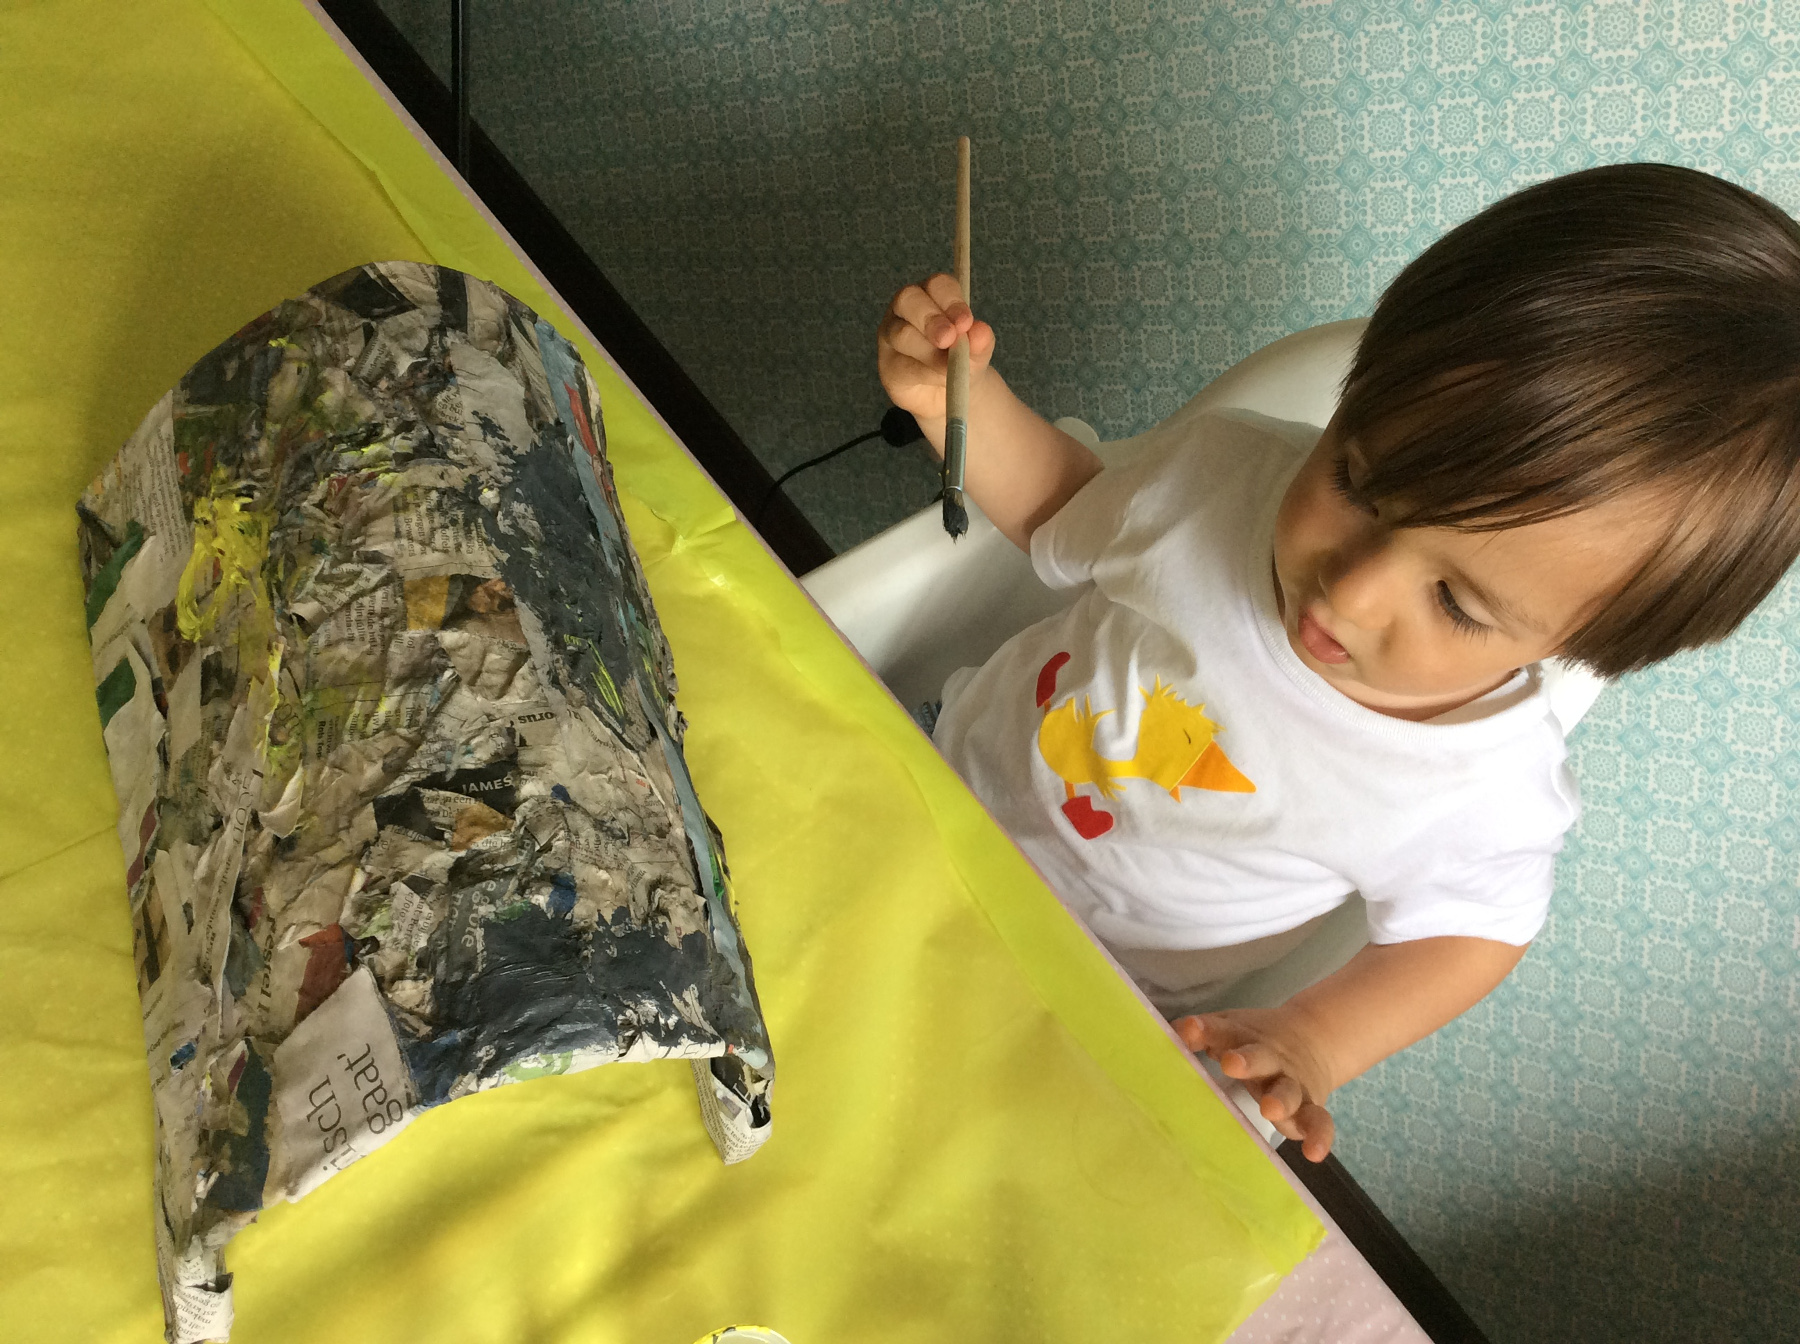
Make wallpaper glue as indicated on the package, stir in shredded pieces of newspapers.
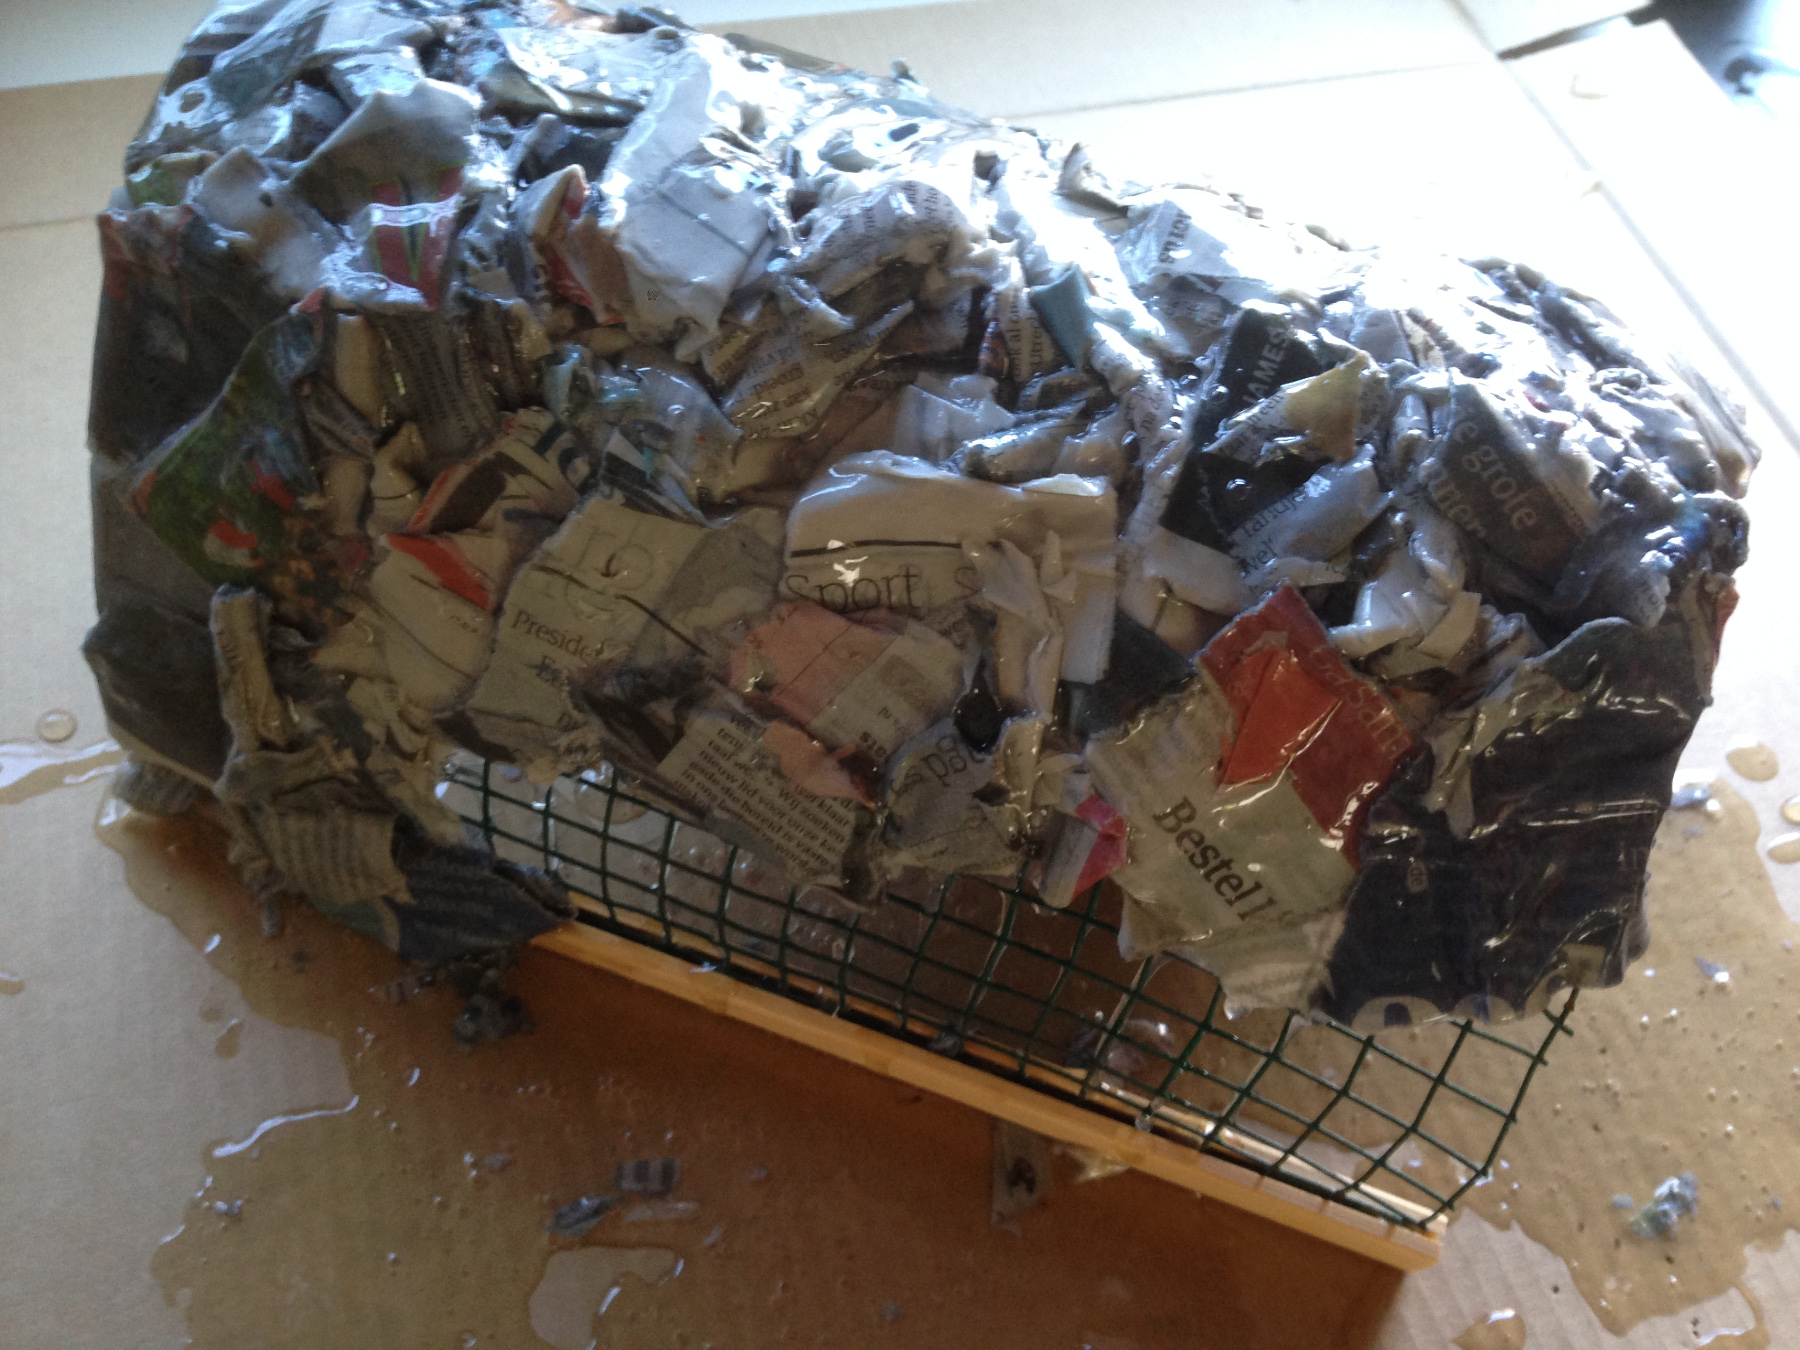
Cover the mesh on the outside of the tunnel completely in paper mache.
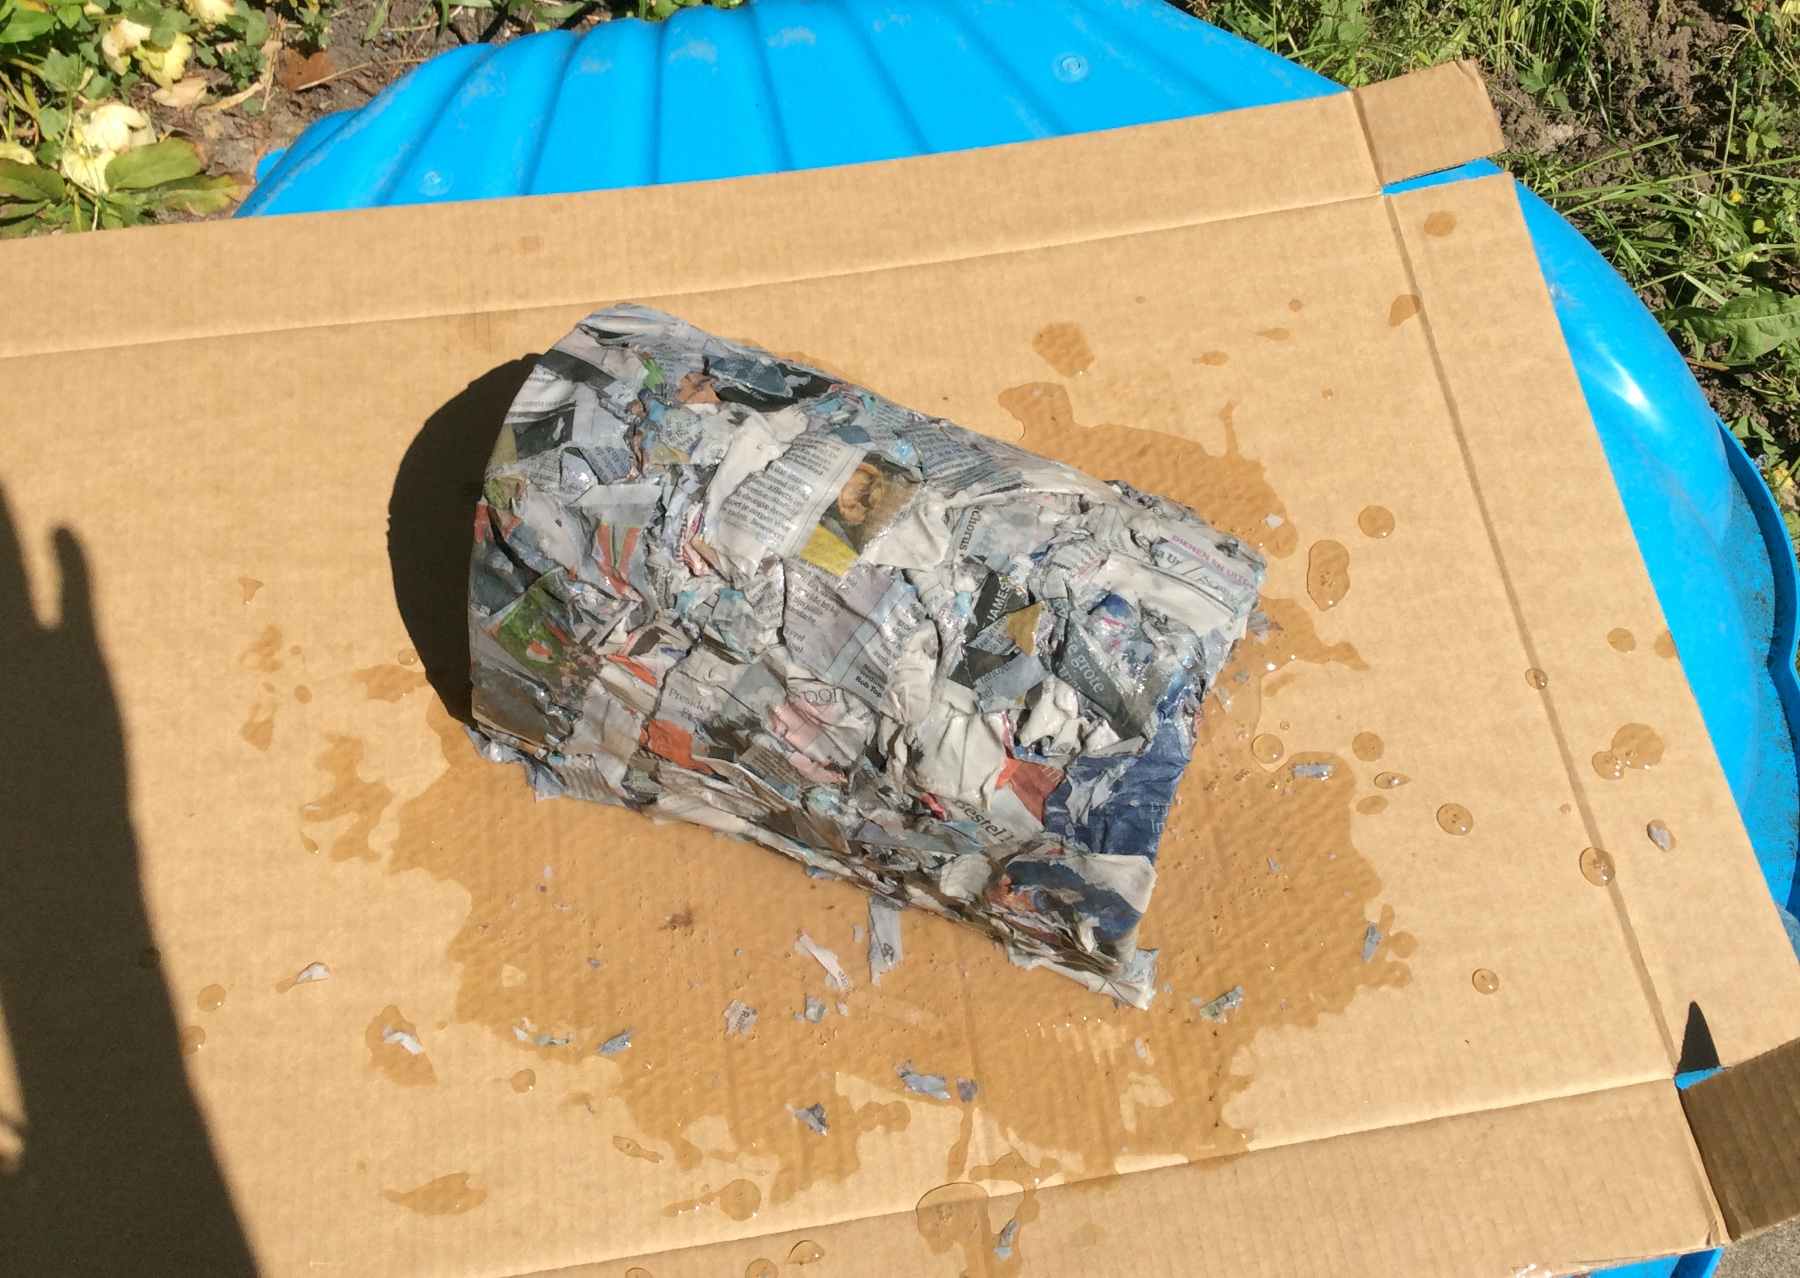
Let the paper mache dry thoroughly, place the tunnel outside in sunshine.
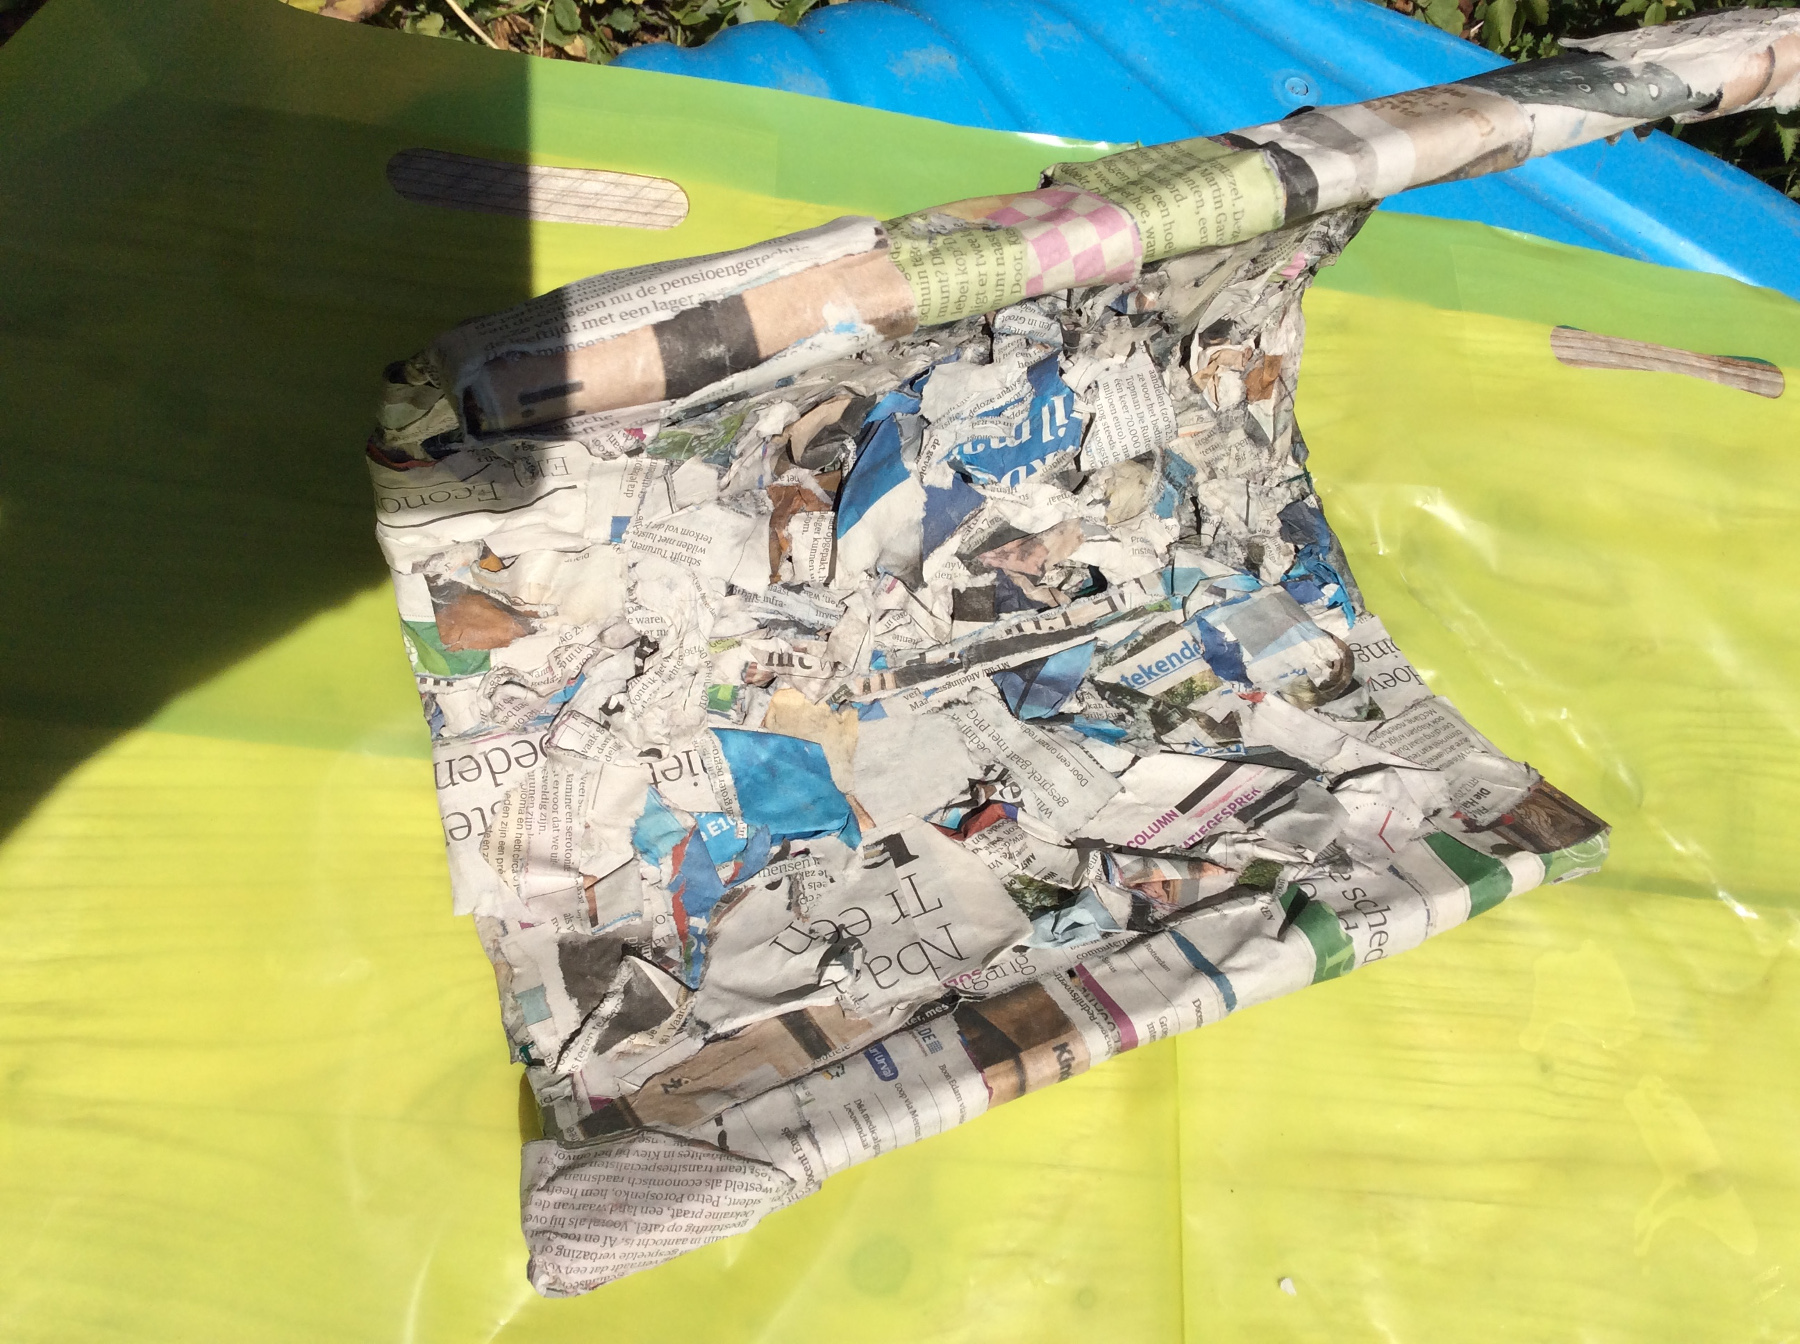
Cover the inside in the same way and let it dry again outside on a sunny spot.
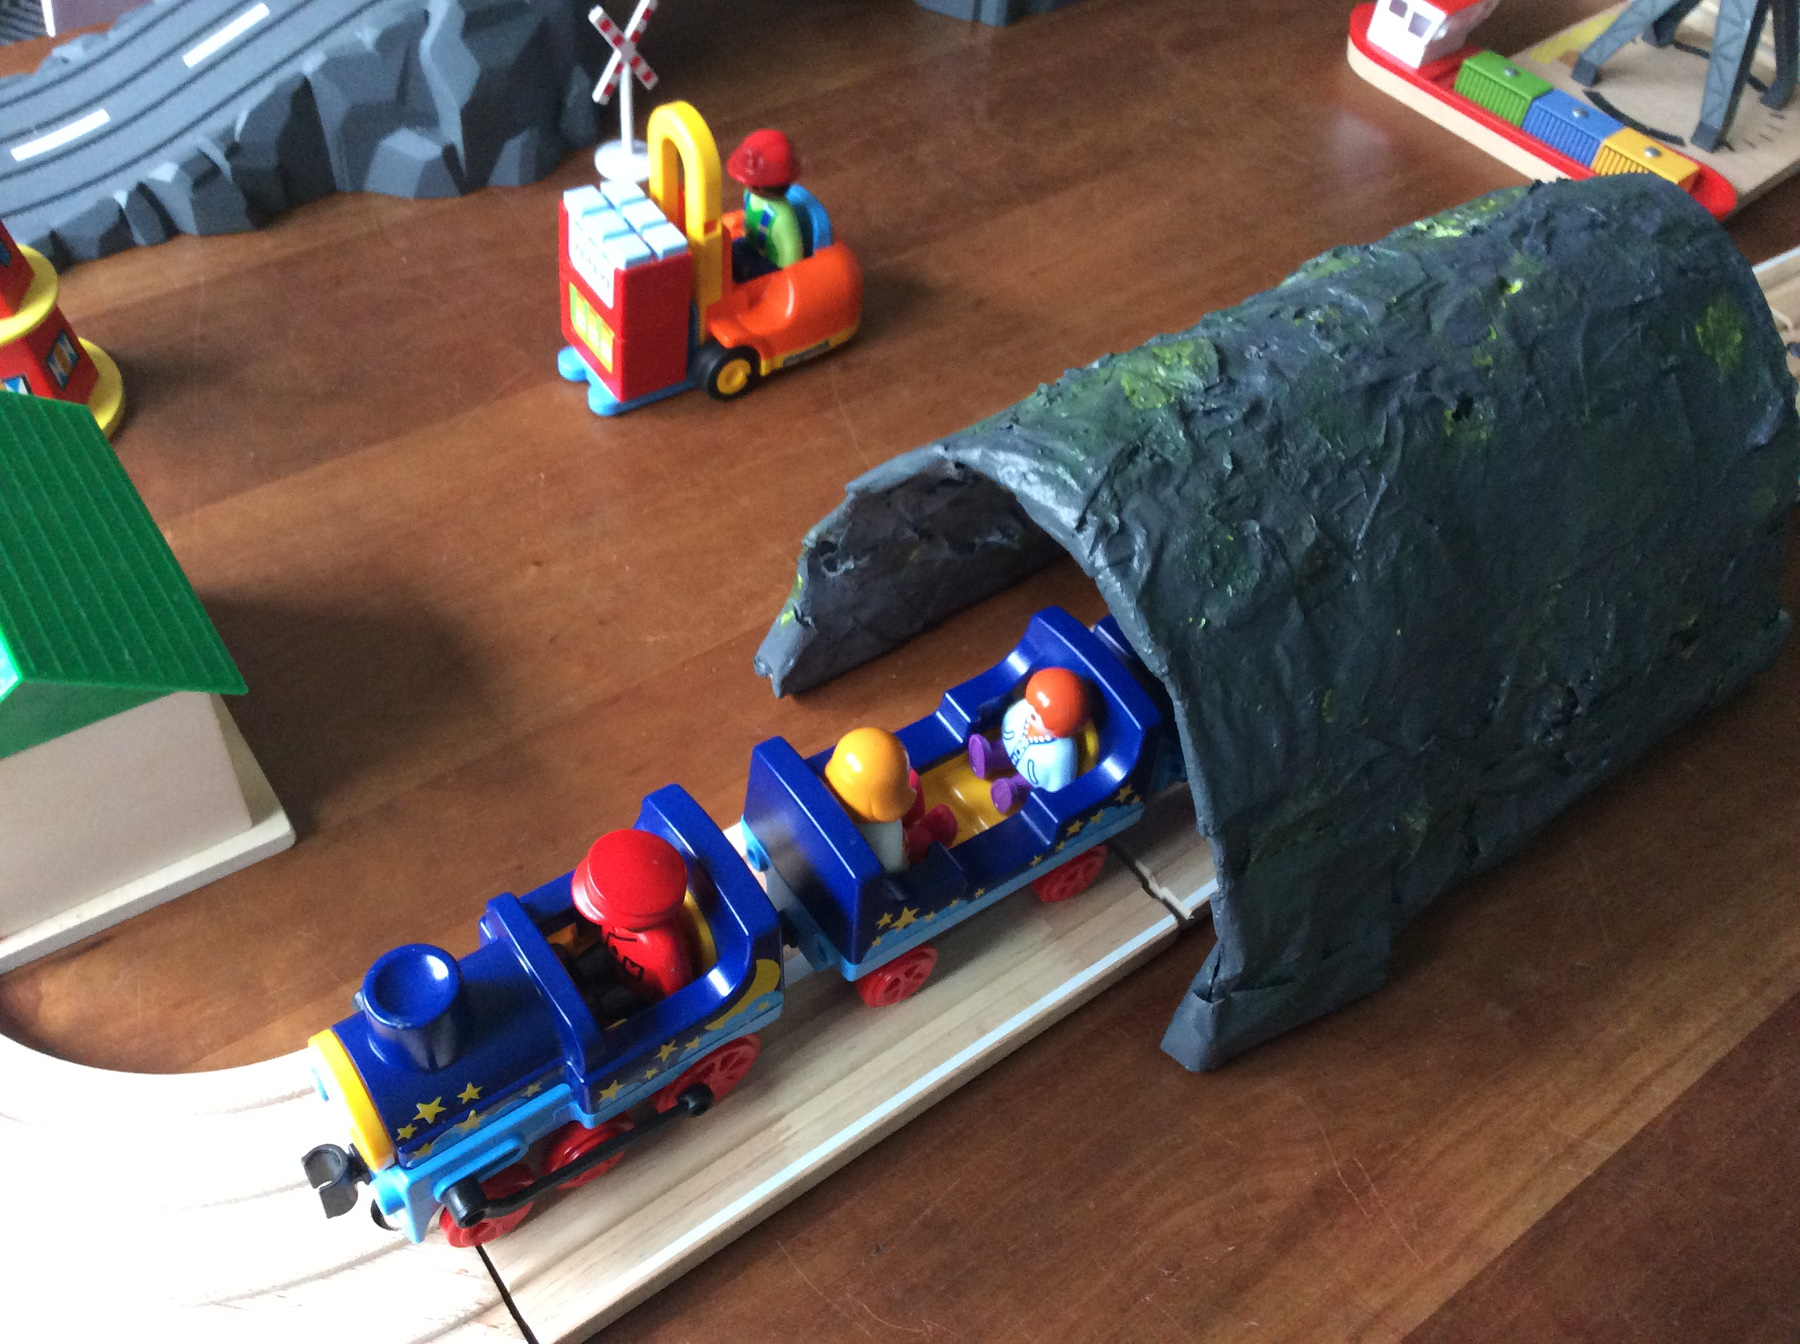
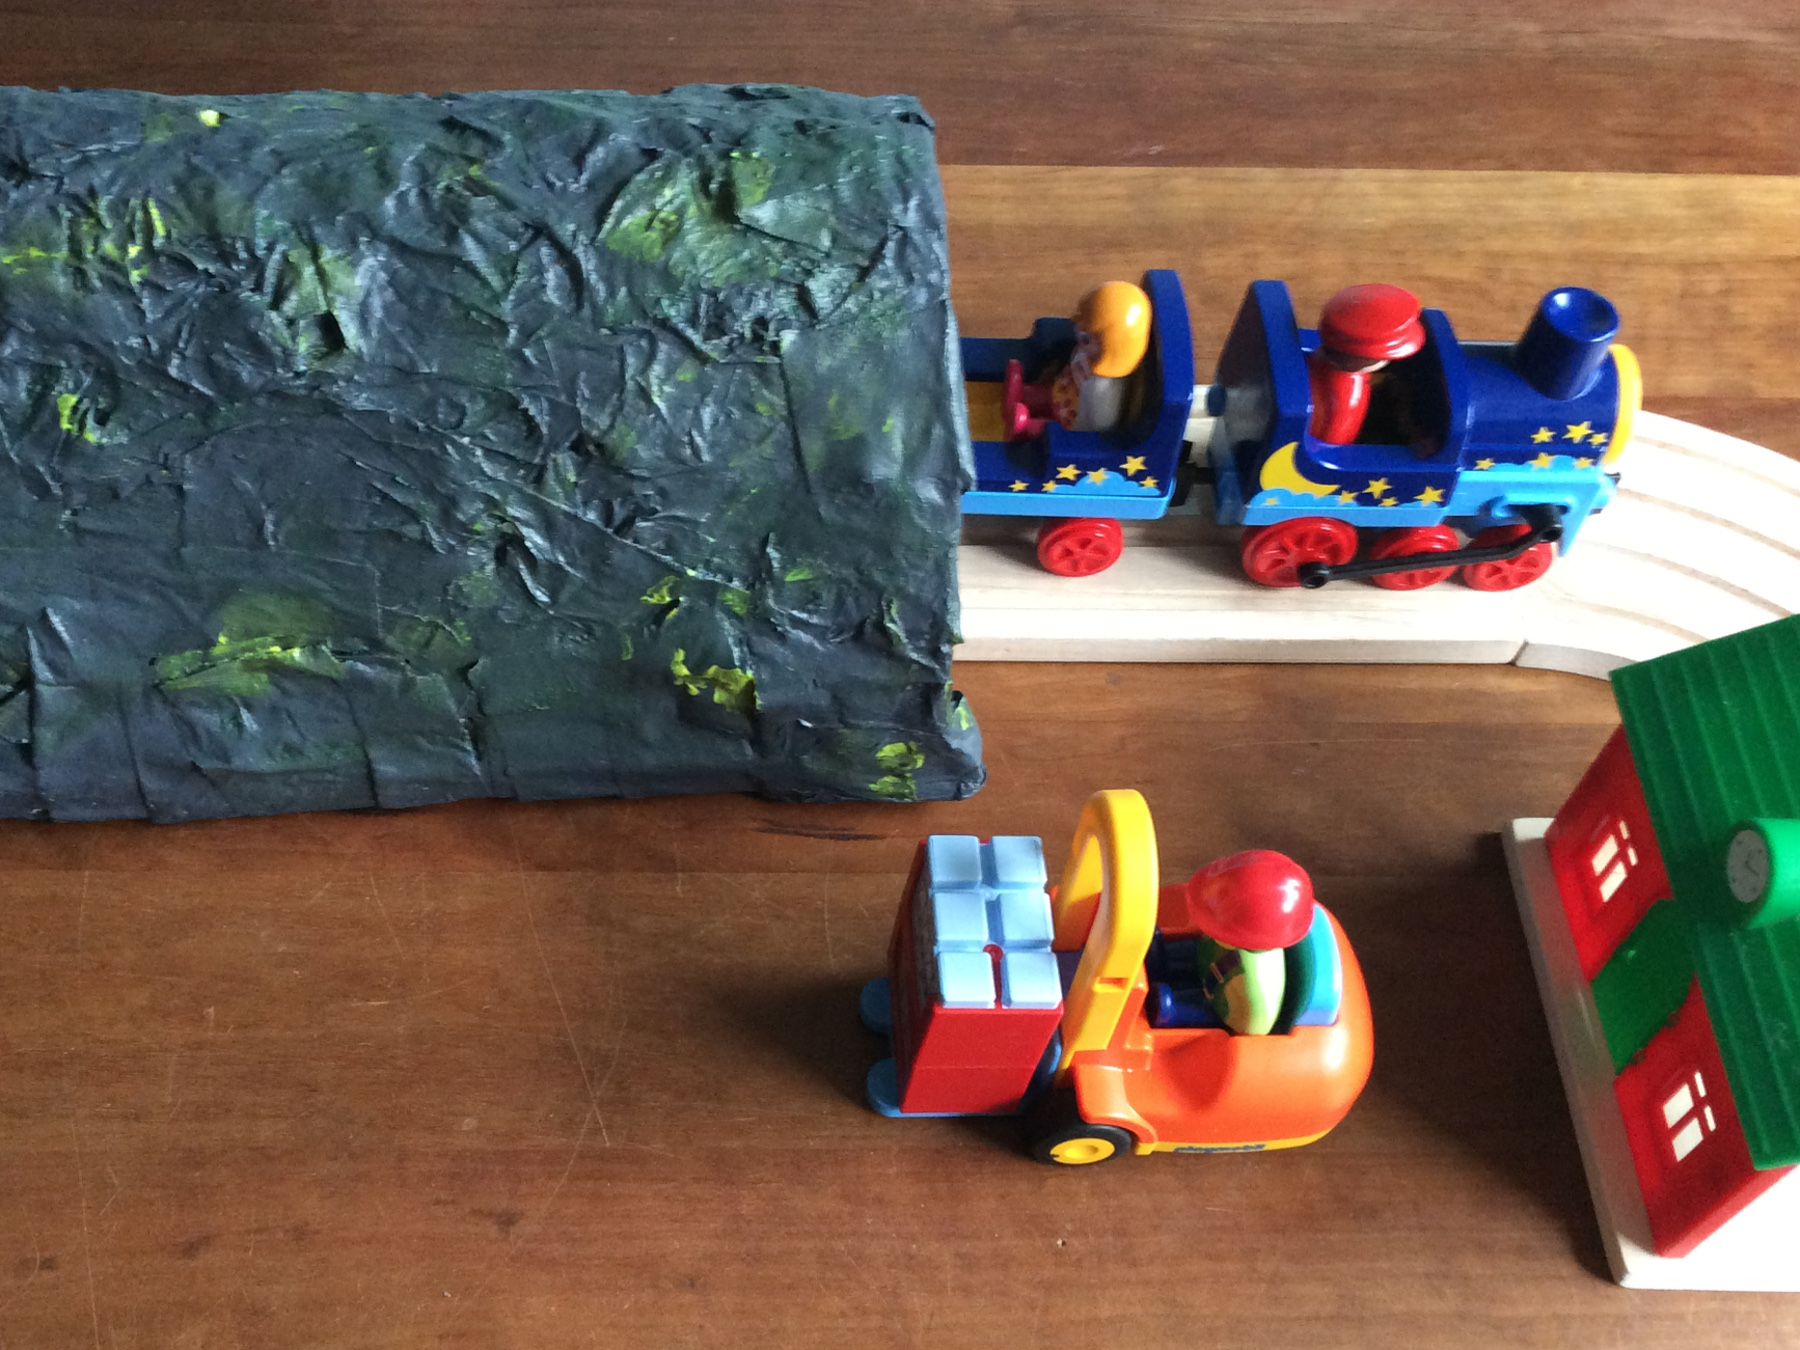
When the tunnel has dried completely you can paint it.
Now you just have to be patient, the paint has to dry again.
But now your tunnel is really ready and it looks super fun on your train track!