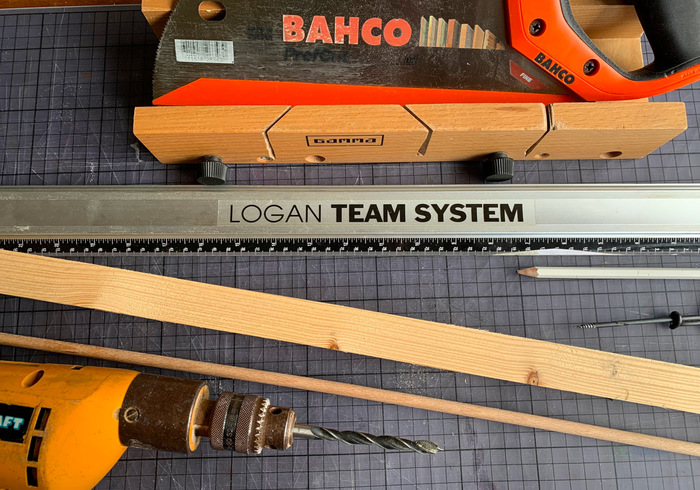
What do you need?
round wood Ø 8mm
a block of wood 25x25m
pencil and ruler
a miter box and a saw
a piece of sandpaper
an electric drill
with an 8mm and 1 mm drill
2 small eyelets
a small ferret drill
white cotton thread
4 small wooden beads
an embroidery needle
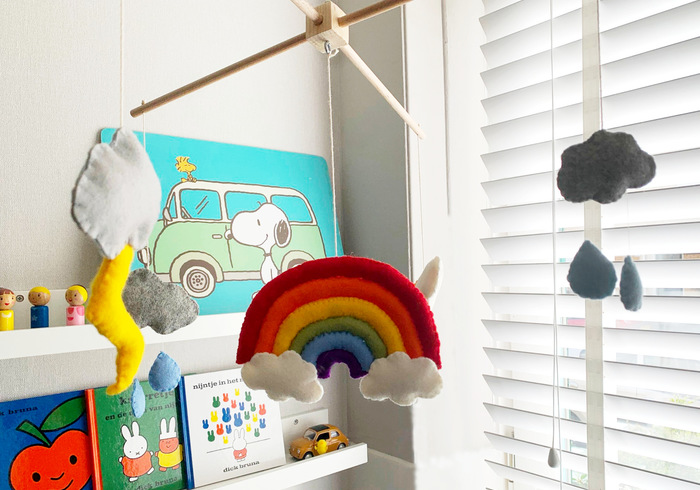
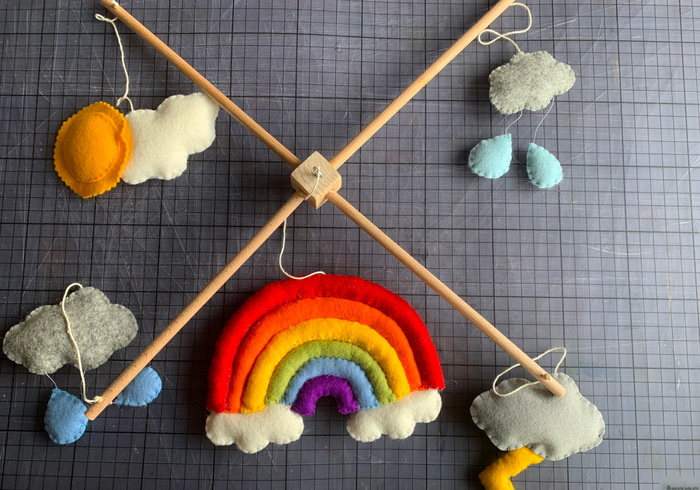
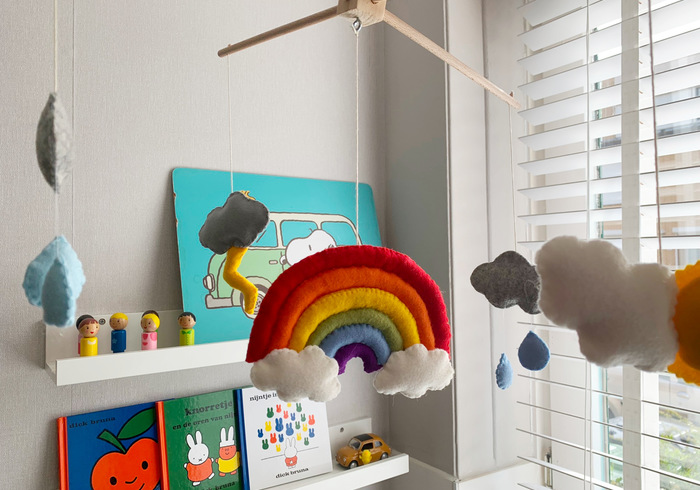
Today we are going to saw and drill, just like a real woodworker! Not on our own of course, we have help from mummy! We sand and she does the dangerous stuff ;)) We finish the weather mobile and make a little boy happy with it (we hope so anyway!). We saw the parts, sand them, drill in them, sand them again and then we glue them together. It turned out really pretty, our weather mobile!
How to finish the weather mobile
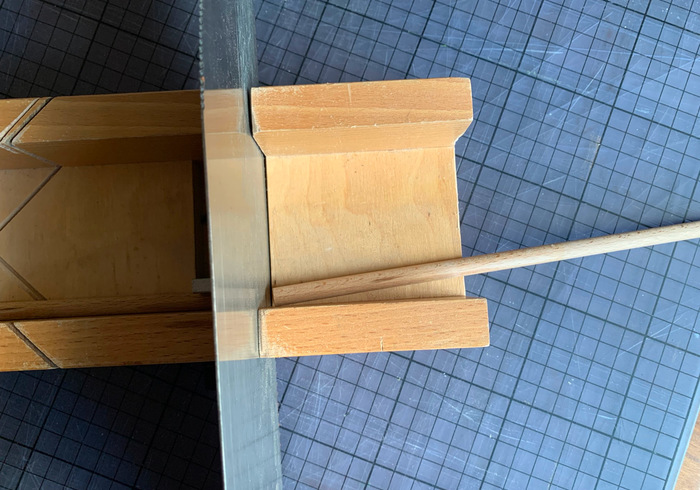
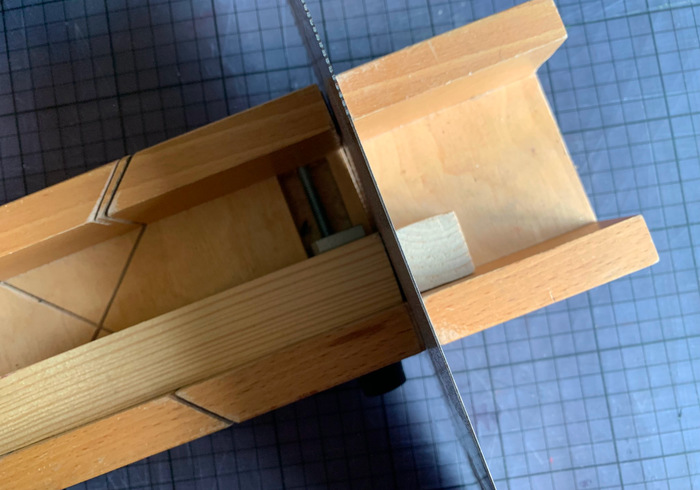
Saw off 4 pieces of round wood of 22cm long.
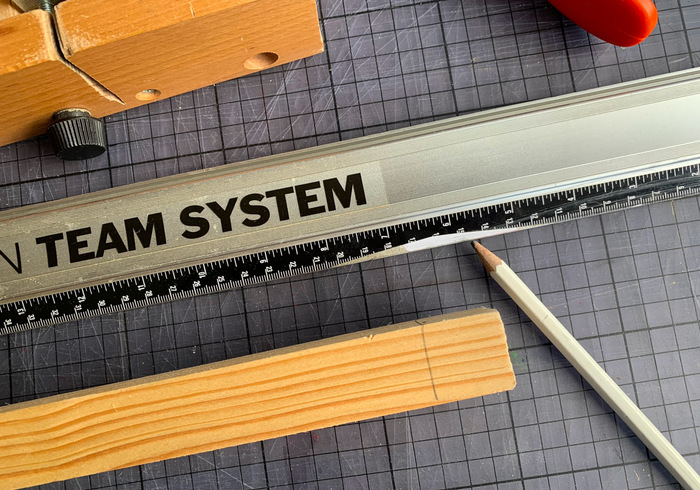
Measure and mark a cube of wood, 25x25mm.
Saw off the cube in the mitre box and sand it smooth,
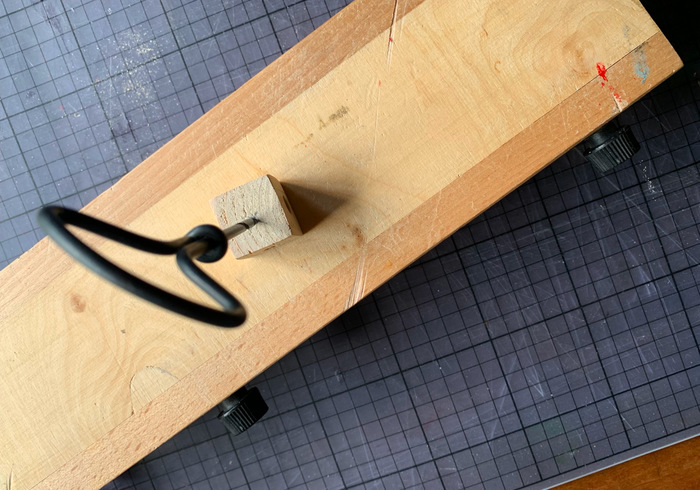
Twist a hole in the middle using the ferret drill.
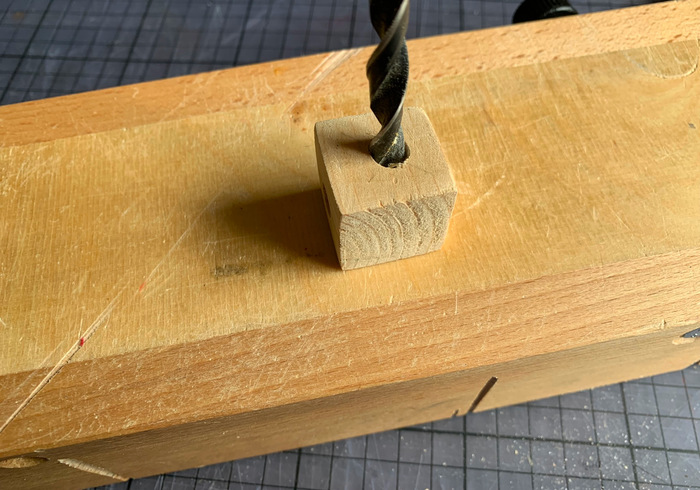
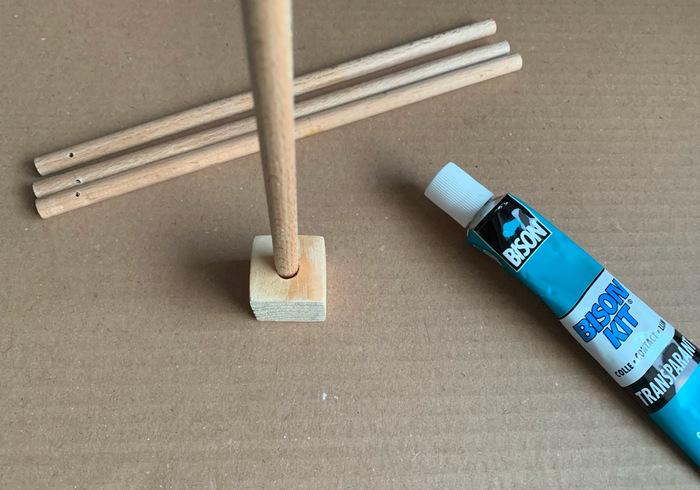
Drill a hole in 4 sides of the cube.
So the sticks will fit in.
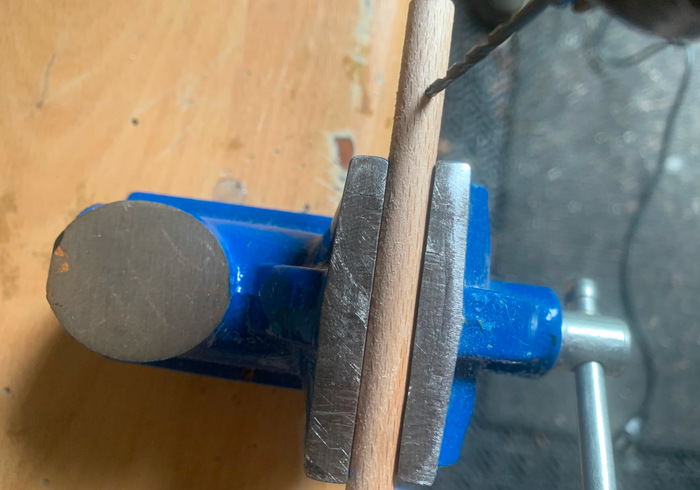
Fasten the sticks and drill in holes.
Drill the hole 1.5cm from the end of each stick
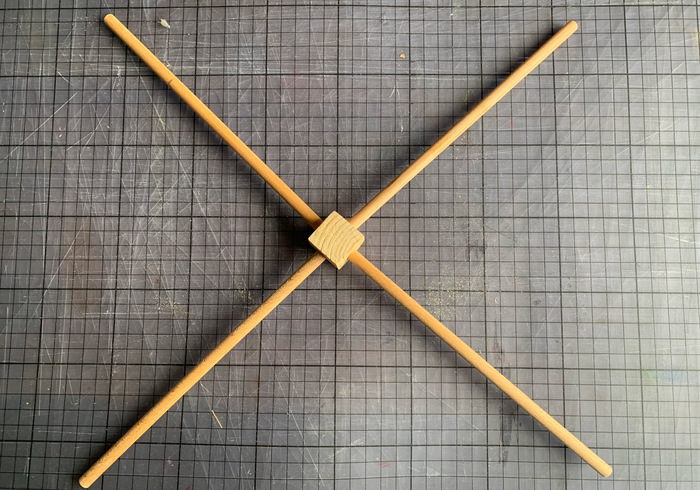
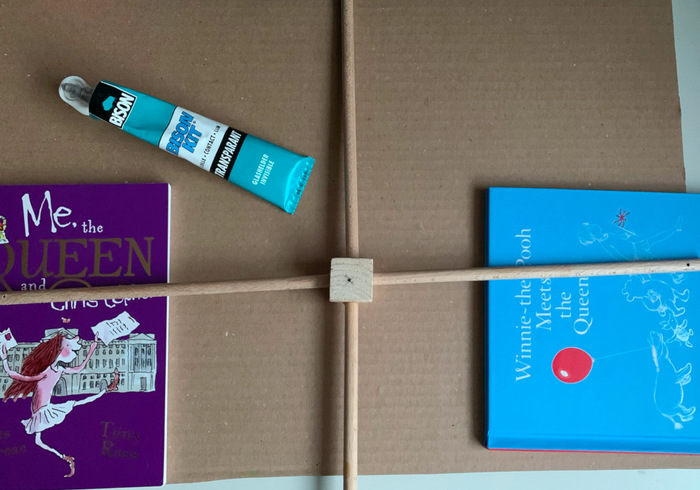
Glue the sticks into the holes.
Let the glue dry completely.
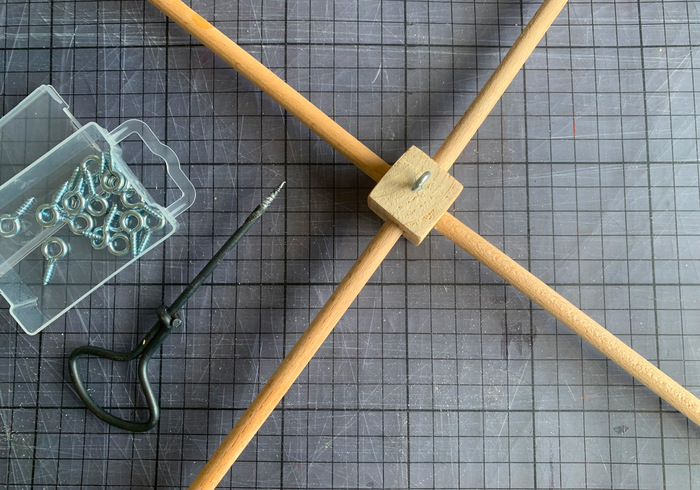
Twist eyelets in the empty sides.
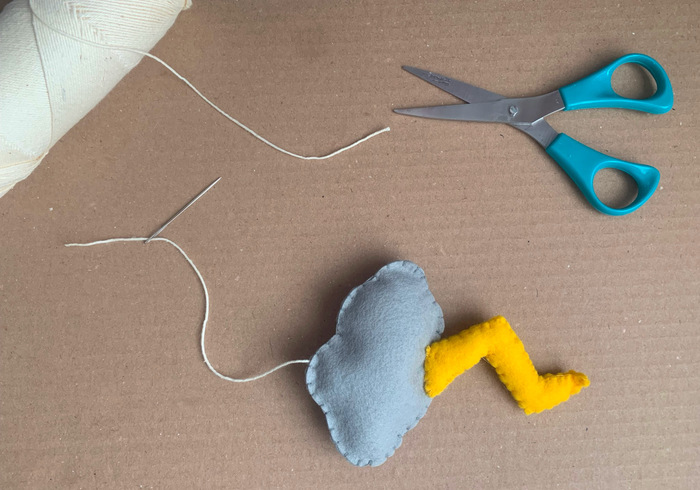
String a thread through the figures.
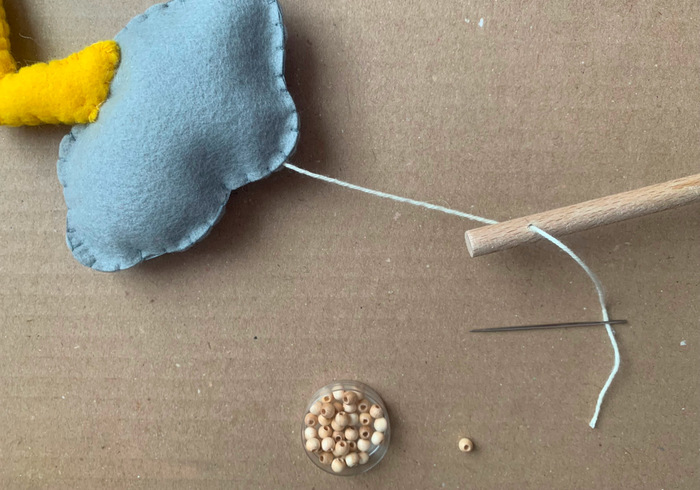
Thread the string through a stick.
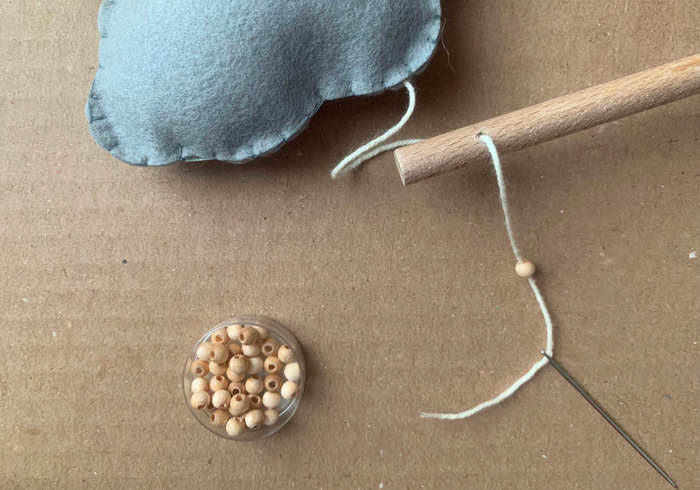
String a bead on the thread.
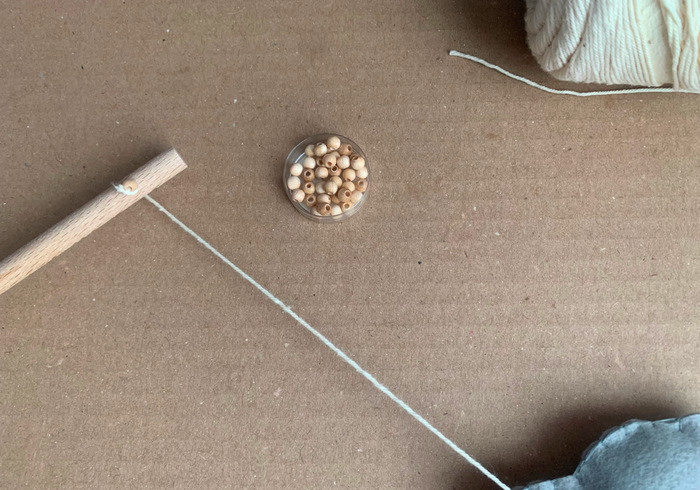
Tie a knot in the thread and cut it off.
Tie the other three figures also on the sticks in the same way and tie the rainbow on the eyelet, on the underside
Twist also an eyelet in the top of the cube and tie a thread on.
Hang the mobile in a nice spot!
The mini monsters love the weather mobile but they are missing snowflakes, OH NO! But who knows, maybe in winter ;)

