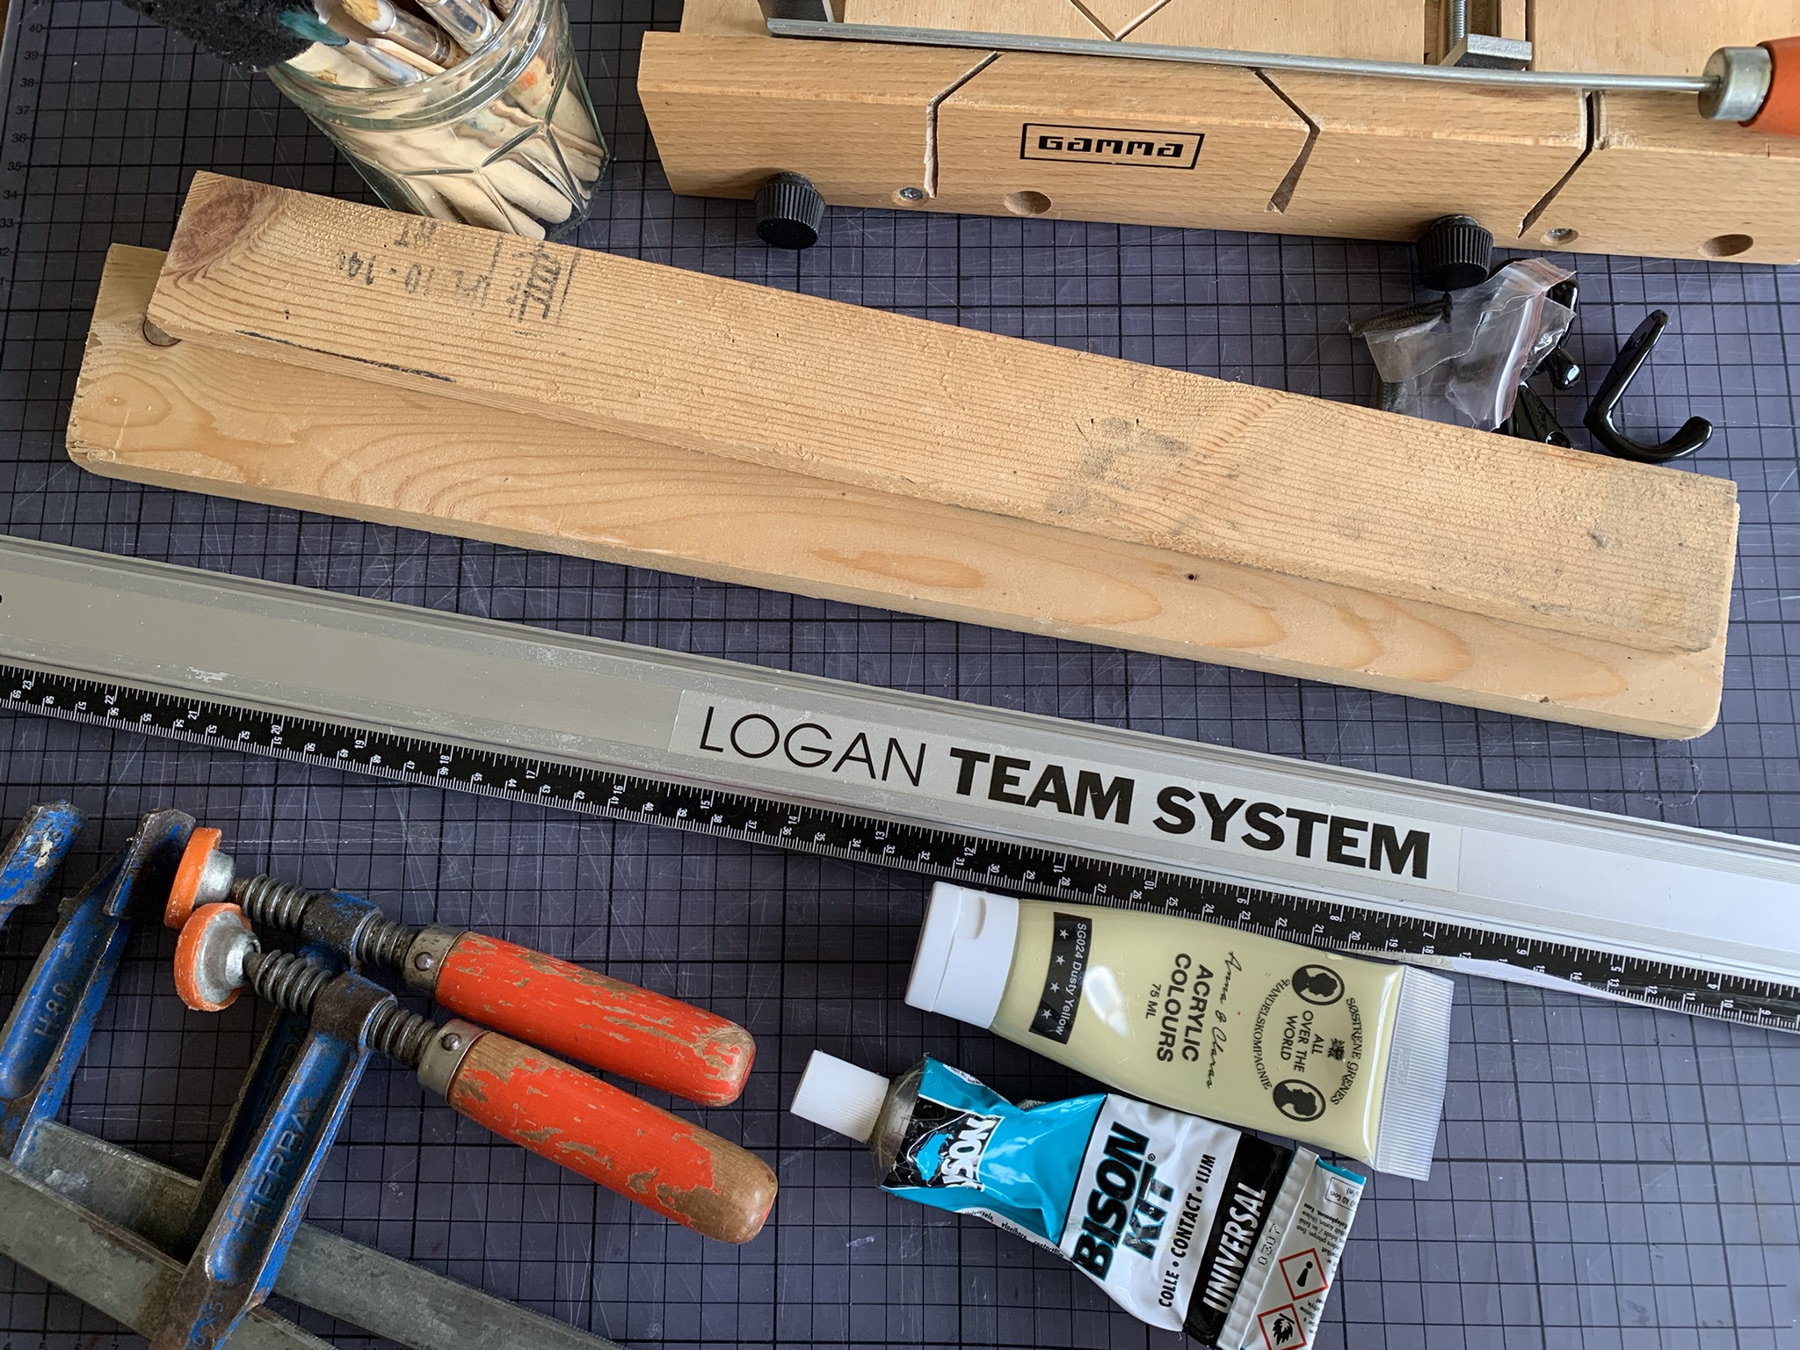
What do you need?
a piece of wood from 70 x 12mm
a piece of wood from 45 x 15mm
pencil and ruler
saw and mitre
piece of sandpaper
Bison glue and glue clamps
paint and brush
drill
3 coat hooks
plugs & screws
screwdriver
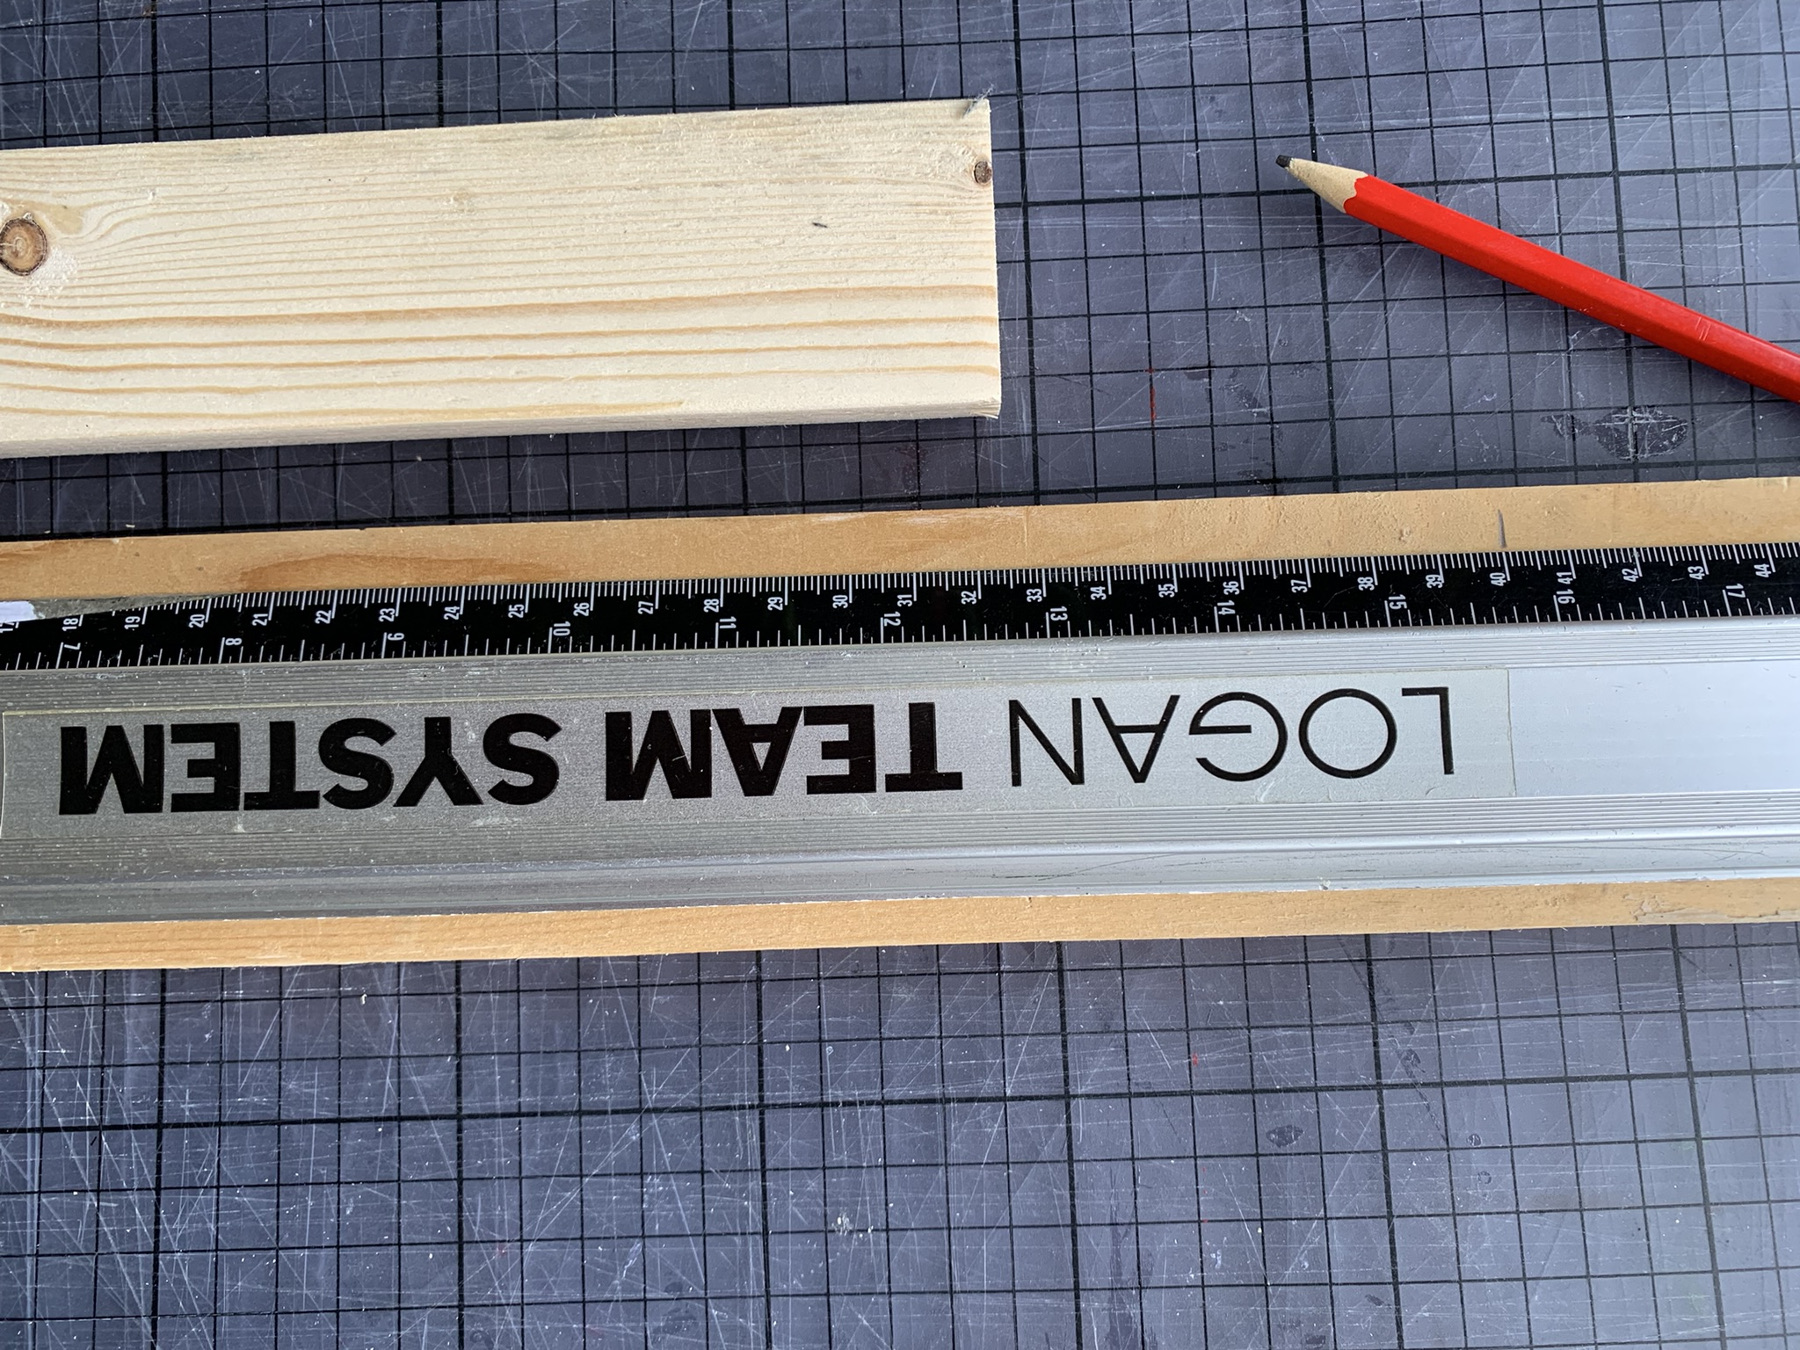
Measure and mark the wood on the correct length.
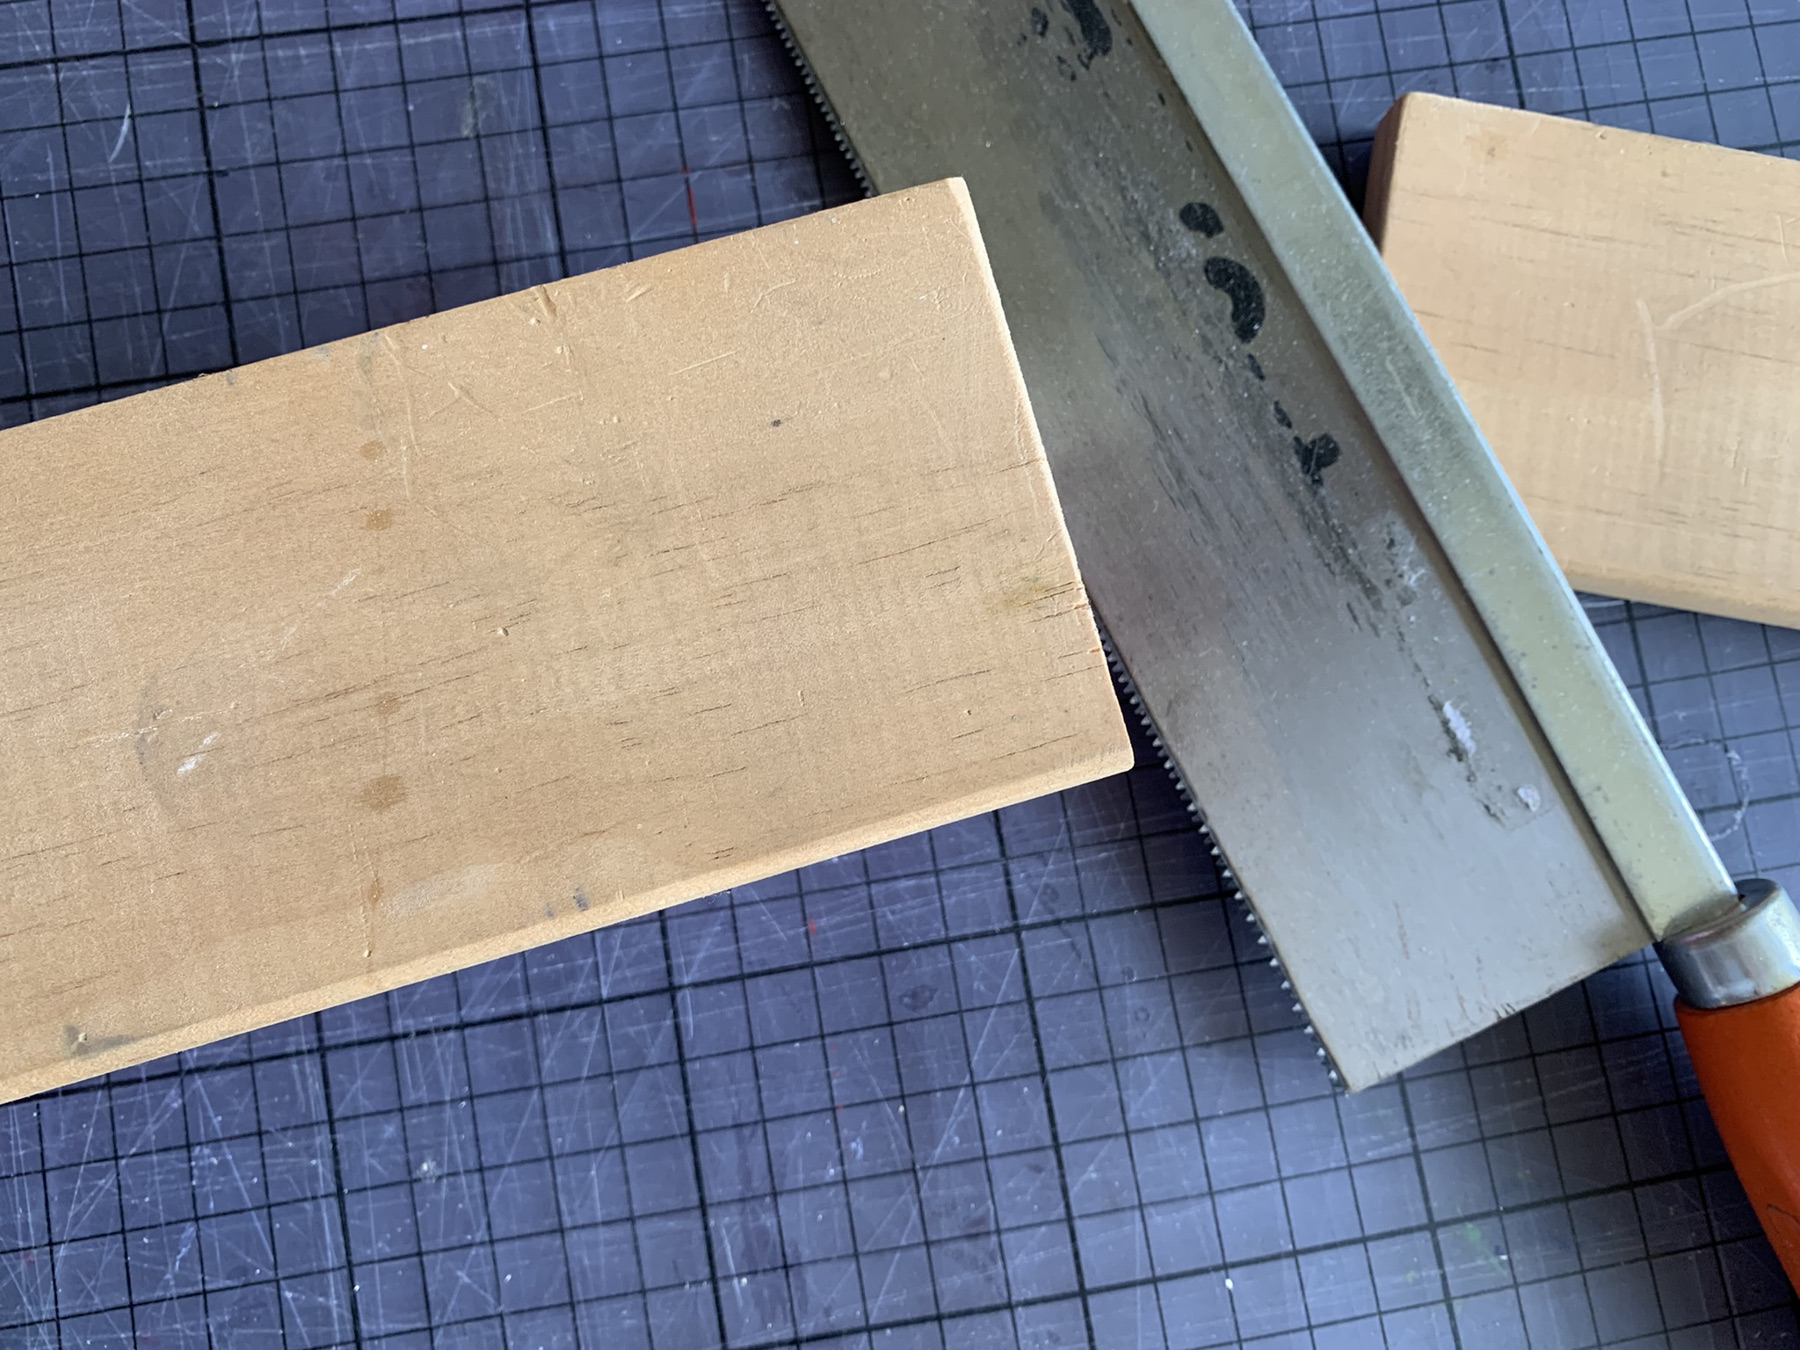
Saw off the widest piece of wood at 40cm.
Saw off the narrow wood too, at 40cm, in a mitre.
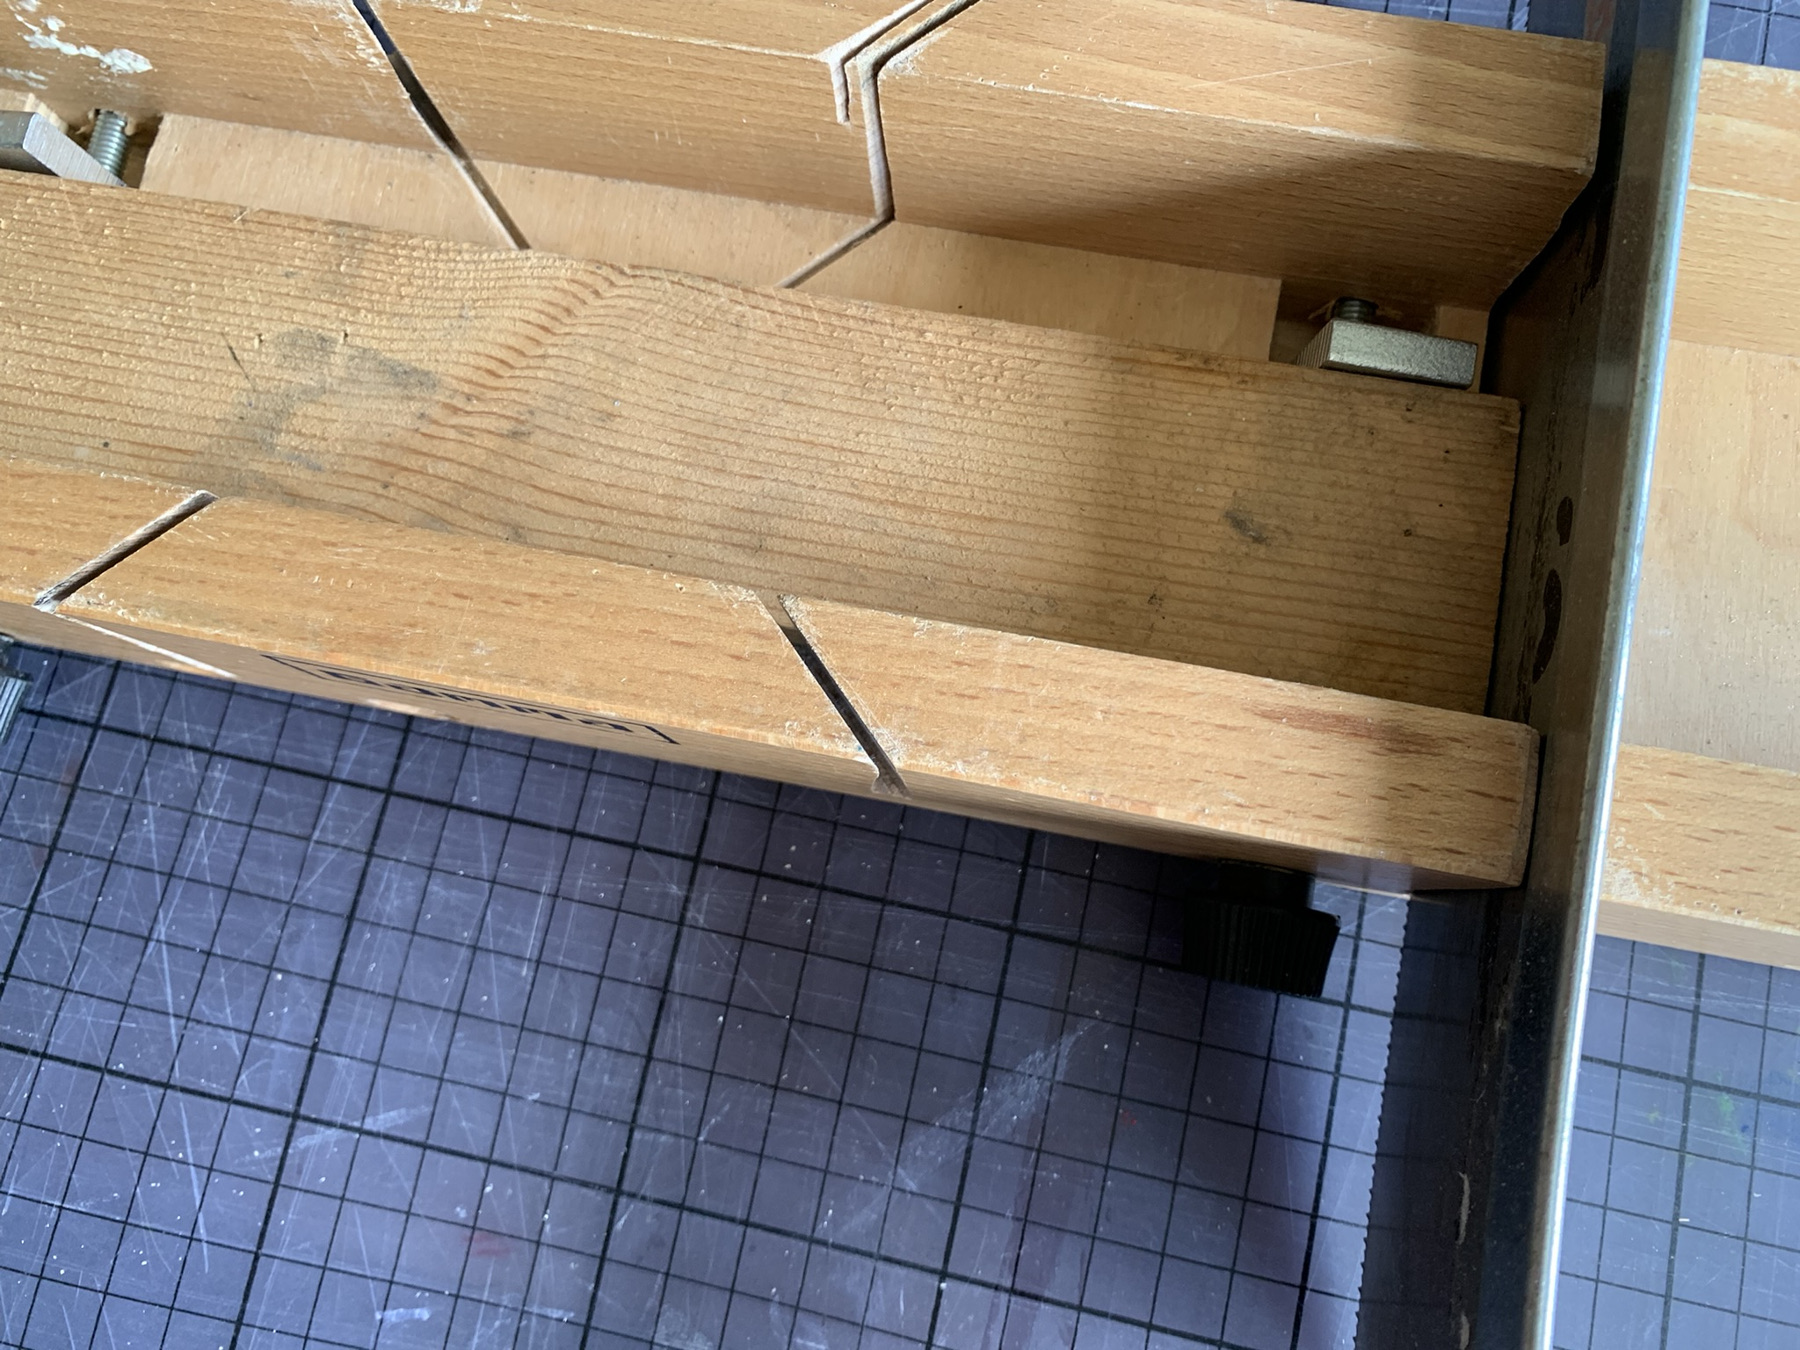
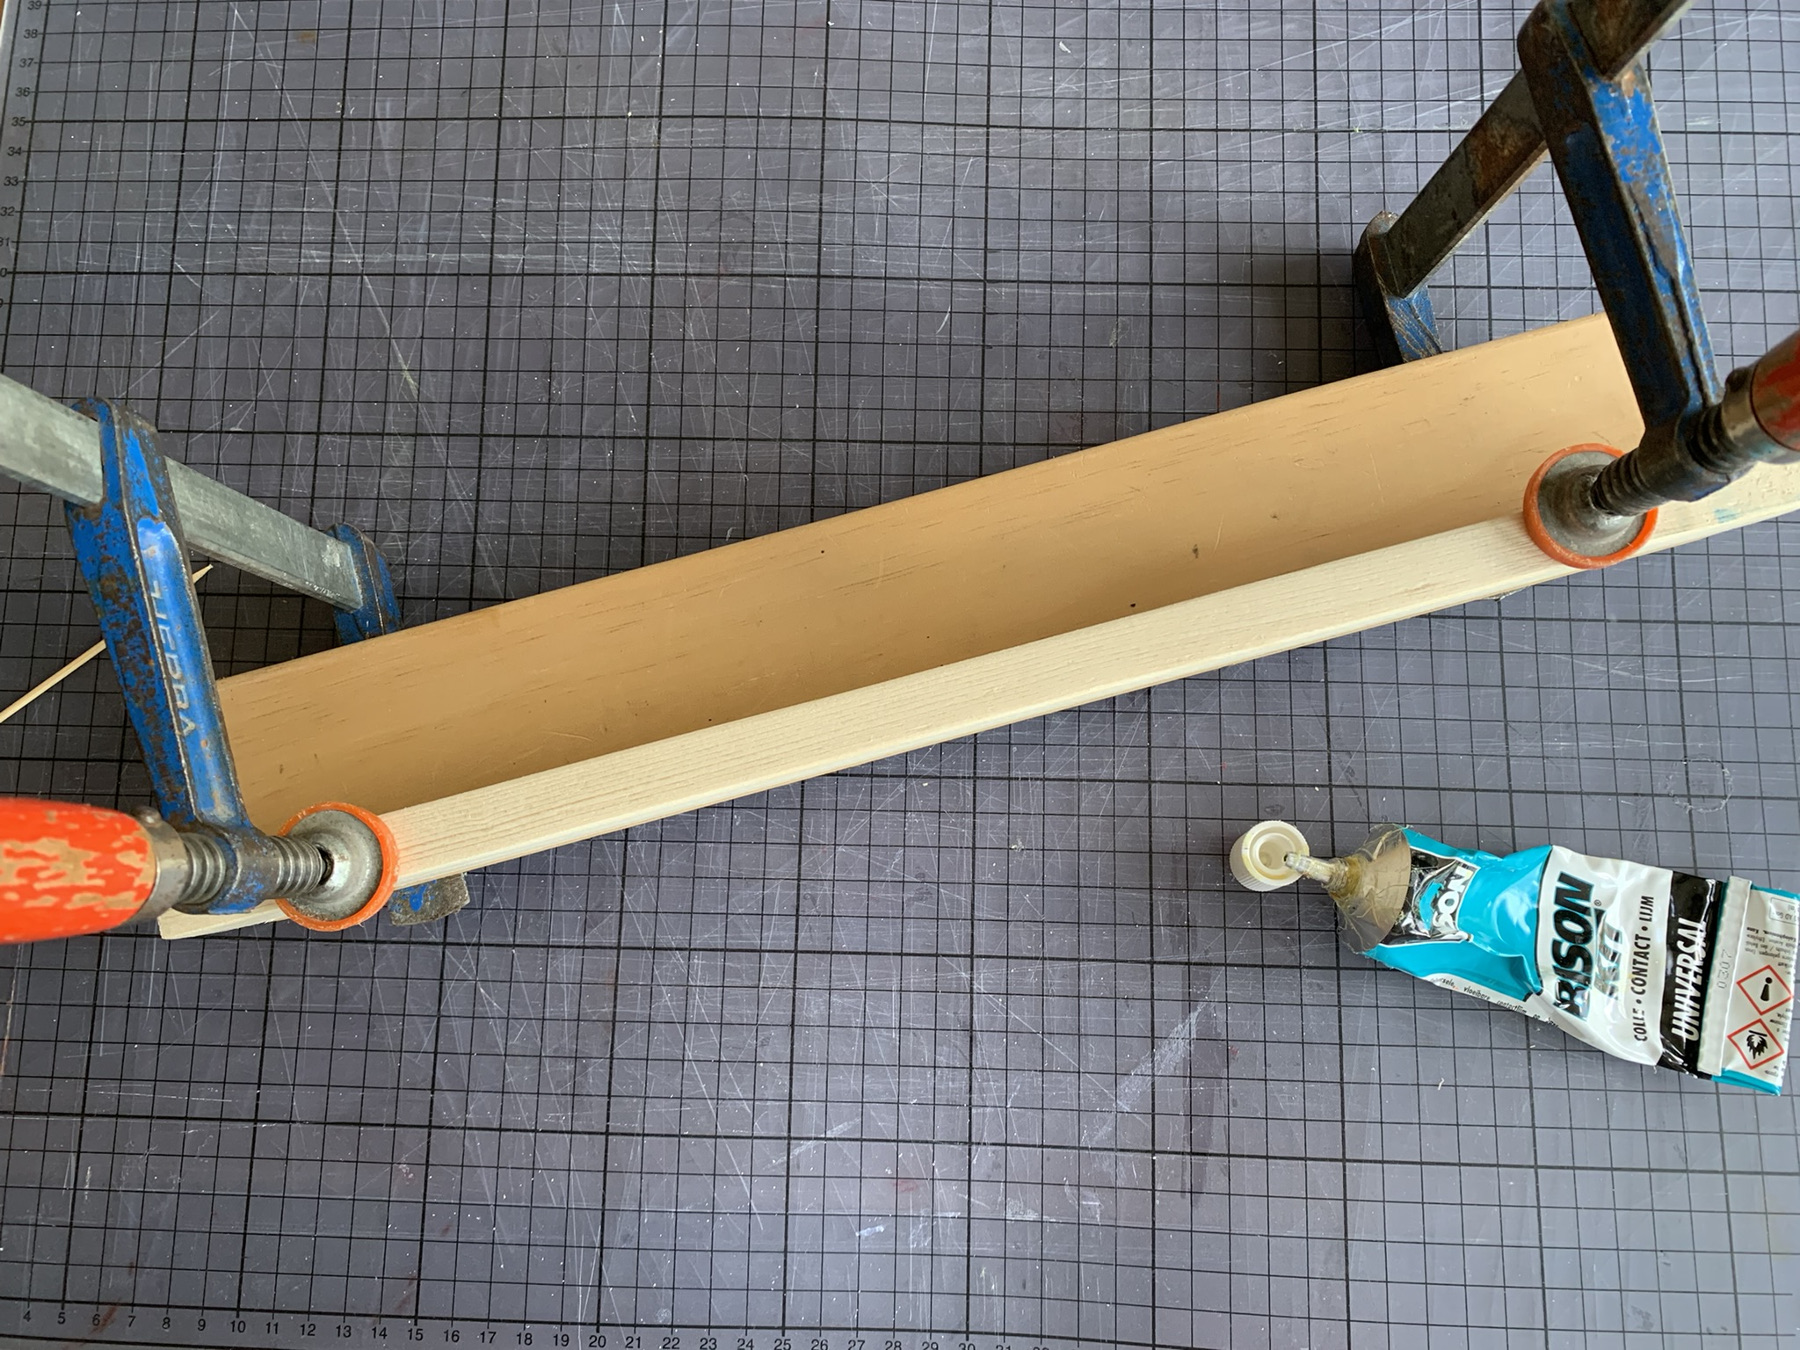
Stick the planks together and let the glue dry completely.
Put glue clamps on the coat rack to press the planks firmly together
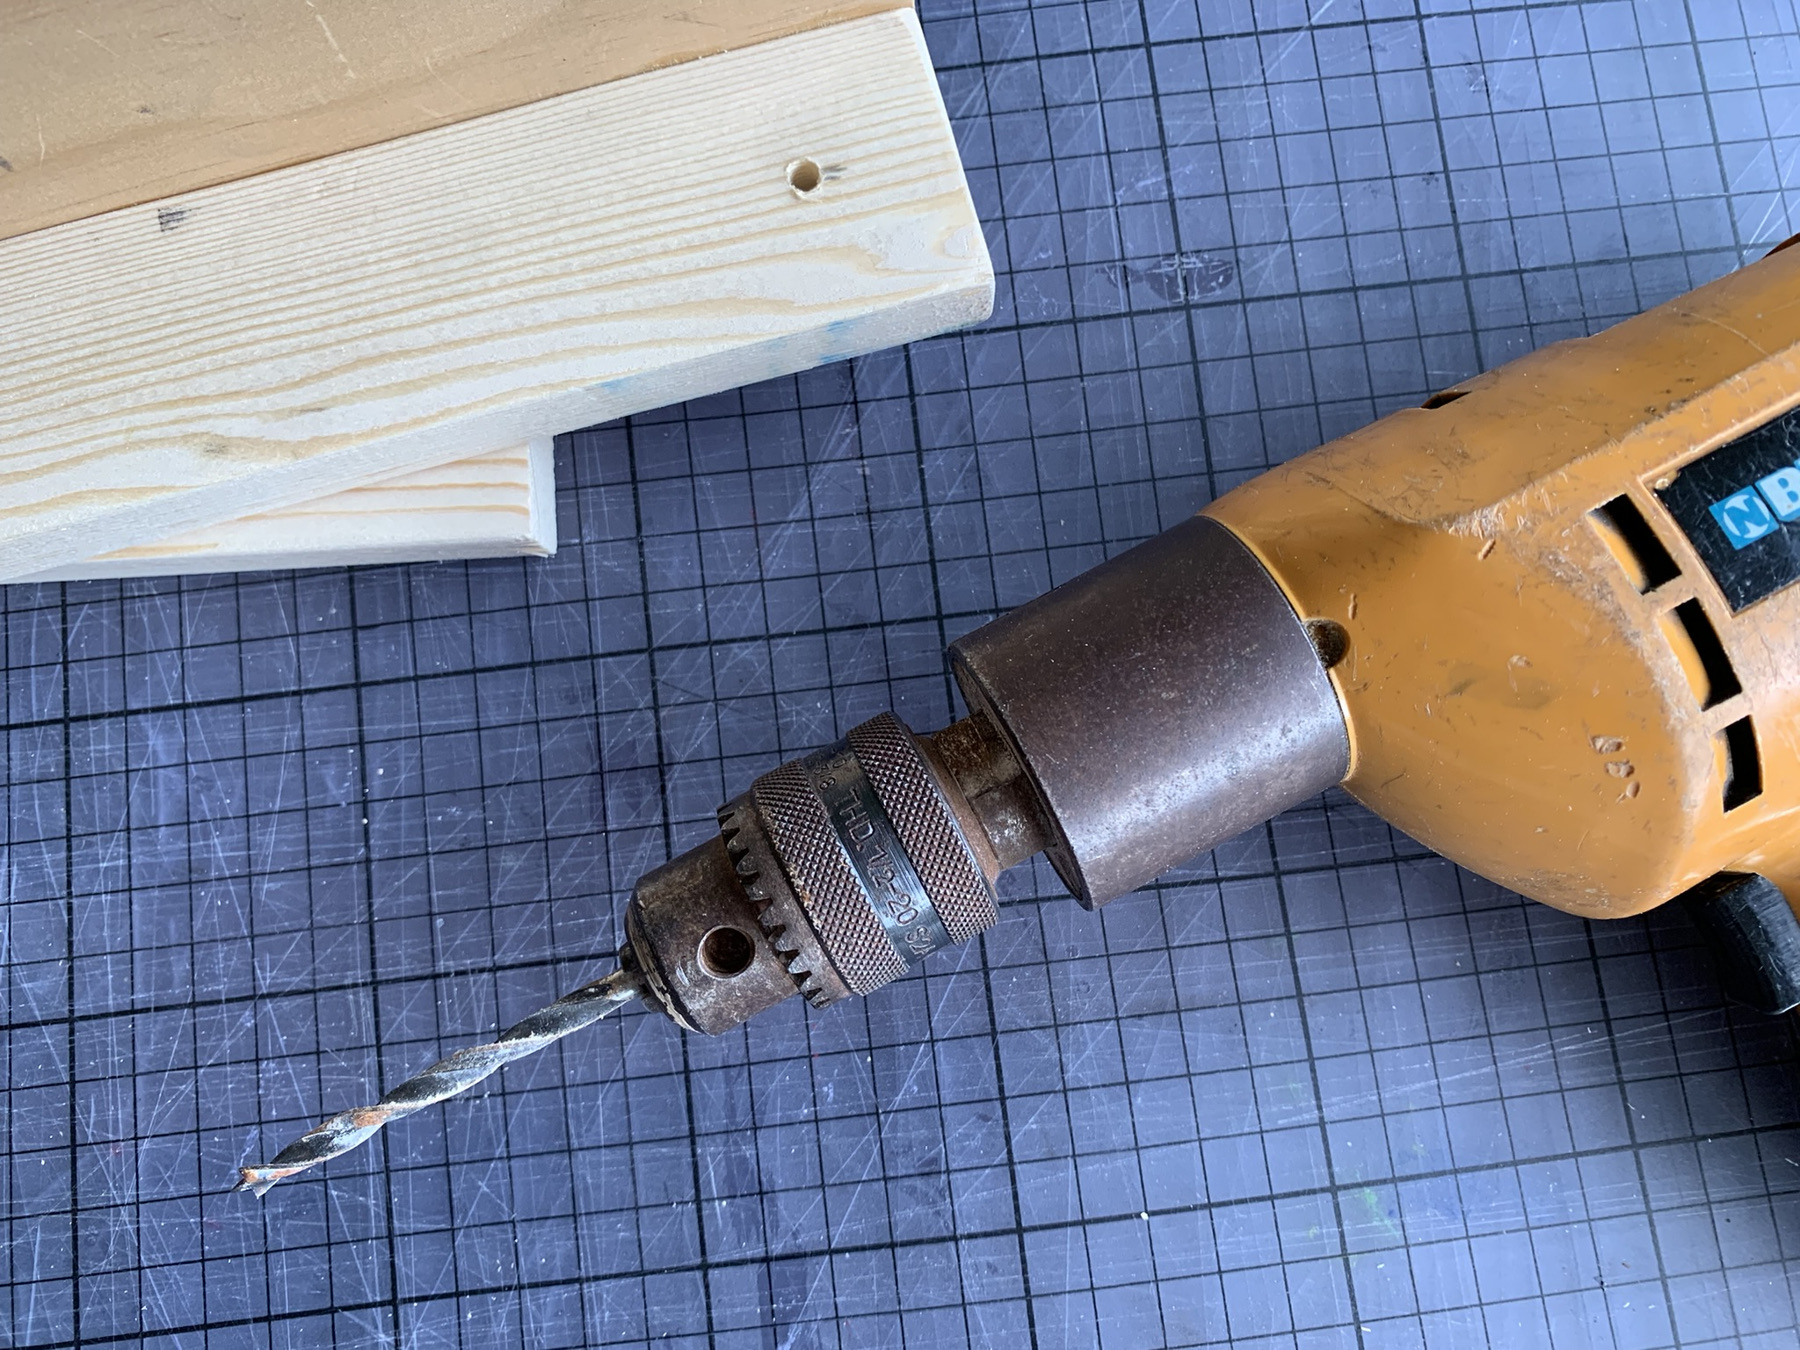
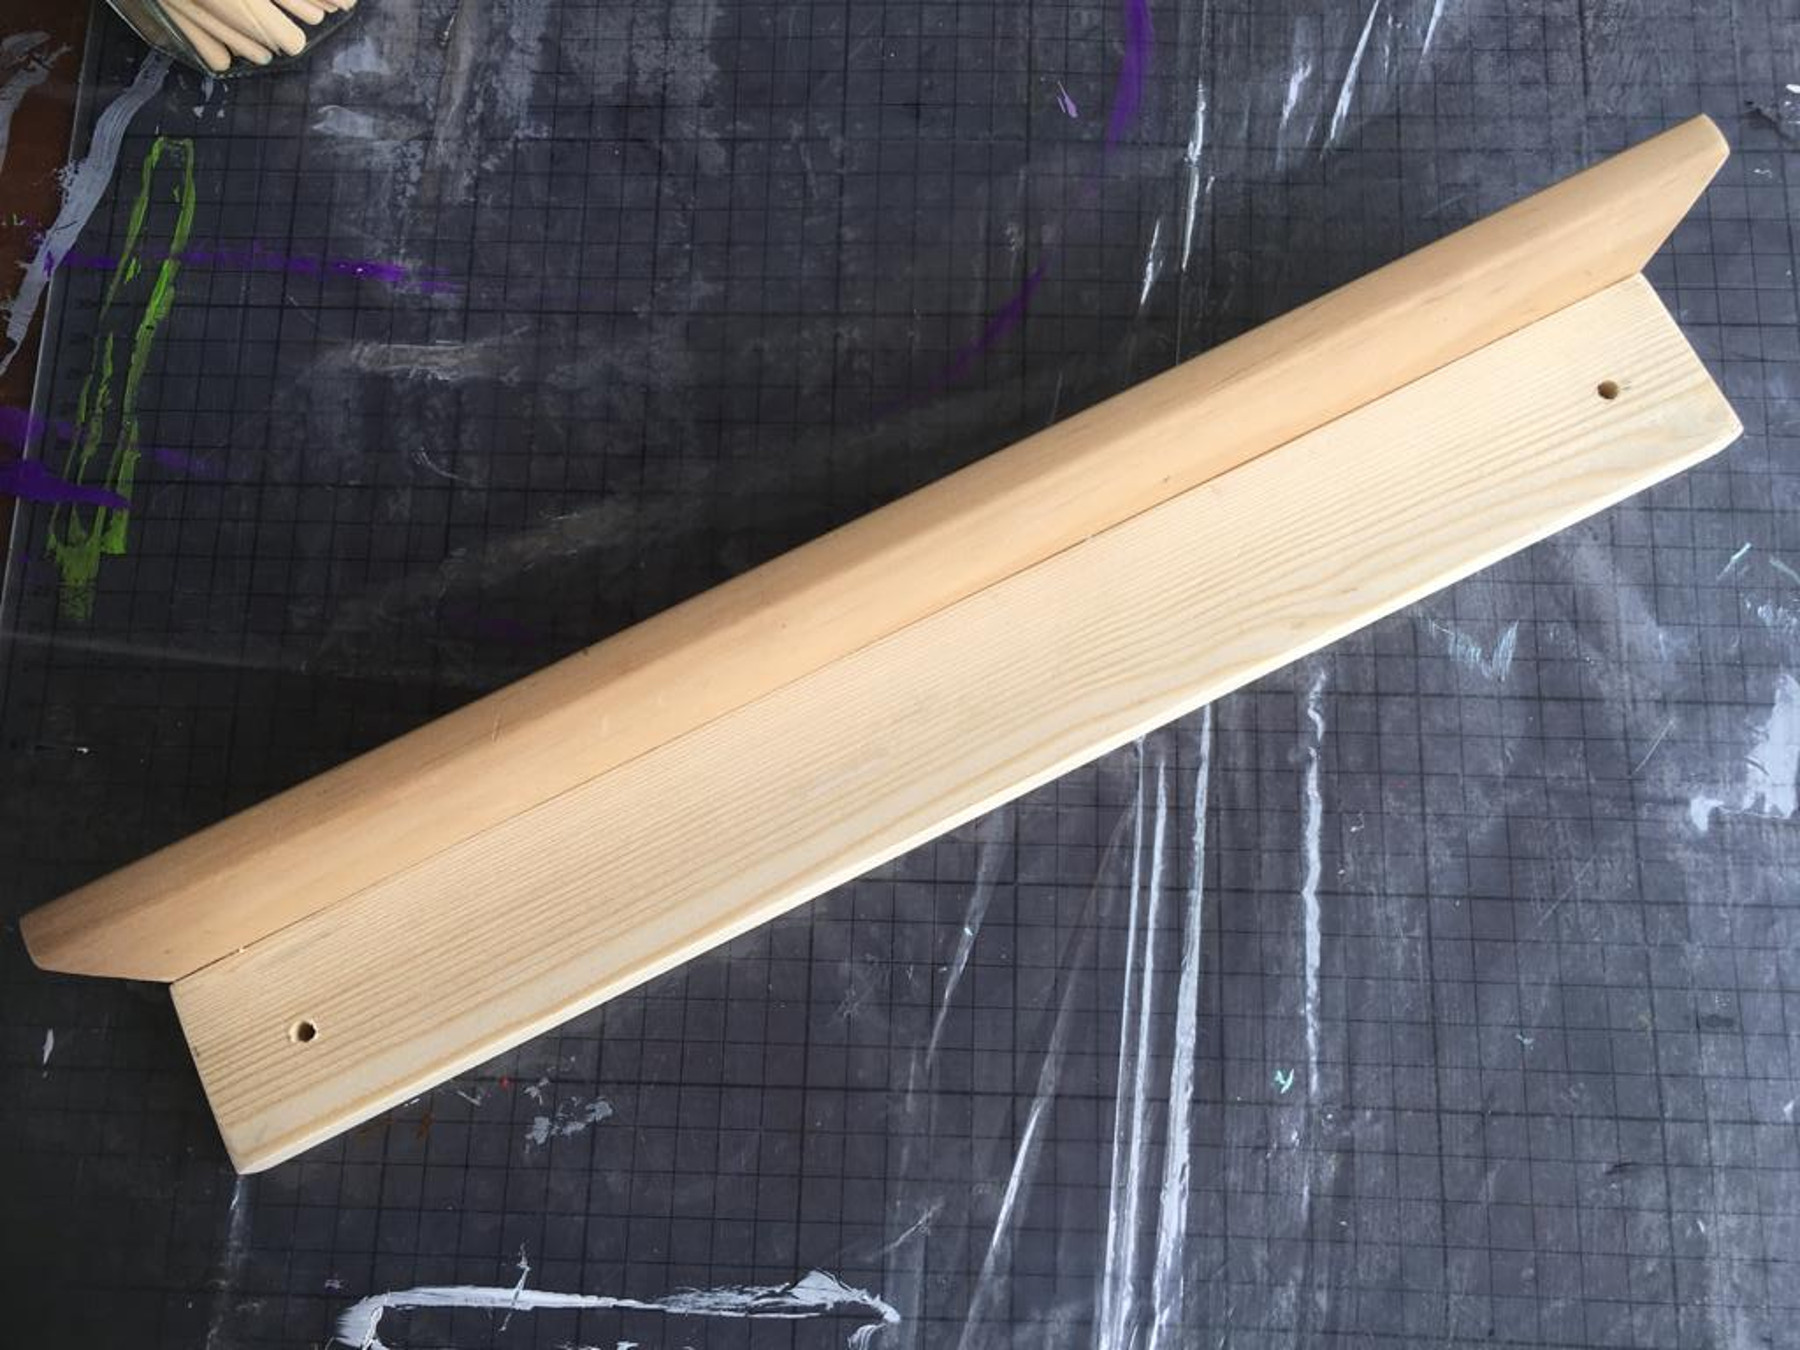
Drill two holes in the coat rack.
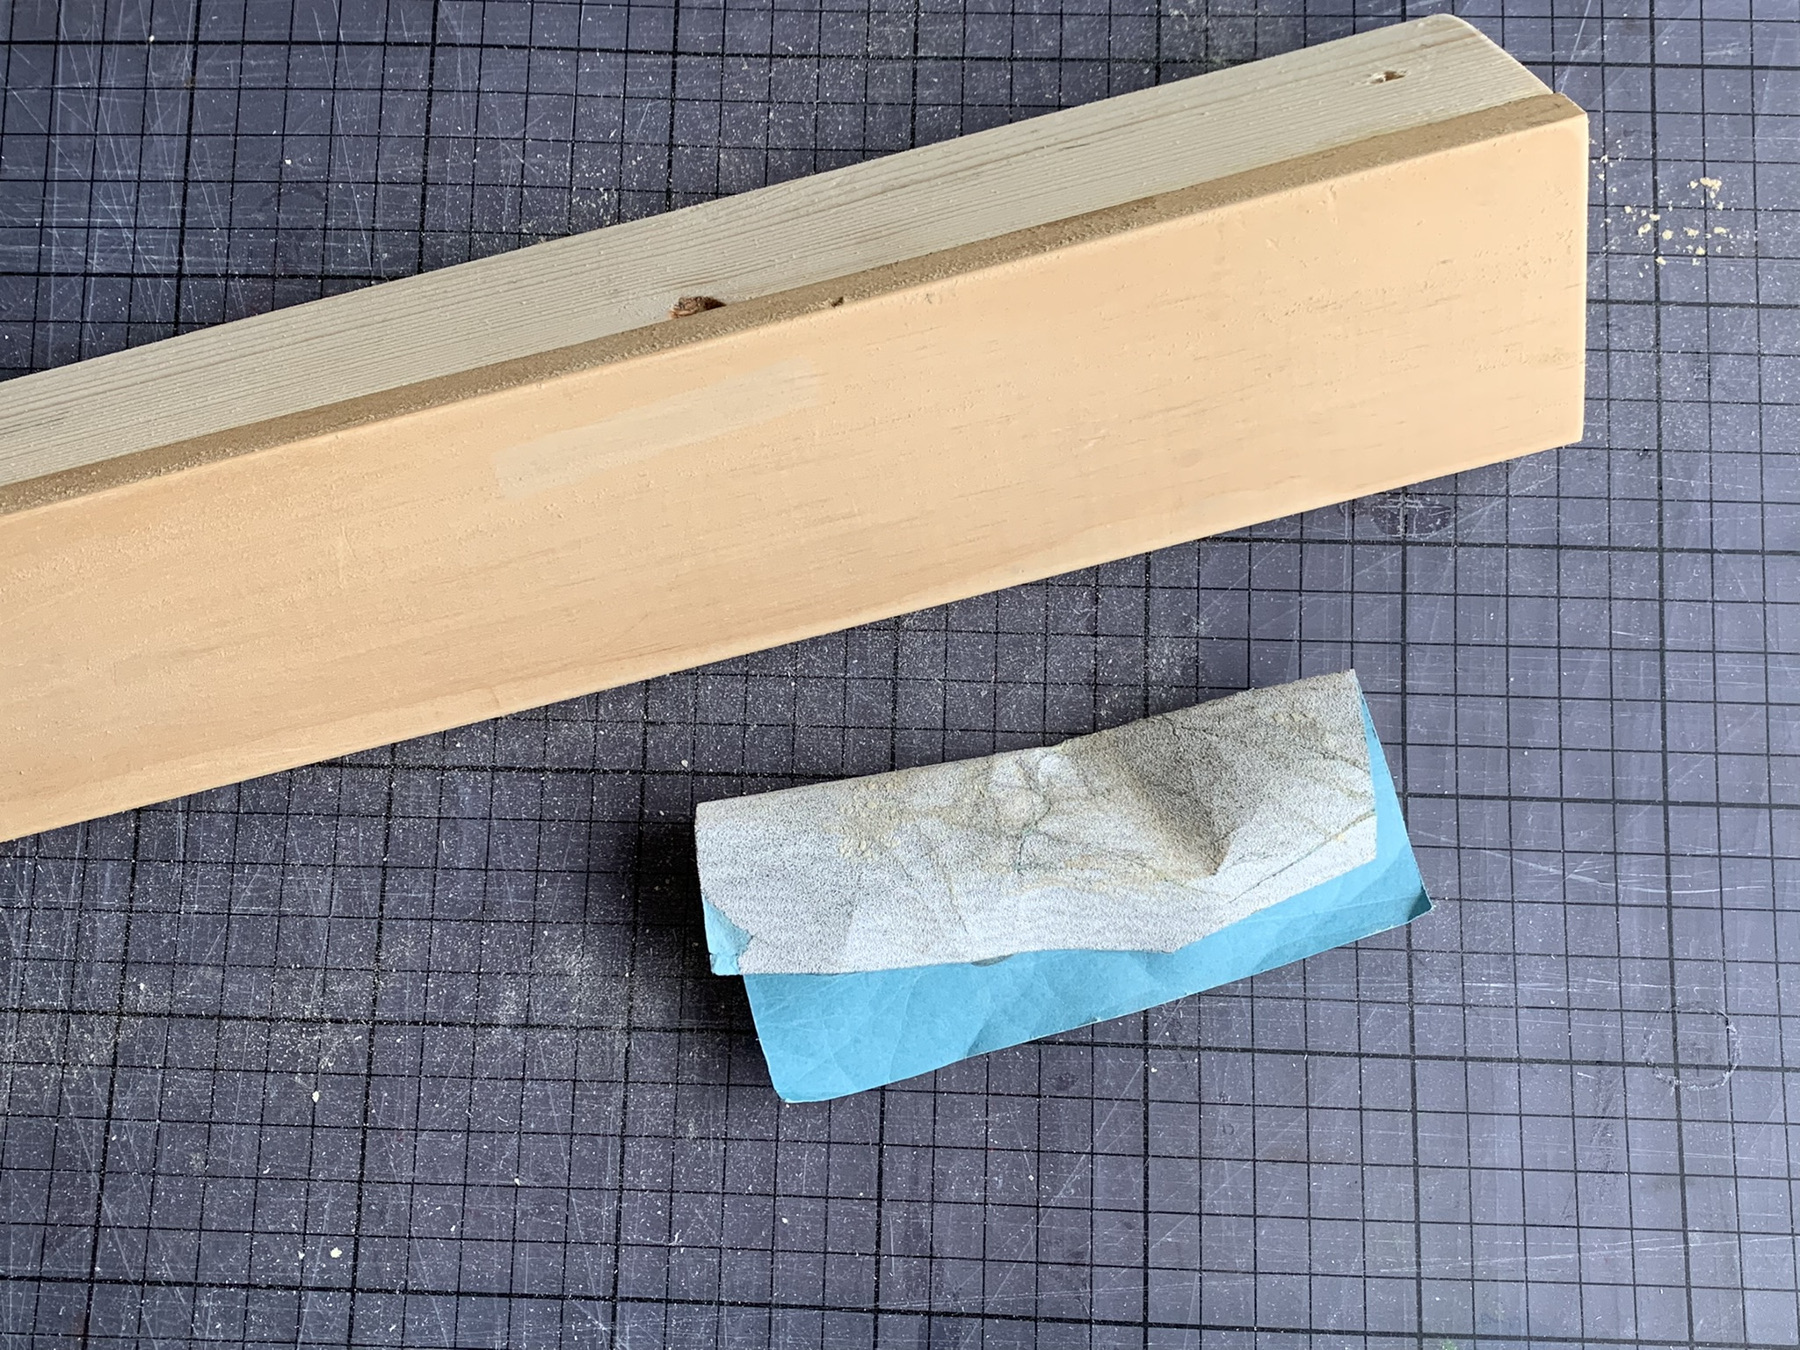
Sand the coat rack nice and smooth.
Rub the dust off with a dry cloth.
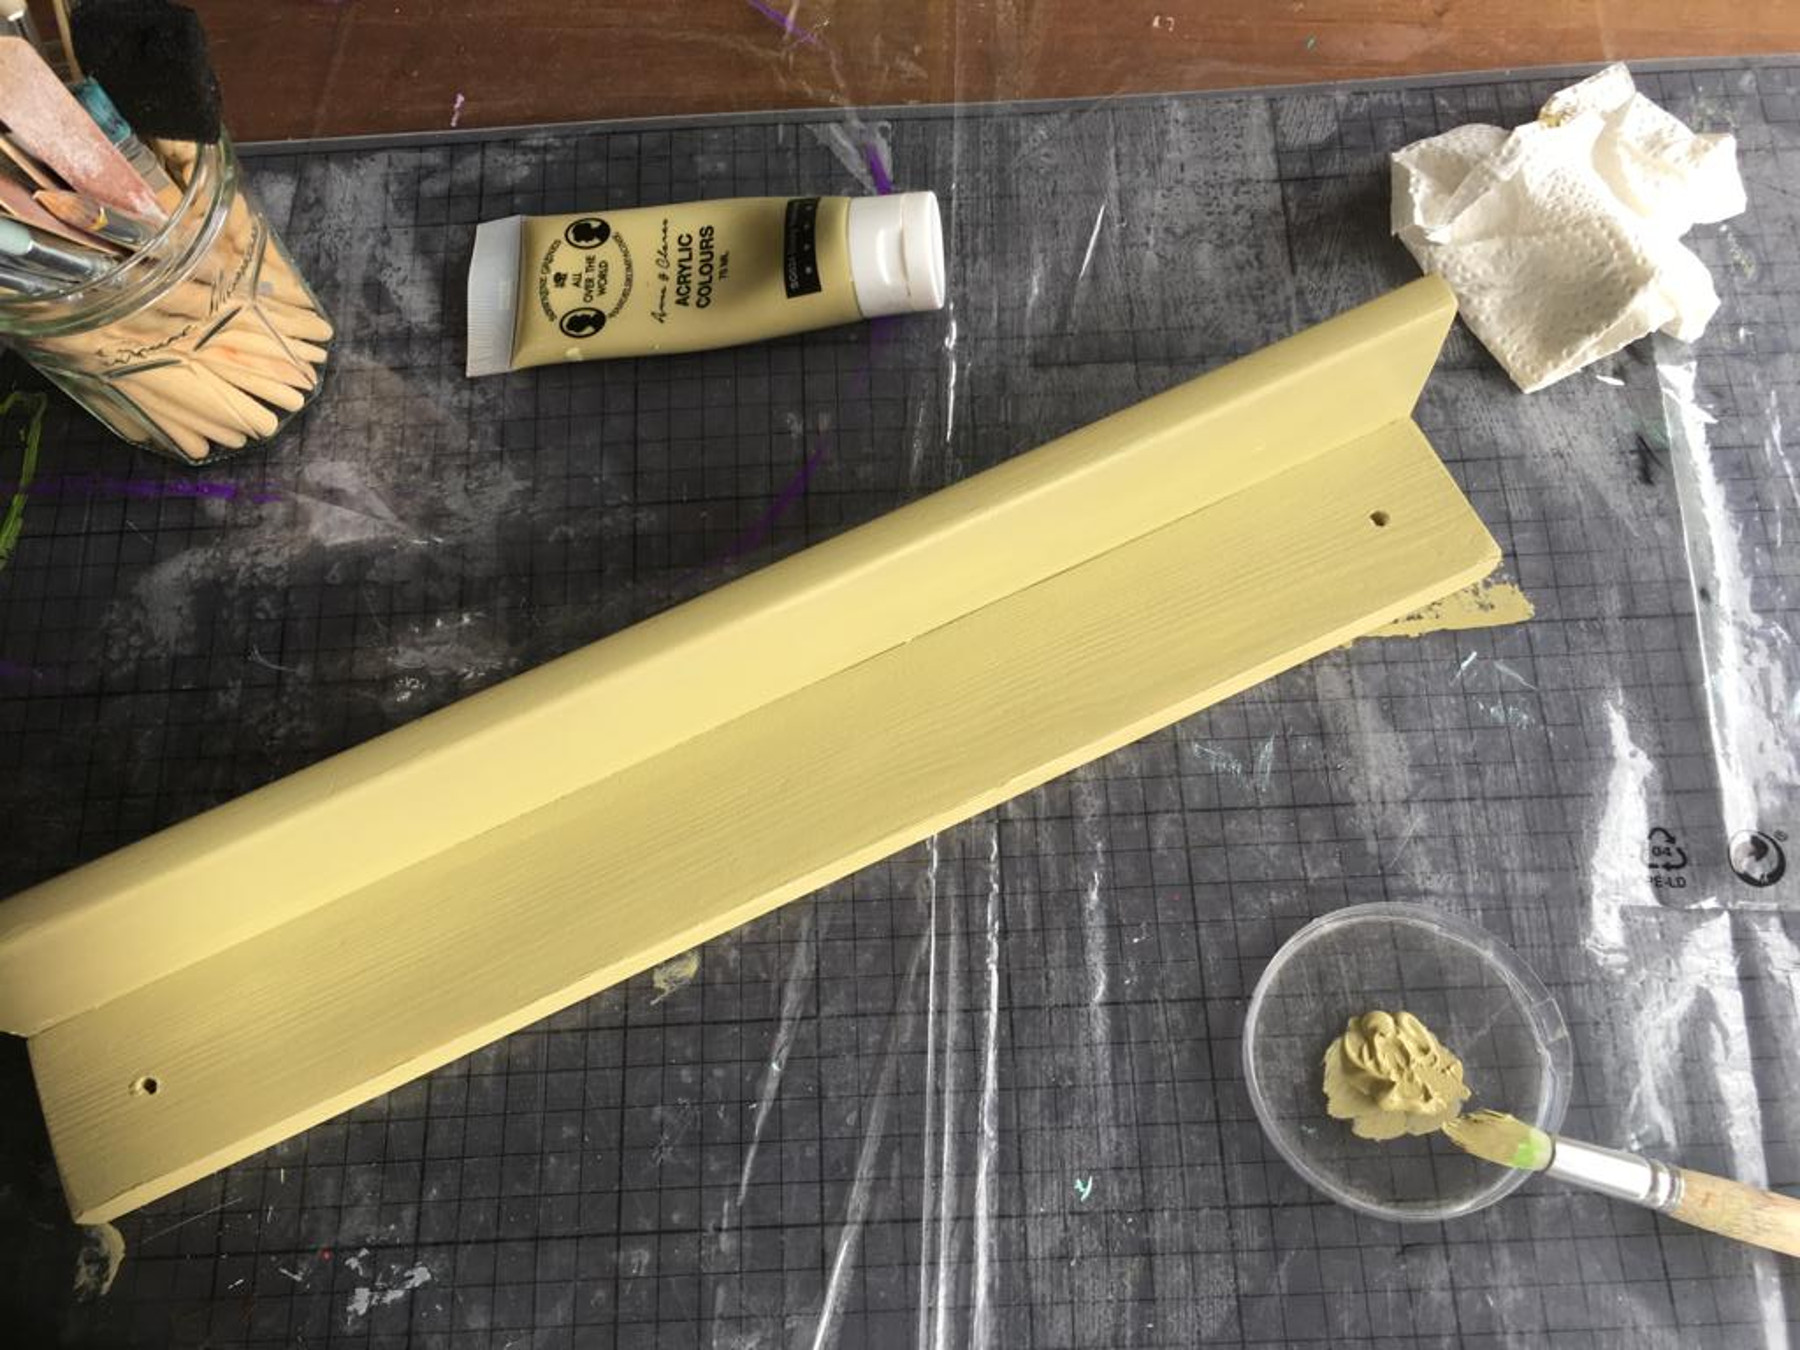
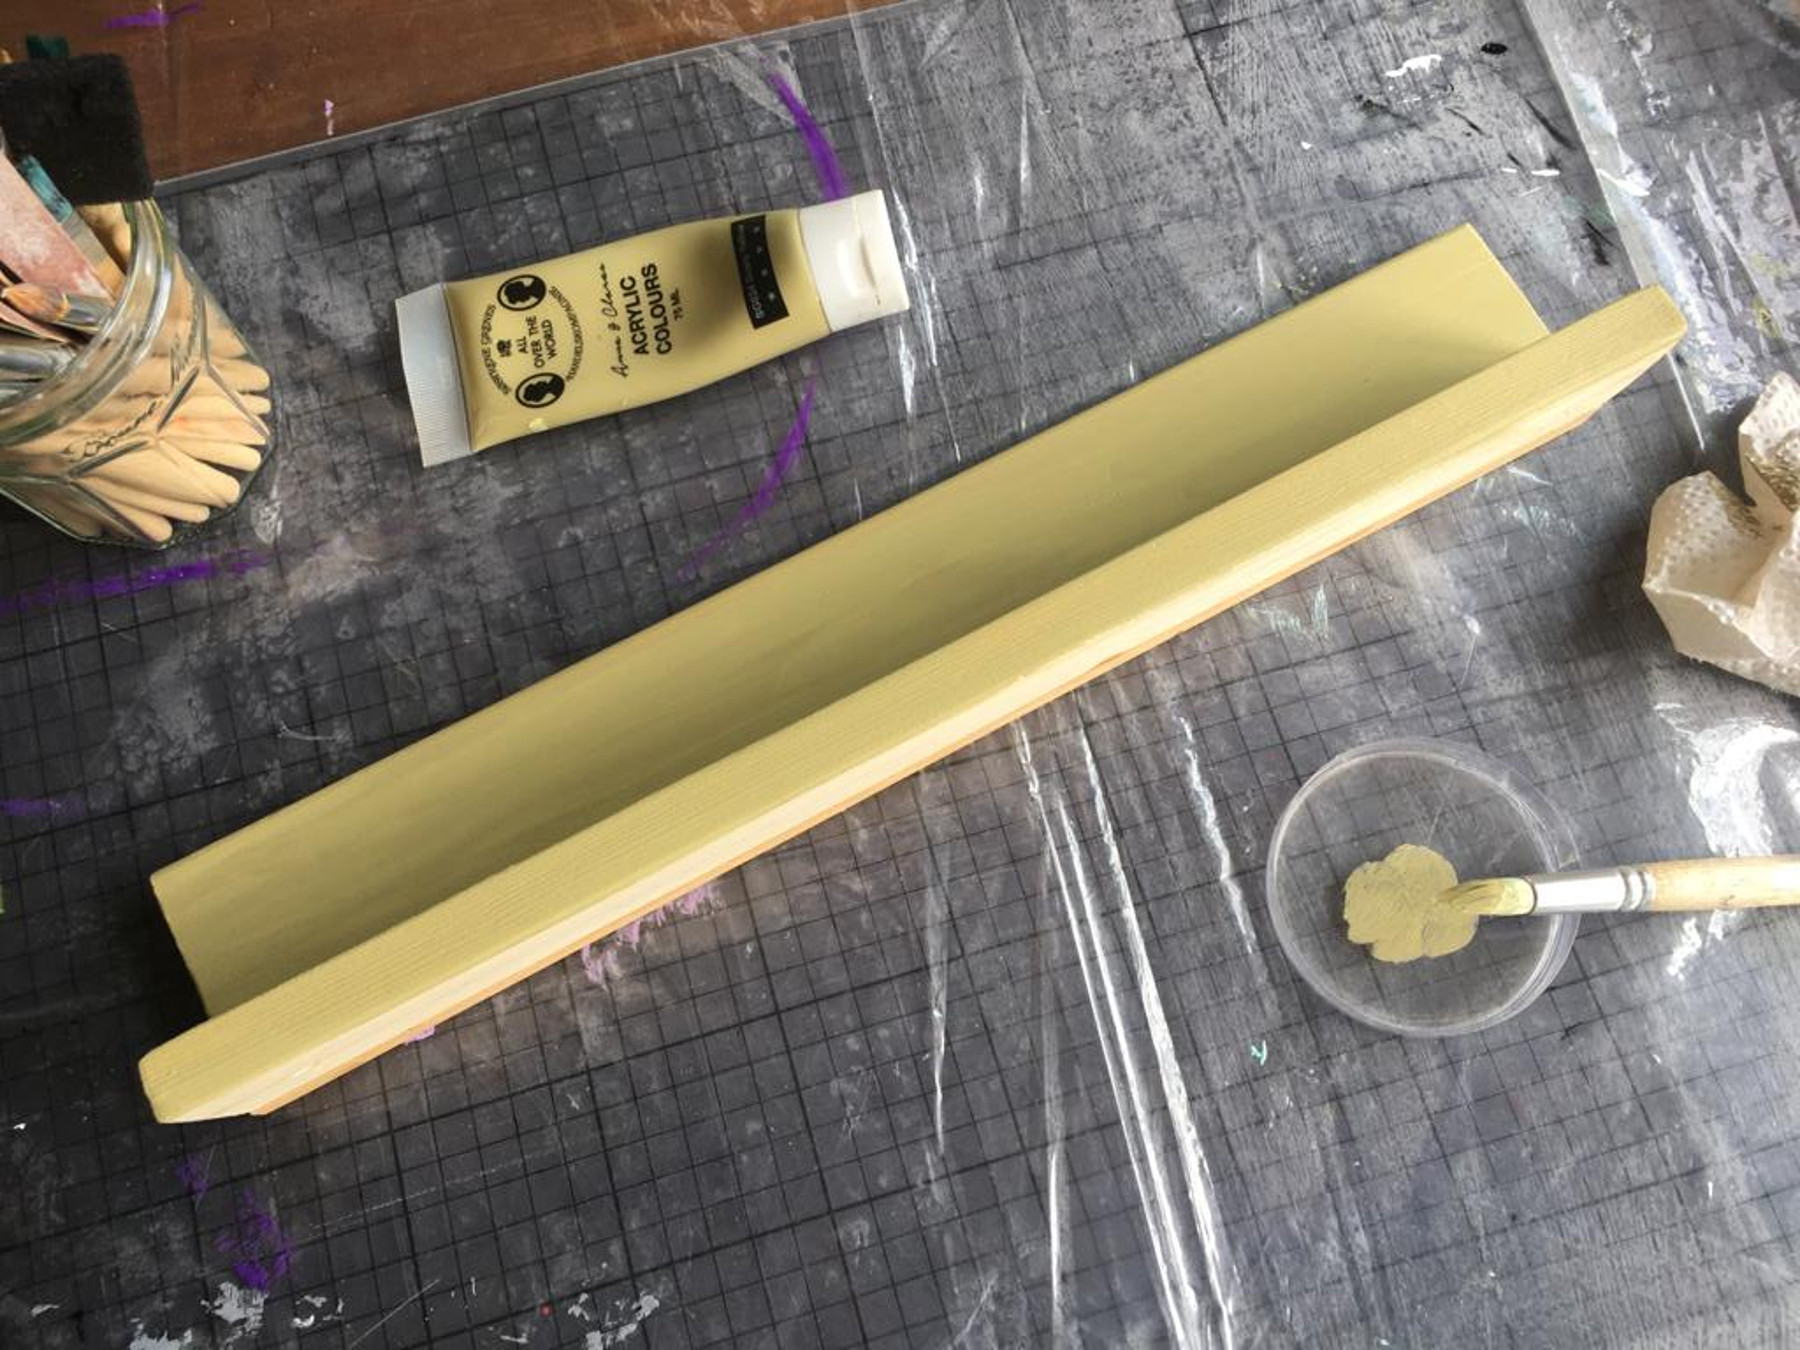

Paint the coat rack a pretty colour.
Let the paint dry completely.
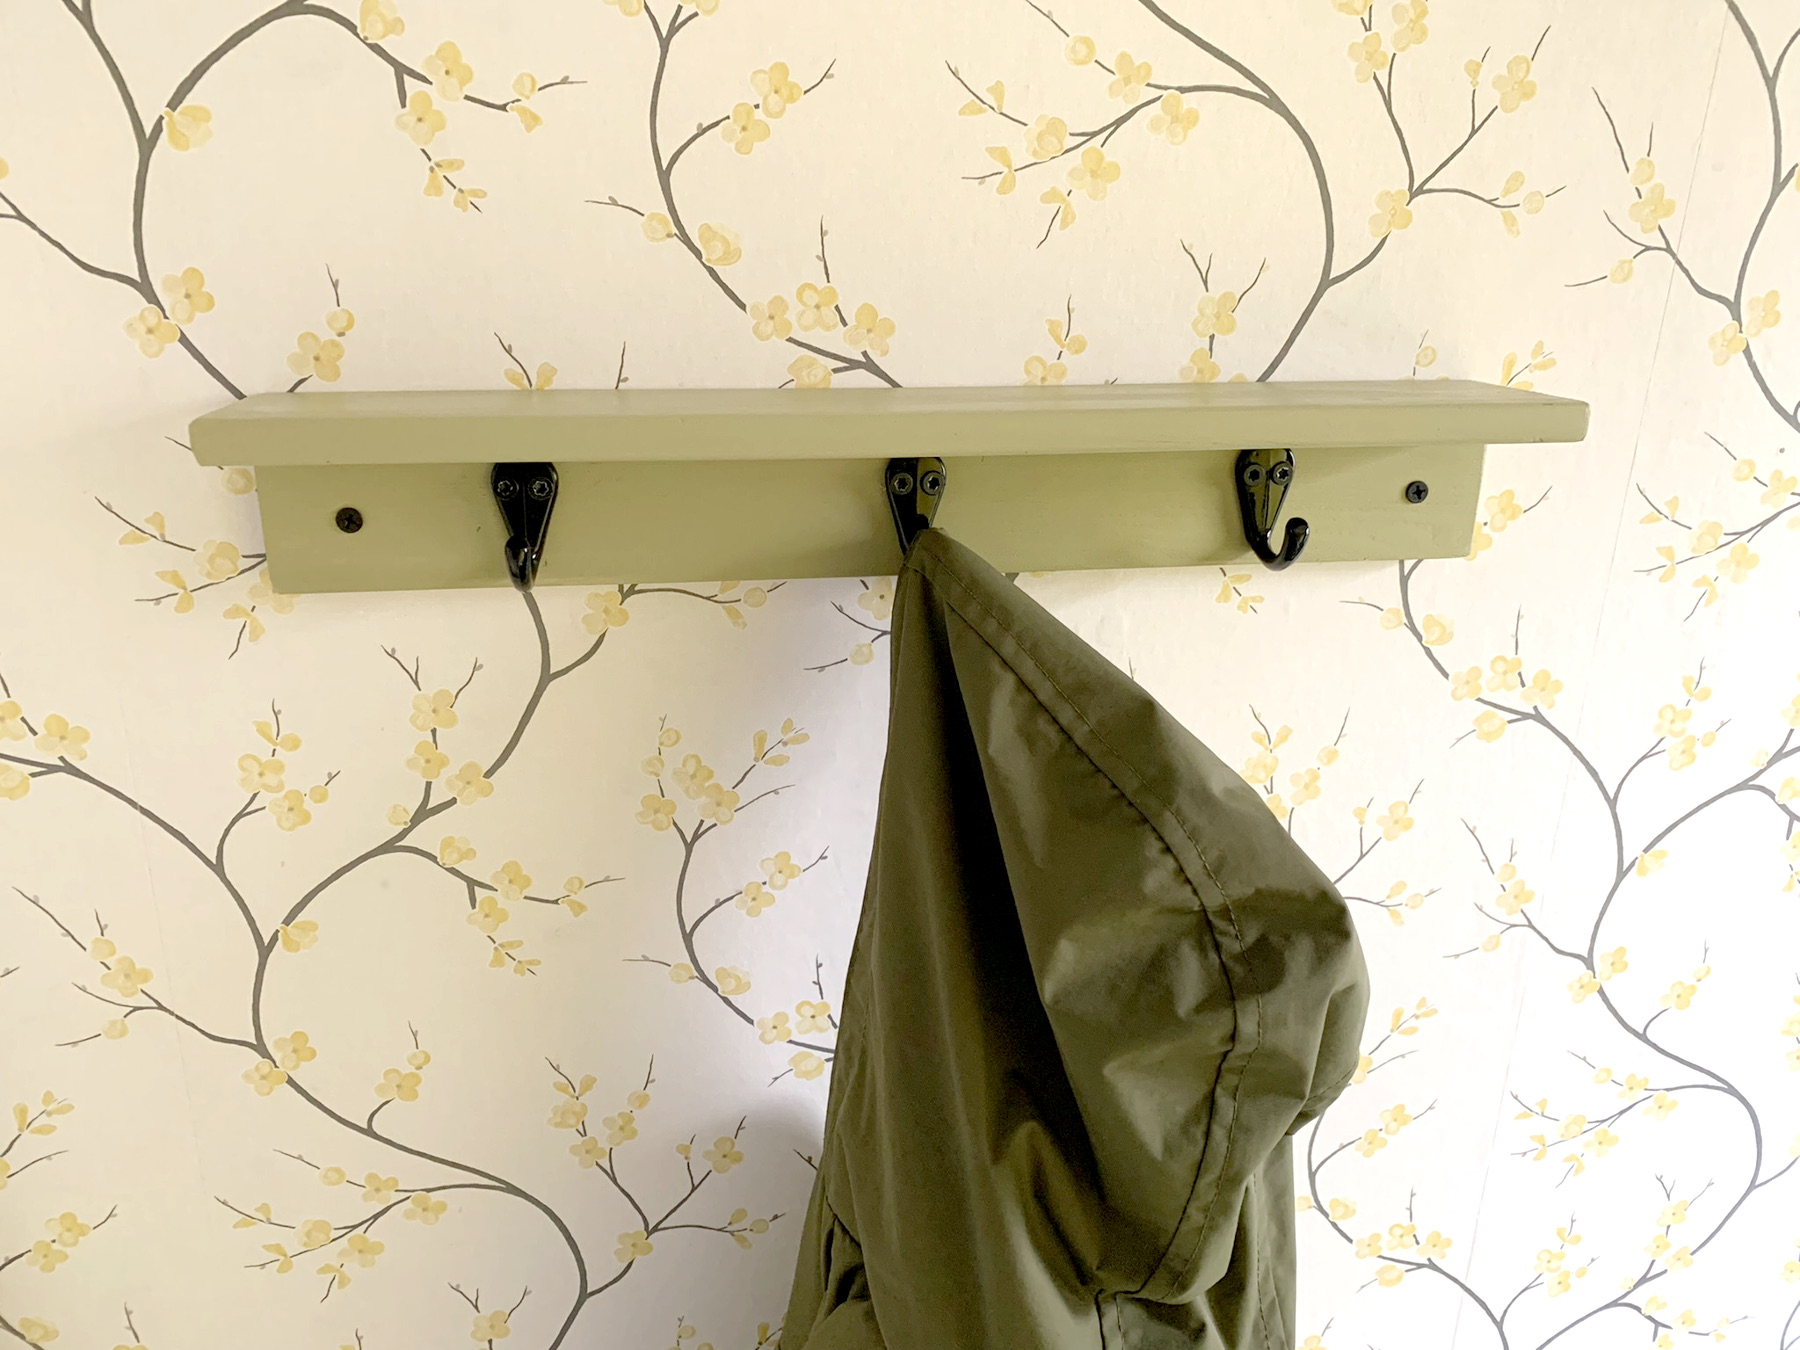
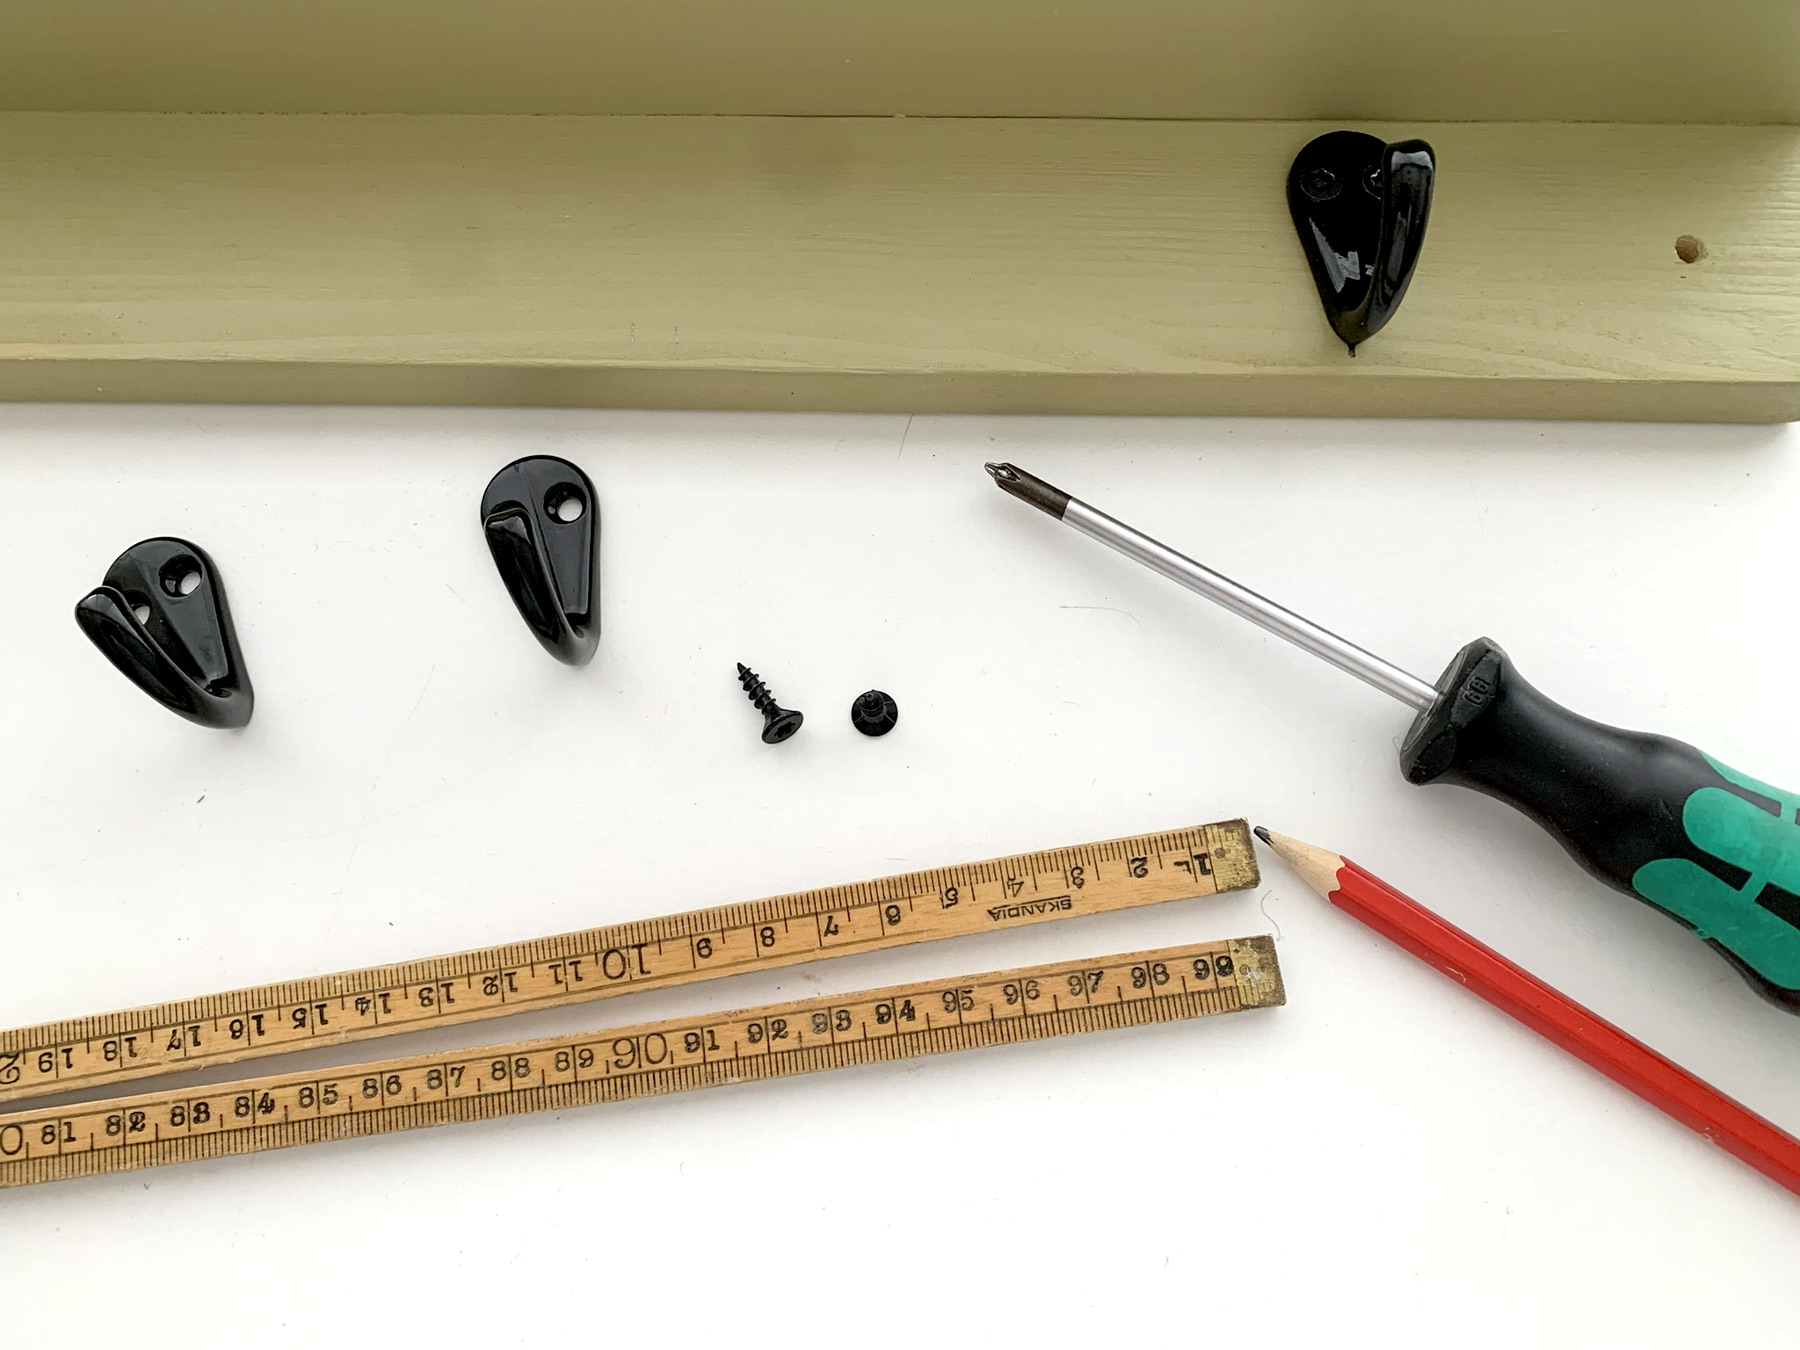
Screw on the coat hooks.
The coat rack is ready to hang on the wall.
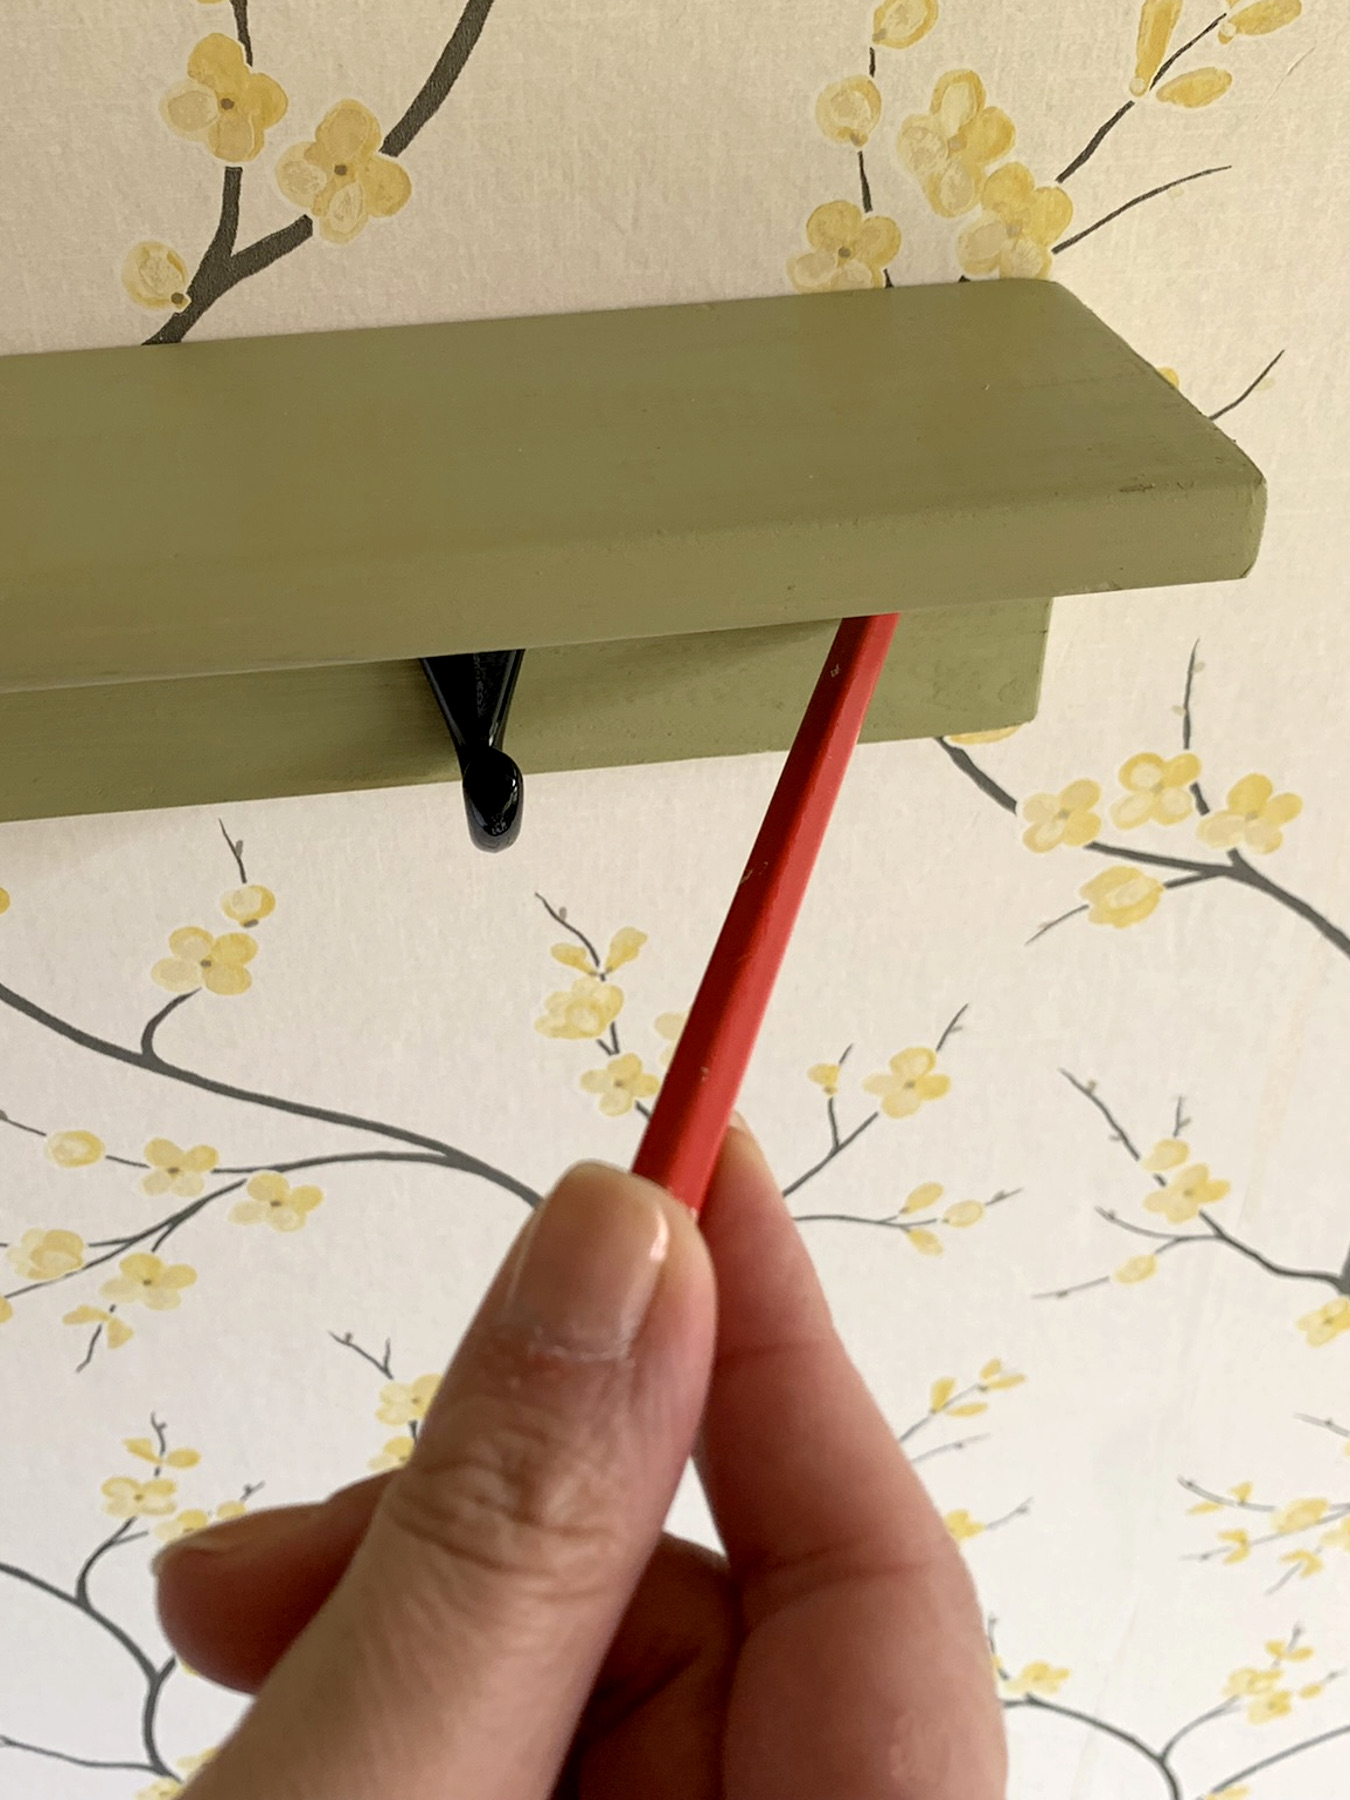
Make a mark where the screws should go.
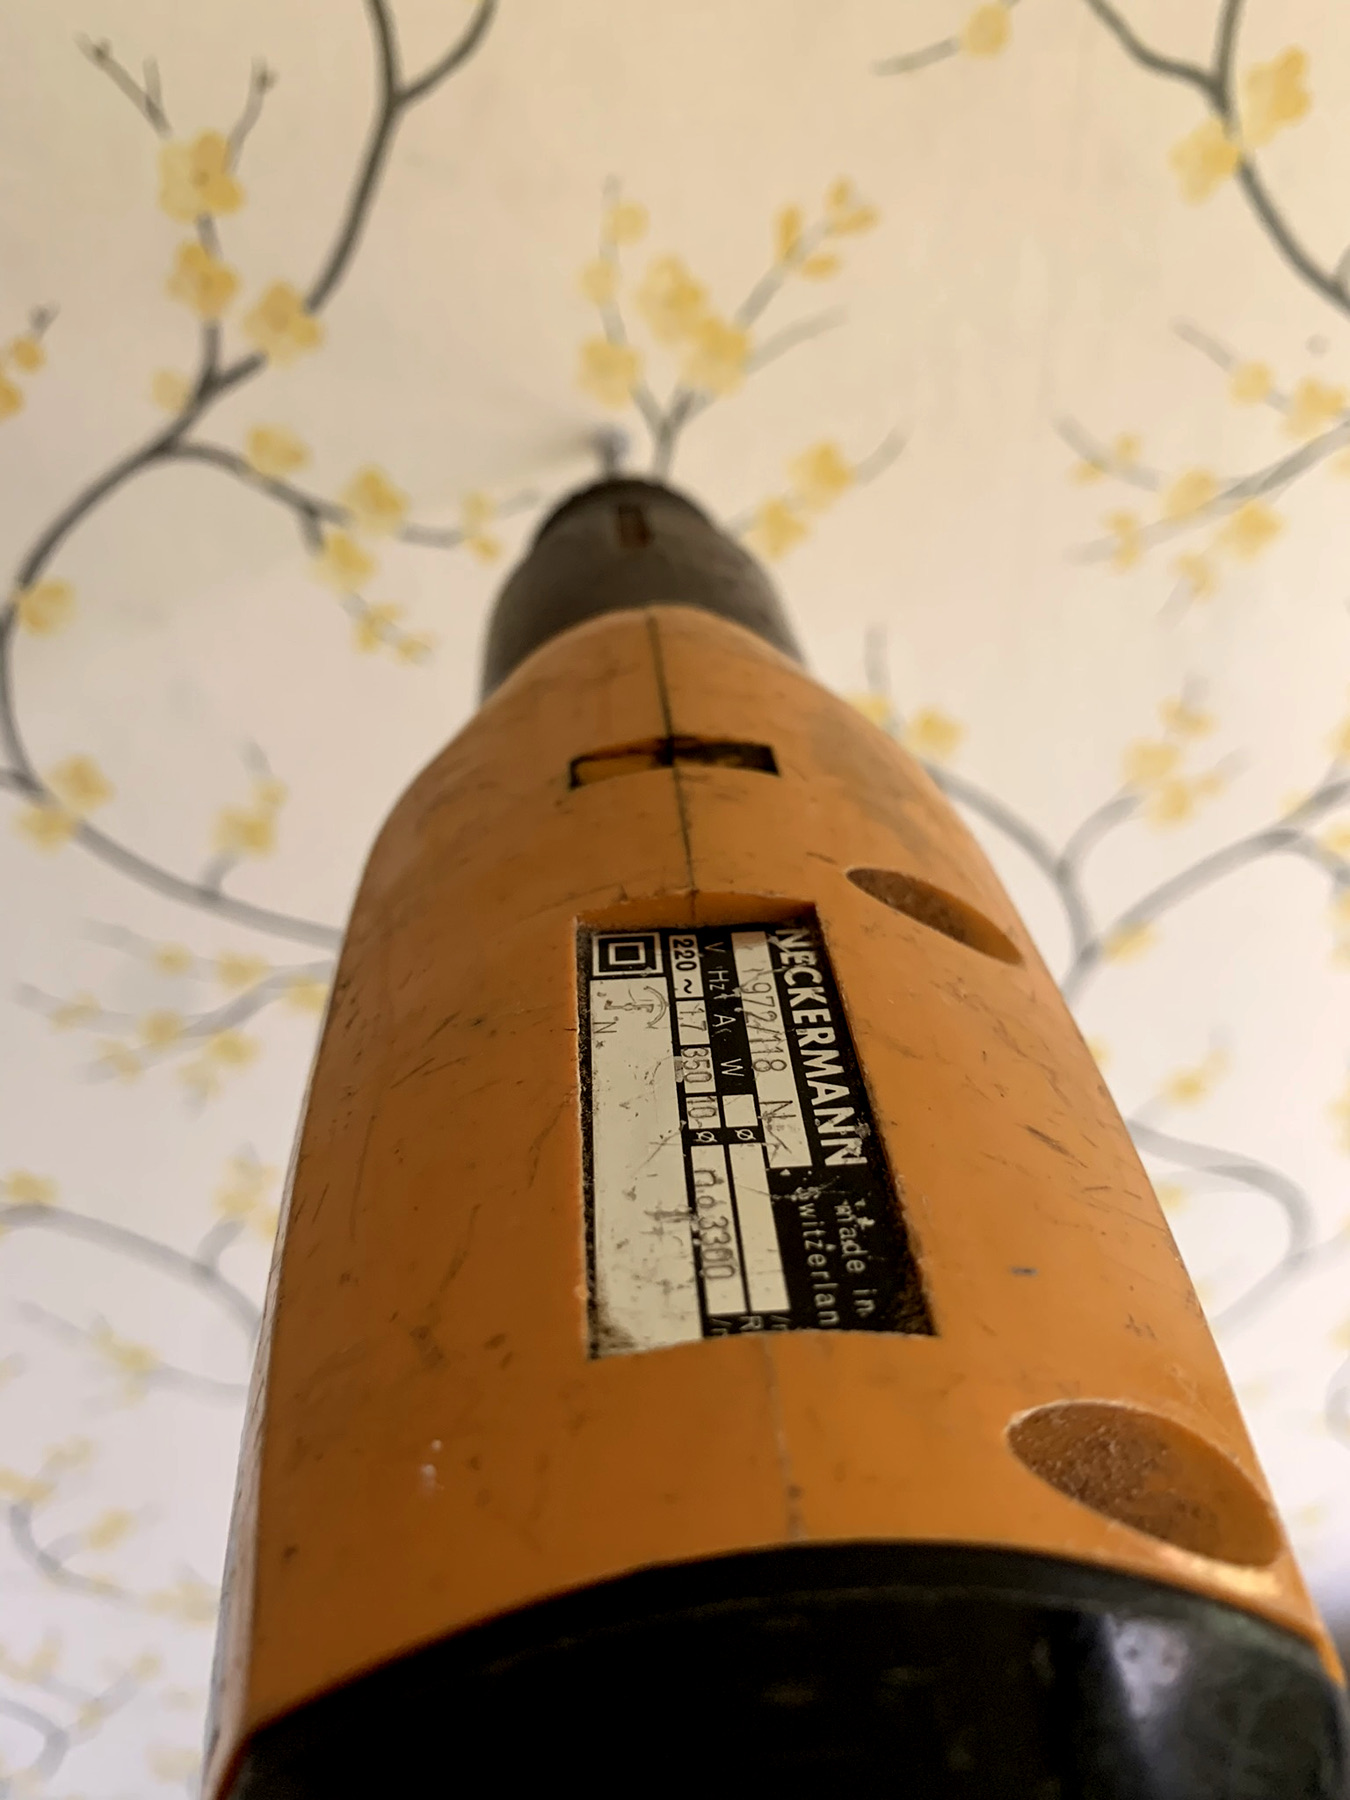
Quickly drill two holes.
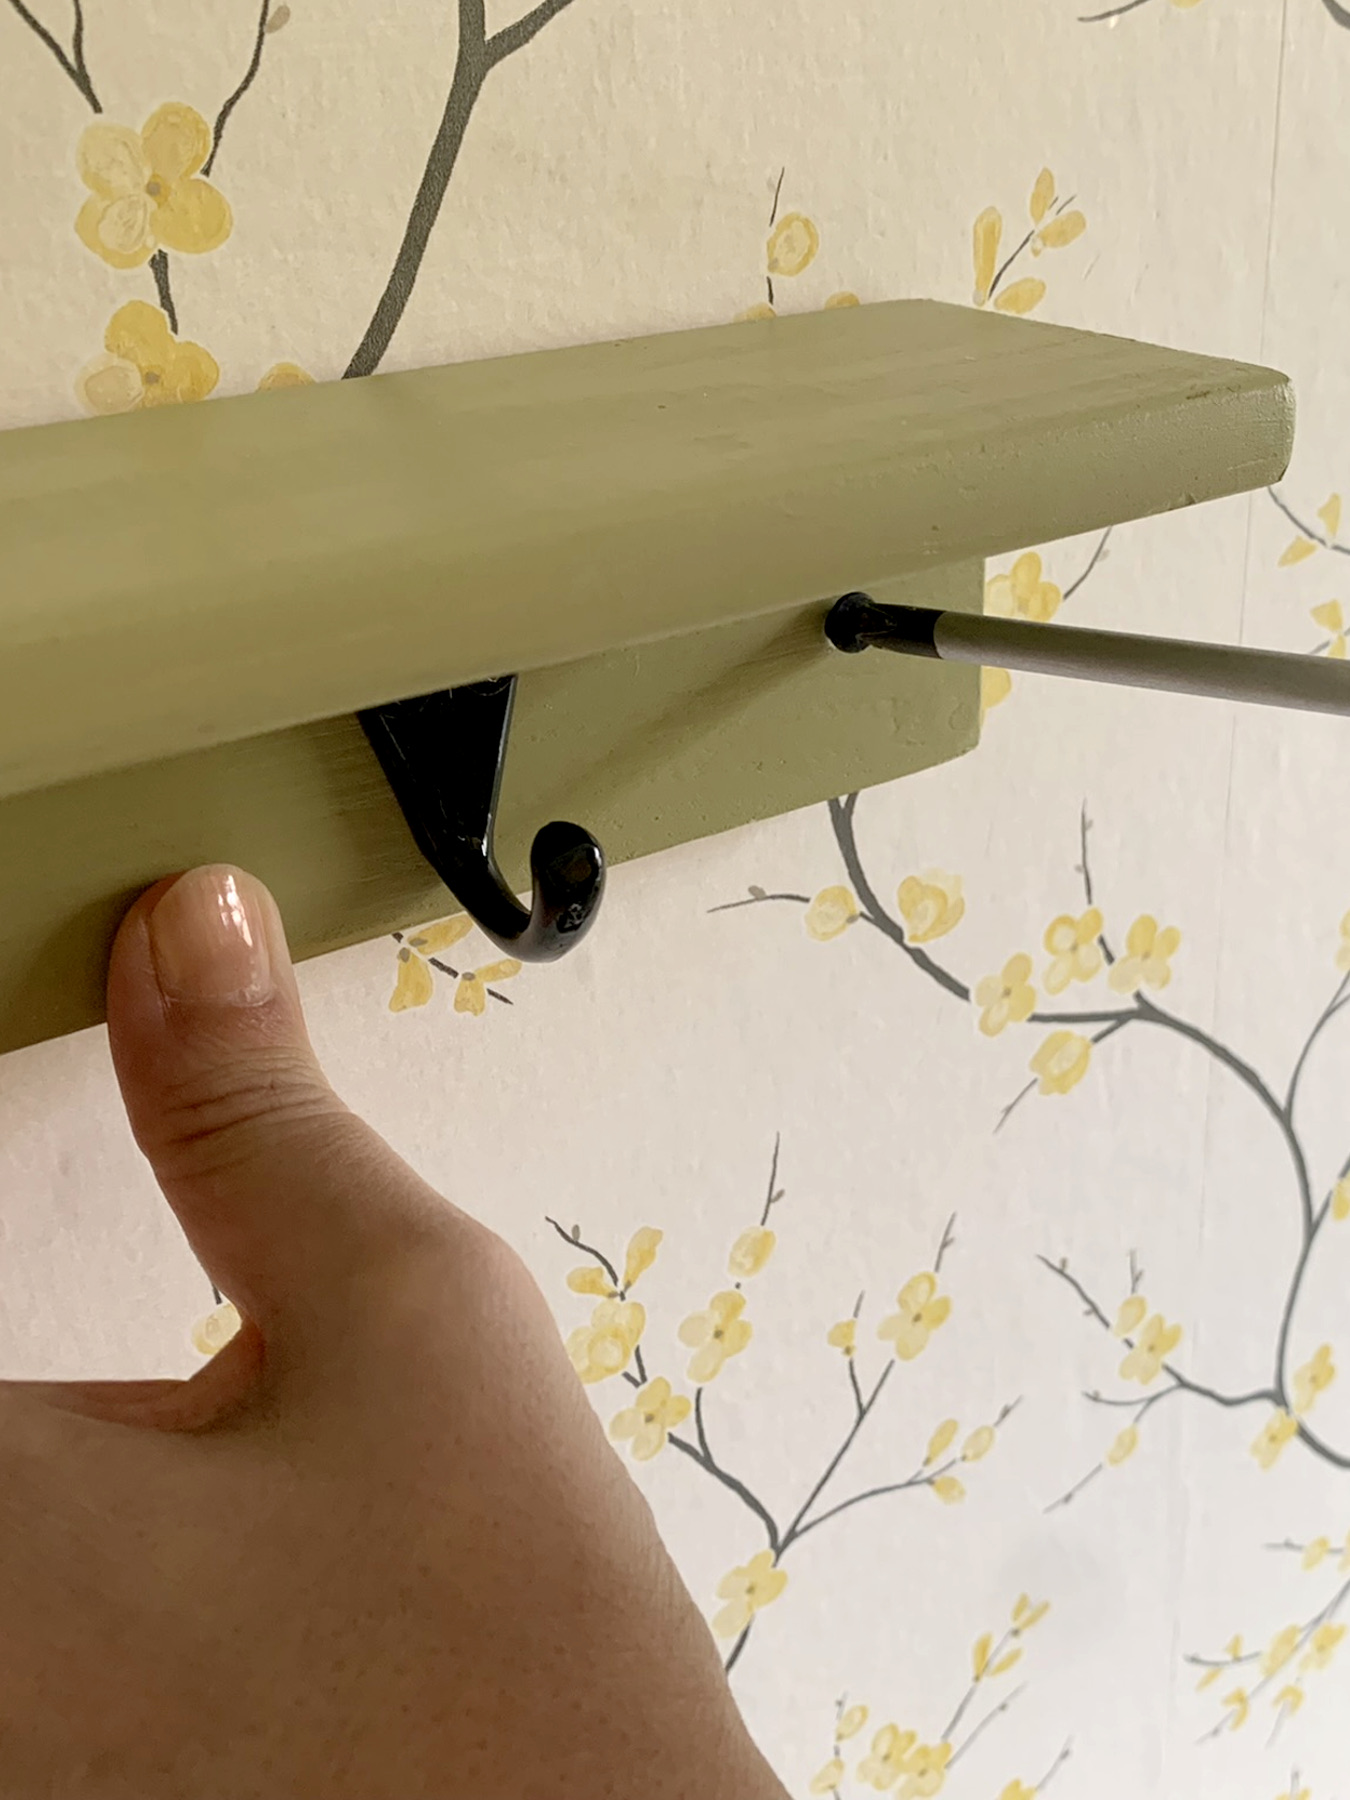
Tap in the plugs and drive in the screws.
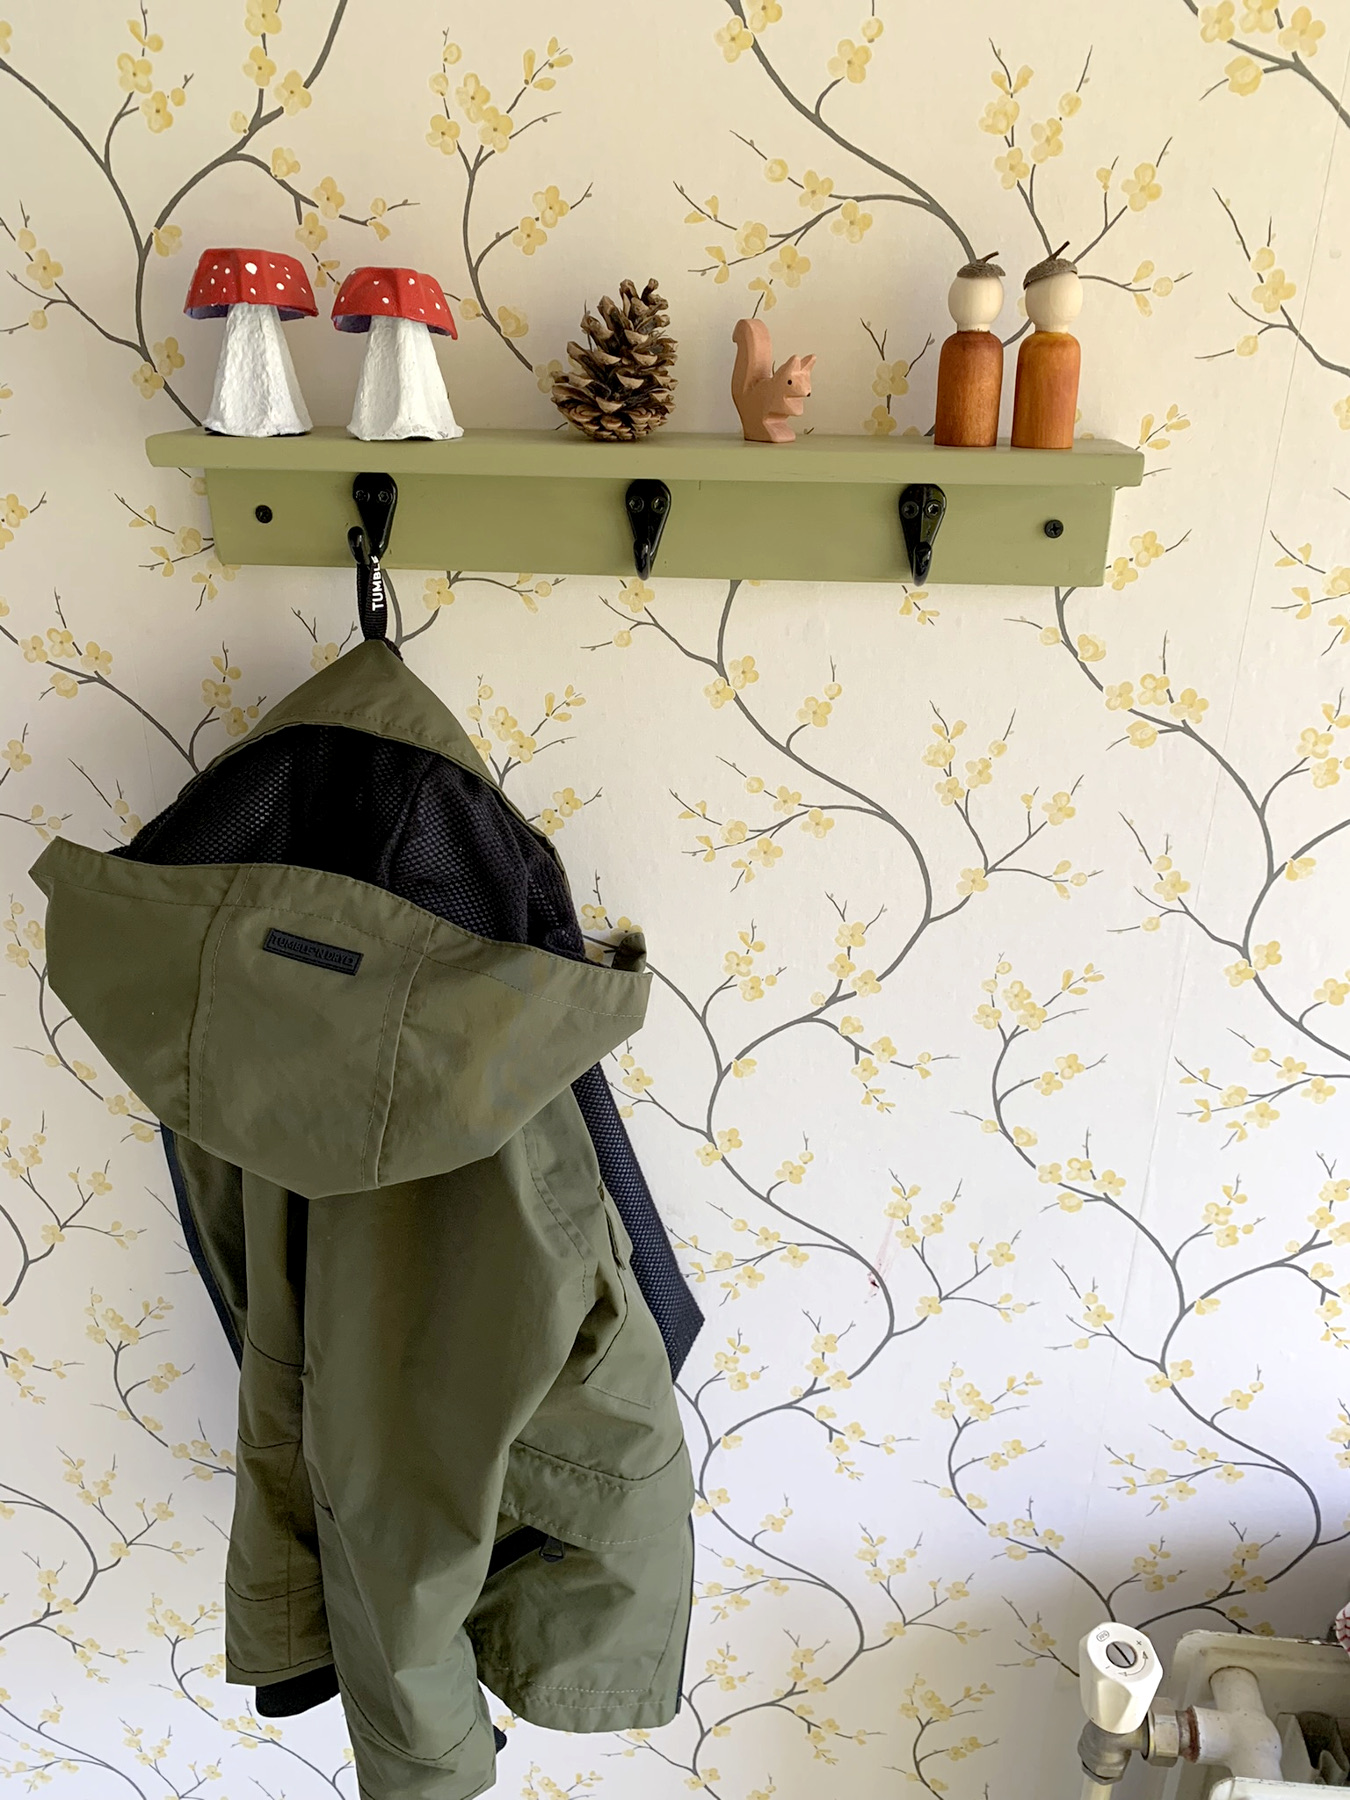
We make it into an Autumn coat rack!
Happy Autumn!