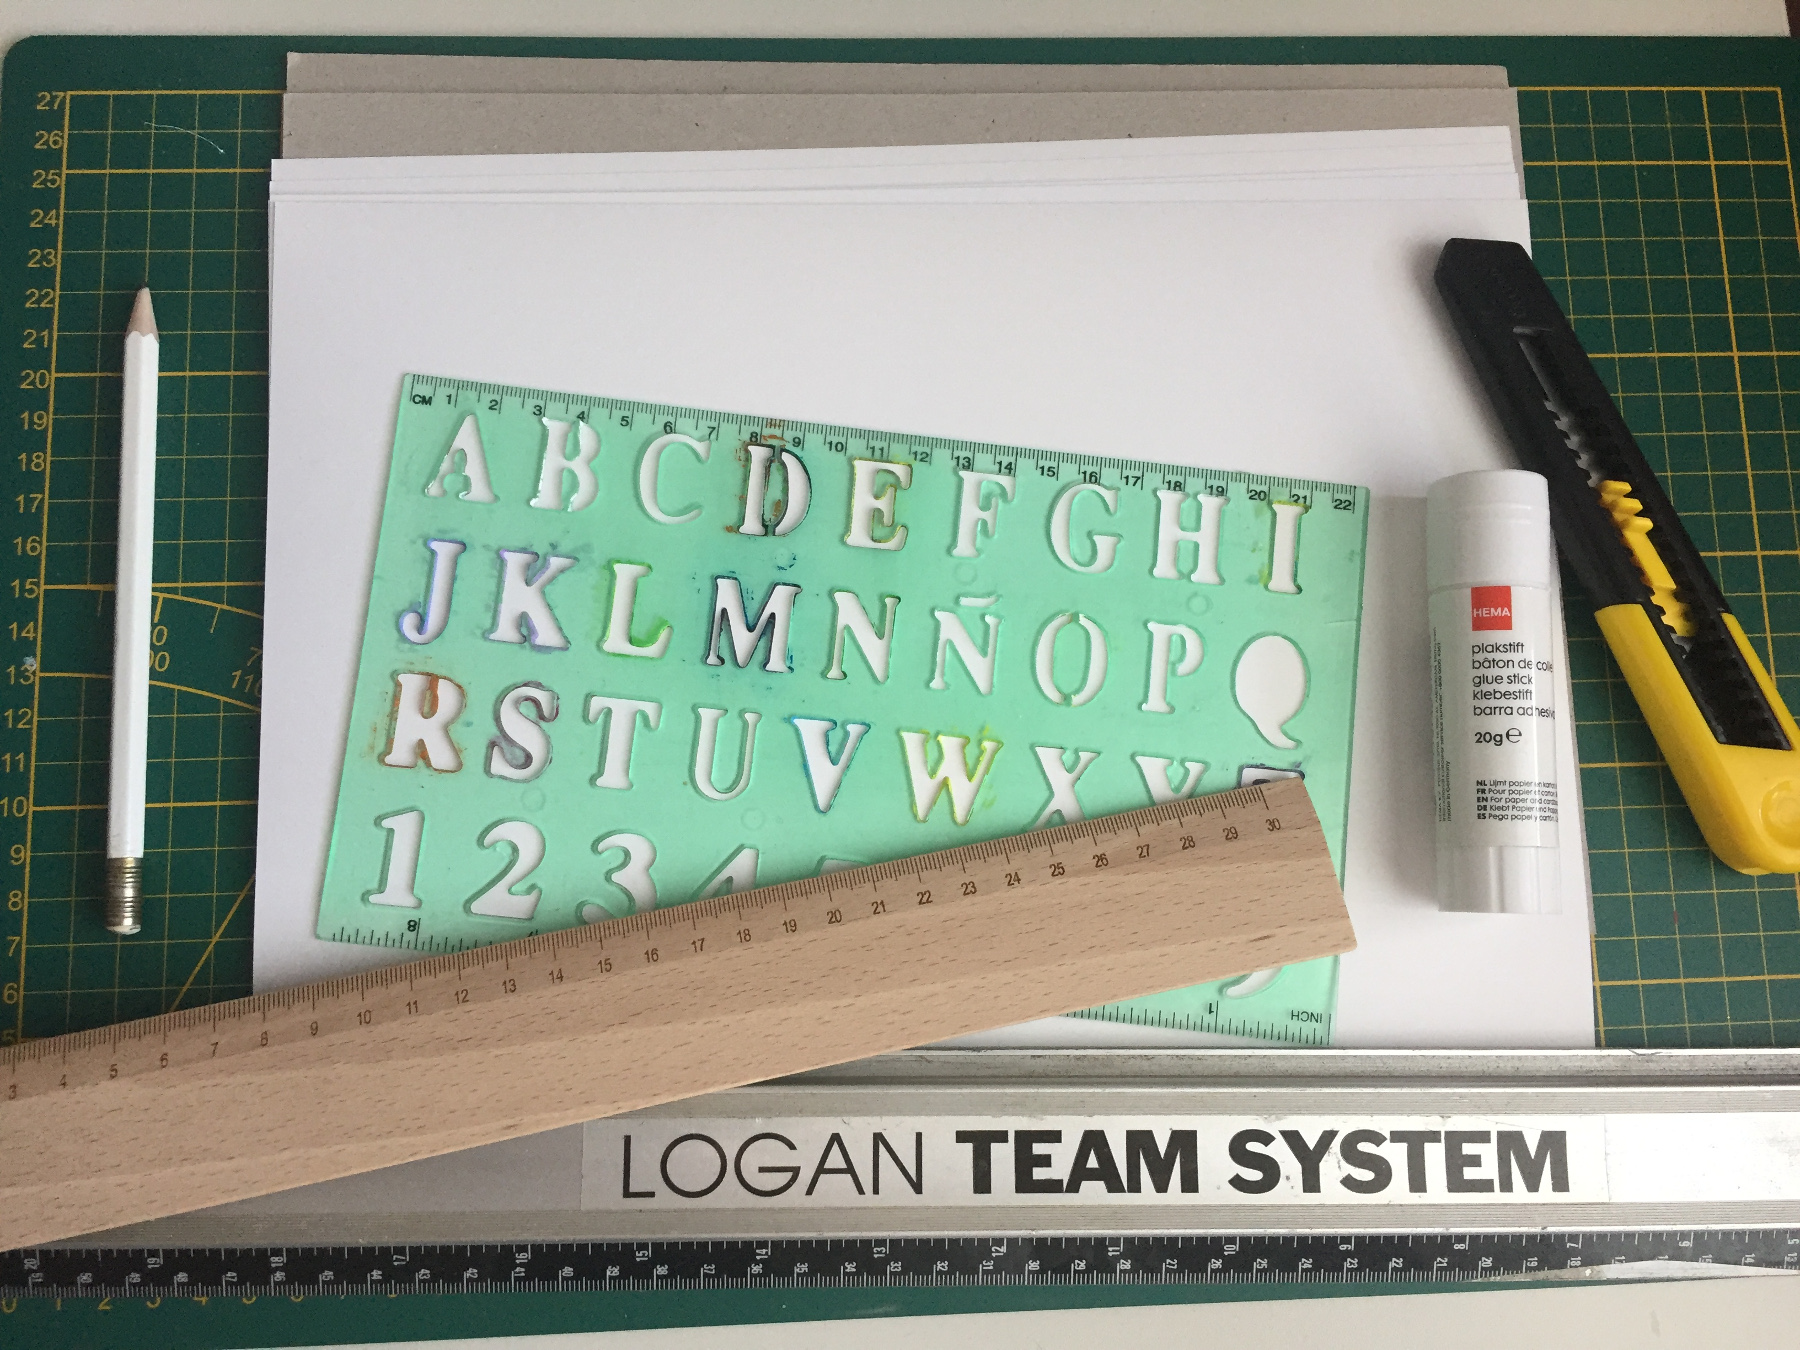
What do you need?
5 sheets white paper, A4 - 230 grams
2 sheets cardboard, A4 size
1 sheet Hanemuller Durer Ingres papier
a pencil & ruler
a Stanley knife
glue stick
a can of spray glue
plastic adhesive aplphabet

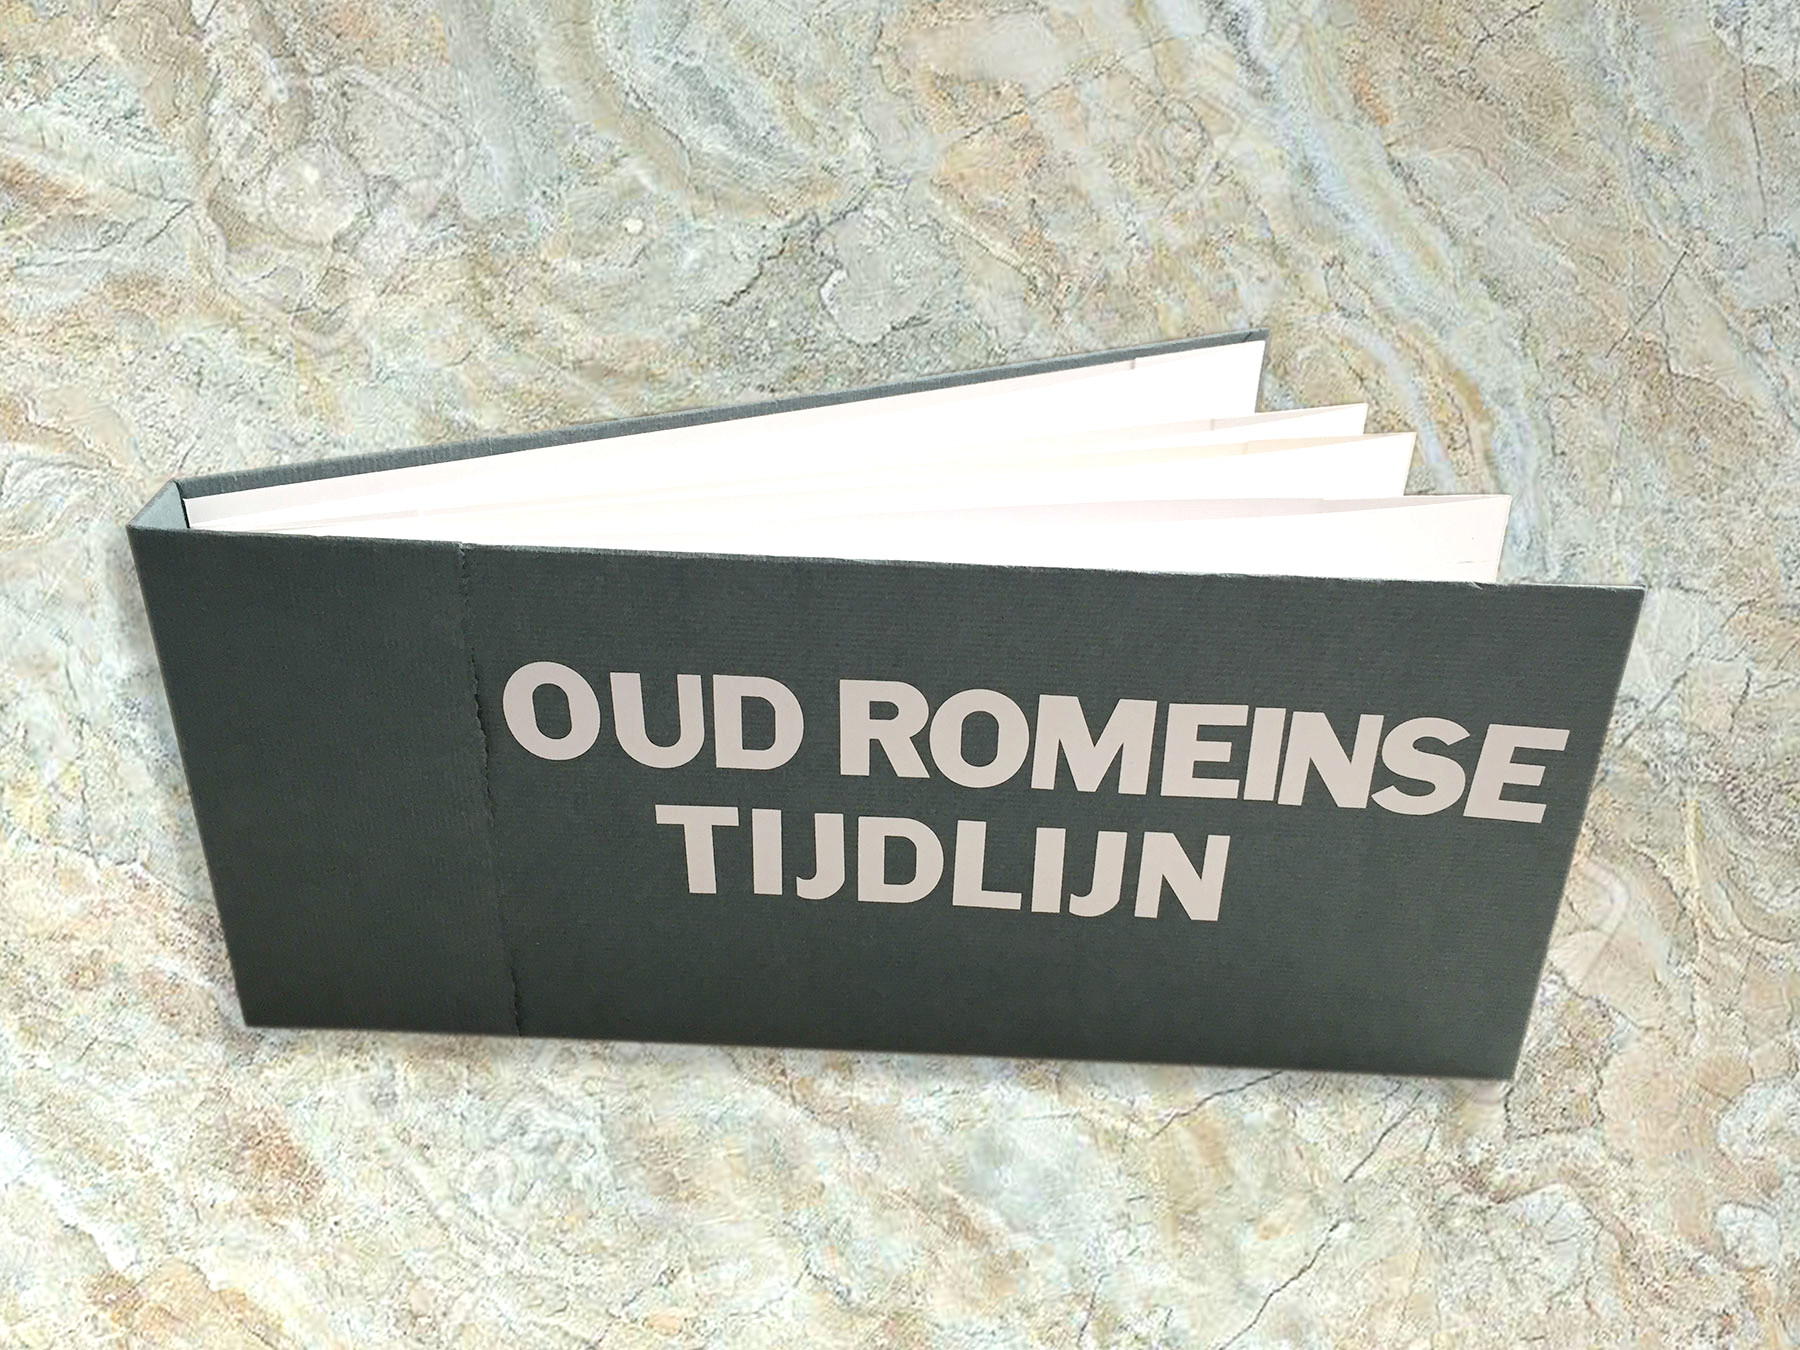
Our latest Roman craft - an ancient Roman Timeline book - is super fun, but it does take some time to make such a book neatly. It is fun to make the book but also to fill it with Ancient Roman Events, which happened so long ago. Maybe the new Emperors (Caeser), a war, the acquisition of a country of a murder of a high placed person, for instance. There is enough excitement in Roman Historie and you learn a lot about it, at the same time!
You can buy the adhesive letters for the bookcover or you can draw, colour and cut out the letters yourself. You can also print them and cut out. Our cardboard cover is made from the backs of old drawing and painting blocks, so recycled. The beautiful coloured paper costs € 0.77 for a large sheet. Only the spray glue is very expensive, if you never use it, it is better to glue with hobby glue.
How to make an Ancient Roman Timeline book
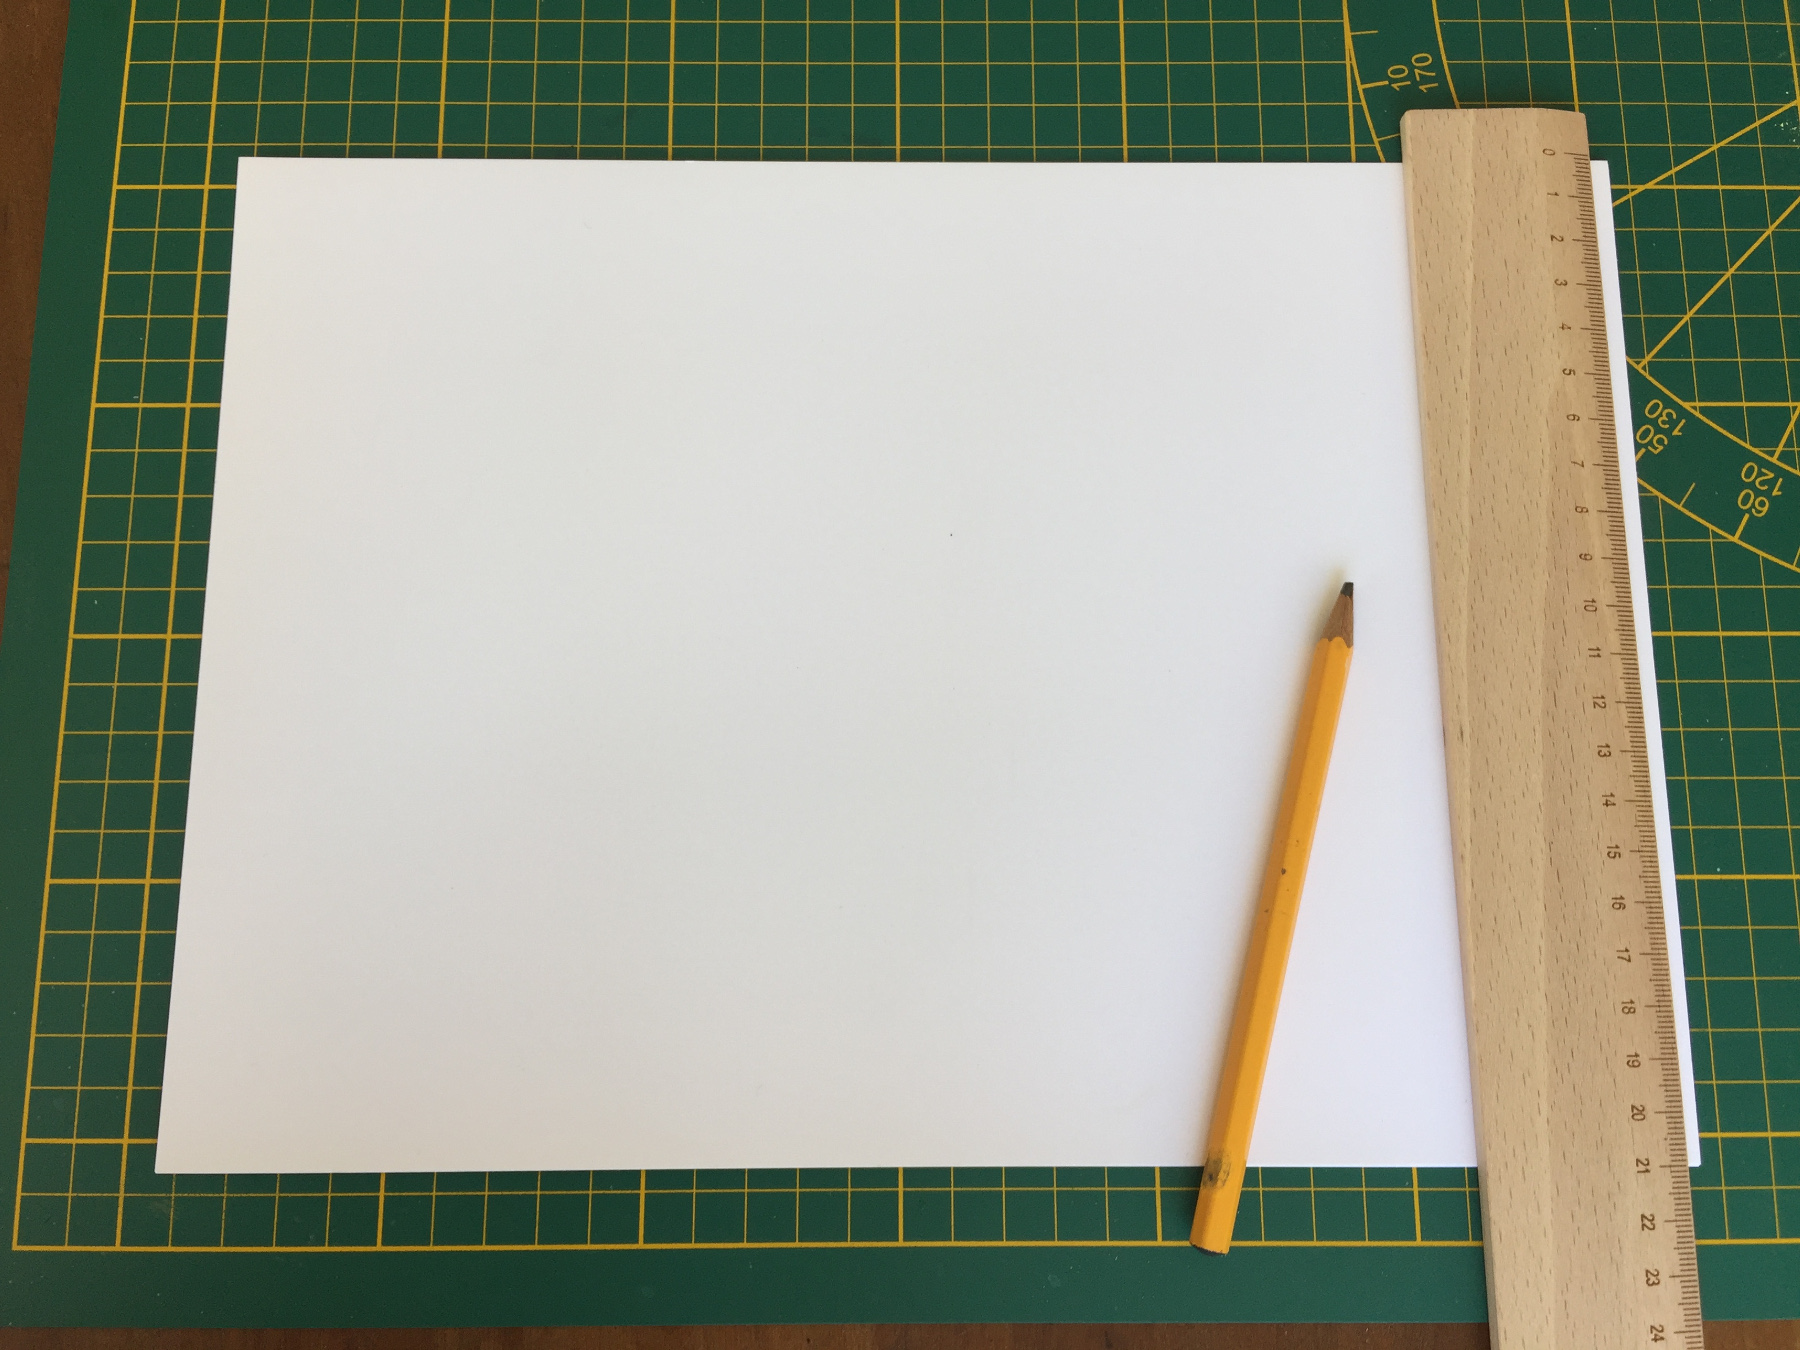
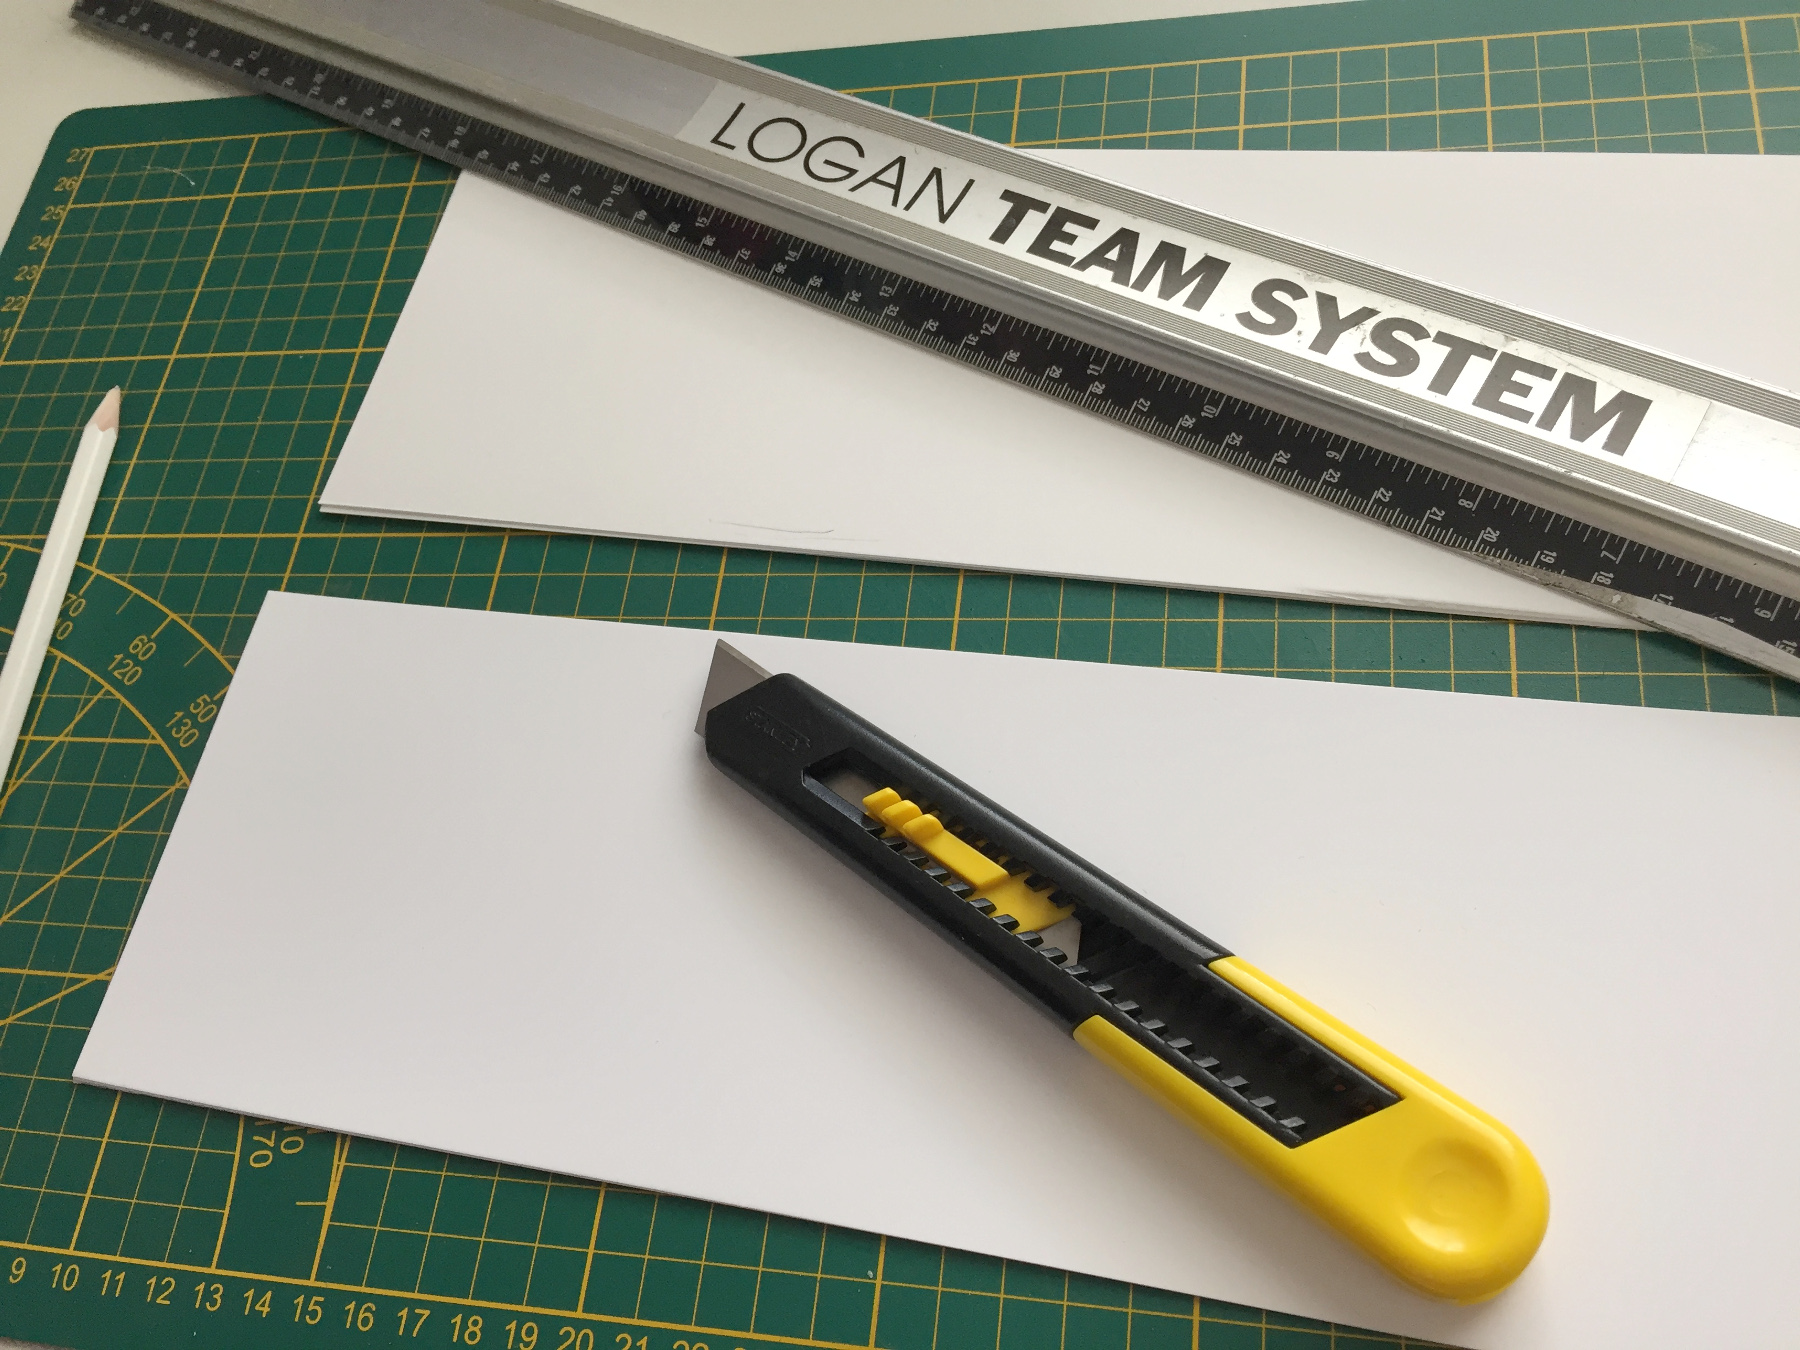
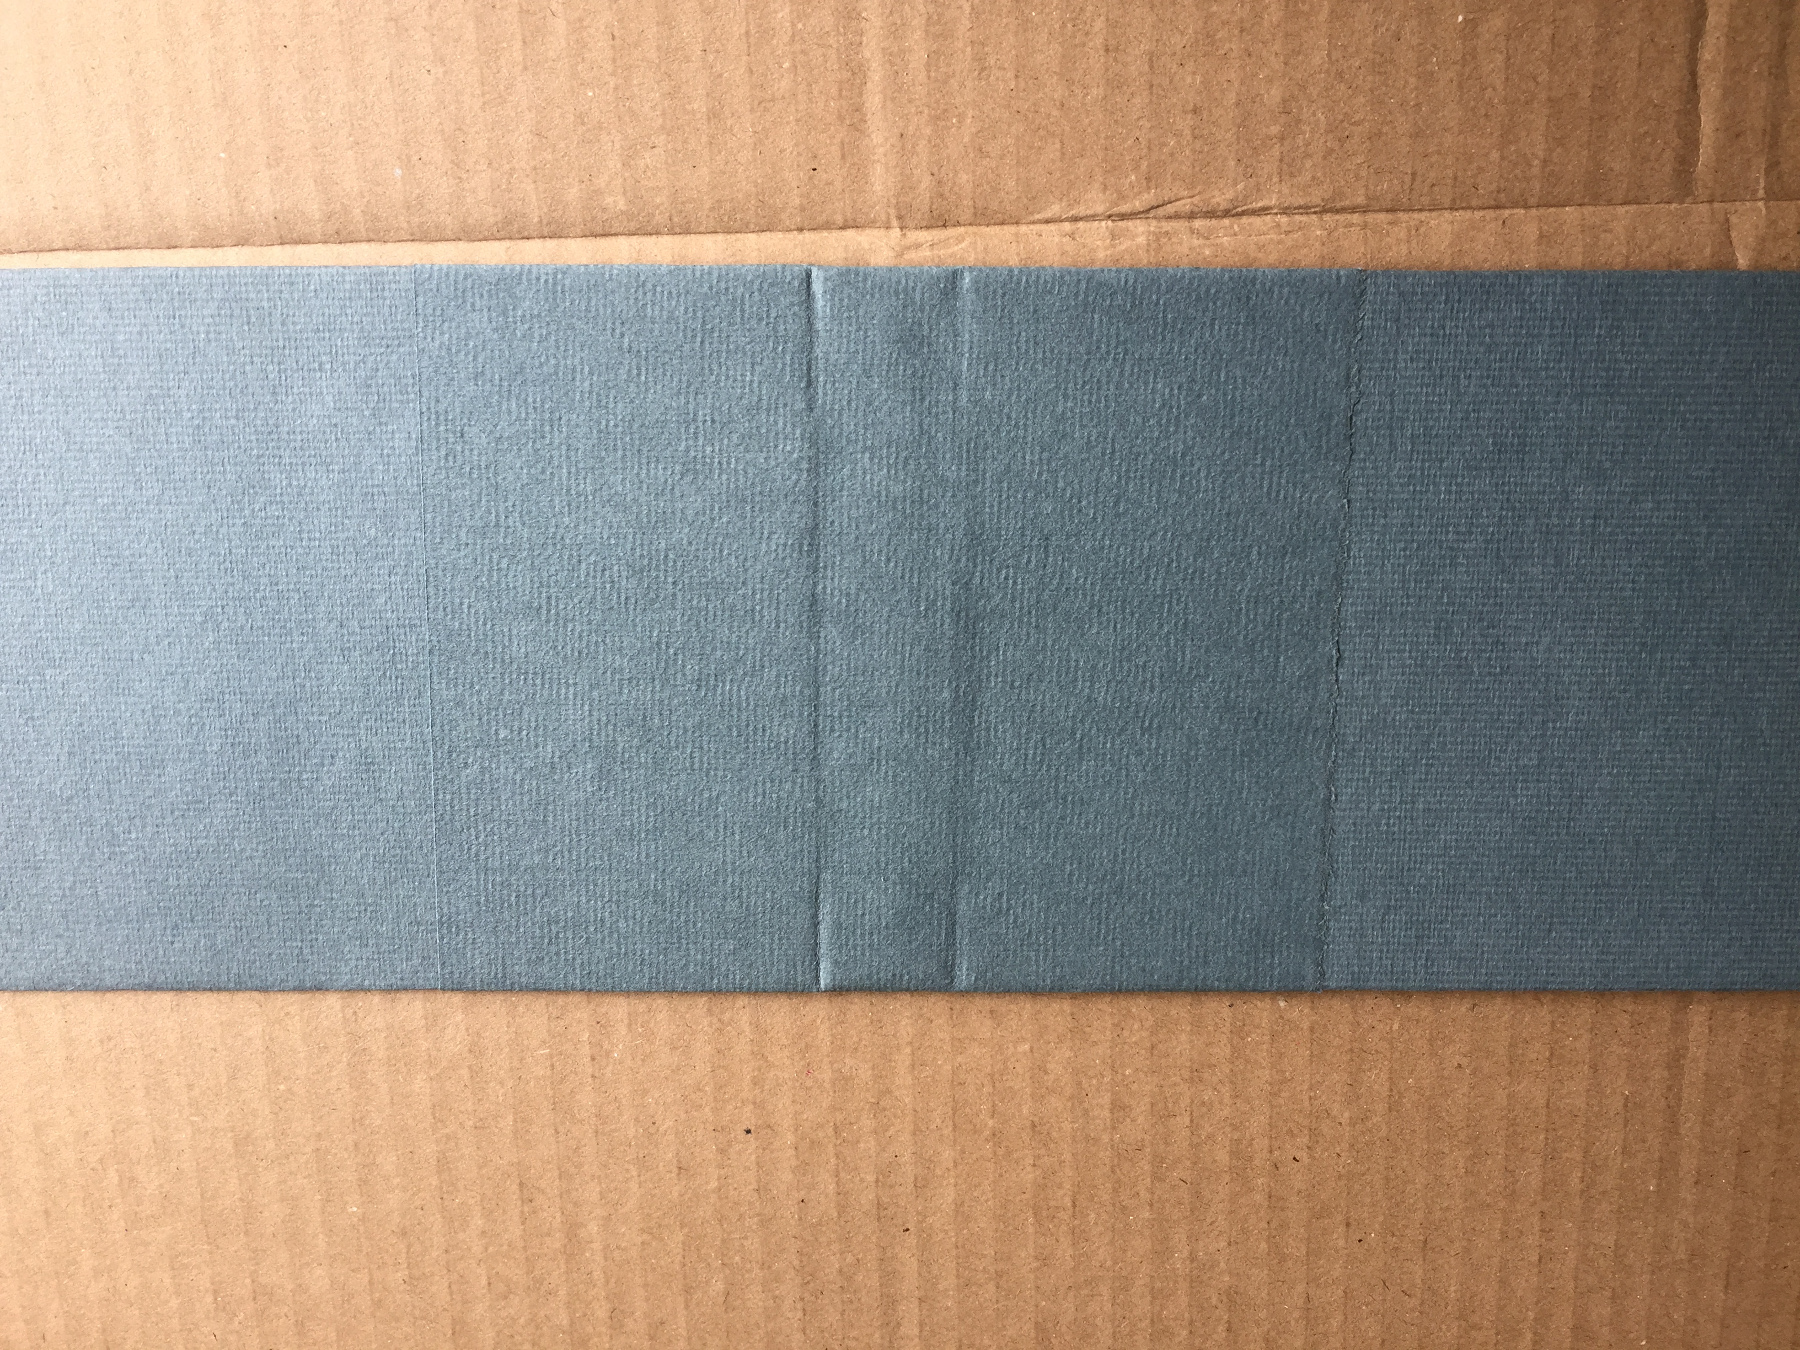
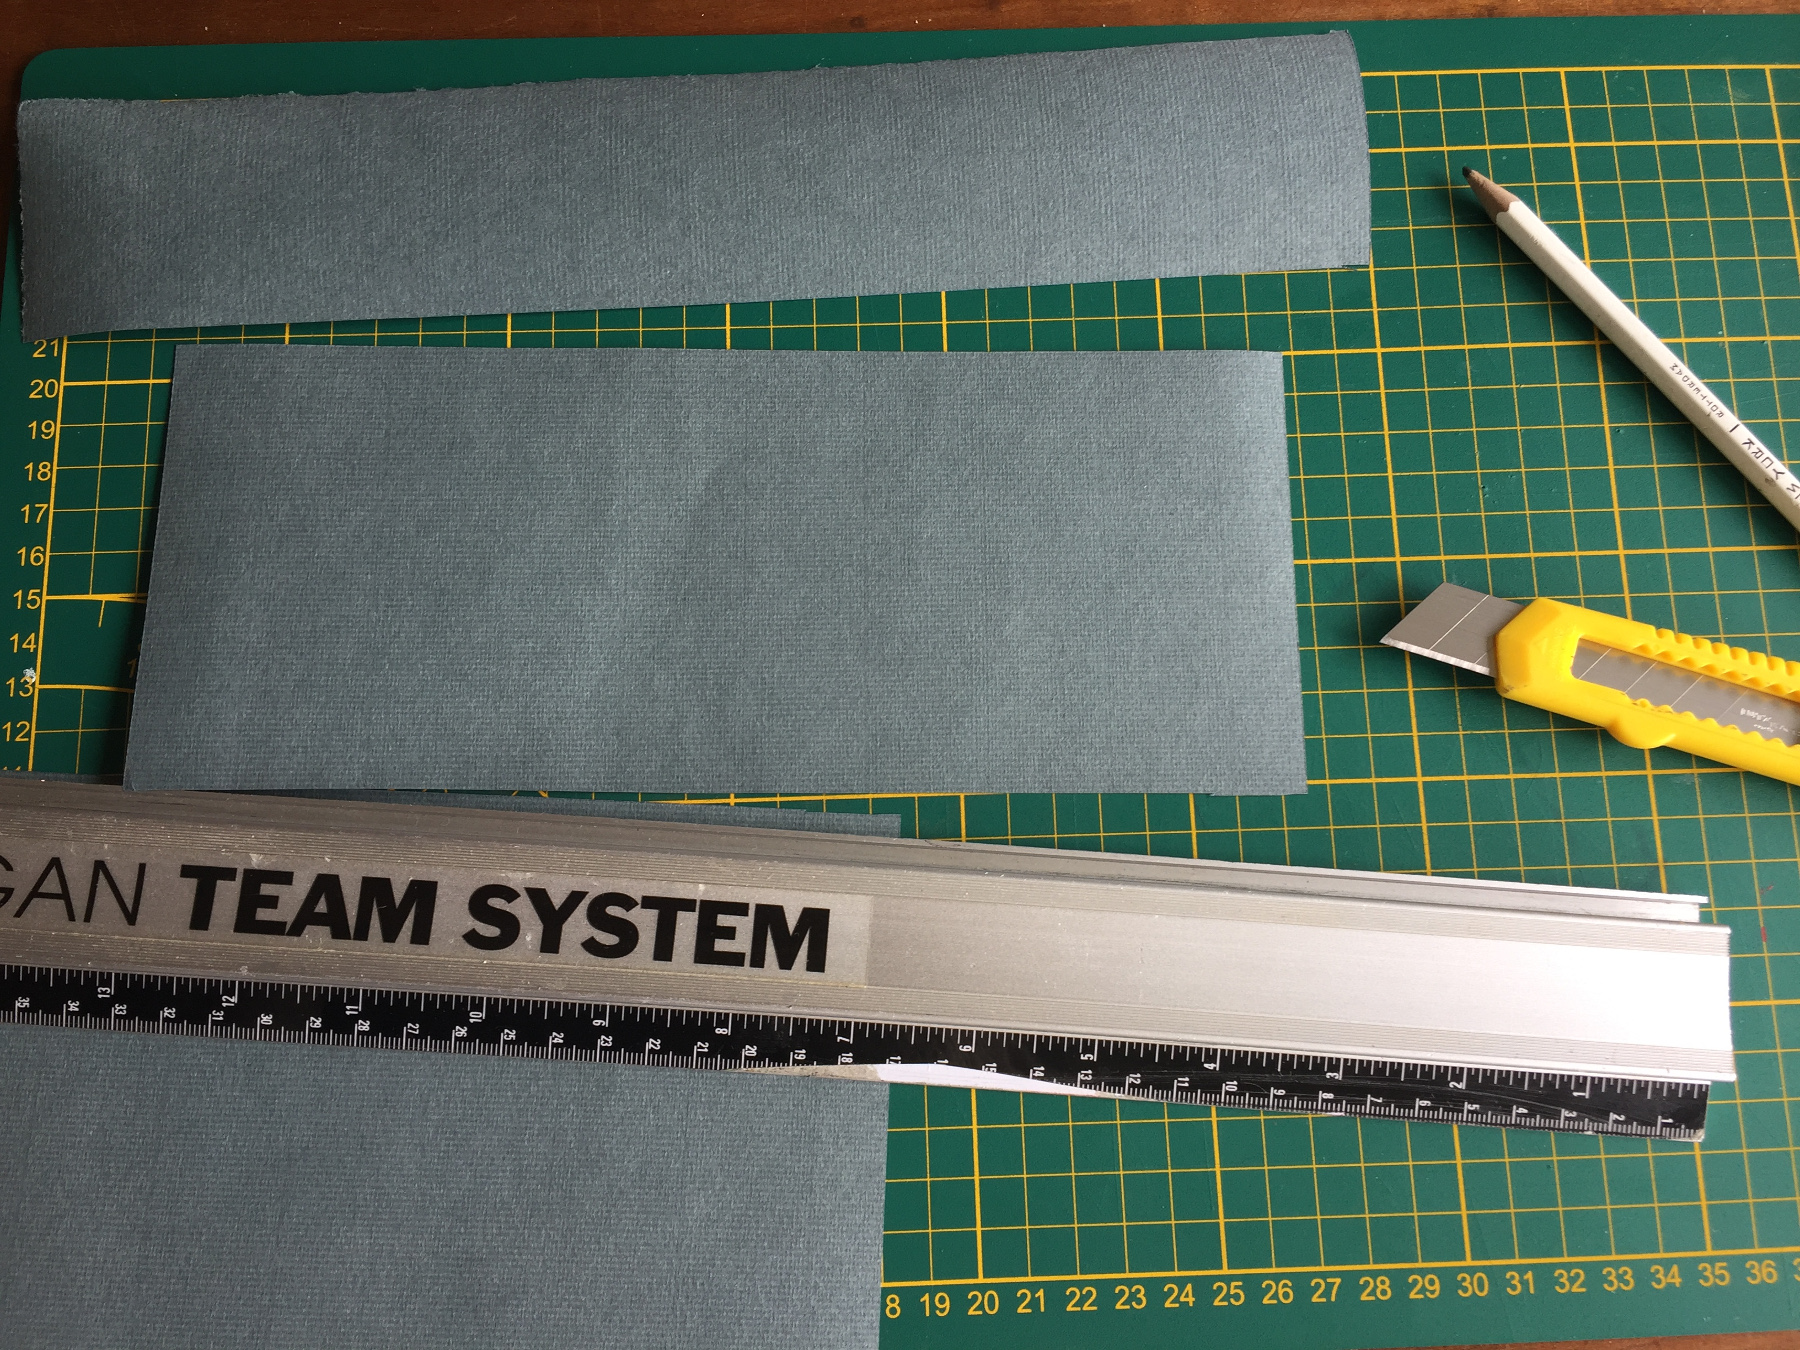
Cut the A4 pages lenghtwise in half.
Cut all 5 of them, so you have 10.
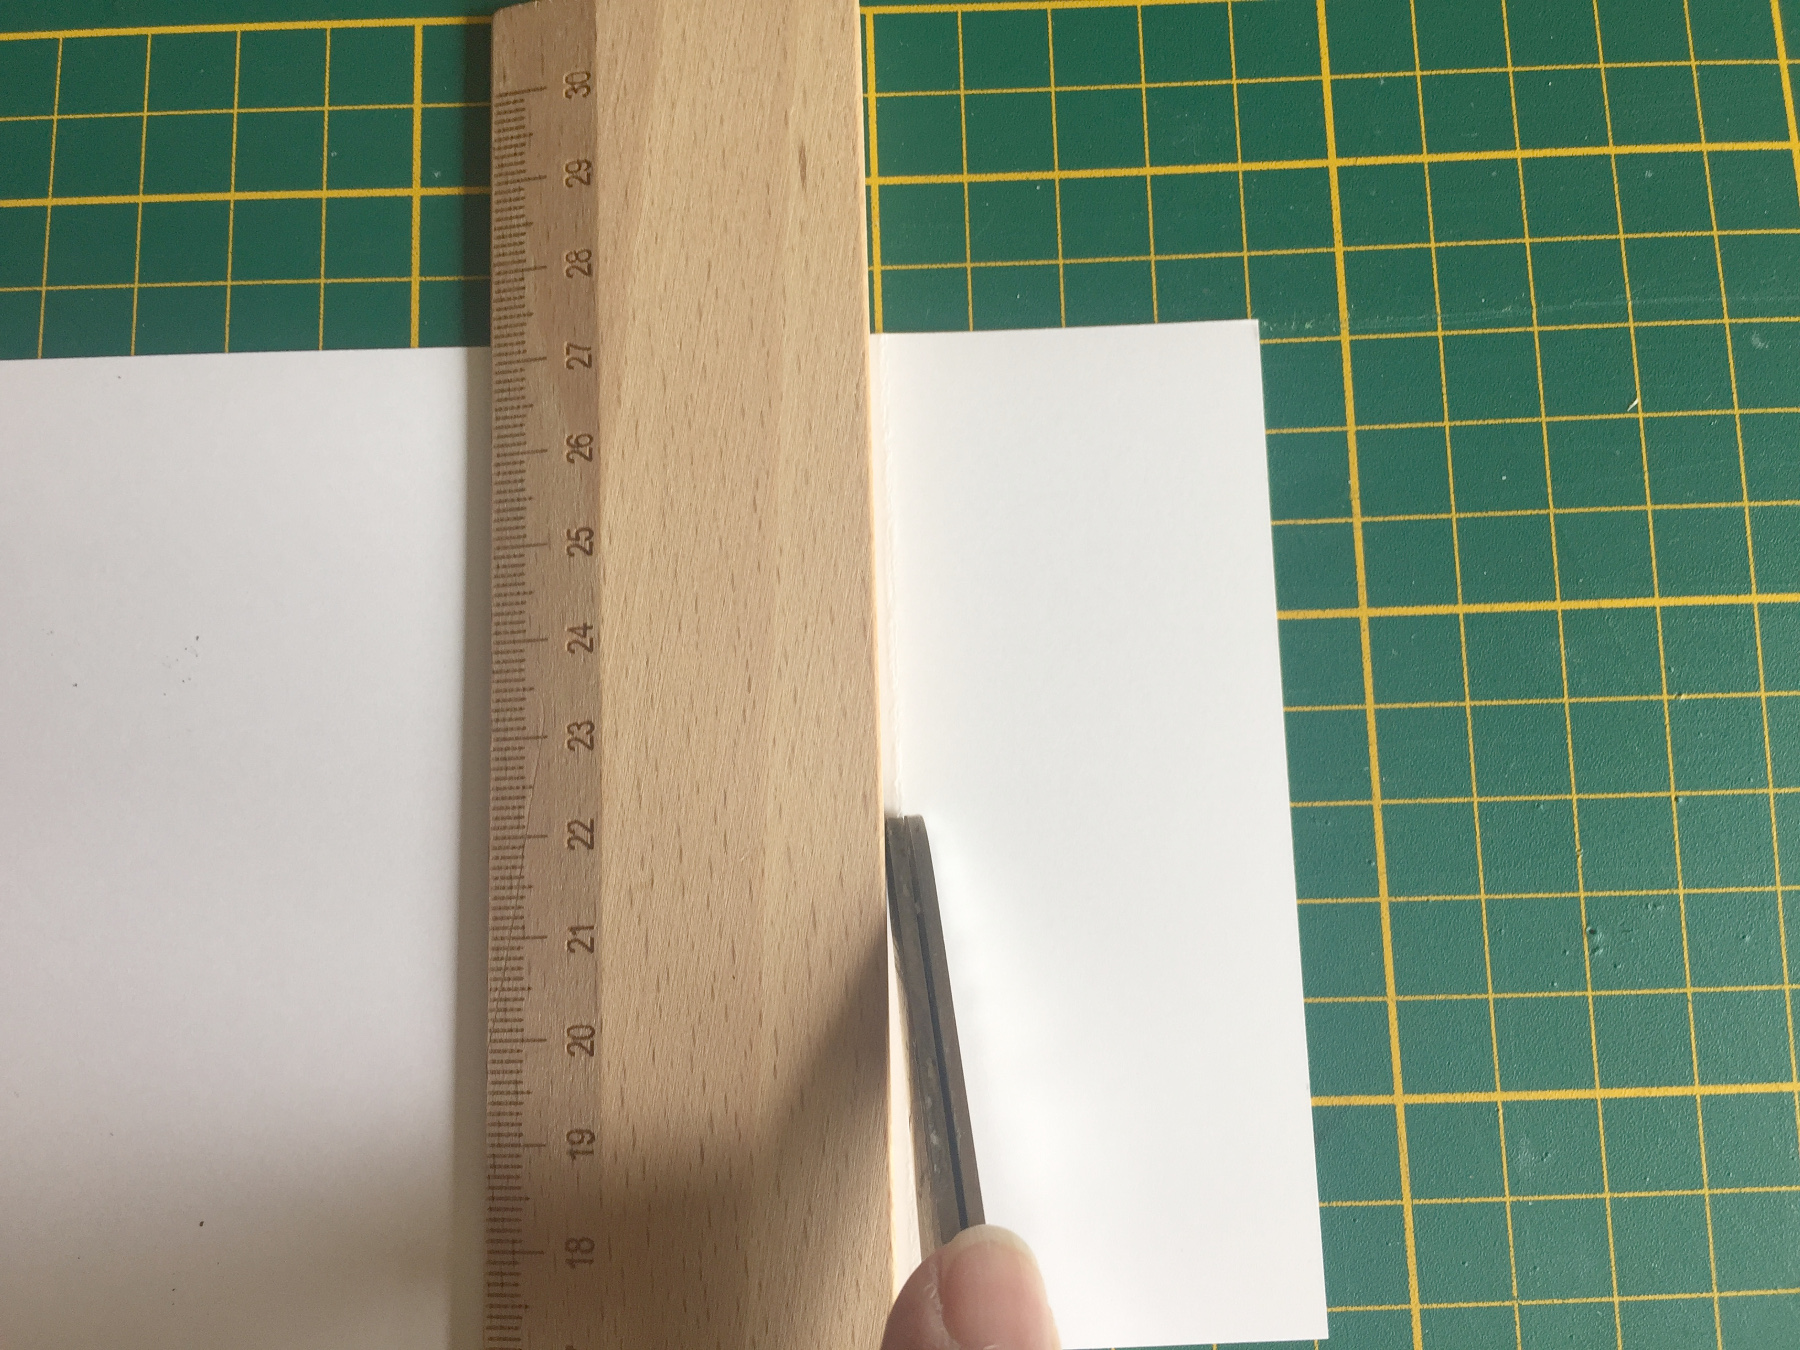
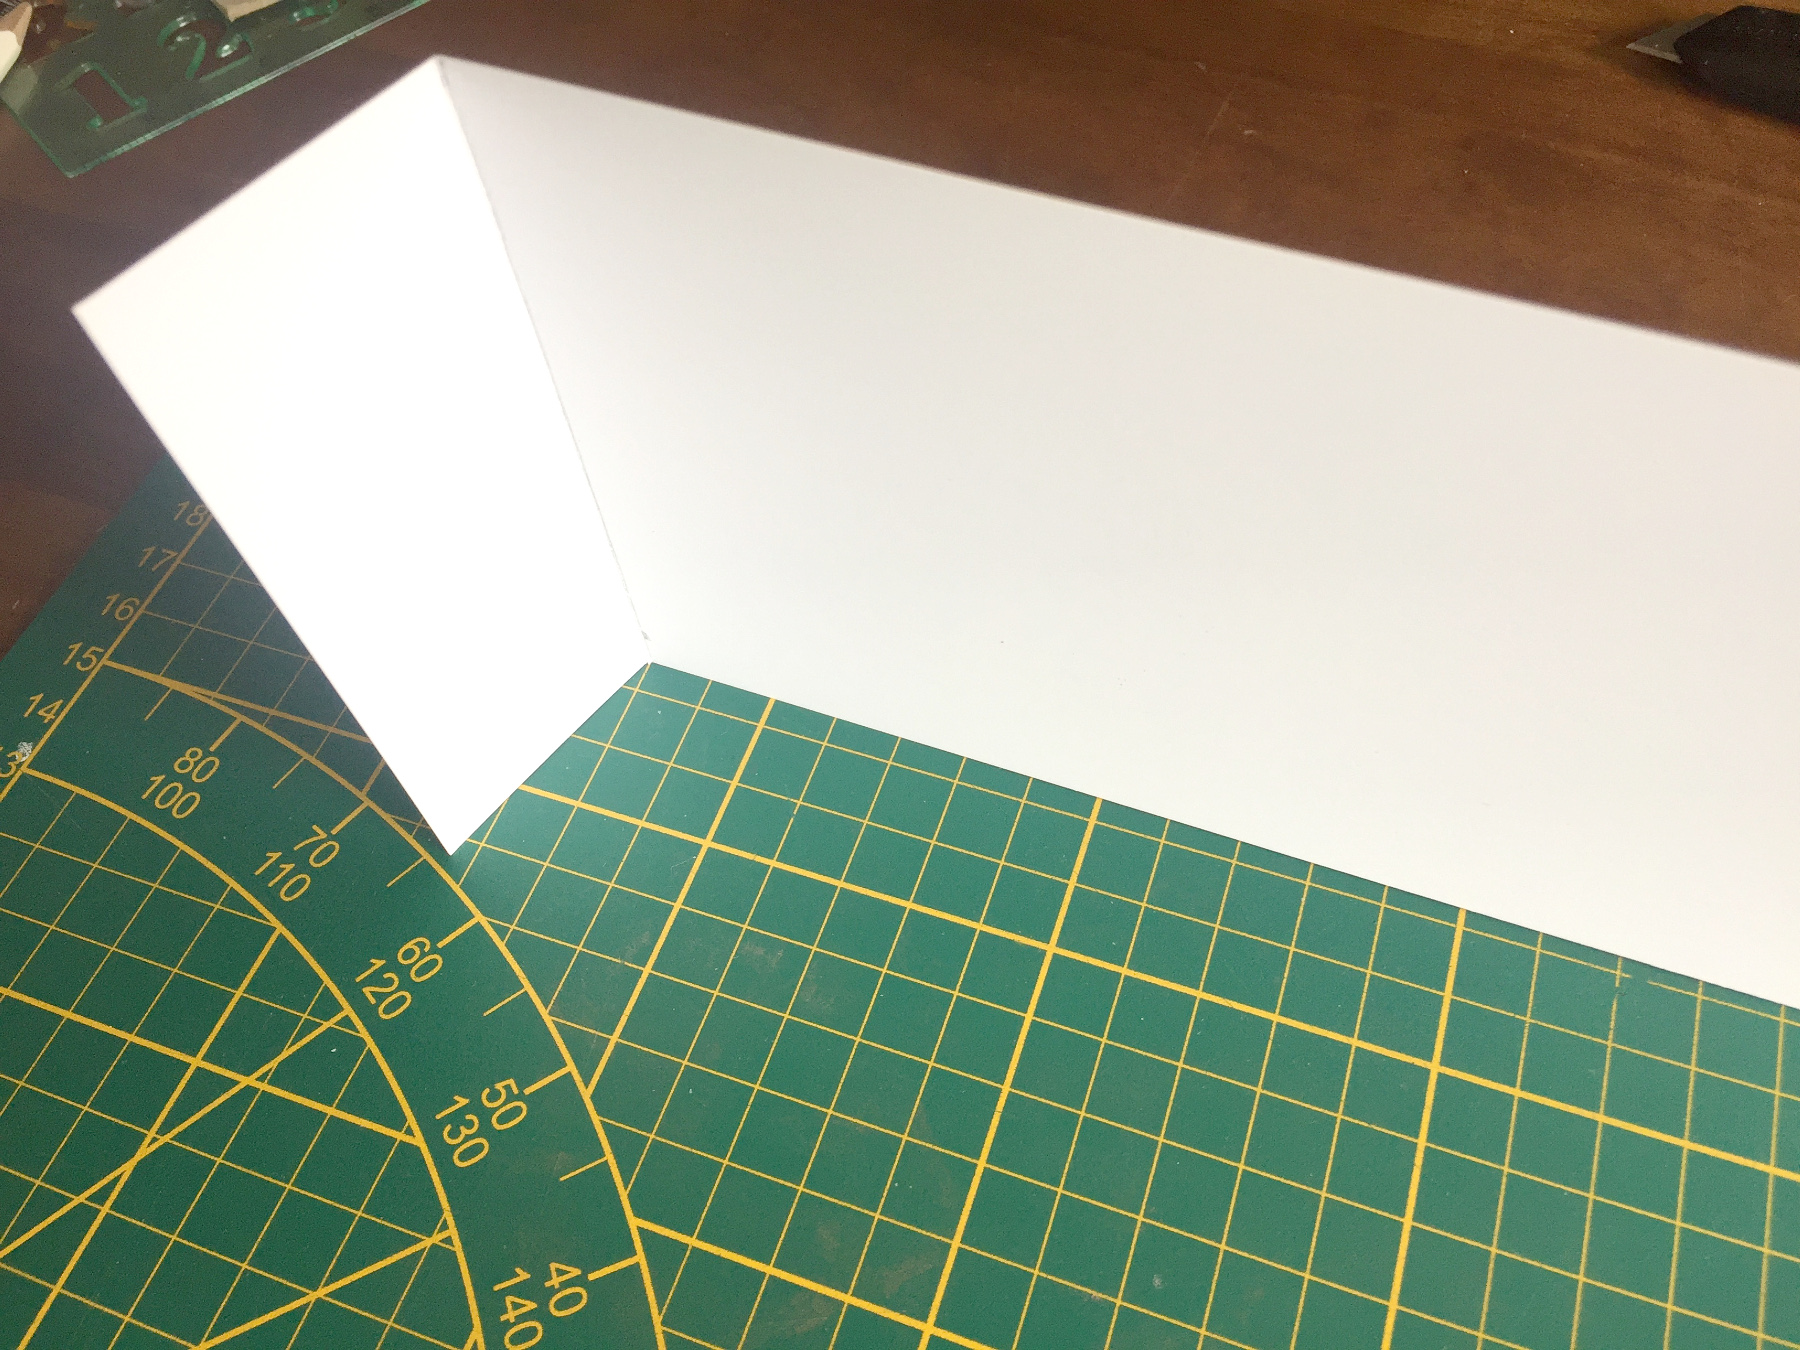
Make a score at the ends of the pages at 4 cm.
This is how you make a fold out accordeon of pages.
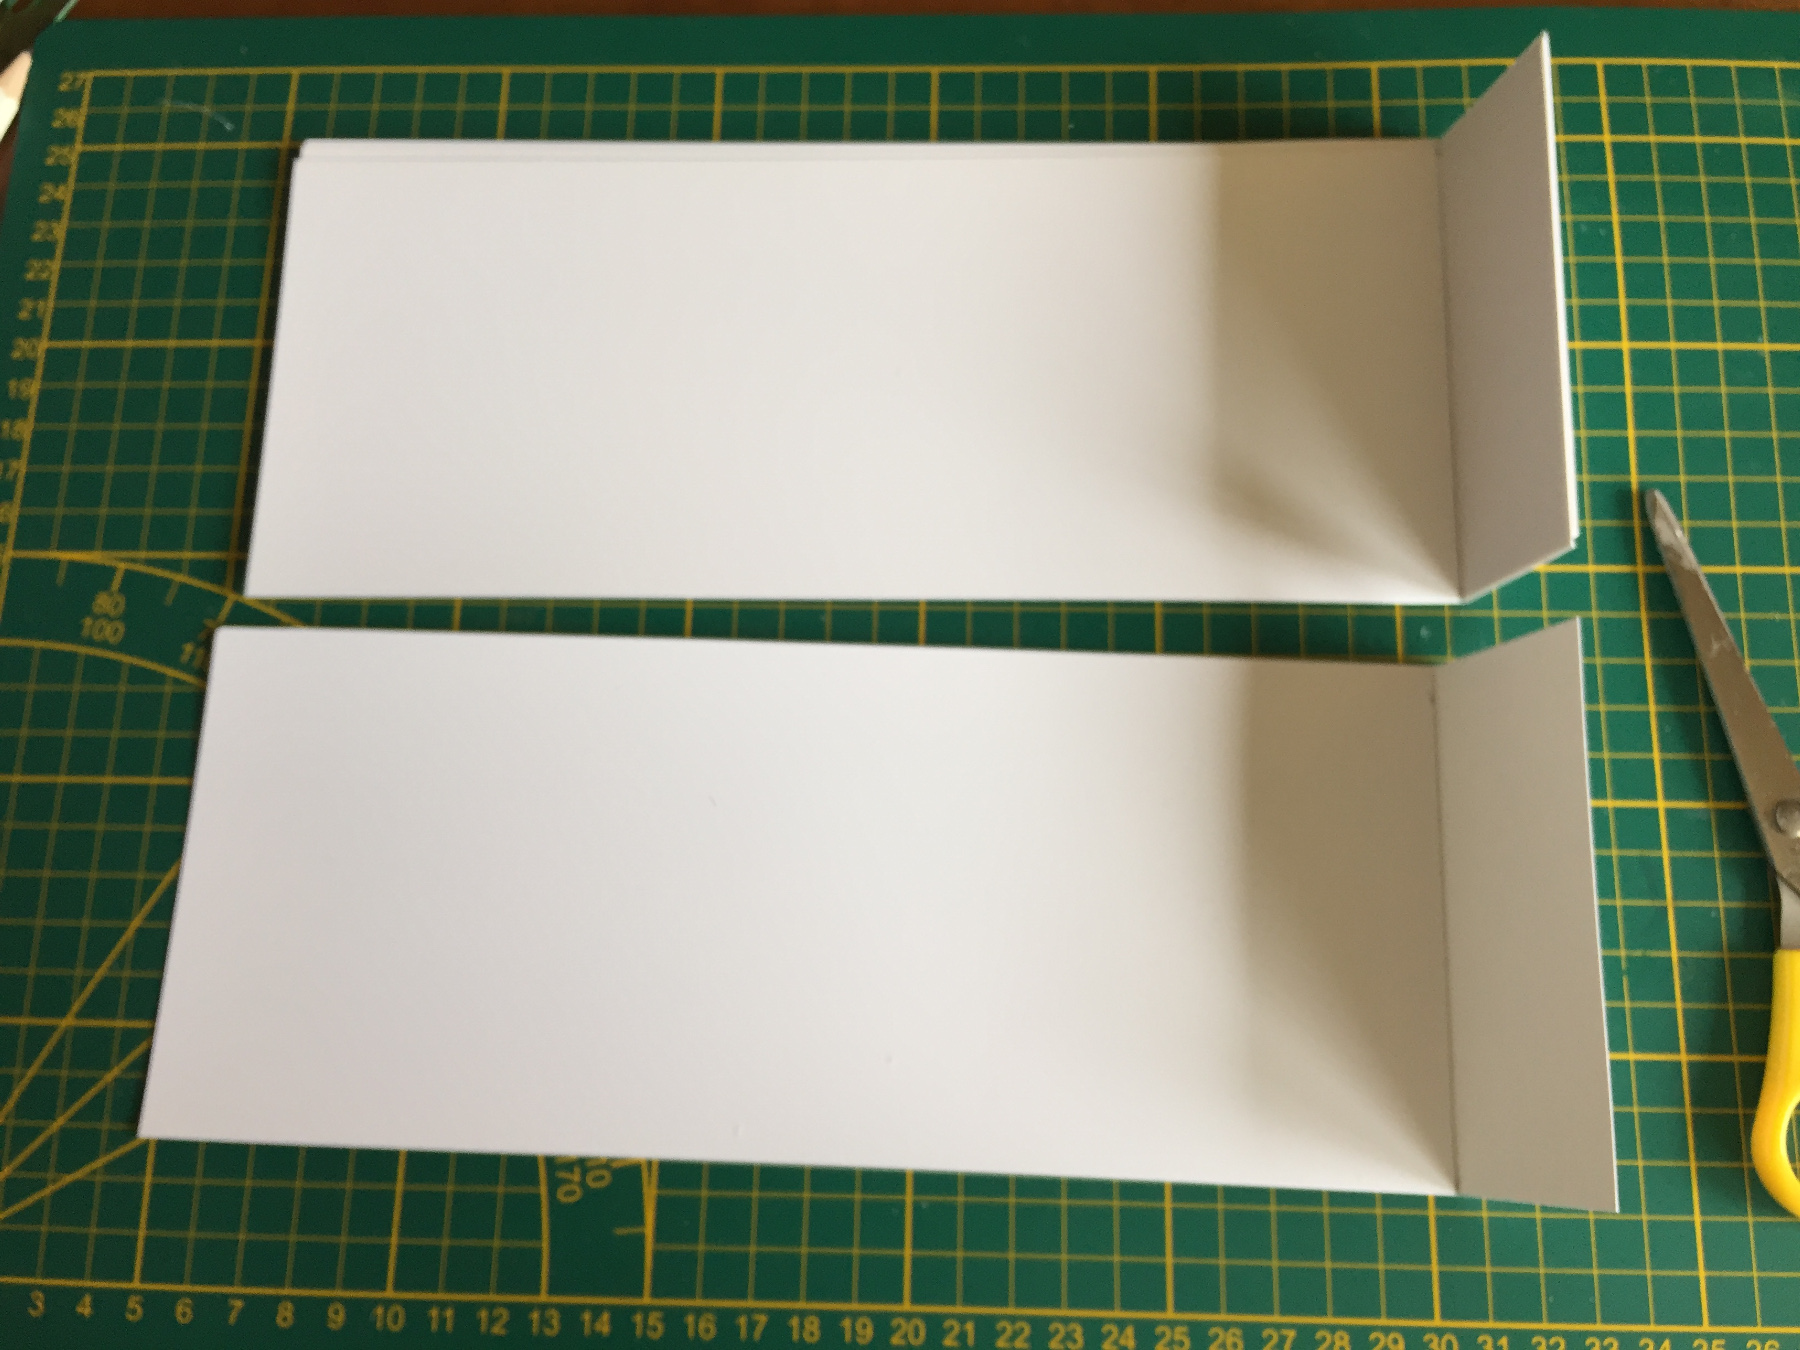
Score all the 10 pages in the same way.
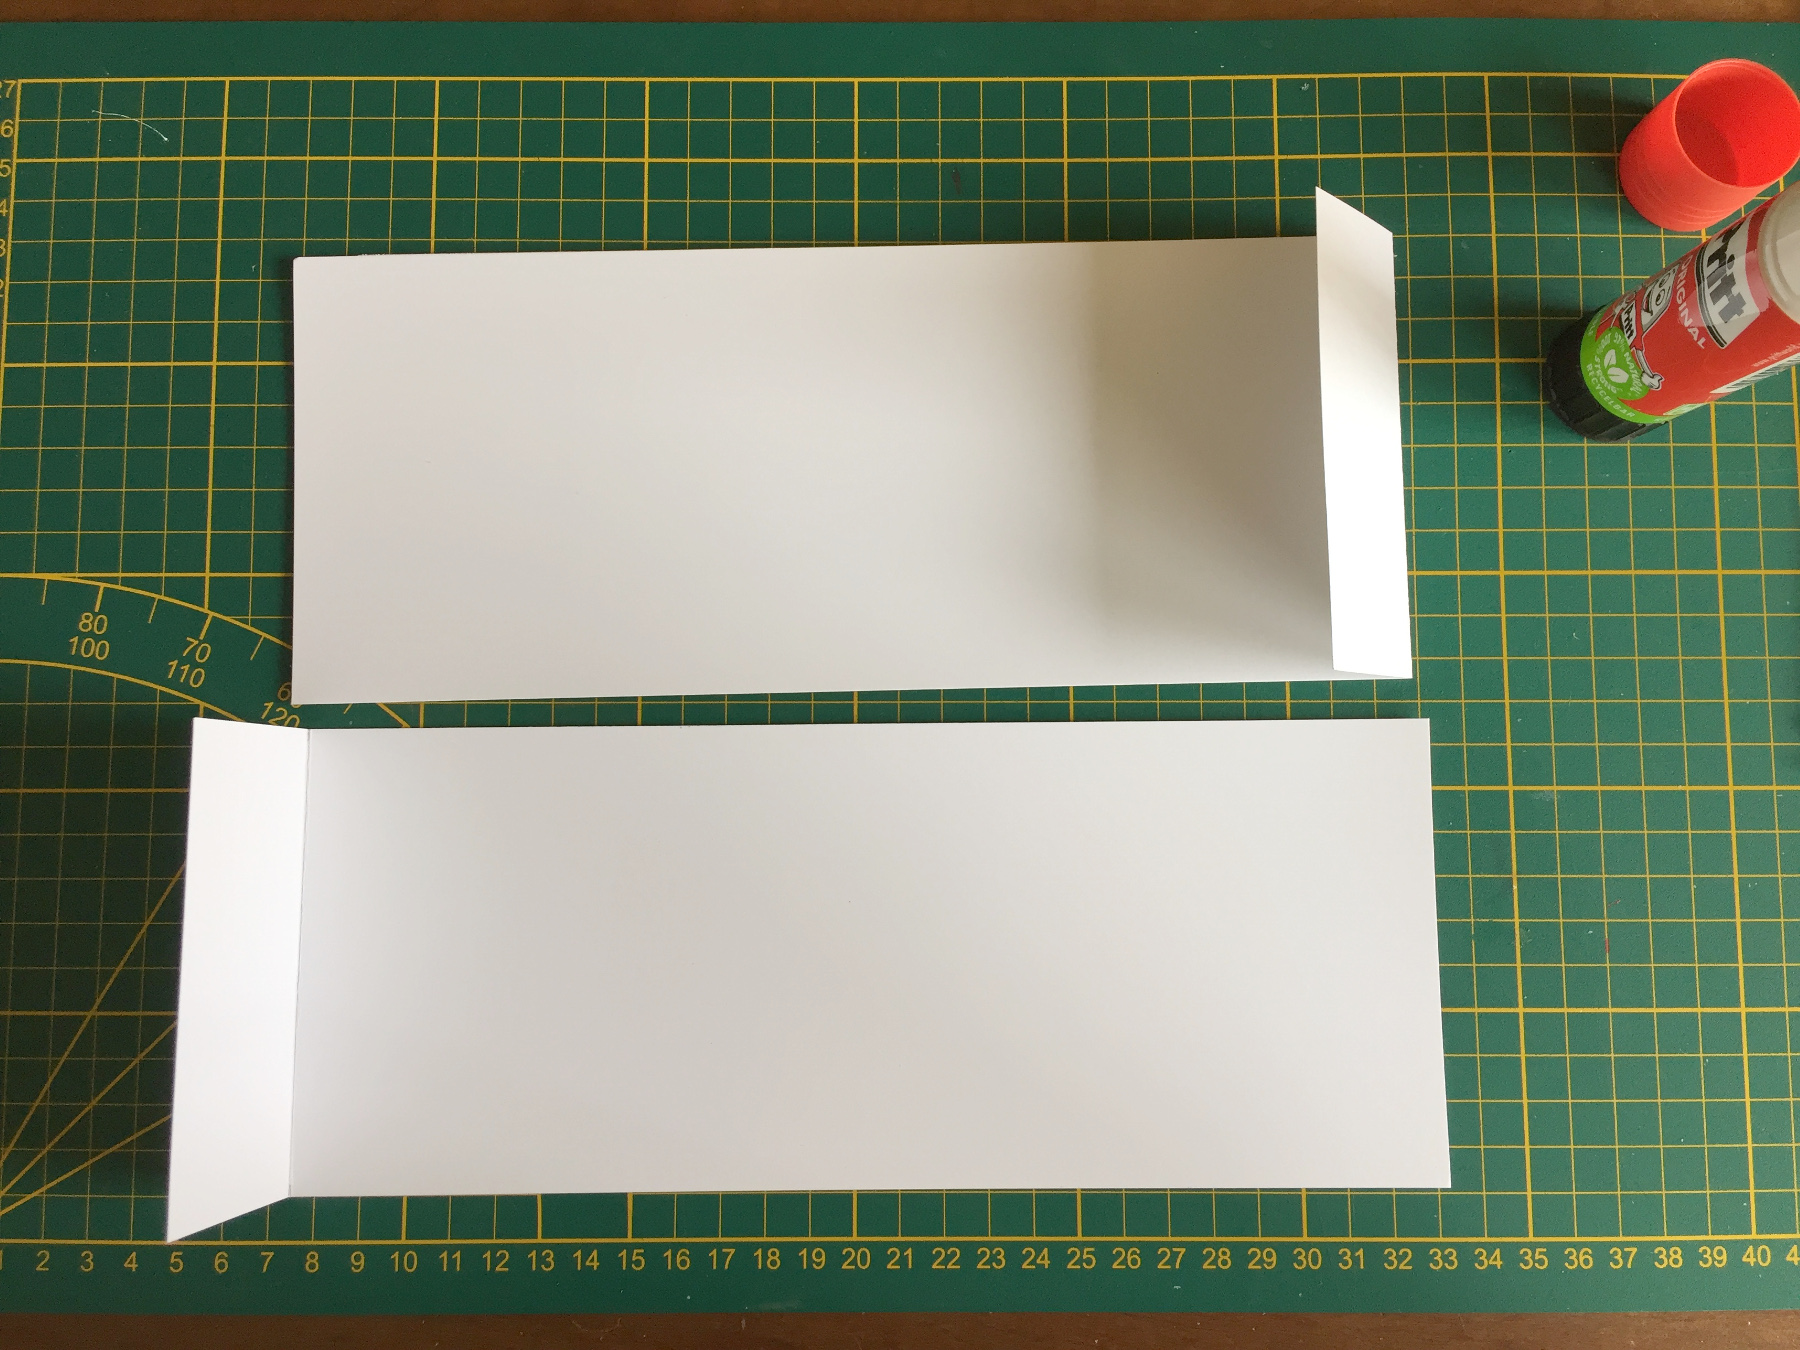
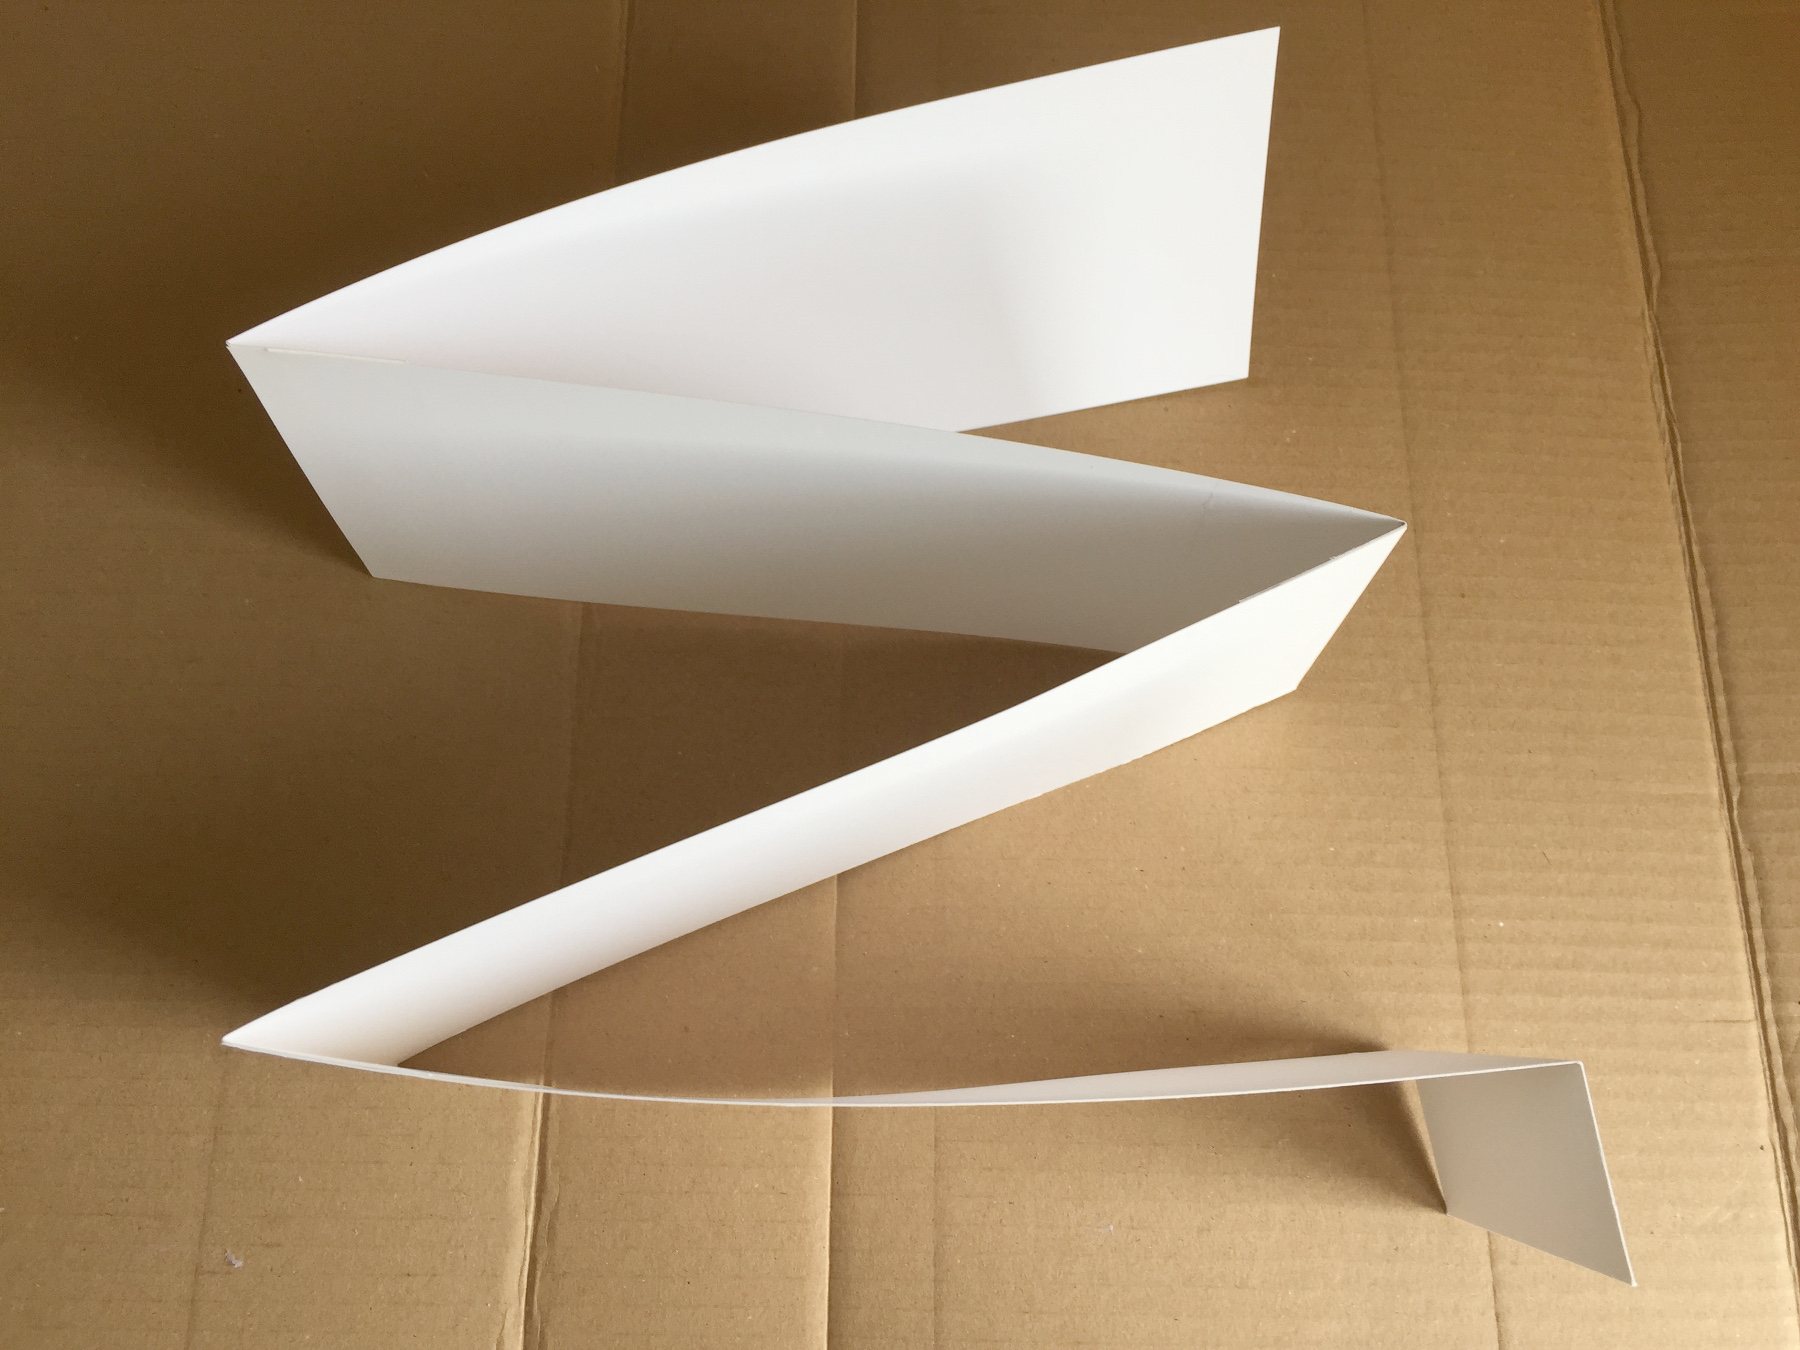
Stick them alternately together.
Like a accordion.
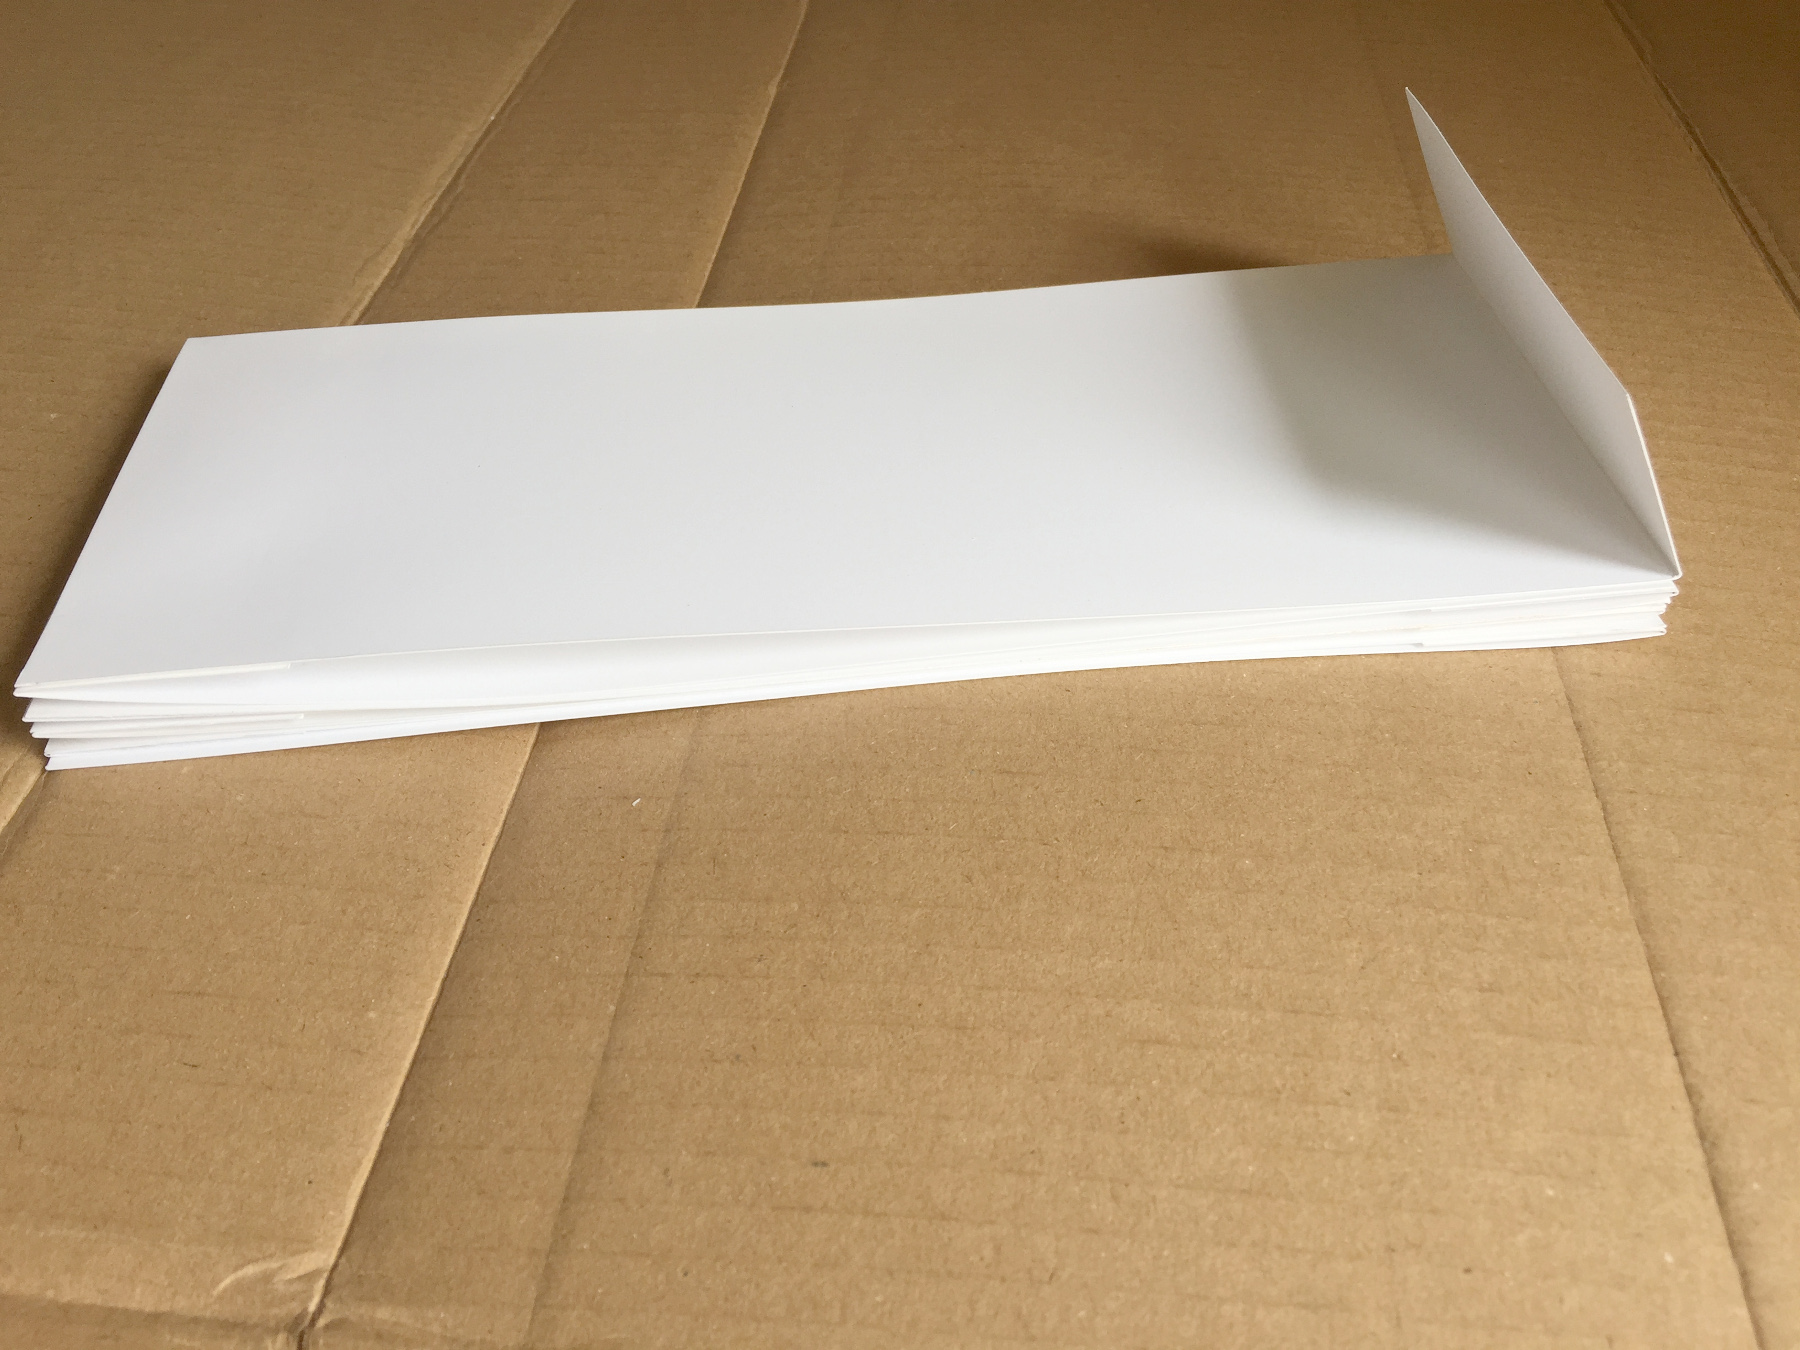
Allow the glue to dry well.
Draw a line in the middle of all the pages.
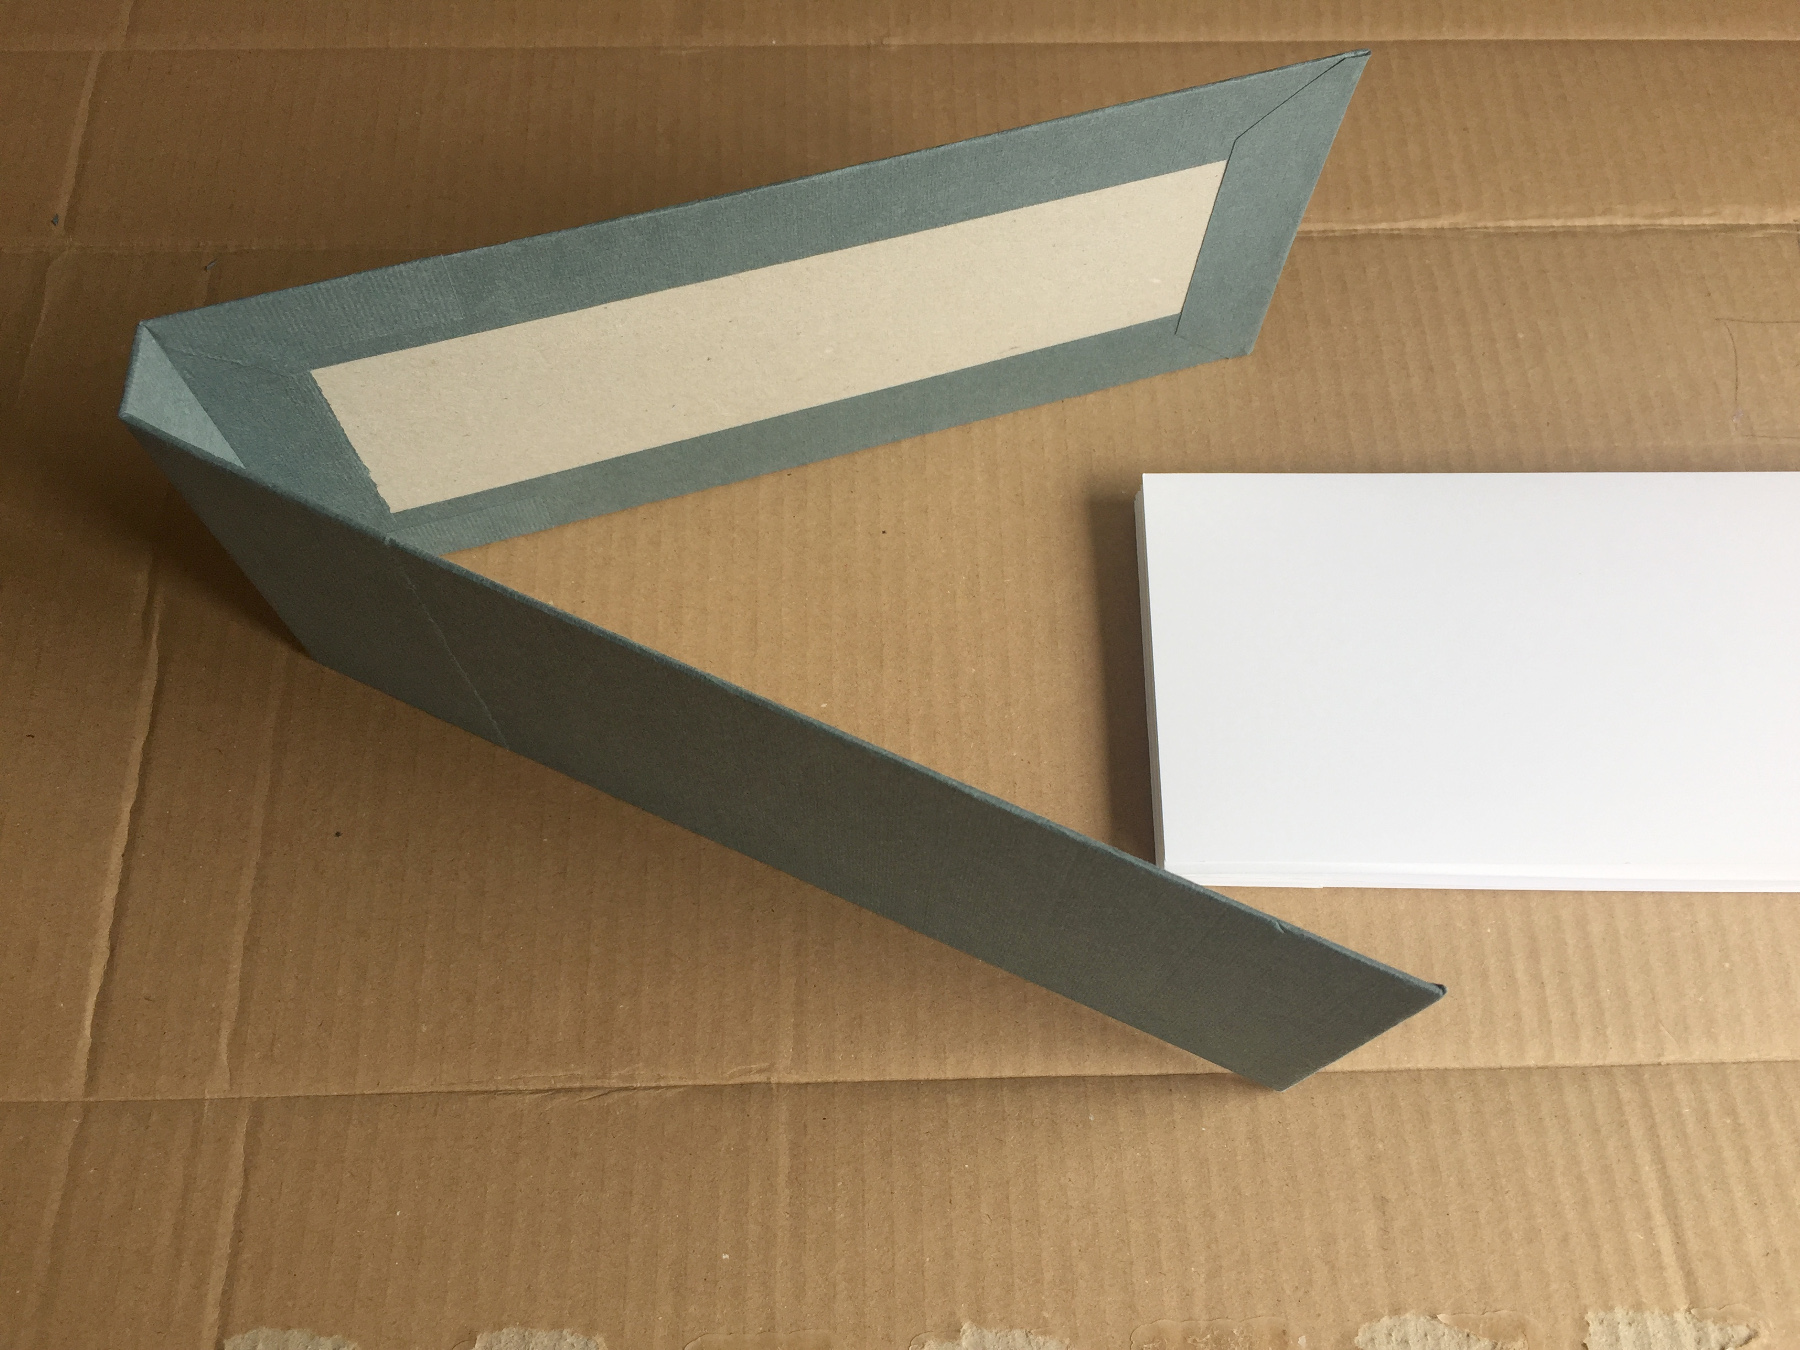
Now you make the cover of your book
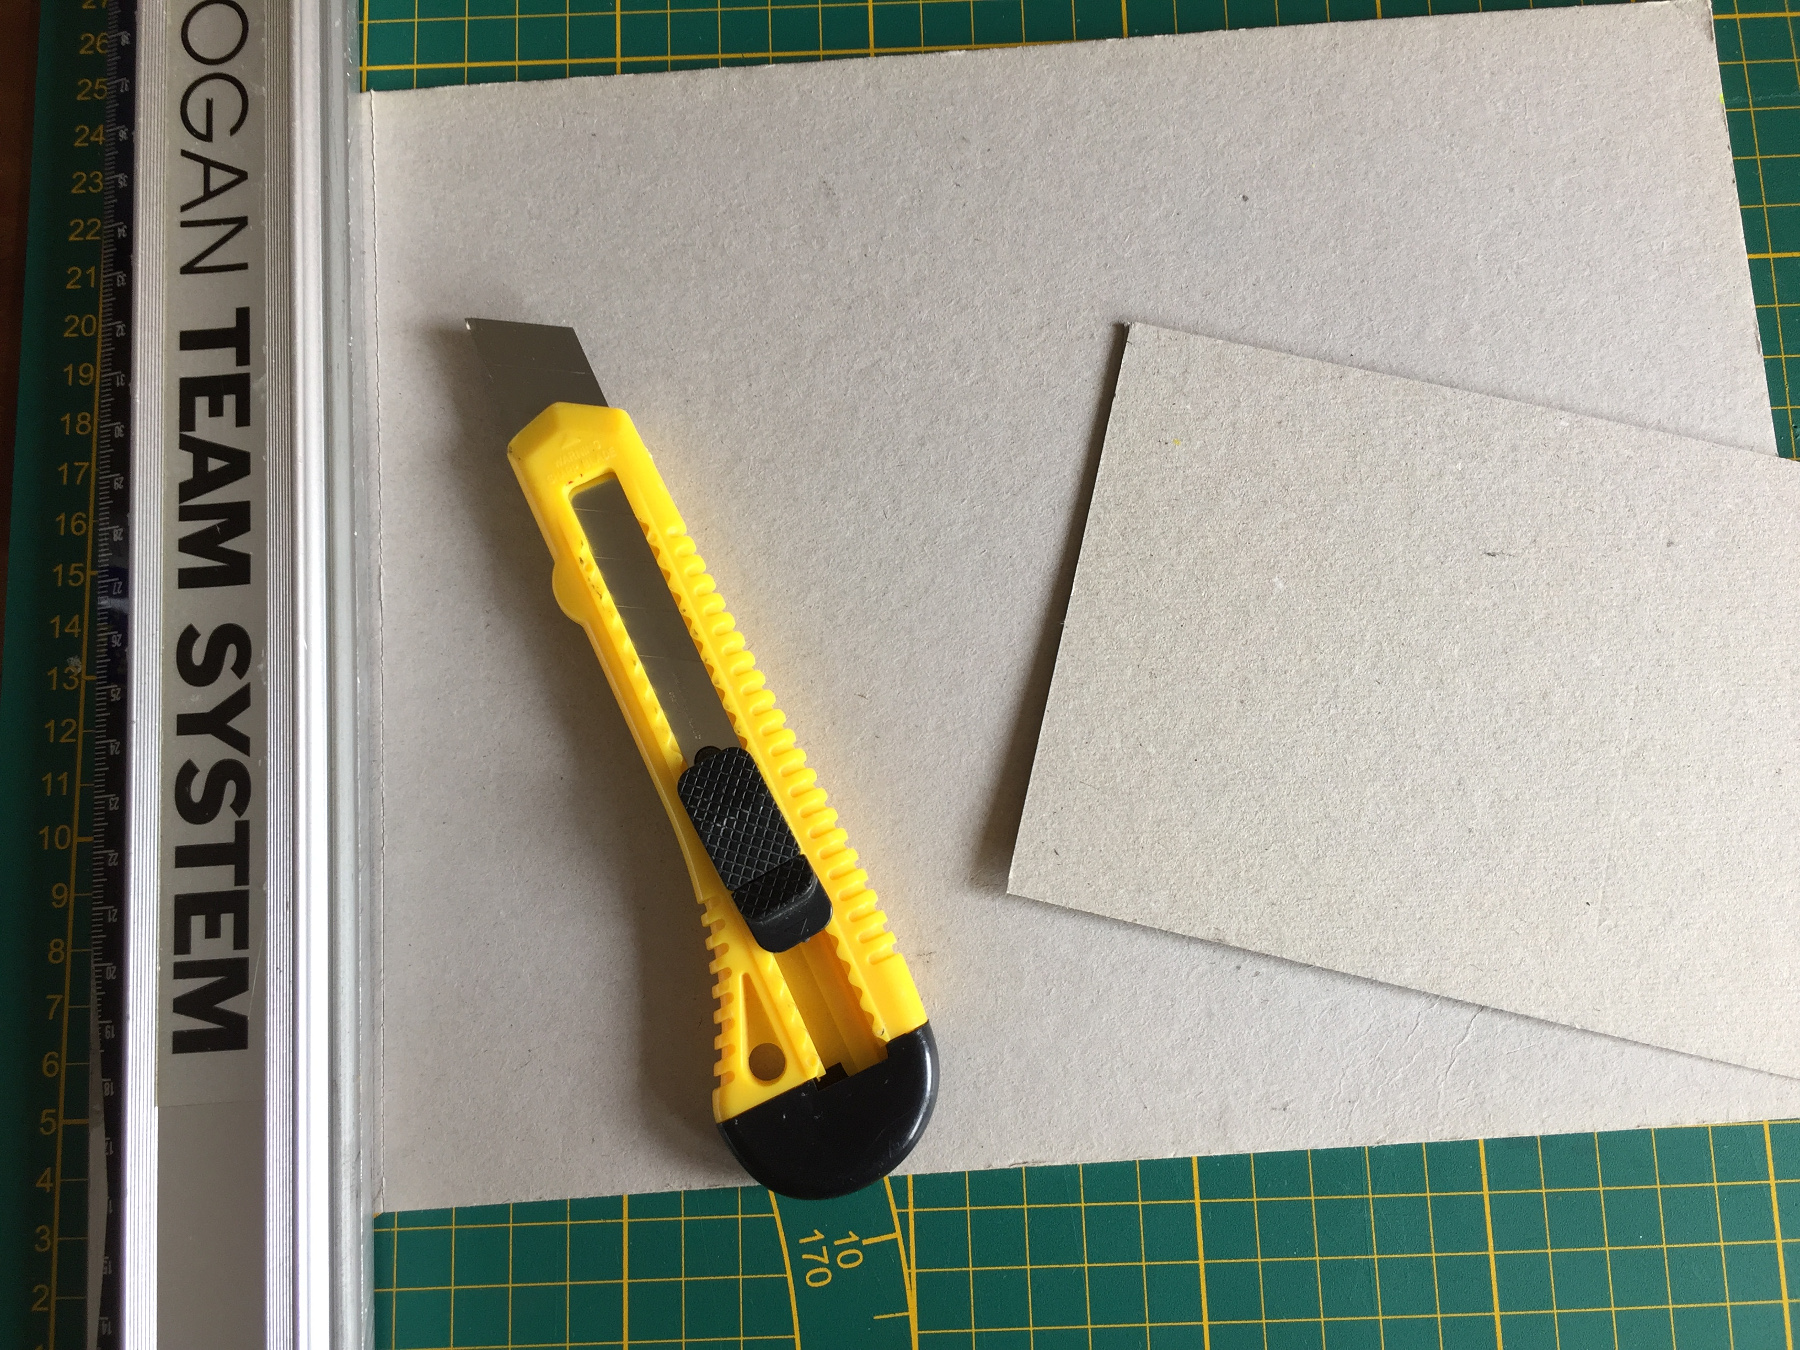
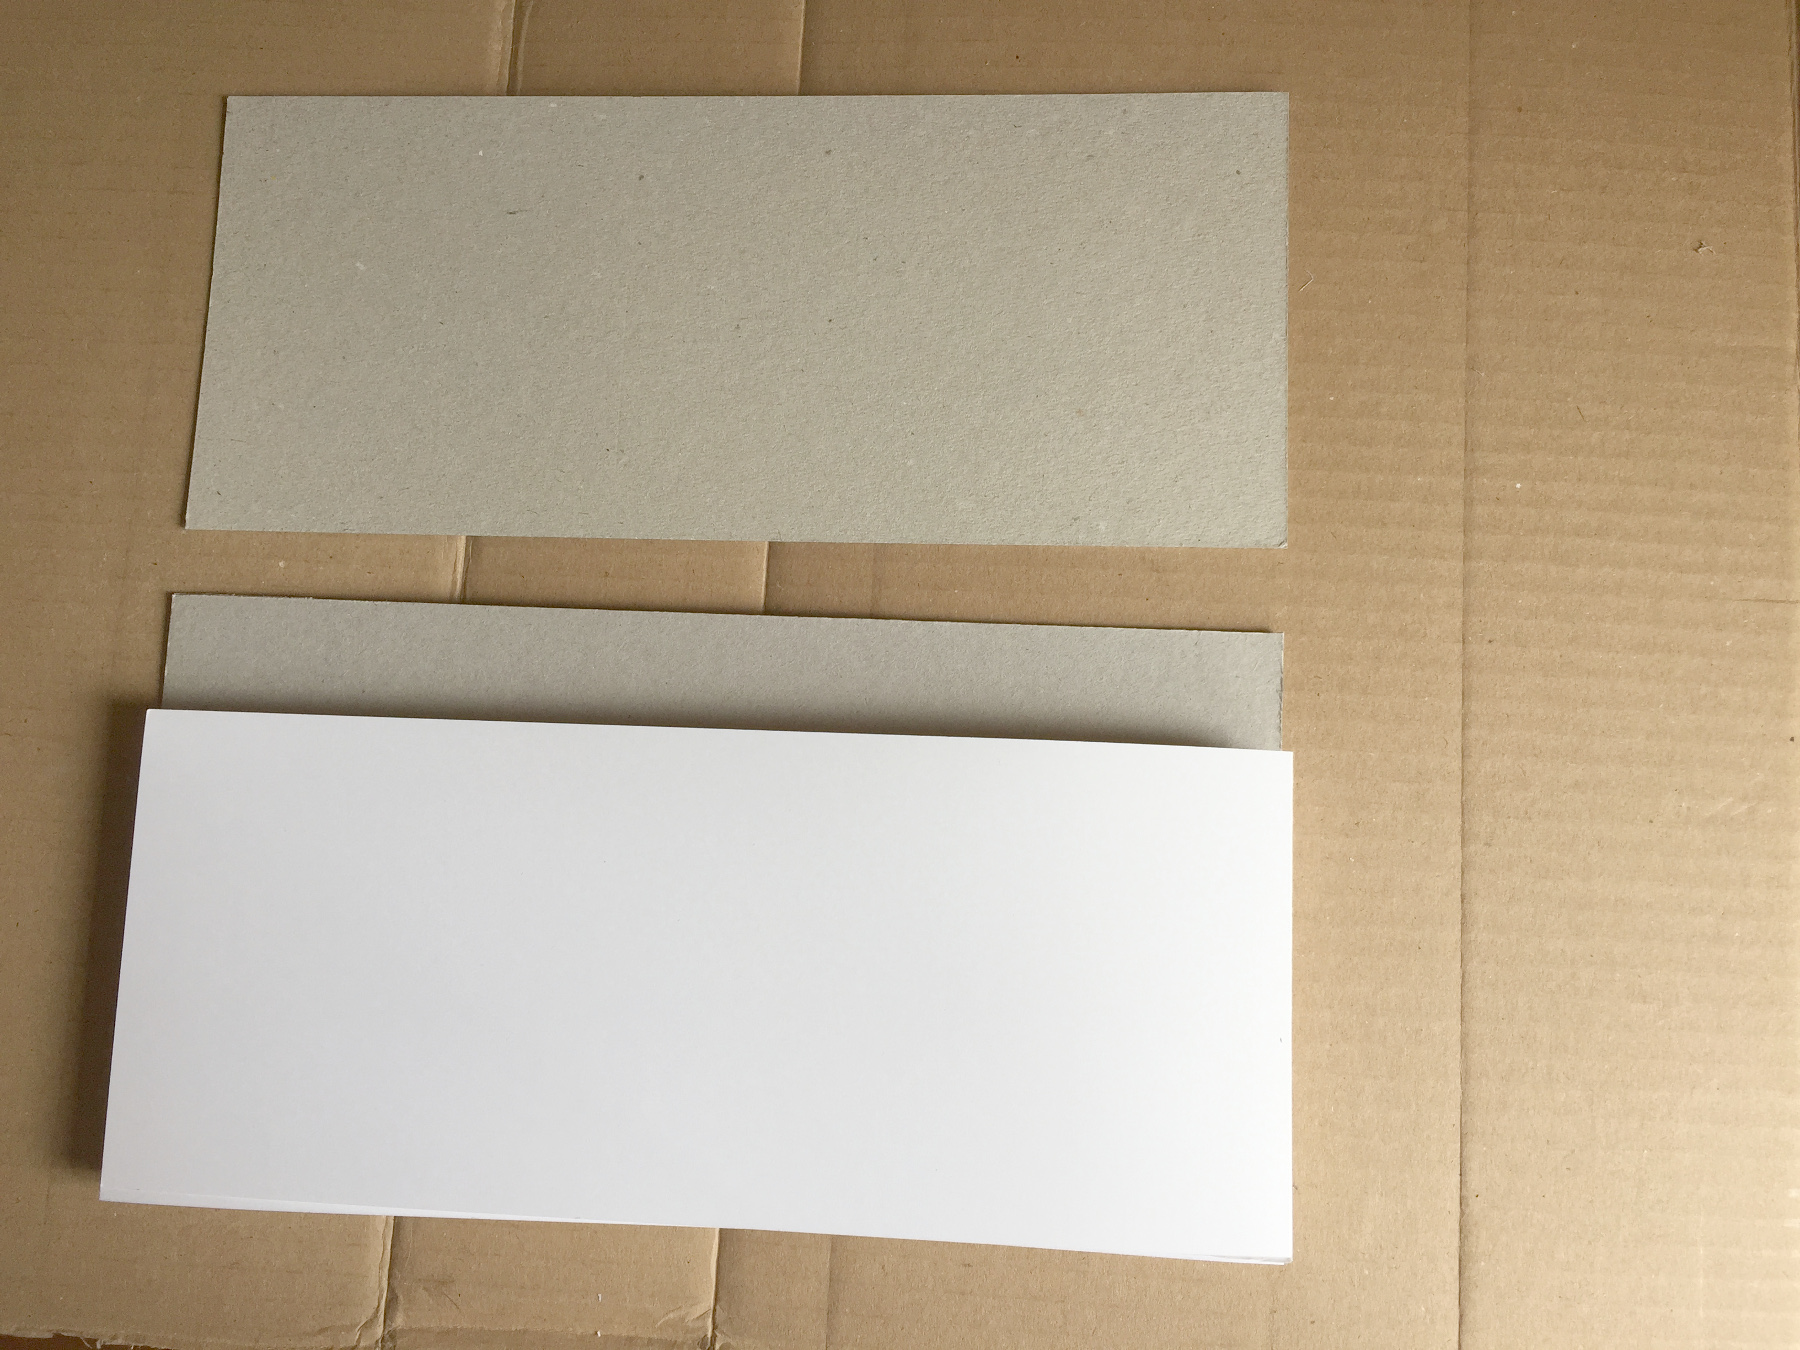
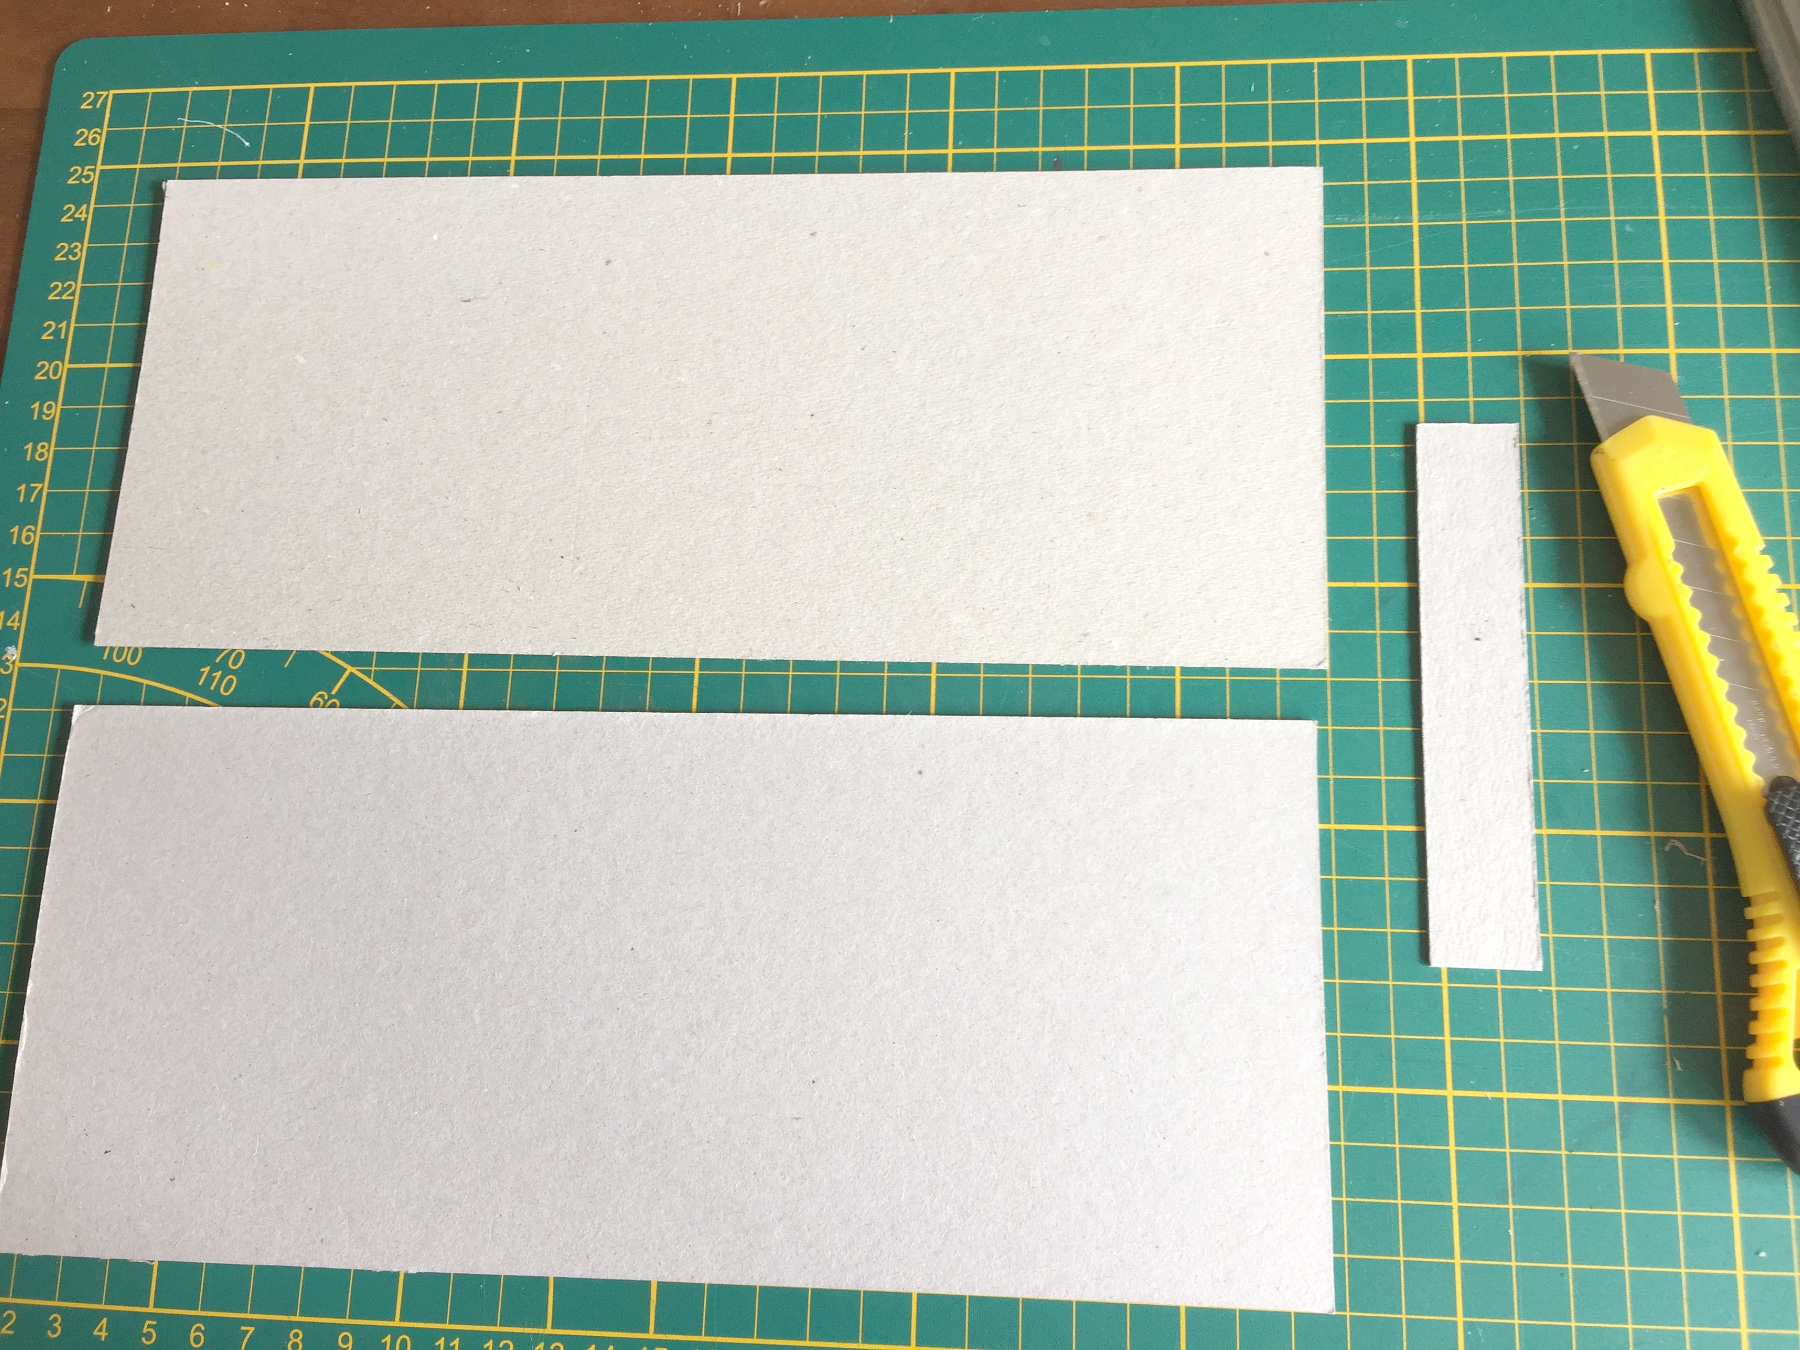
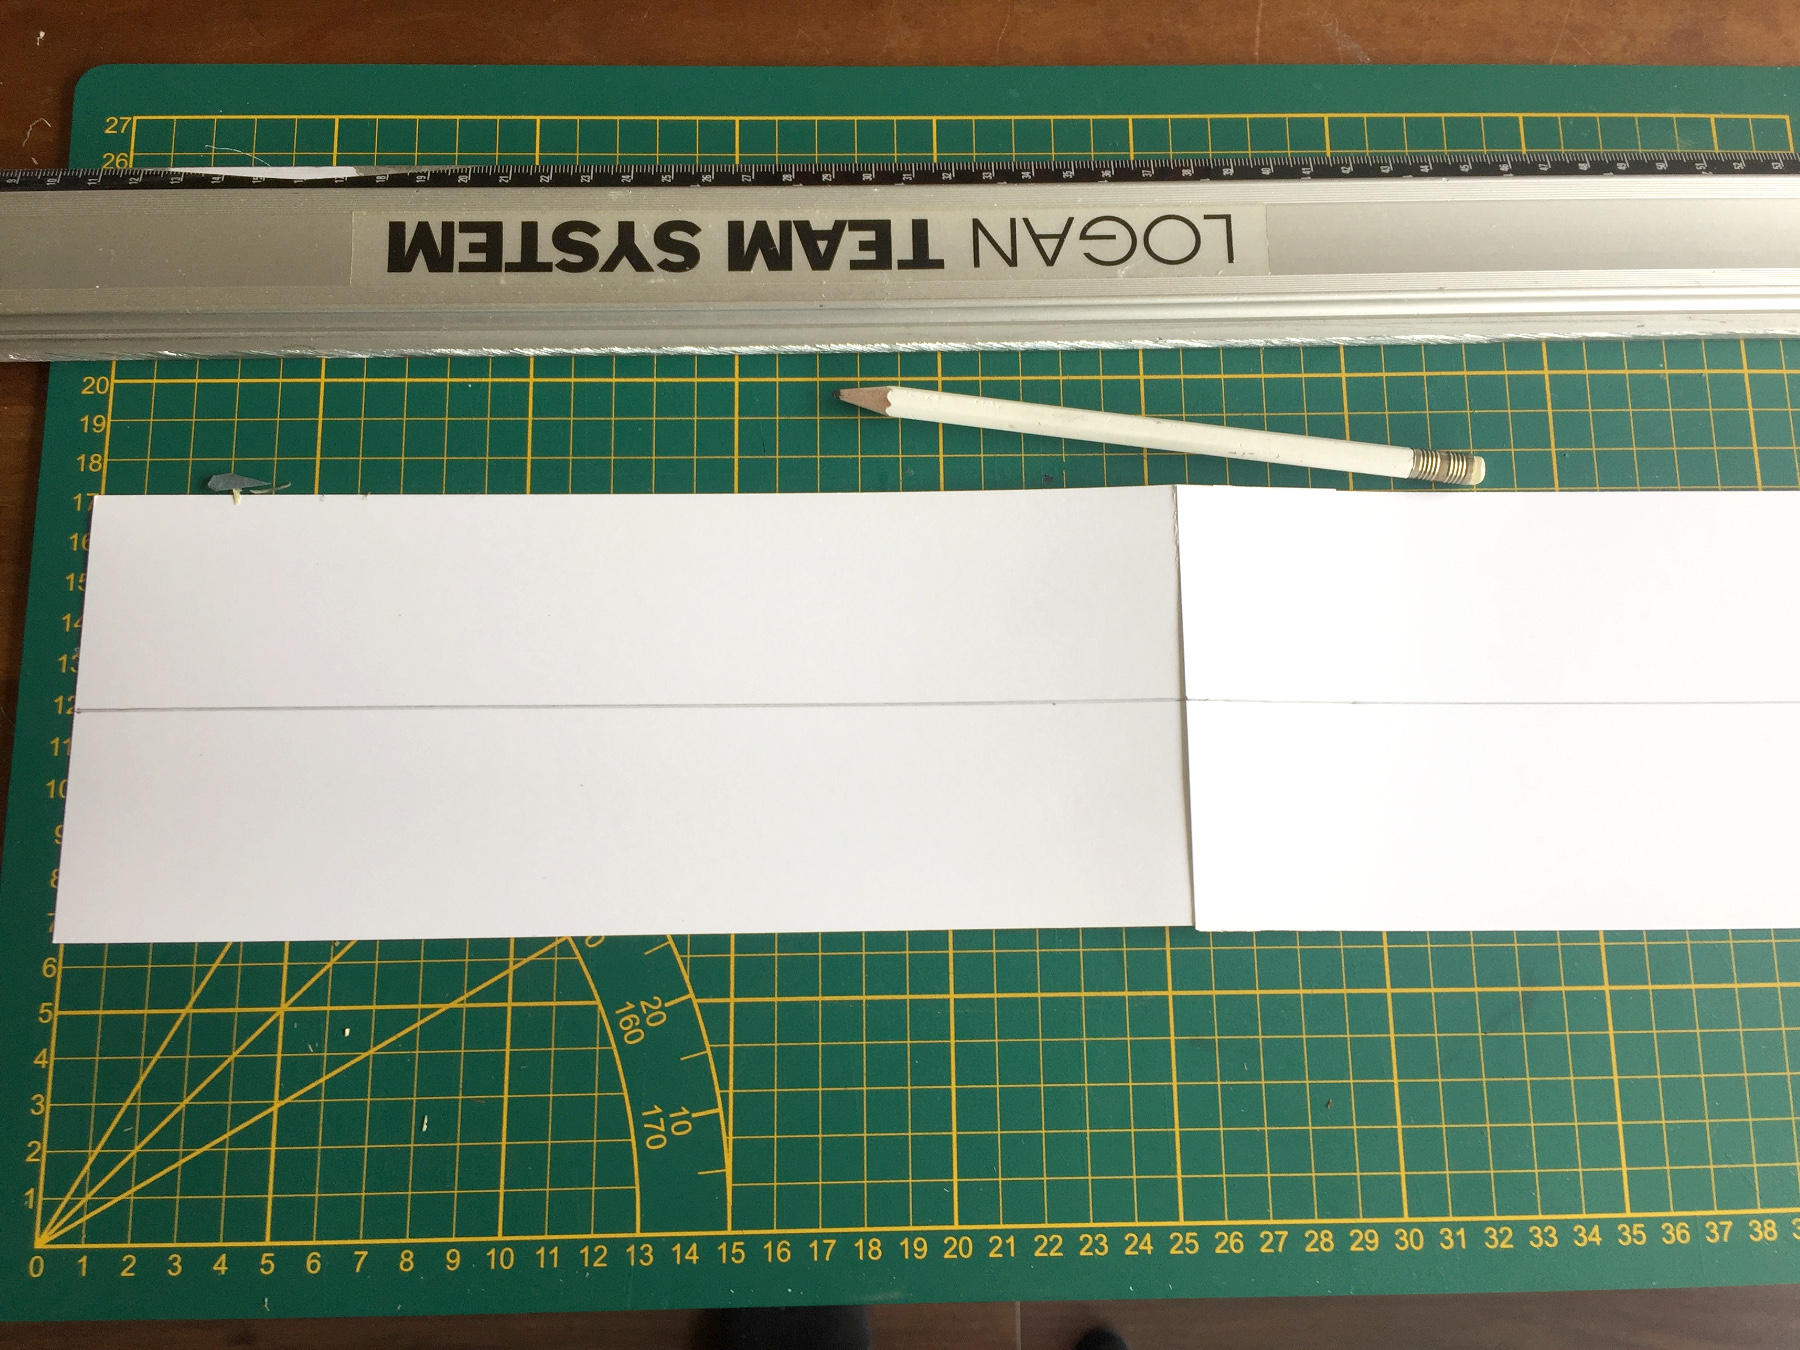
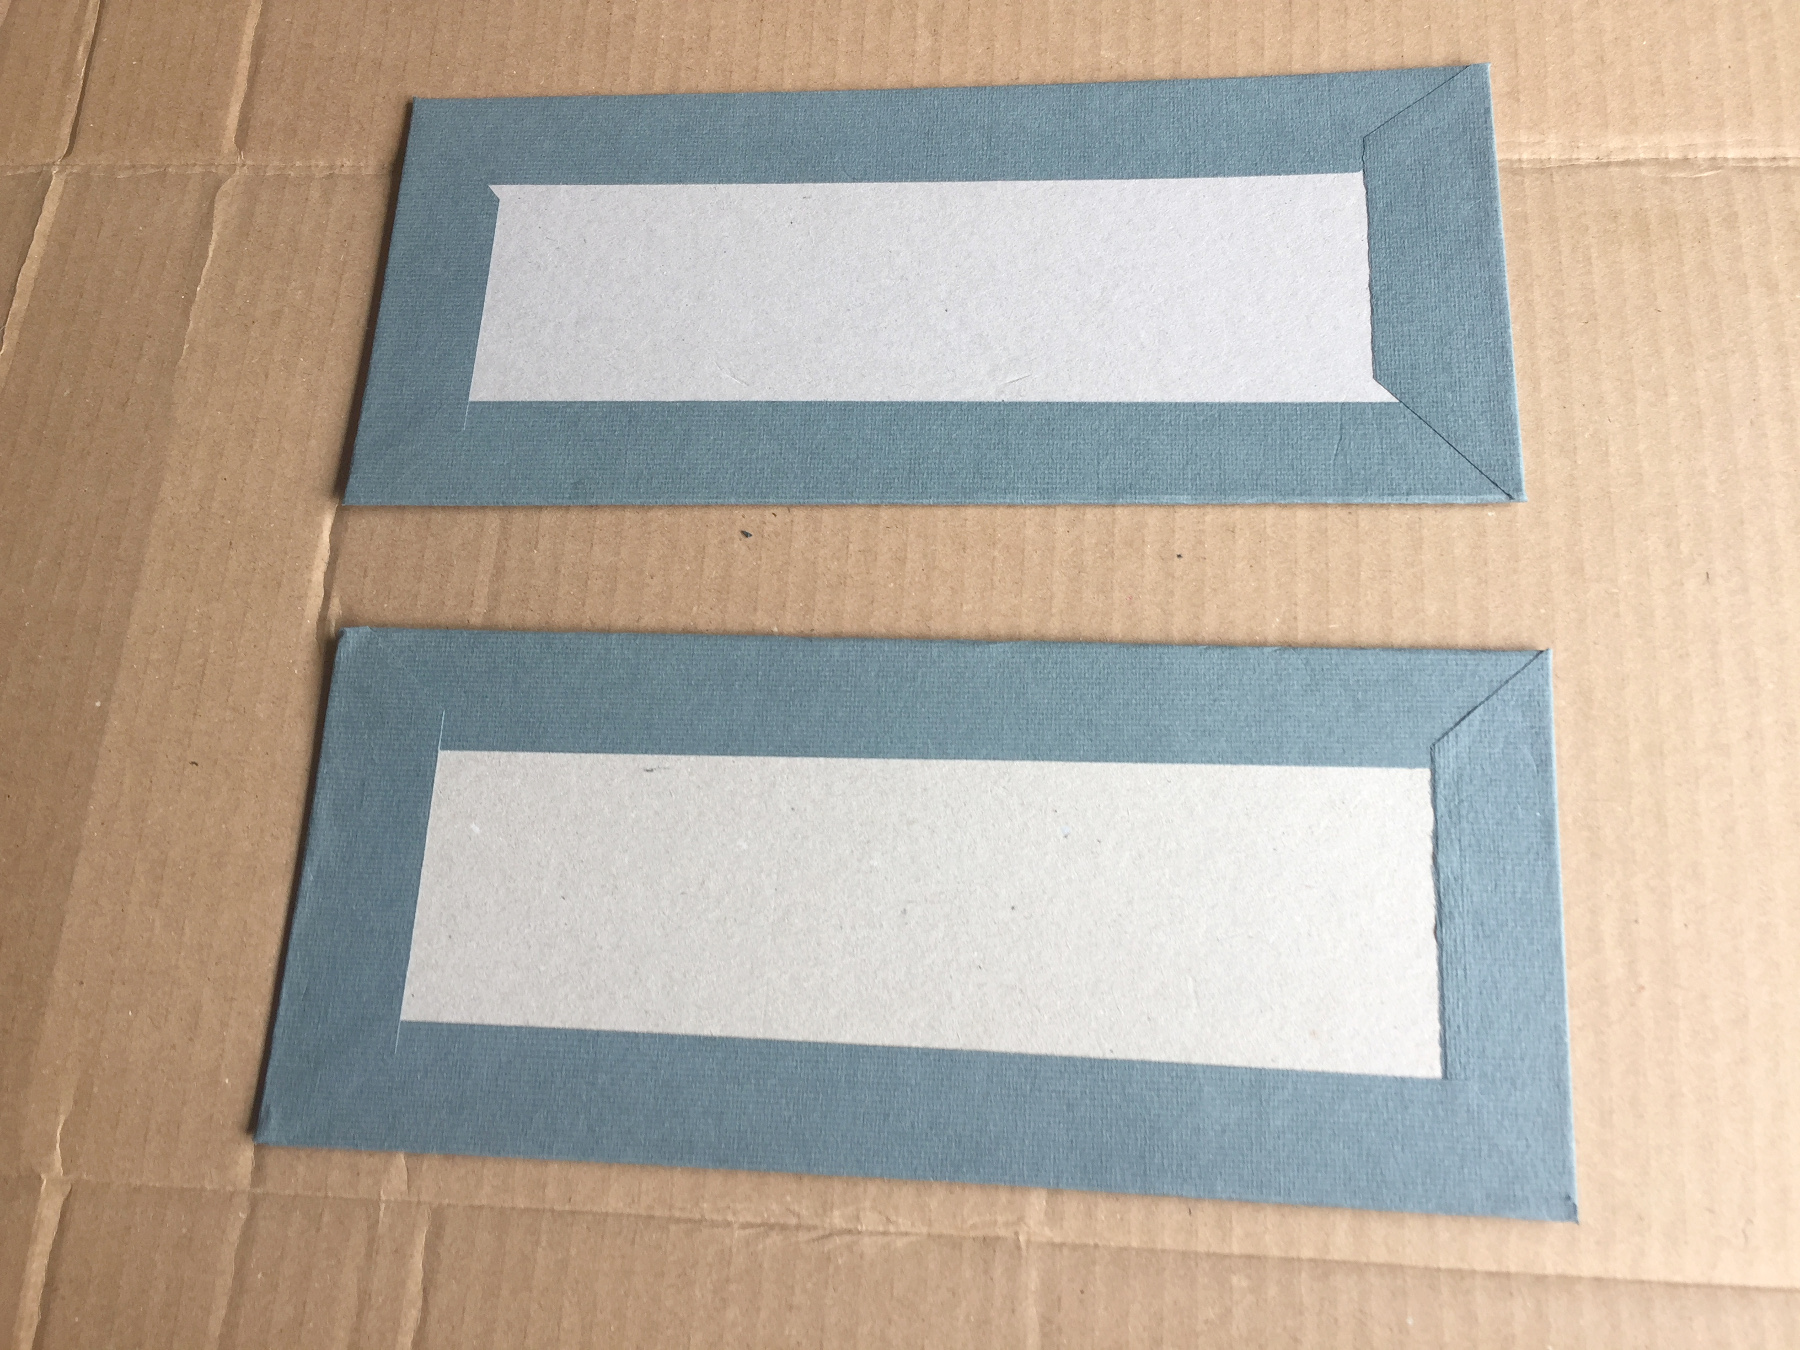
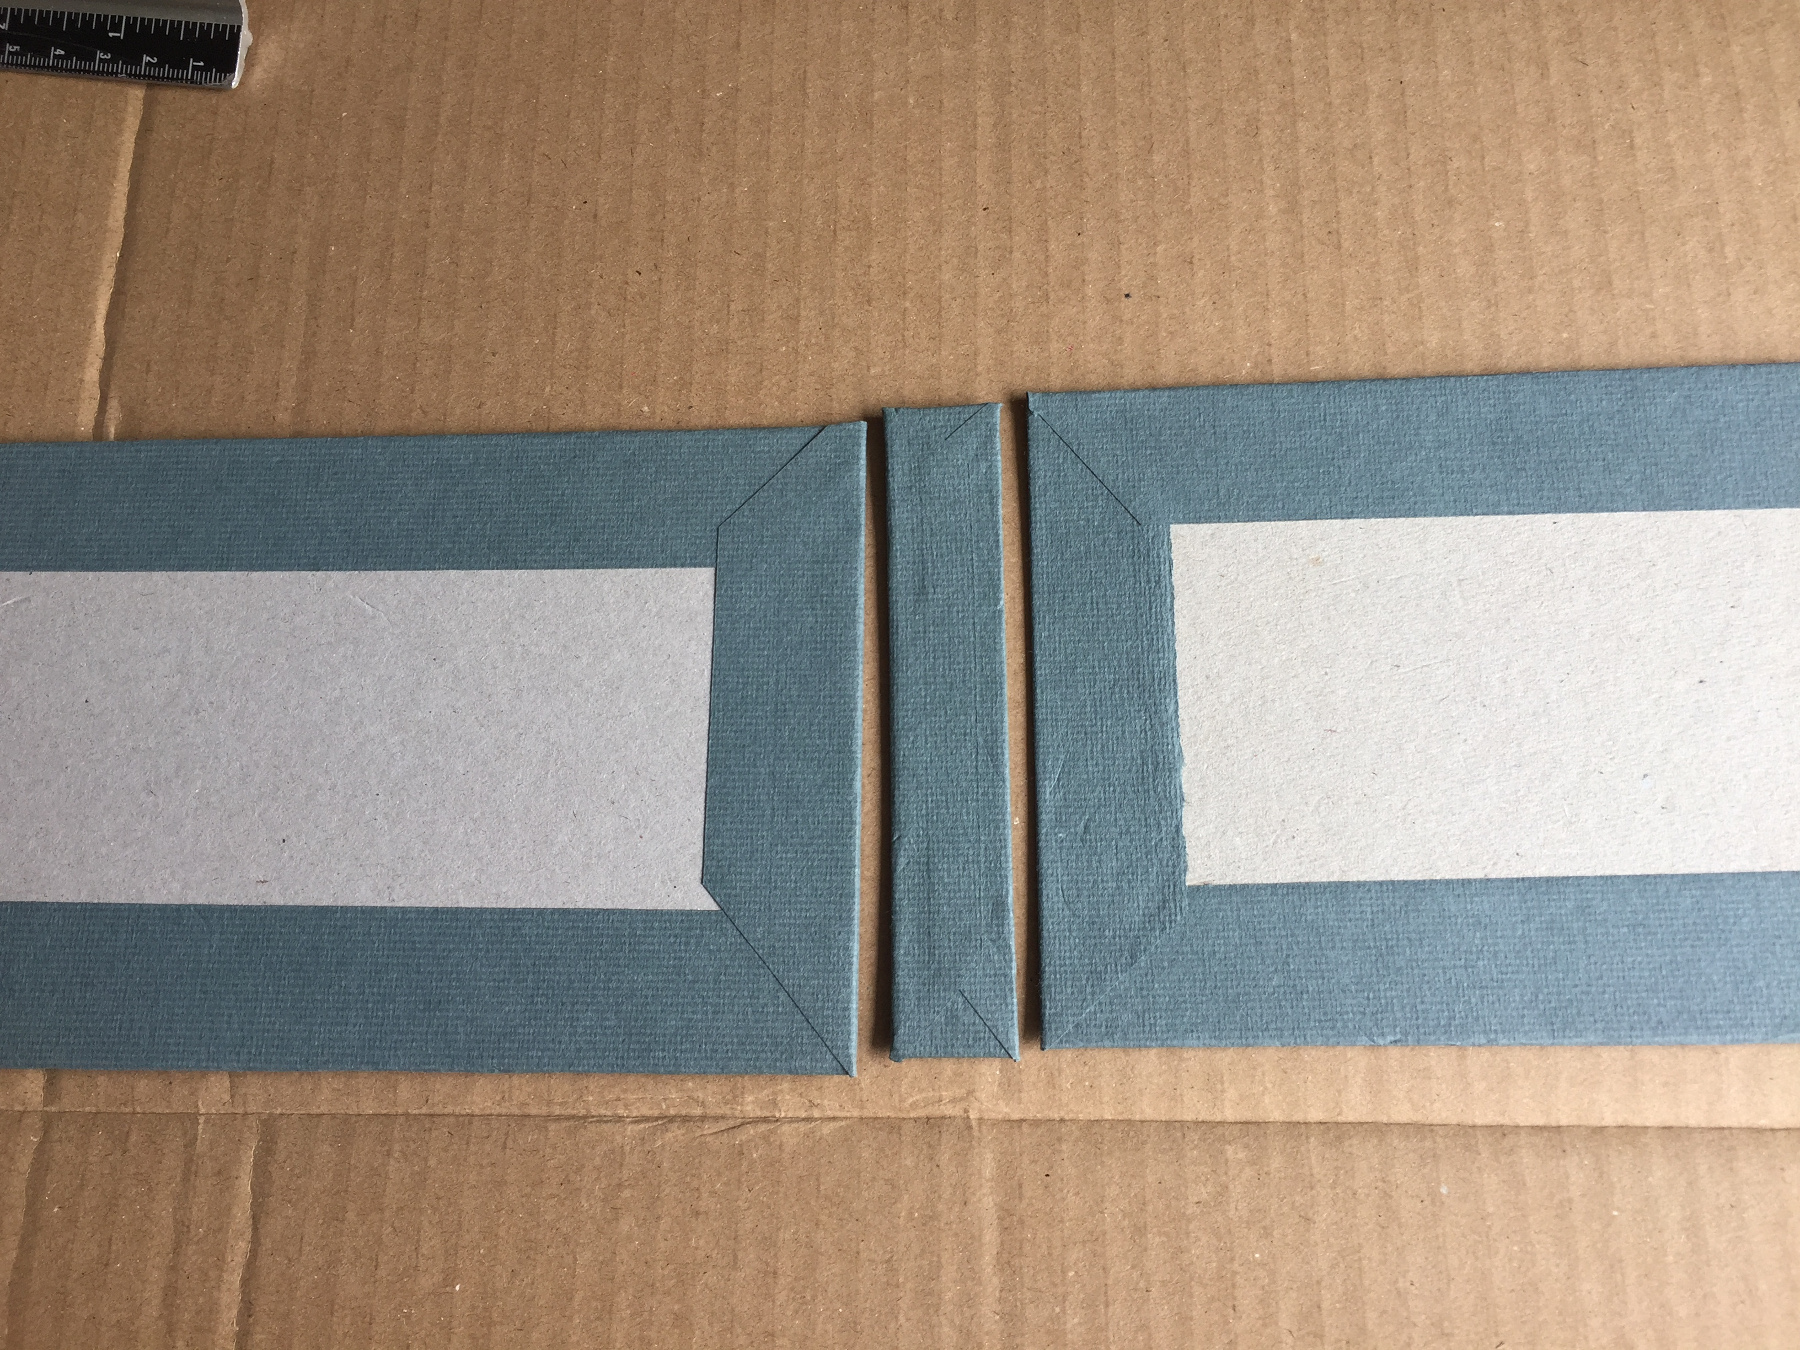
Cut two pieces of cardboard, millimeters larger than your leaves.
Sorry, the picture is misleading by distortion of the perspective.
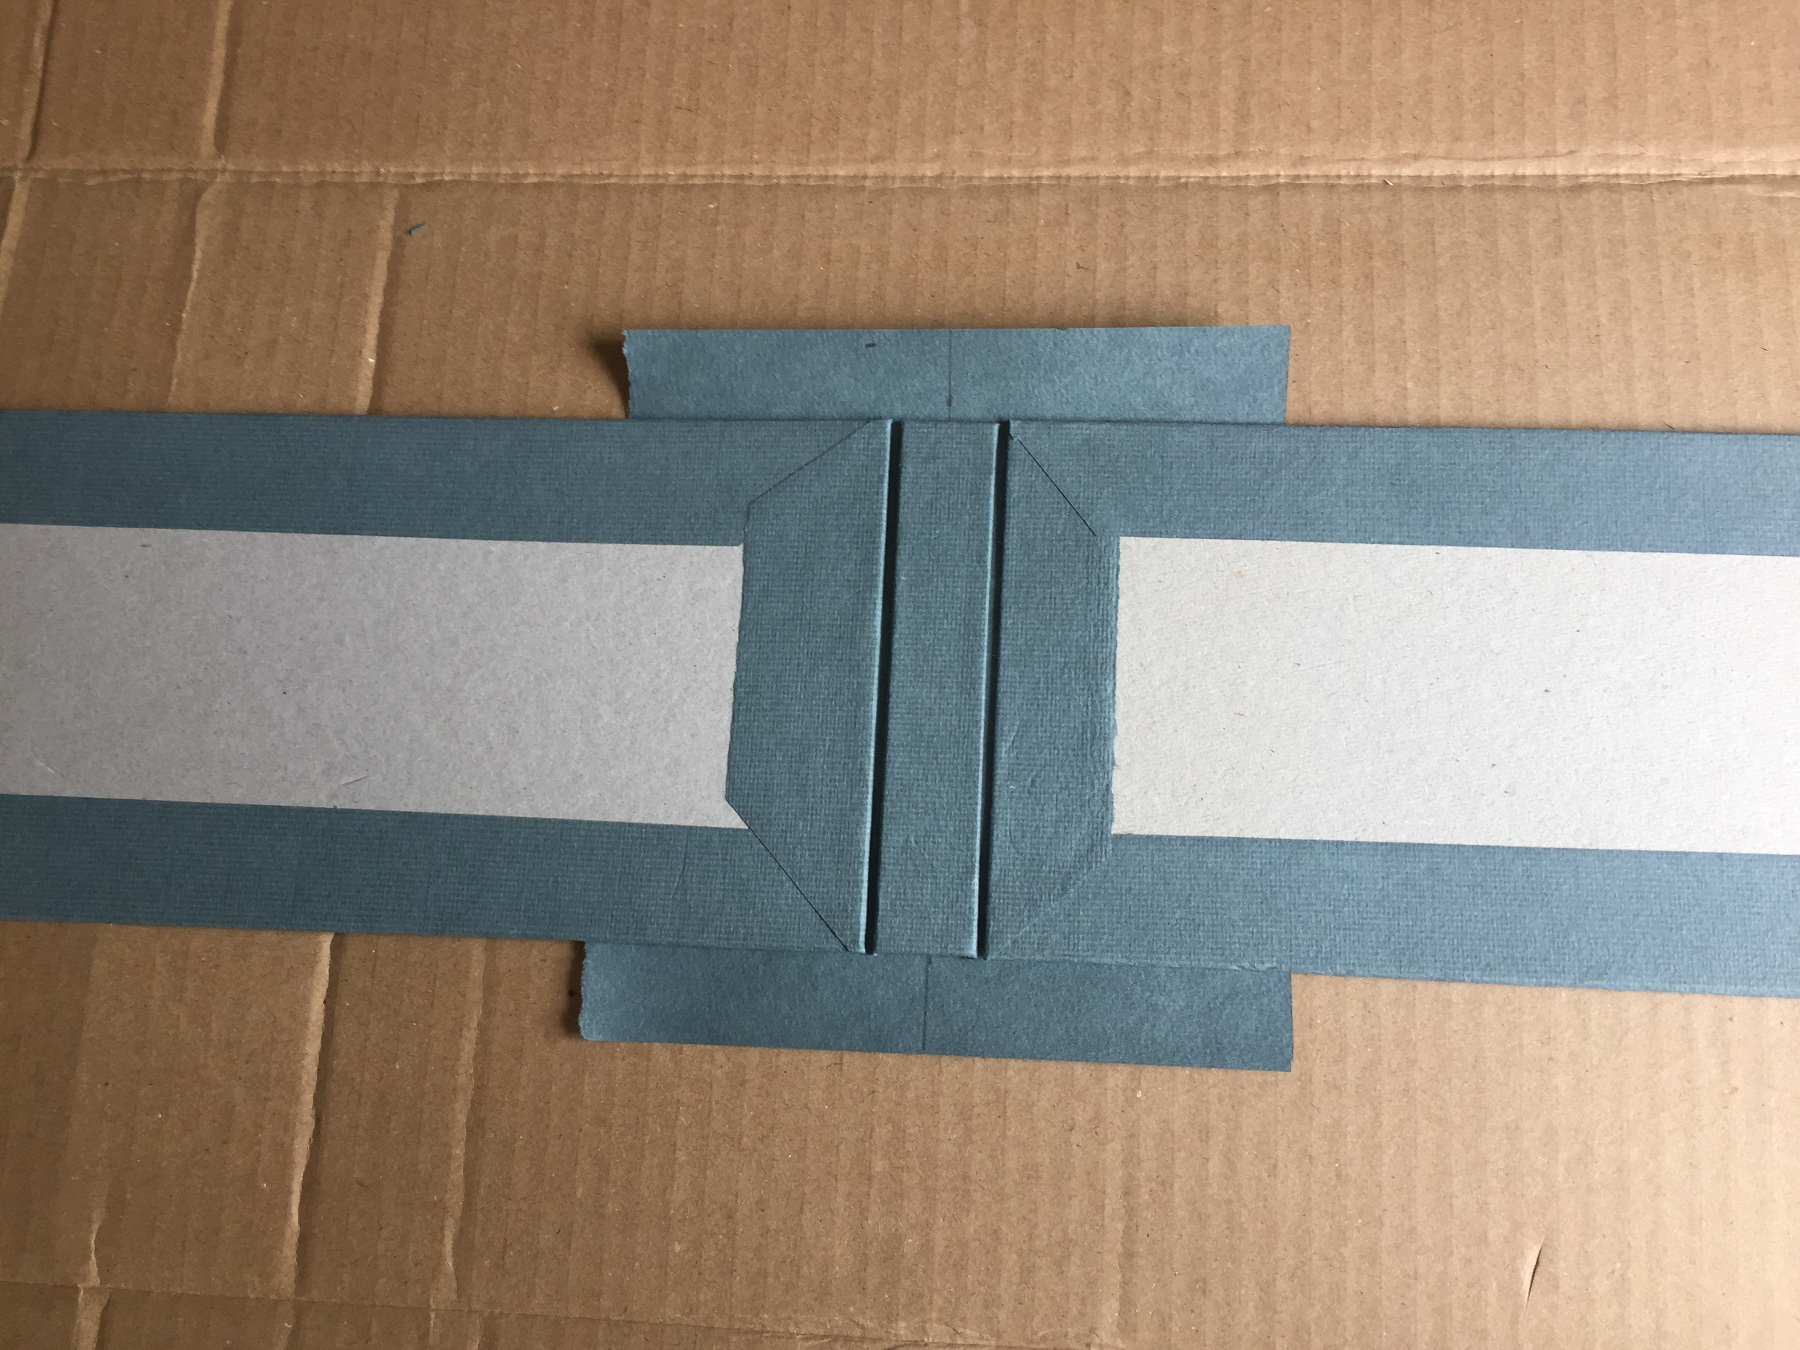
Also cut the back of the book, of 2 cm width.
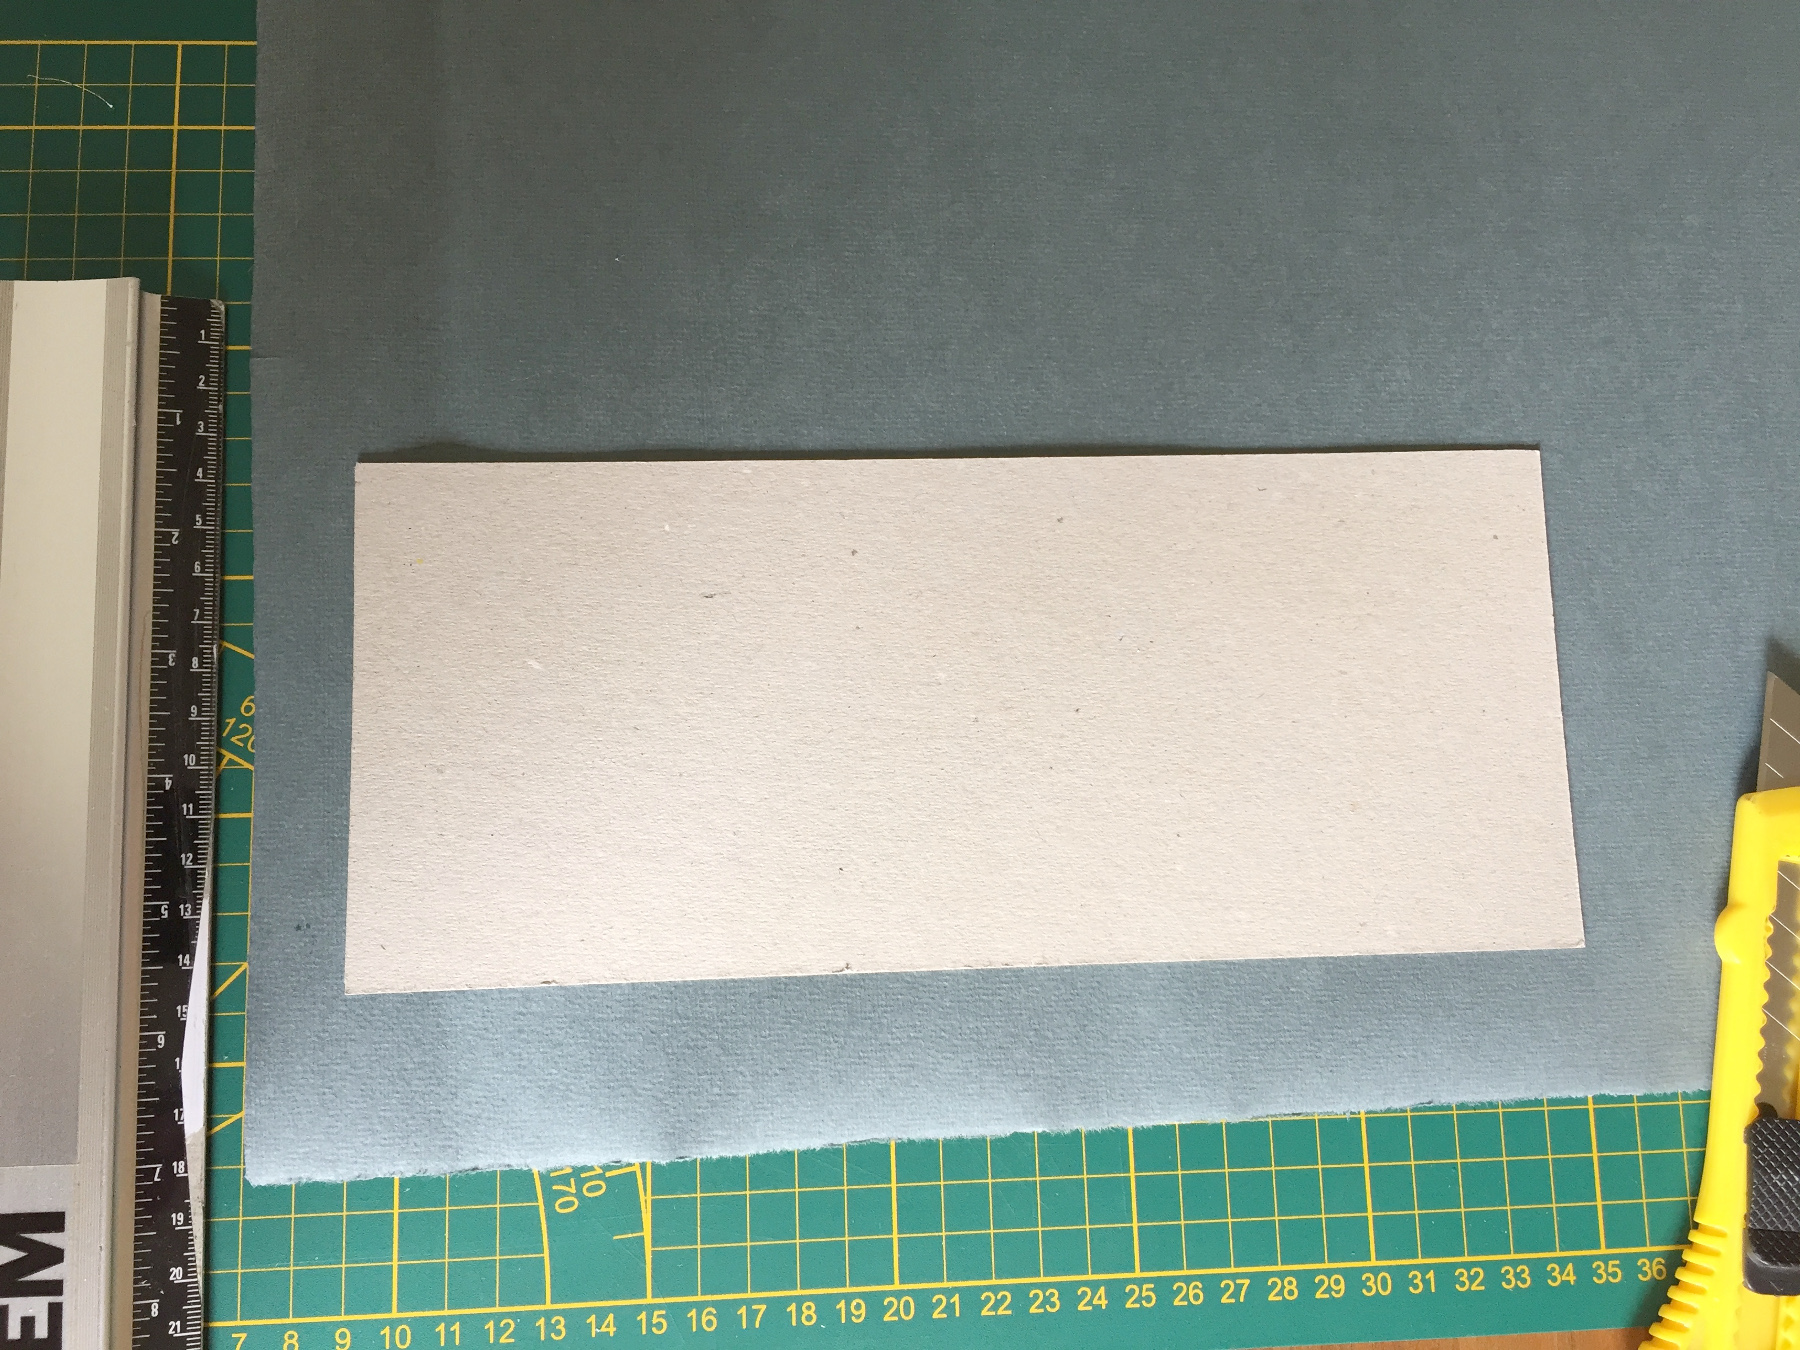
Cut coloured paper, the margin around is 4 cm.
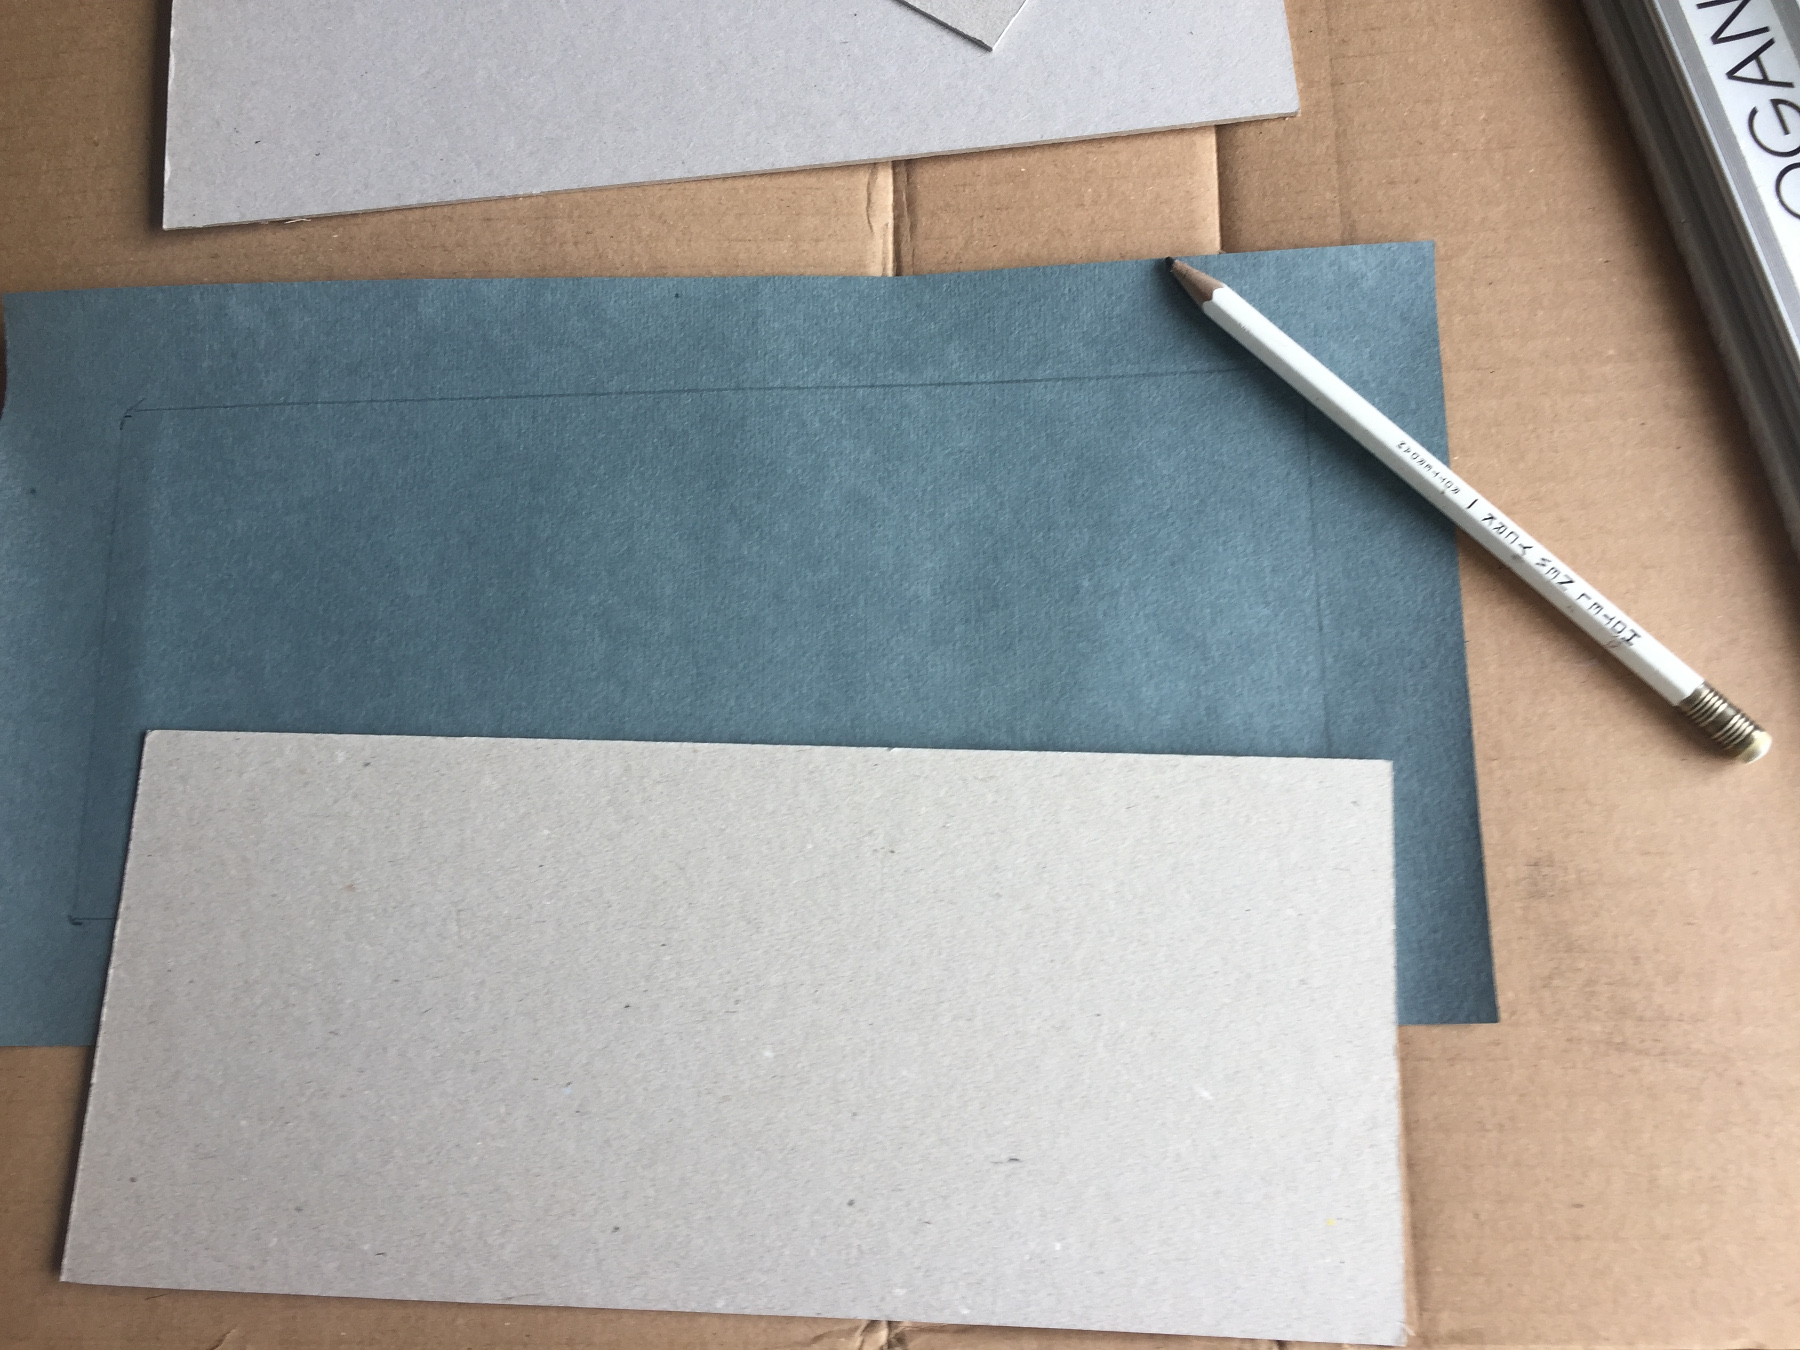

Teken de voor- en achterkant op het papier.
Cut off the corners of the coloured paper.
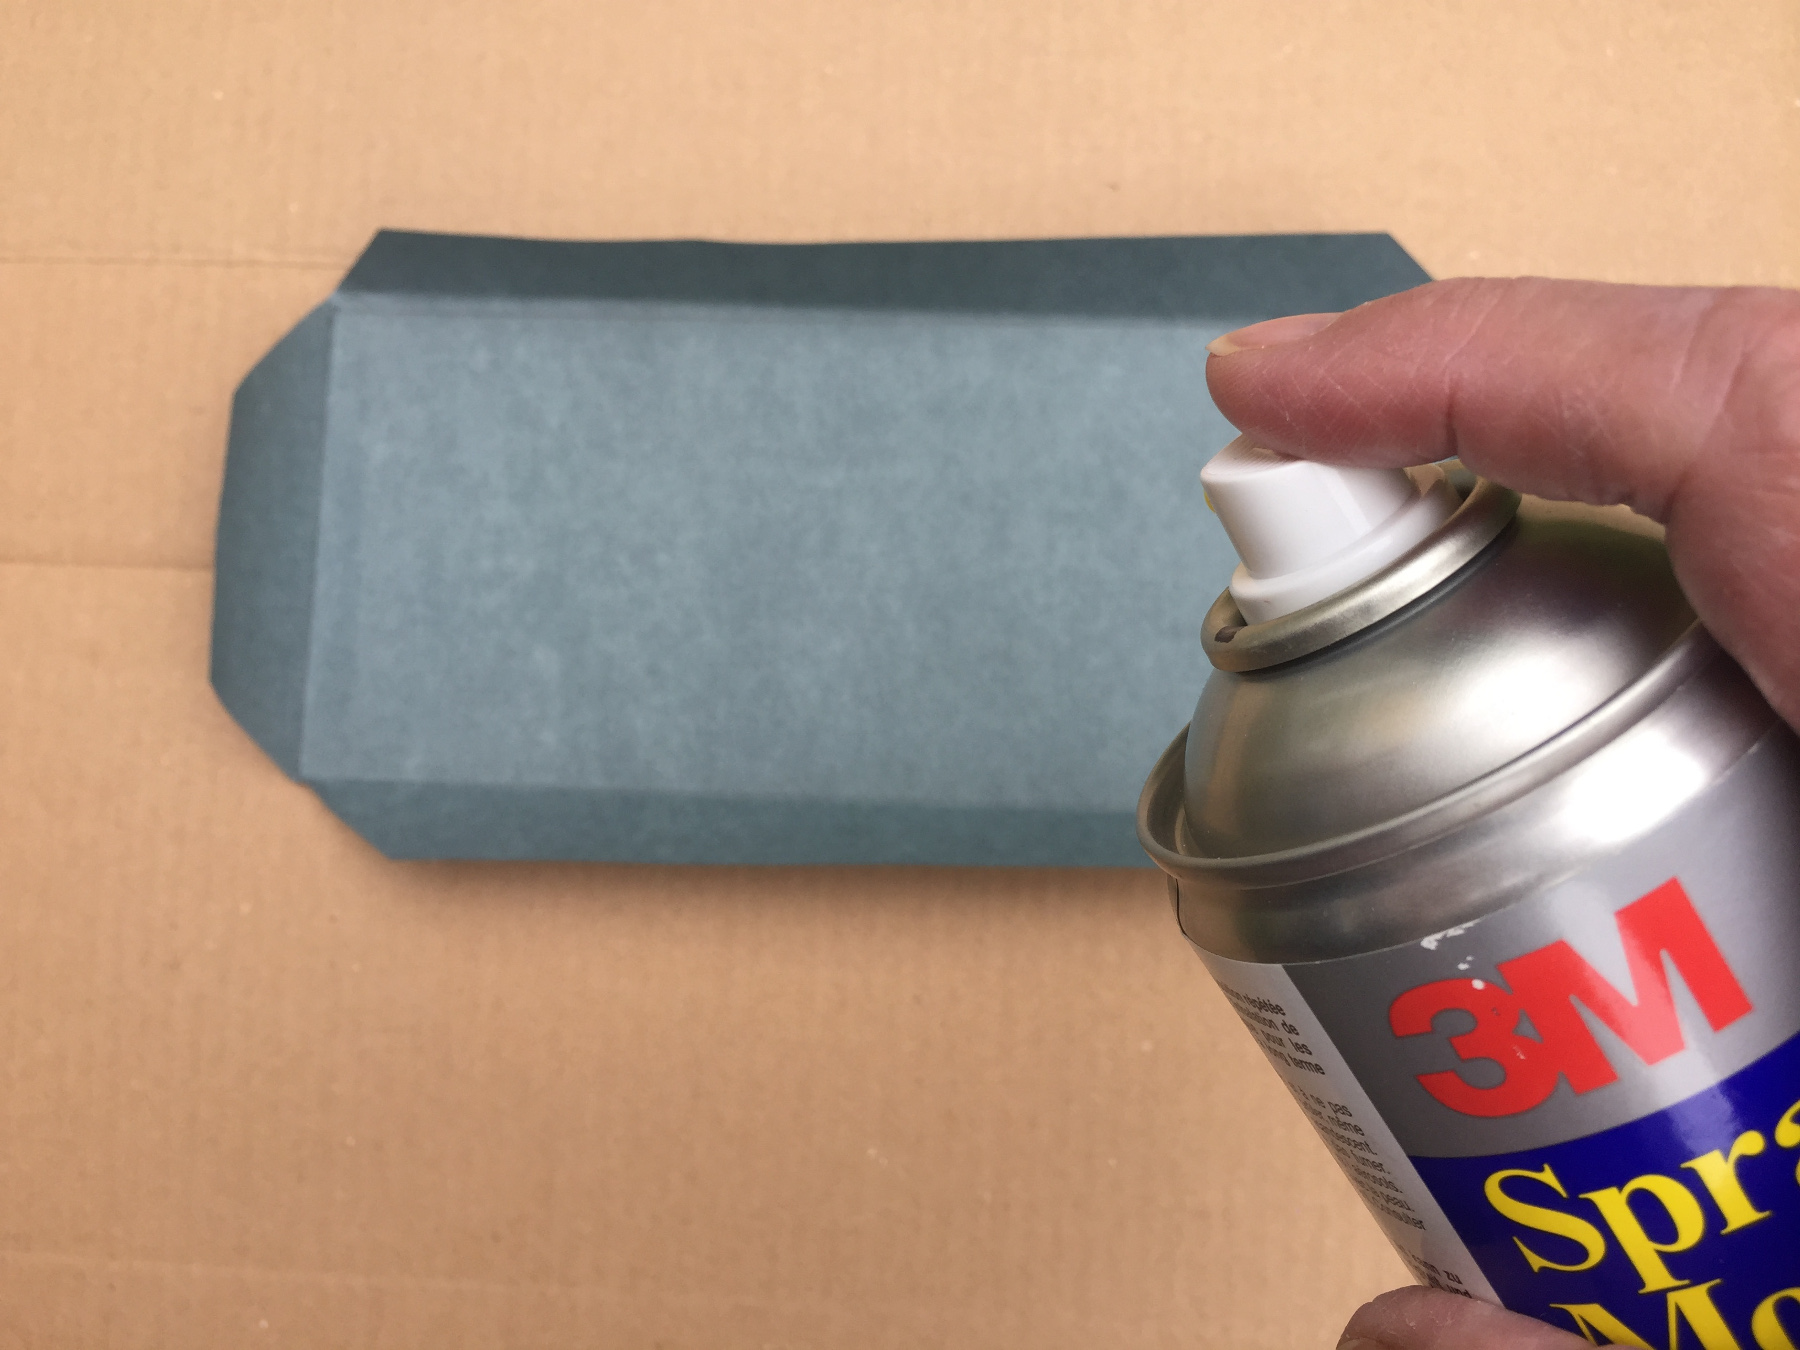
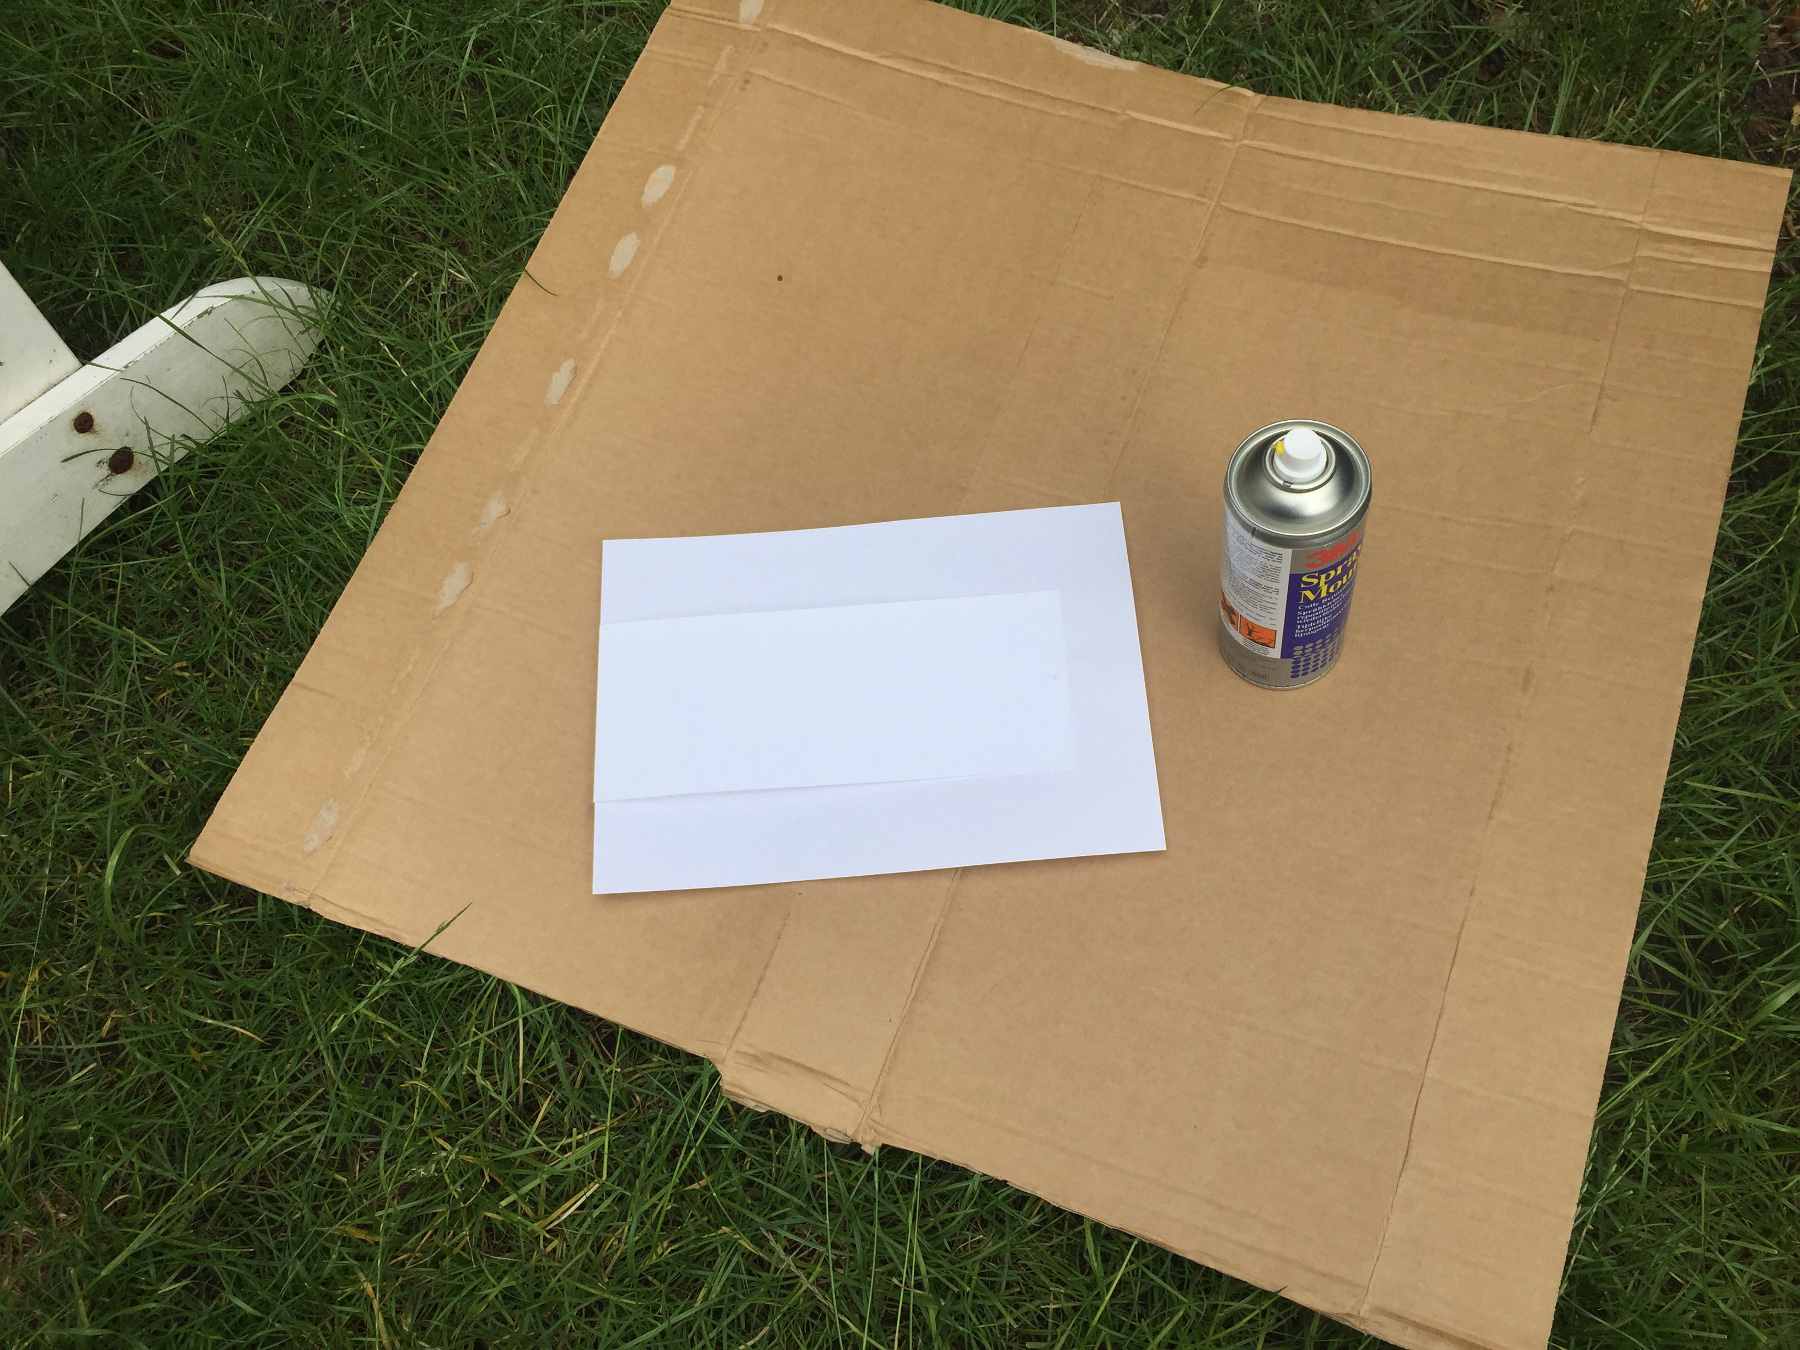
Spray glue on the inside cover of the book.
You cannot see it in this picture but we only use spray glue outside, with a large piece of cardboard underneath. Read the instructions on the can before you use it!

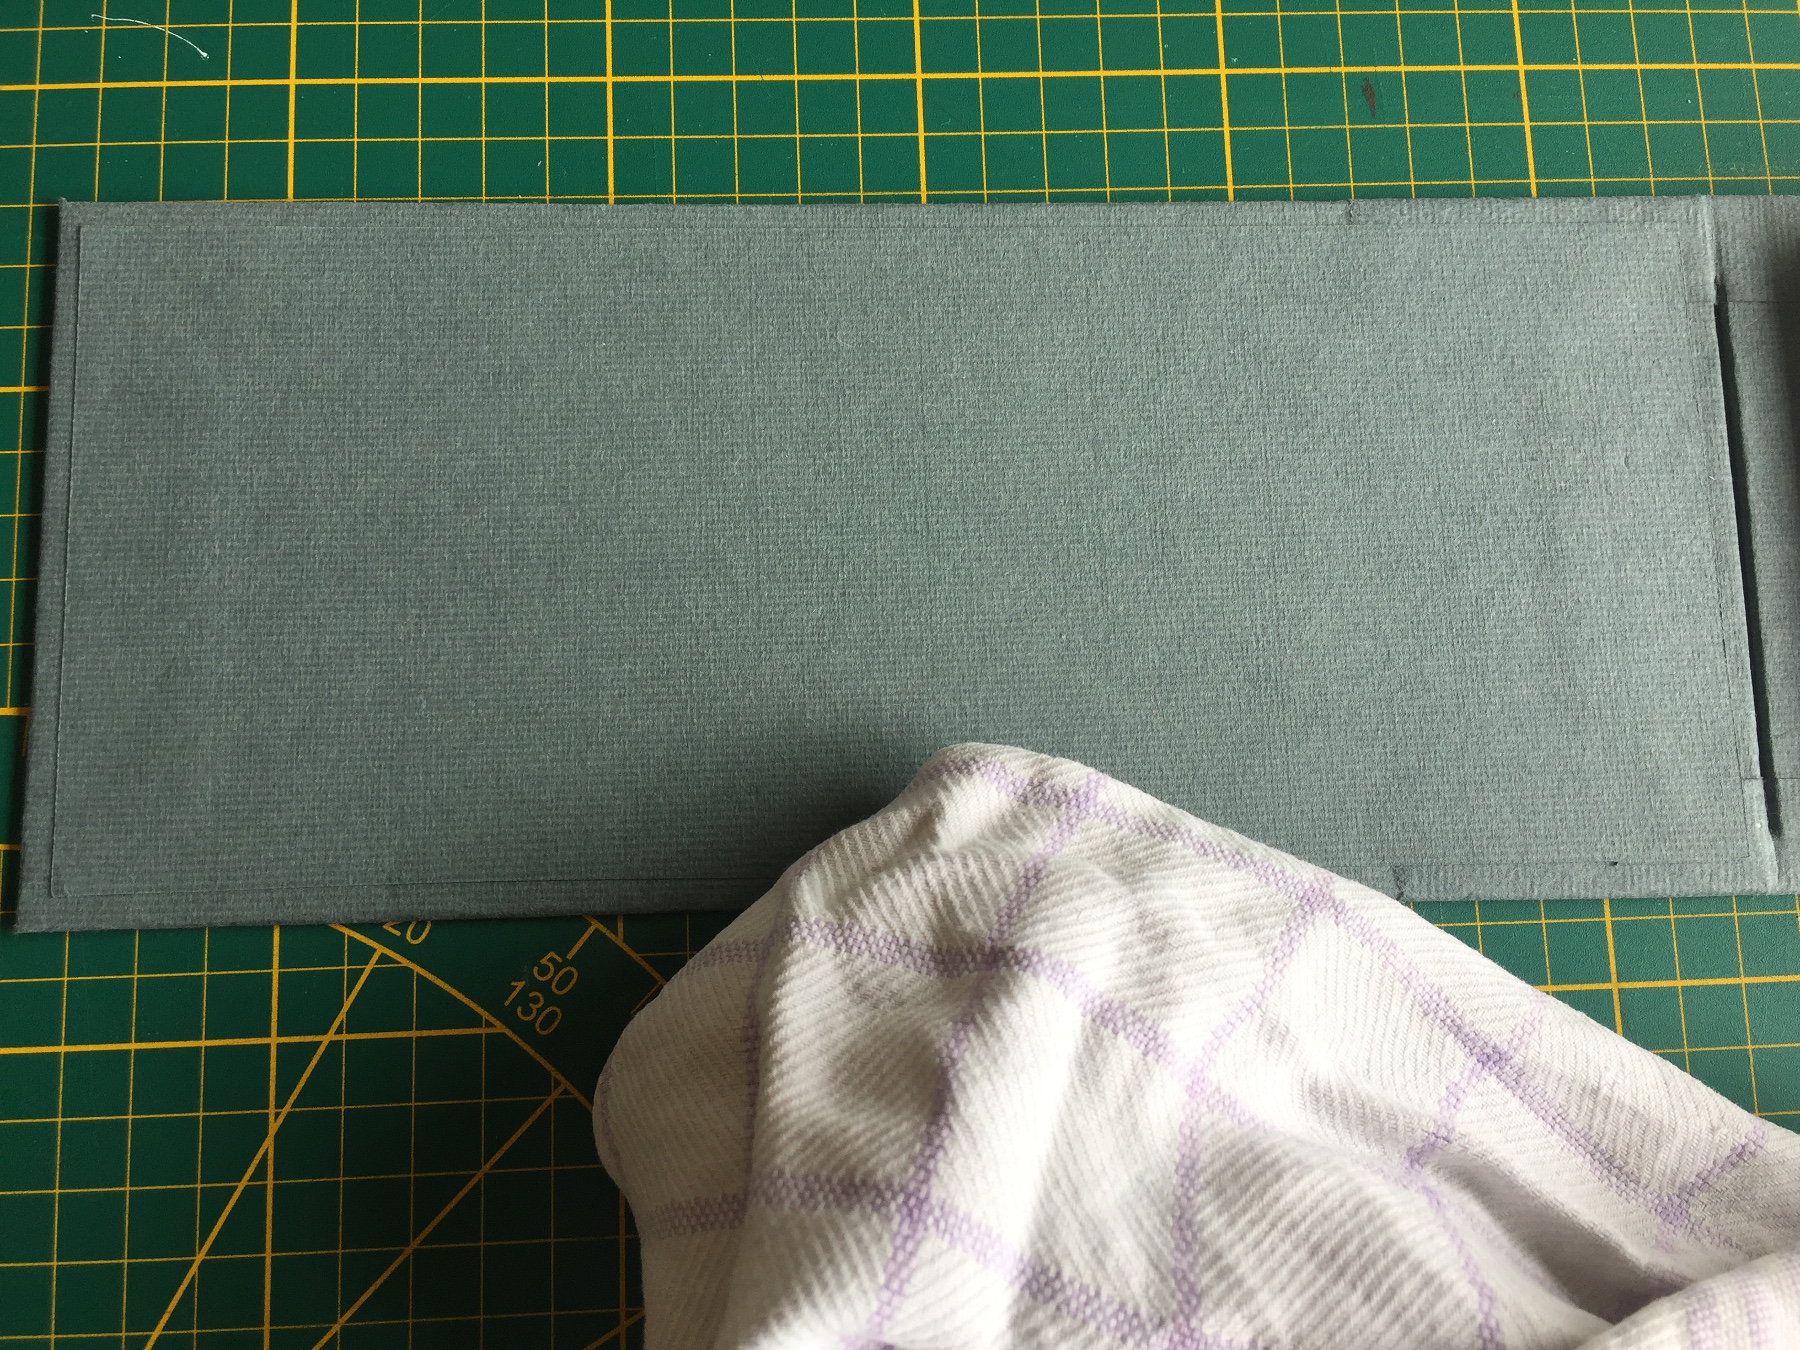
Press the cardboars on the glue.
Then fold the edges.
Cover the back as well.
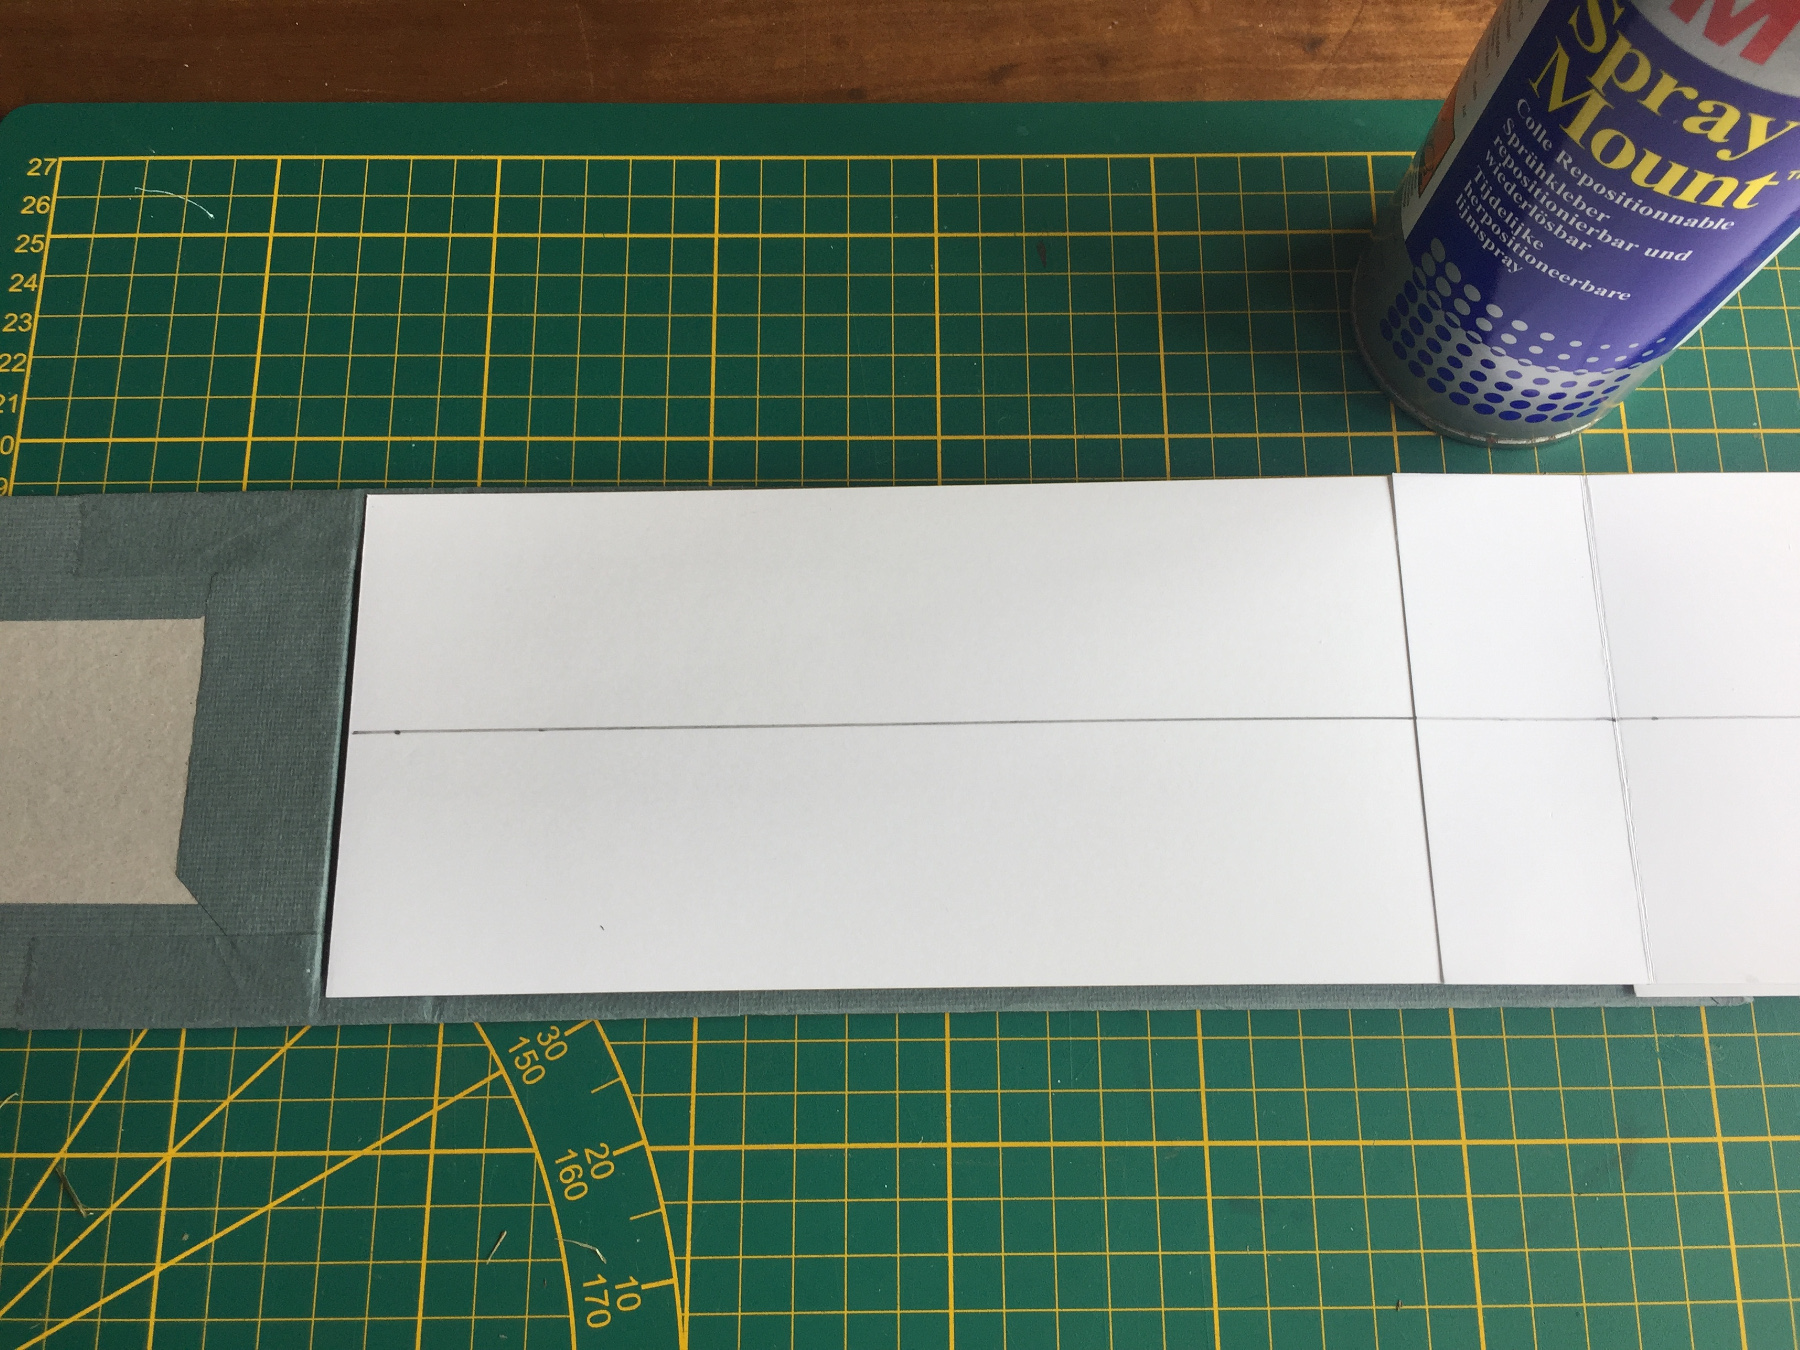
Cut a piece of paper.
Spray glue onto the piece of paper then press the three parts of the cover on top, like in the last picture above
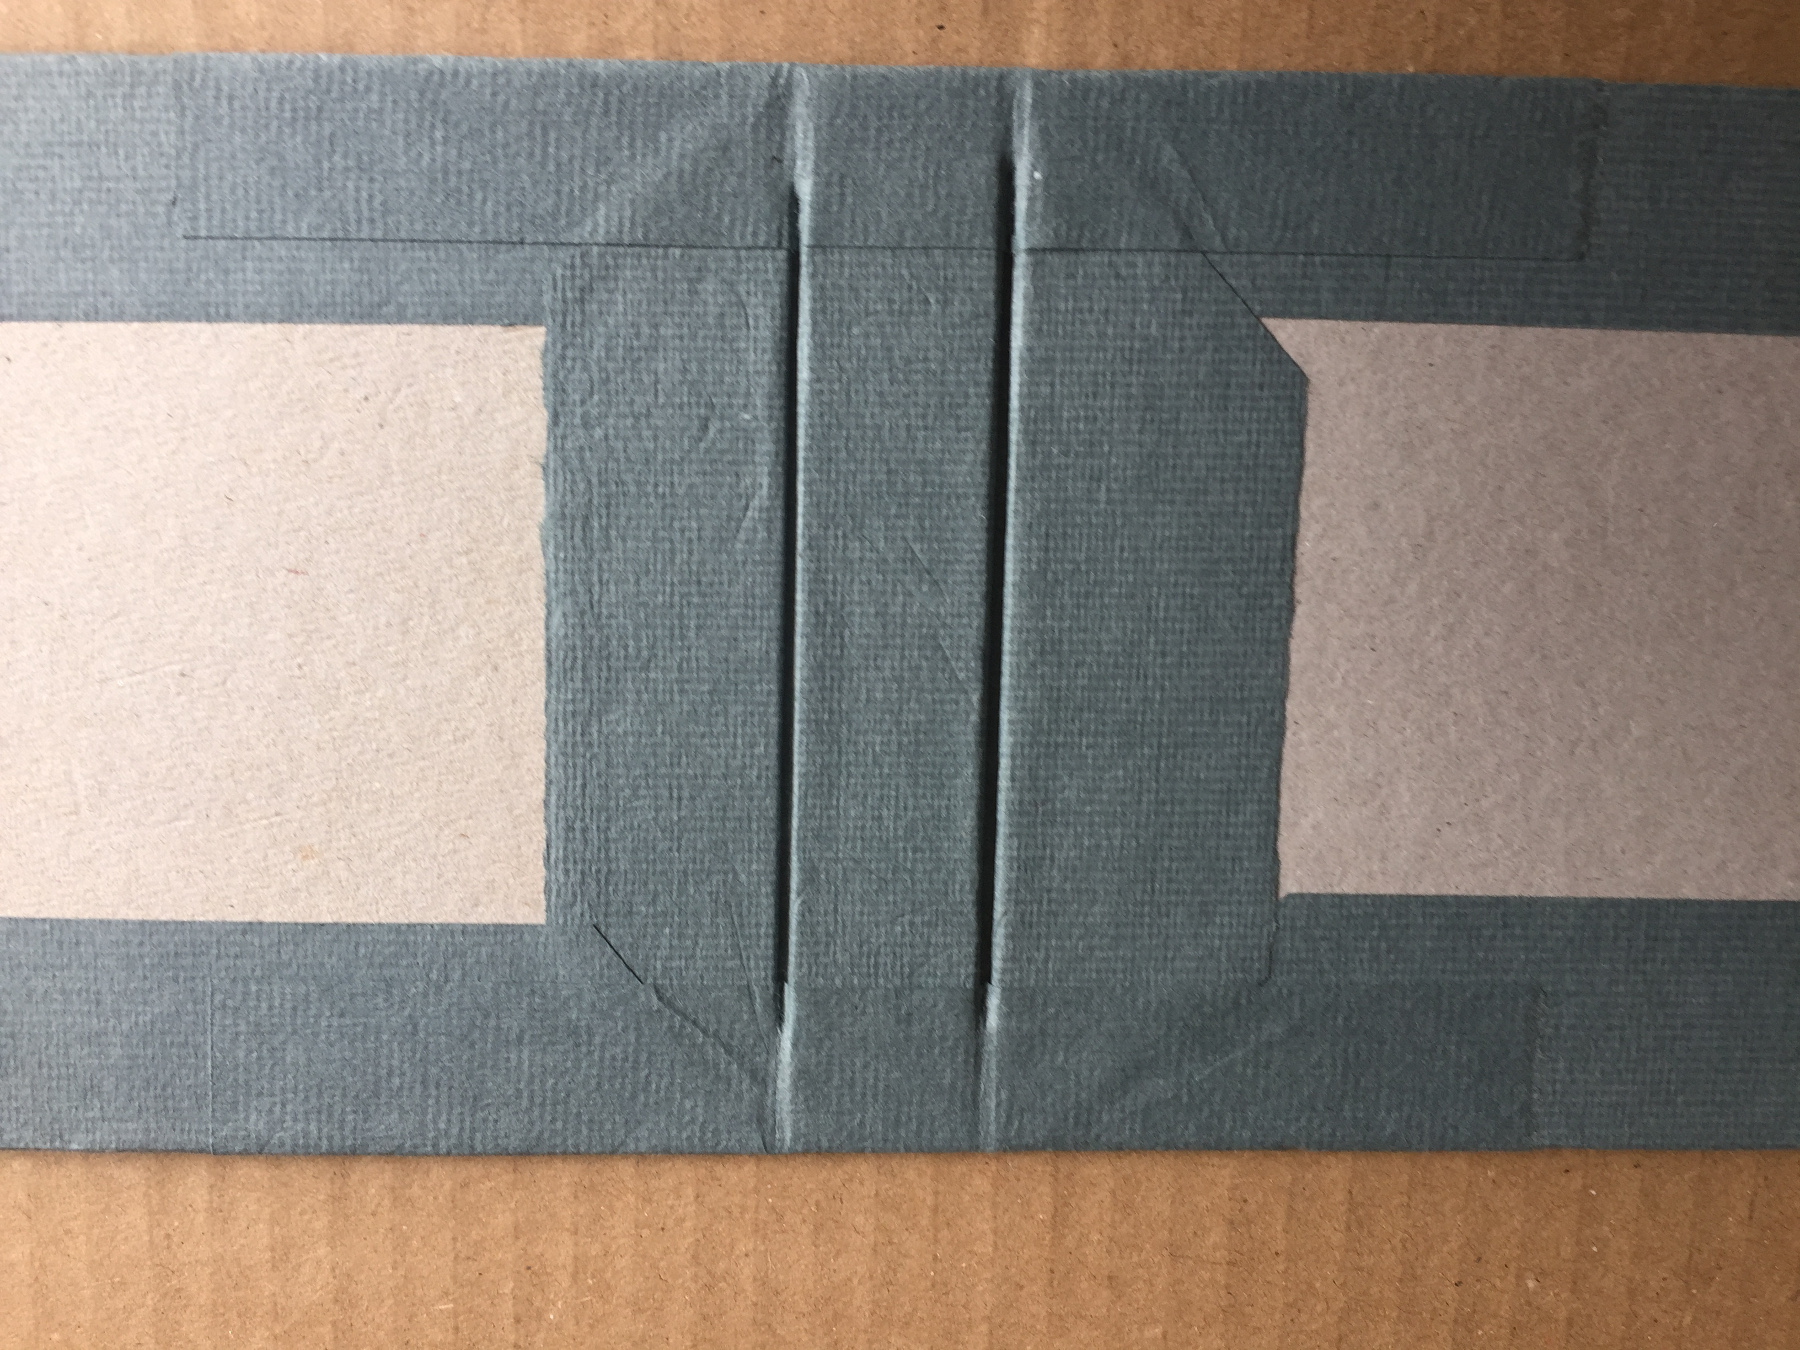
Fold the top and bottom edge over.
The outside should look like this.
Your cover is almost ready.
Spray glue on the back of the last page.
Press the last page into the cover.
Cut a piece of paper to finish the inside cover.
Stick it on the un-covered part.
Rub the glued piece of paper firmly on using a clean cloth
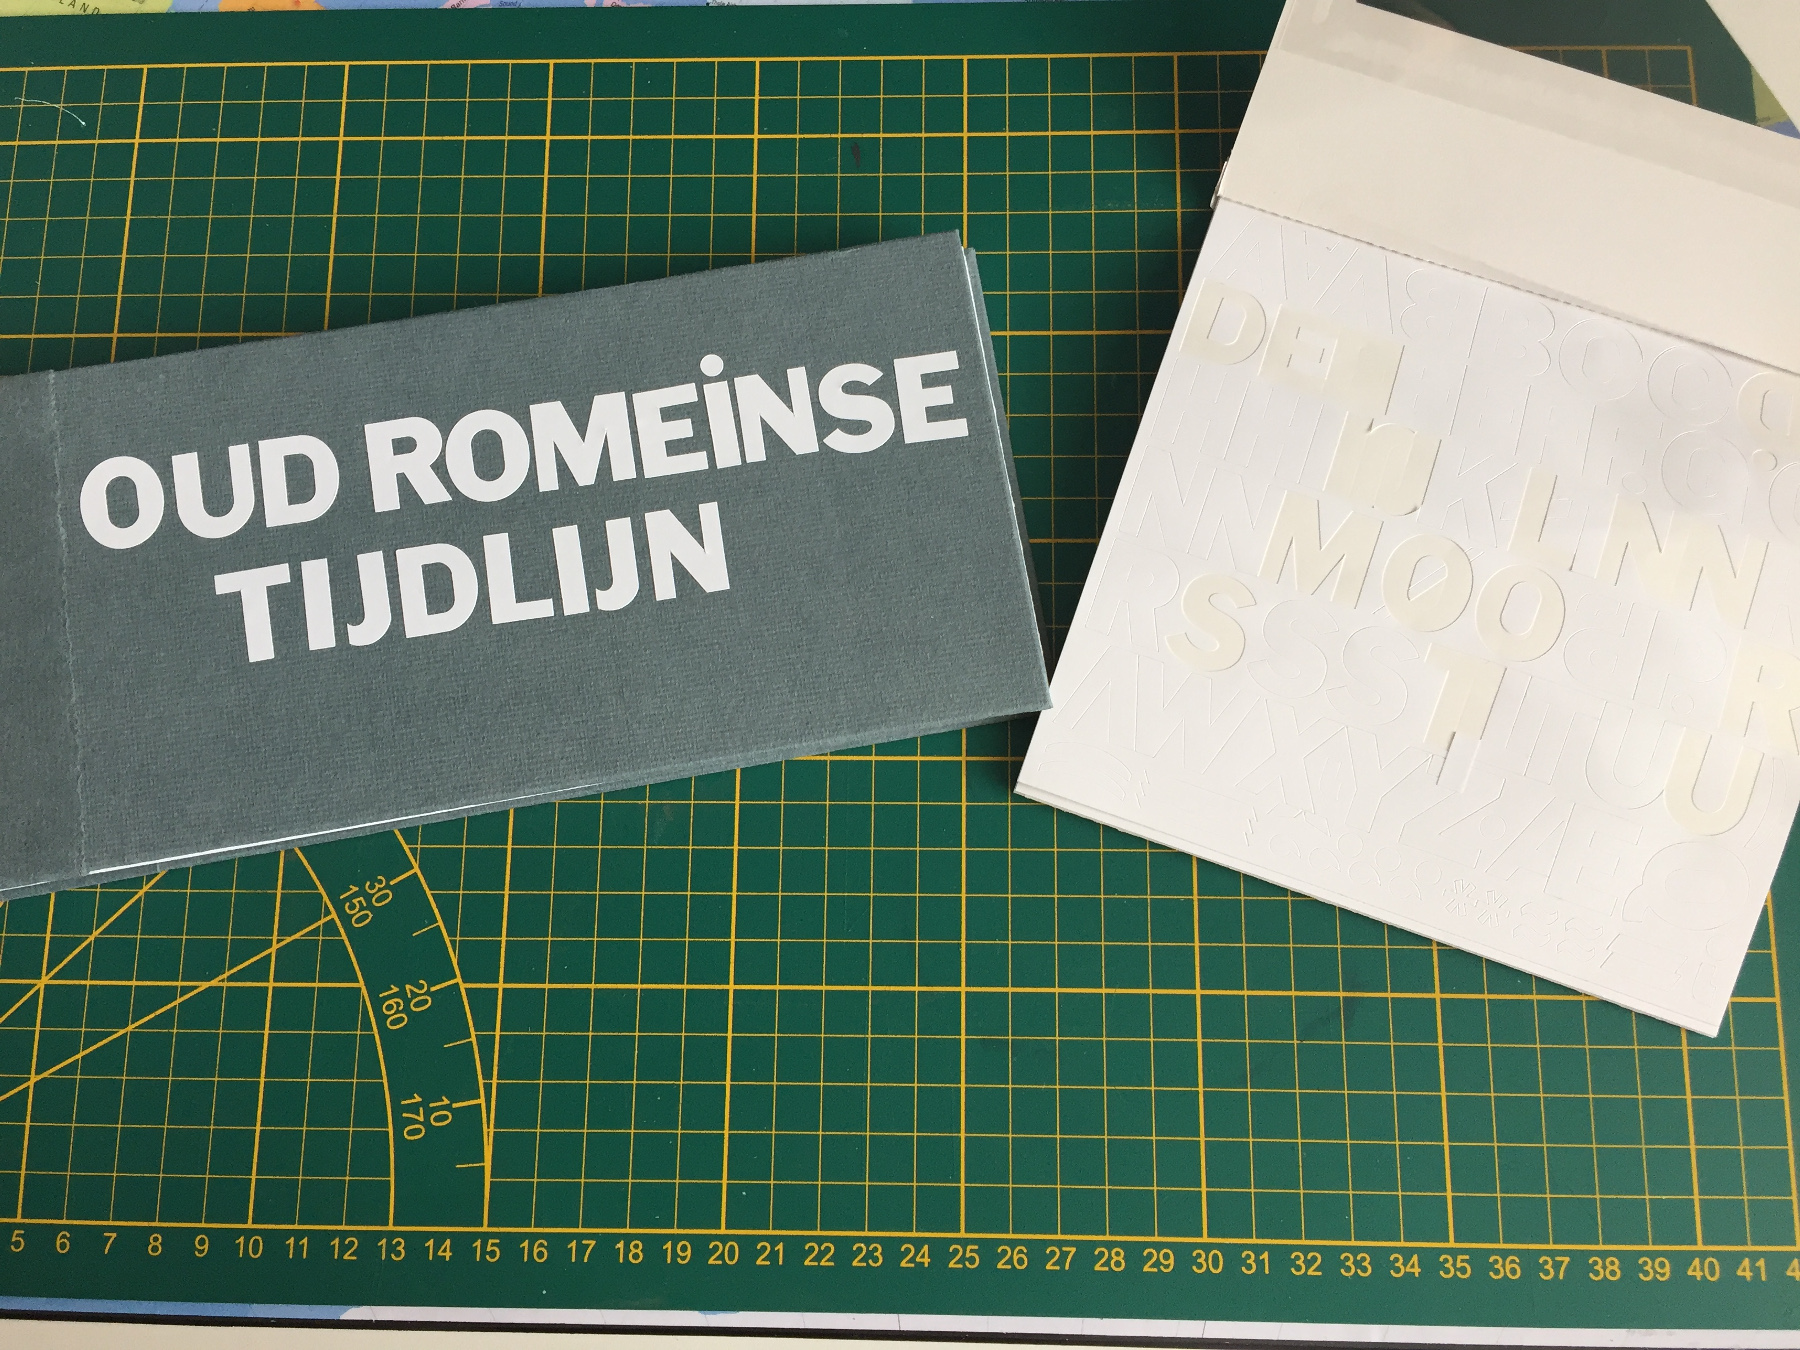
Stick the letters on the book cover.
Now you can fill your book with the facts!
With the help of wikipedia maybe?