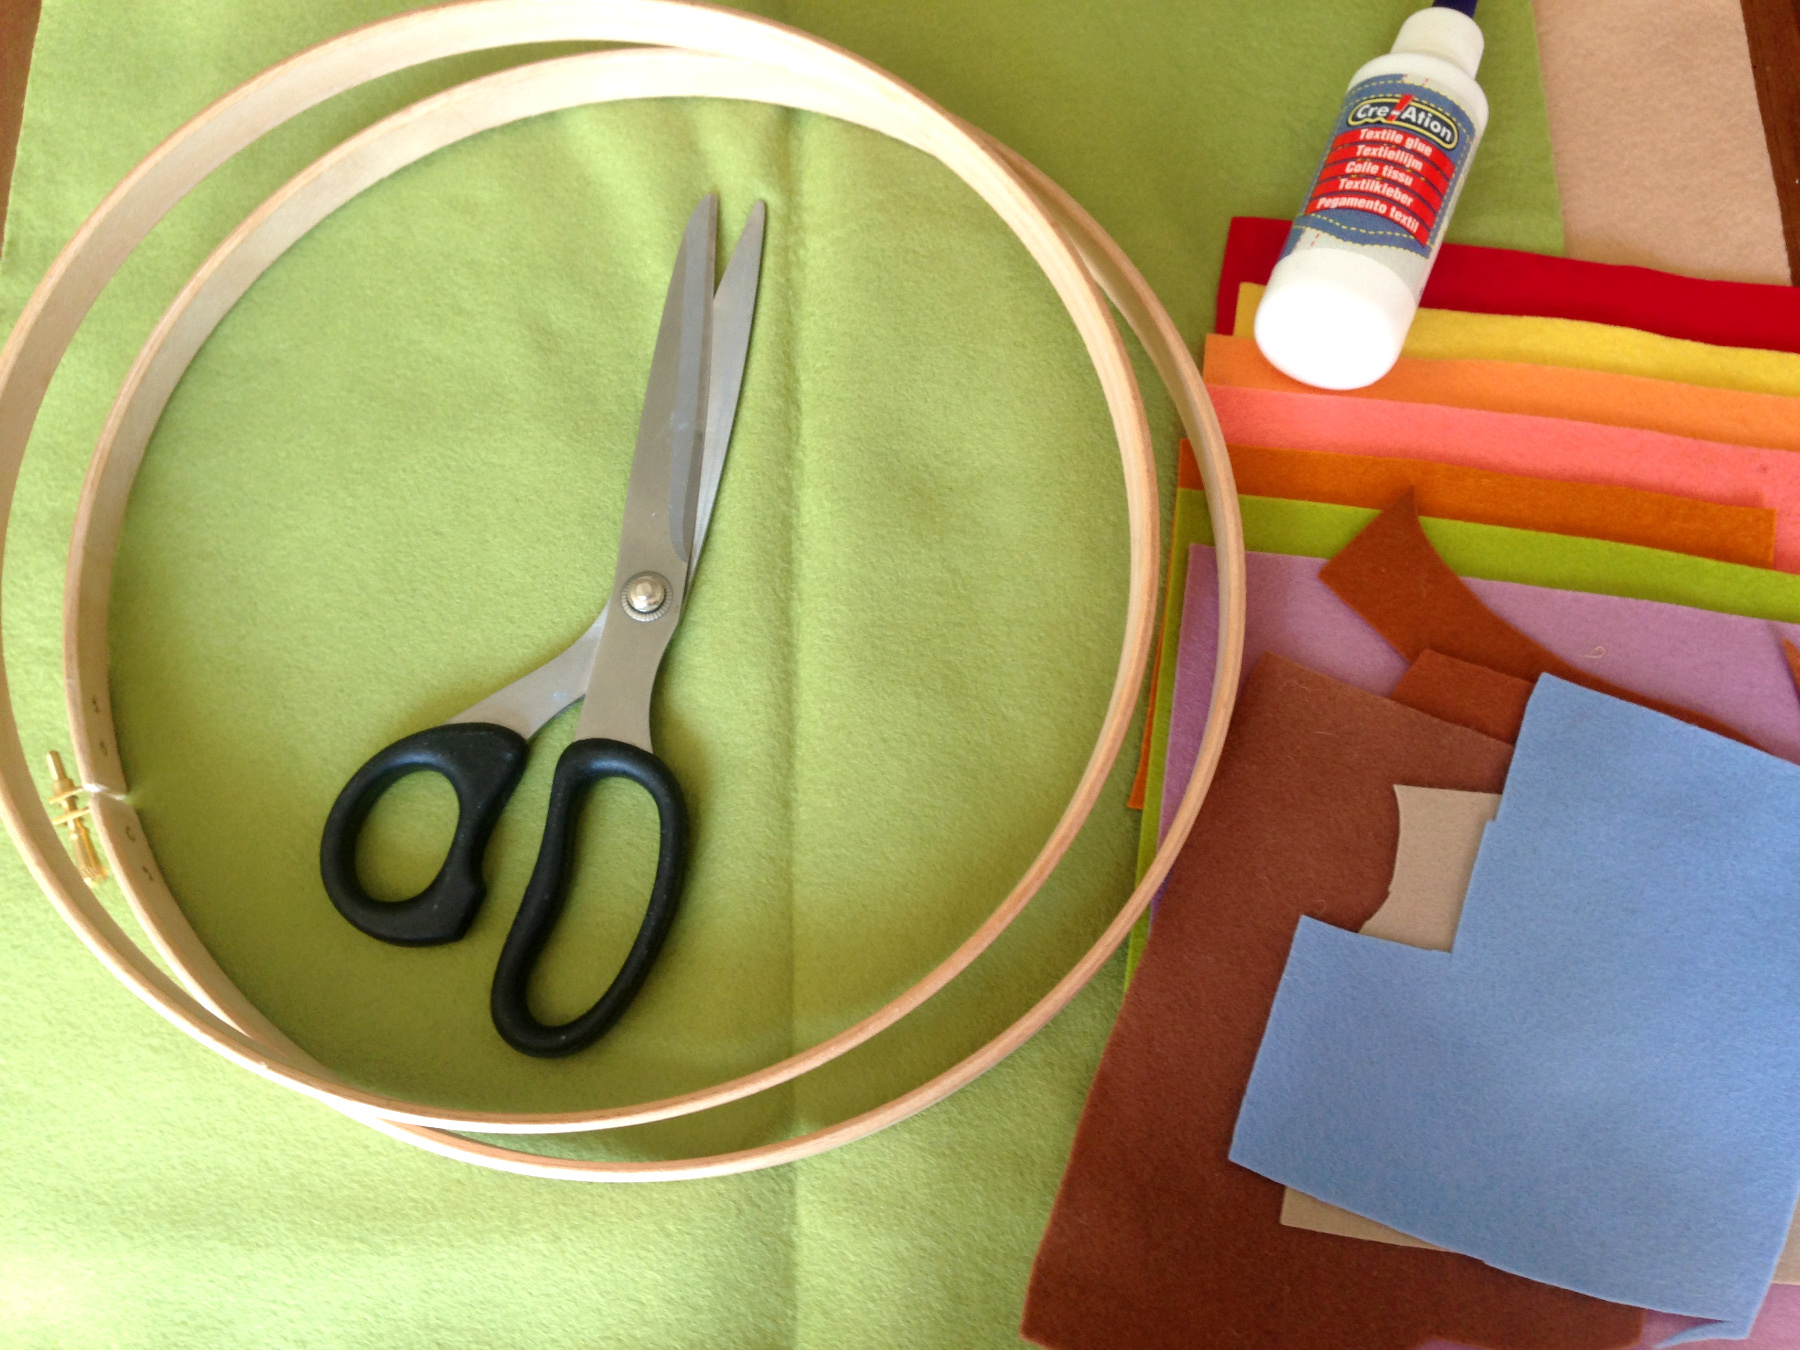
Wat heb je nodig?
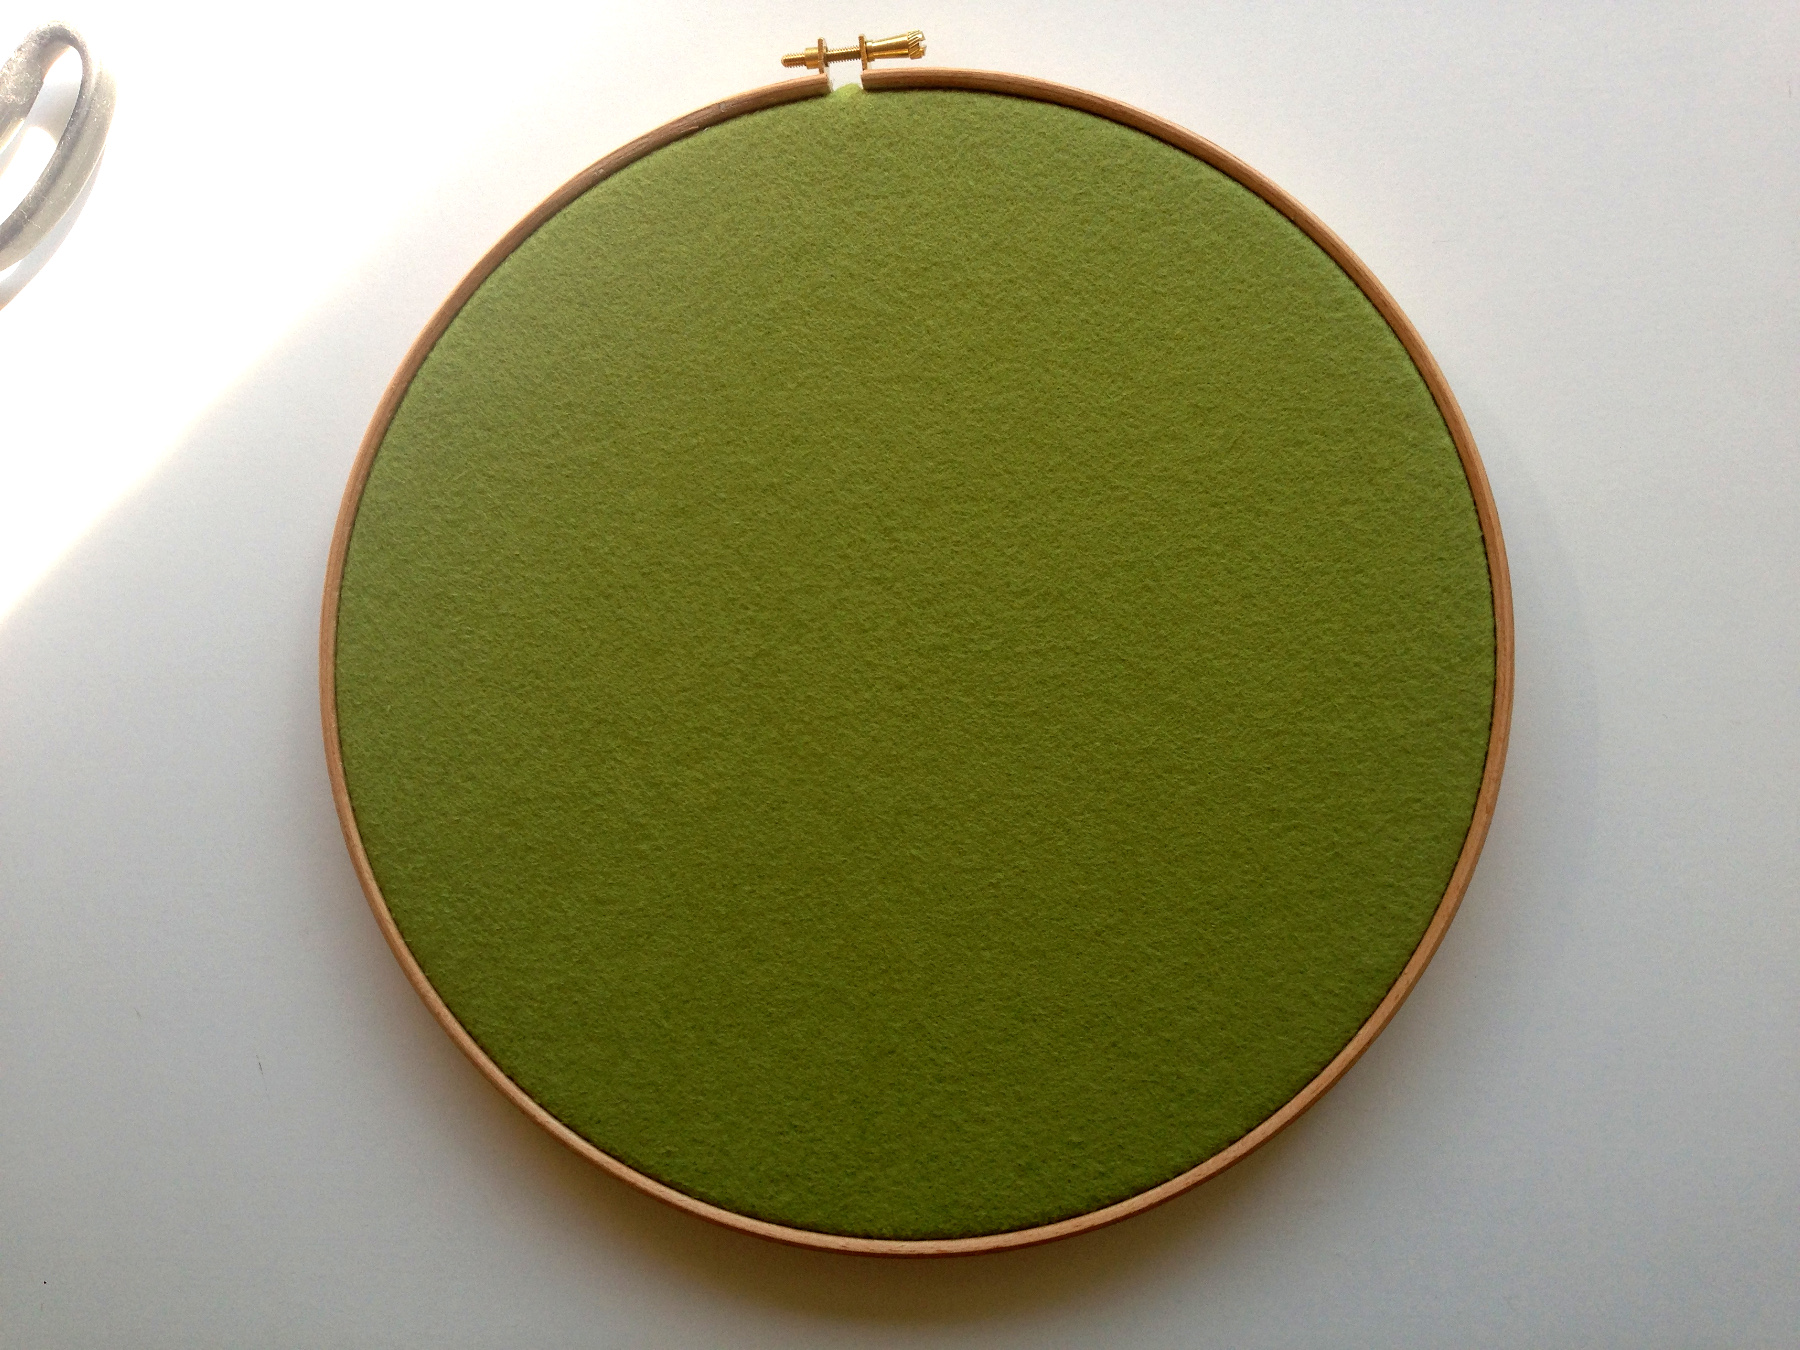
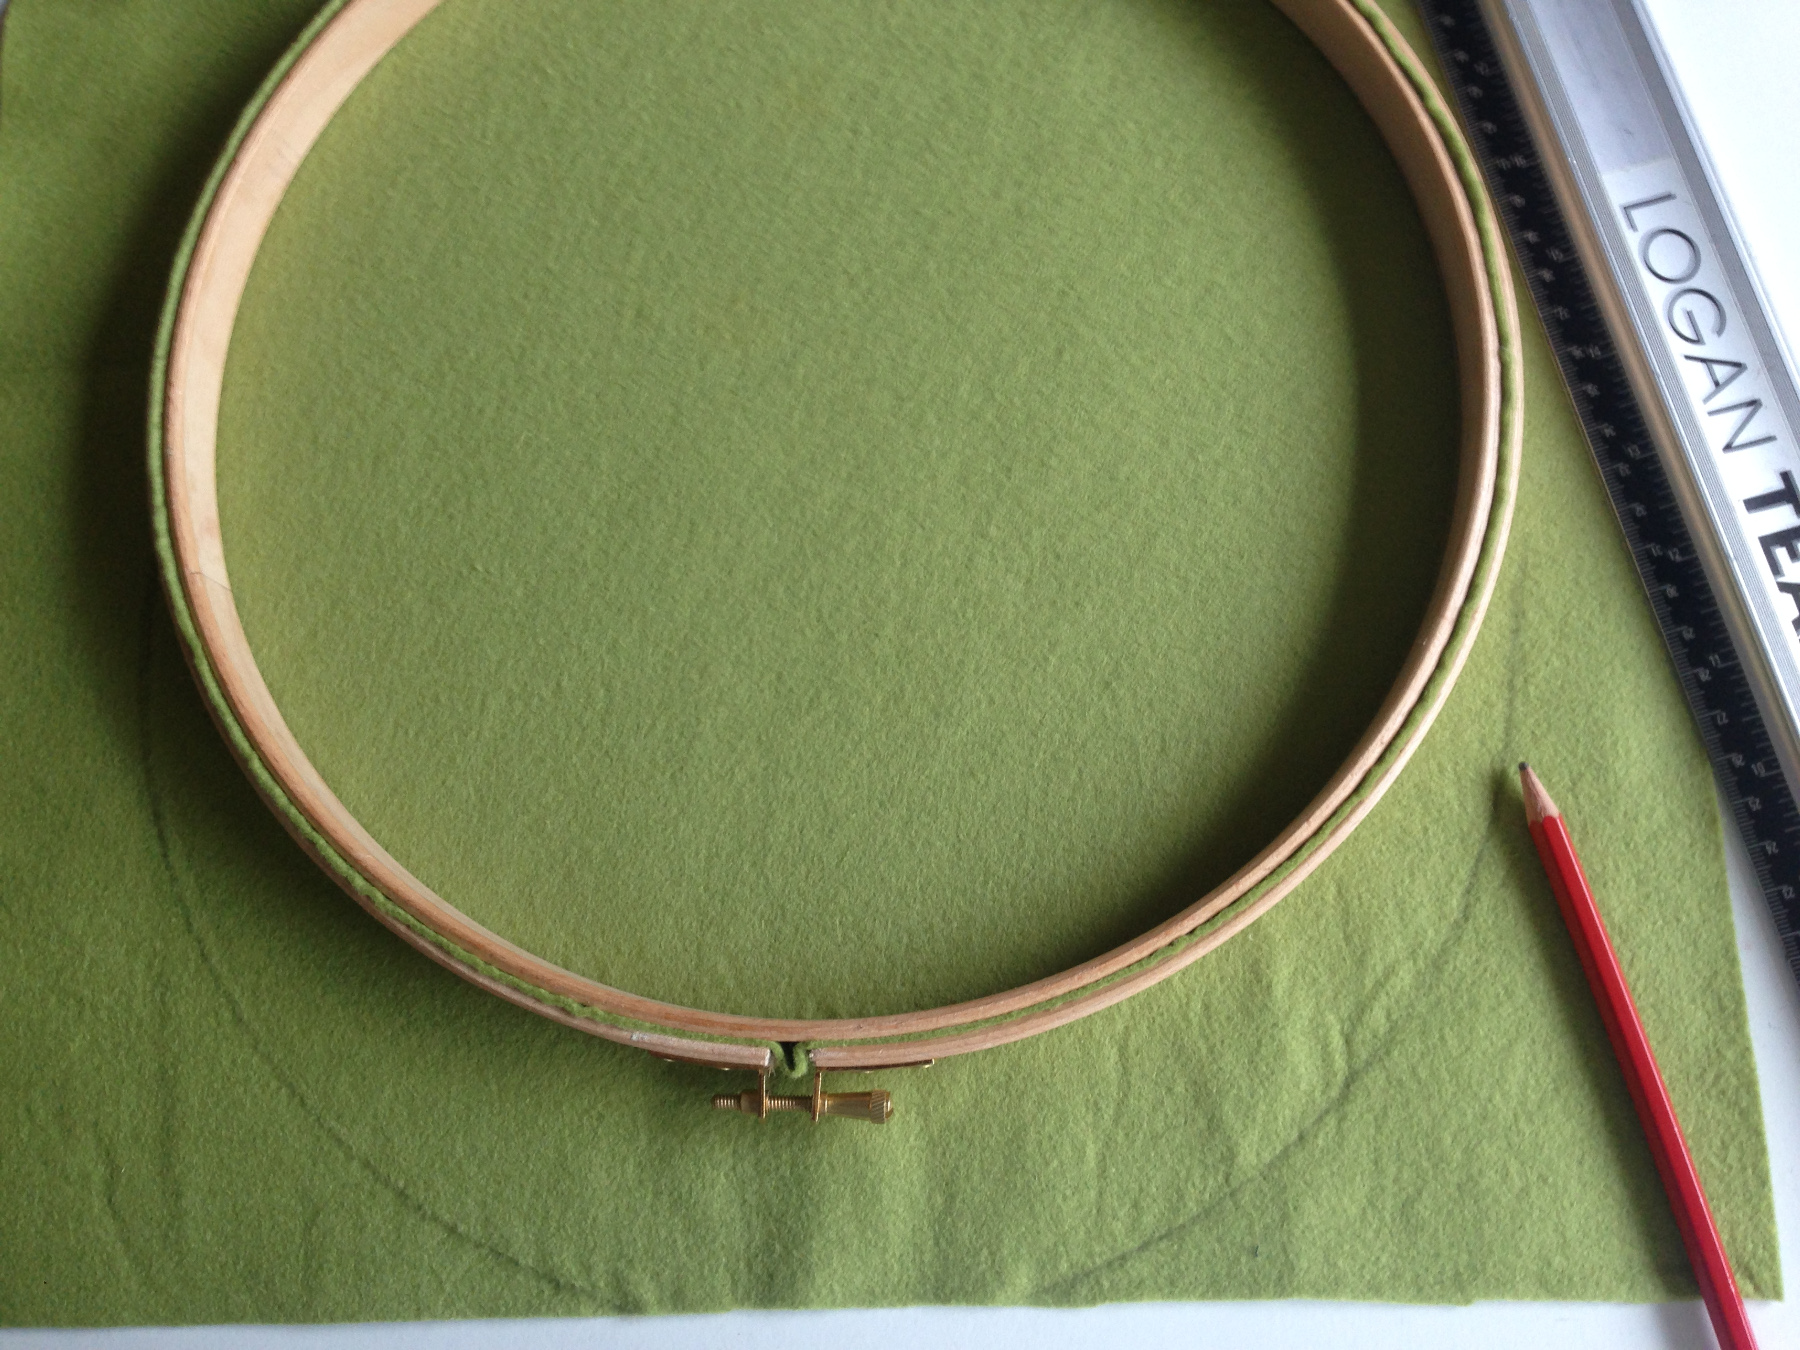
1 borduurring van minimaal 30 cm Ø
1/2 meter lichtgroen wolvilt
1/4 meter lichtbruin wolvilt
Lichtbruin & donkerbruin borduurgaren
borduurnaald
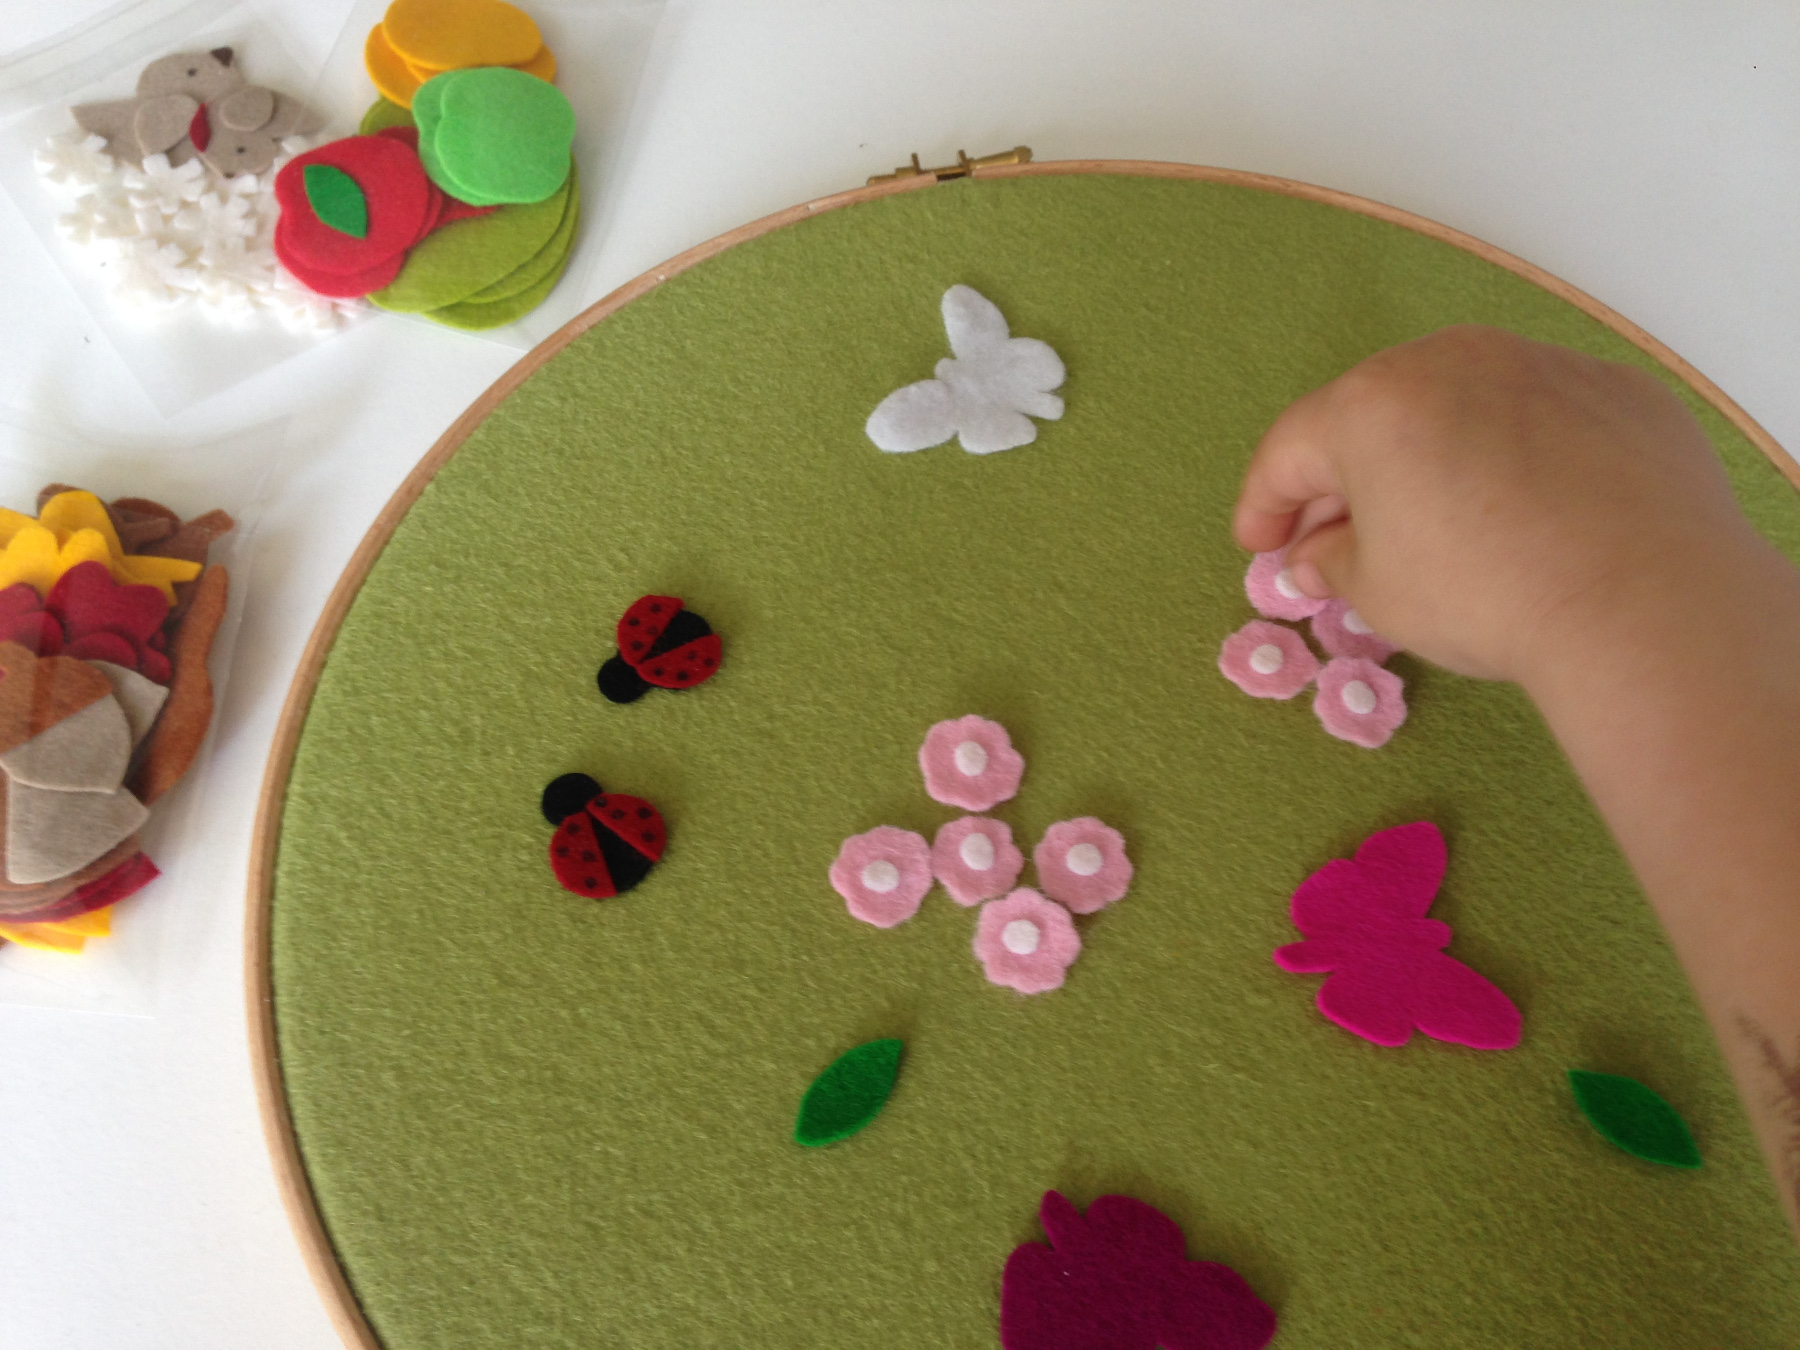
kleine stukjes vilt, in allerleikleuren
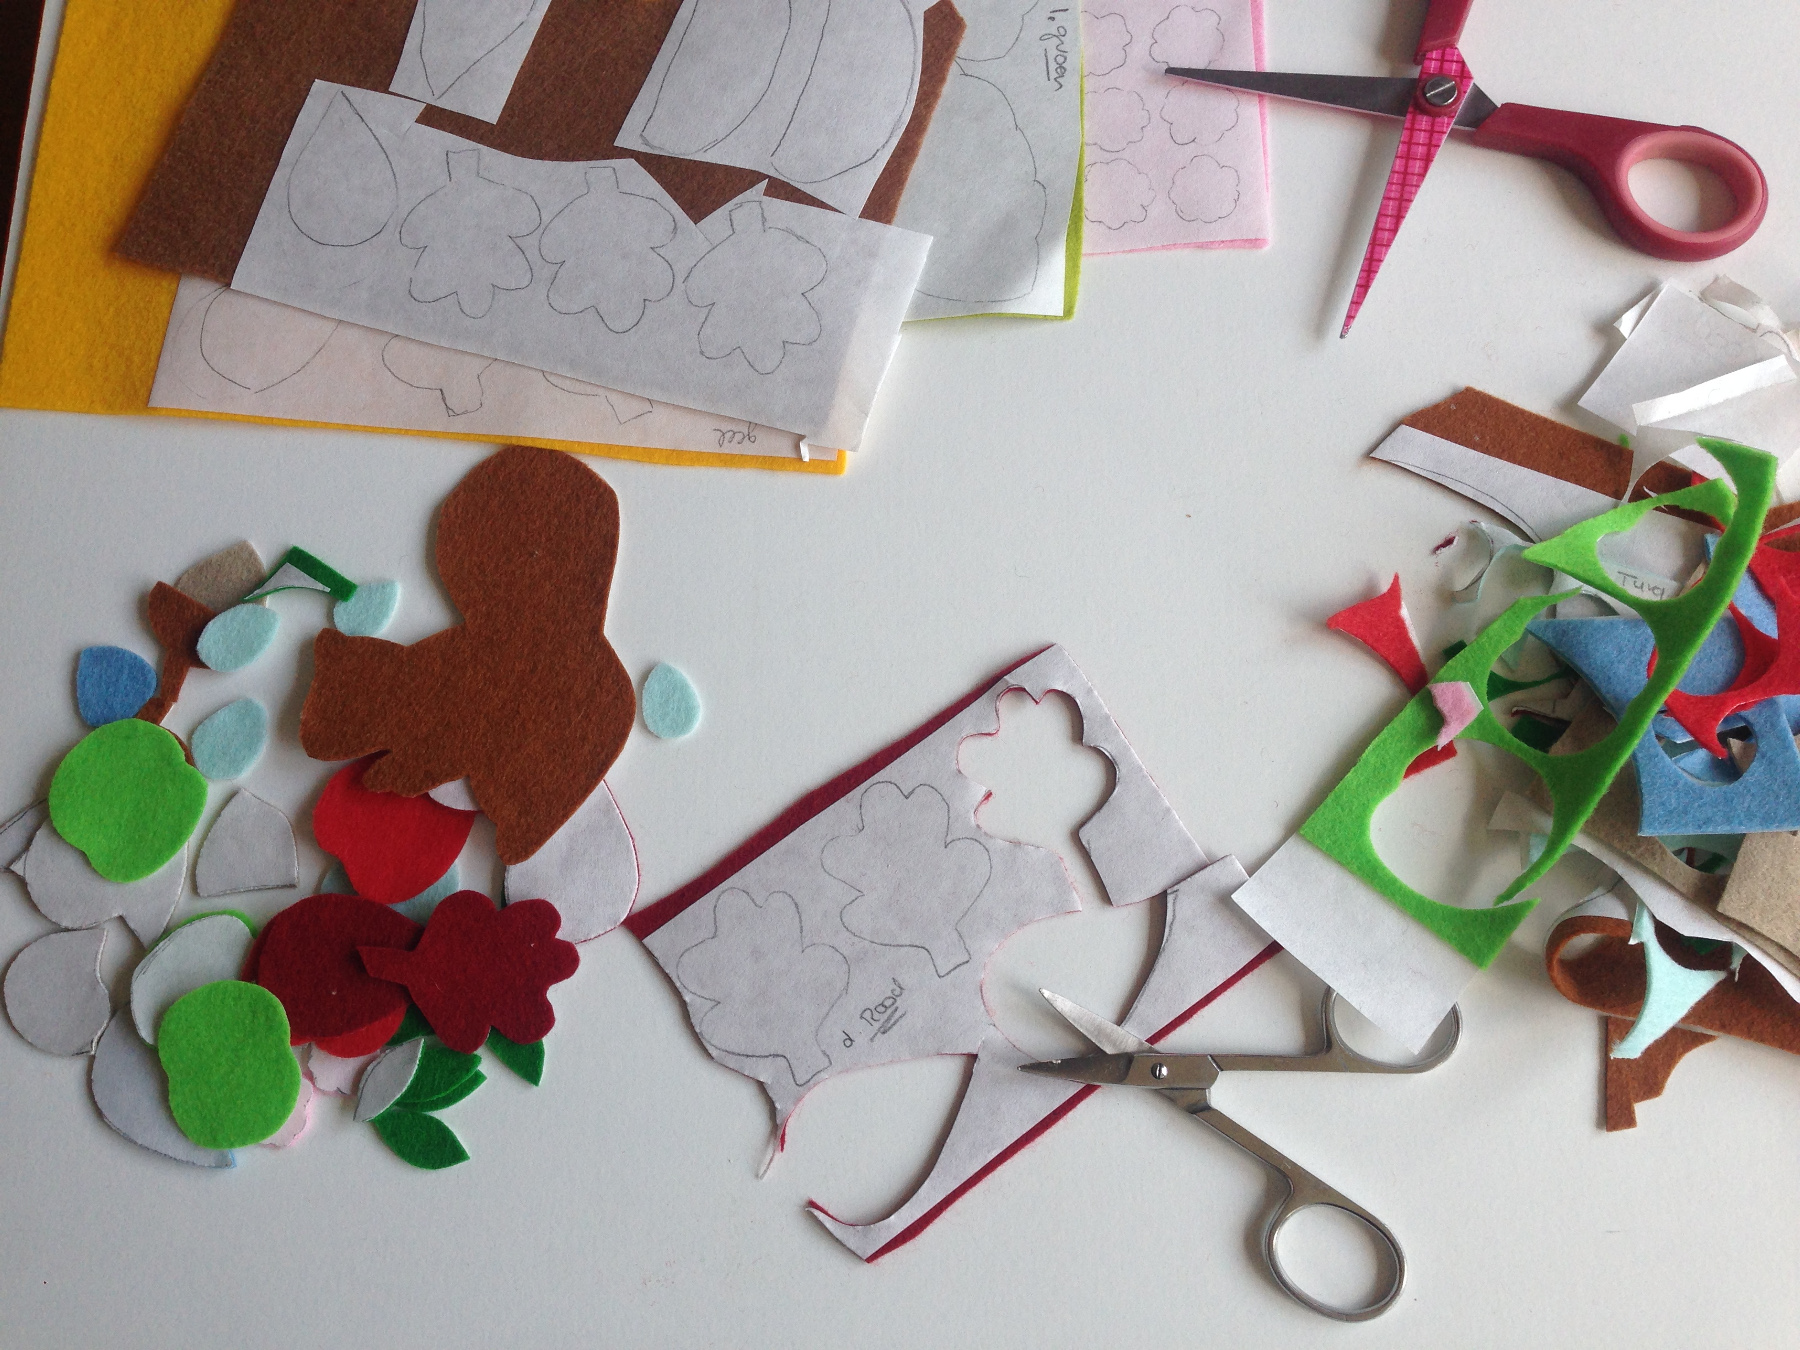
schaar
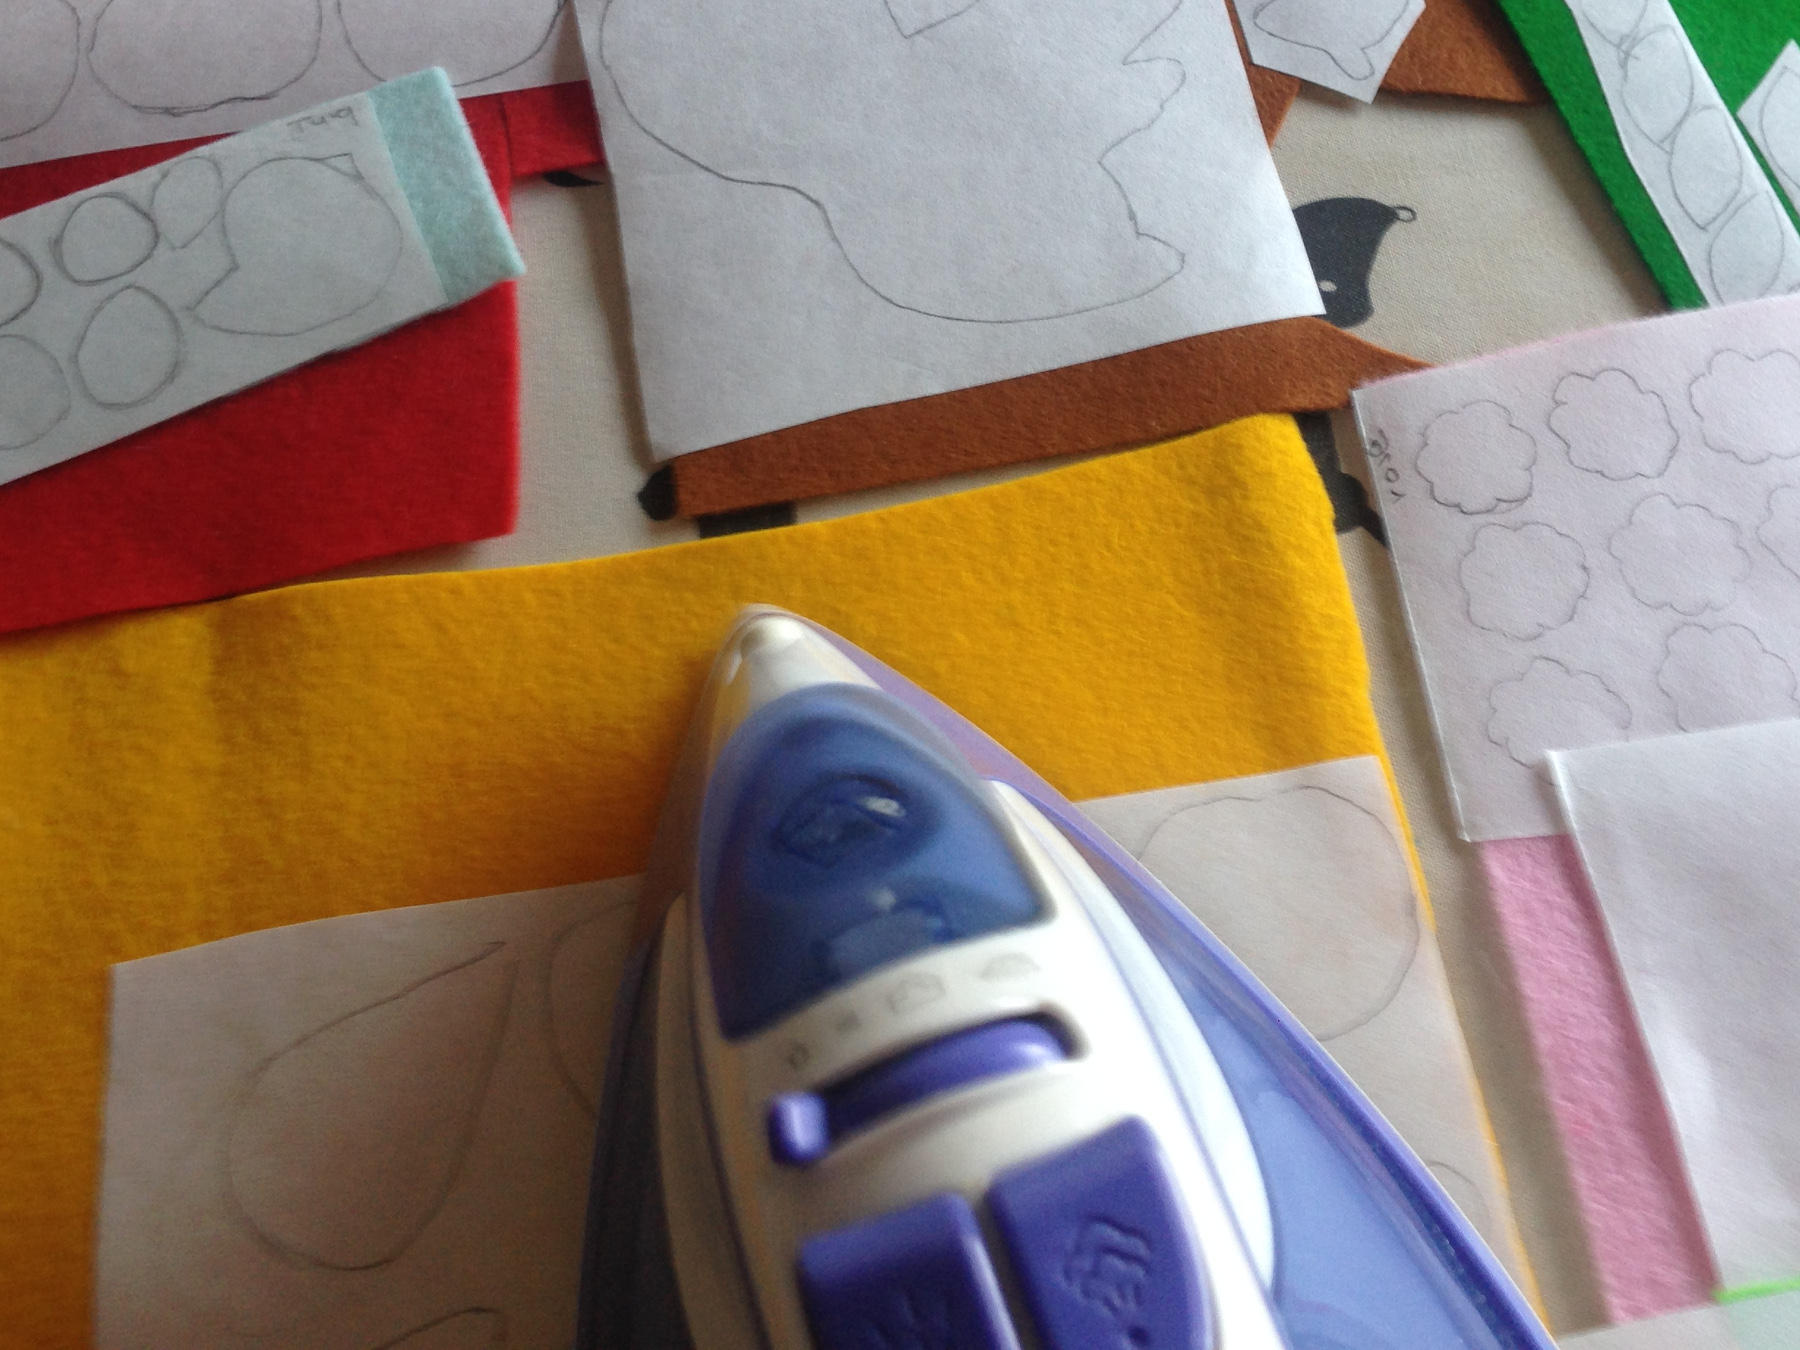
1/2 meter freezer paper
strijkijzer
gekleurde textielstiften
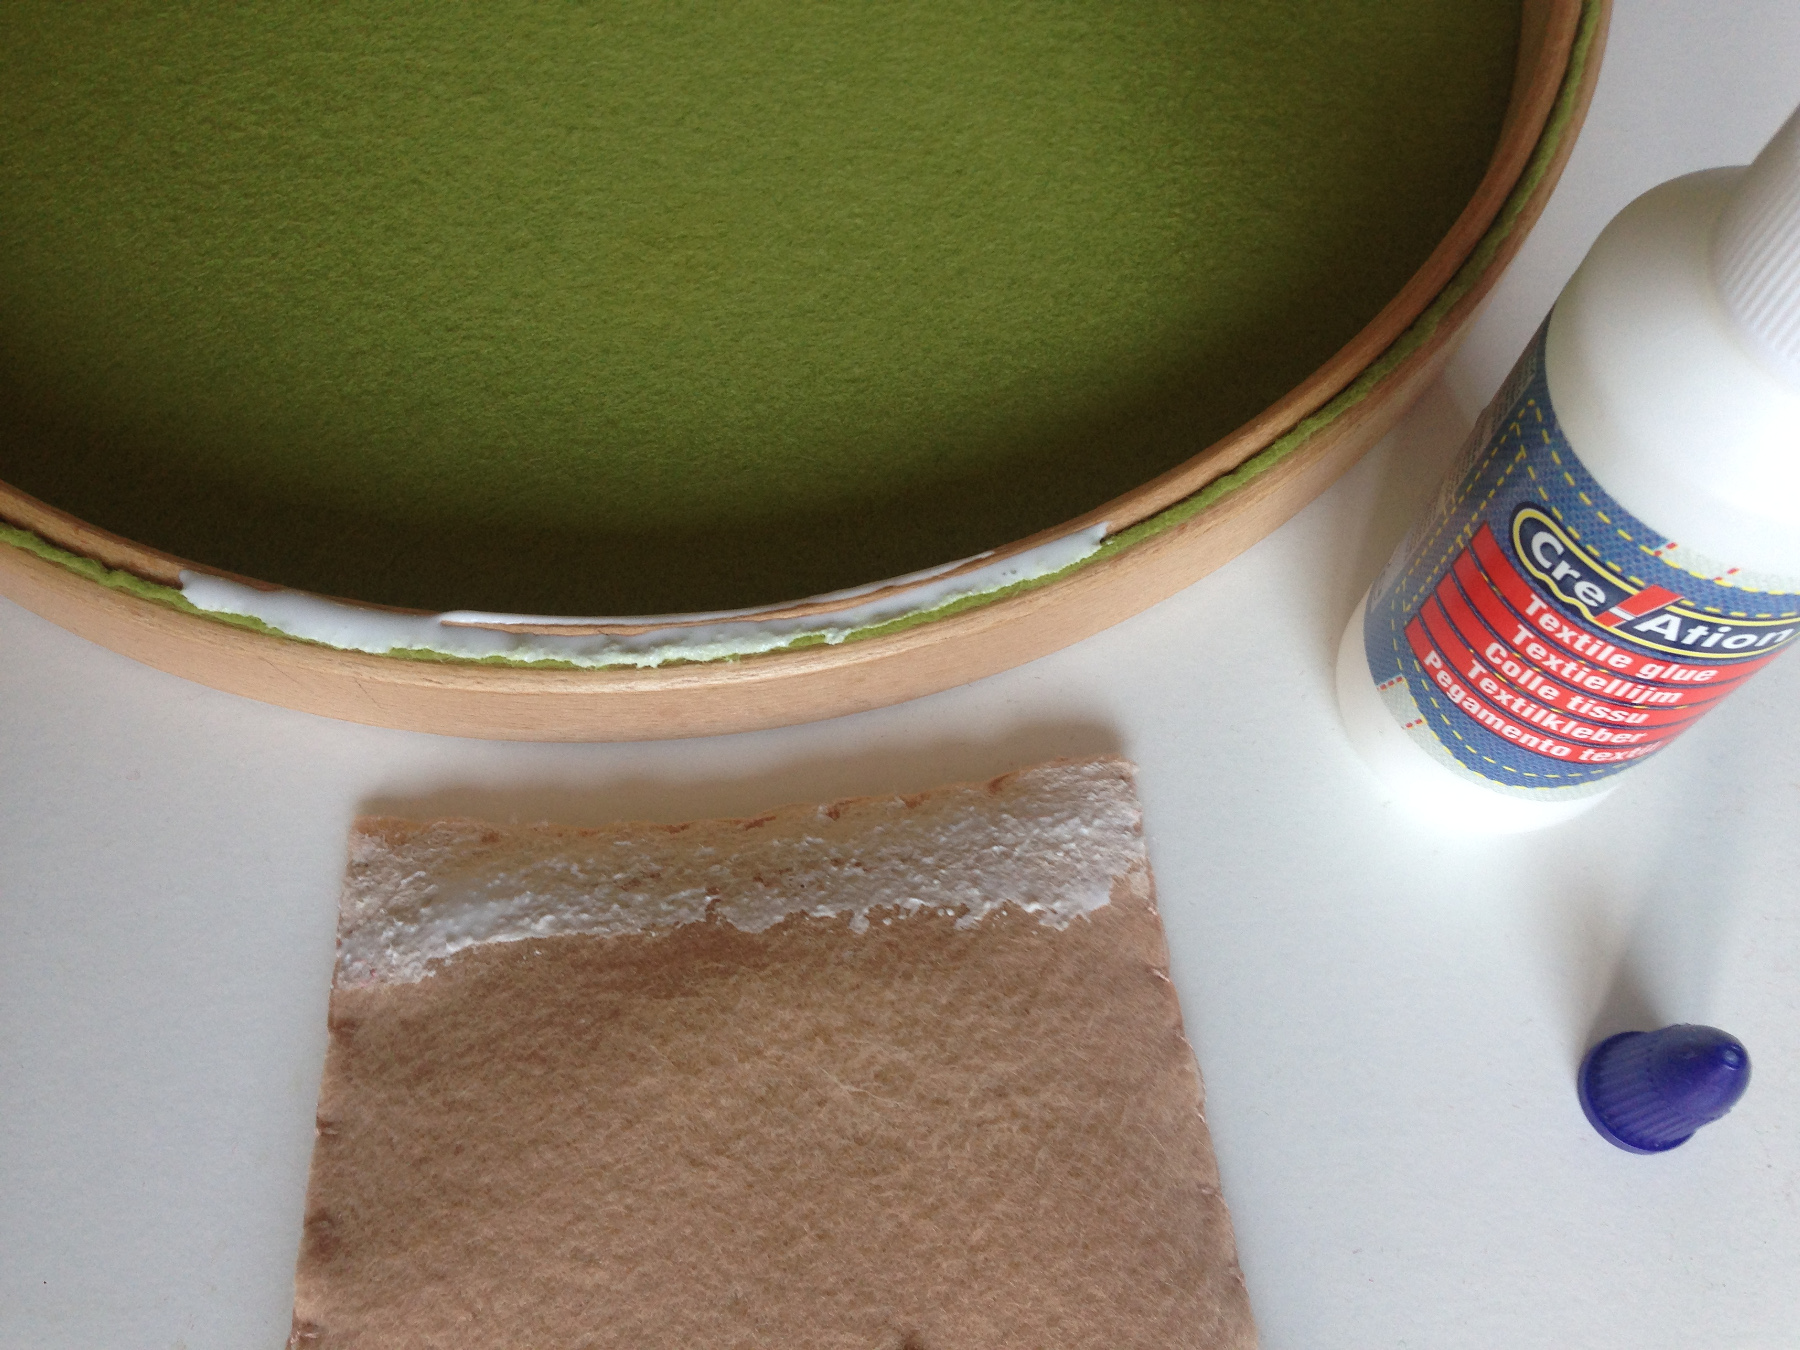
textiellijm
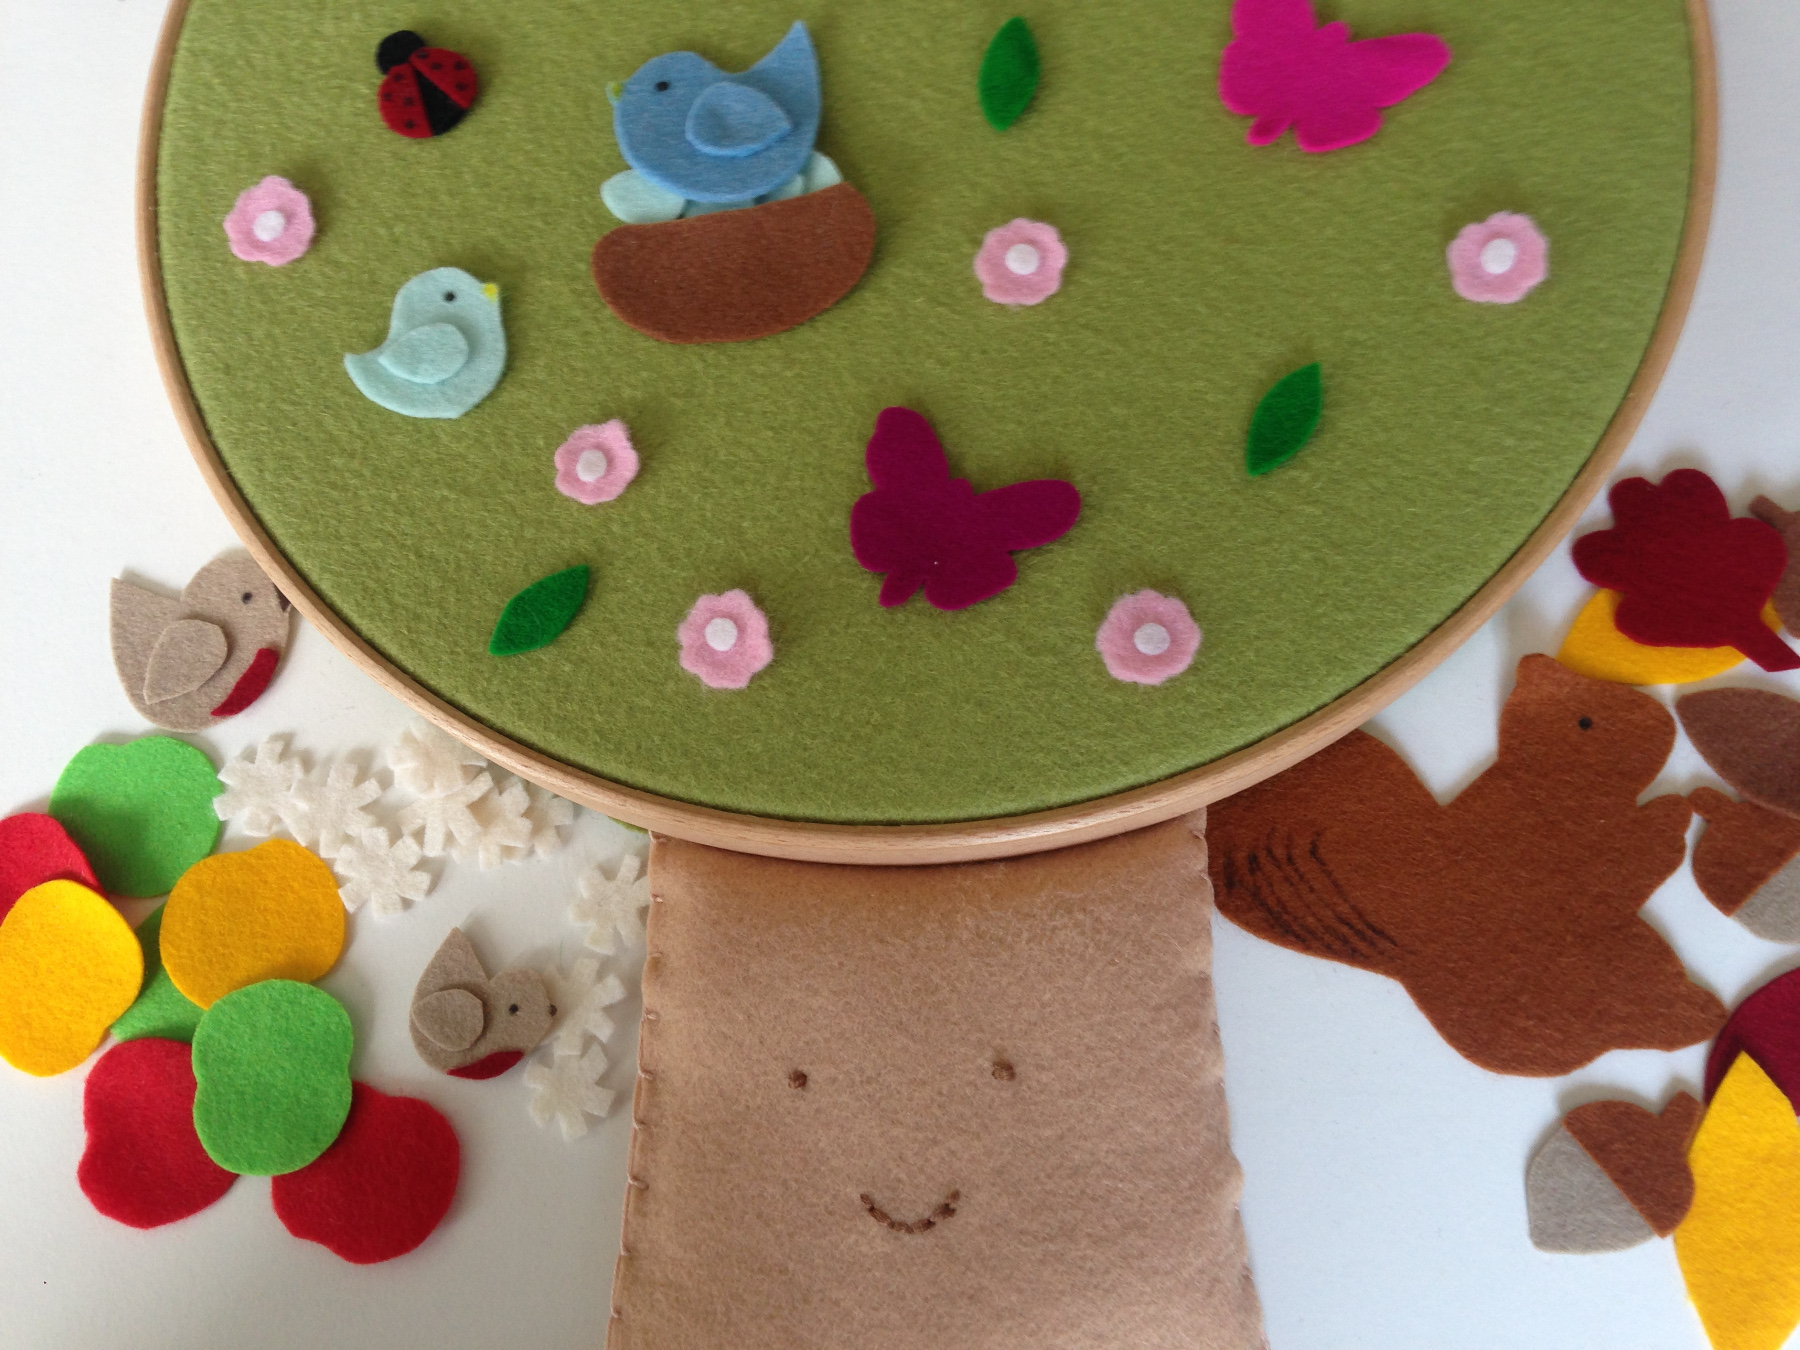
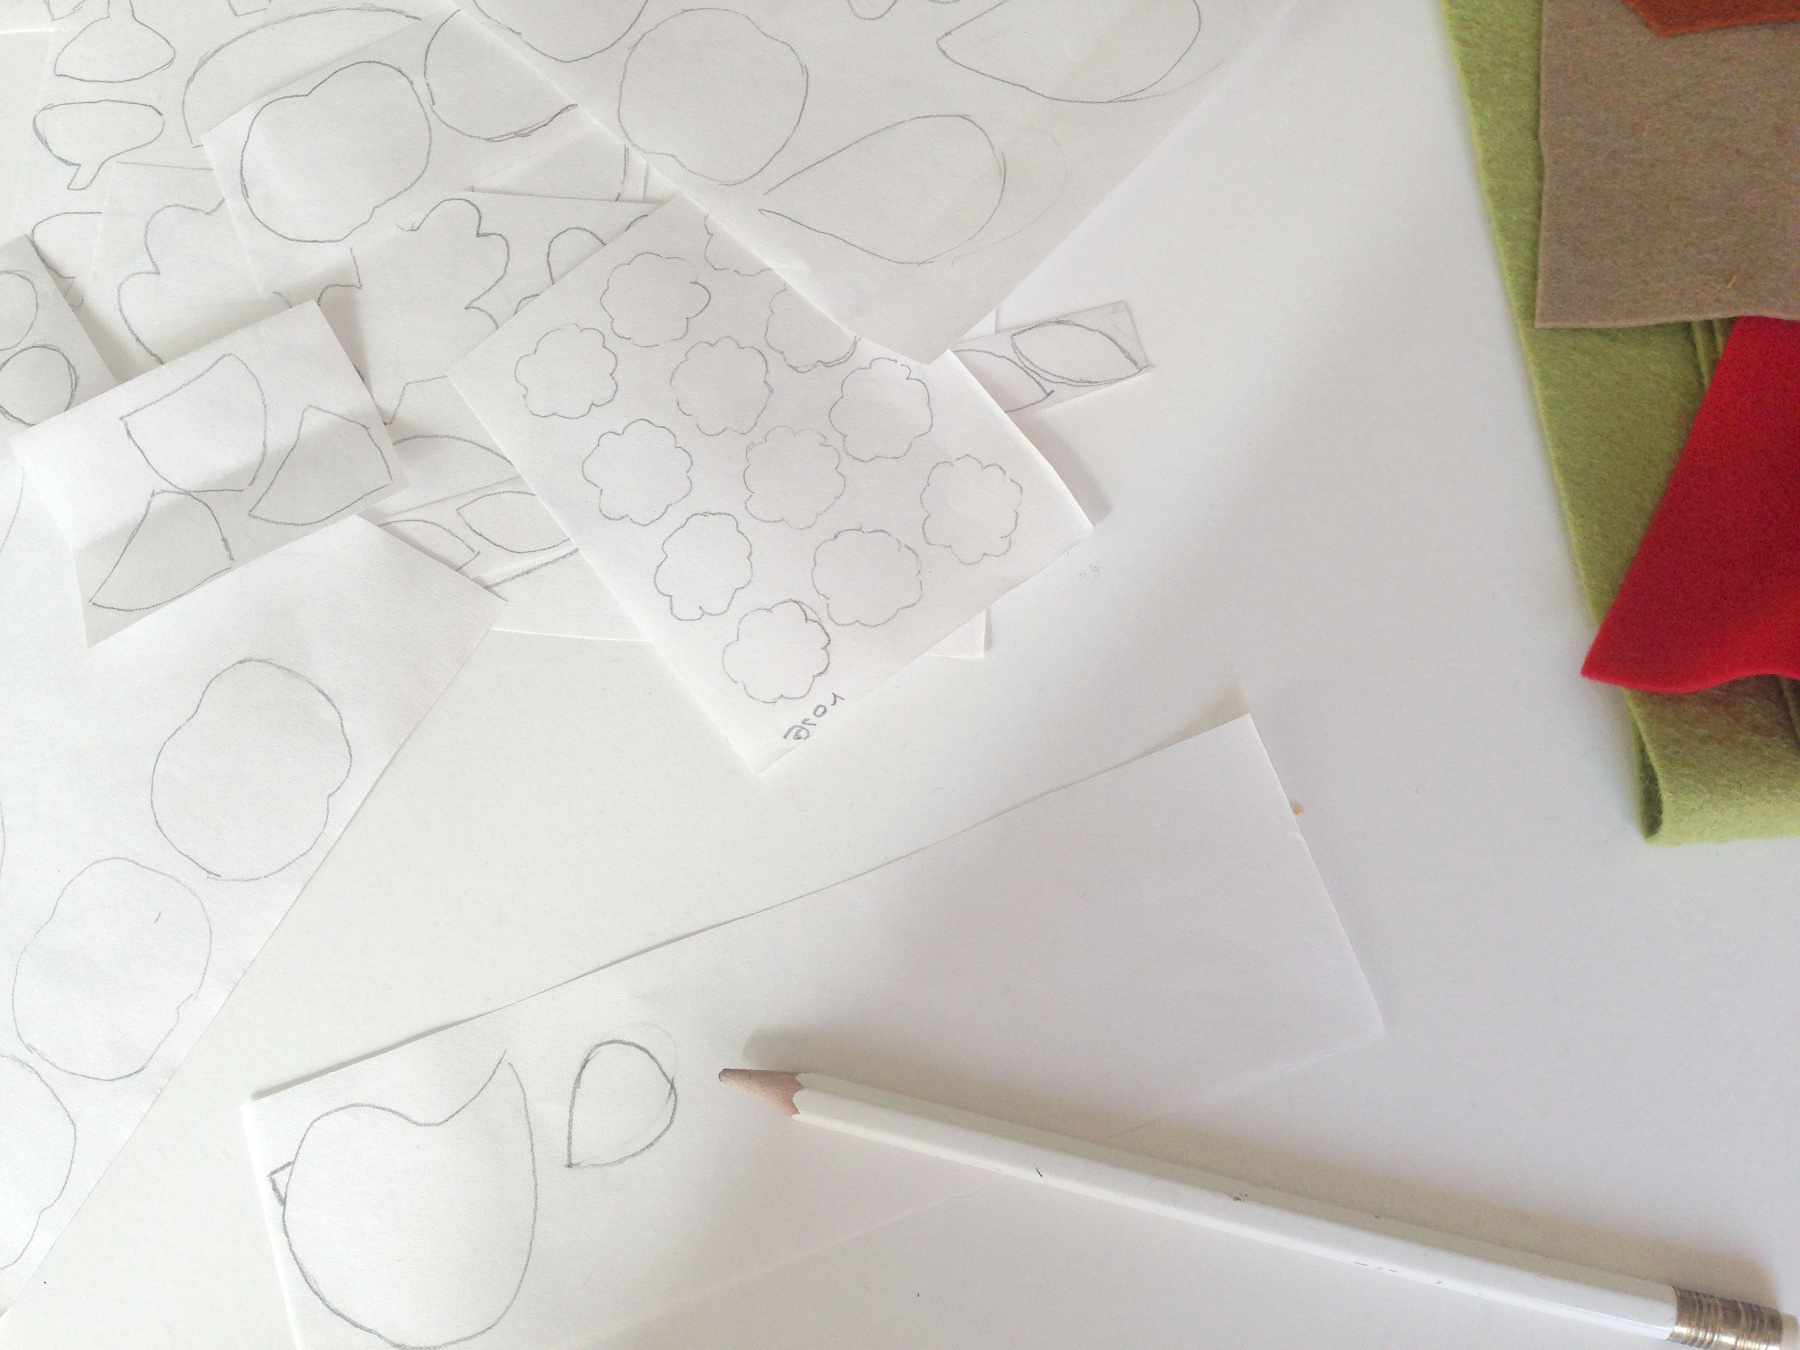
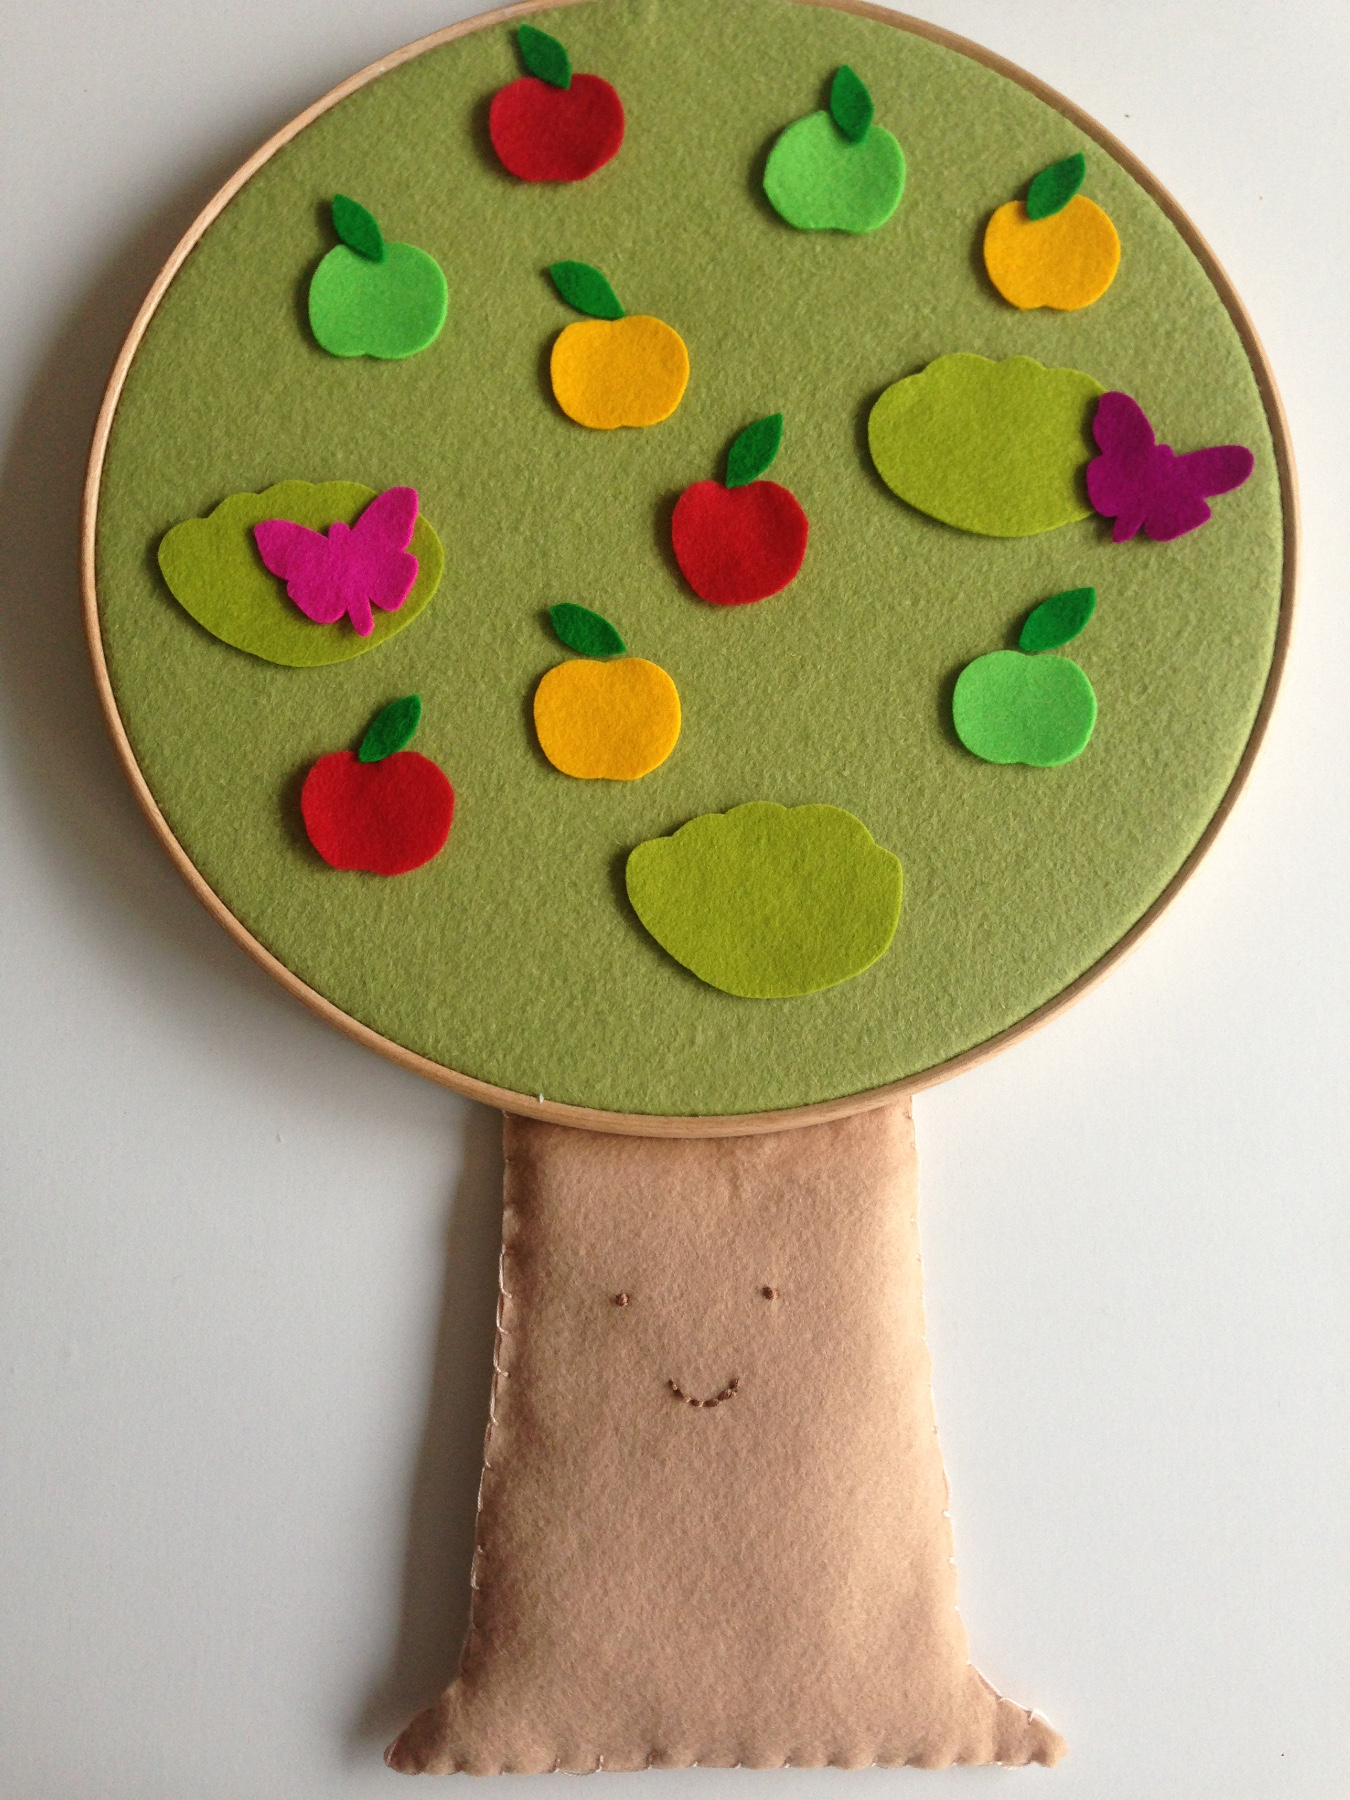
Voor de kleintjes maken we een seizoenenboom van een borduurraam en gekleurd wolvilt. Het is een leuk werkje en de mini monstertjes vinden het erg leuk om er mee te spelen. Teken zelf de figuurtjes of download die van ons
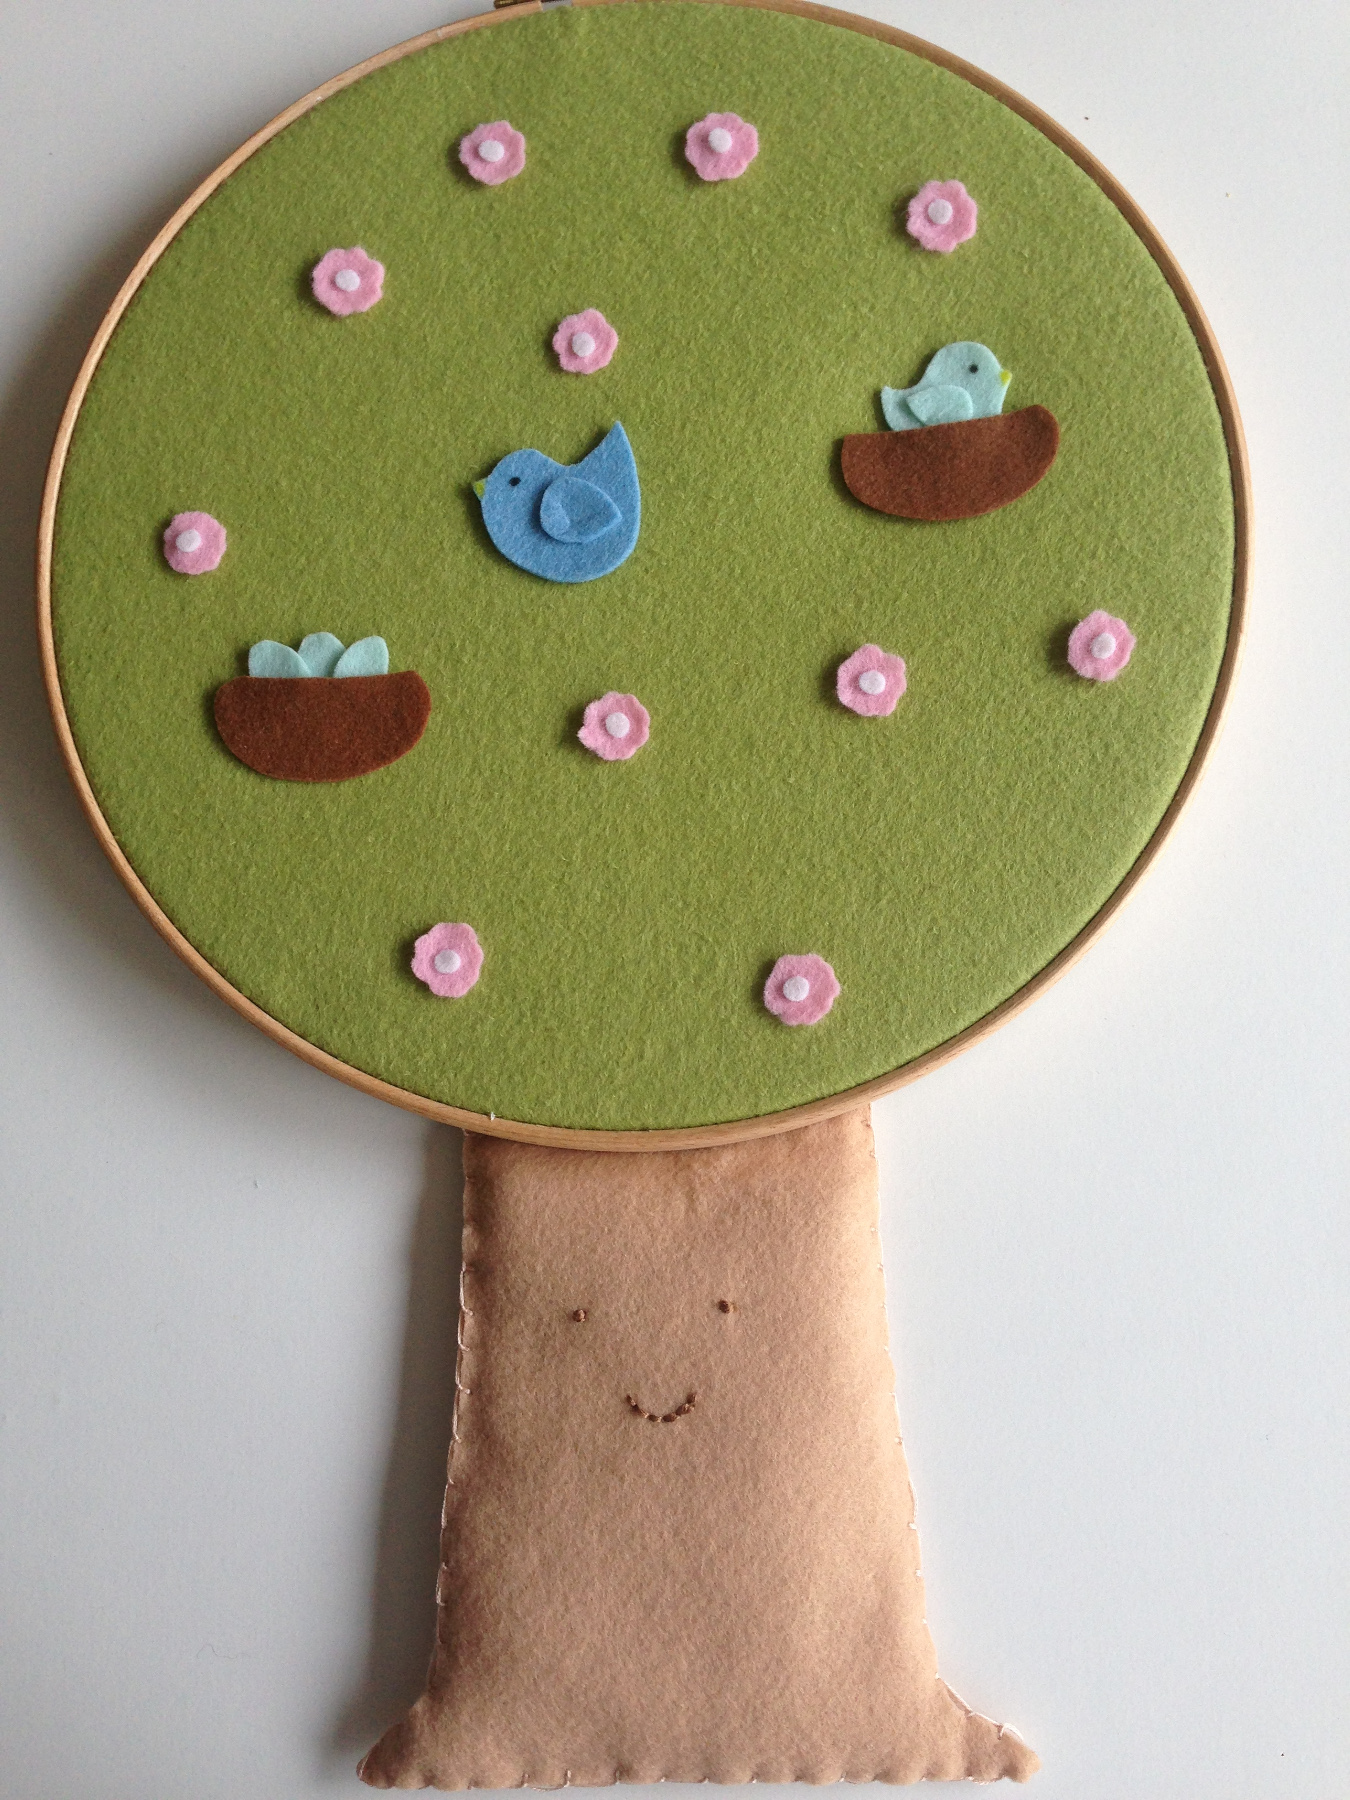
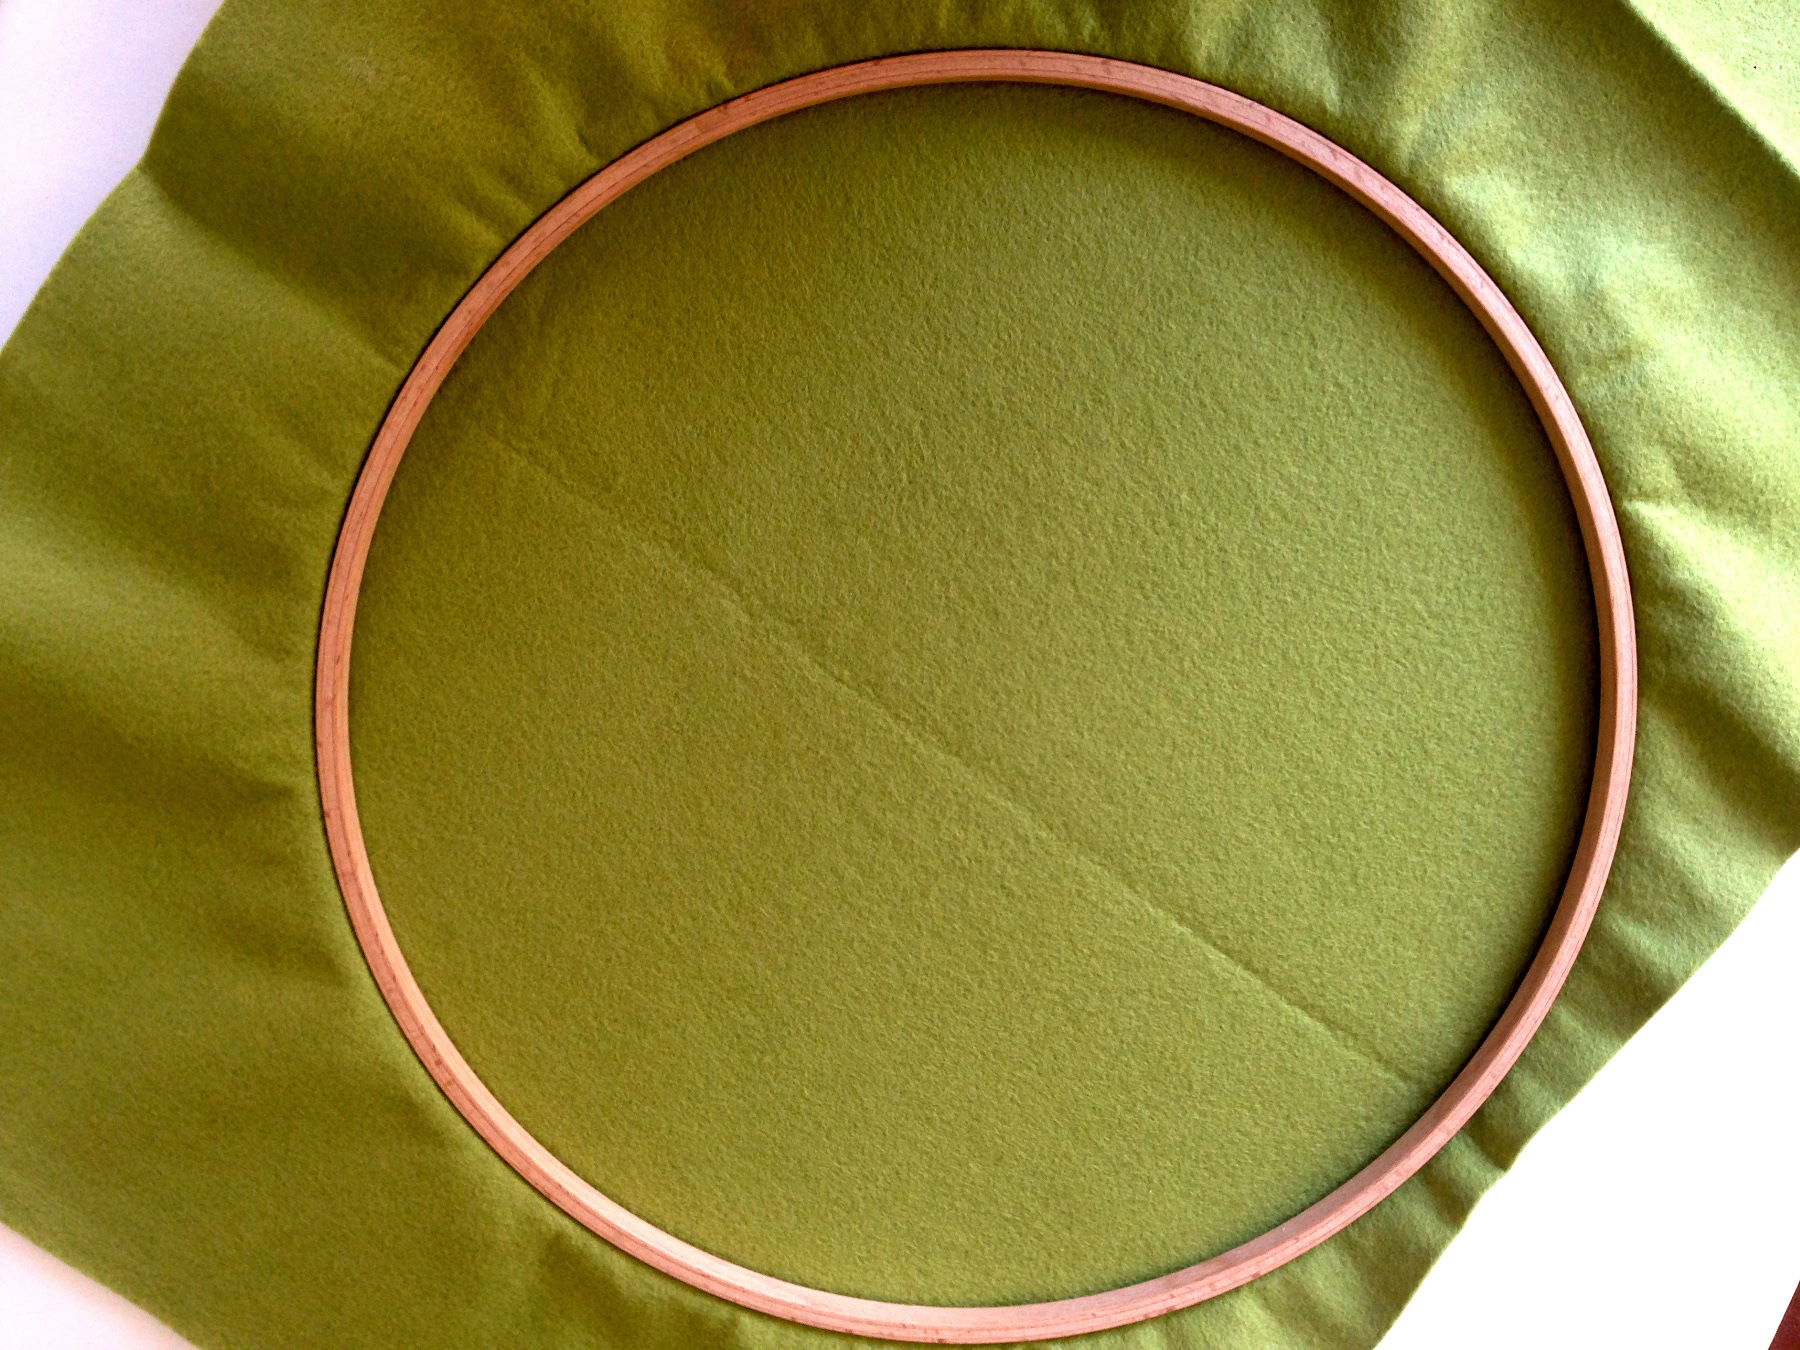
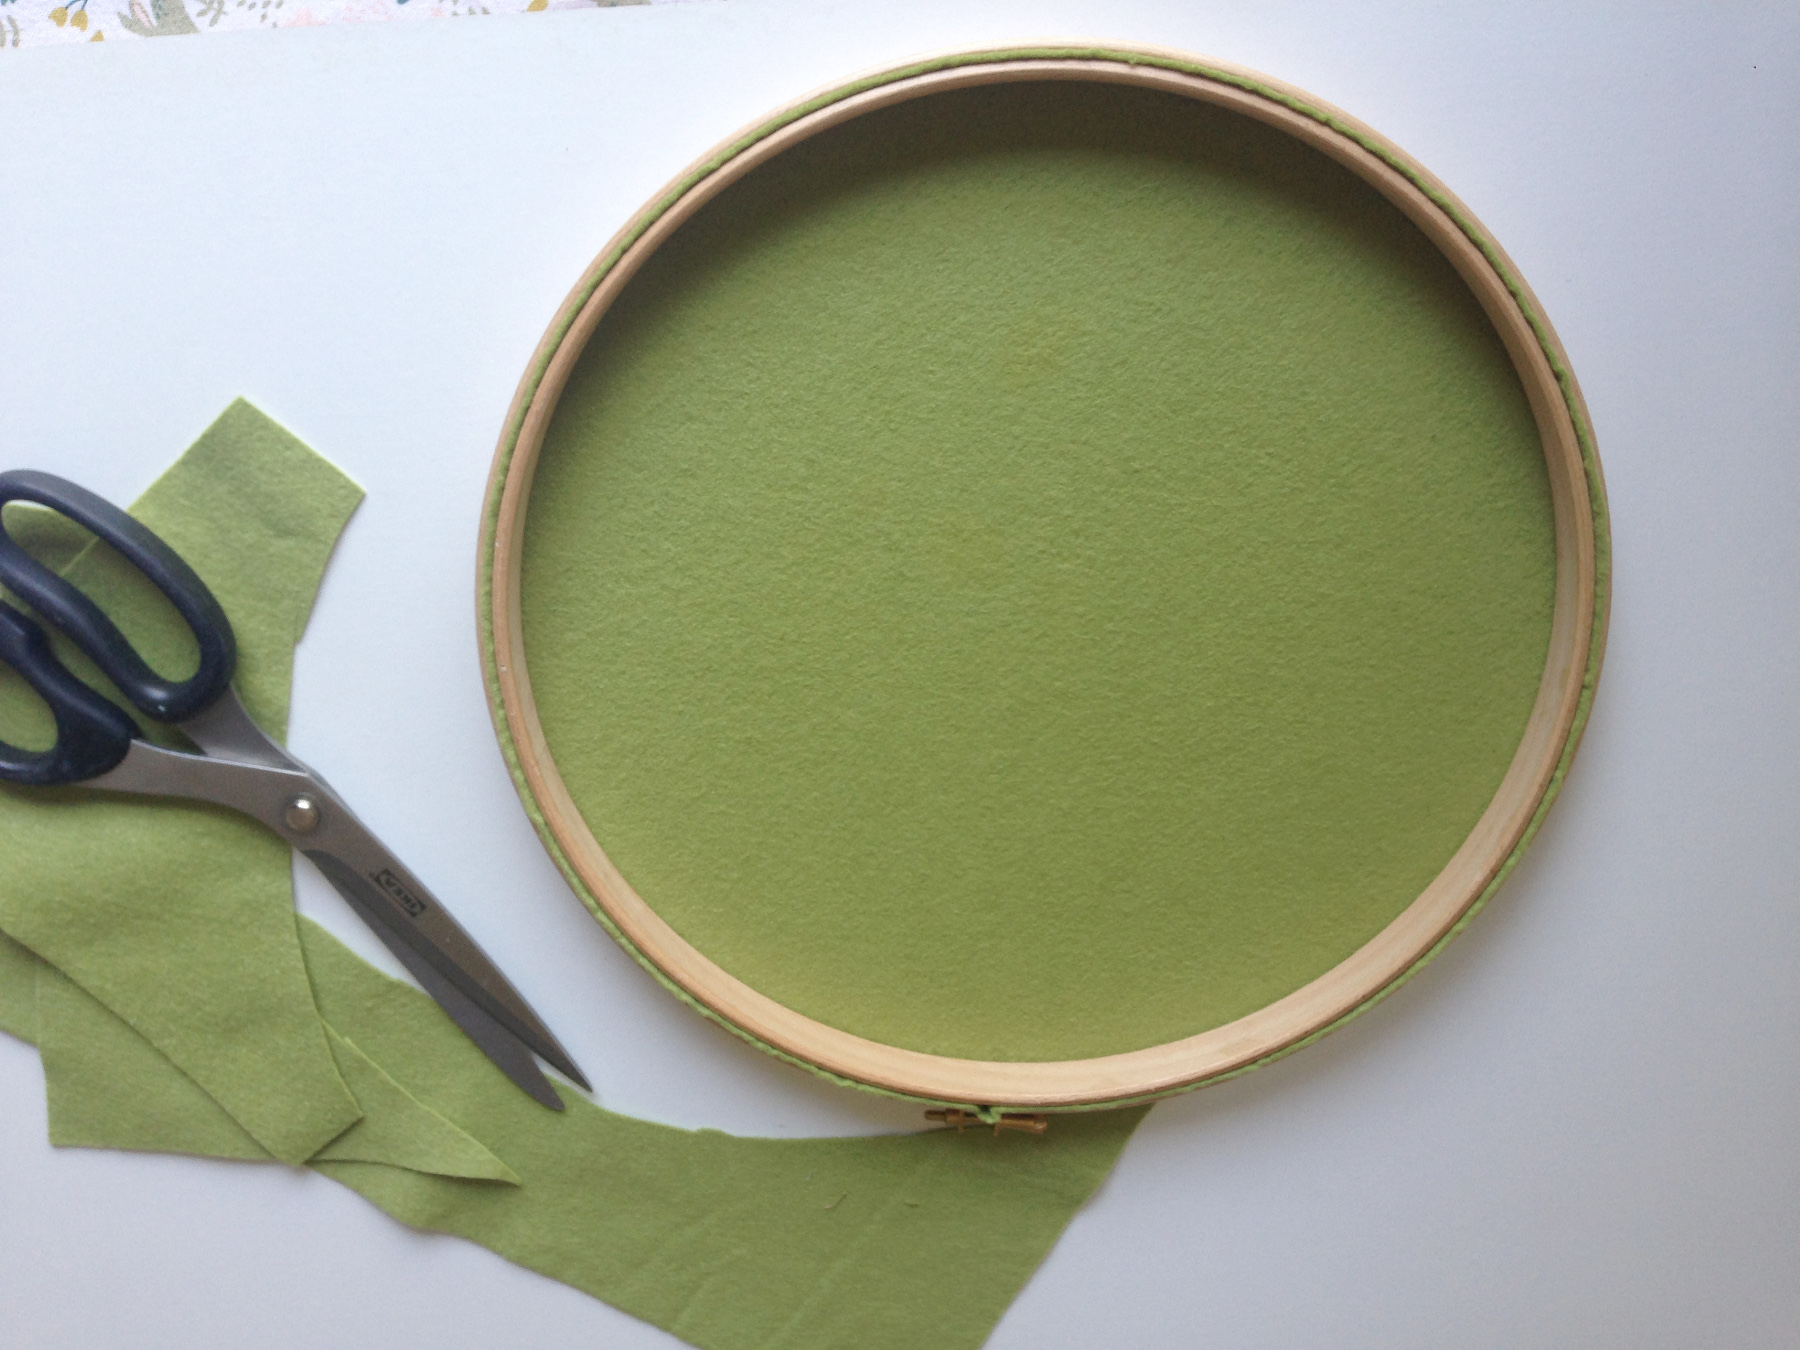
Zo maak je een seizoenenboom
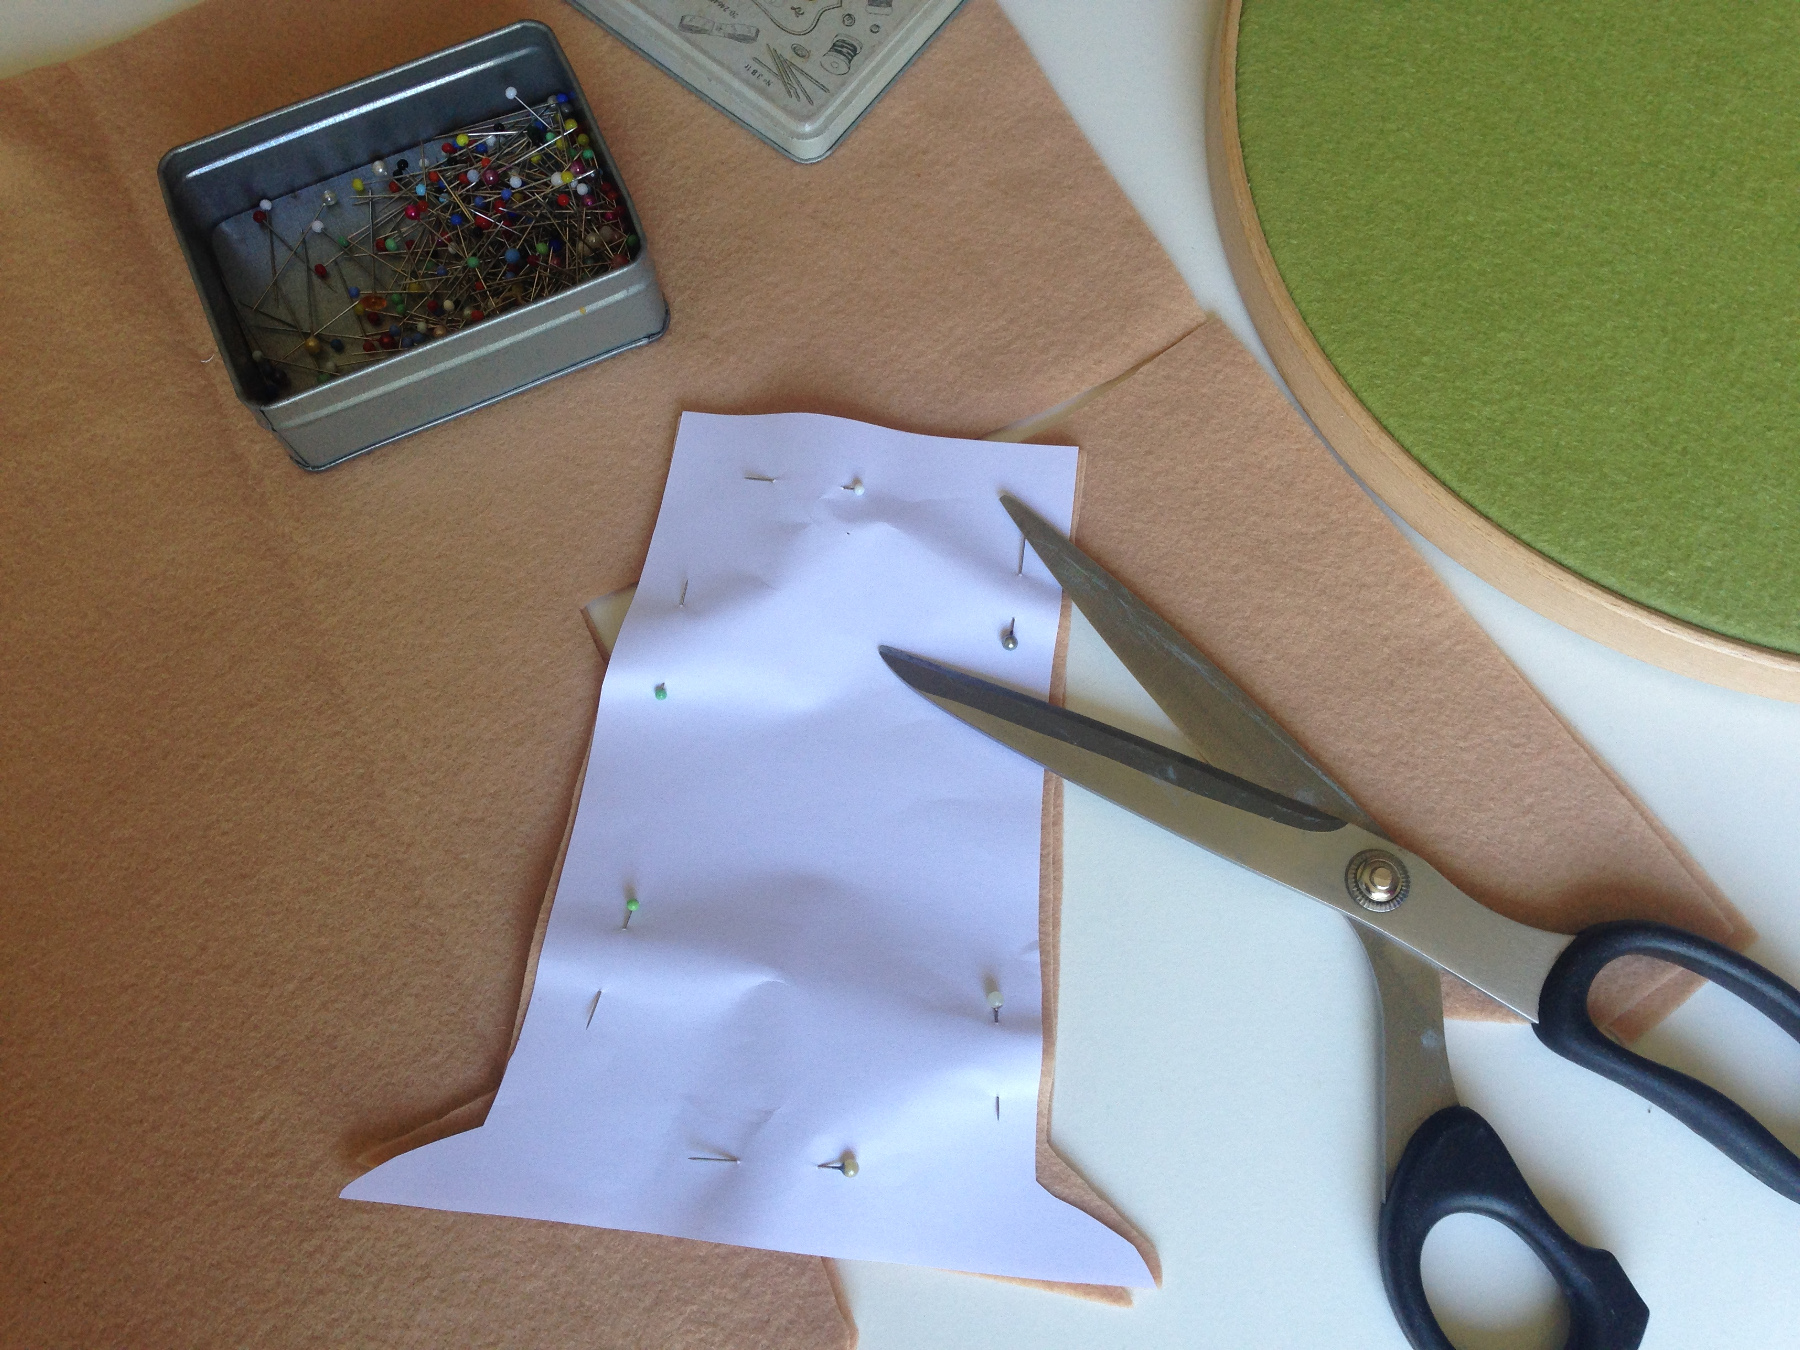
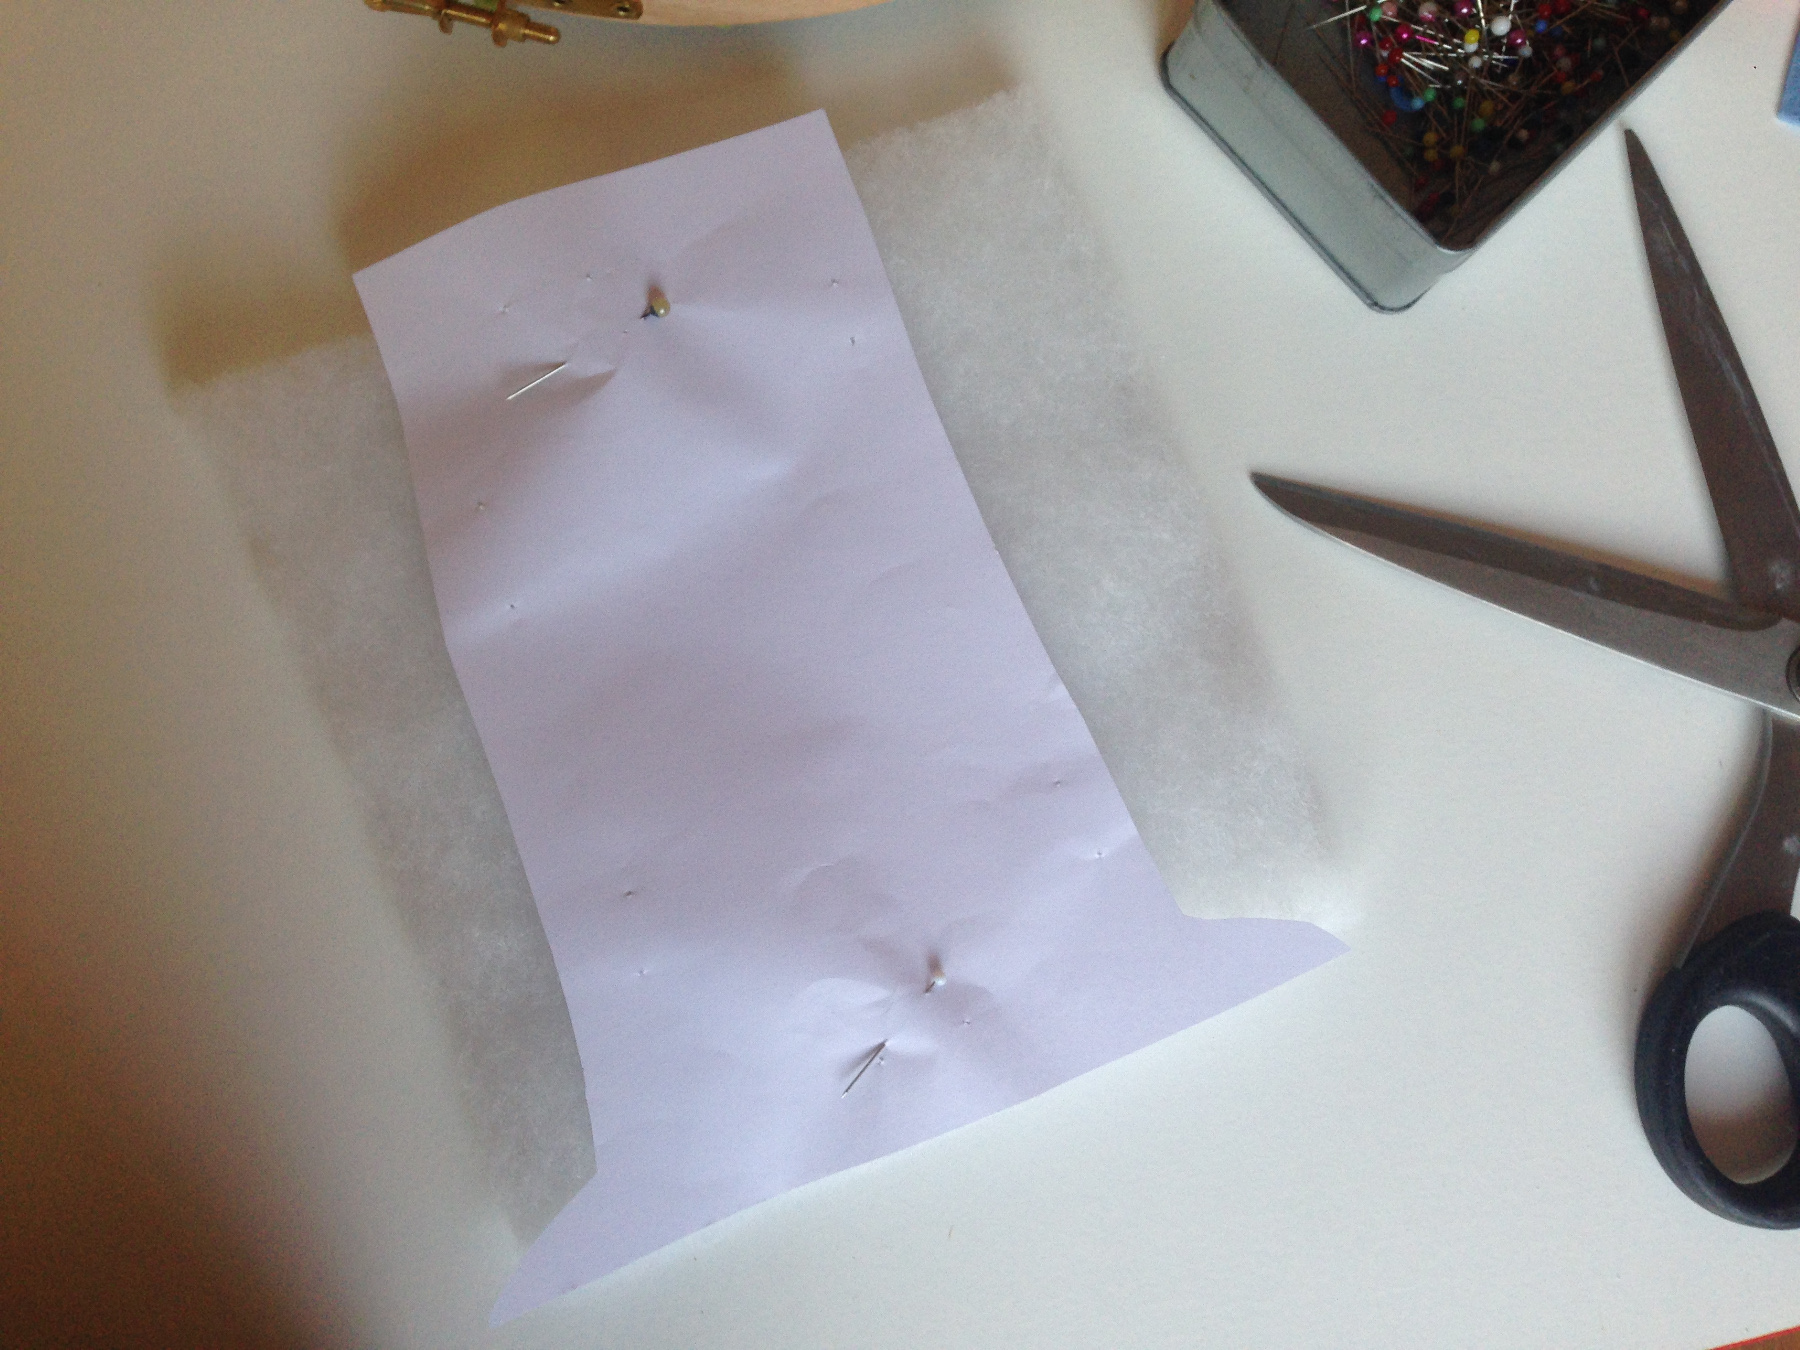
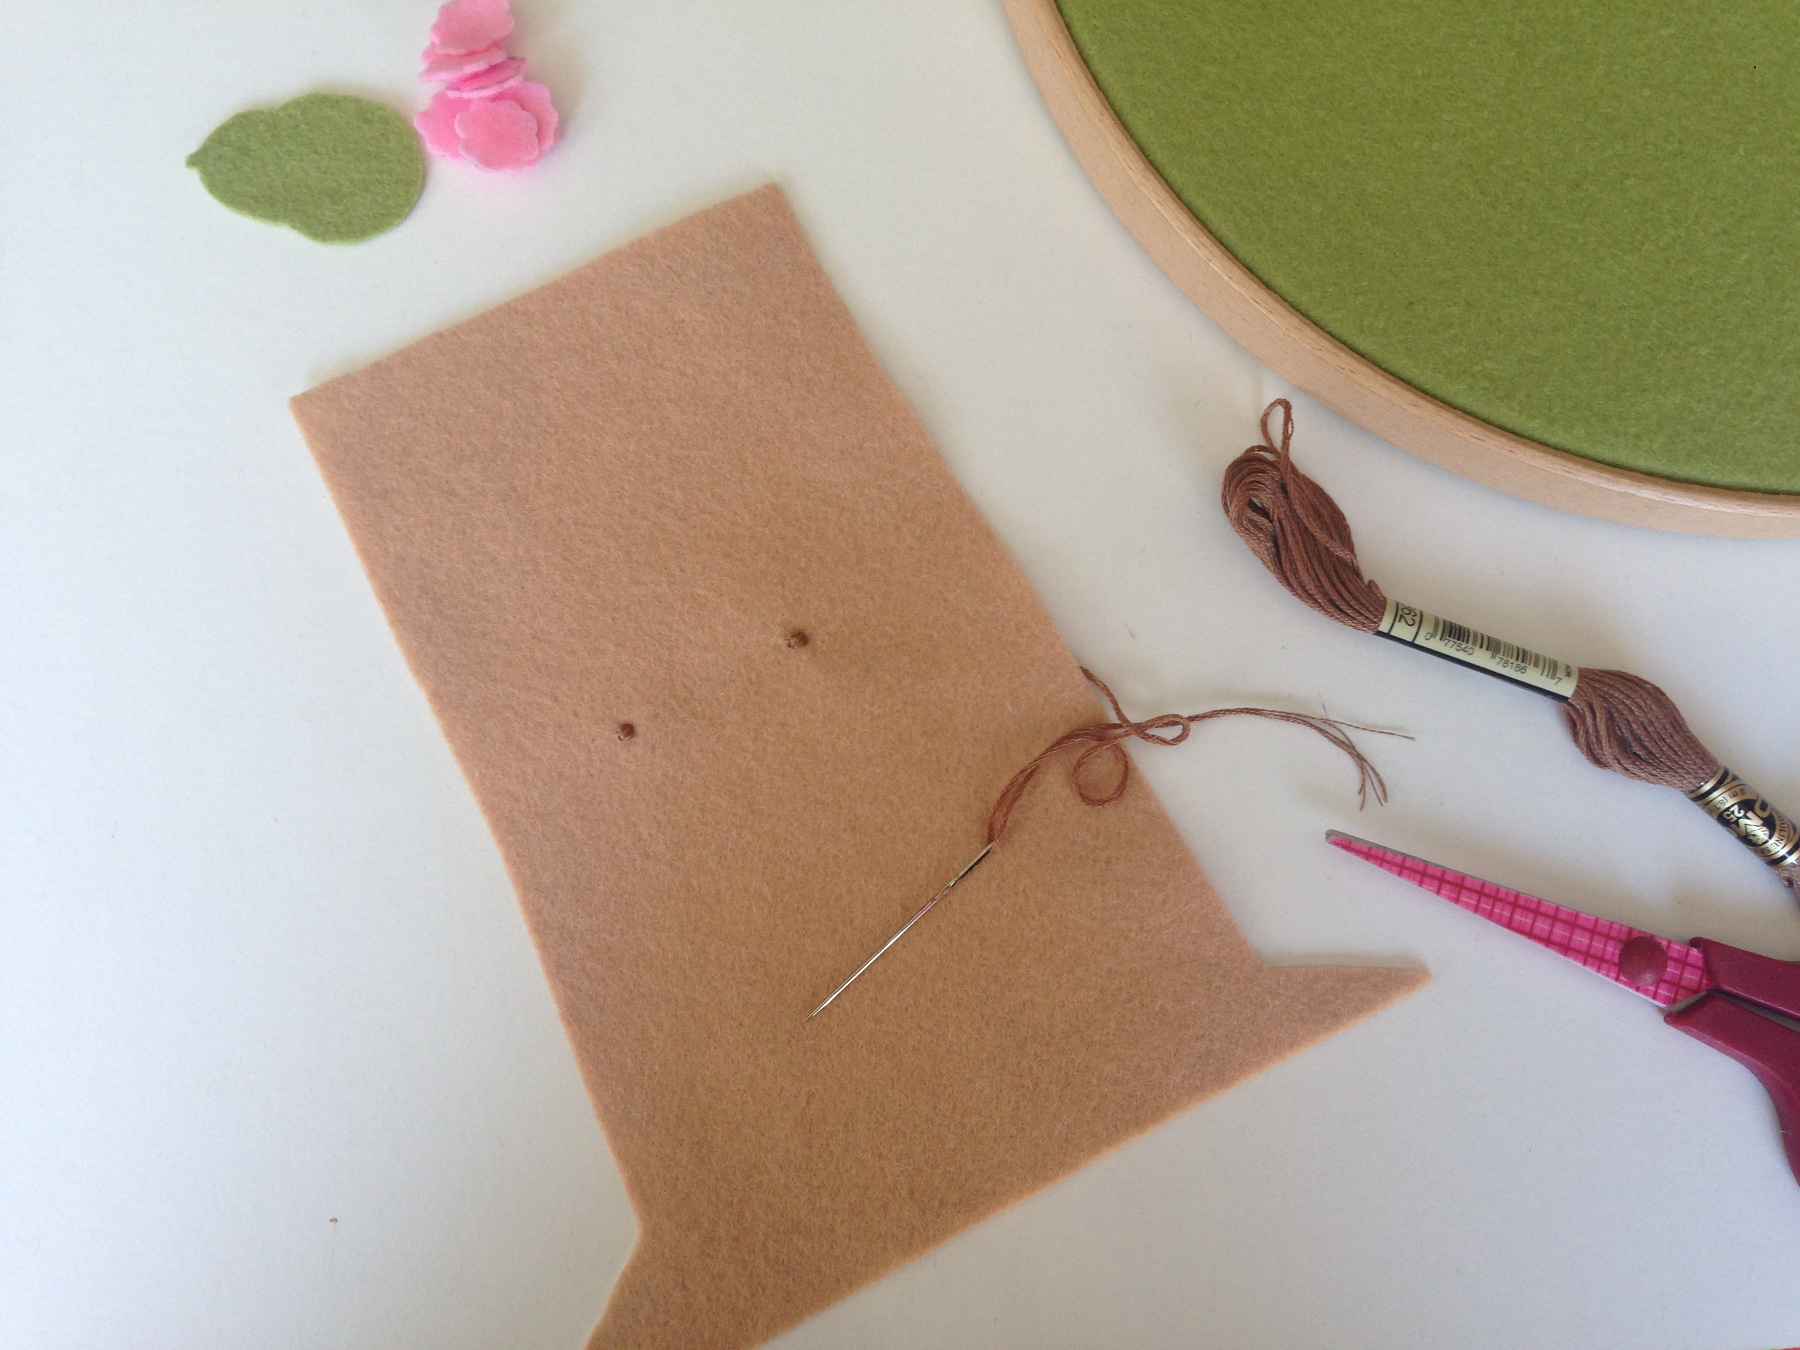
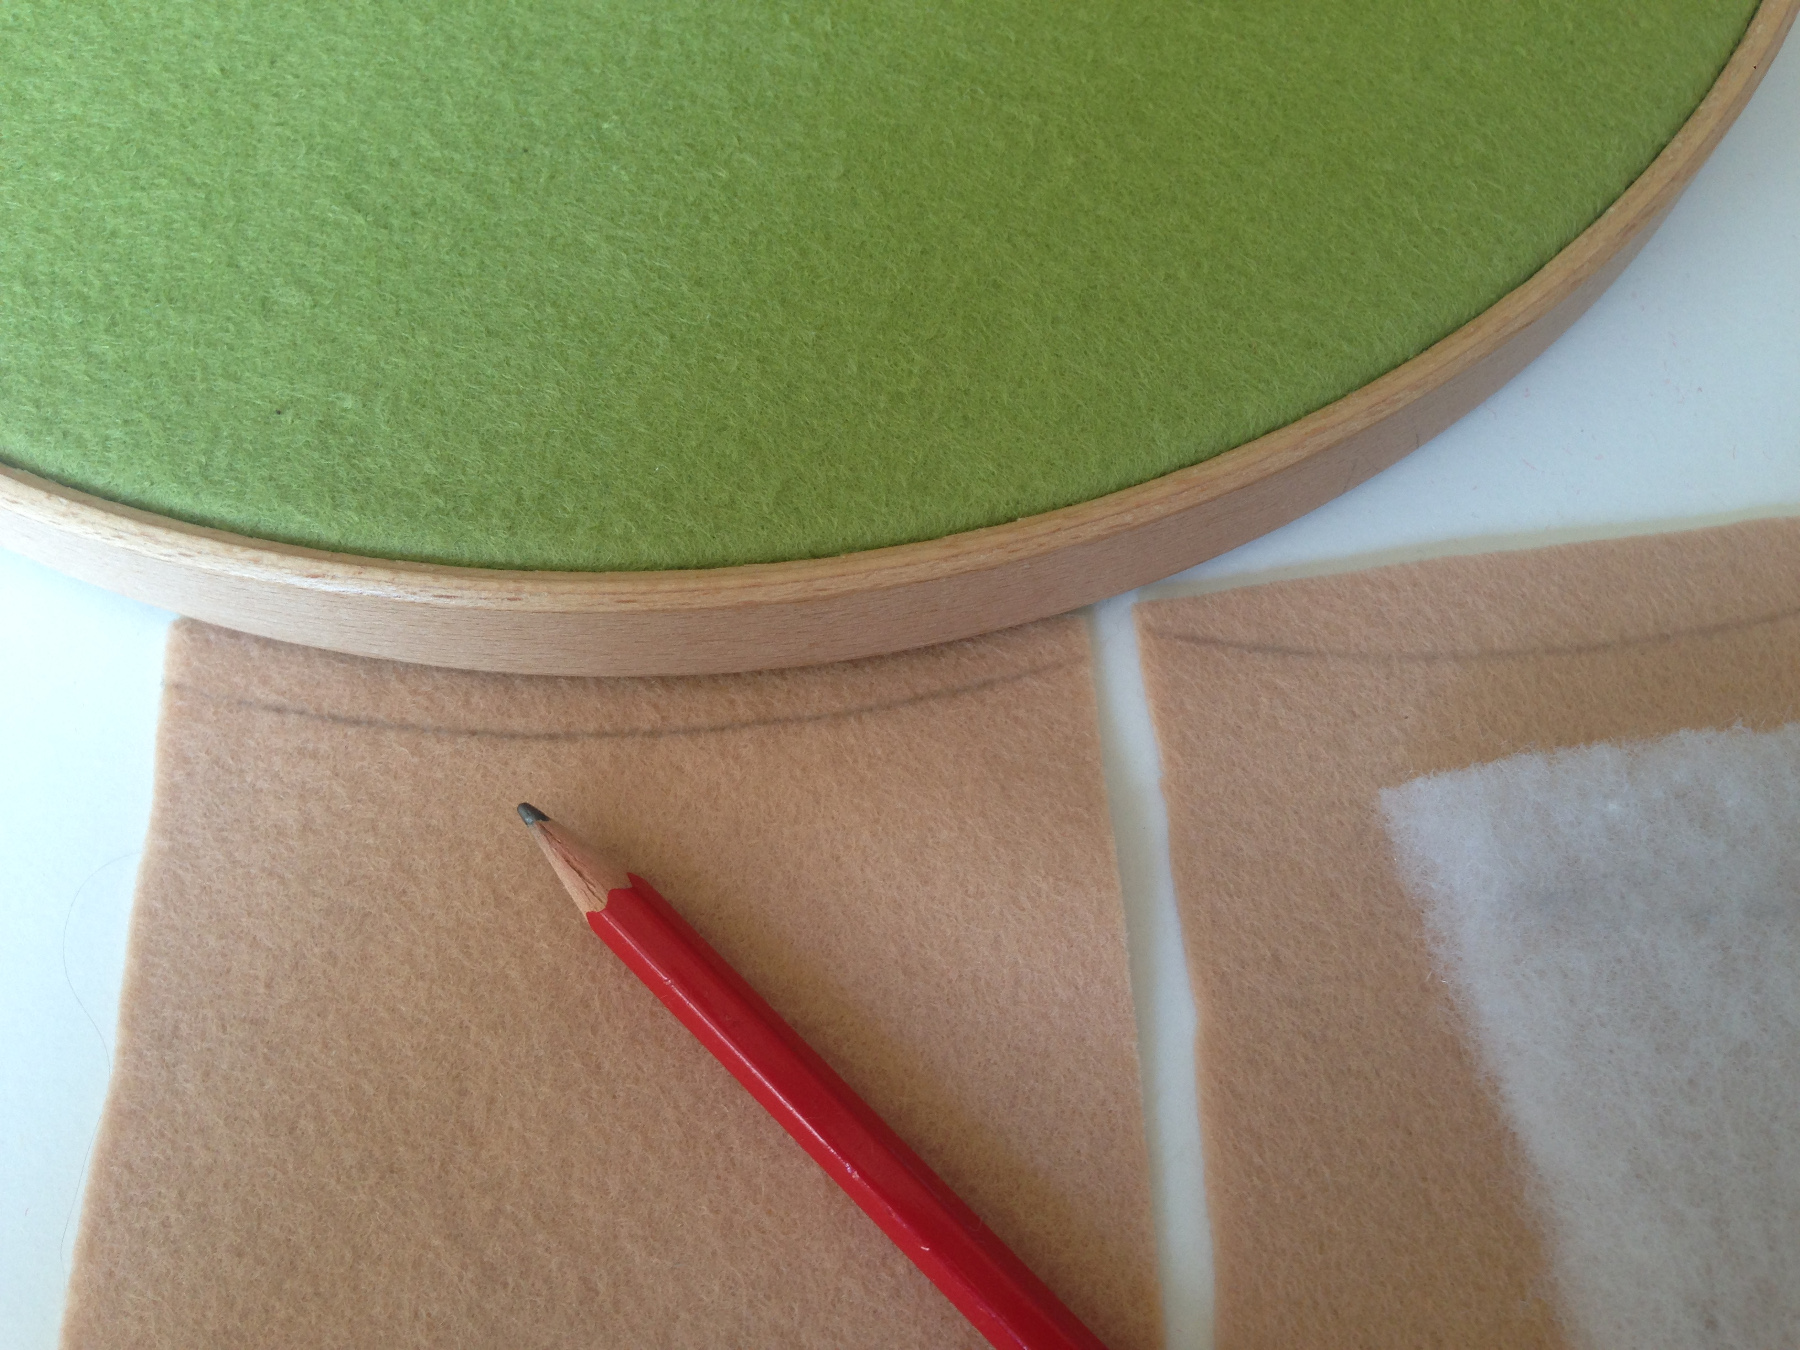
Knip met het patroon ook een boomstam uit vlieseline.
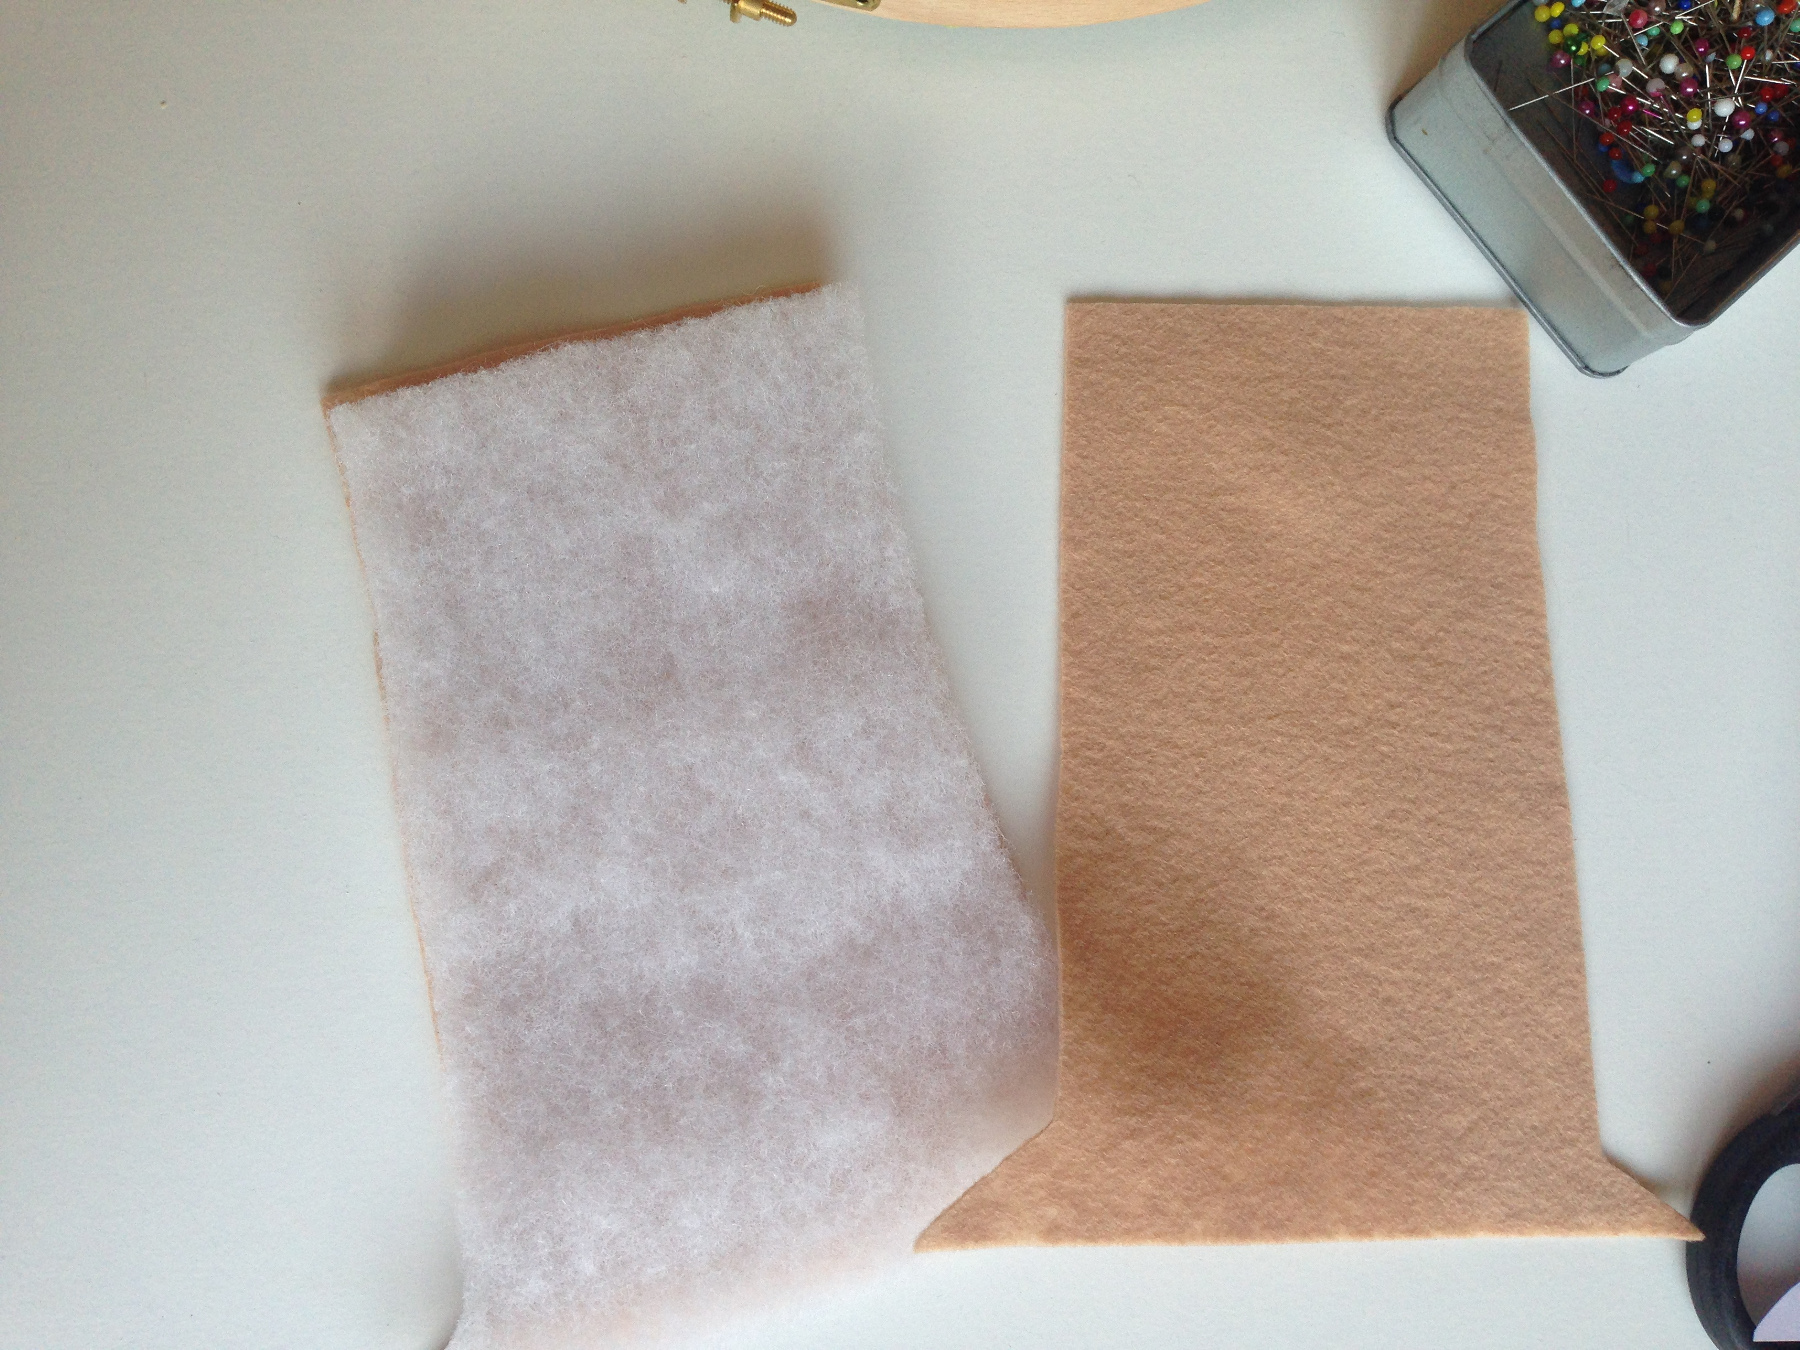
Knip de vlieseline net binnen de randjes van de boomstam.
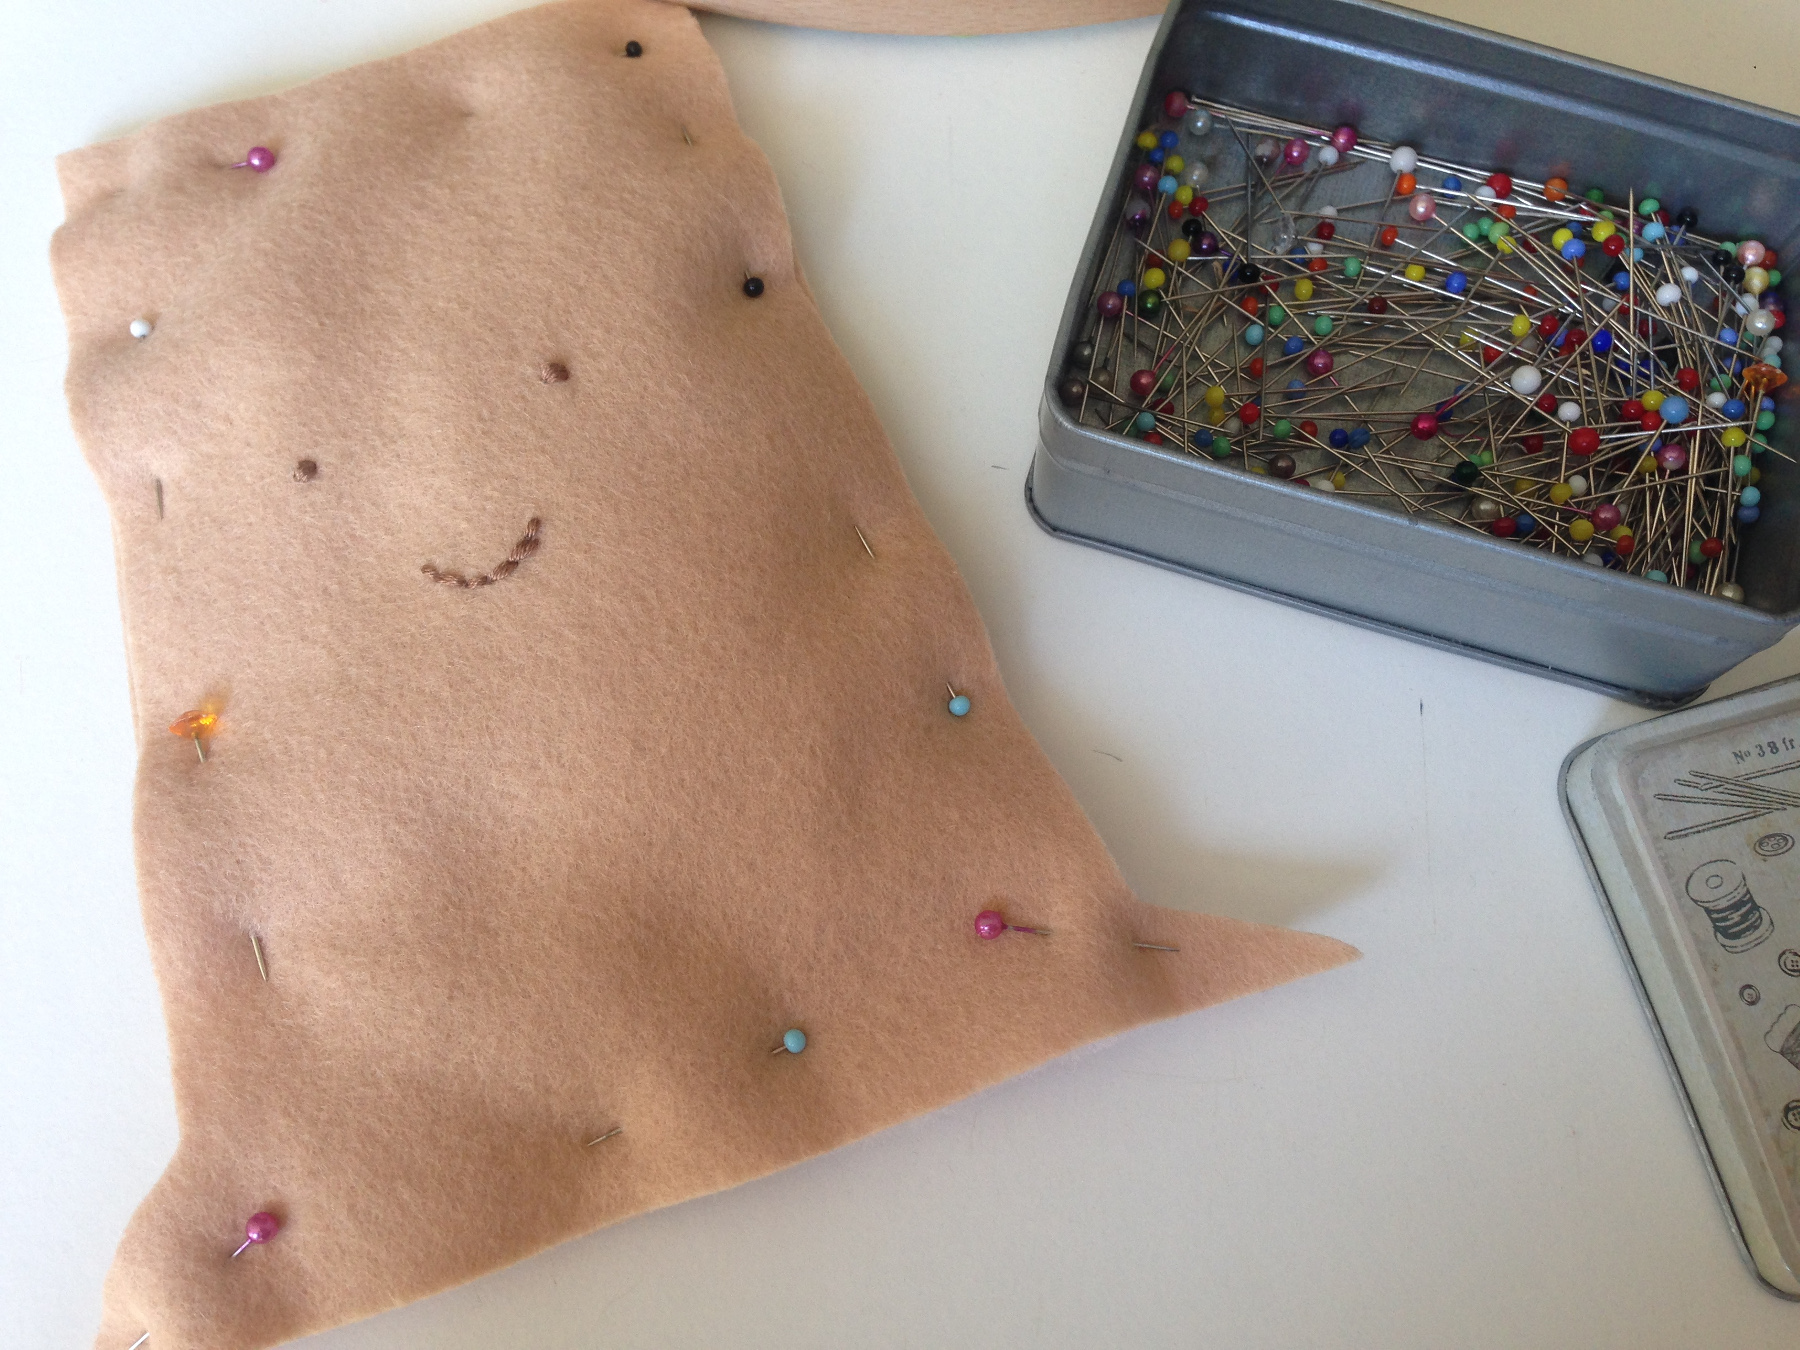
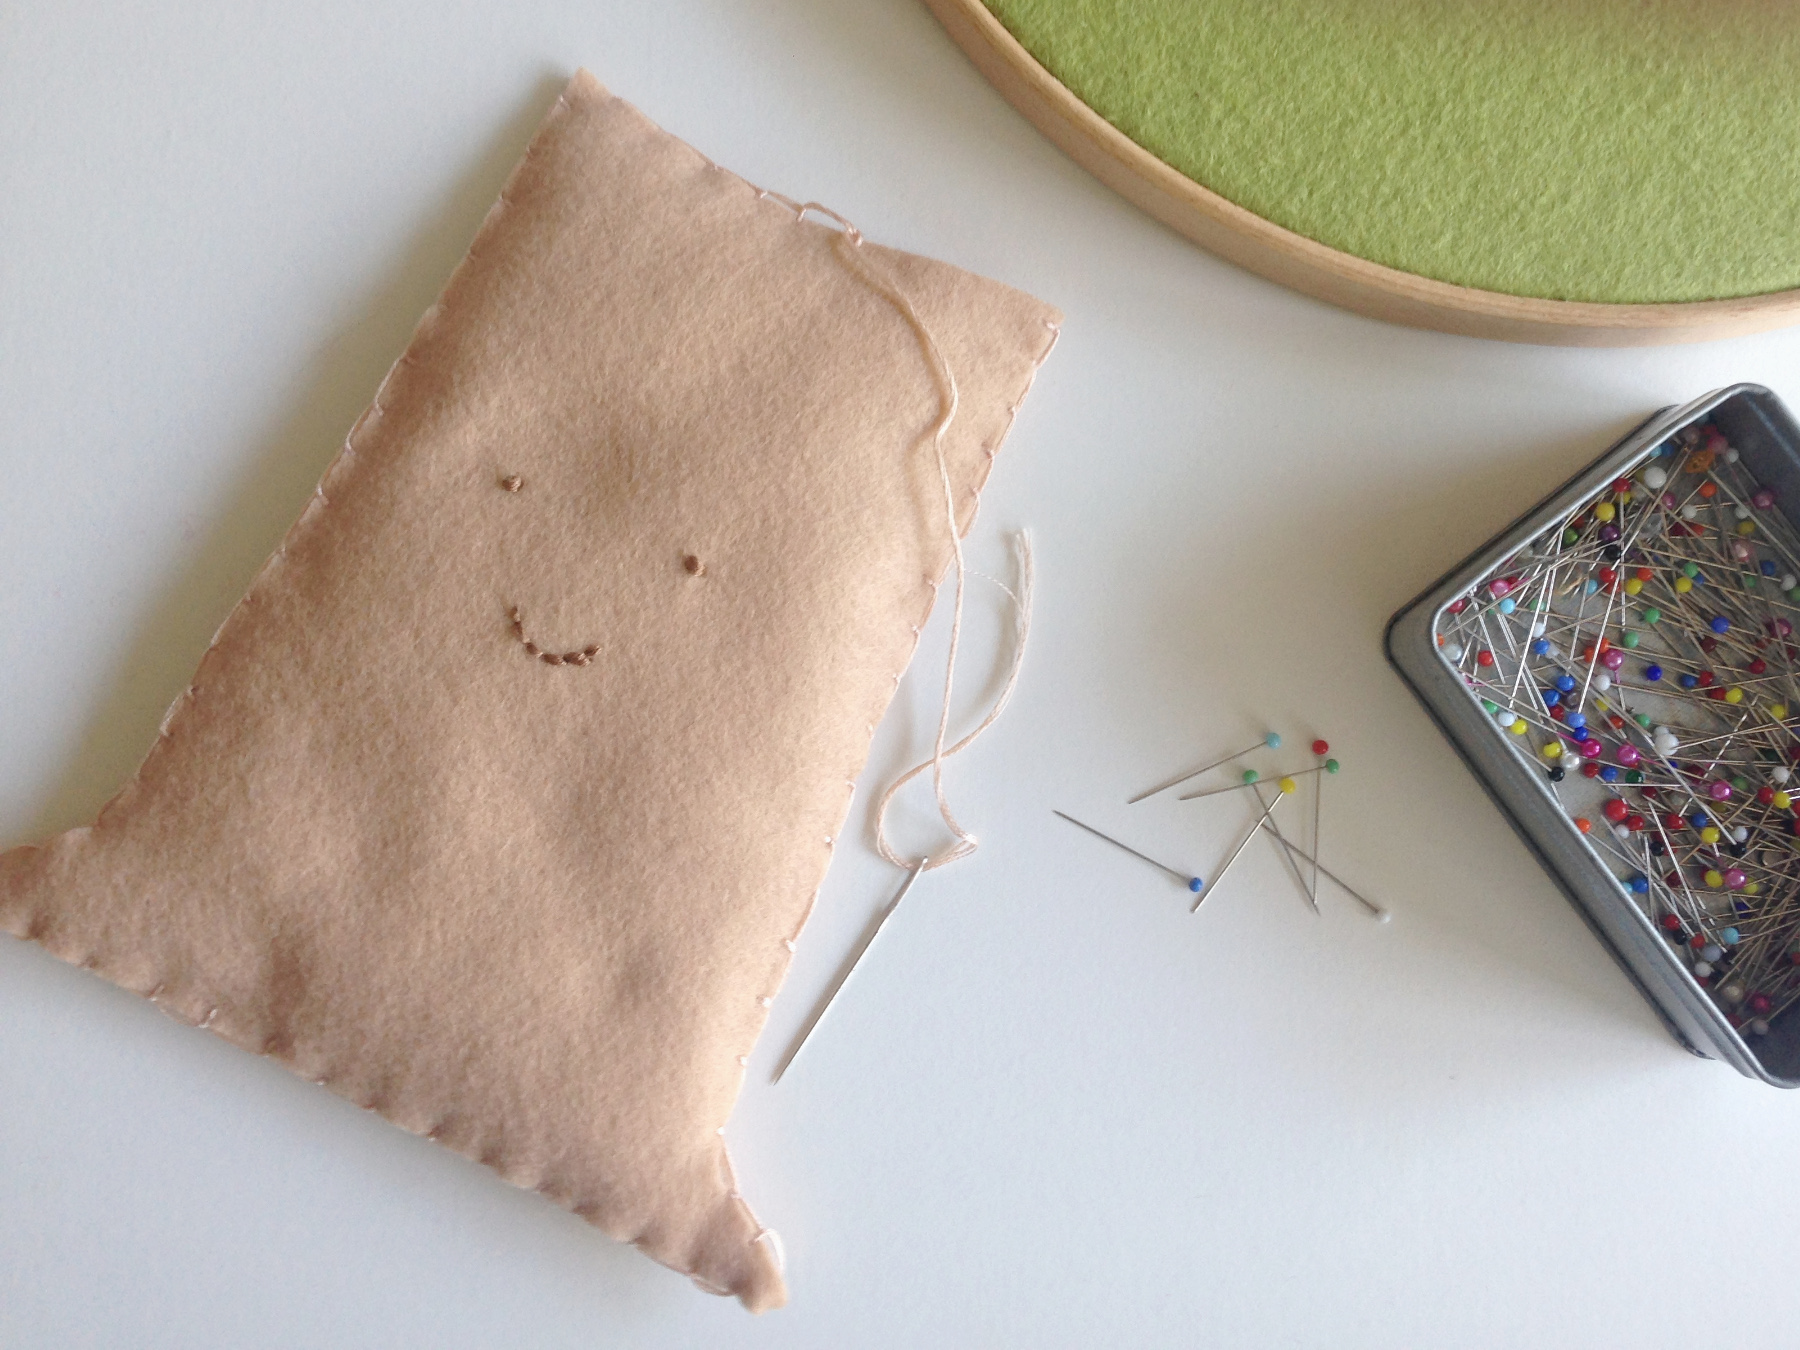
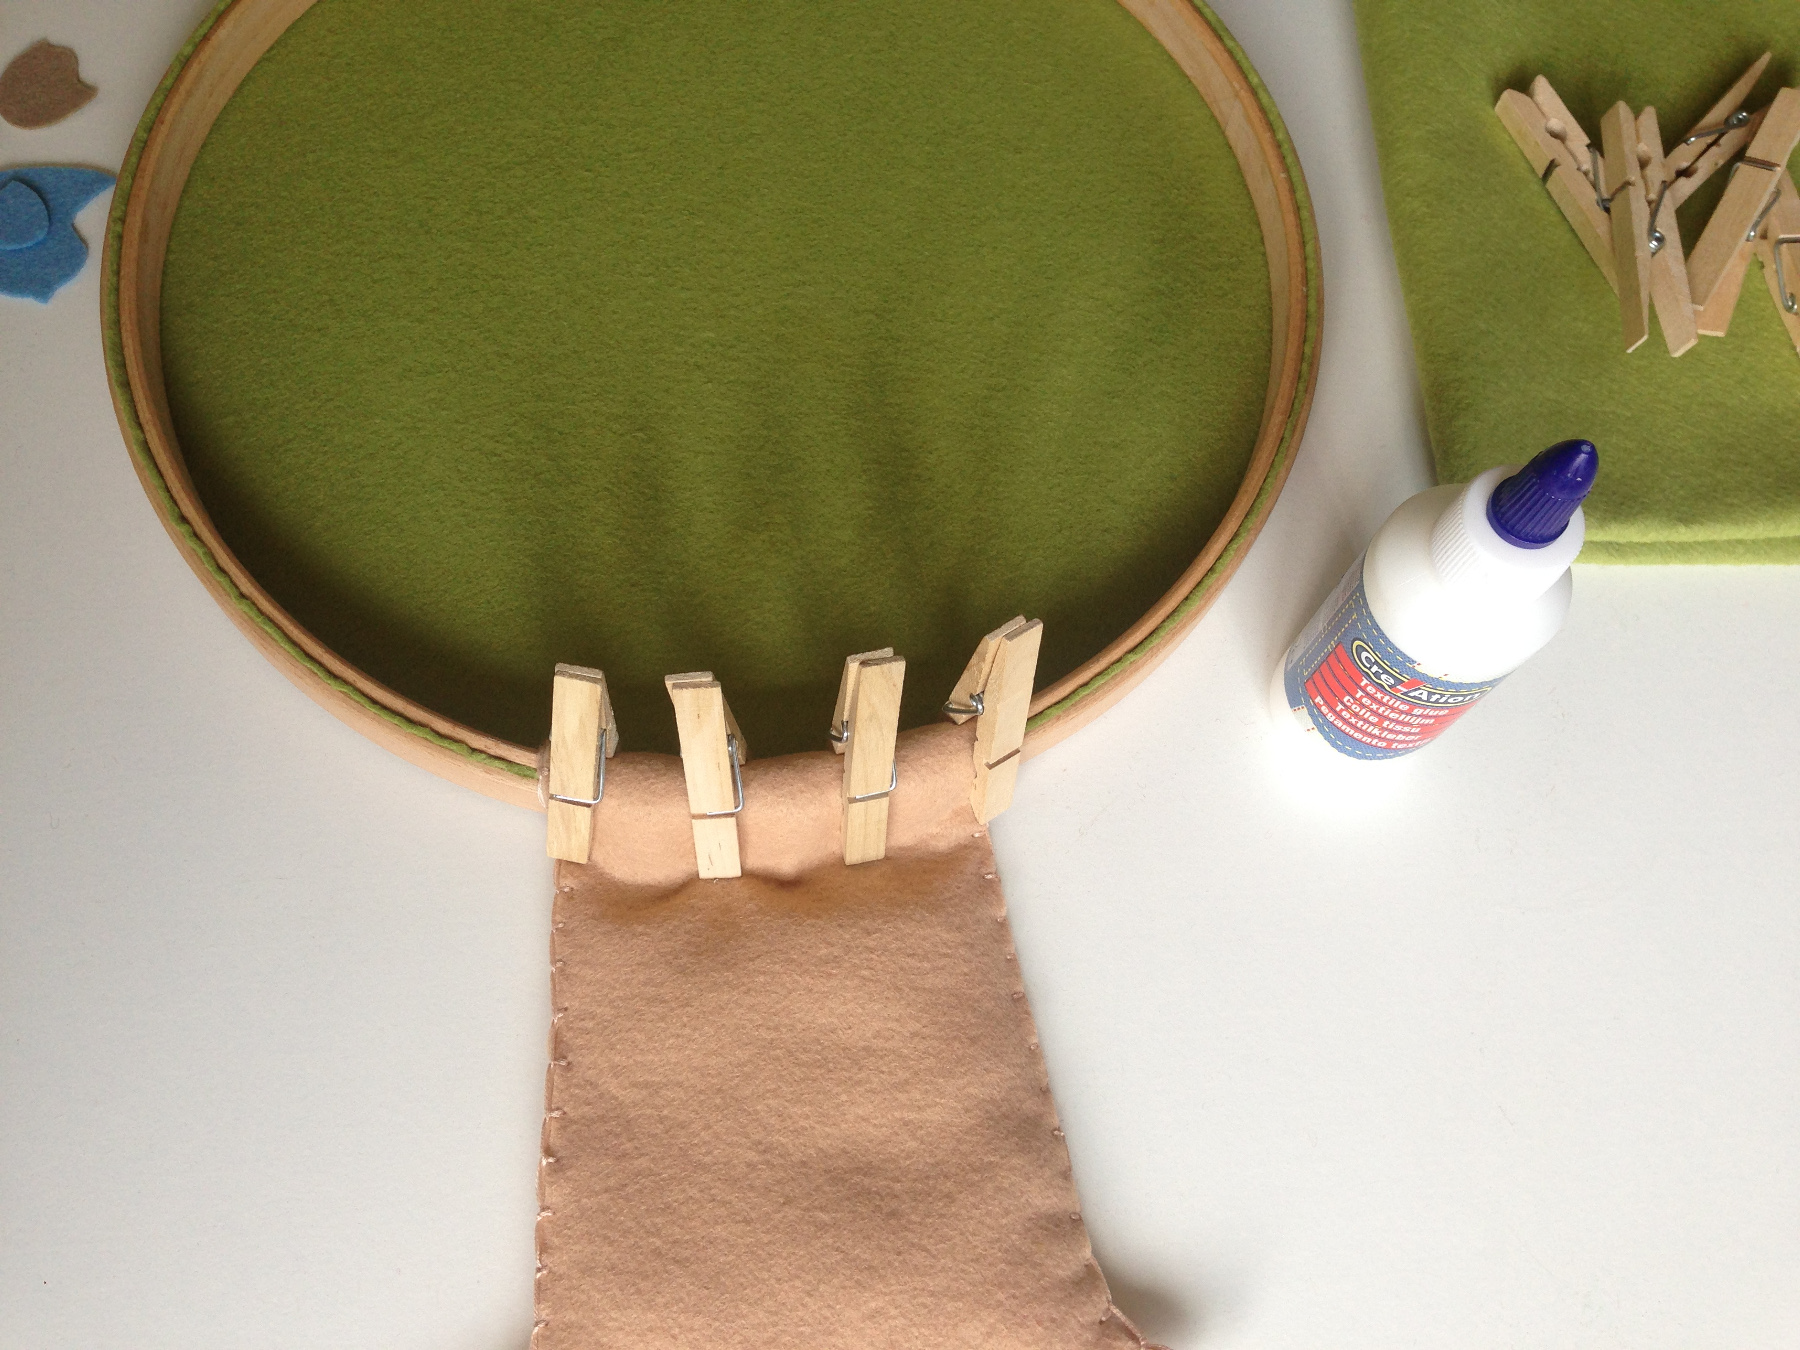
Speld de stam helften op elkaar met de fiberfill er tussen.
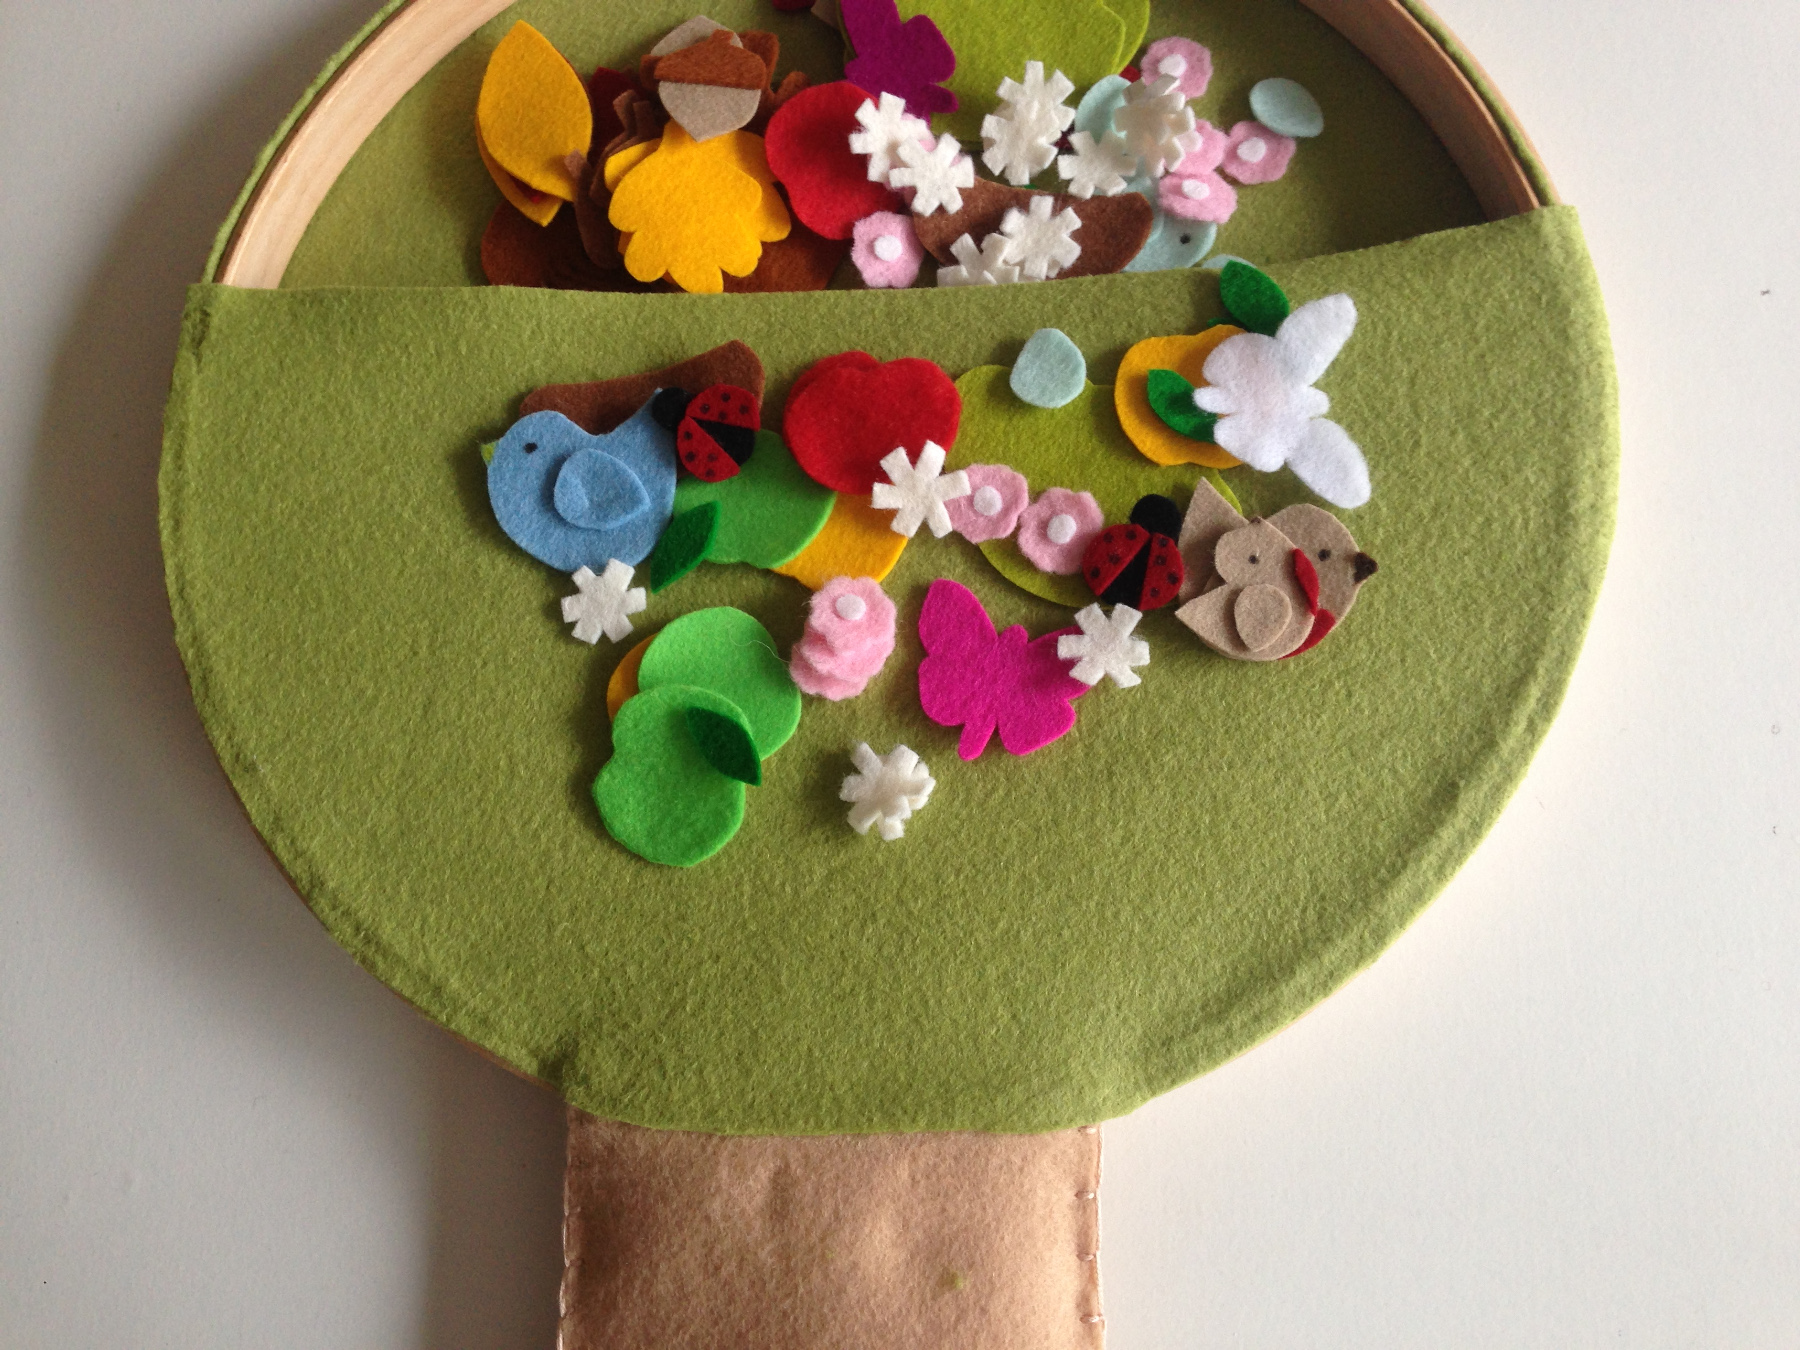
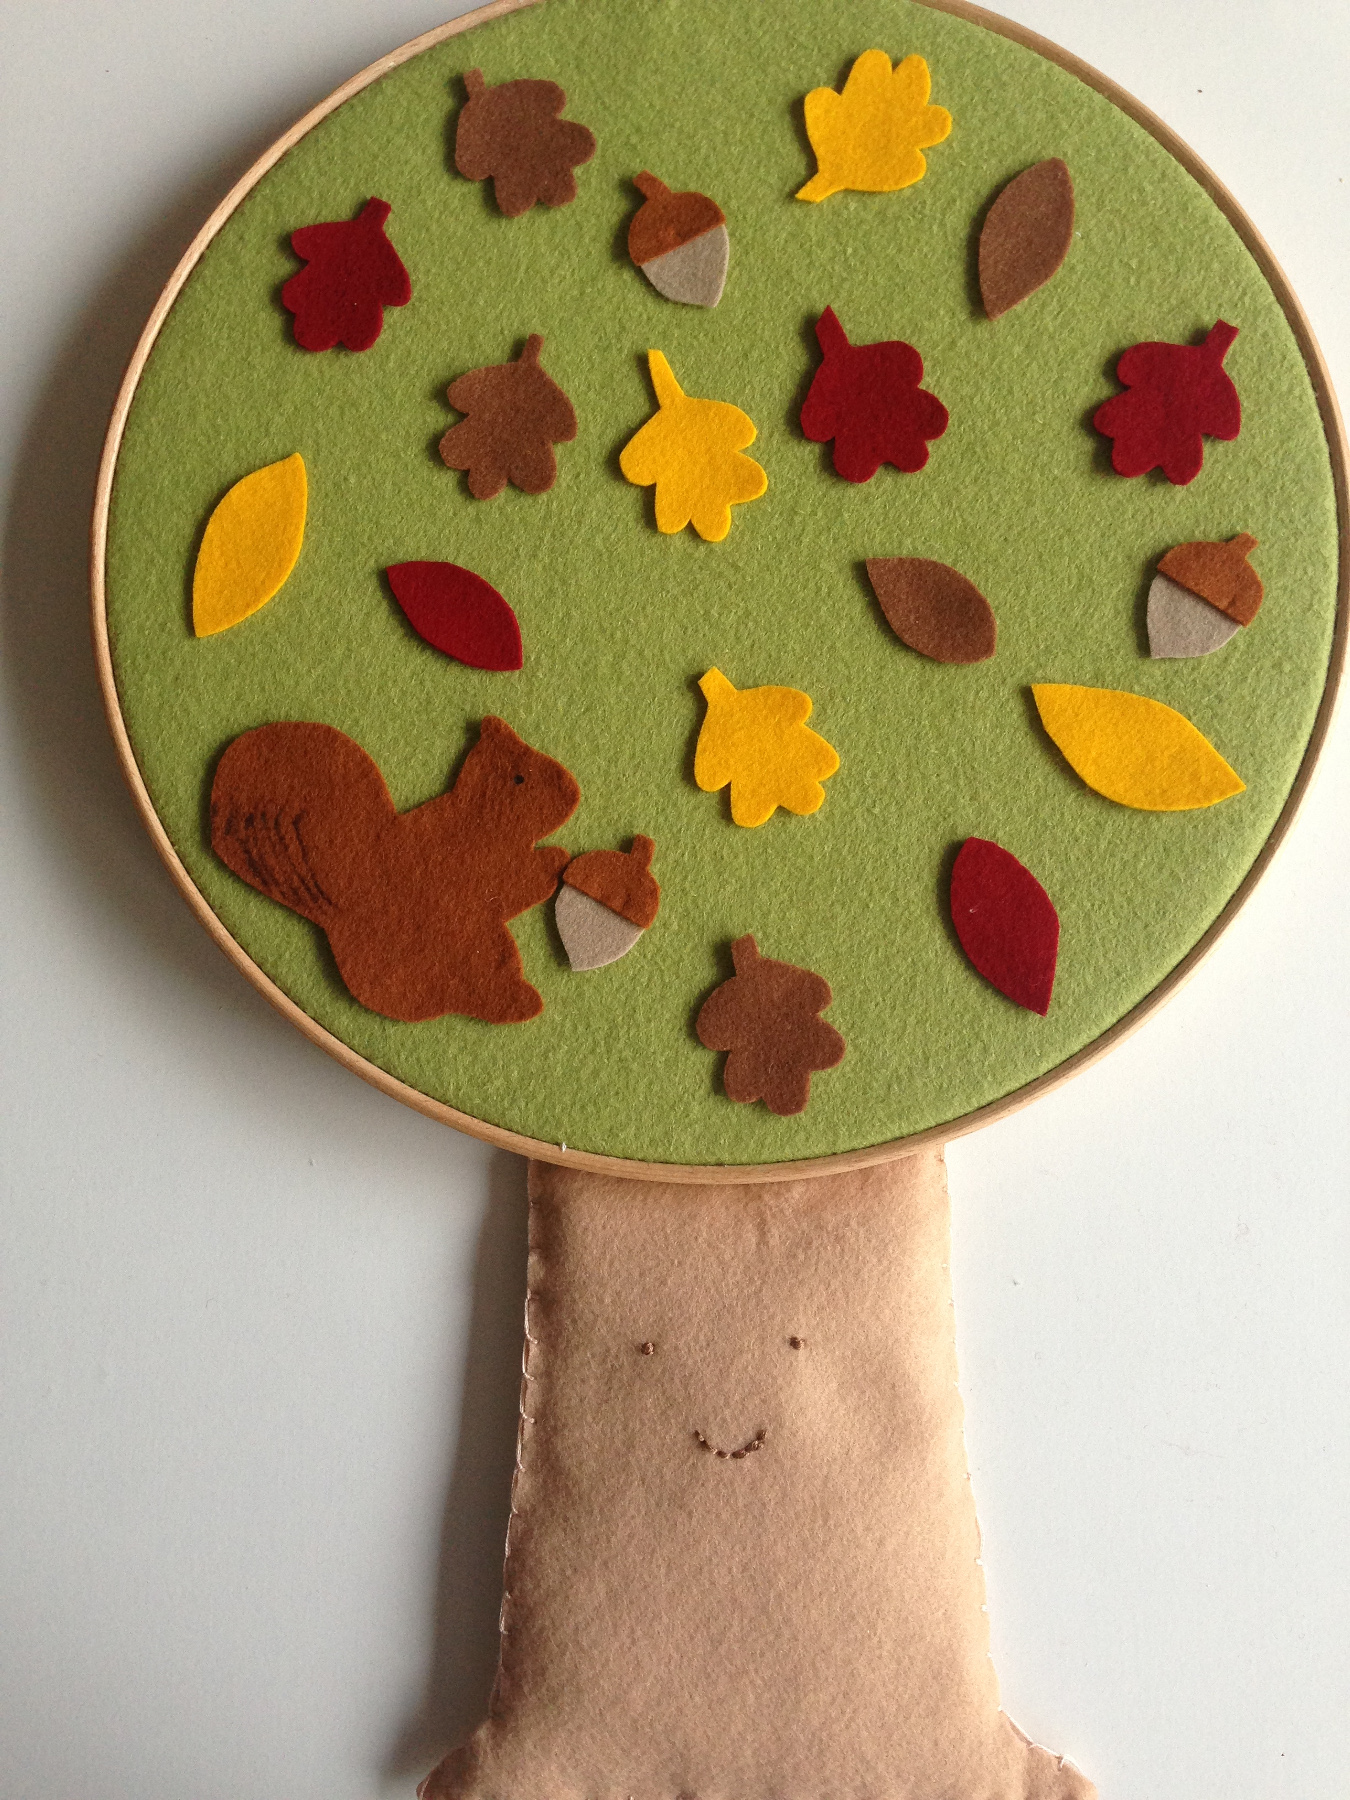
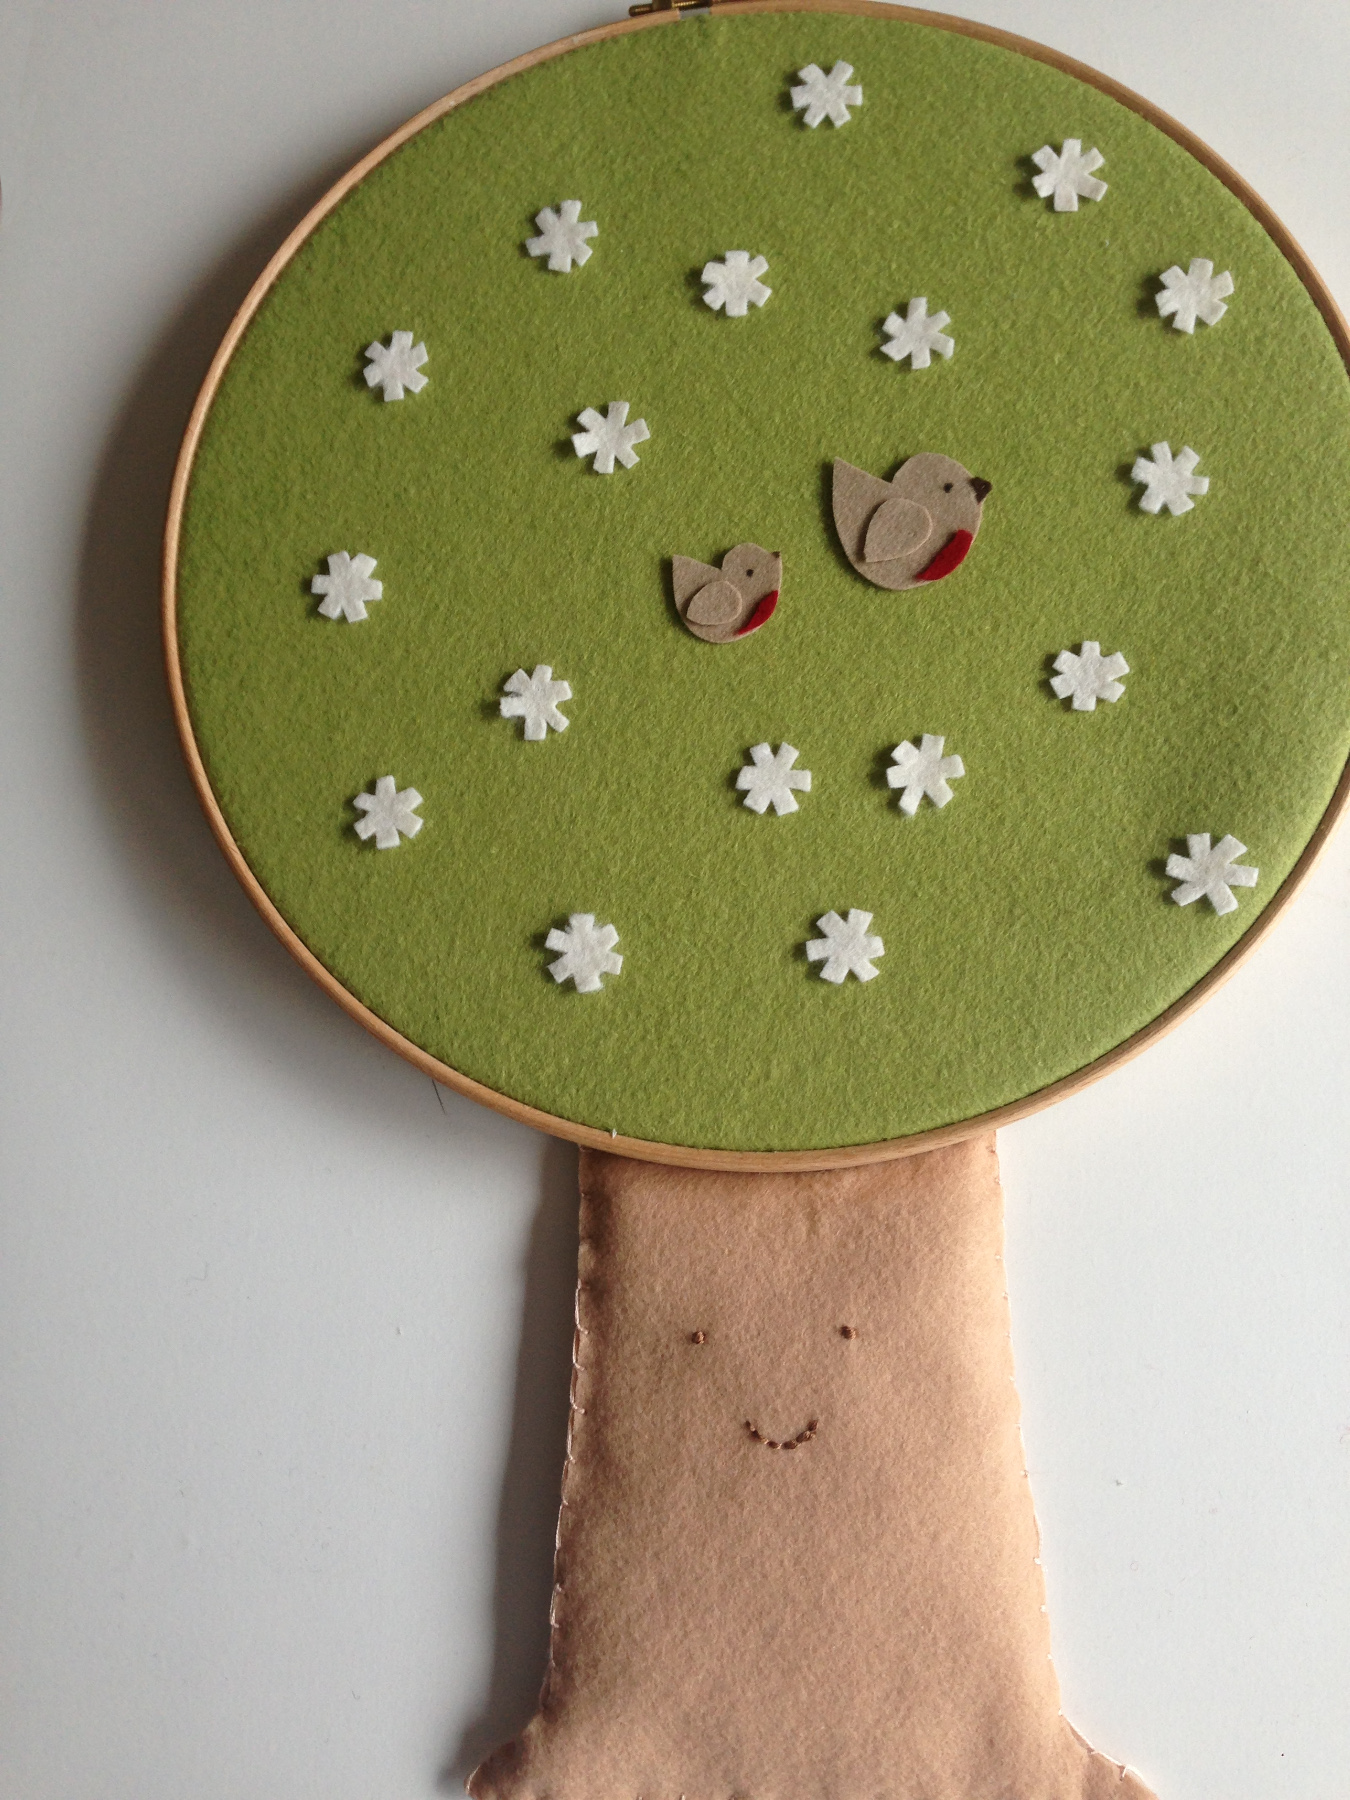
Wij kozen blaadjes; bloesem; vogels; nestjes; eitjes; vlinders; lieveheesbeestjes; appels; herfstblaadjes; eikeltjes; eekhoorns; sneeuw. Maar je kunt ook peren of pruimen knippen, beukennootjes of andere insecten, fantaseer er maar op los.