

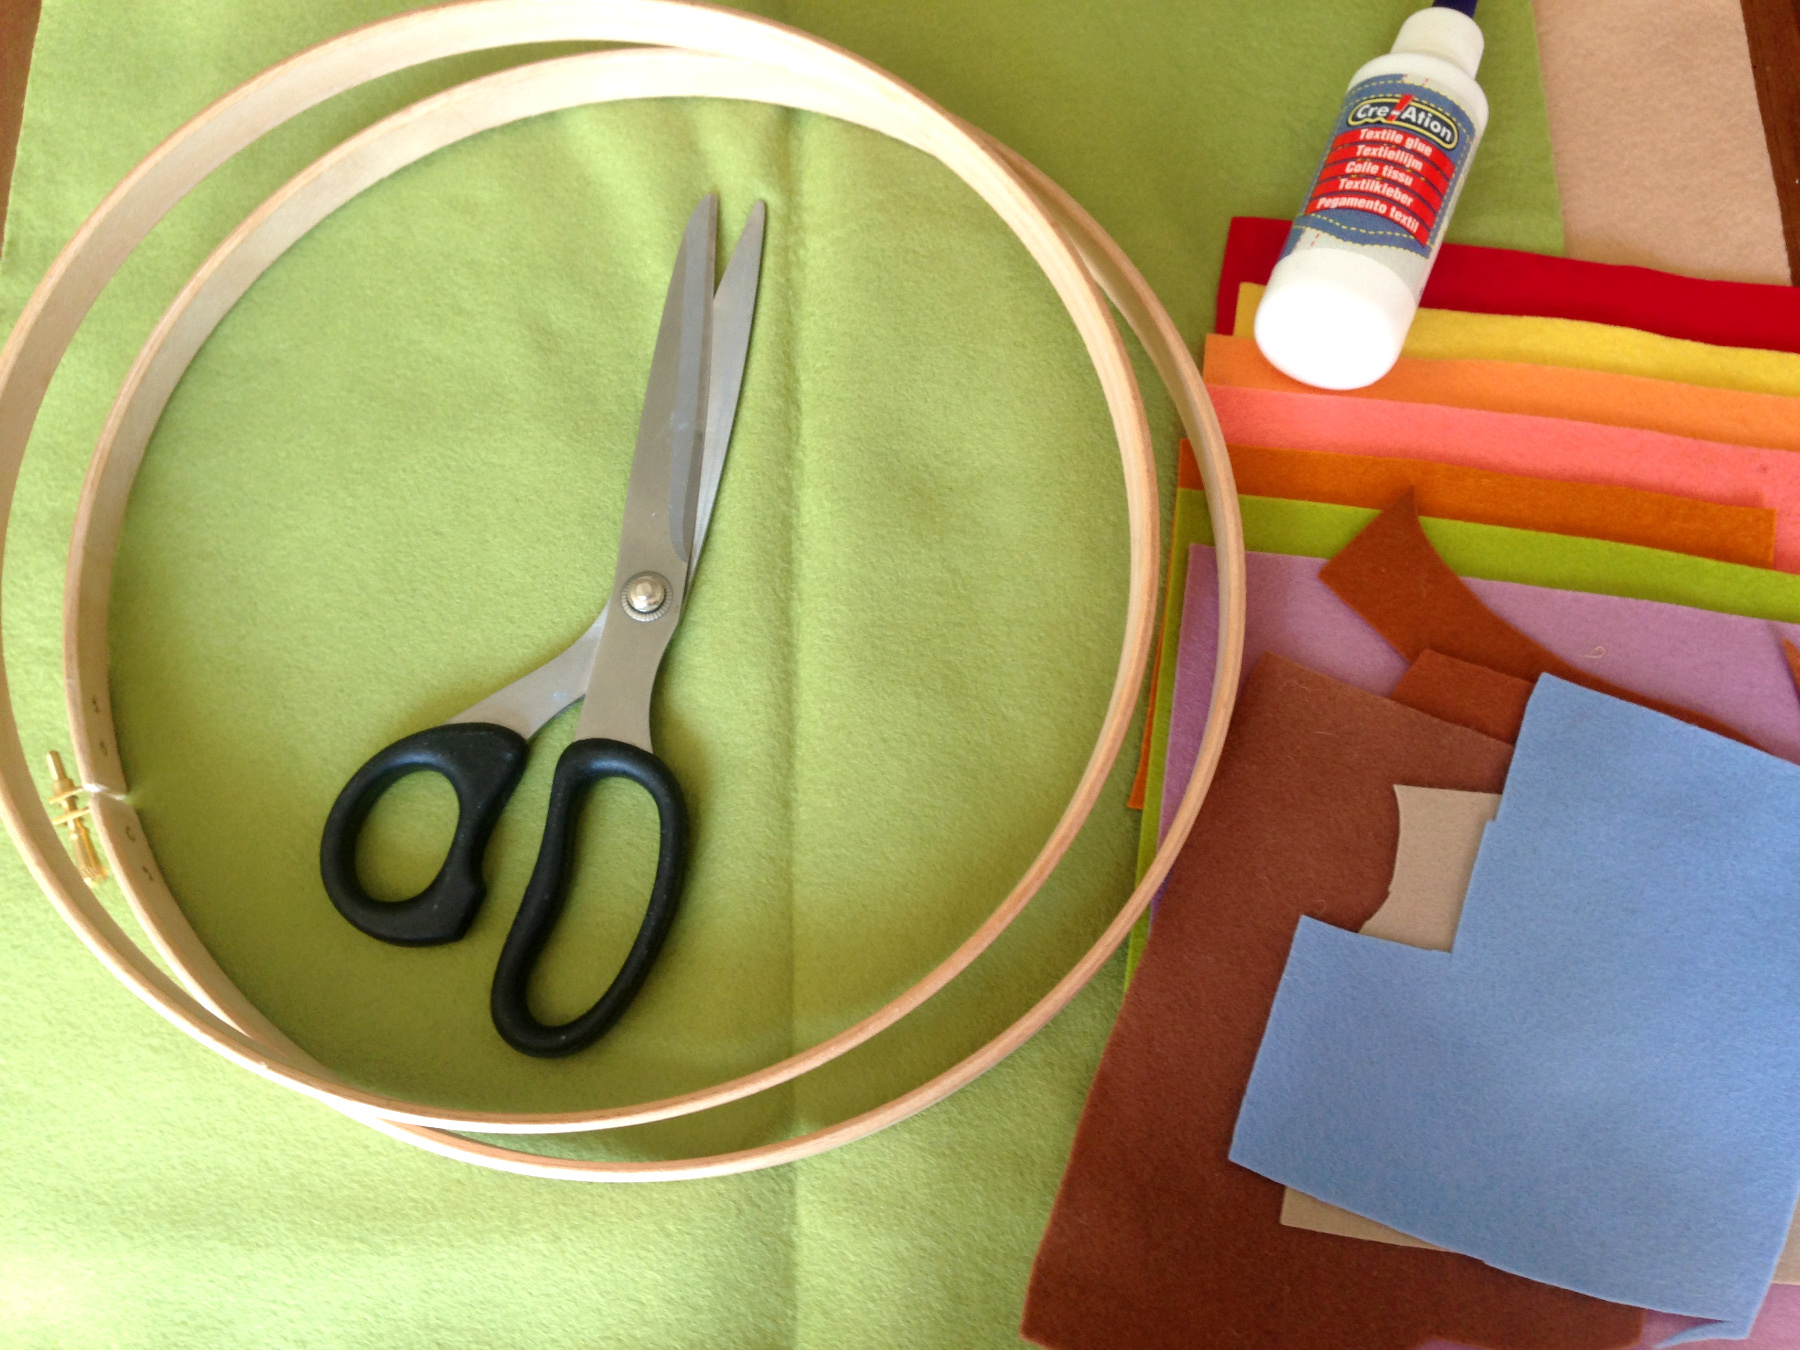
What do you need?
1 embroidery ring of minimal 30 cm Ø
1/2 m light green woolen felt
1/4 m light brown woolen felt
Light brown & dark brown embroidery yarn
an embroidery needle
small pieces of felt, in various colours
scissors
1/2 meter freezer paper
an iron
coloured textile markers
textile glue
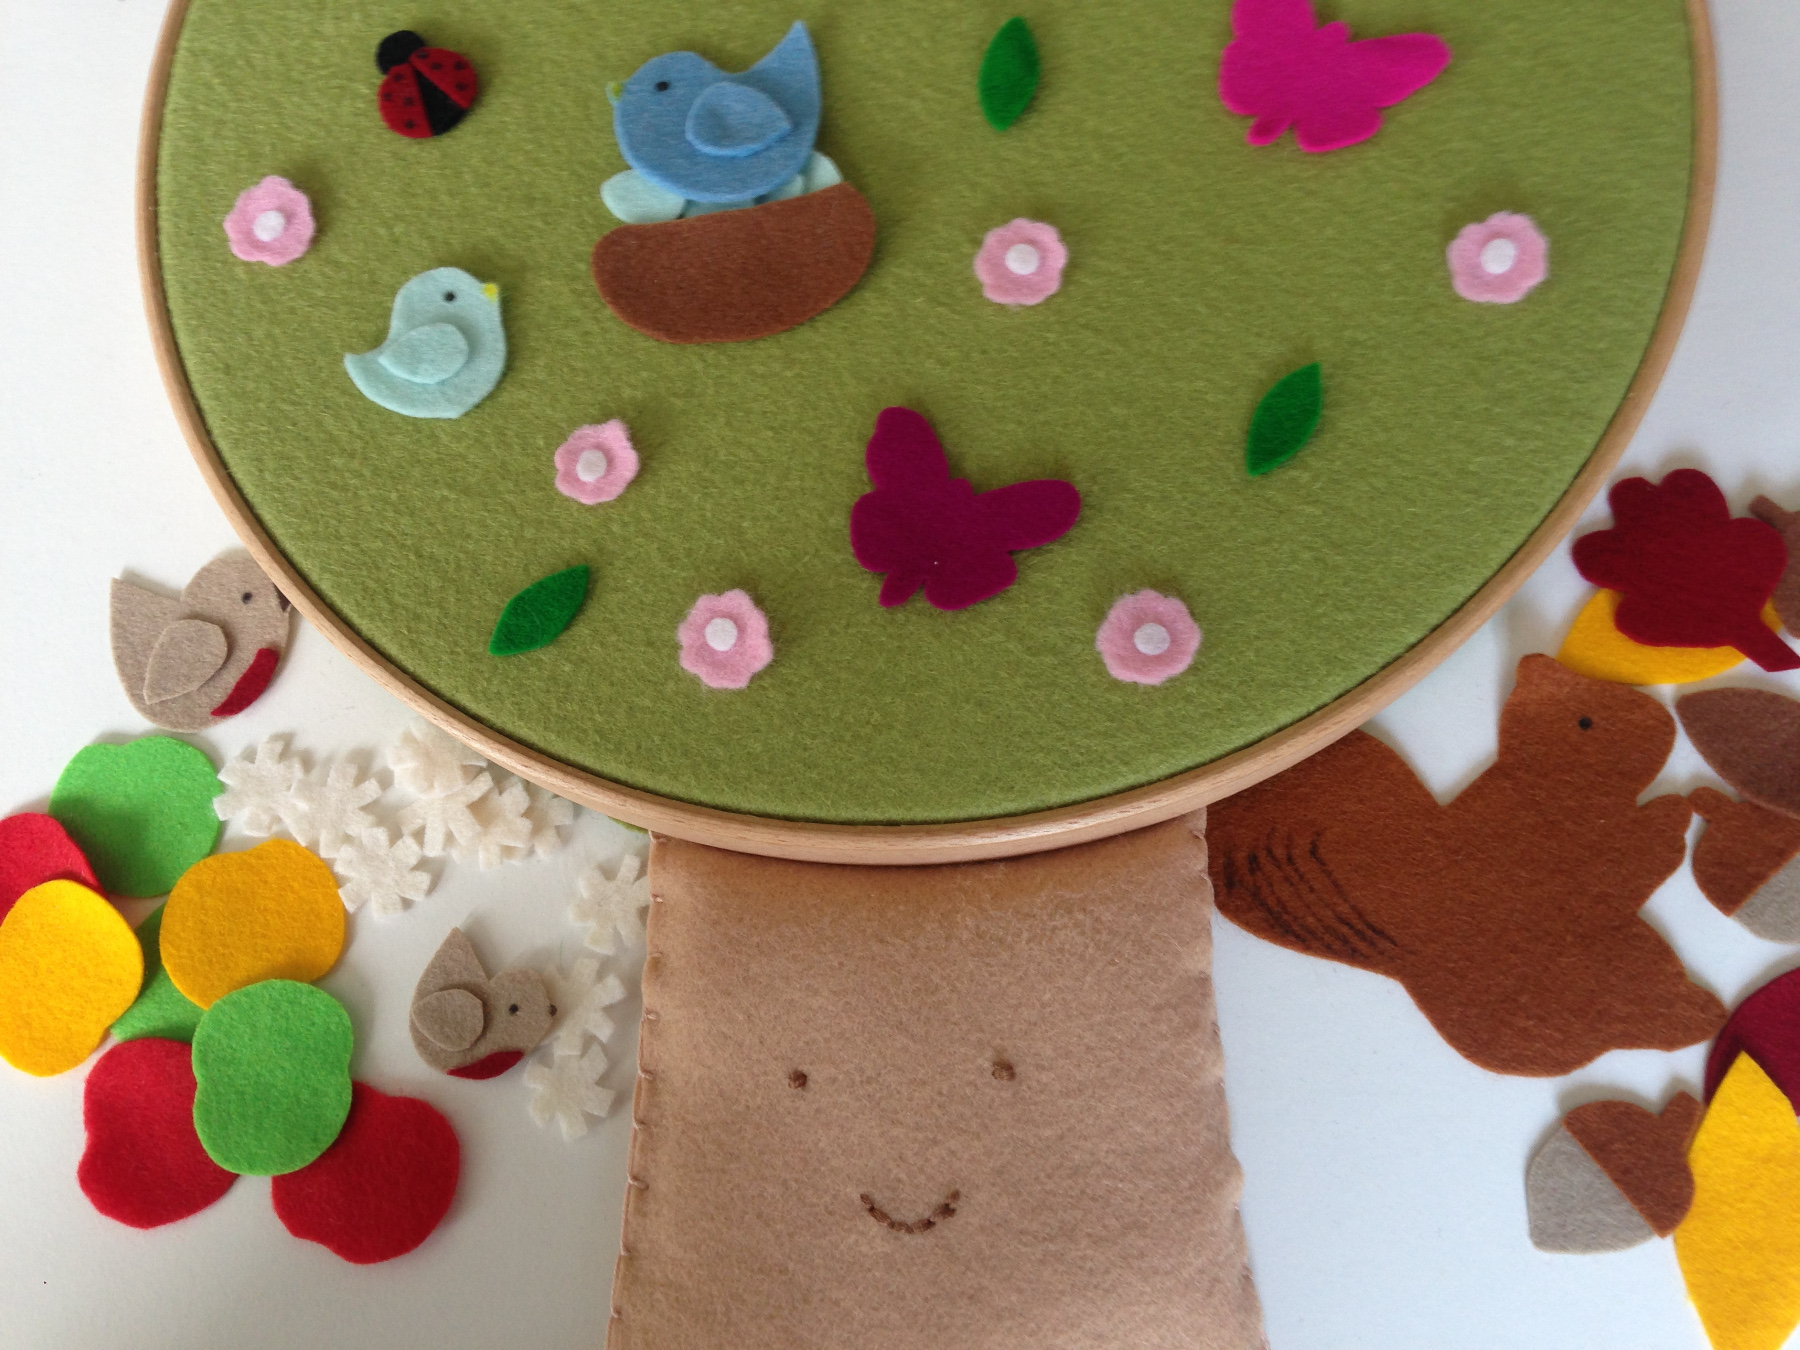
How to make a seasons tree
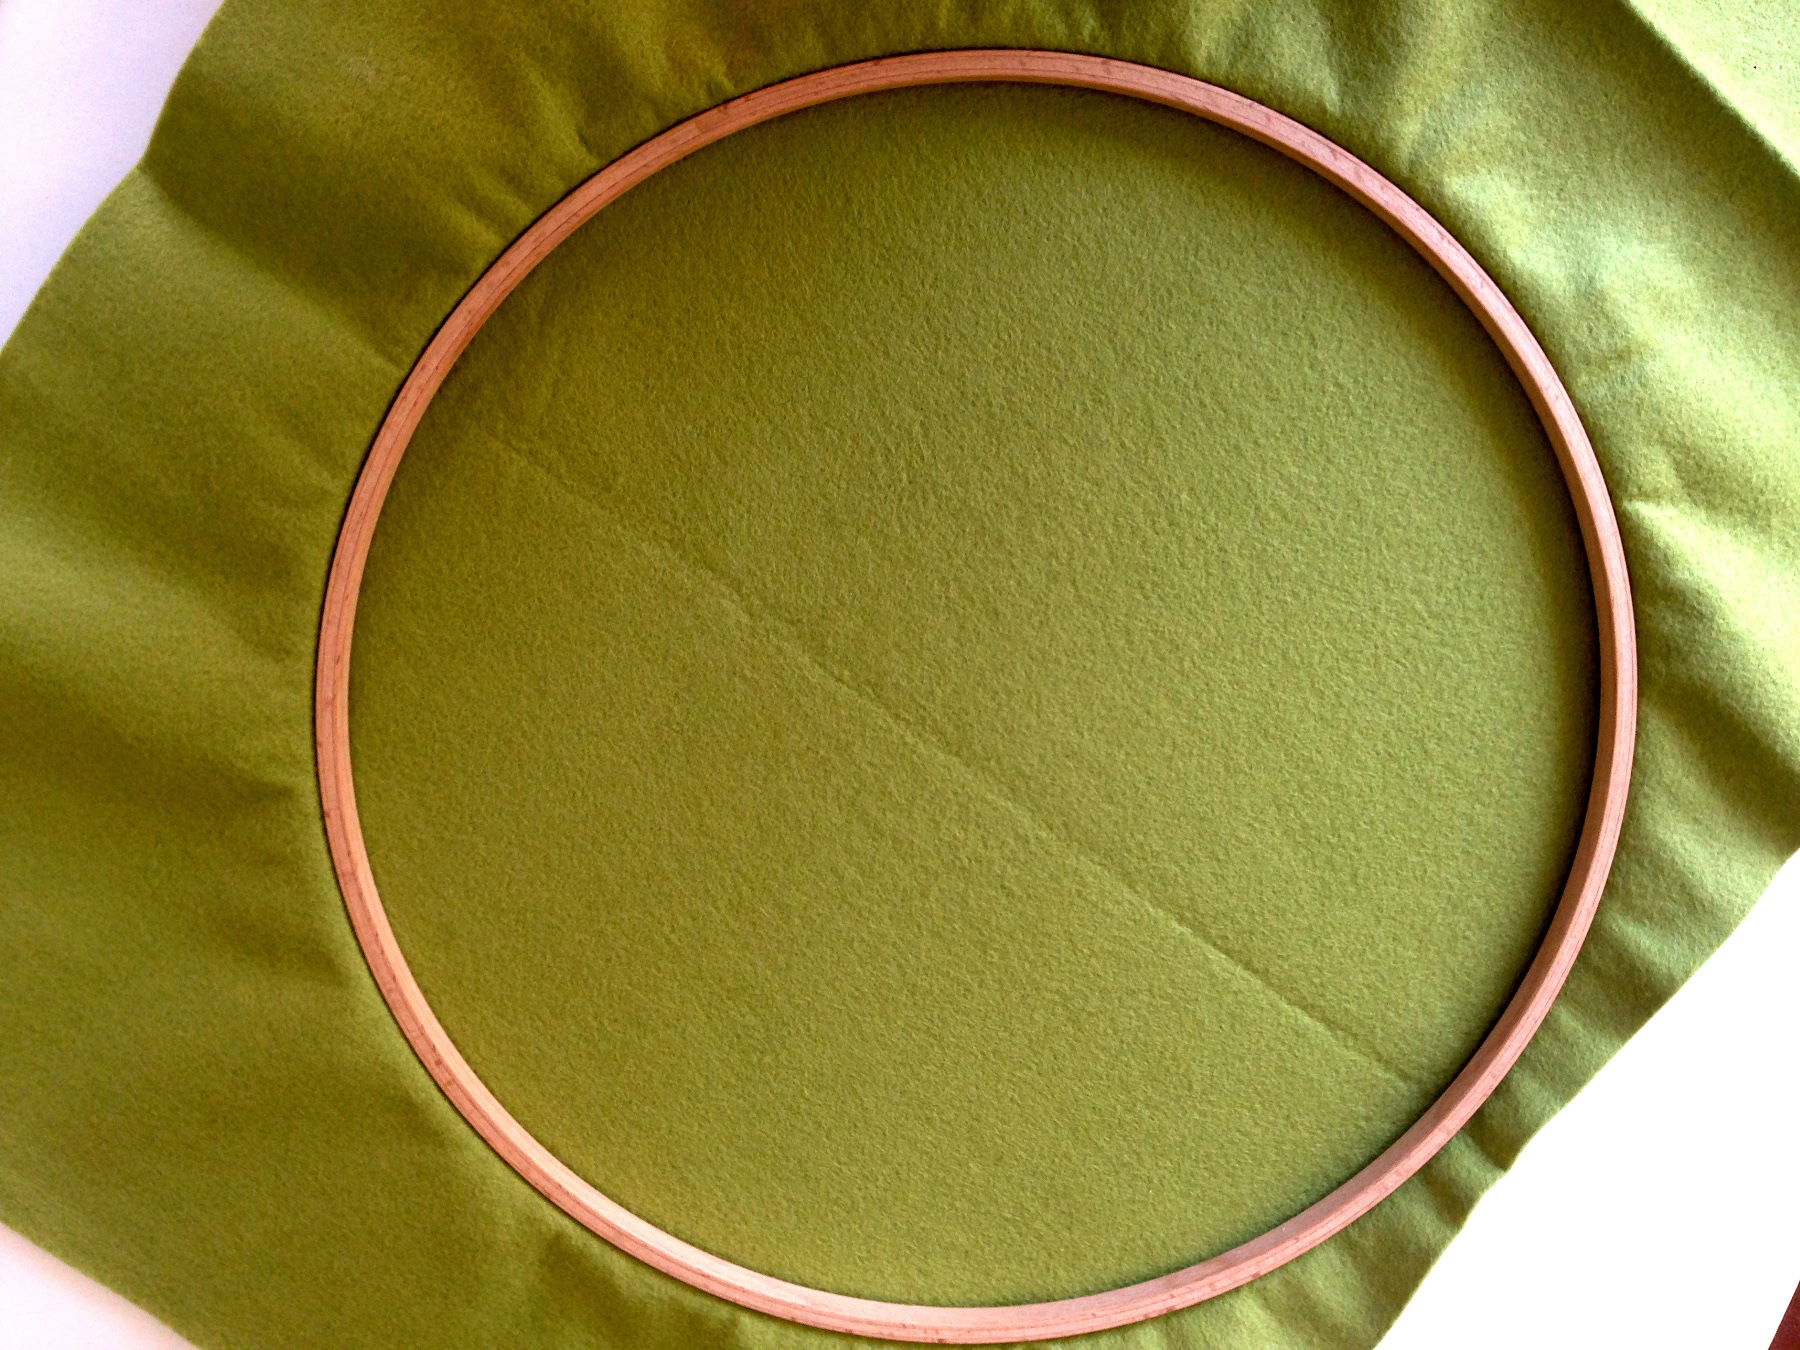
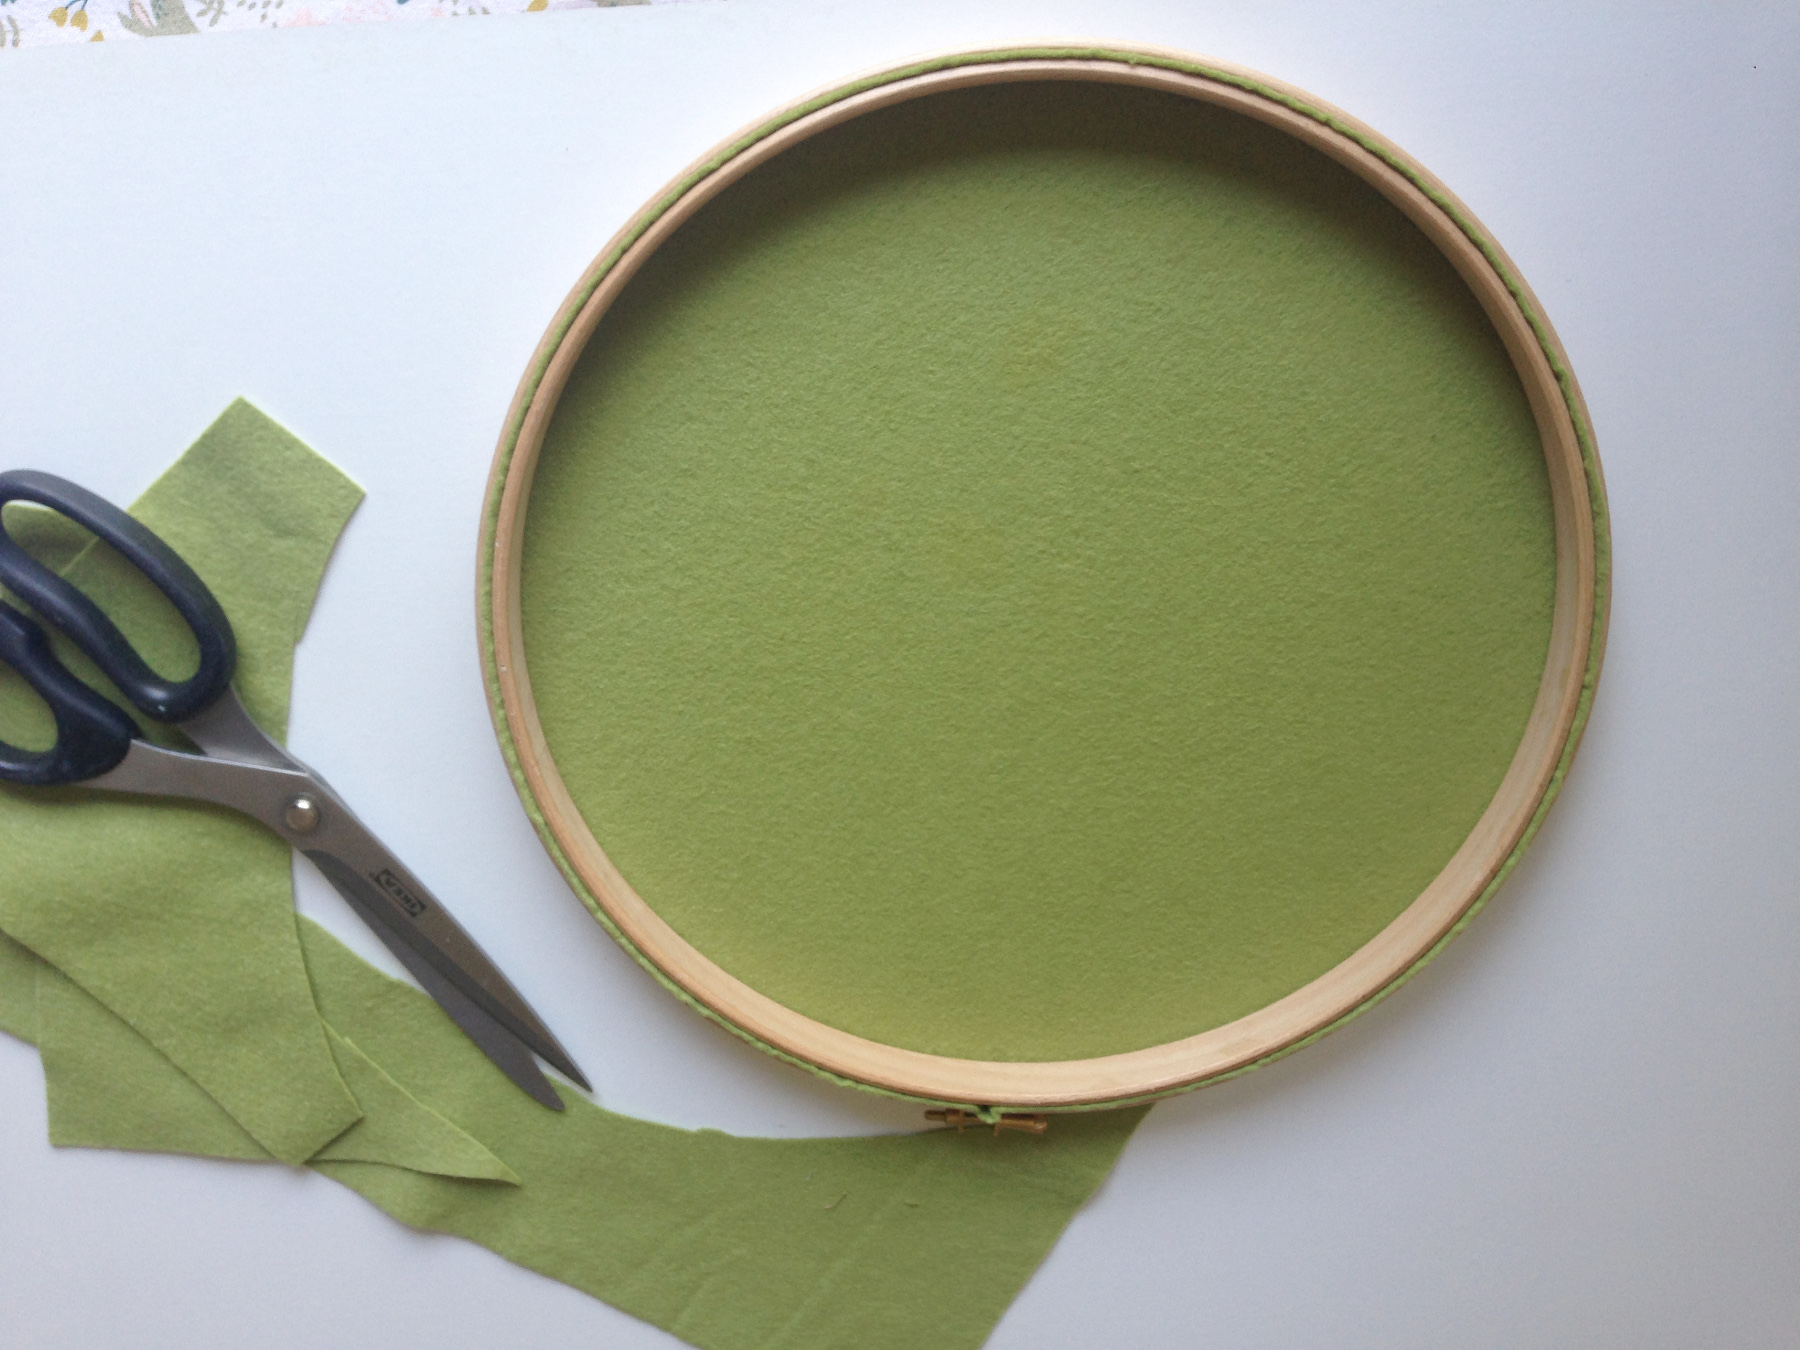
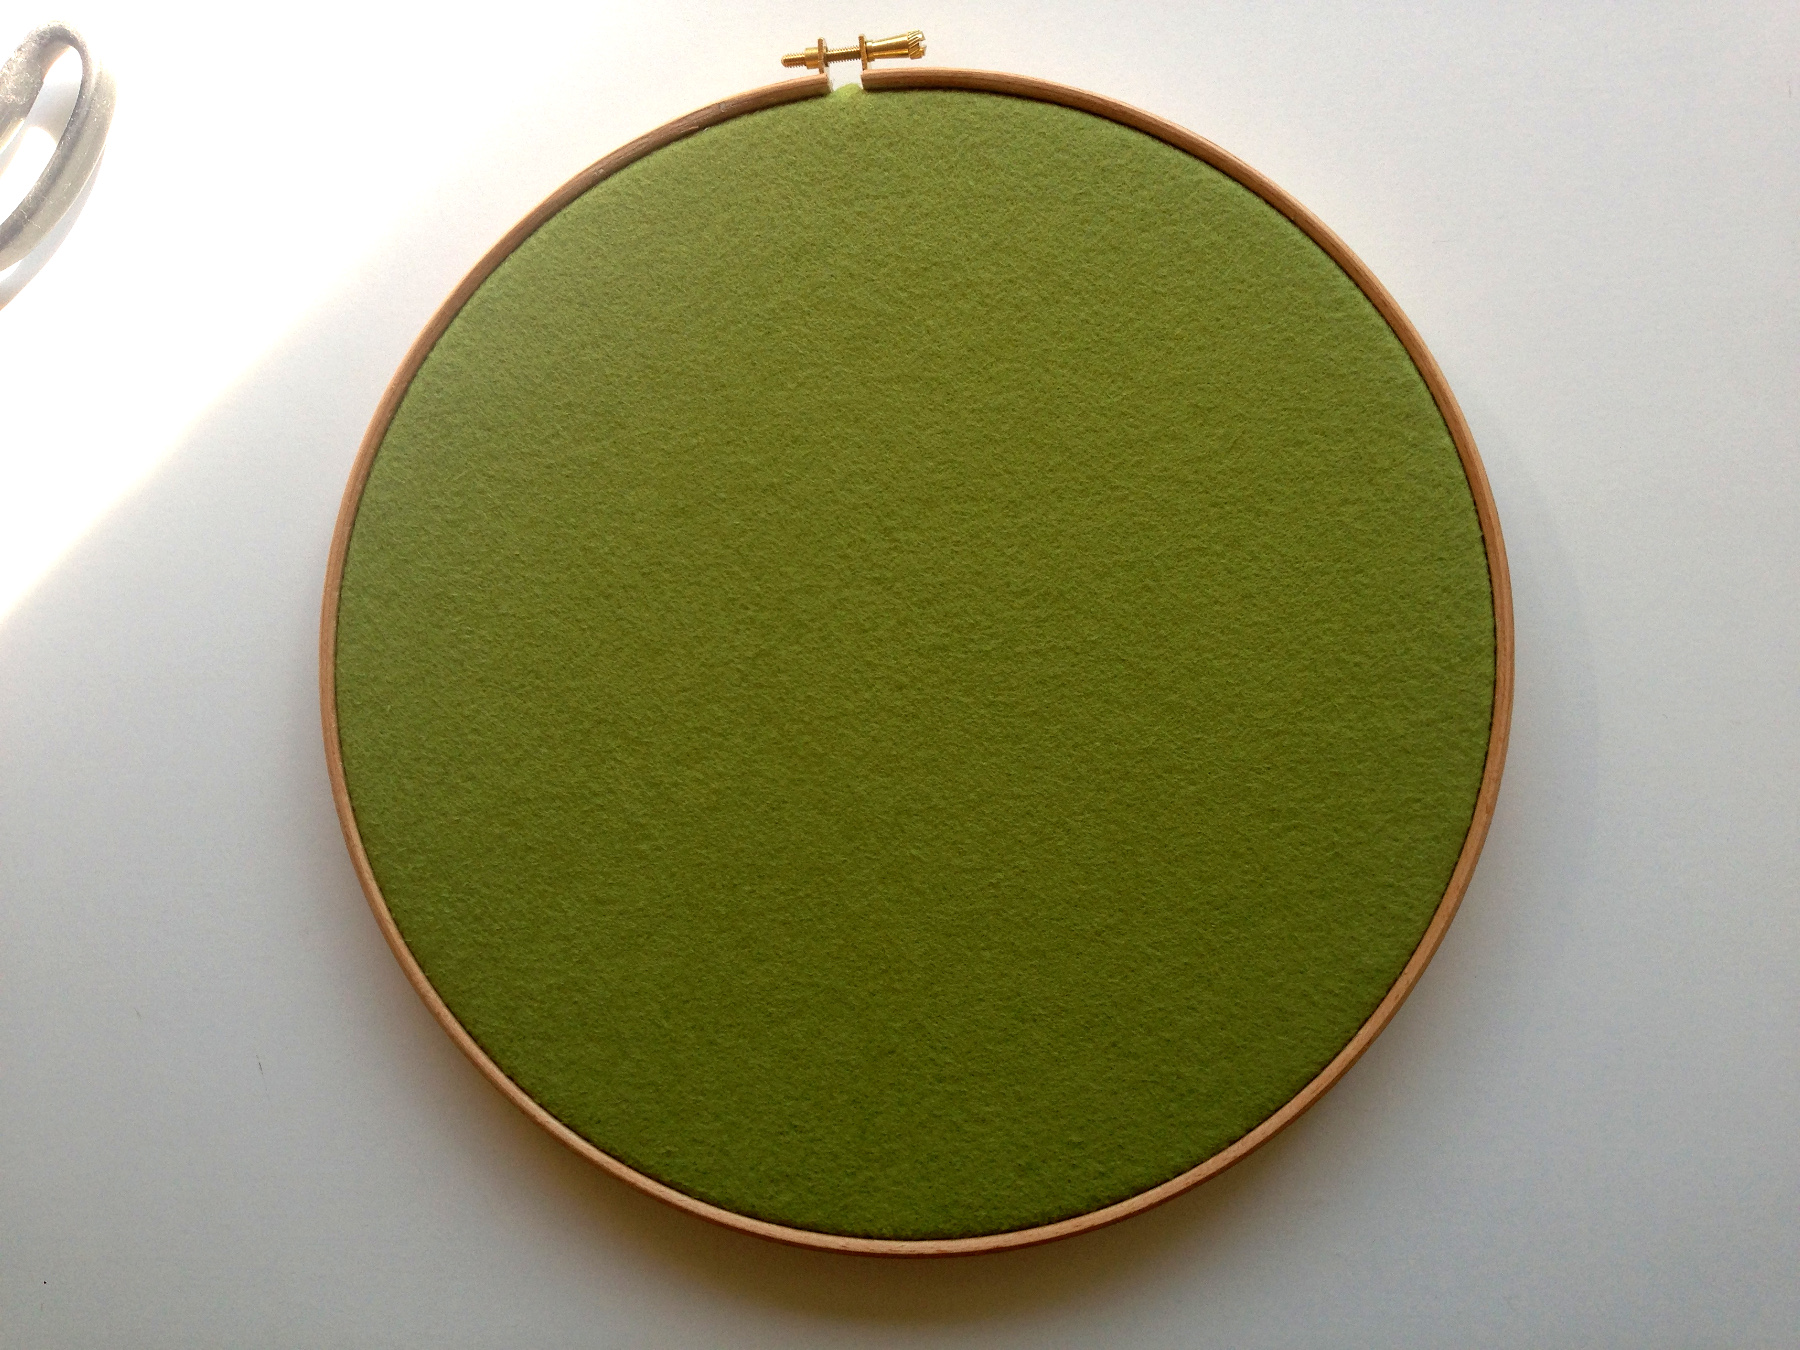
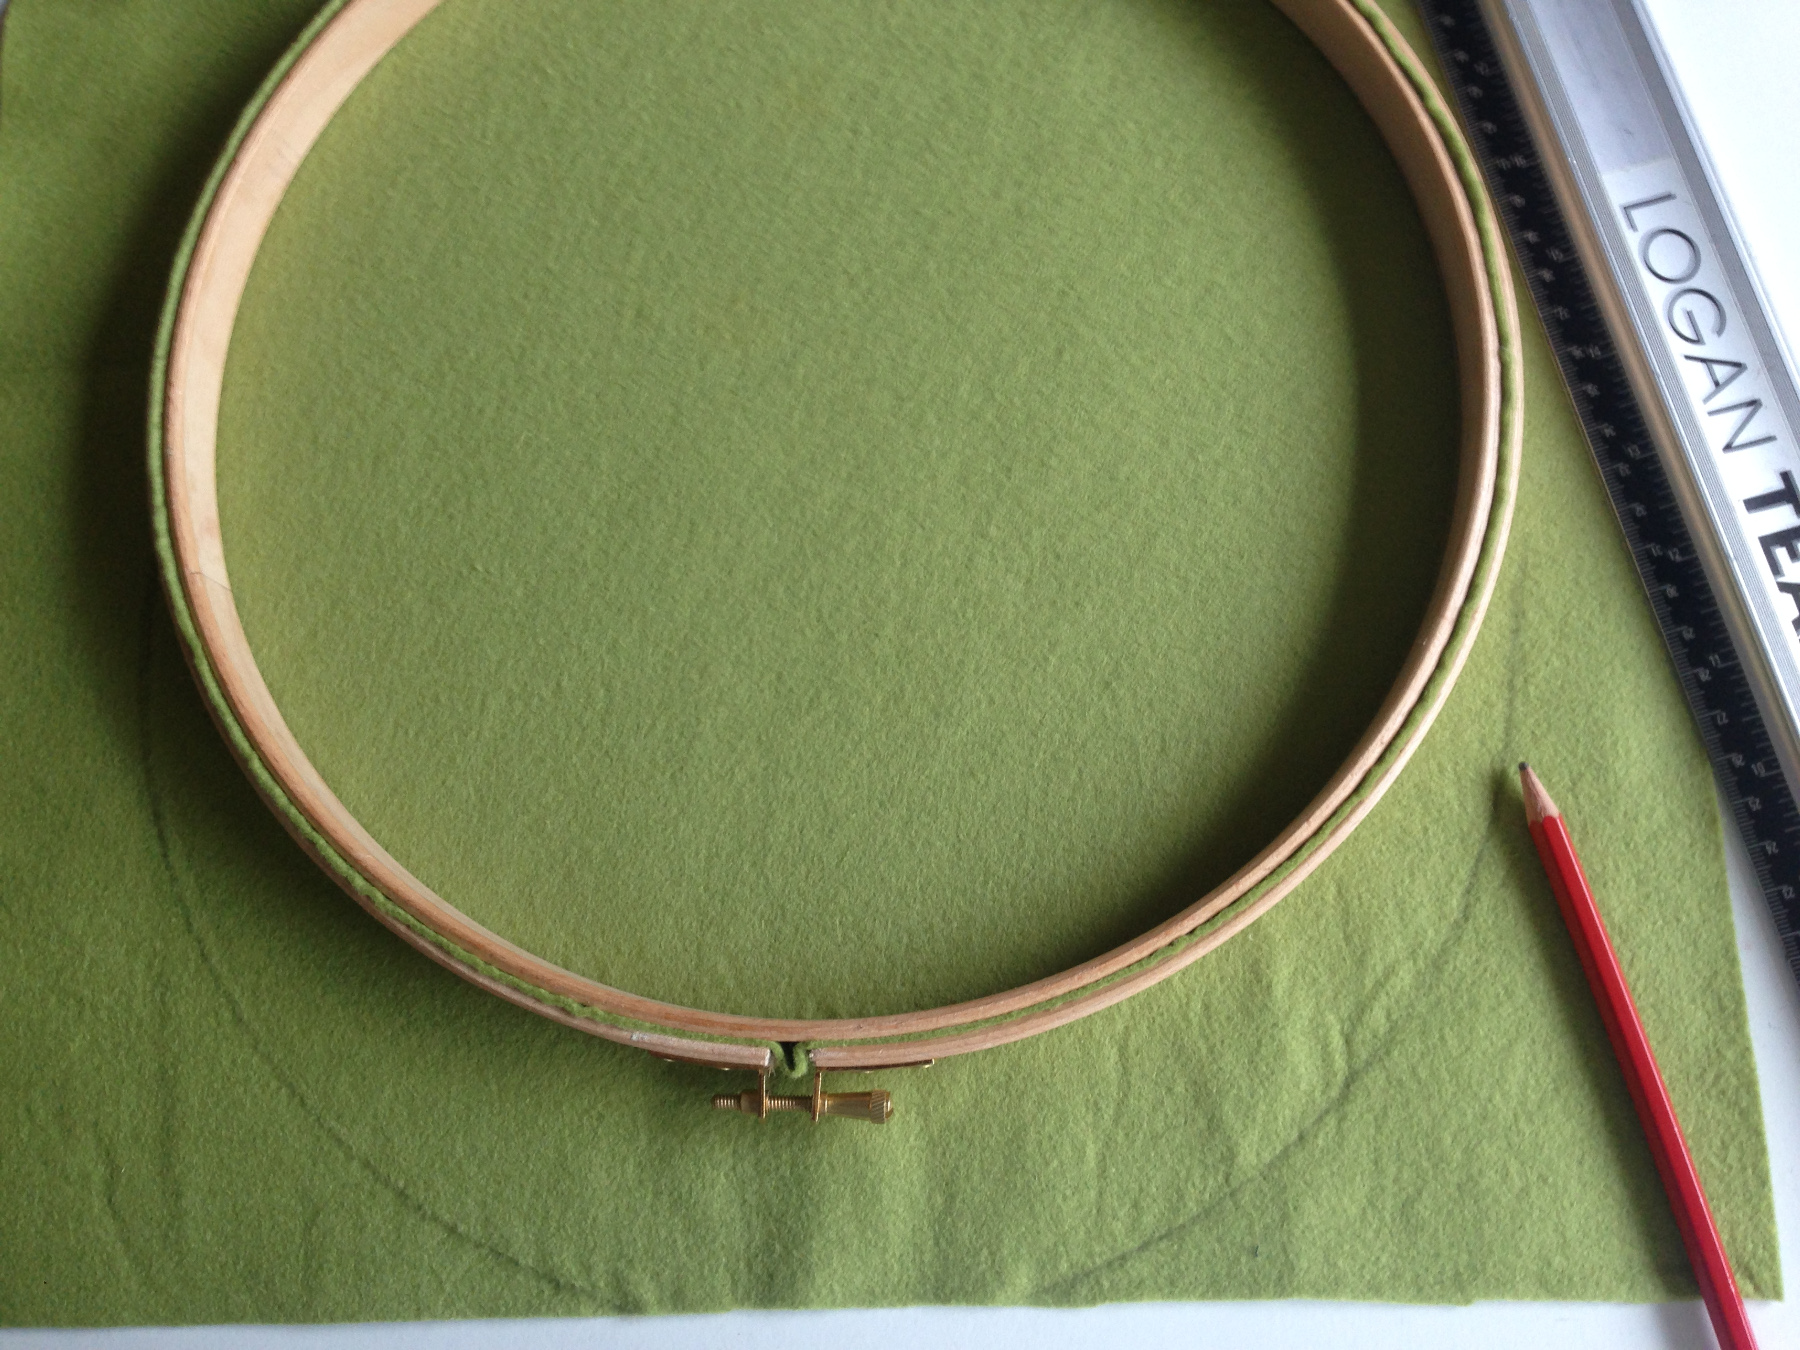
Clamp the felt in between the ring but first iron out the folds.
Twist firmly tight then trim all the protruding felt around the ring.
Here you see the front side of the seasons tree.
How to make the tree trunk
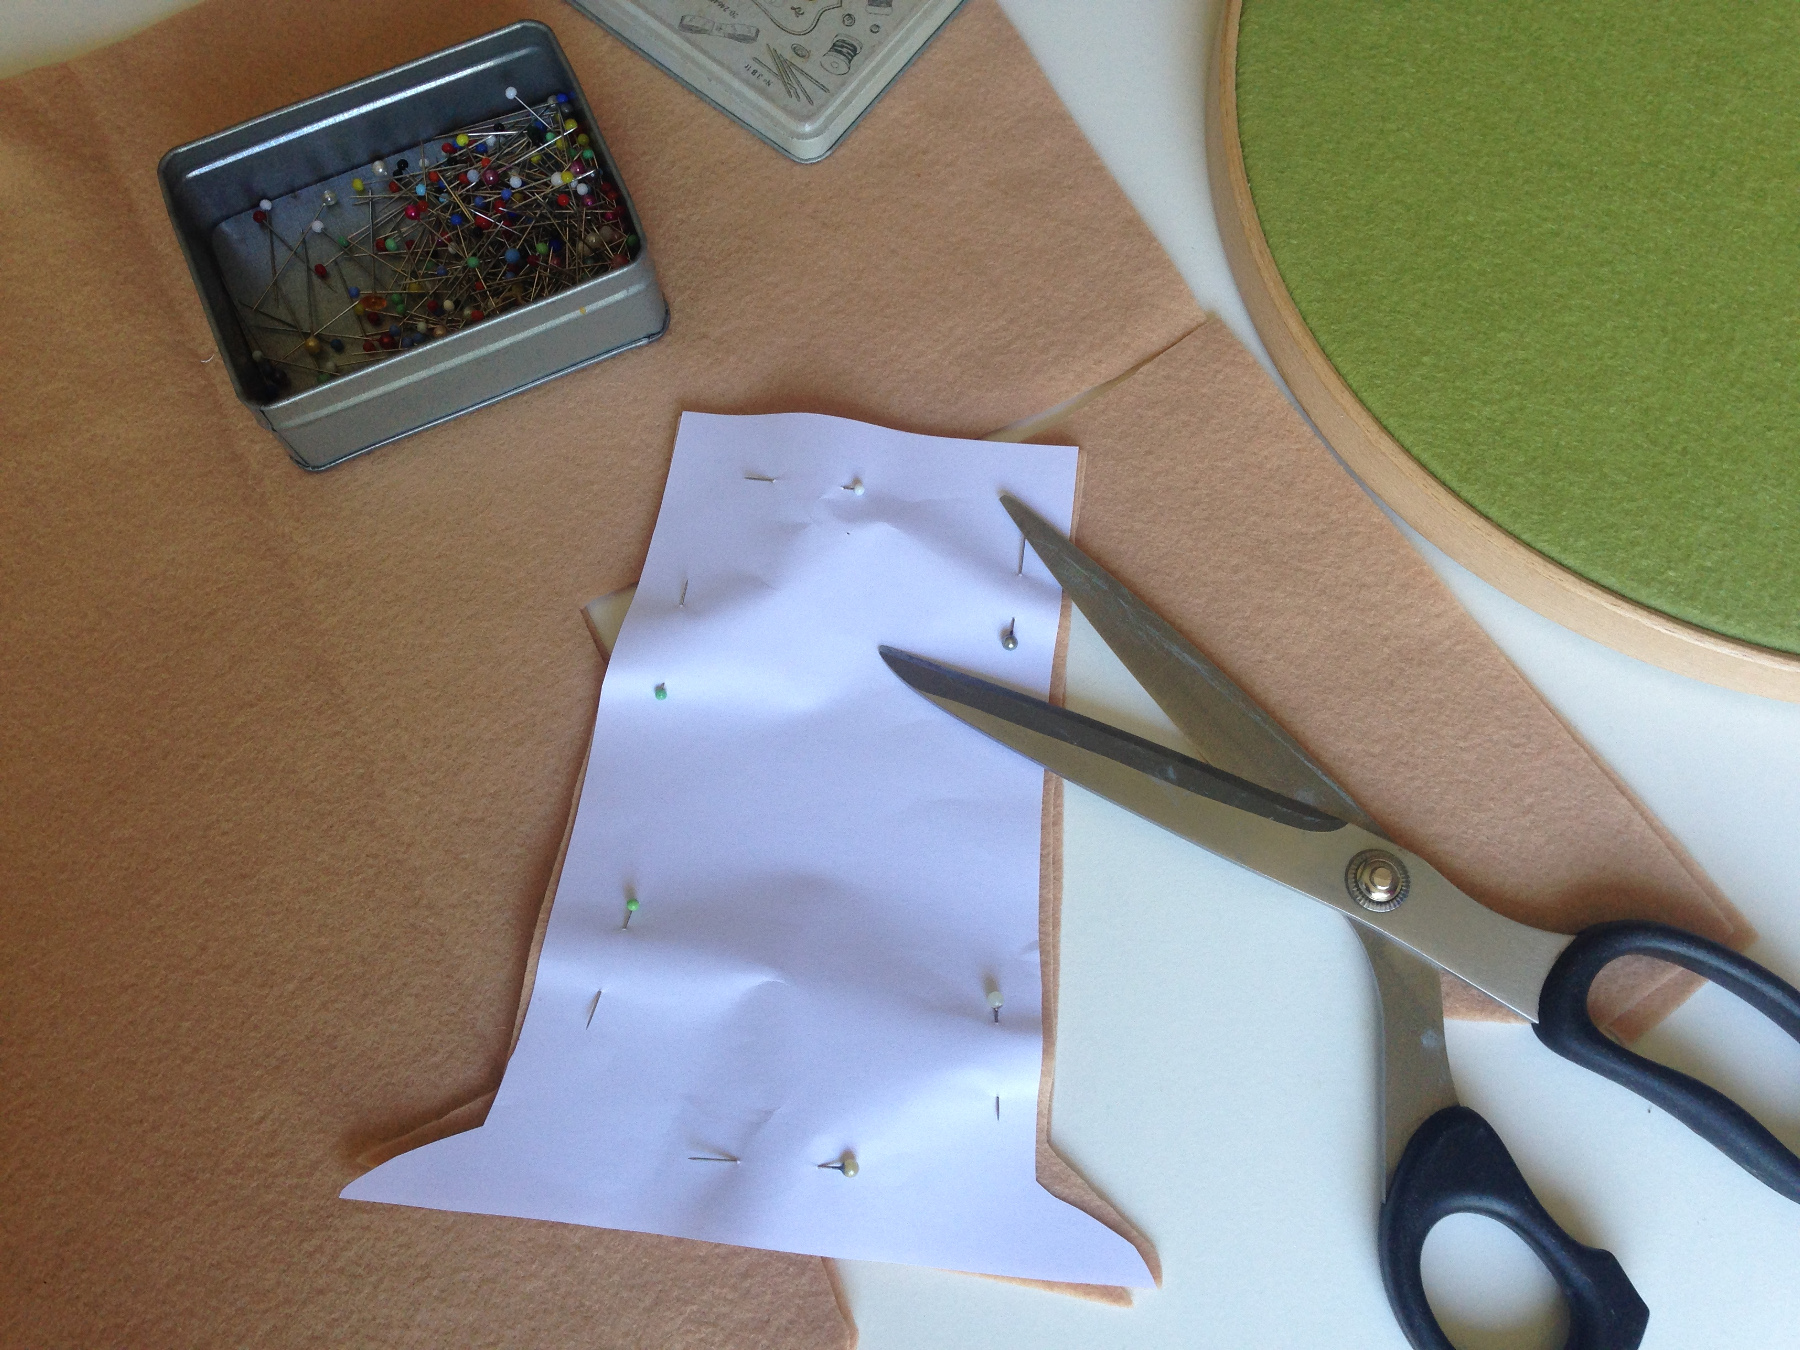
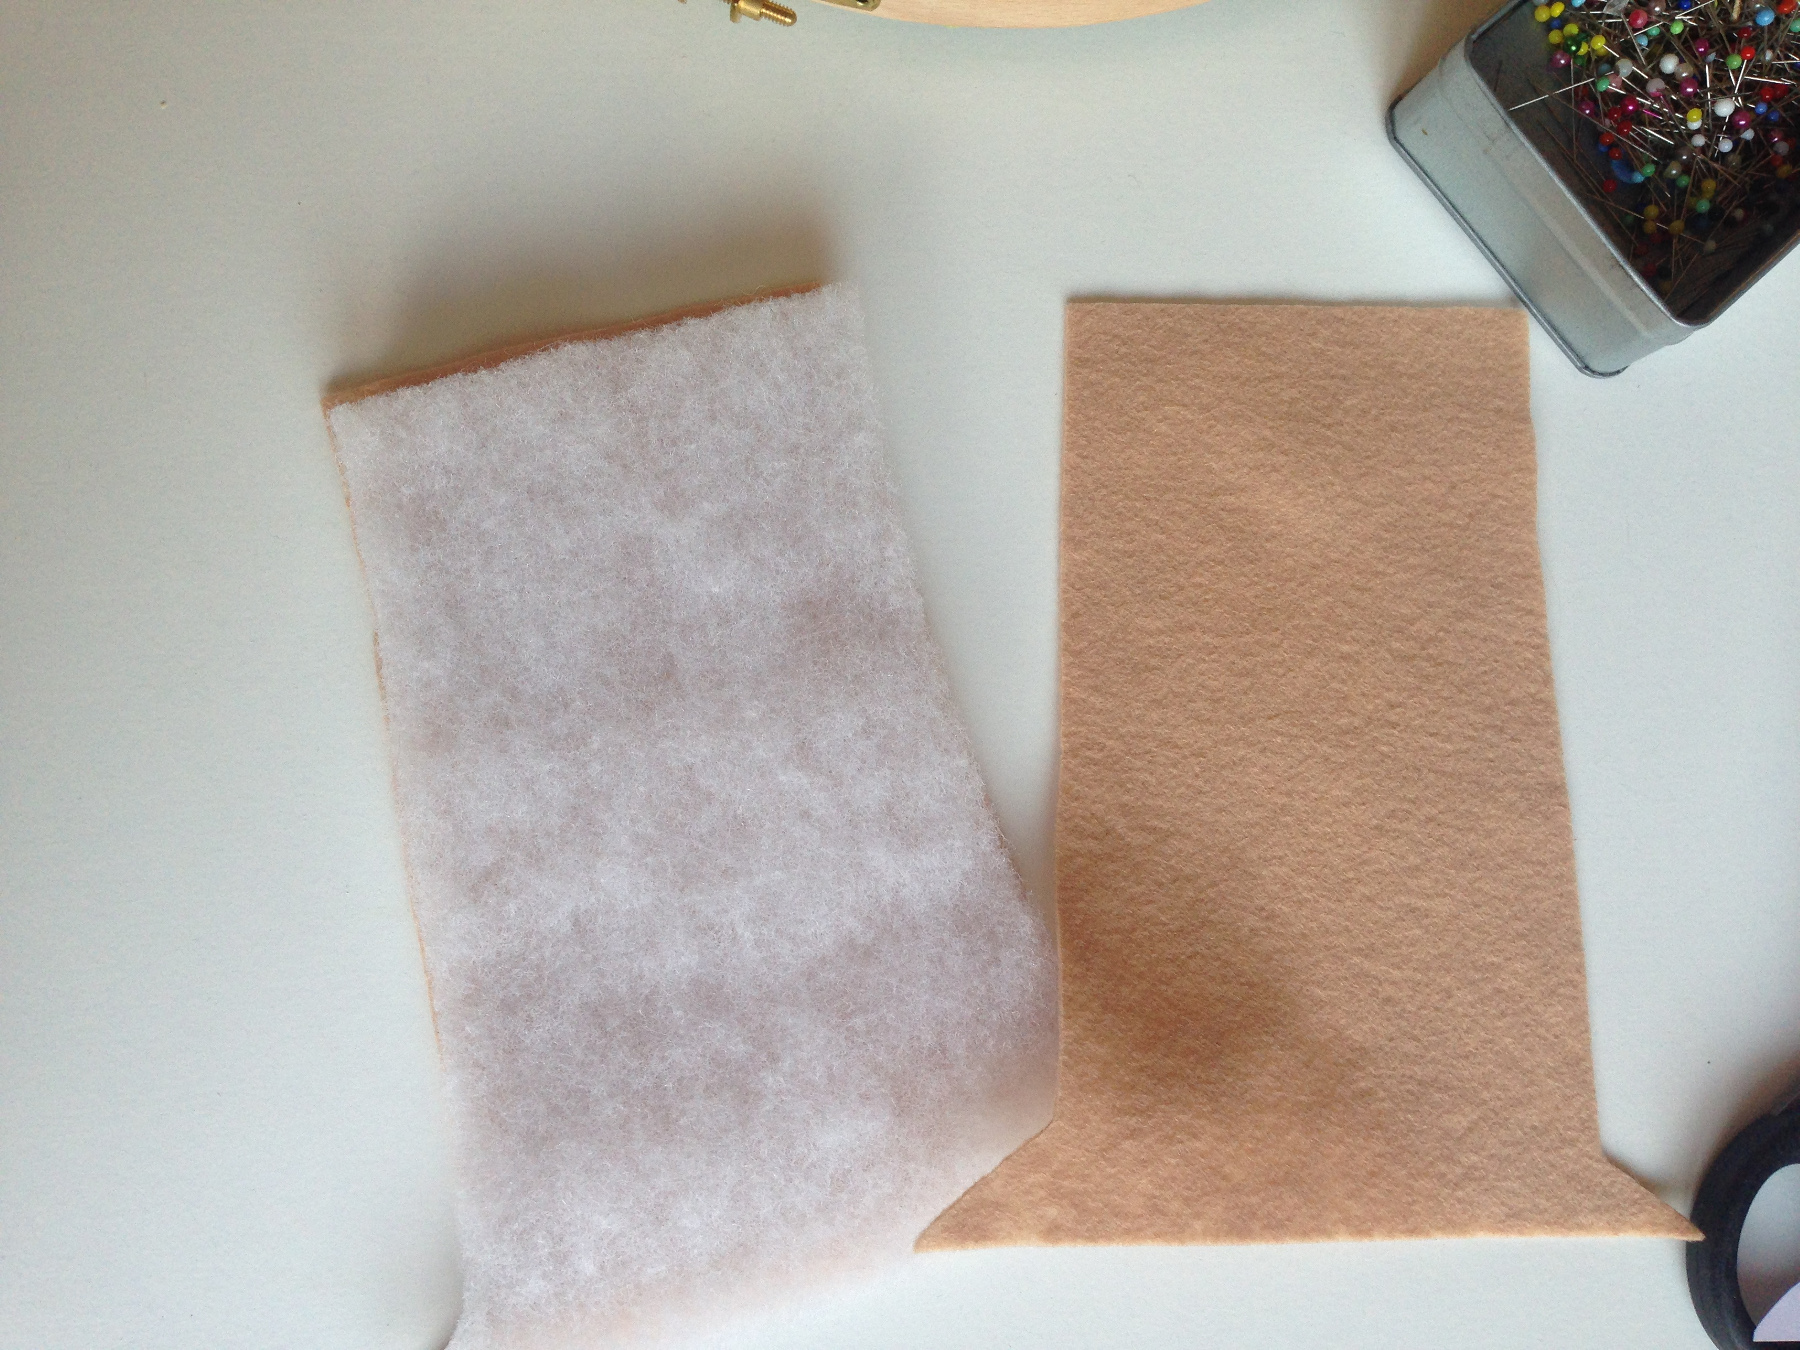
Pin on the pattern then cut out the trunk twice.
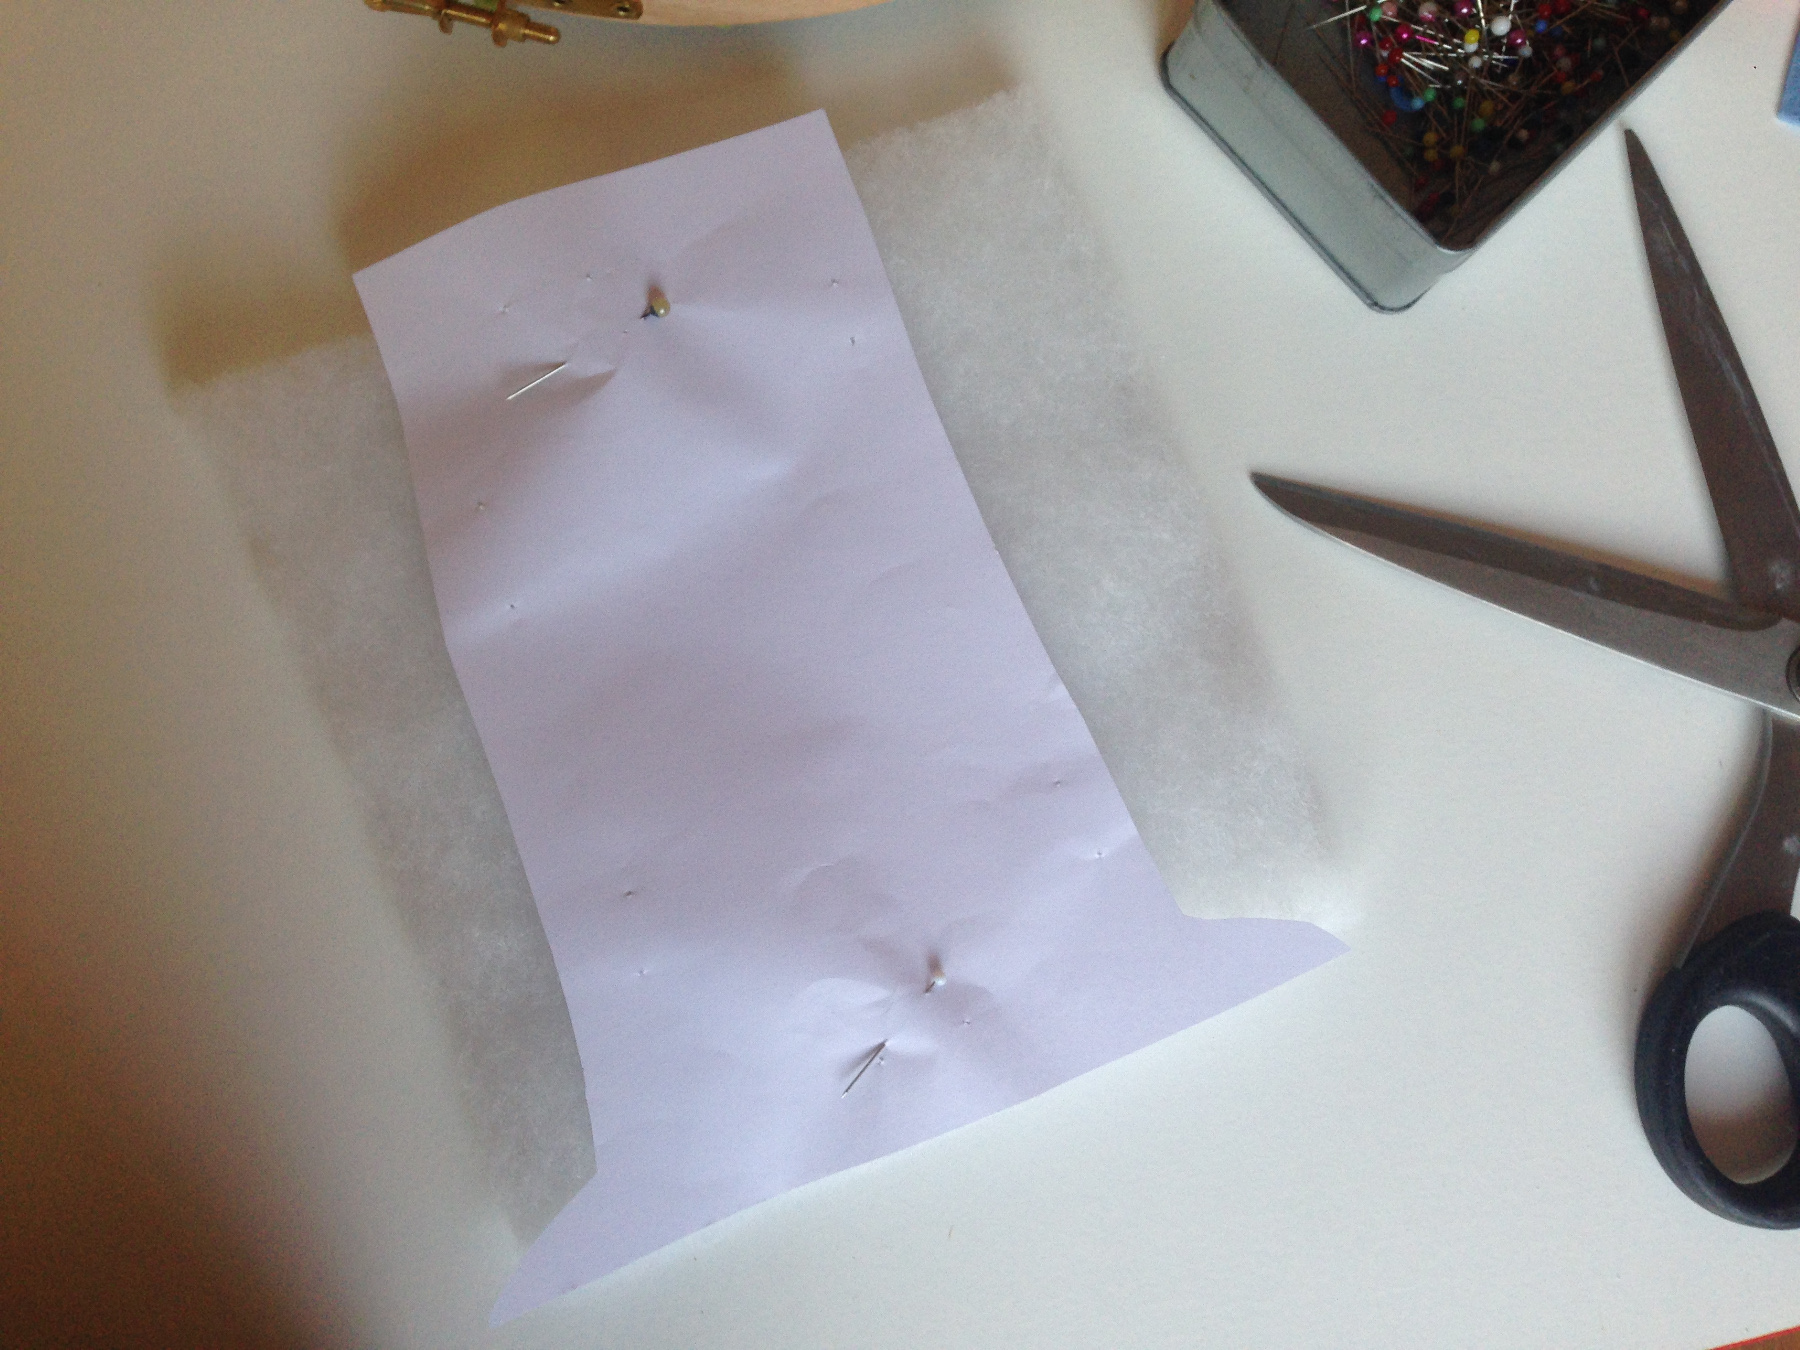
Using the same pattern cut a tree trunk from interfacing.
Cut the interfacing just inside the edges of the tree trunk.
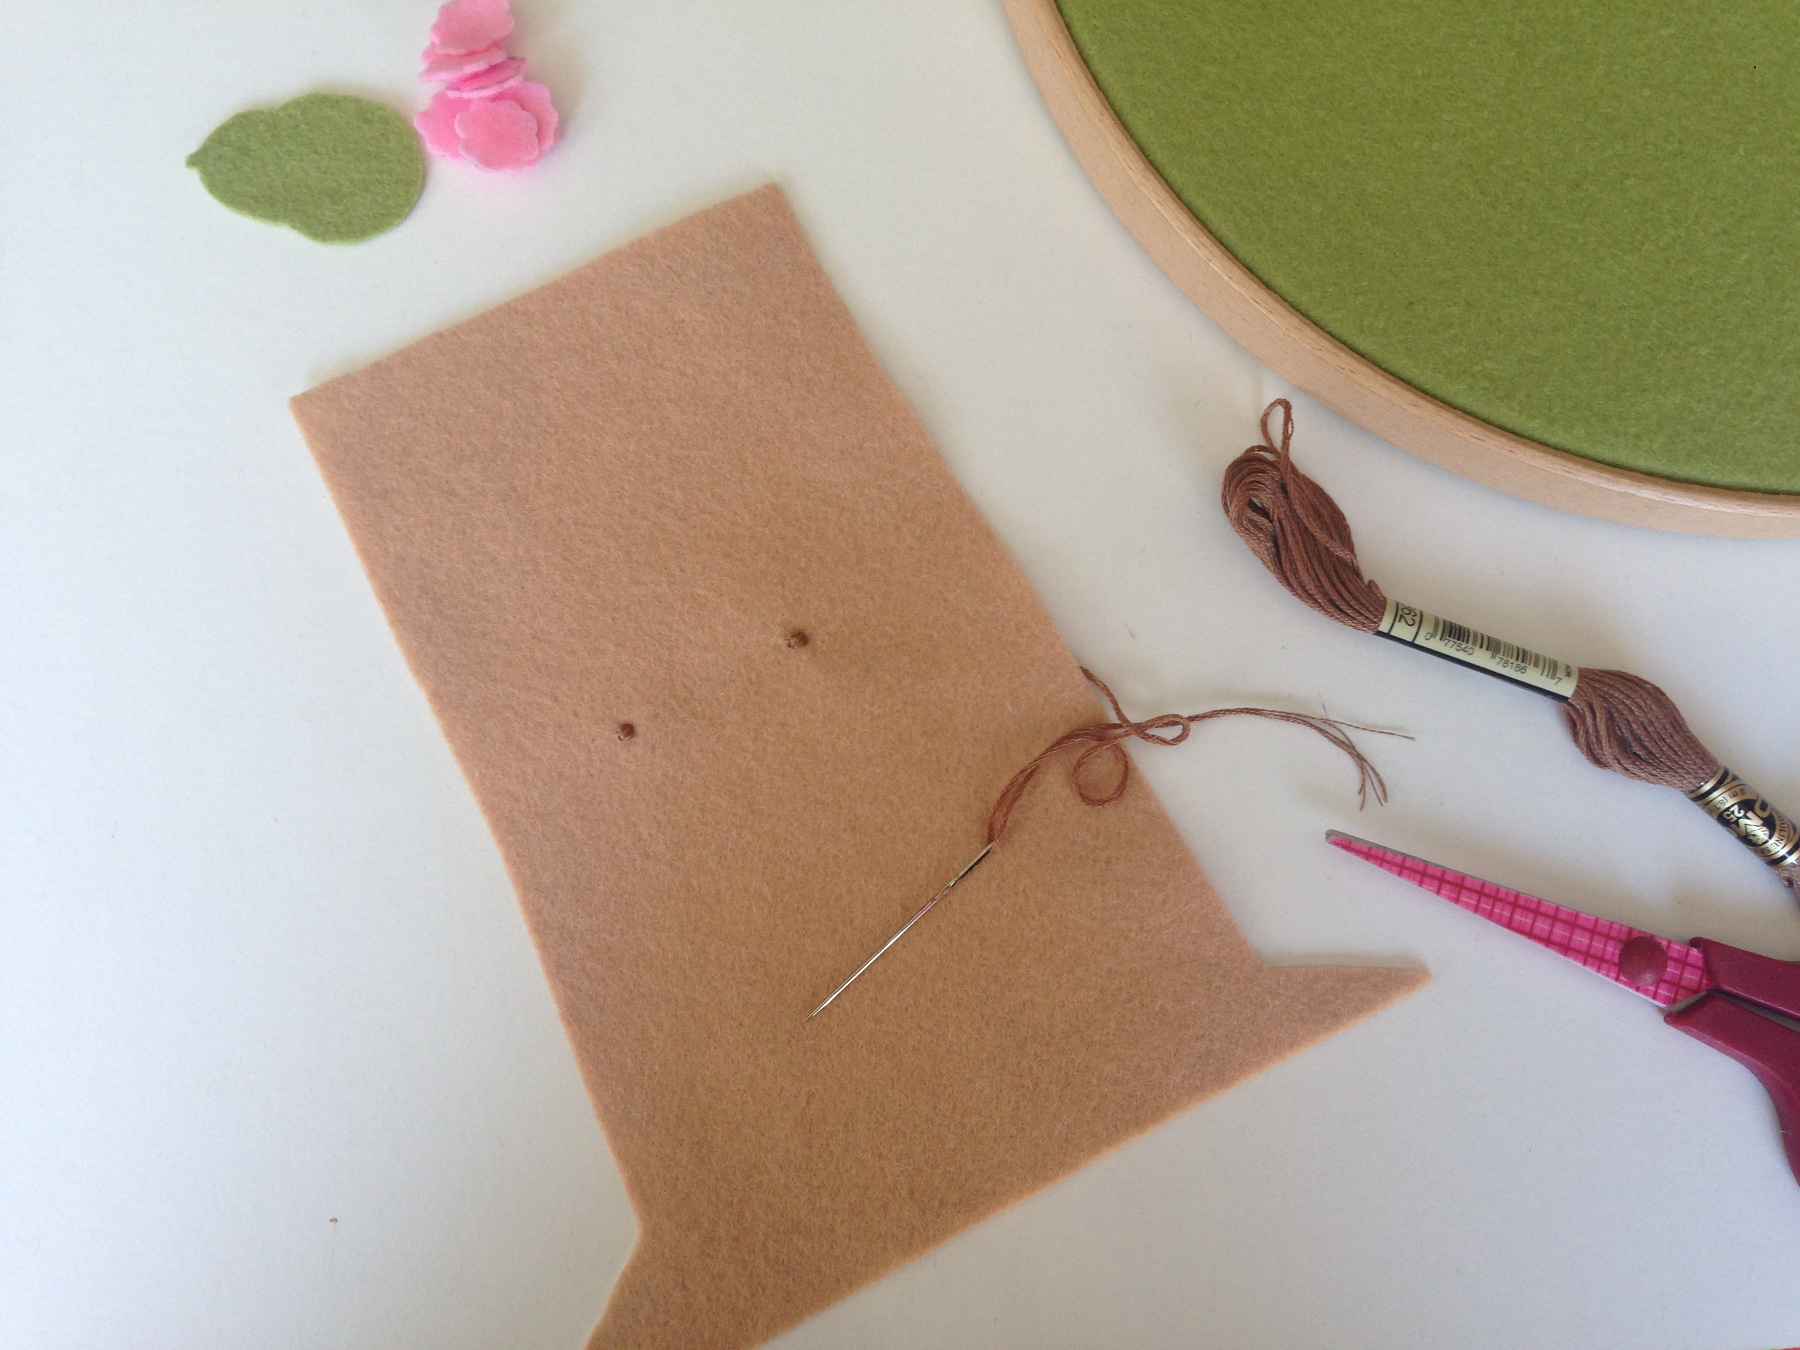
Embroider little eyes and a mouth on the tree trunk.
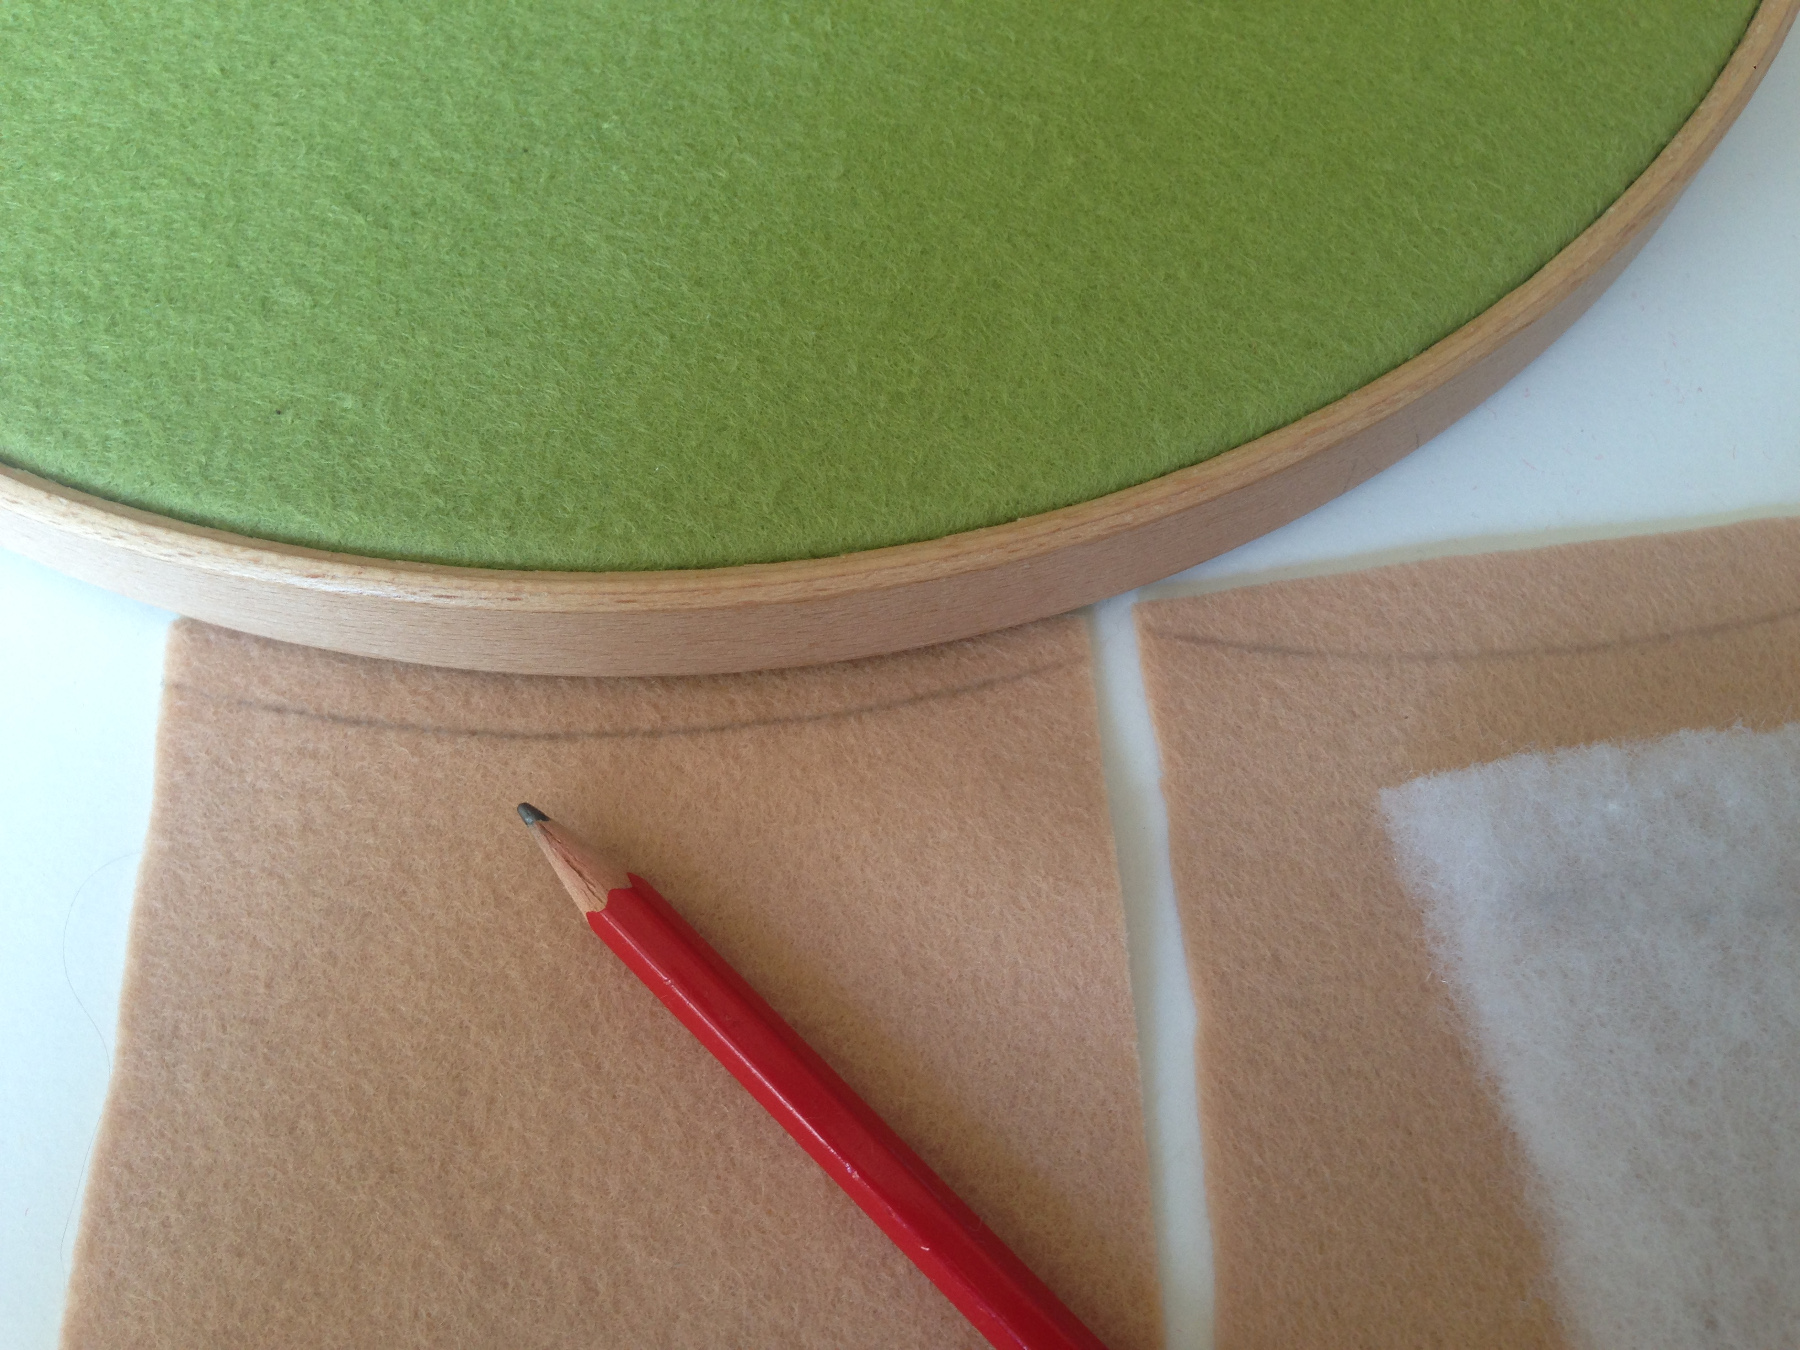
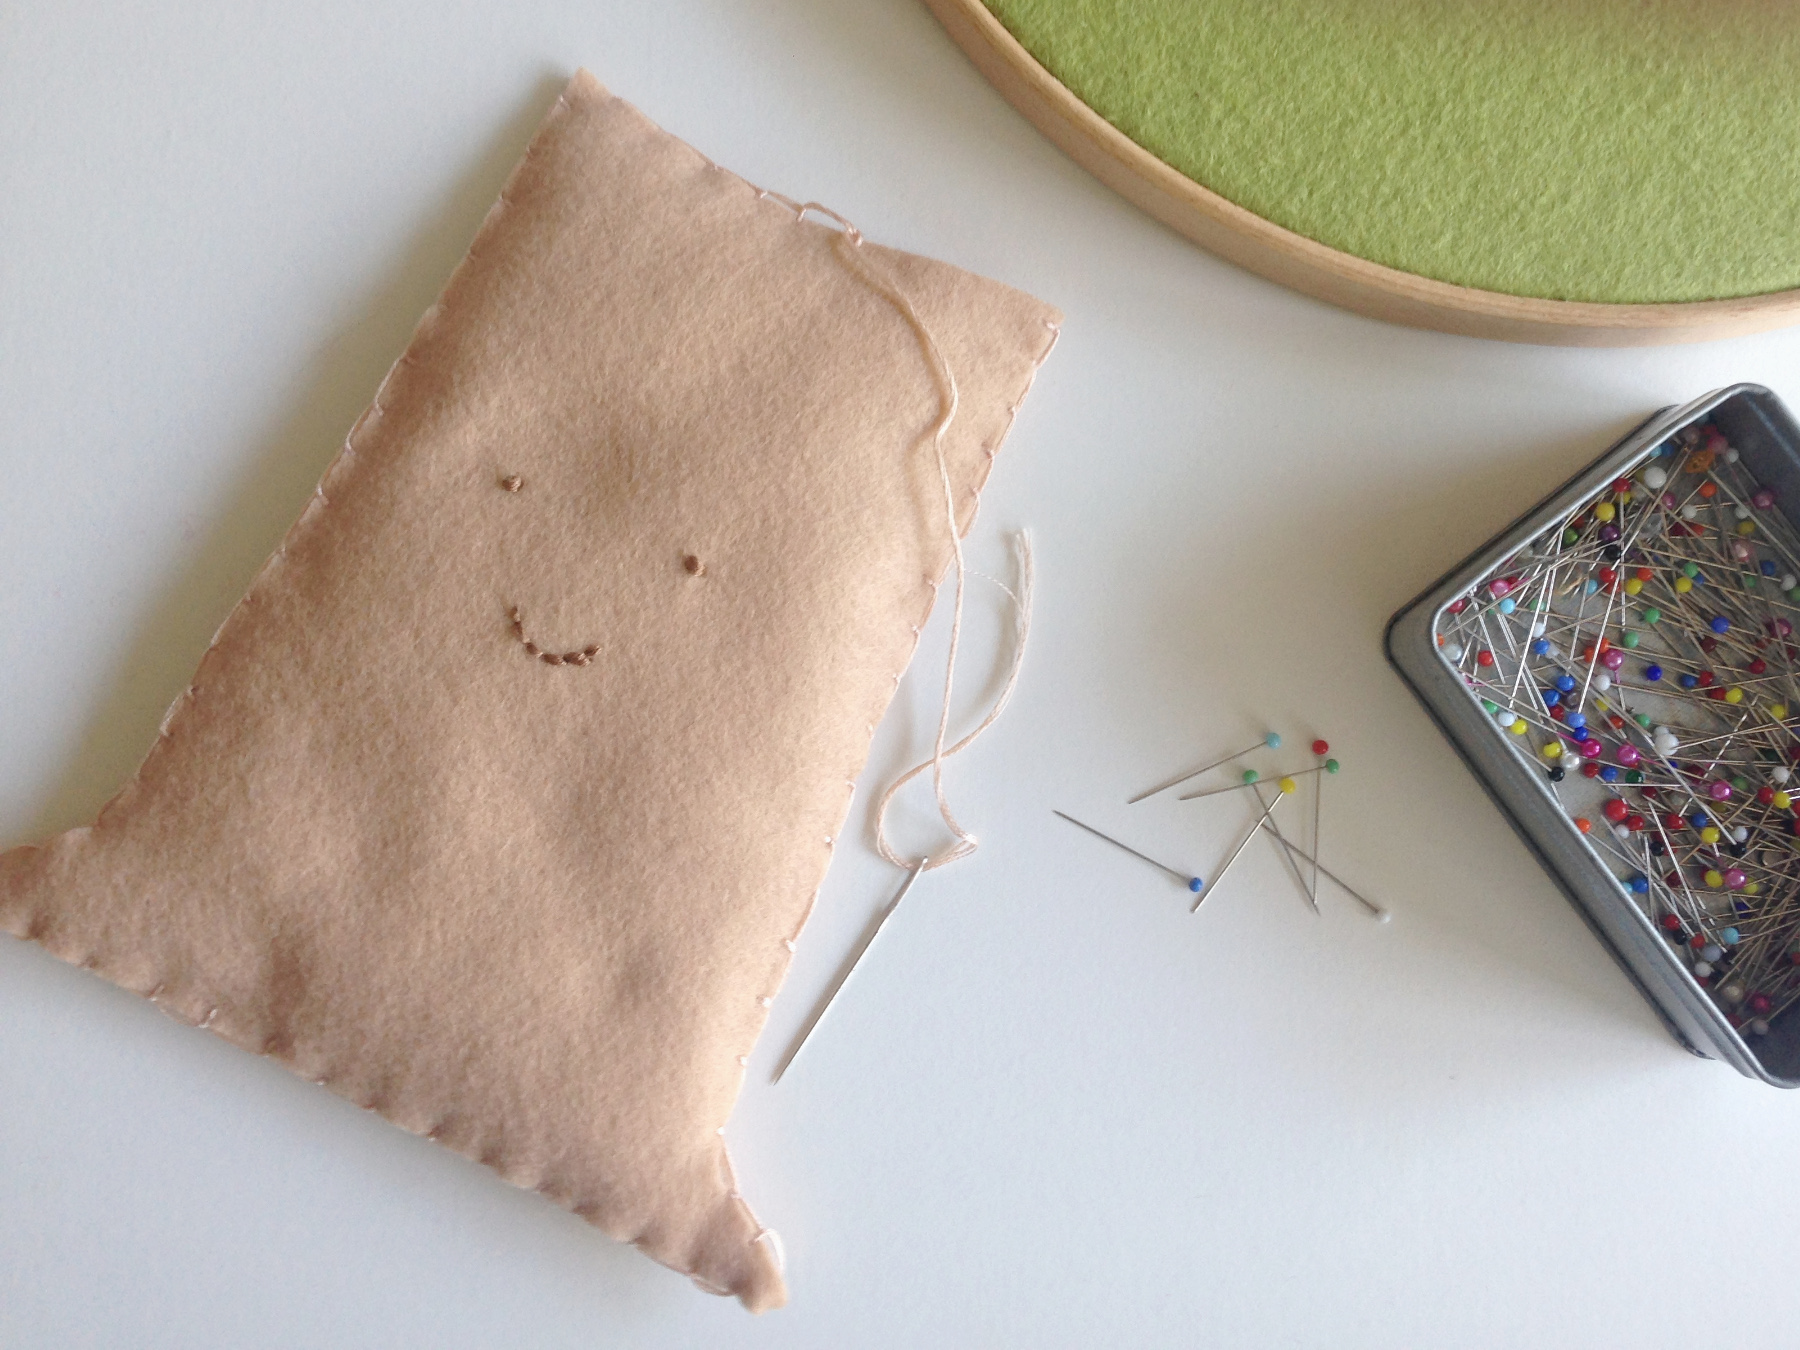
Trace the ring on the top of the tree trunk and cut the top round.
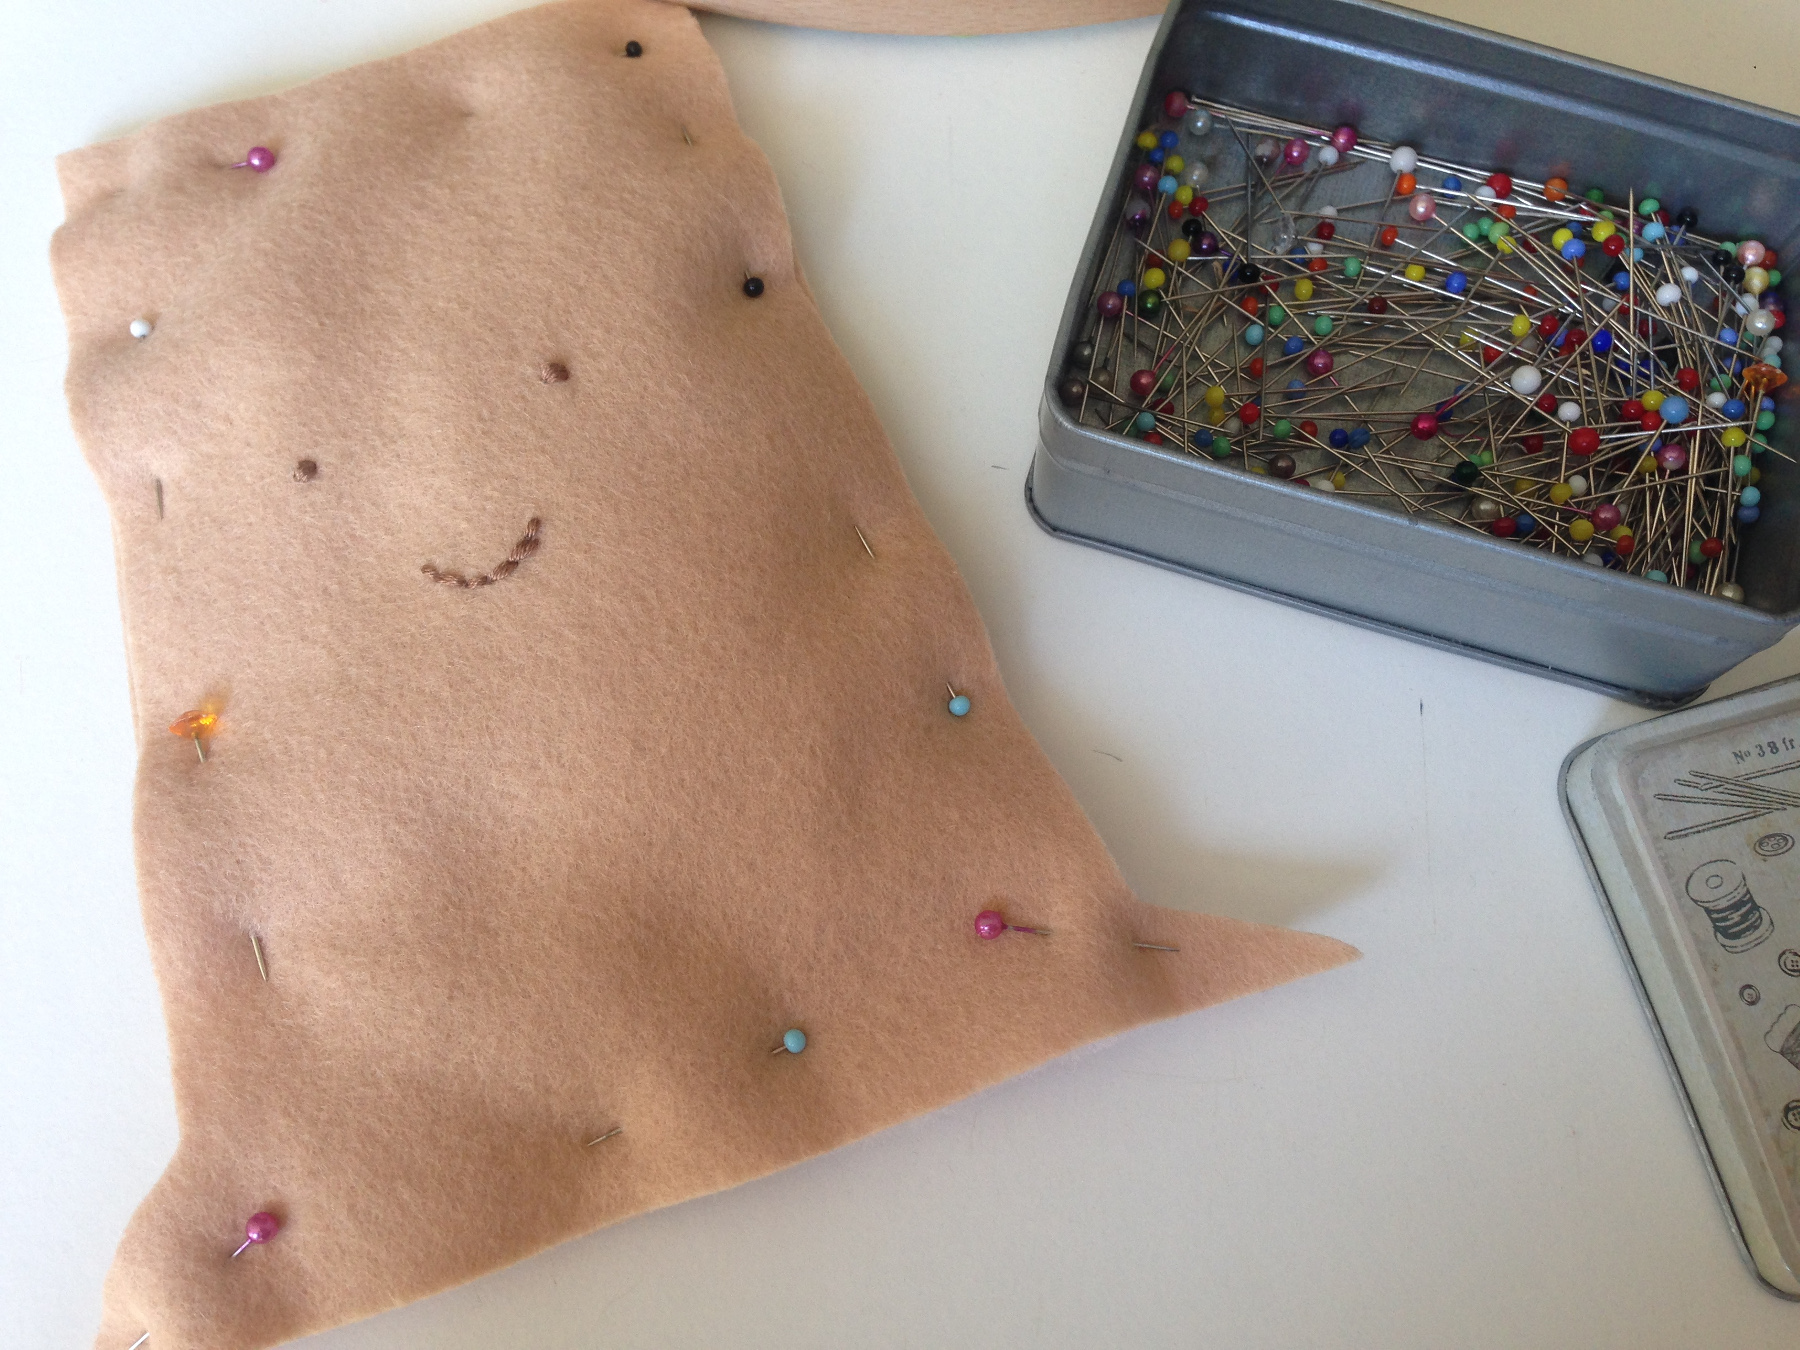
Pin the trunk halves together with the fiberfill in between.
Sew the tree trunk all around with the blanket stitch.
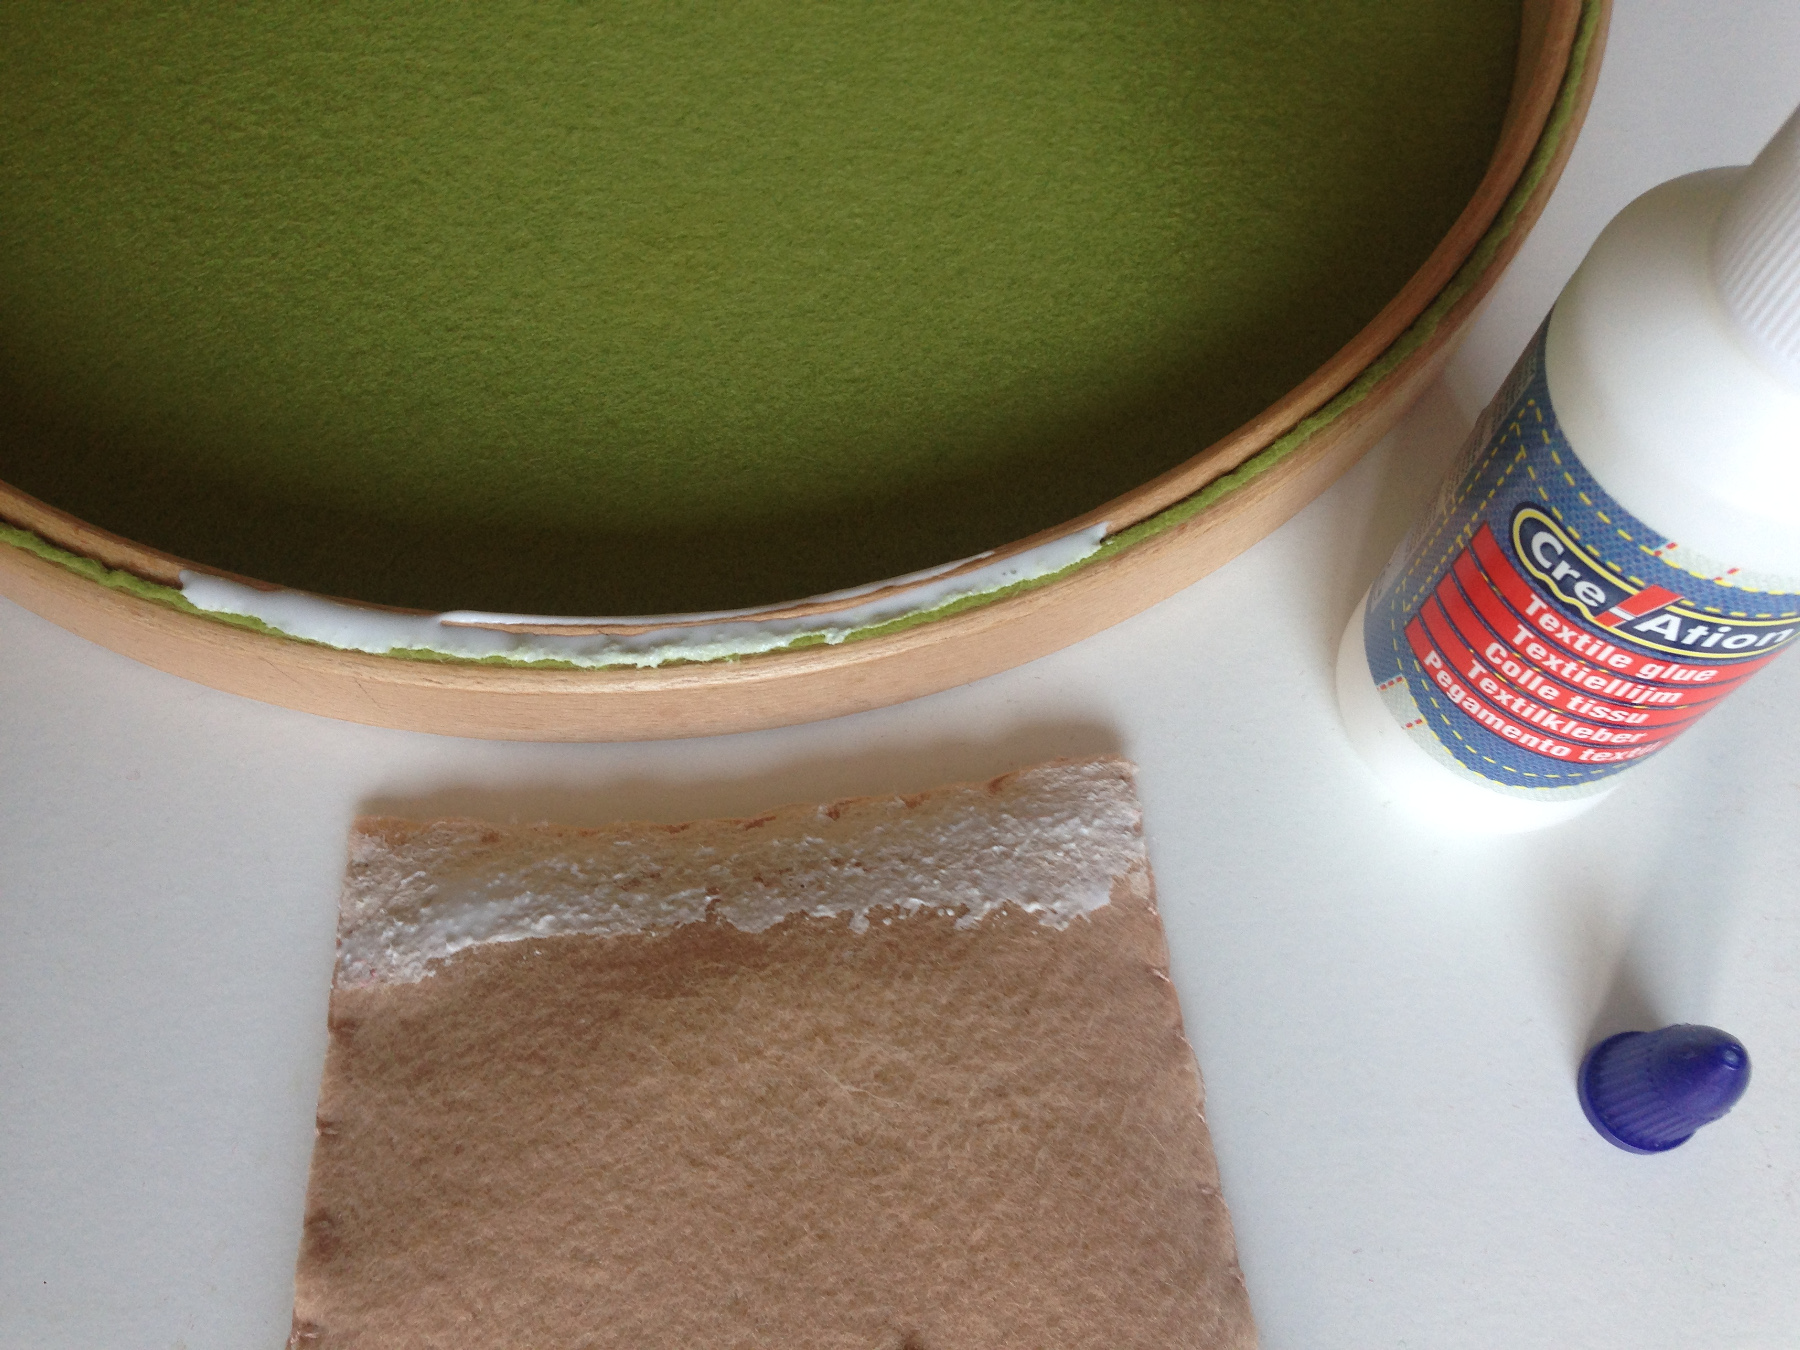
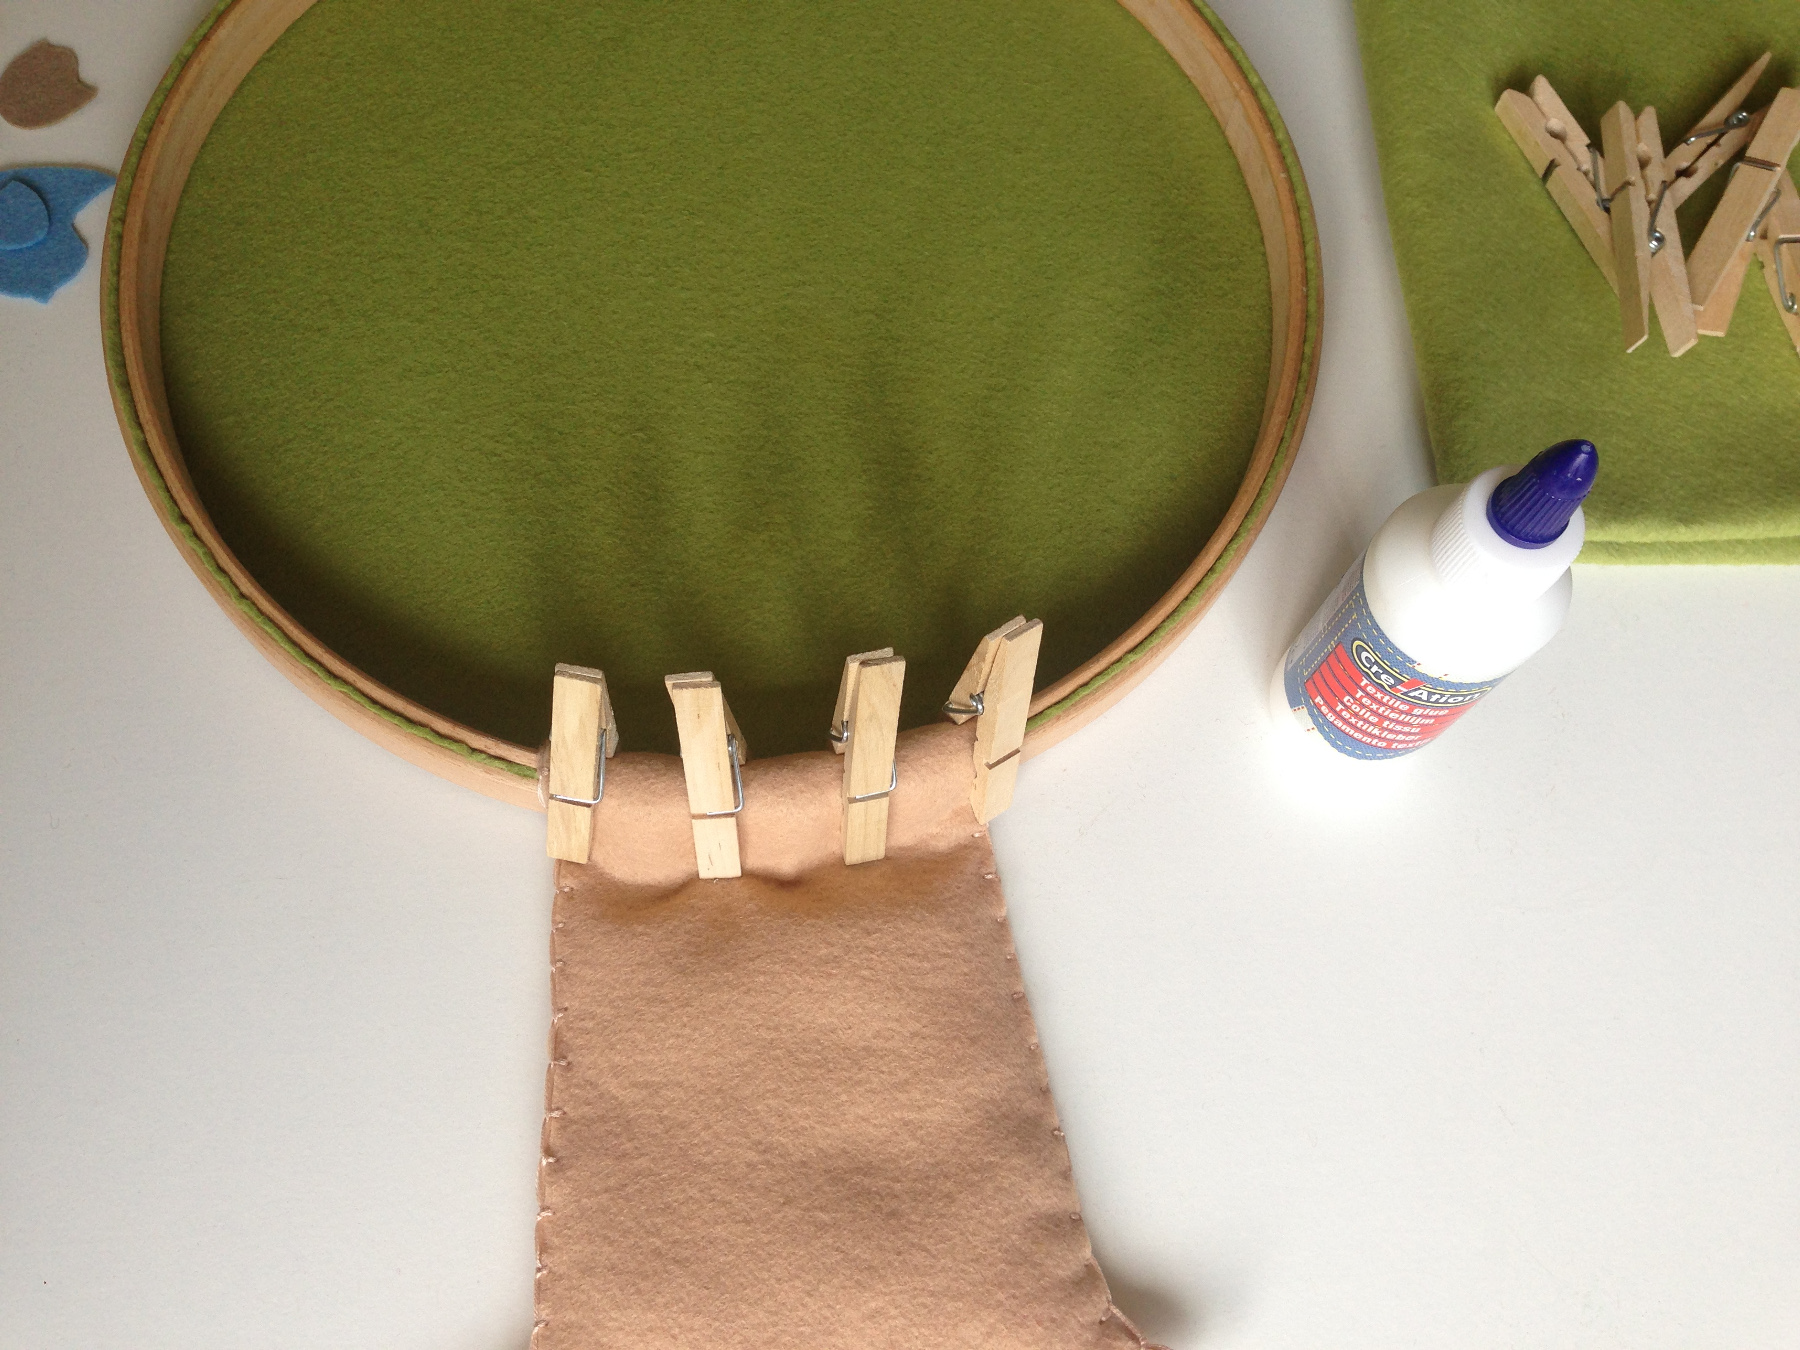
Glue the tree trunk to the back of the tree.
Fasten with clothes pins and allow the glue to dry well.
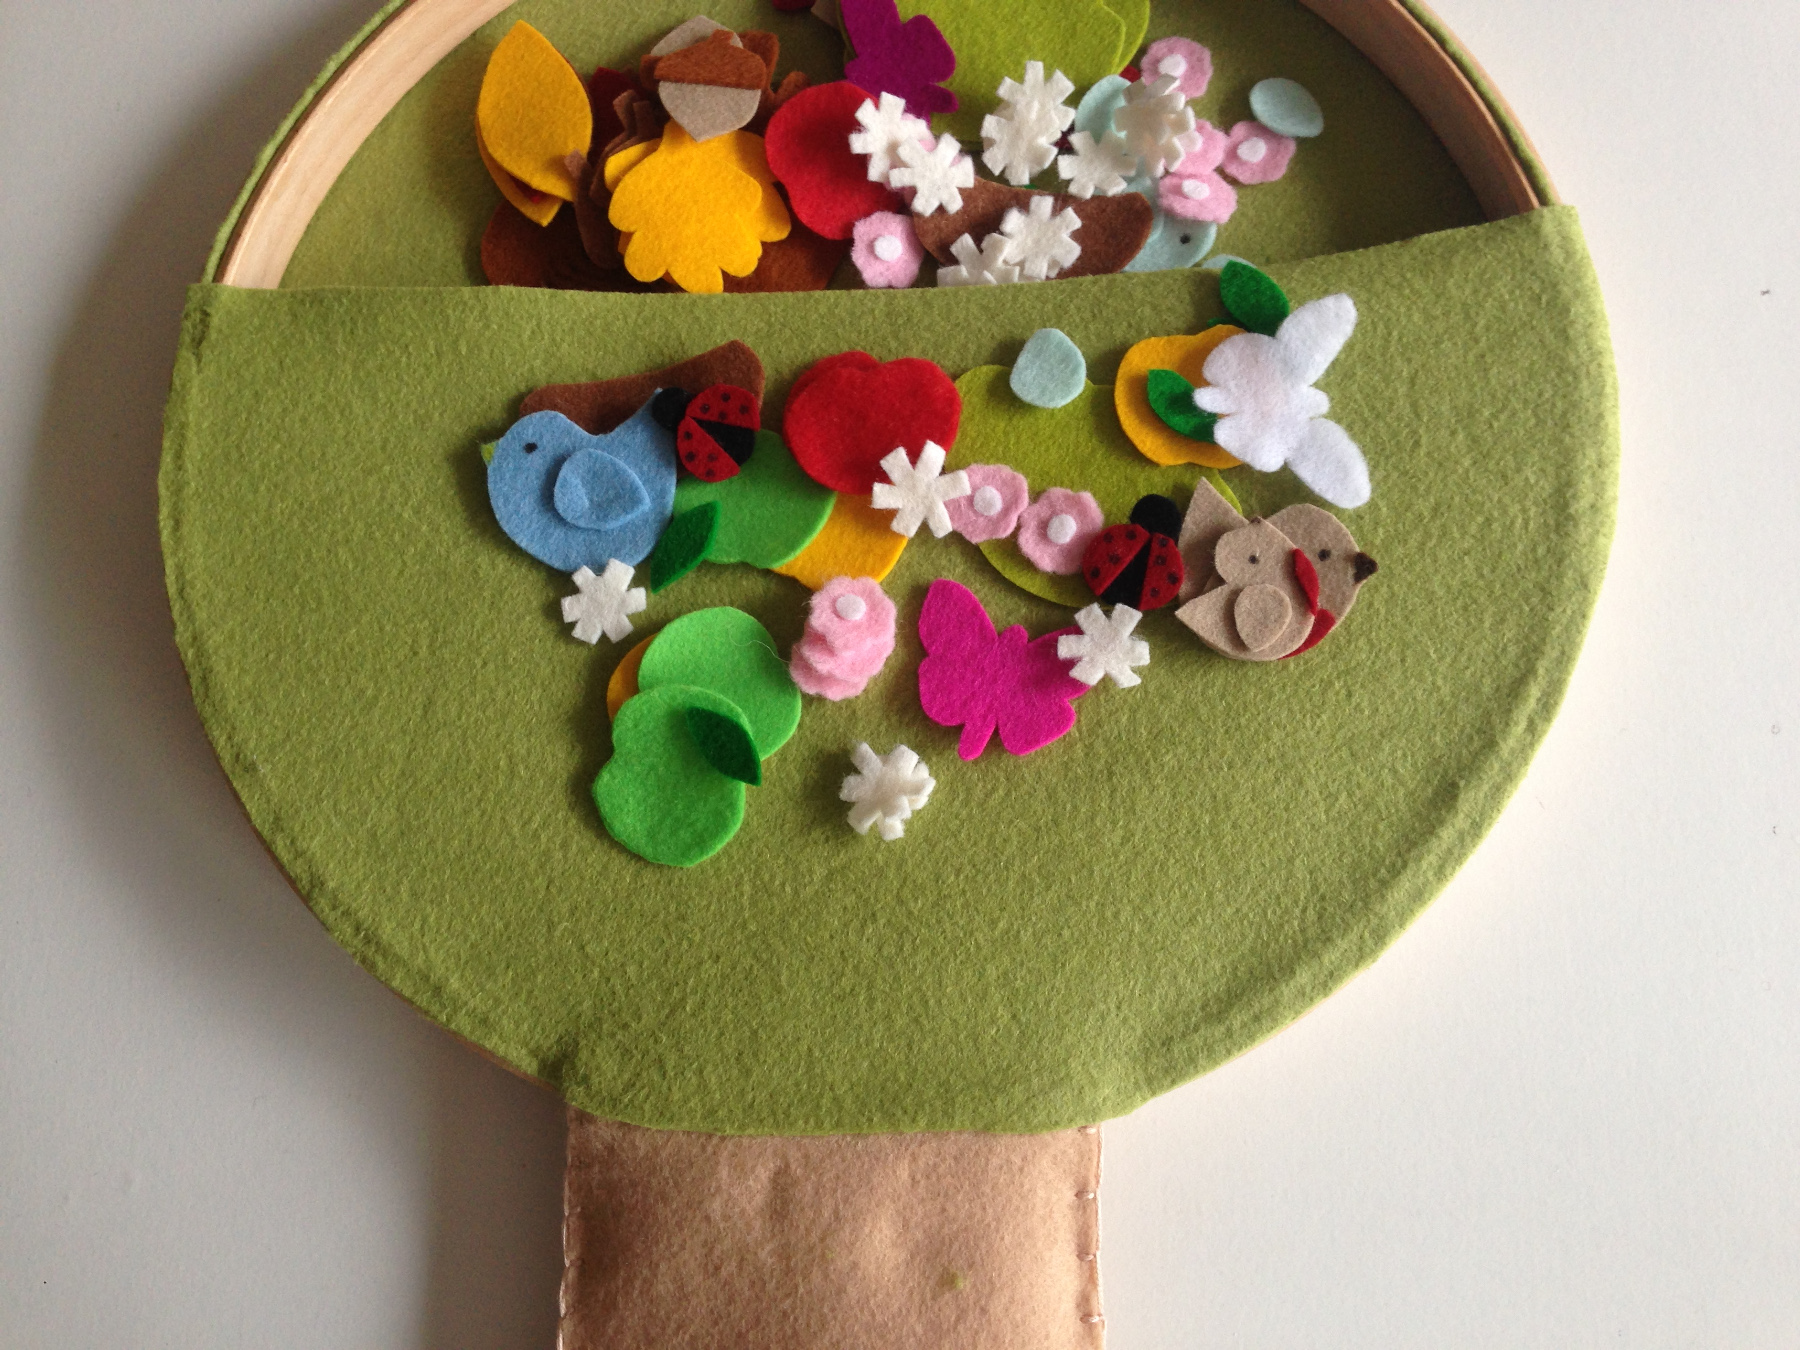
Cut a pocket to attach to the back of the tree.
Stick on and let dry. Now you can tidy all your stuff in it.
What do you see in a tree?
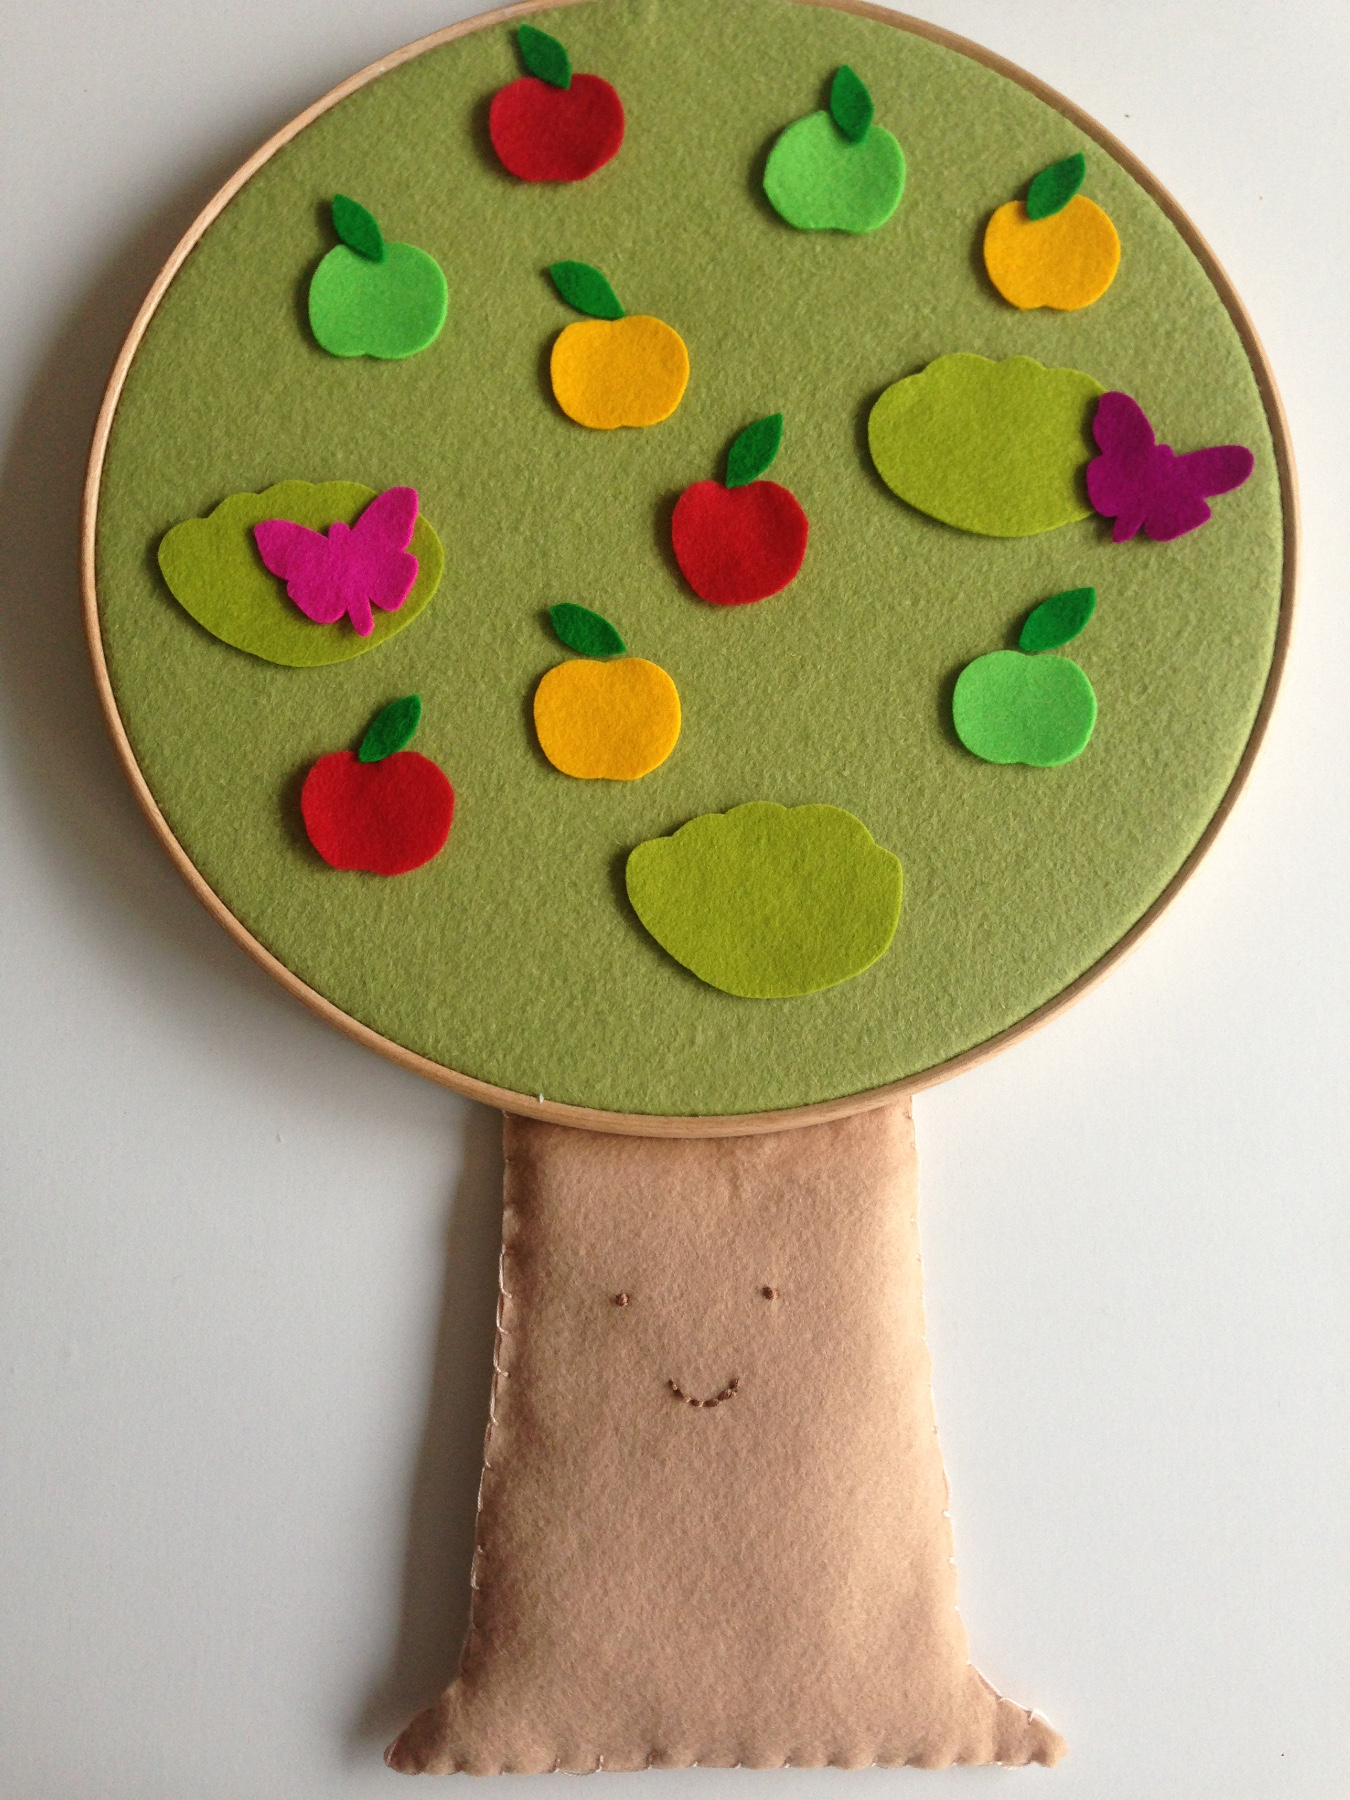
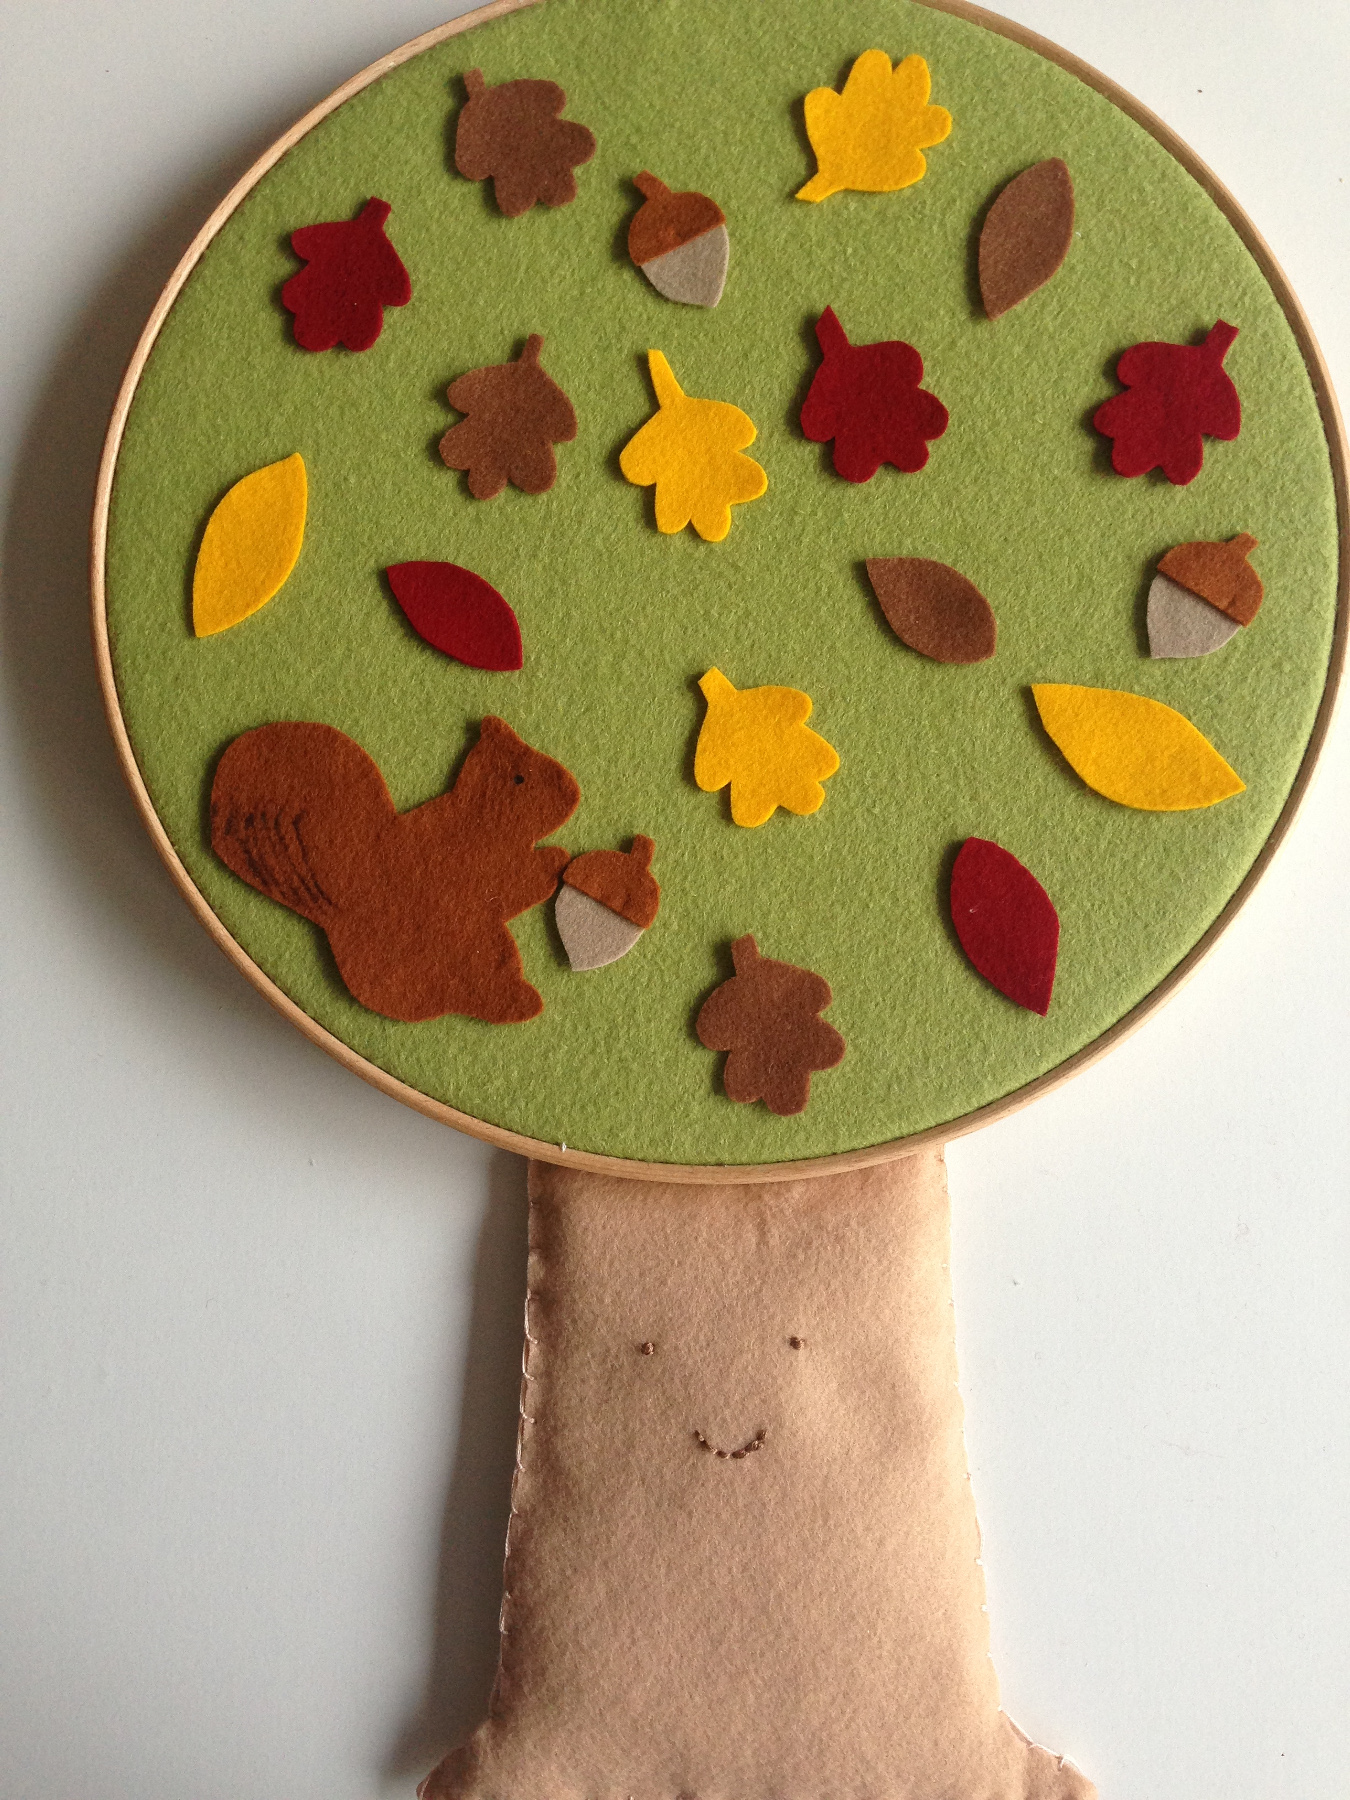
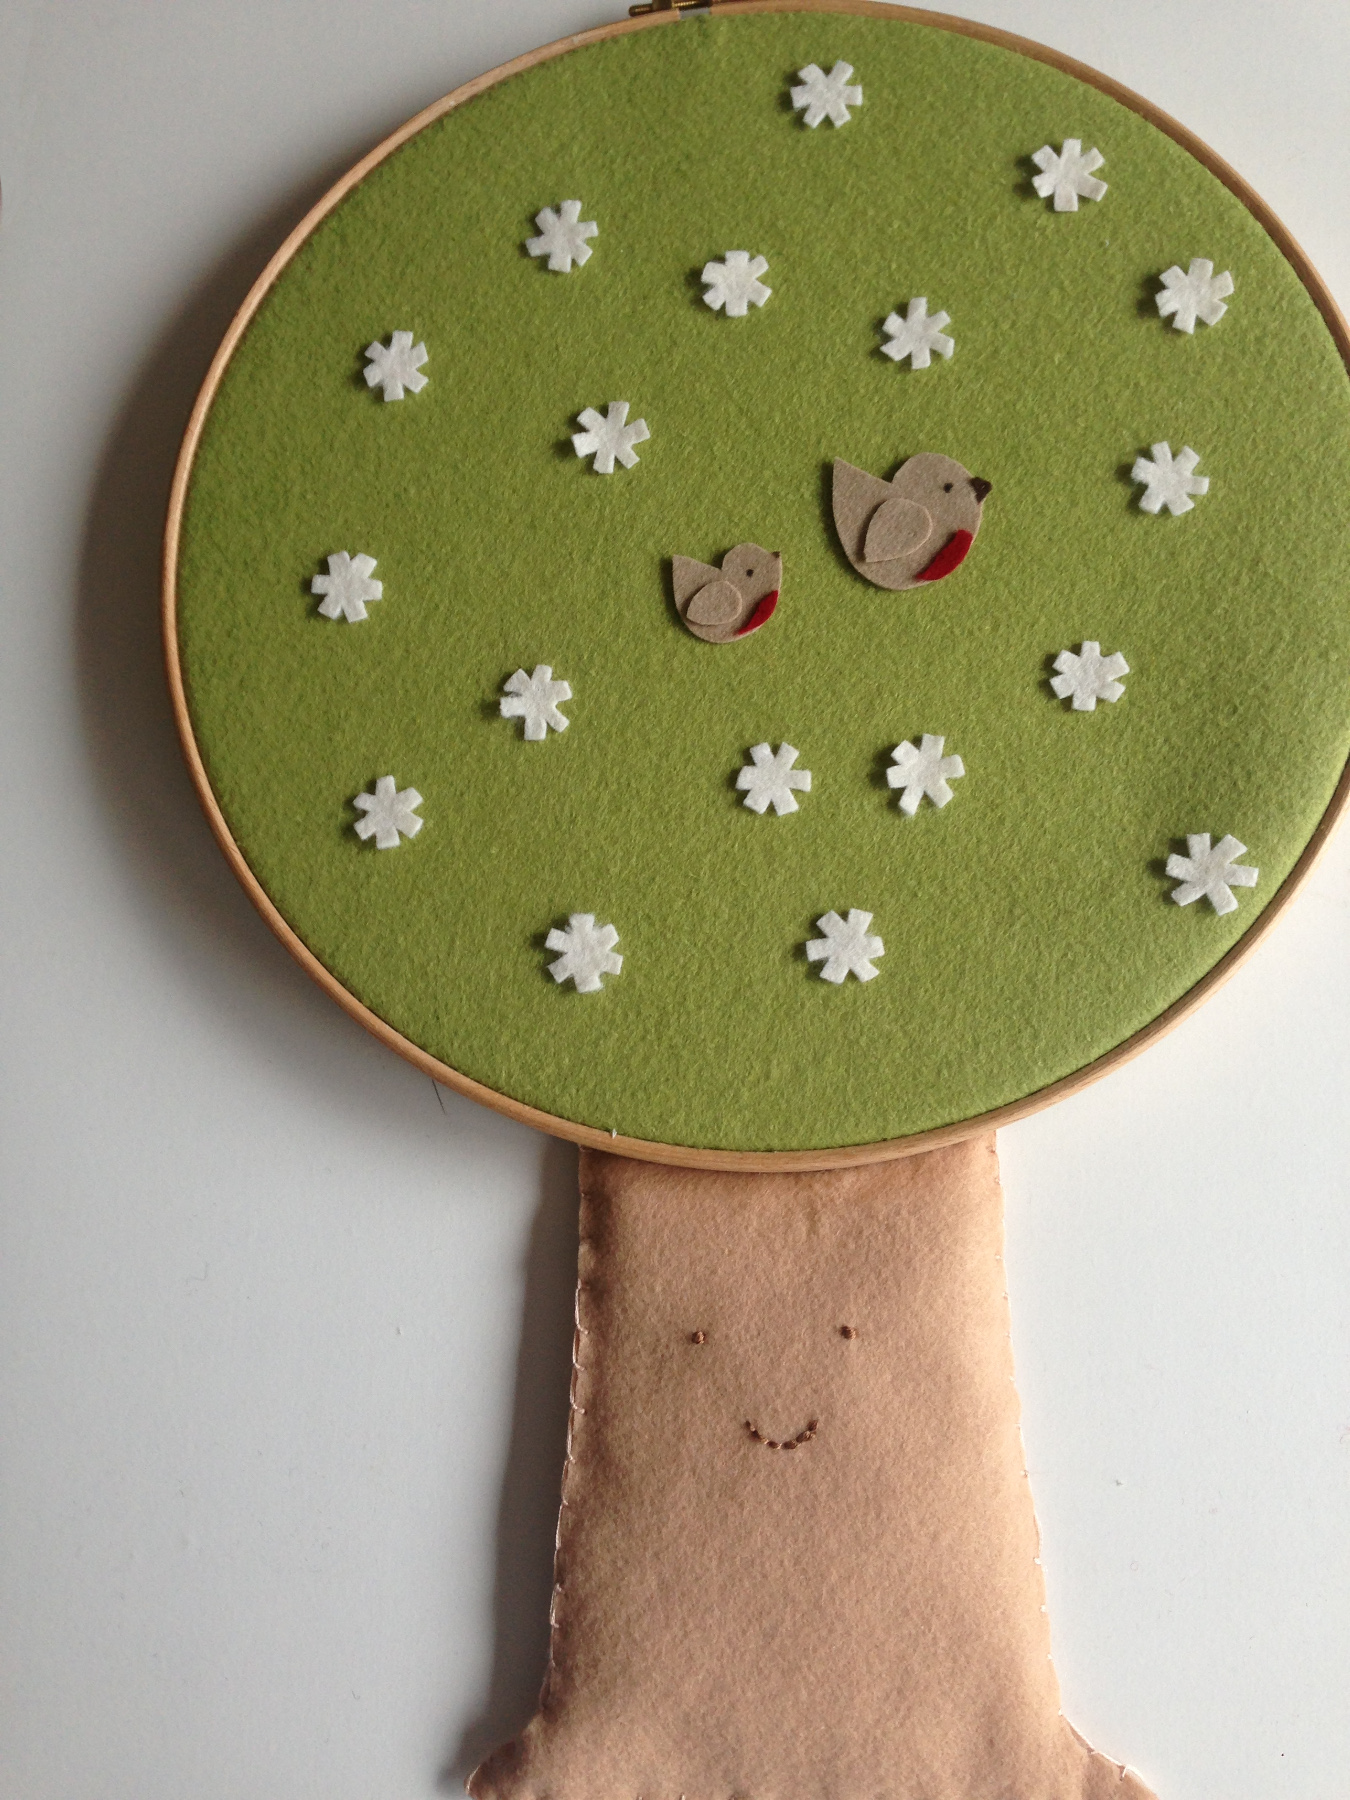
We chose leaves; blossems; birds; nests; eggs; butterflies; lady bugs; apples; autumn leaves; acorns; squirrels; snow. But you can also cut out pears or plums, beach nuts or other insects, let your imagination run free.
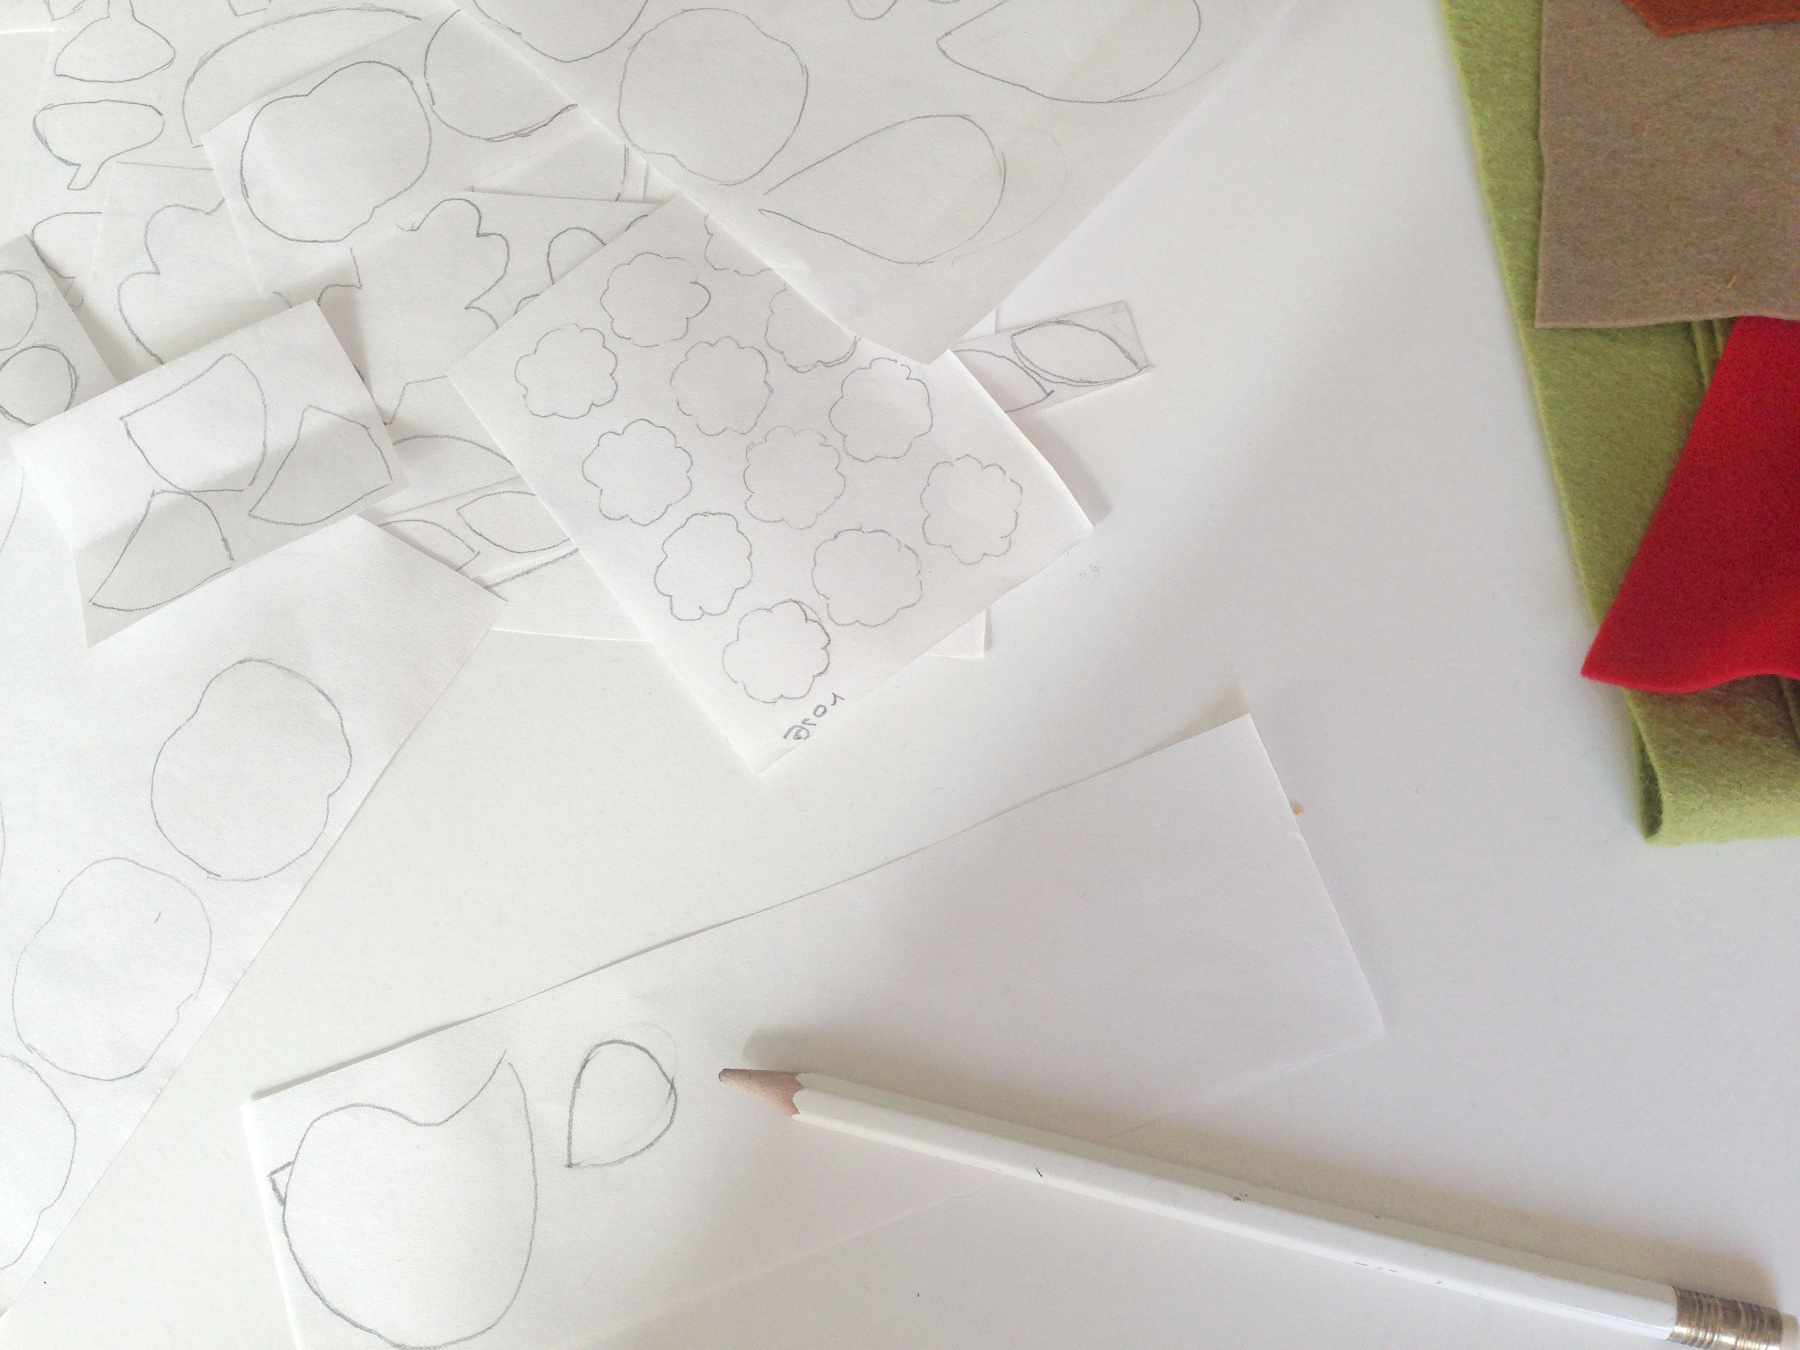
Draw figures on the matte side of the freezer paper or download ours.
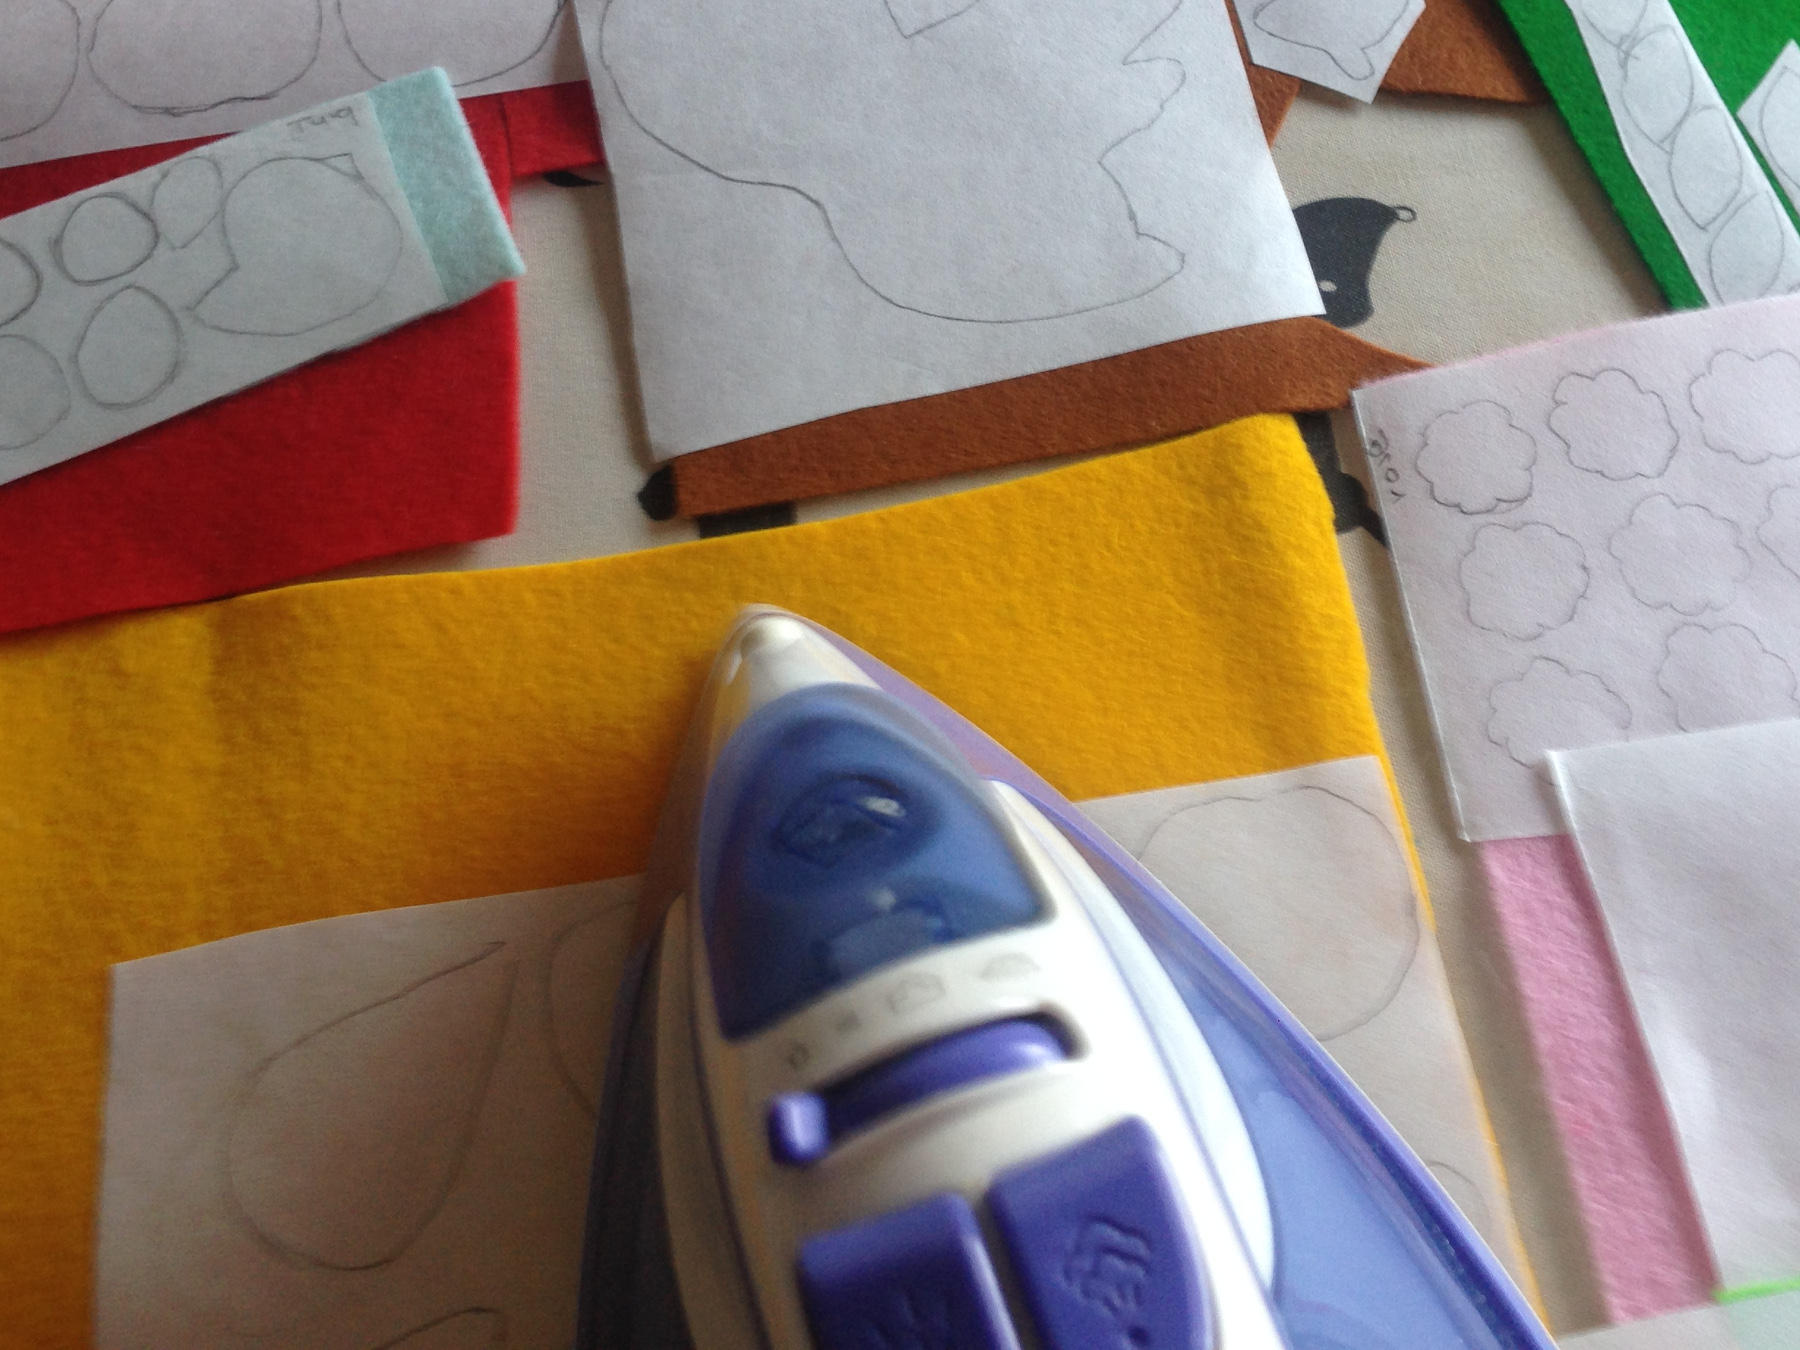
Iron the shiny side of the freezer paper on the coloured felt.
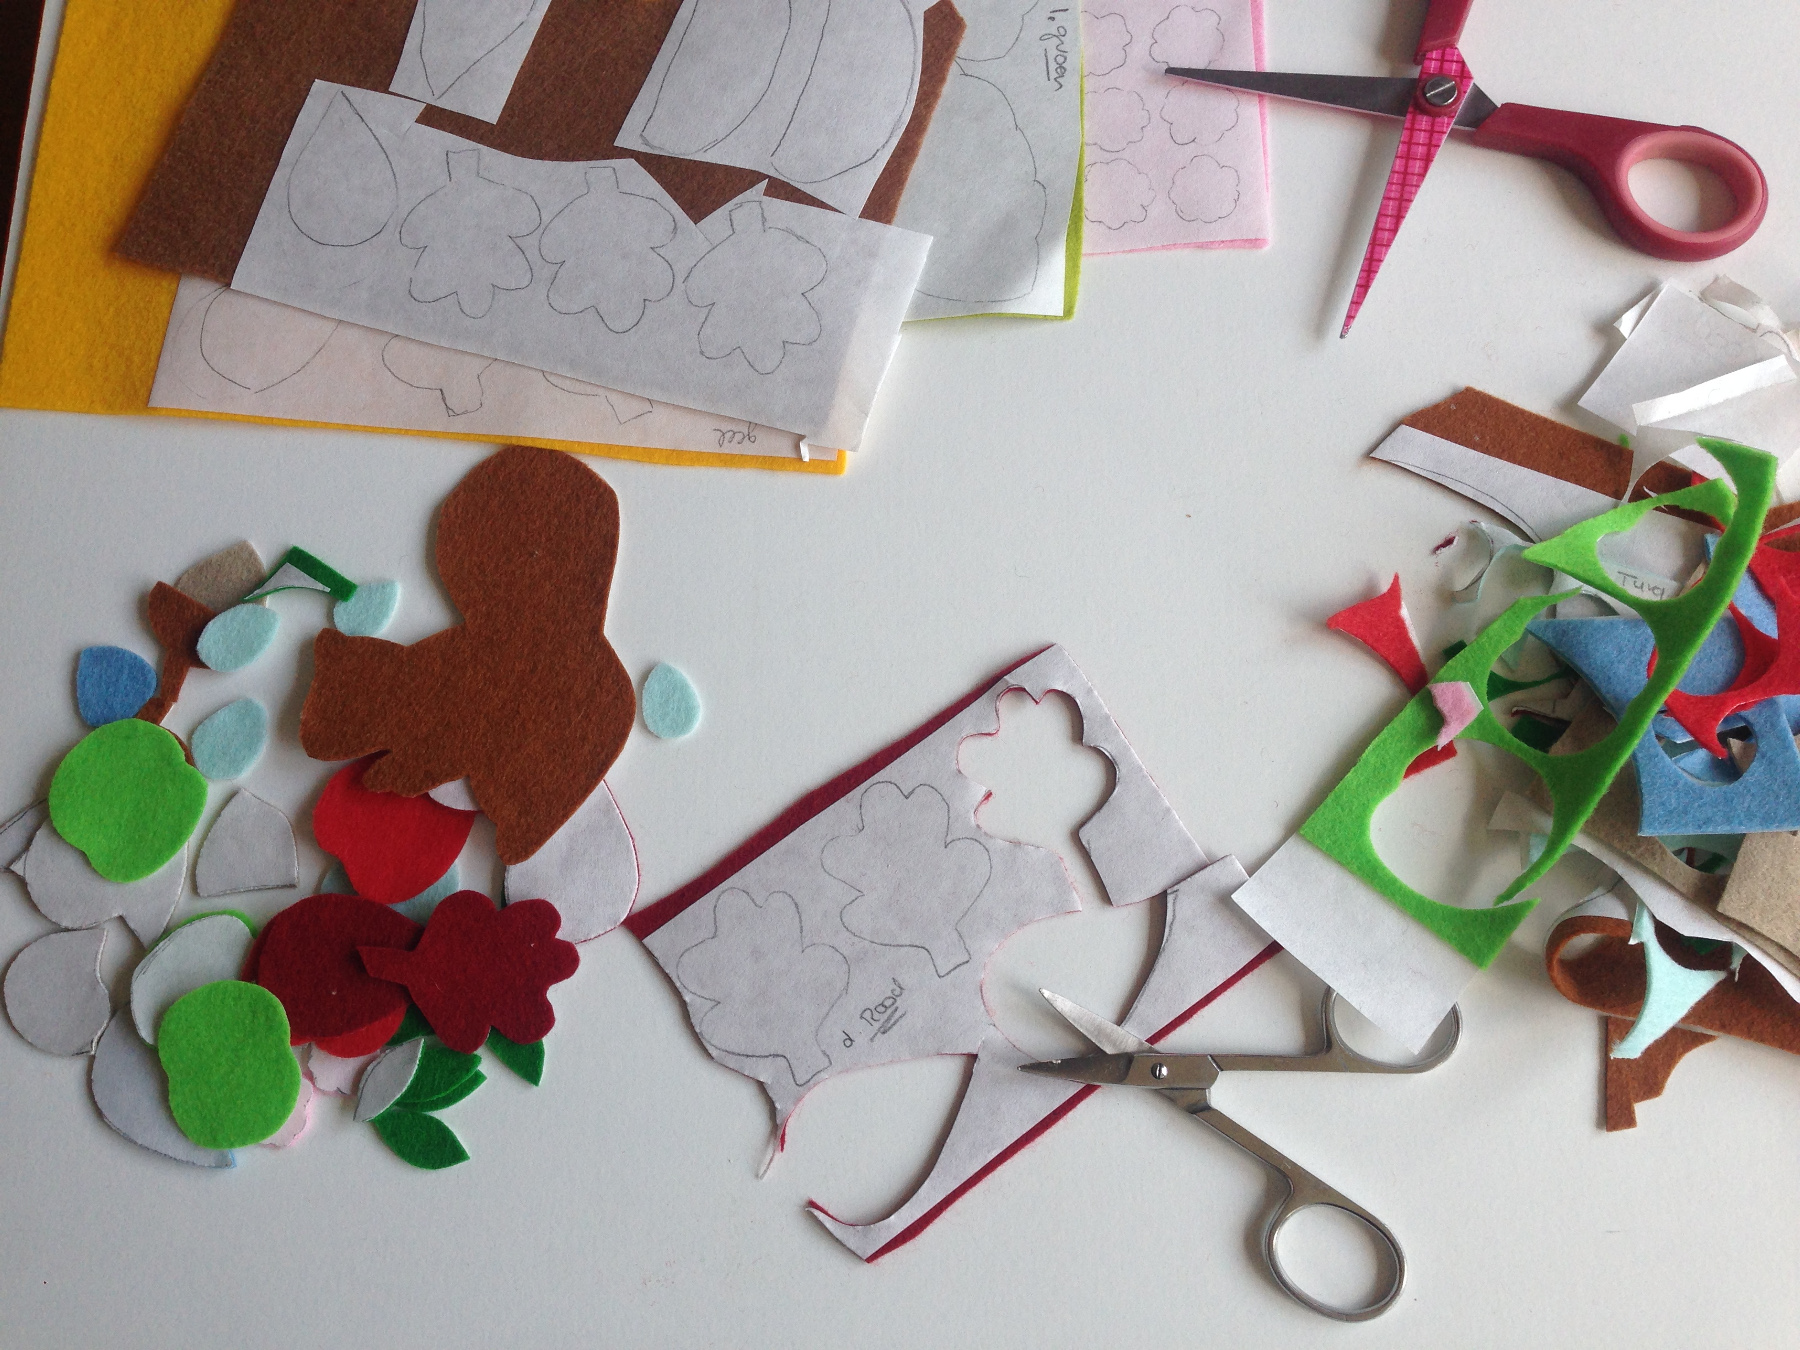
Cut out all the figures then remove the freezer paper.
Now you can fill the tree after your own idea
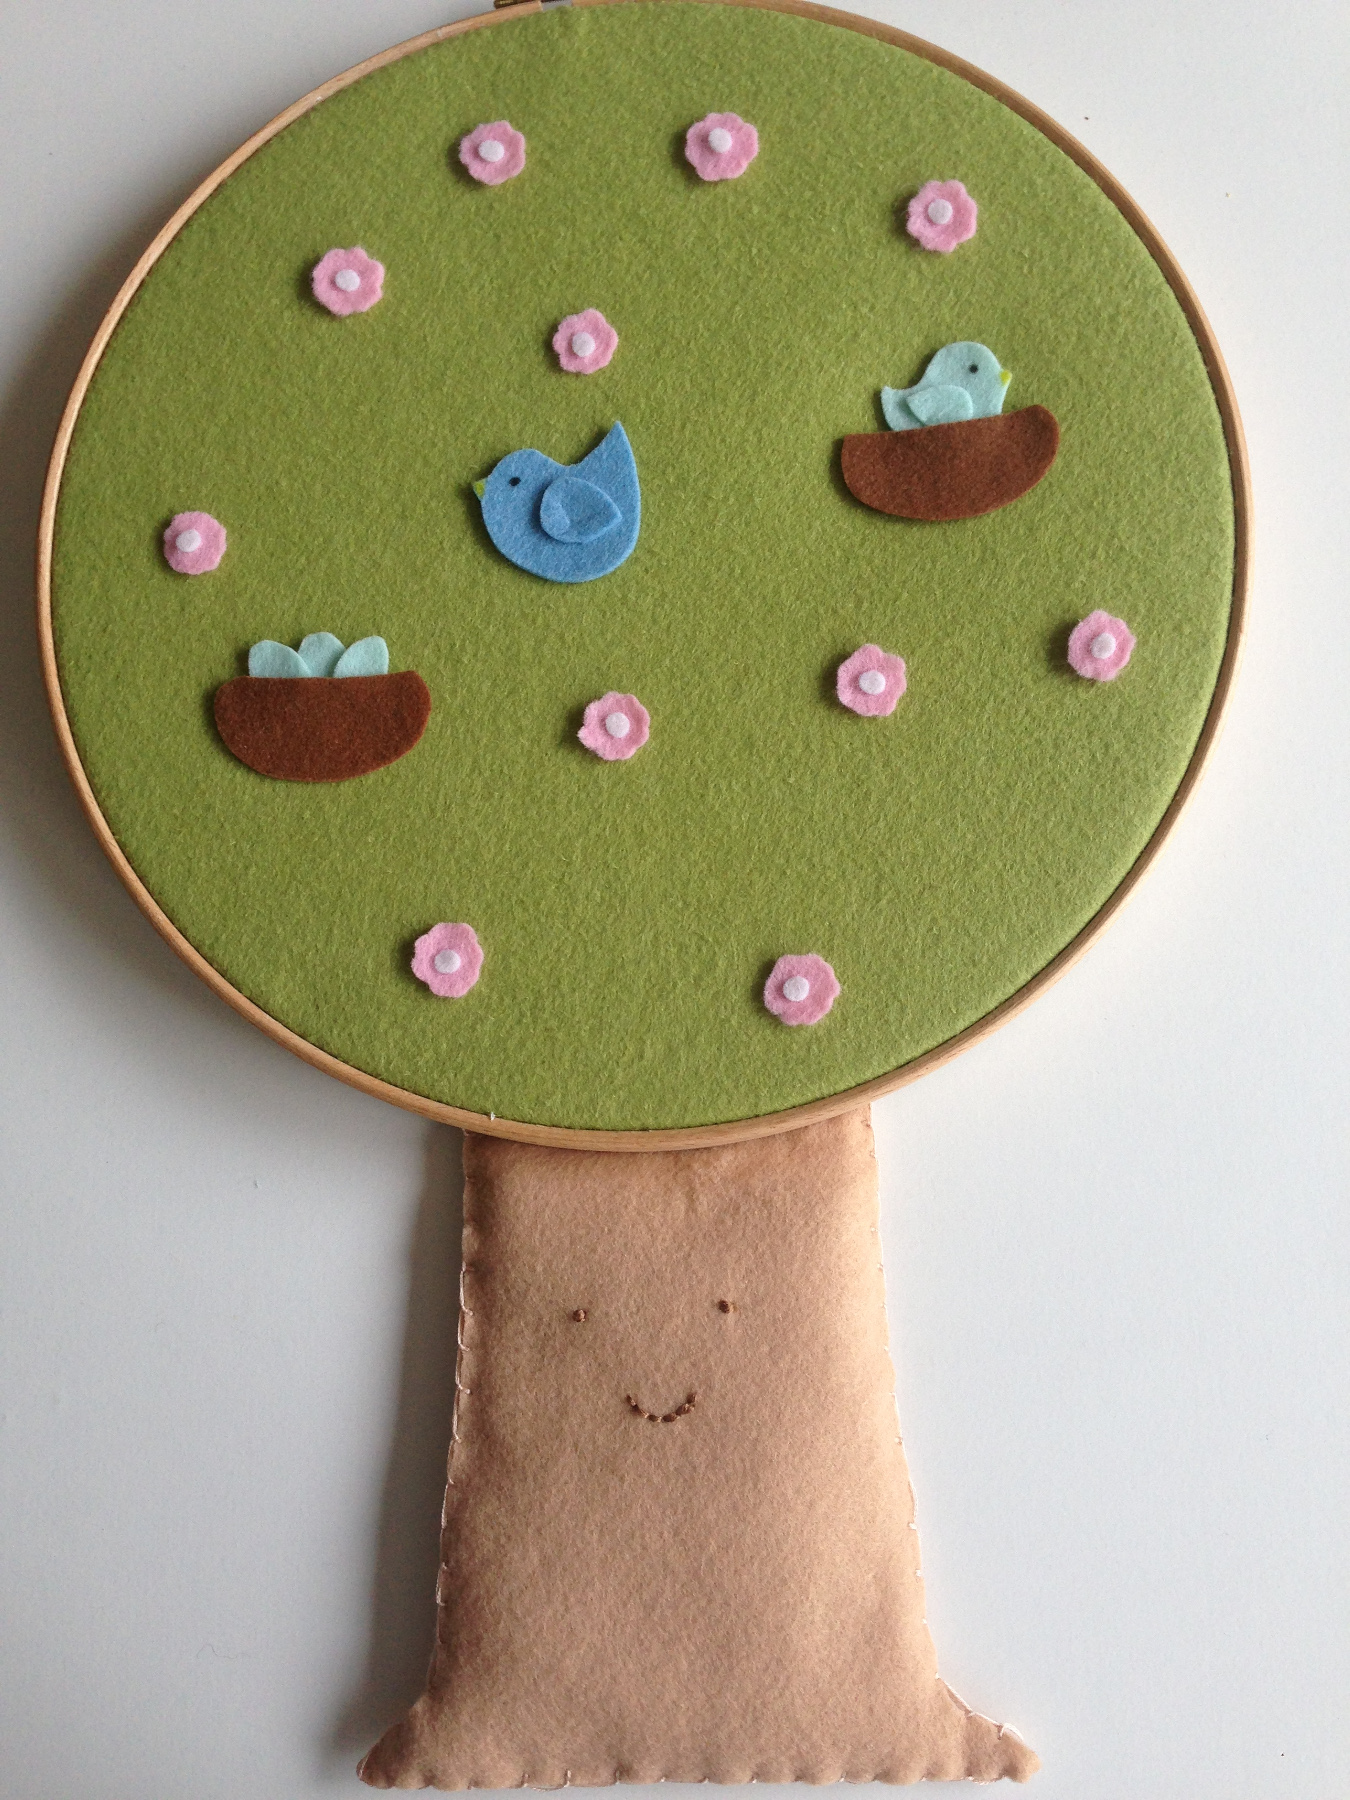
Spring
Summer
Autumn
Winter
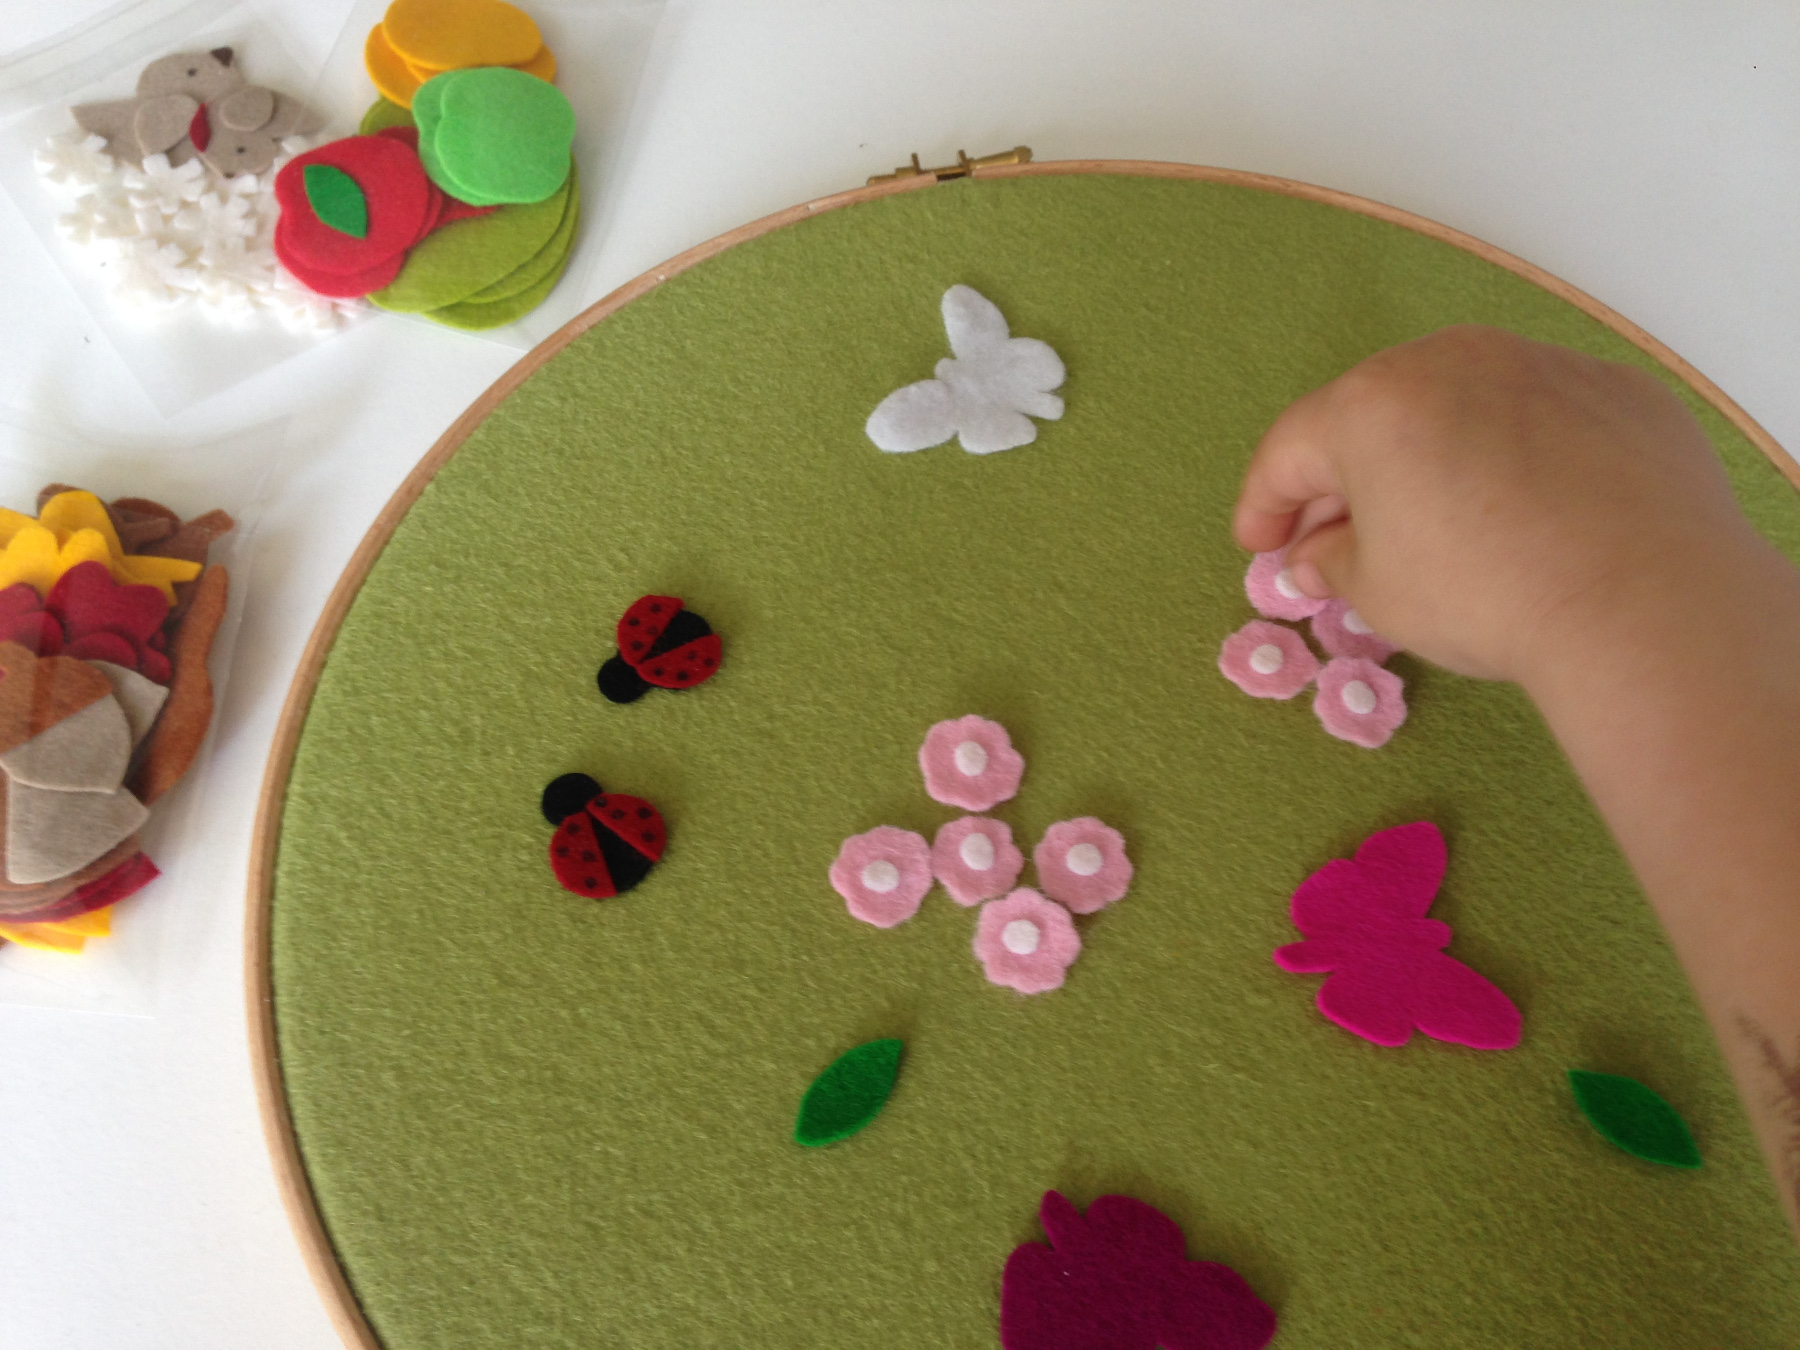
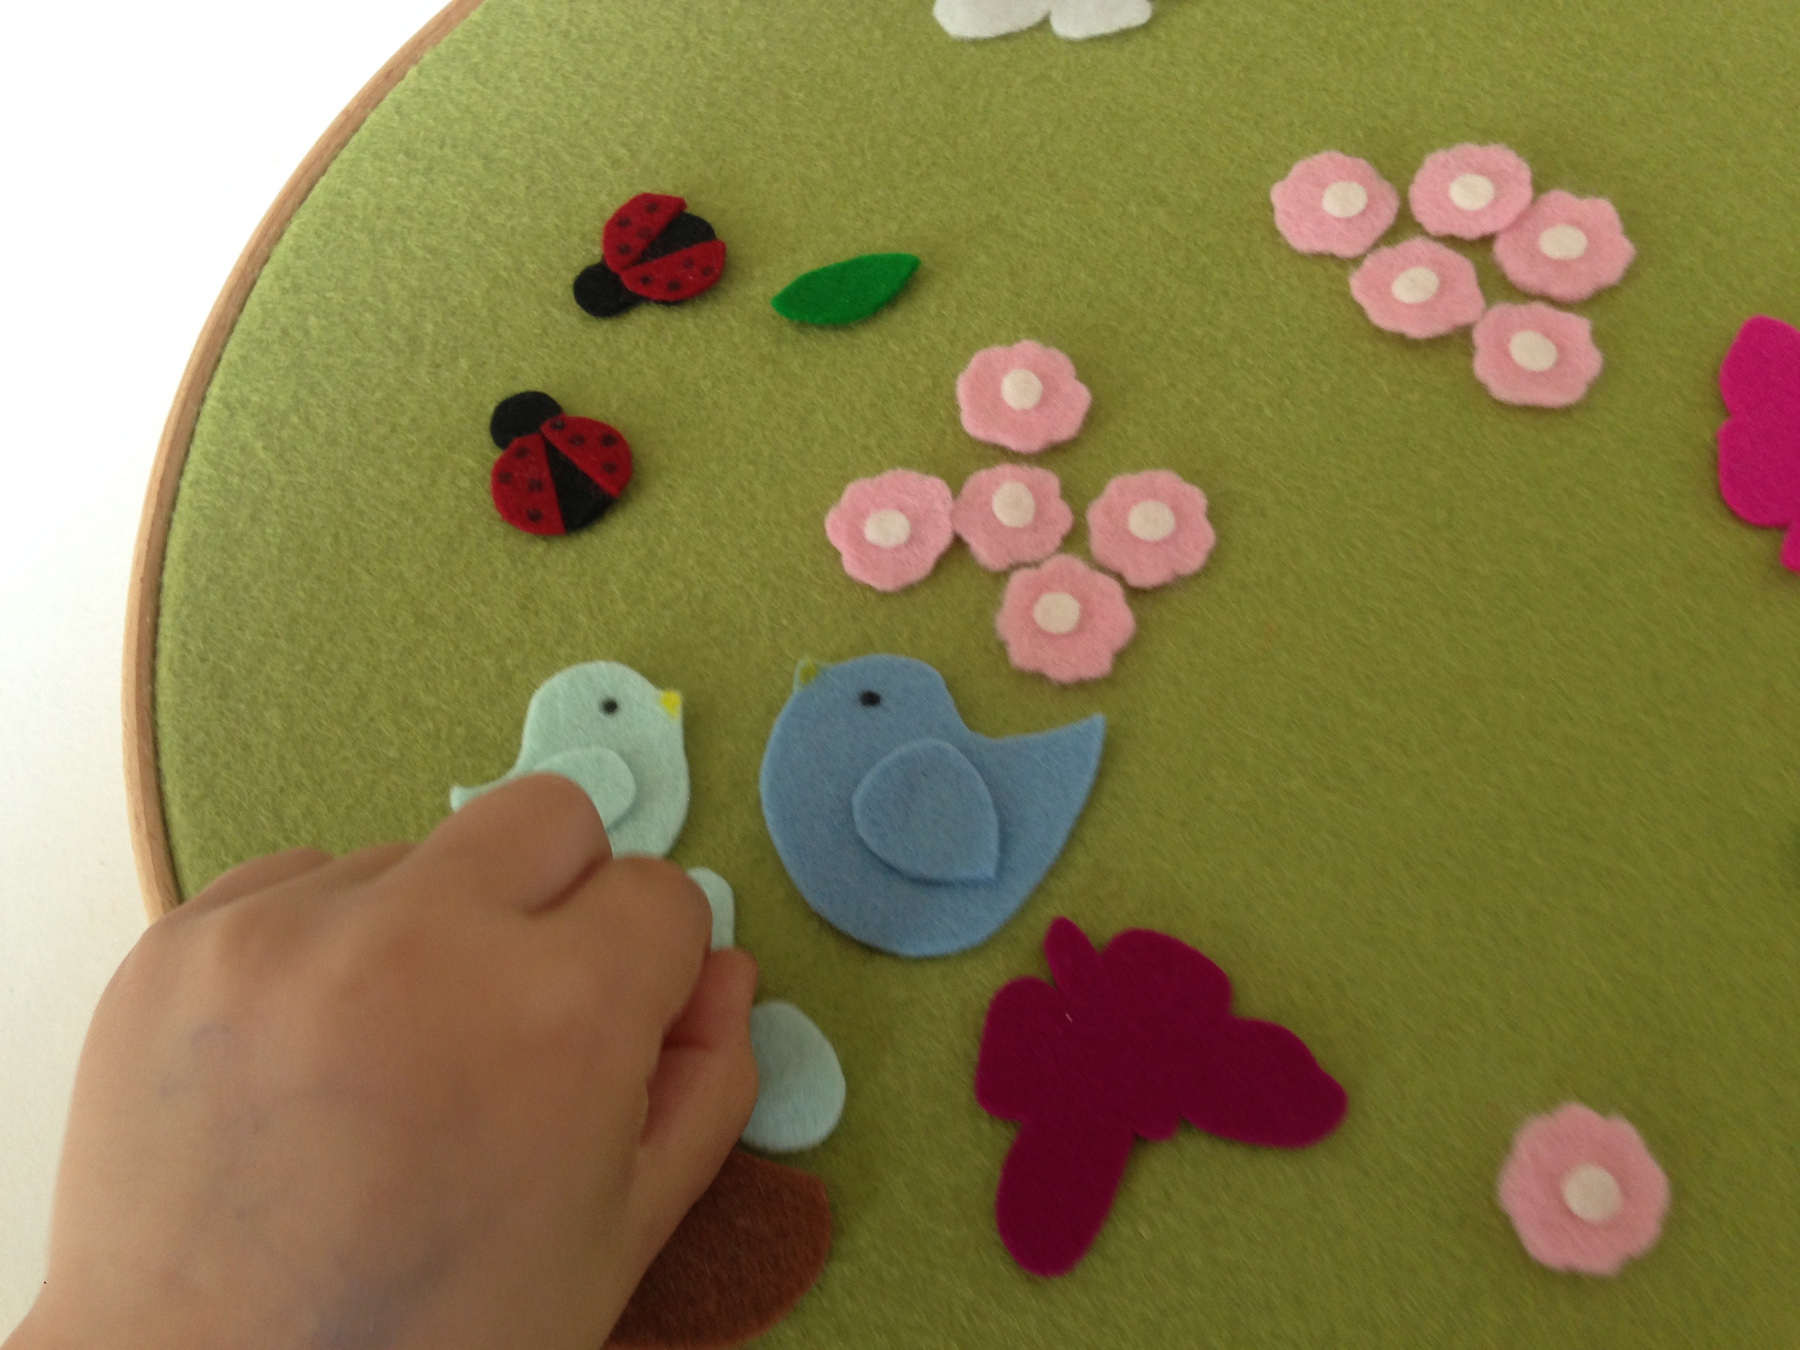
Have lots of fun with the seasons tree!